Welcome to the blog for Inglehome II – Heaton Norris.
This is really just a photo diary for family & friends.
You might like to read it in chronological order, which might make more sense, in which case you can start at the oldest post, by scrolling right down to the beginning, or:
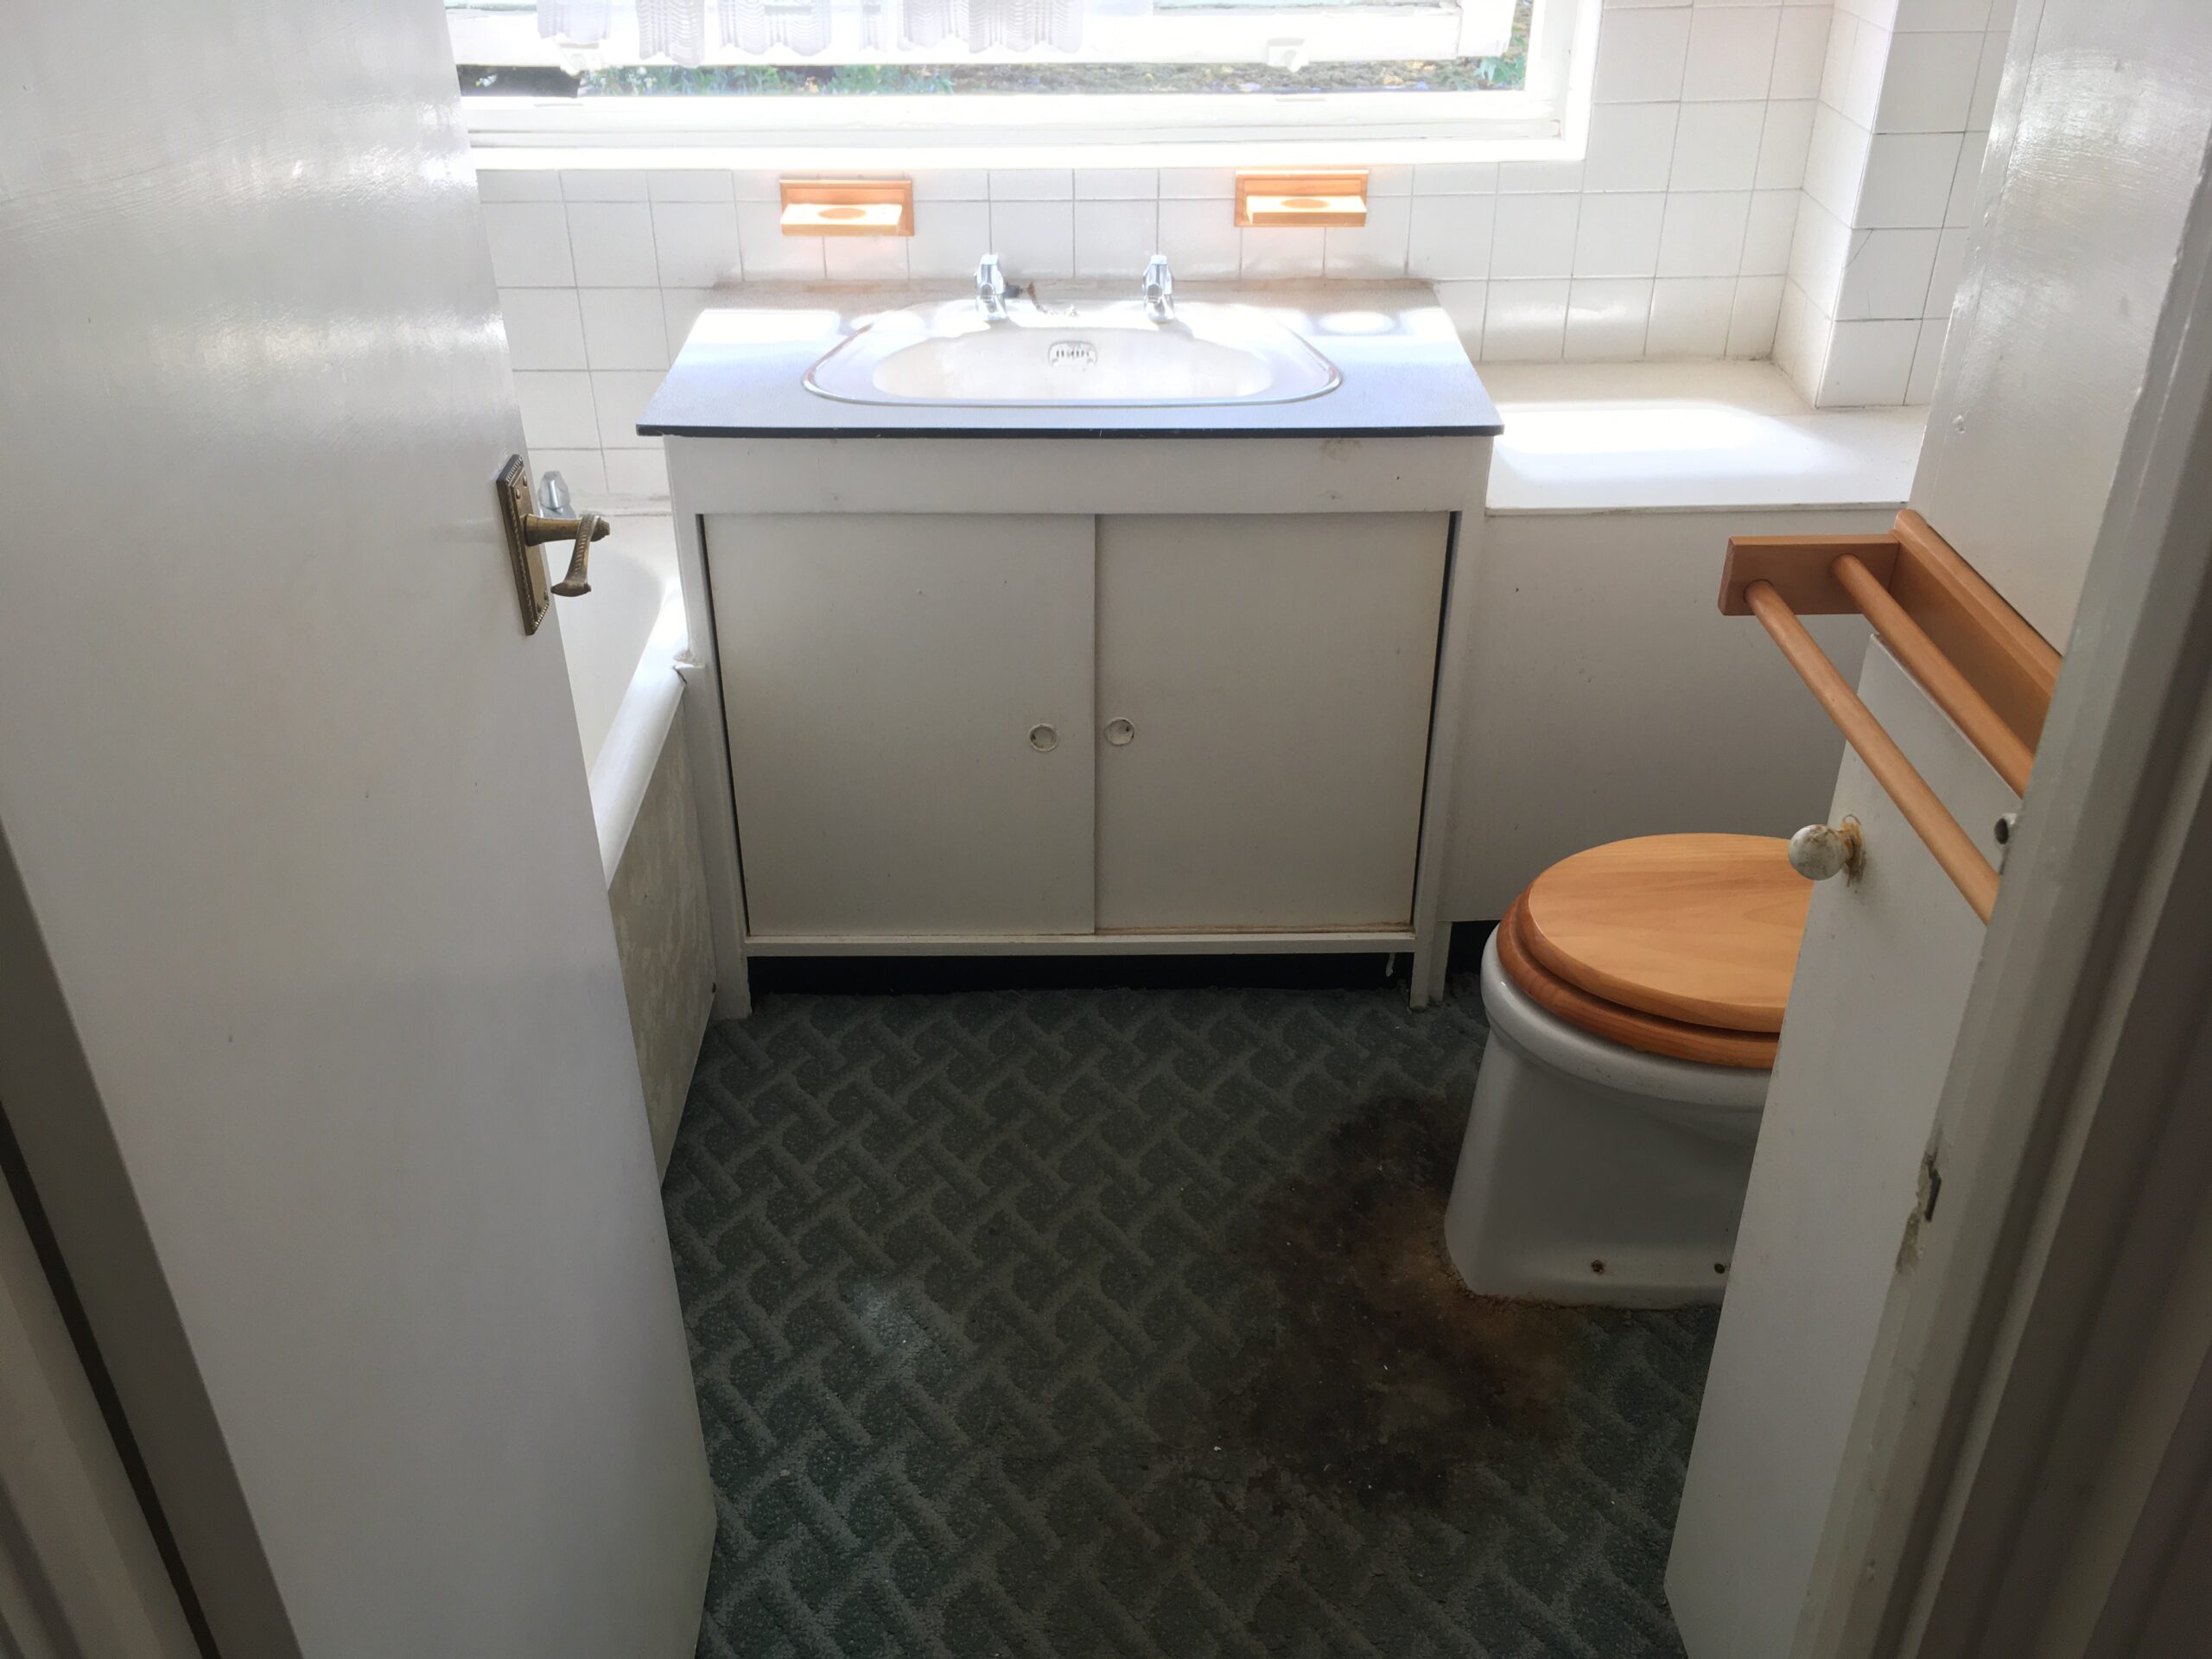
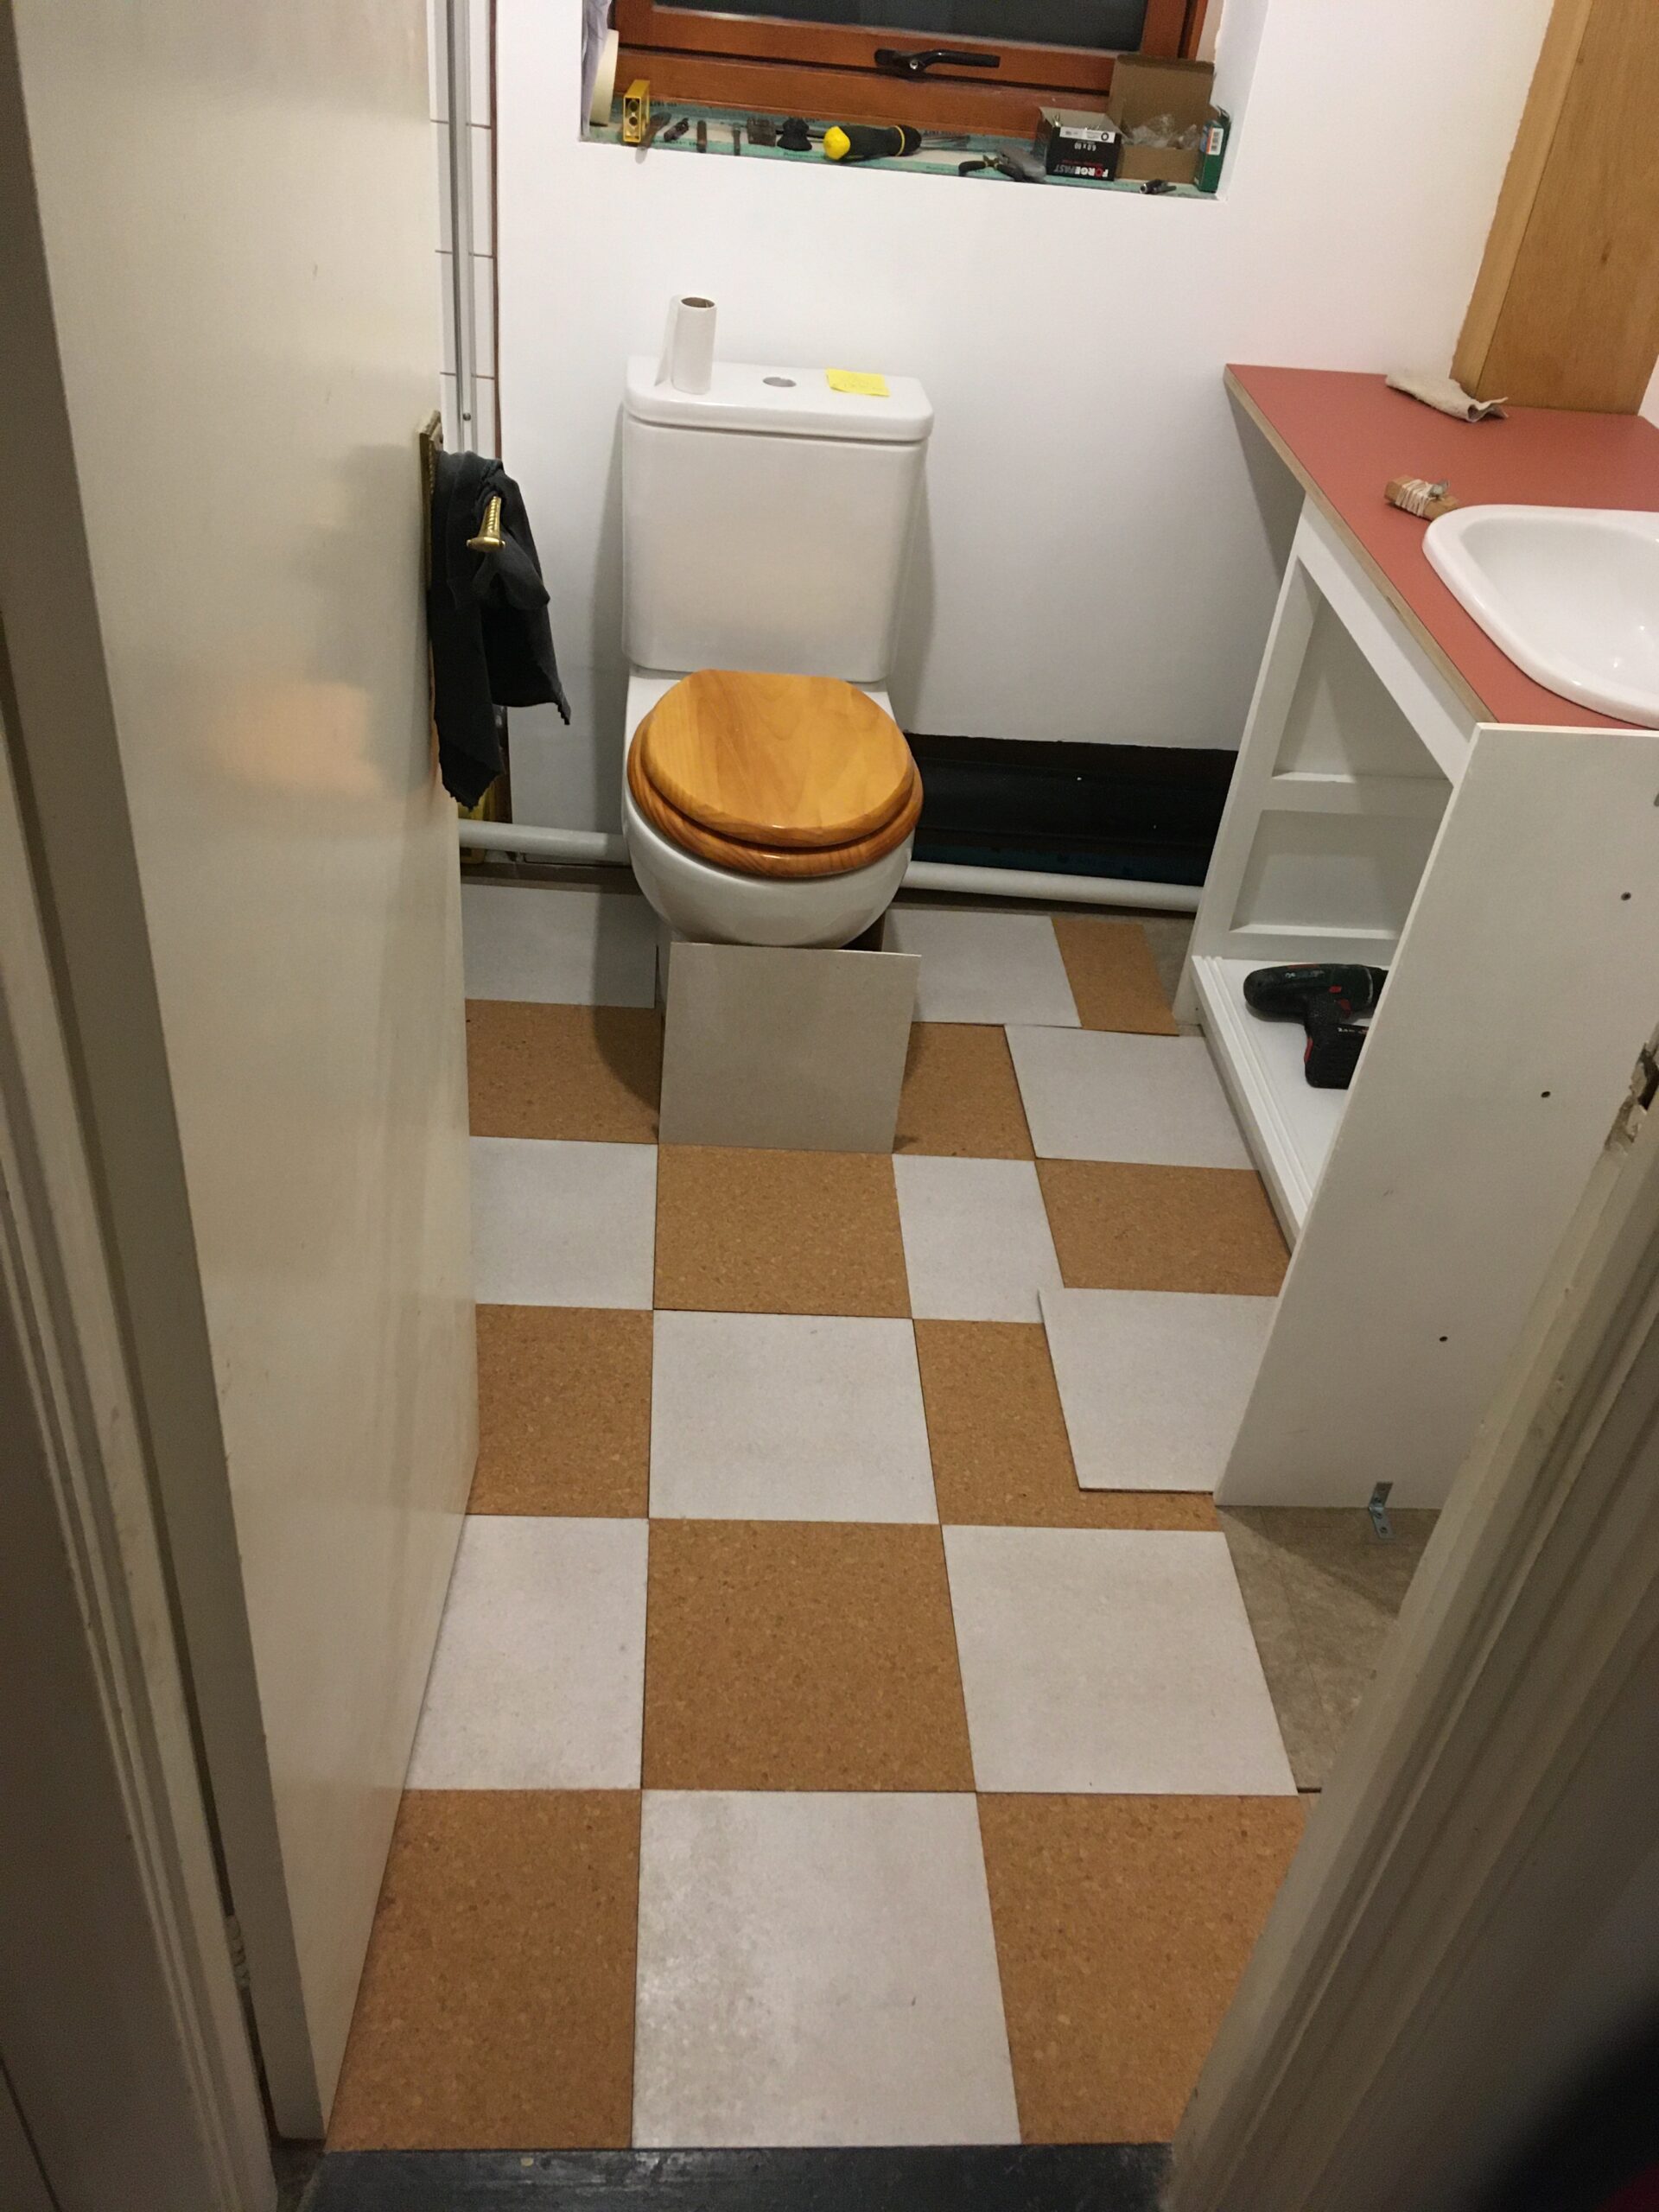
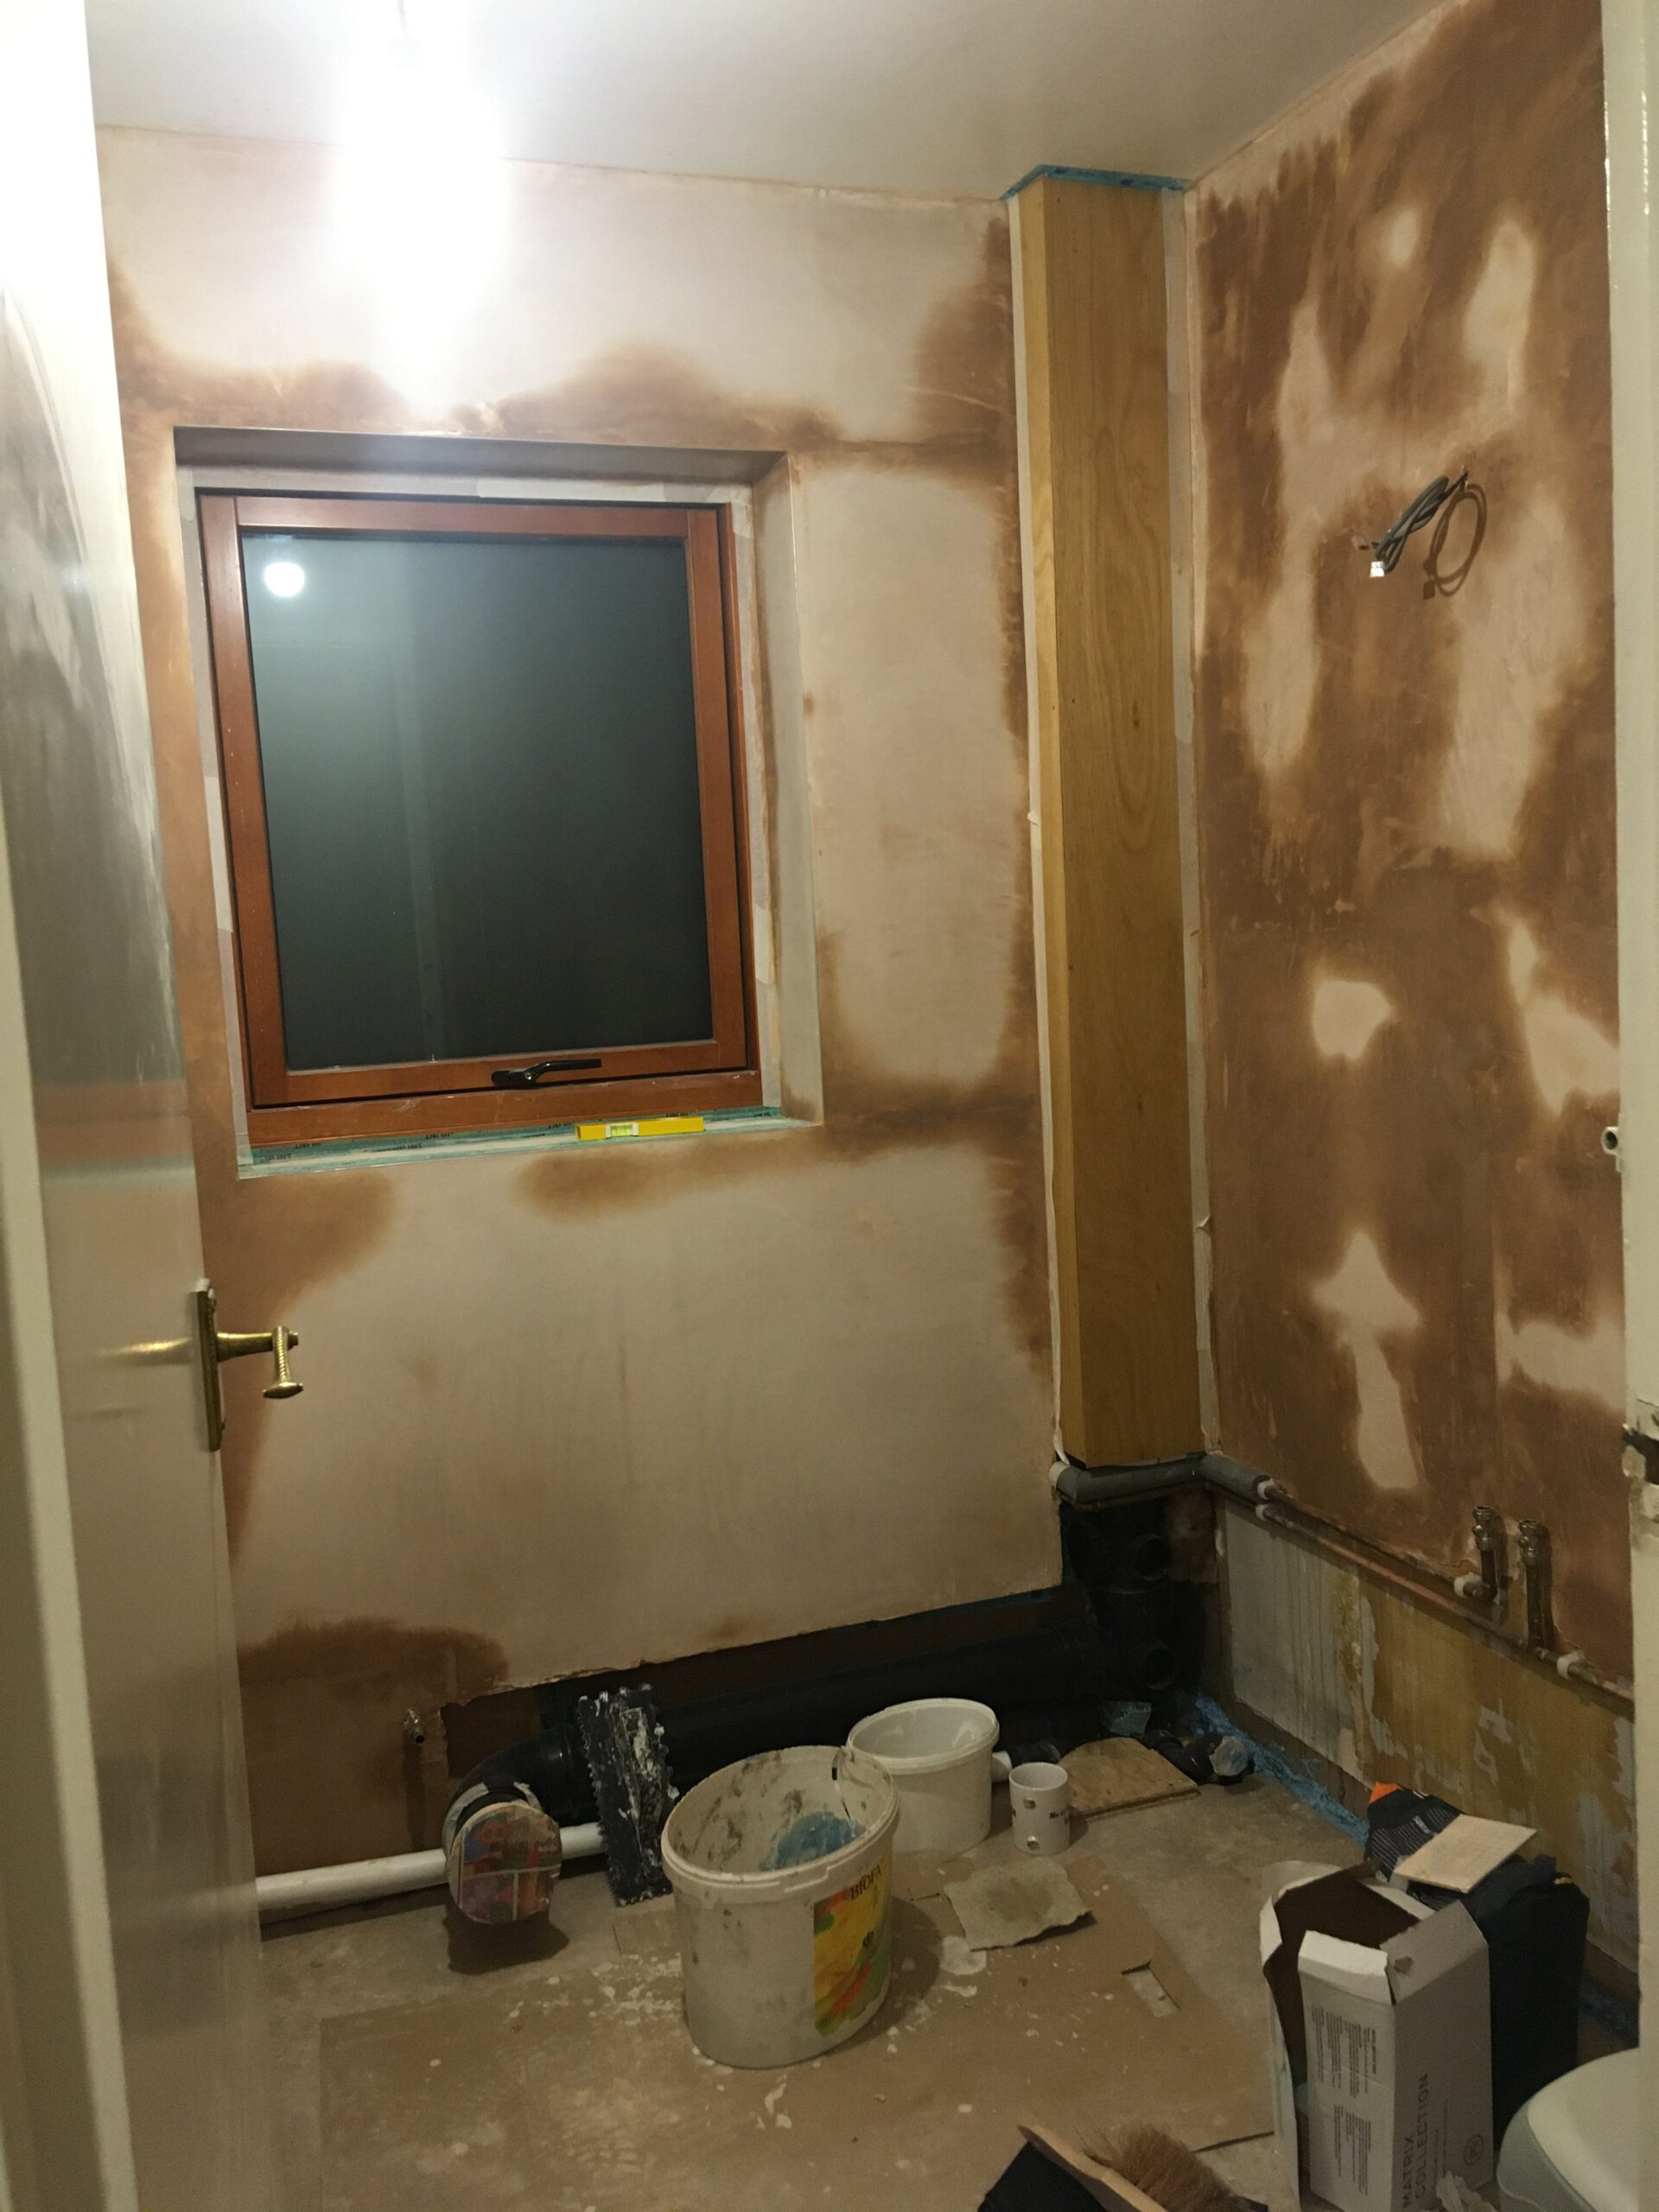
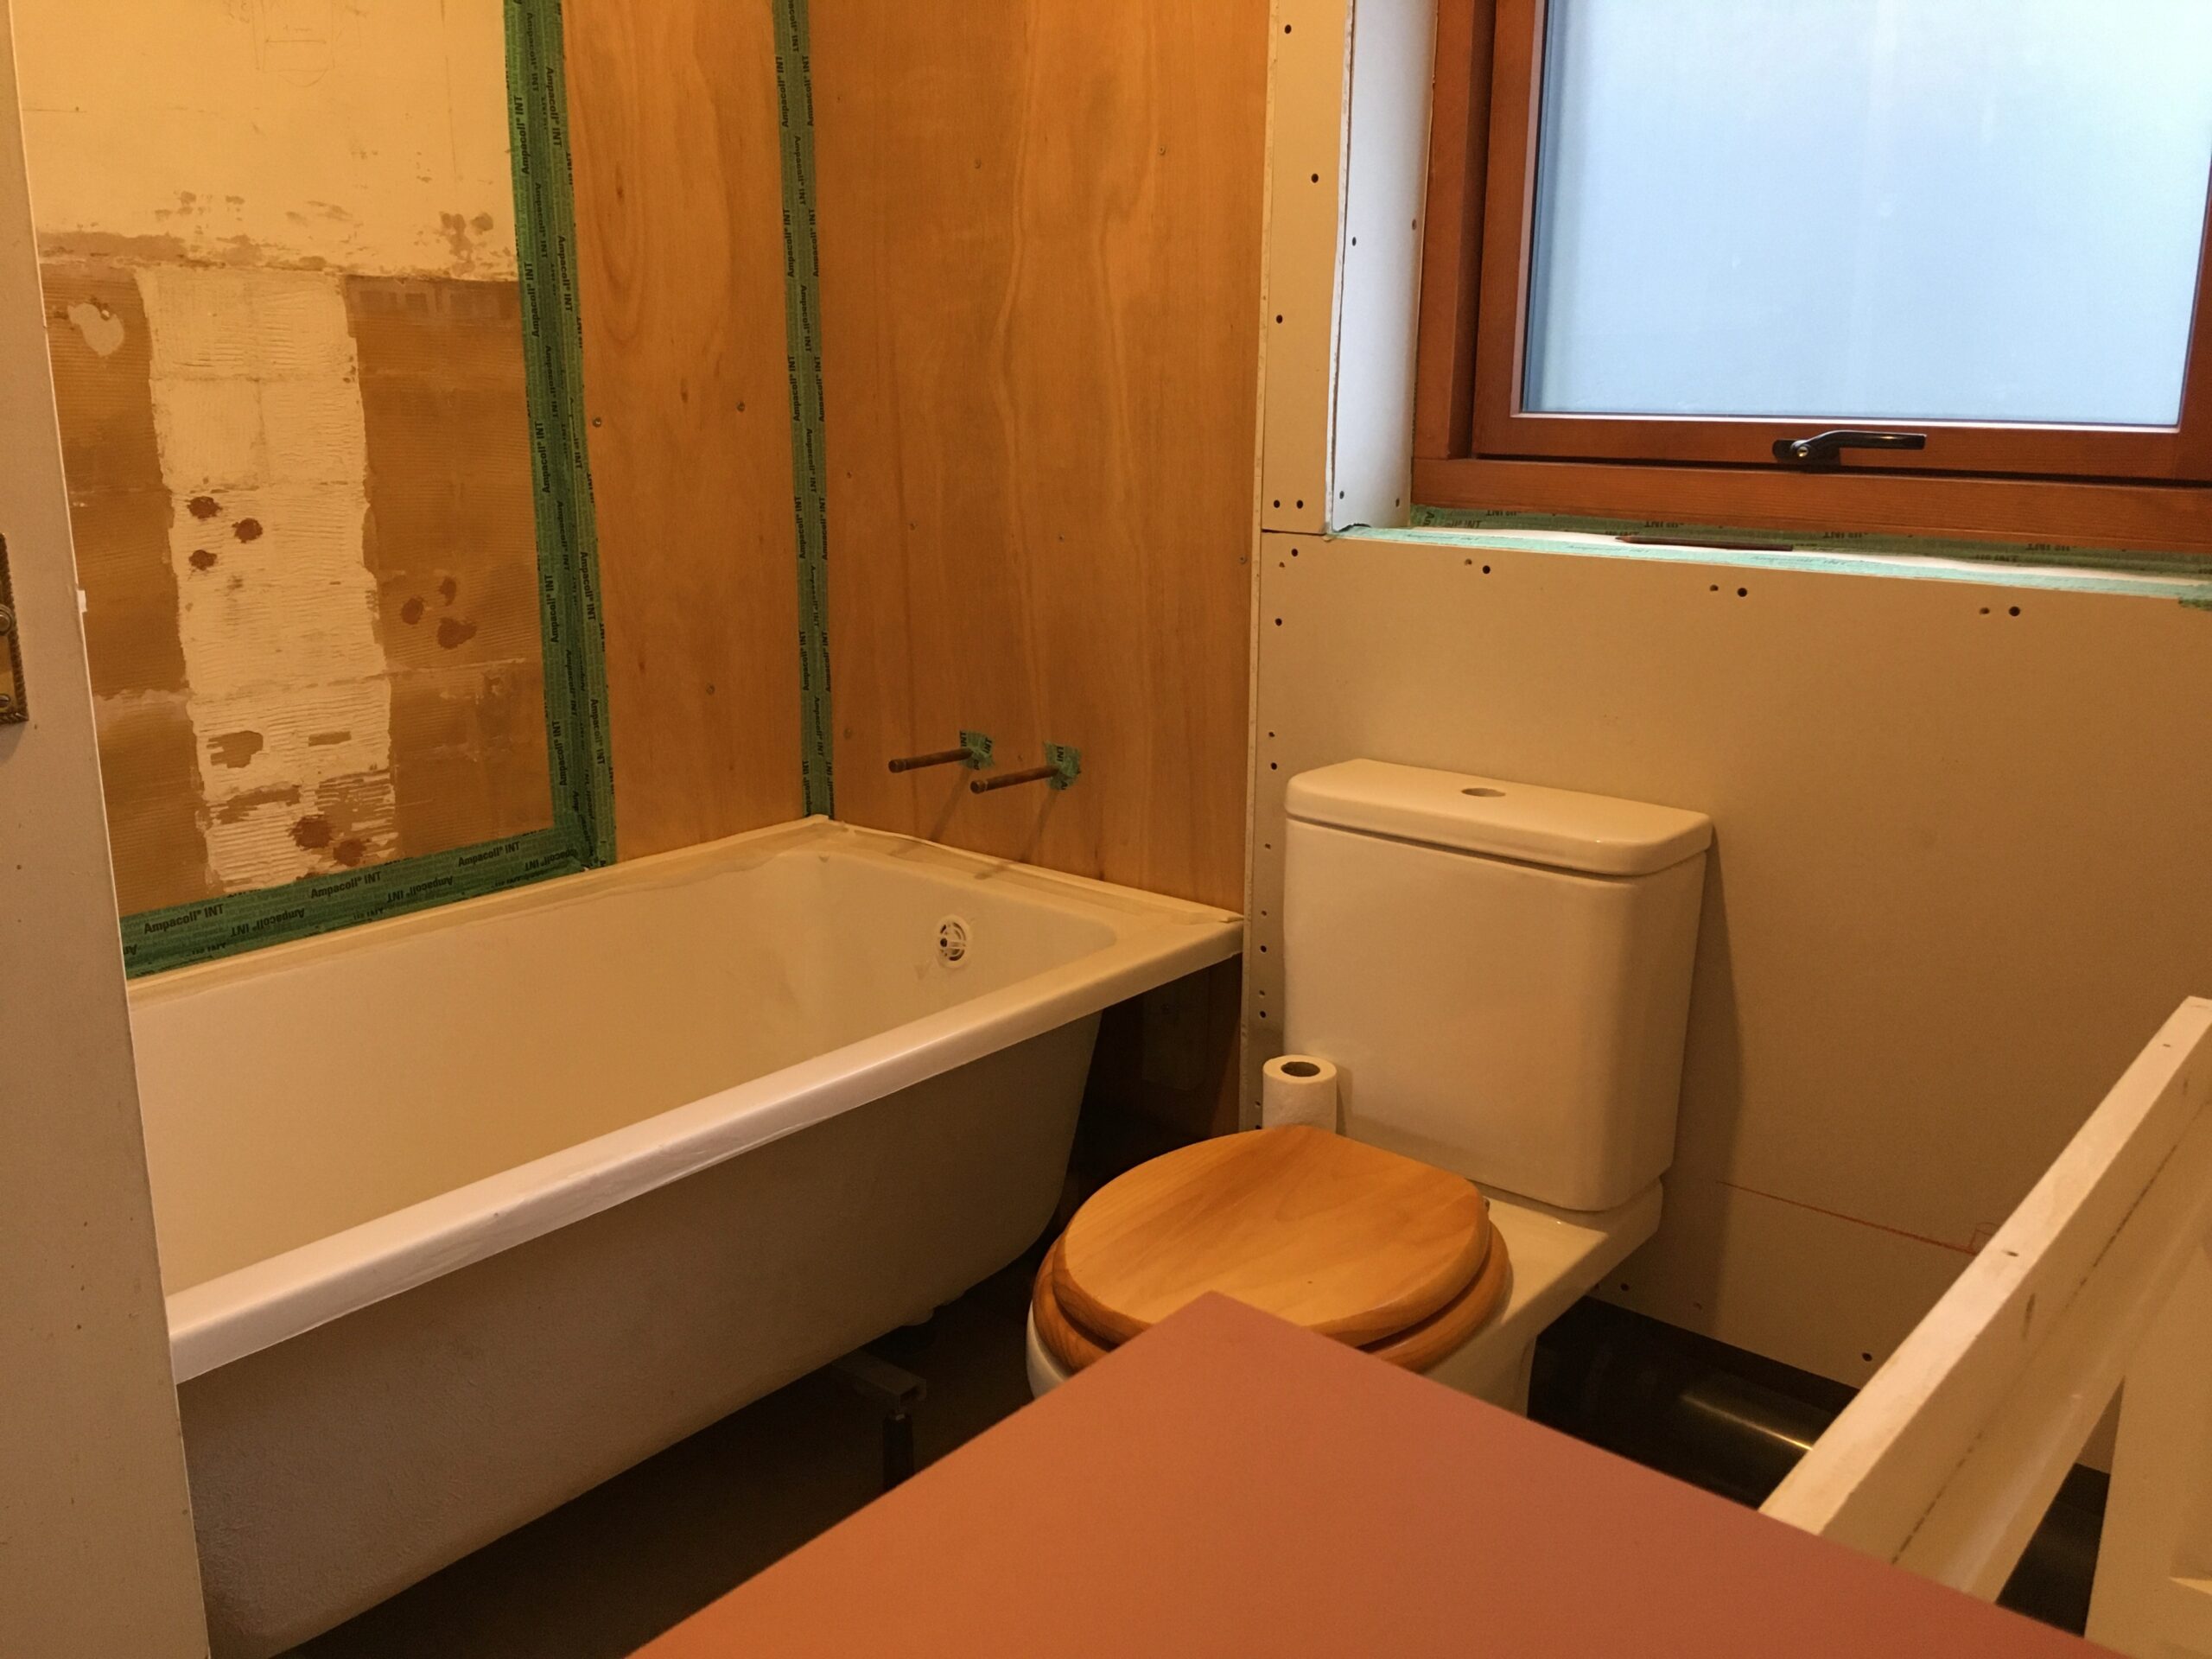
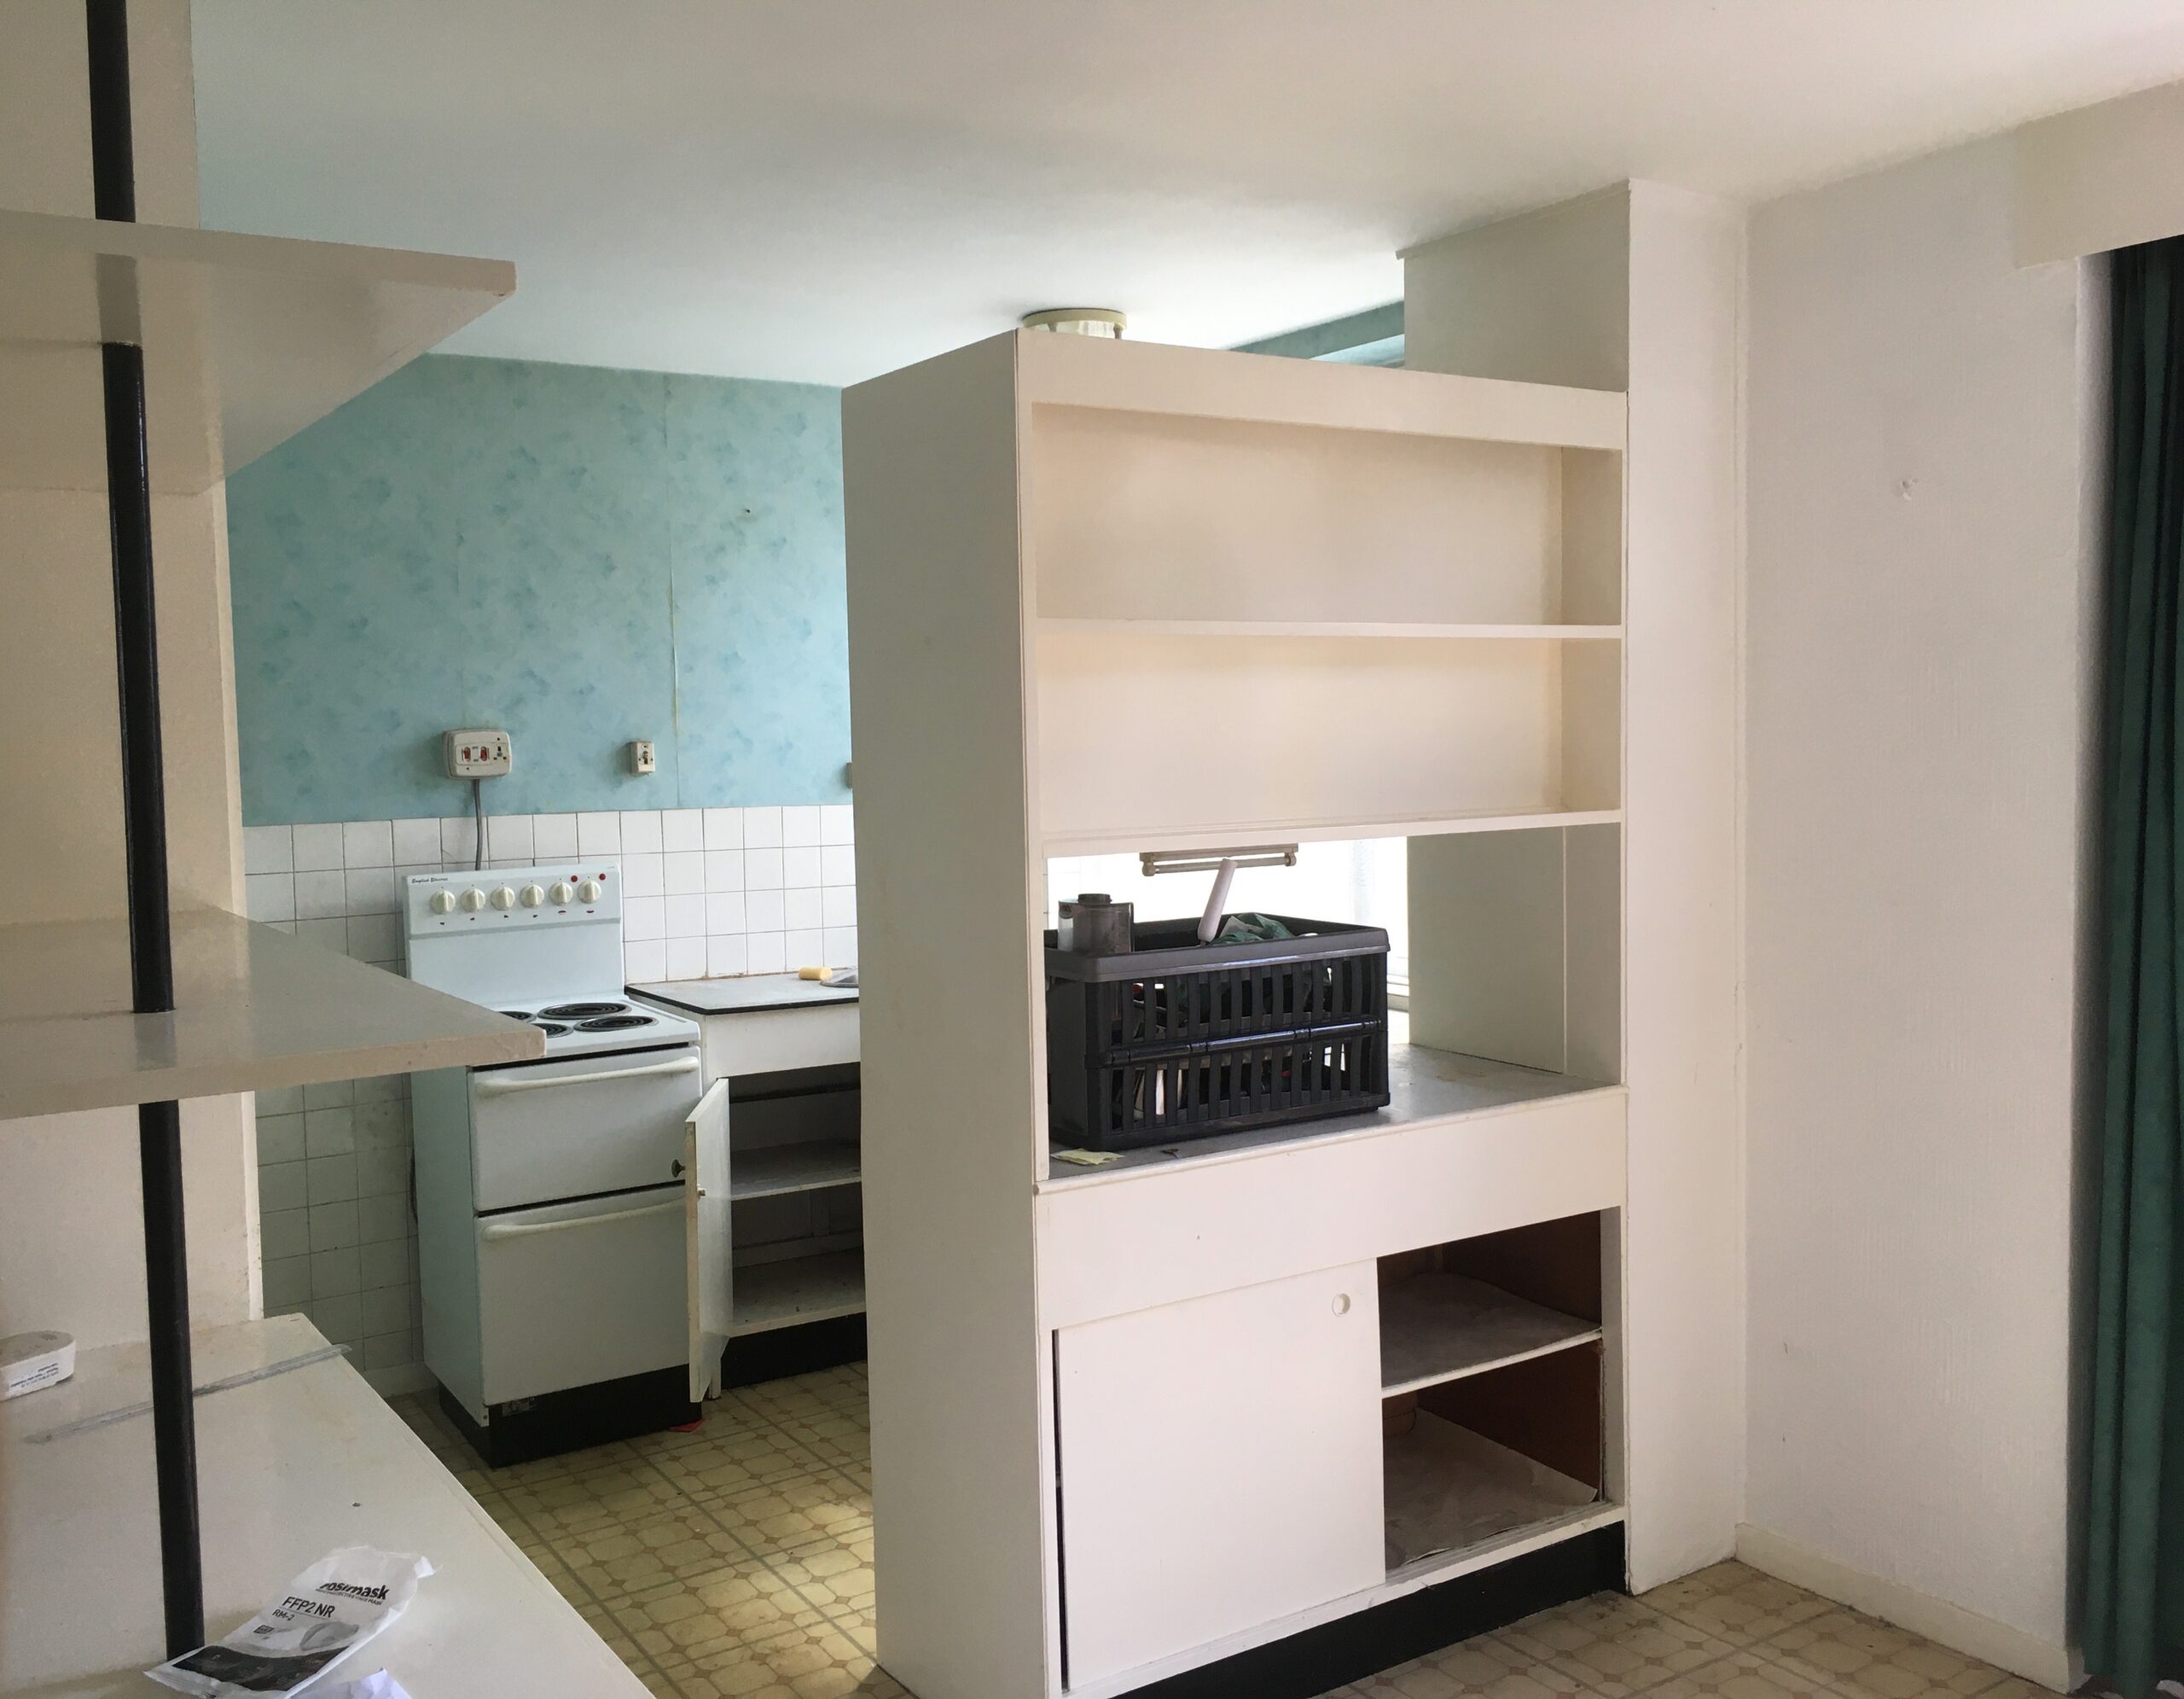
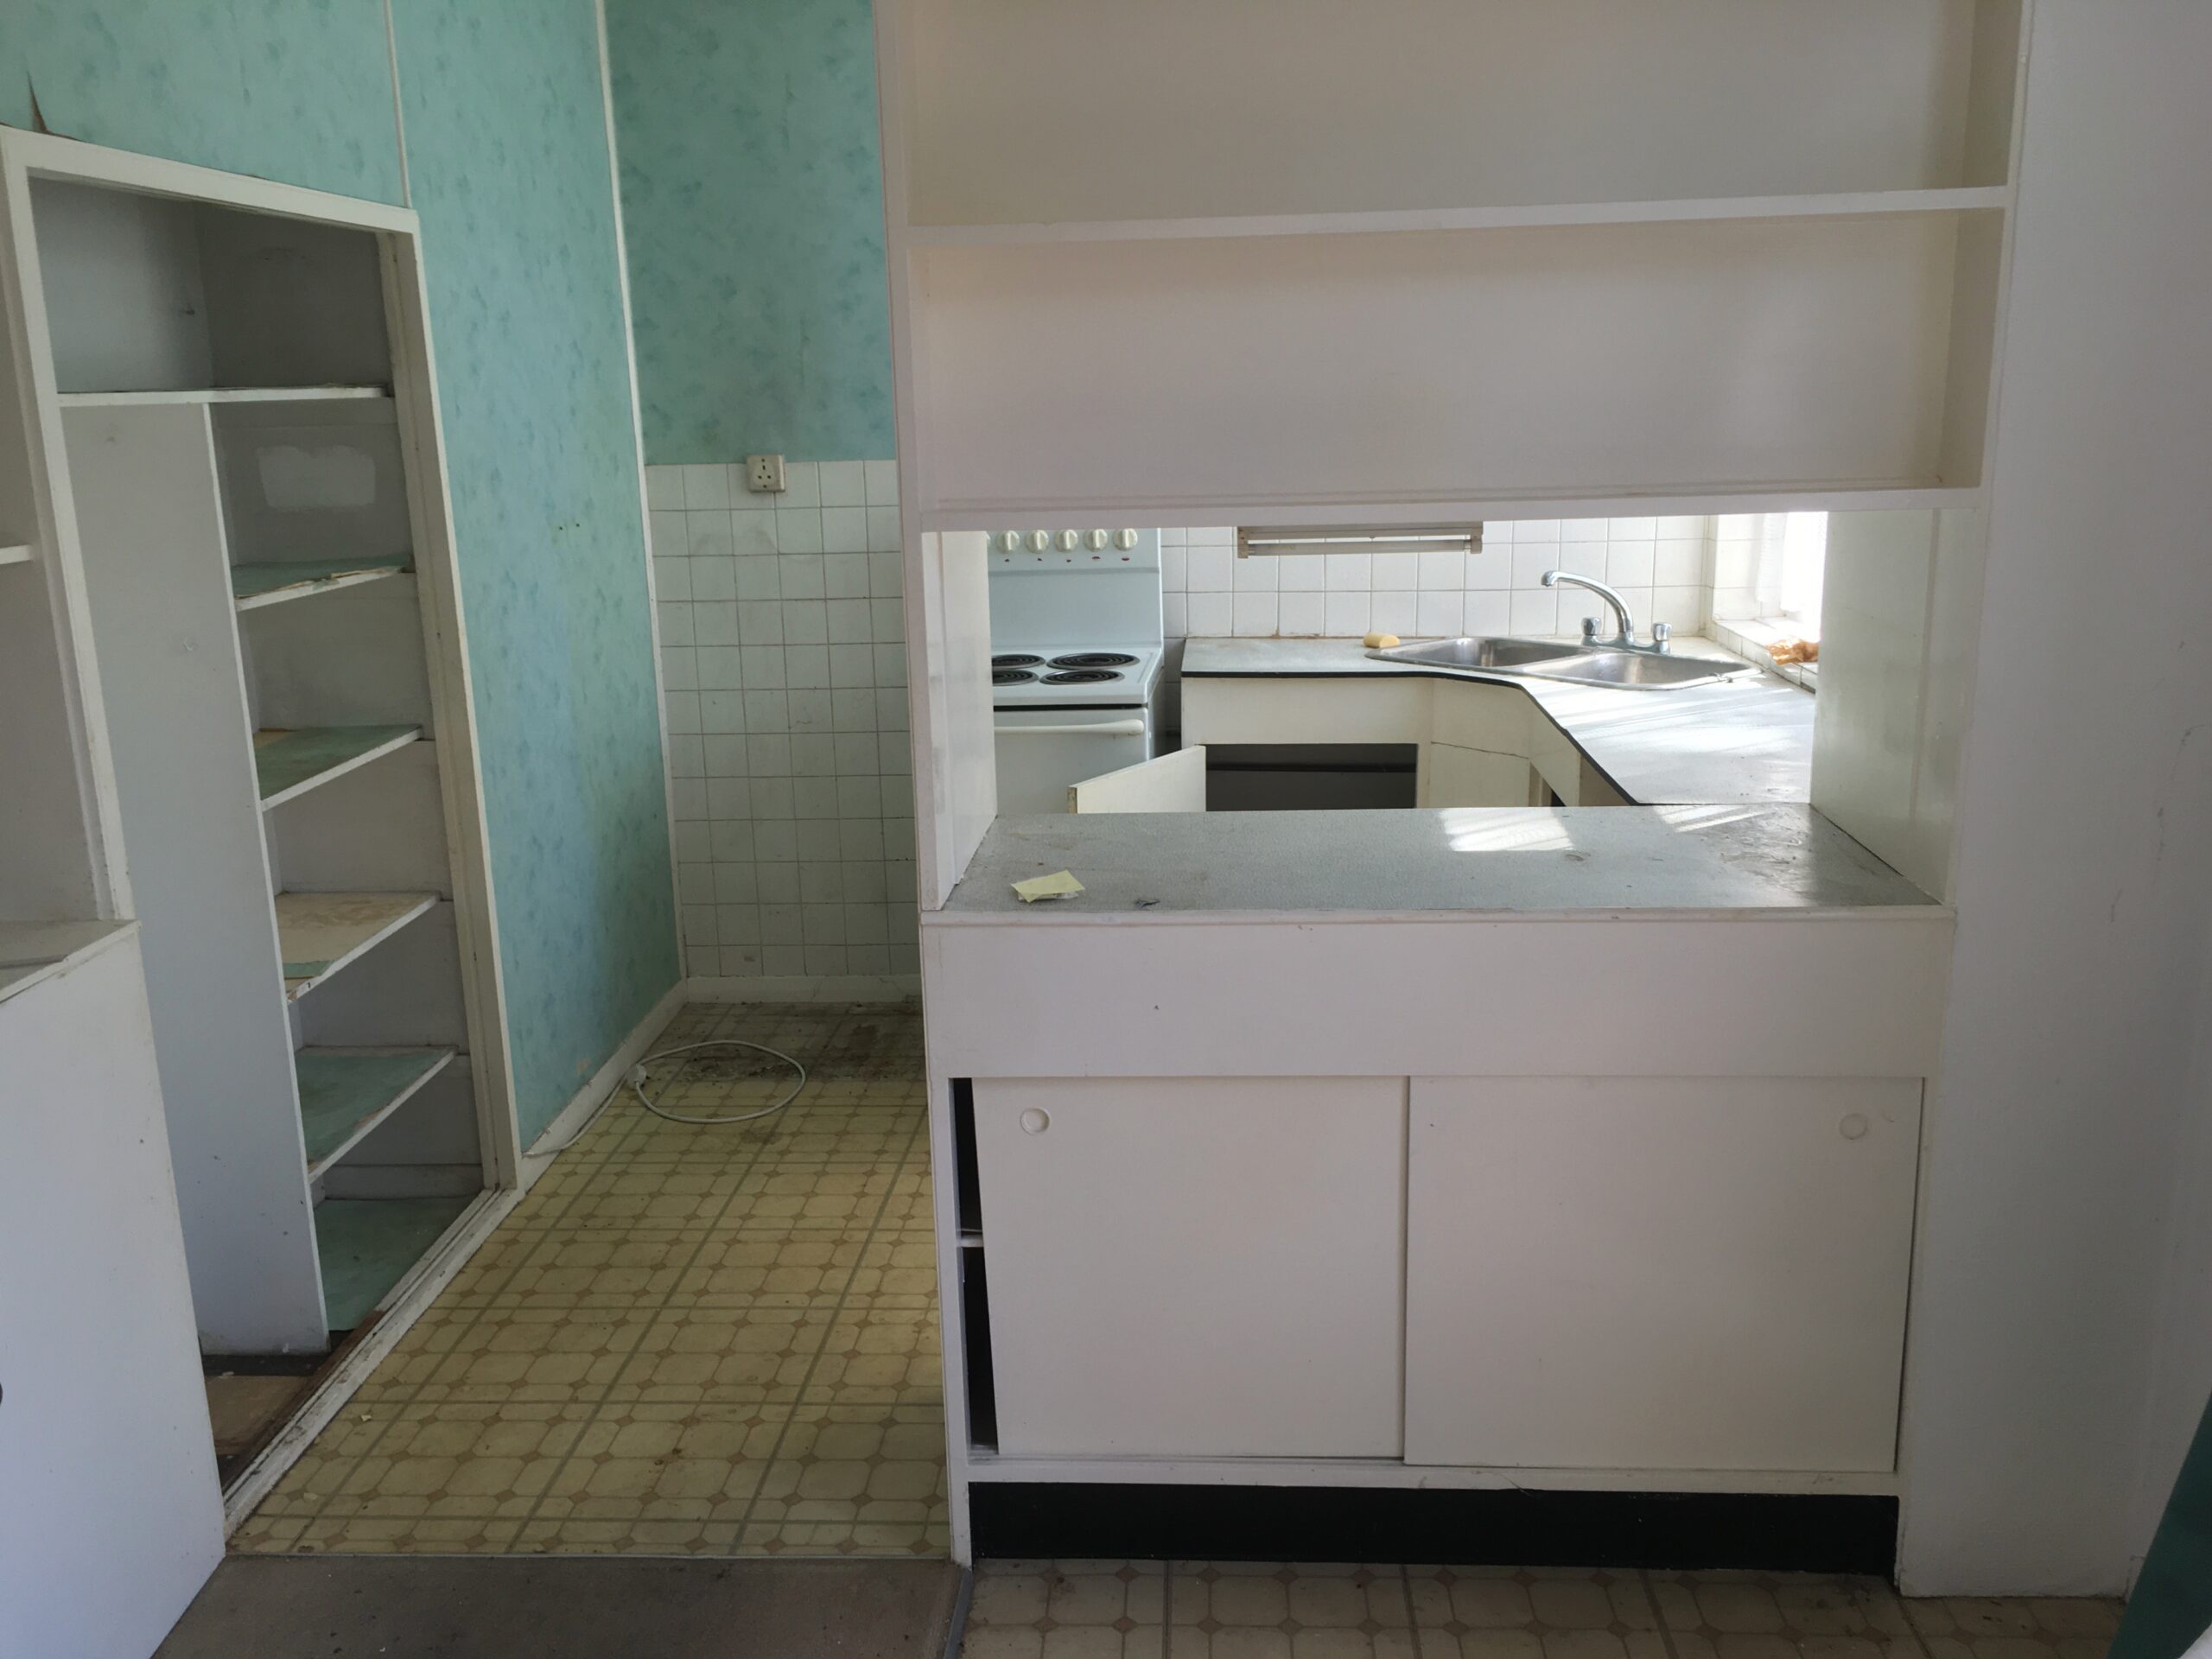
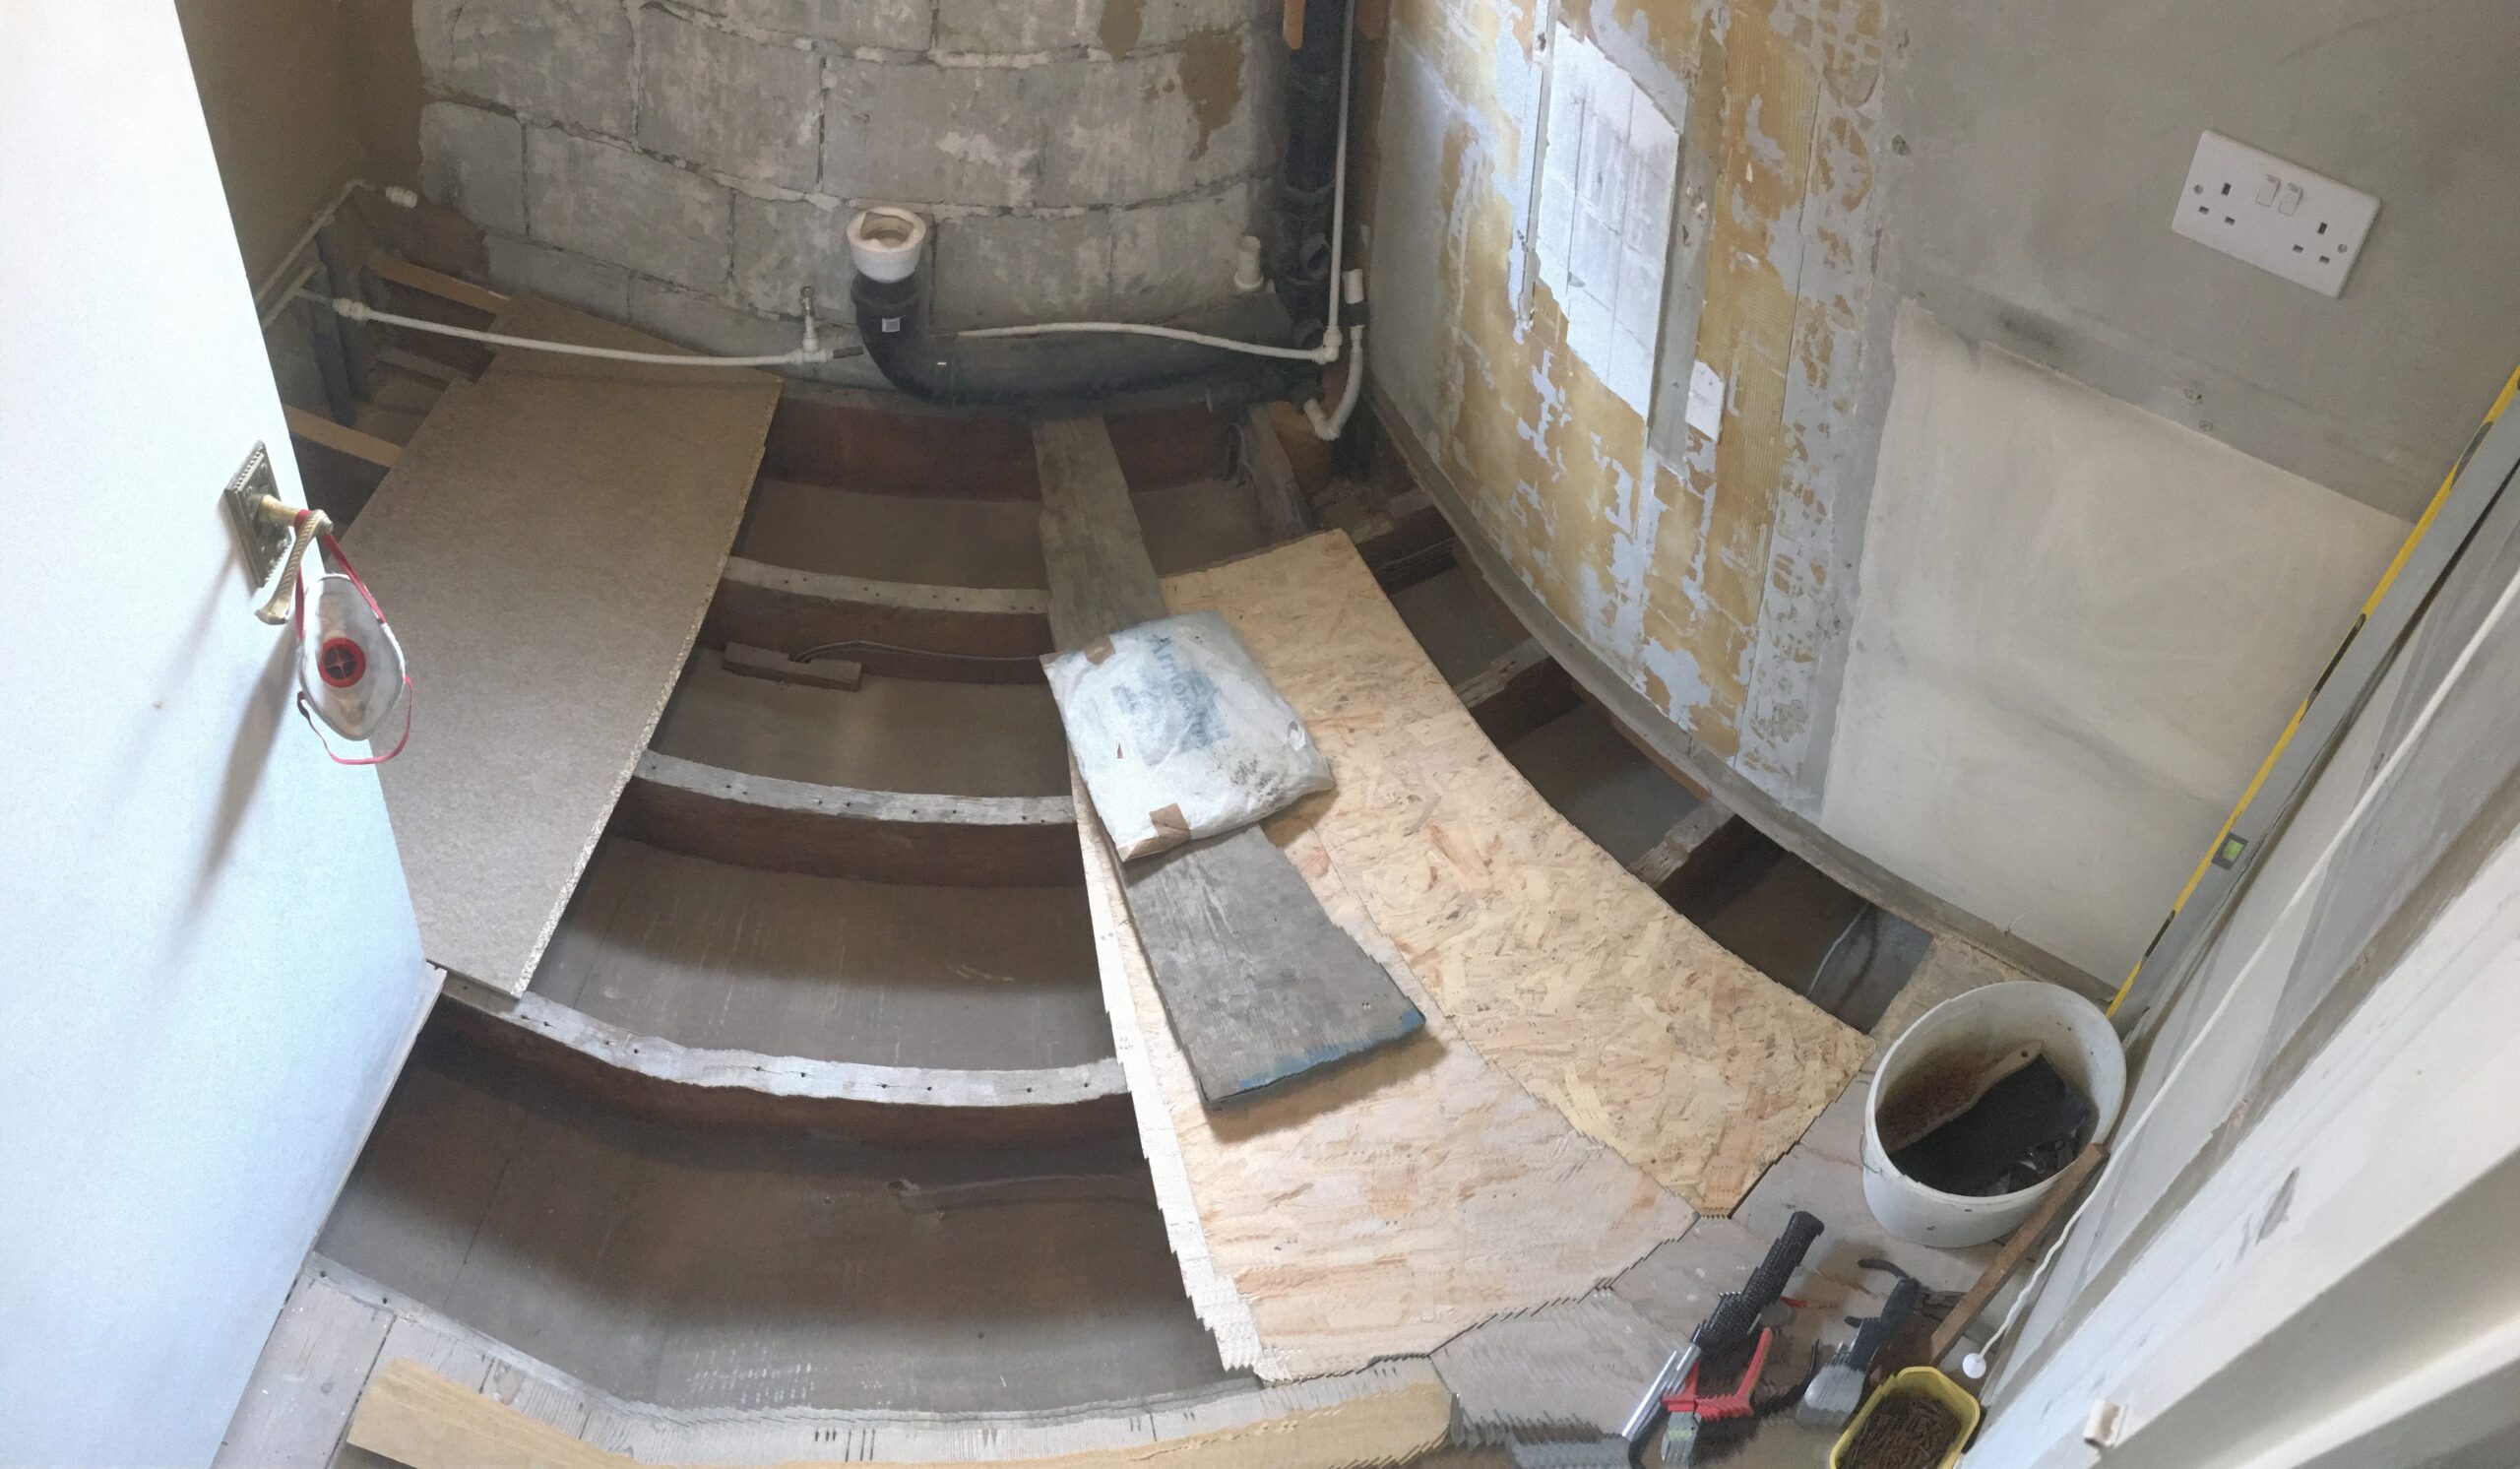
Original 1960s bathroom with very large single glazed window. No shower. Carpet & wallpaper. The sink & bath ceramic had been painted (?!). The floorboards were stained & warped (and reeked). Full height cupboard with a poorly insulated hot water cylinder with basic immersion heater.
Changes
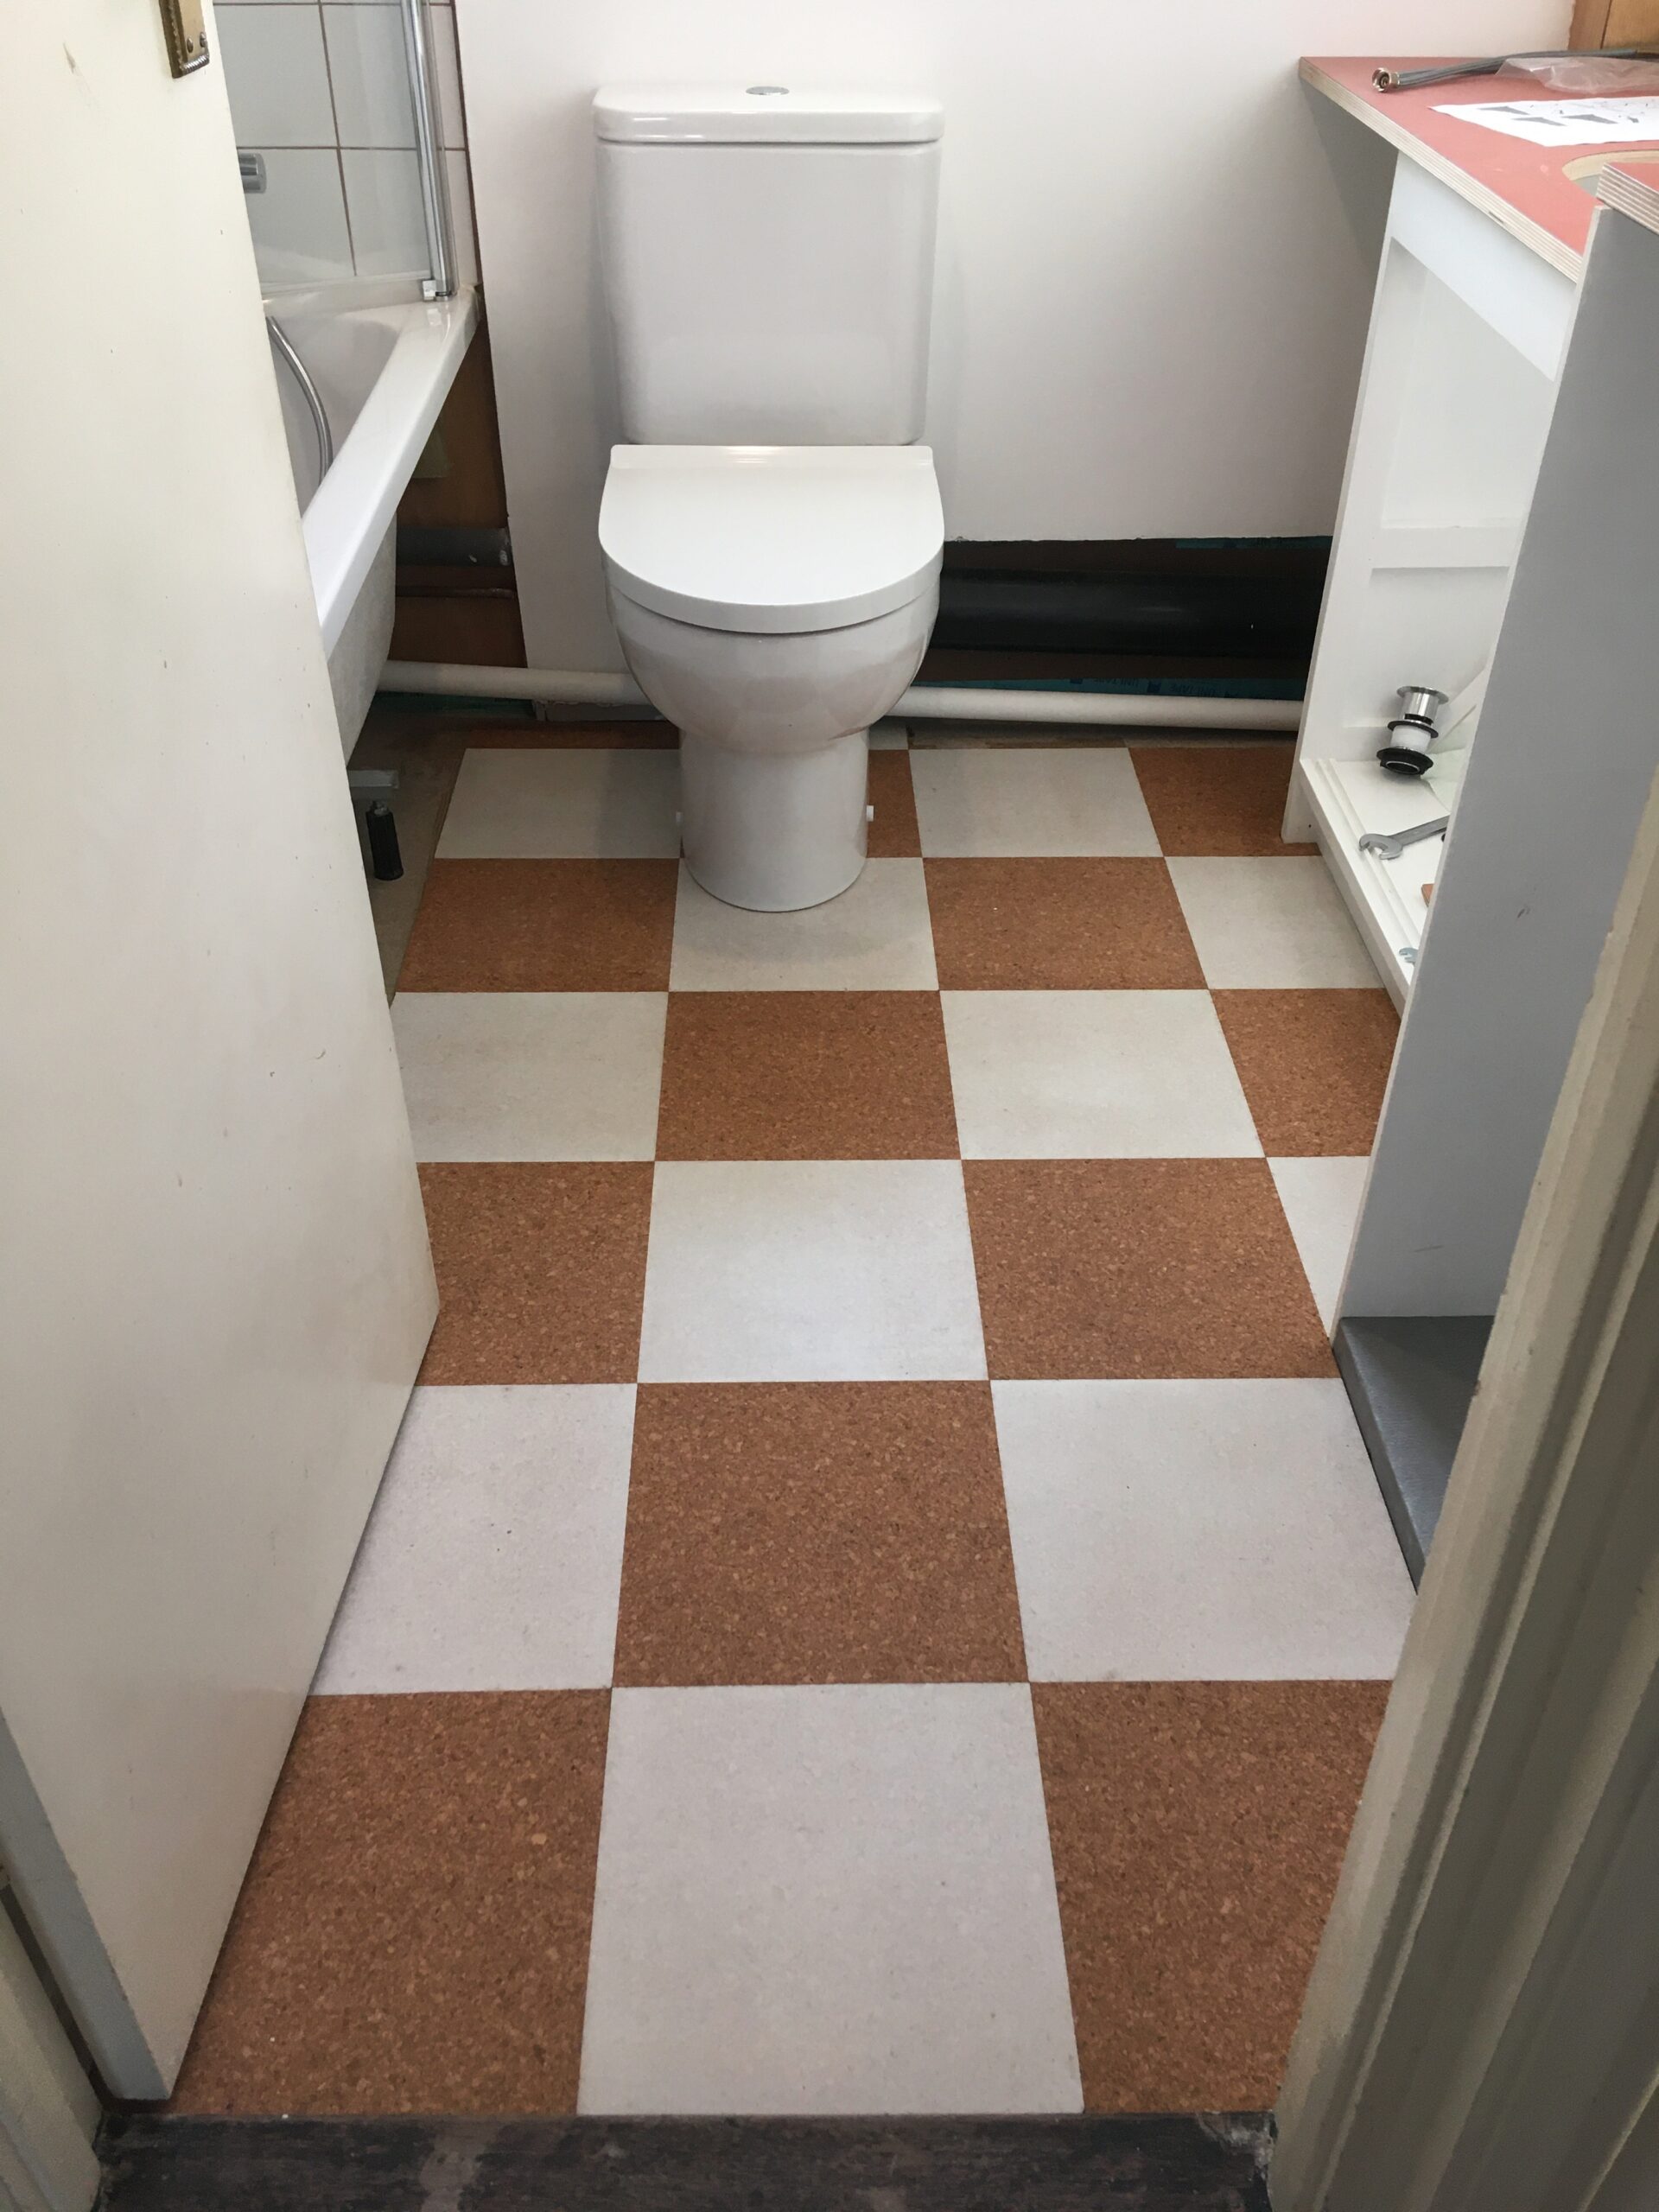
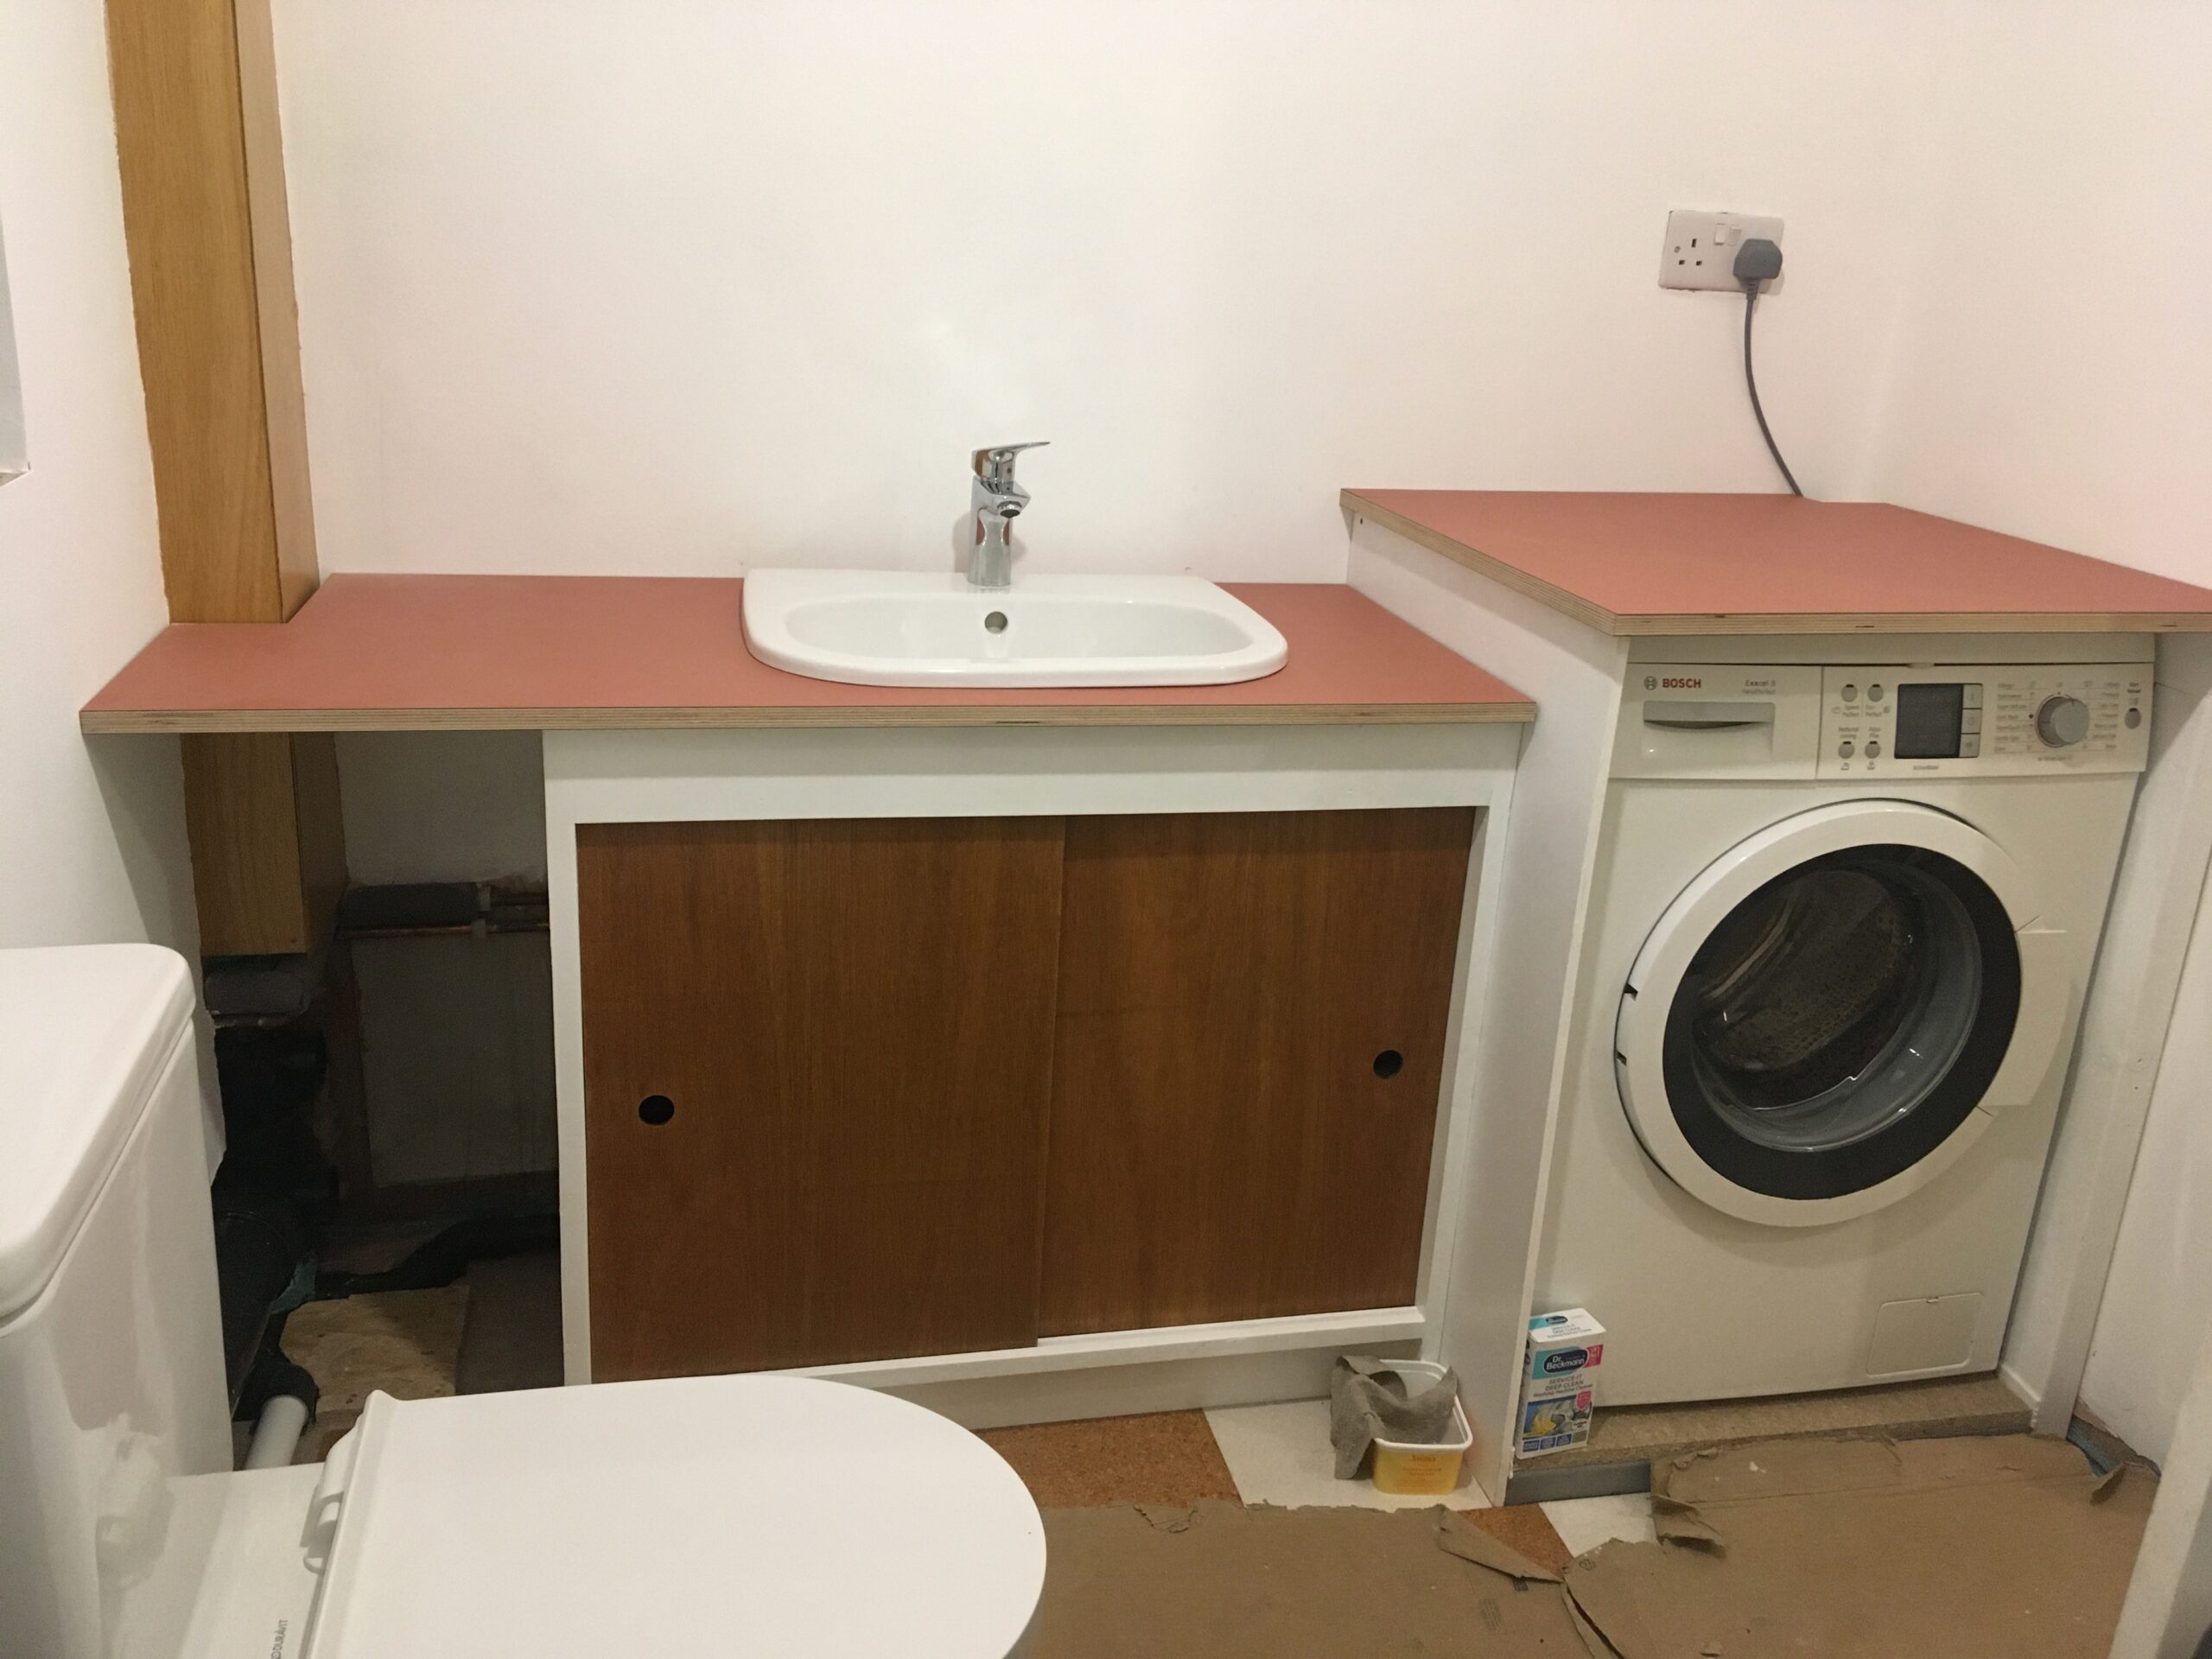
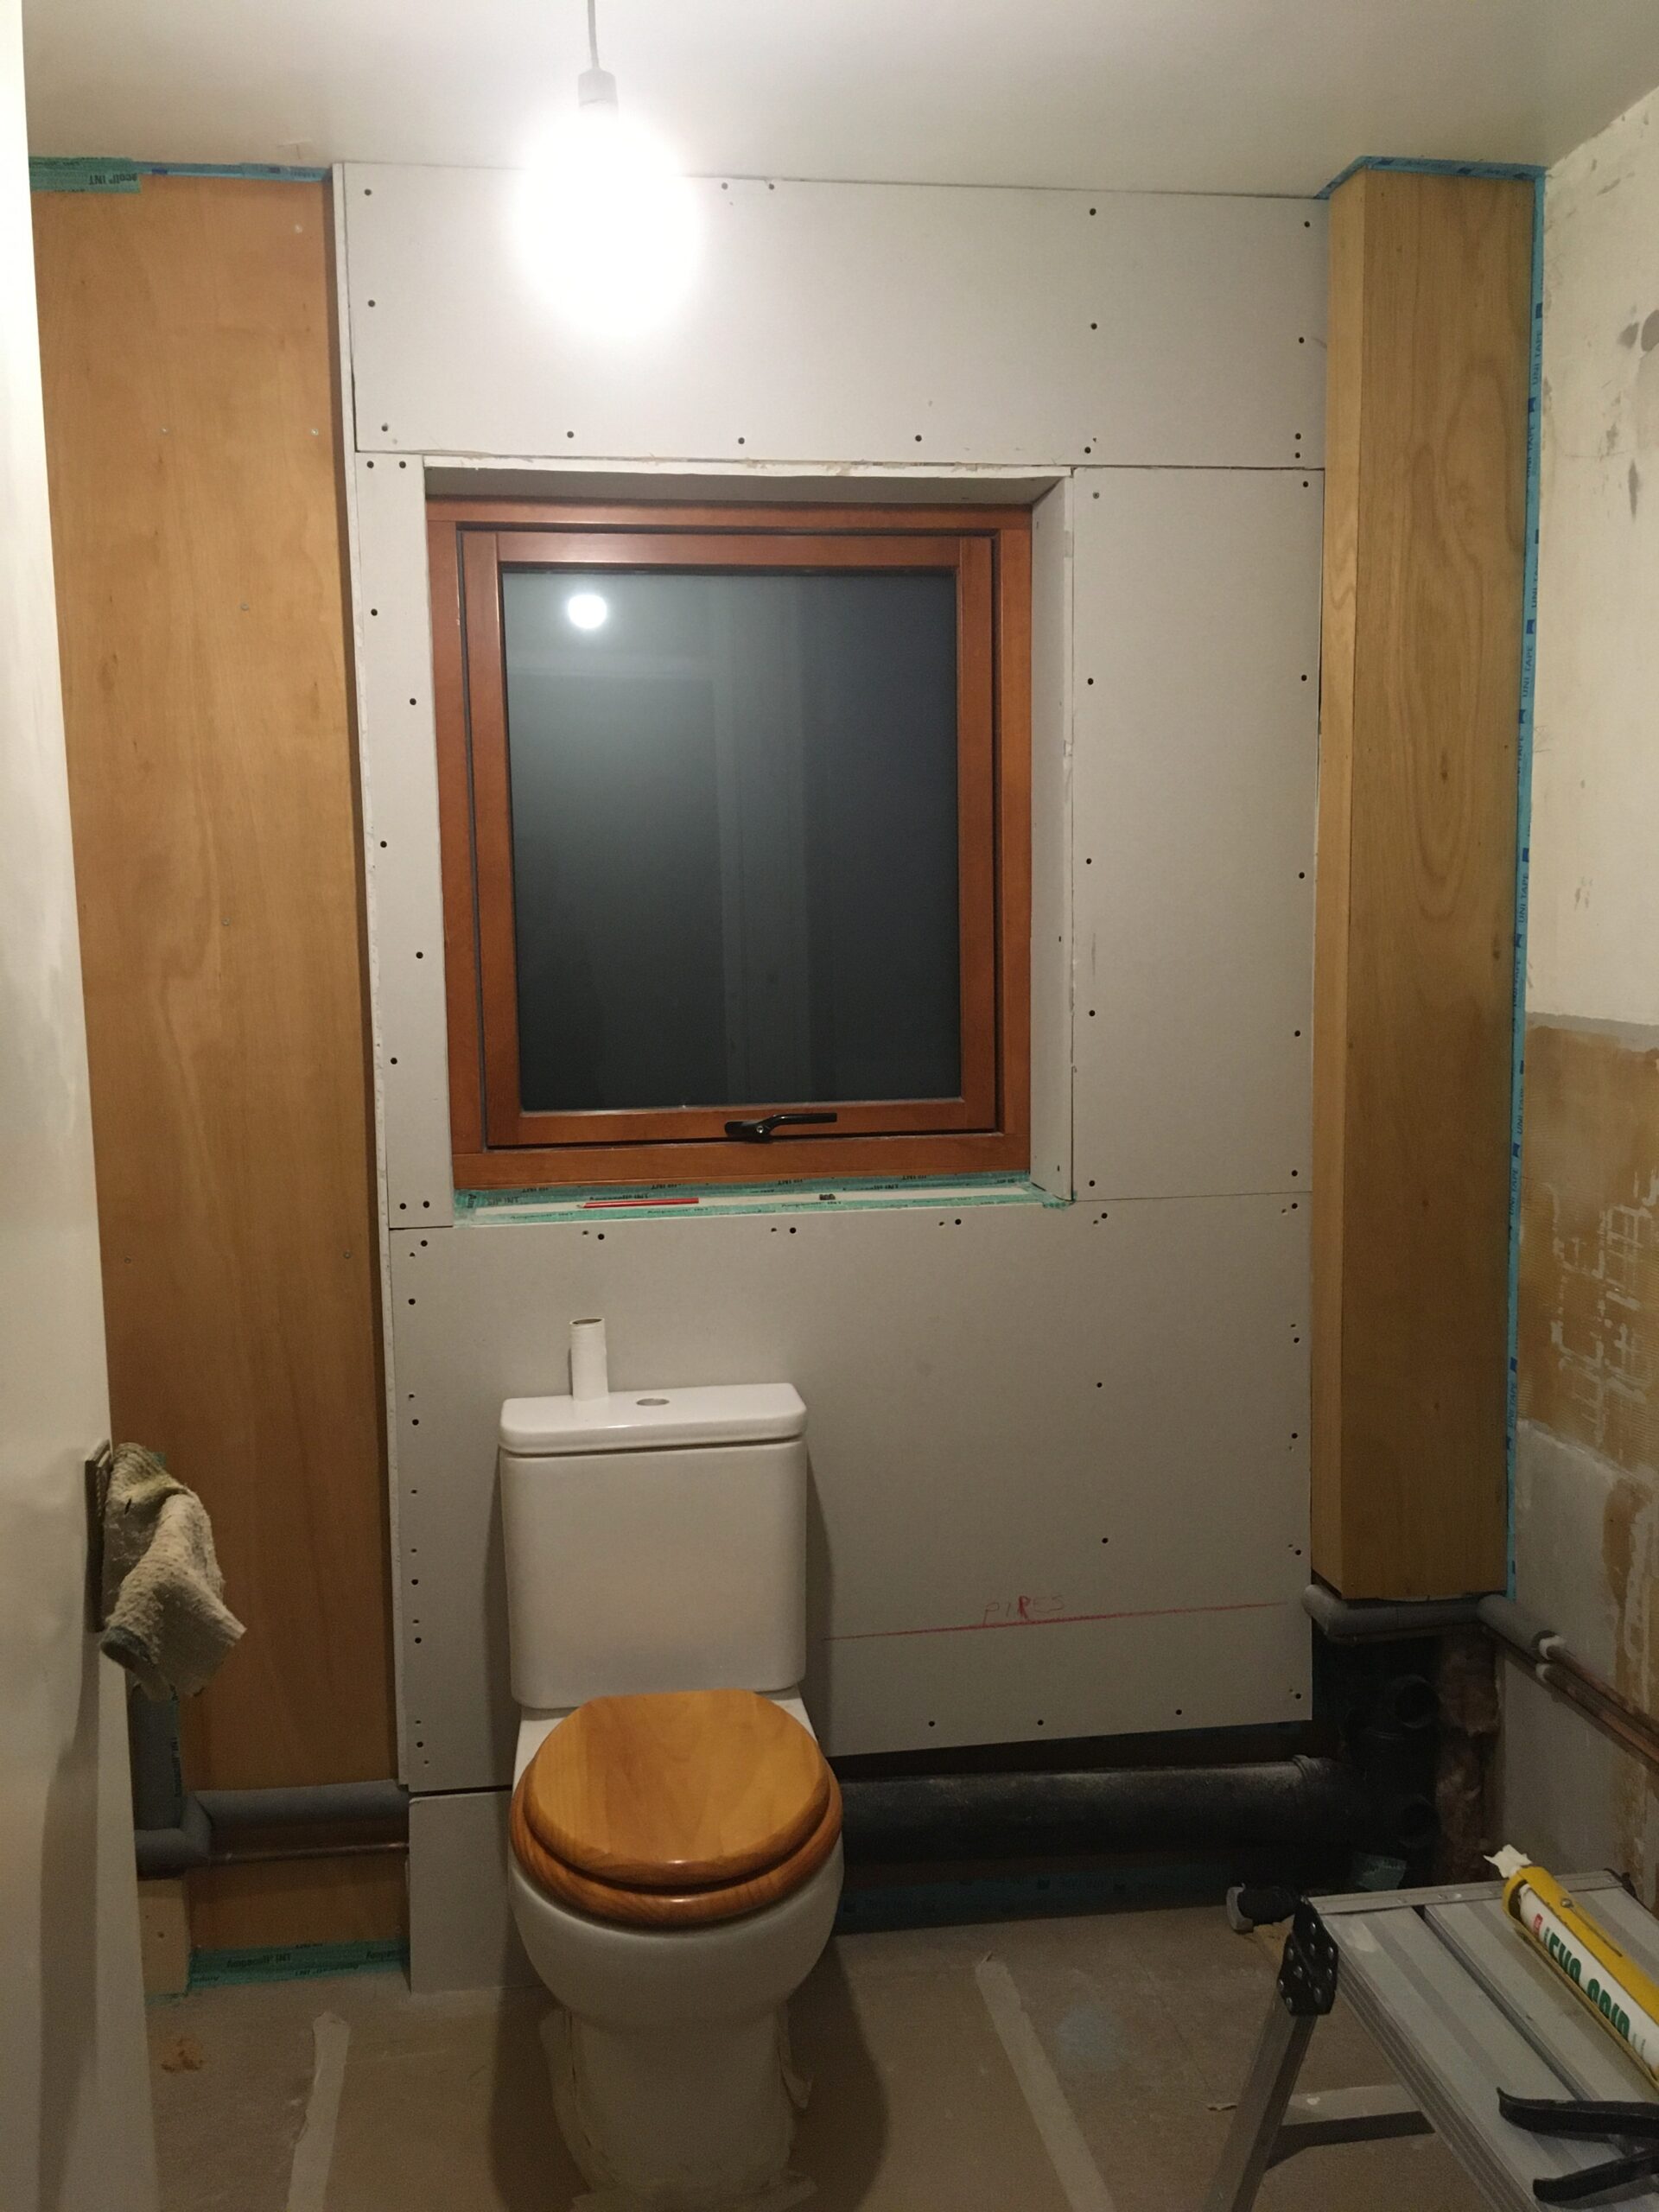
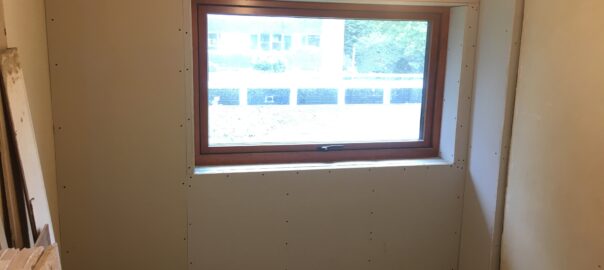
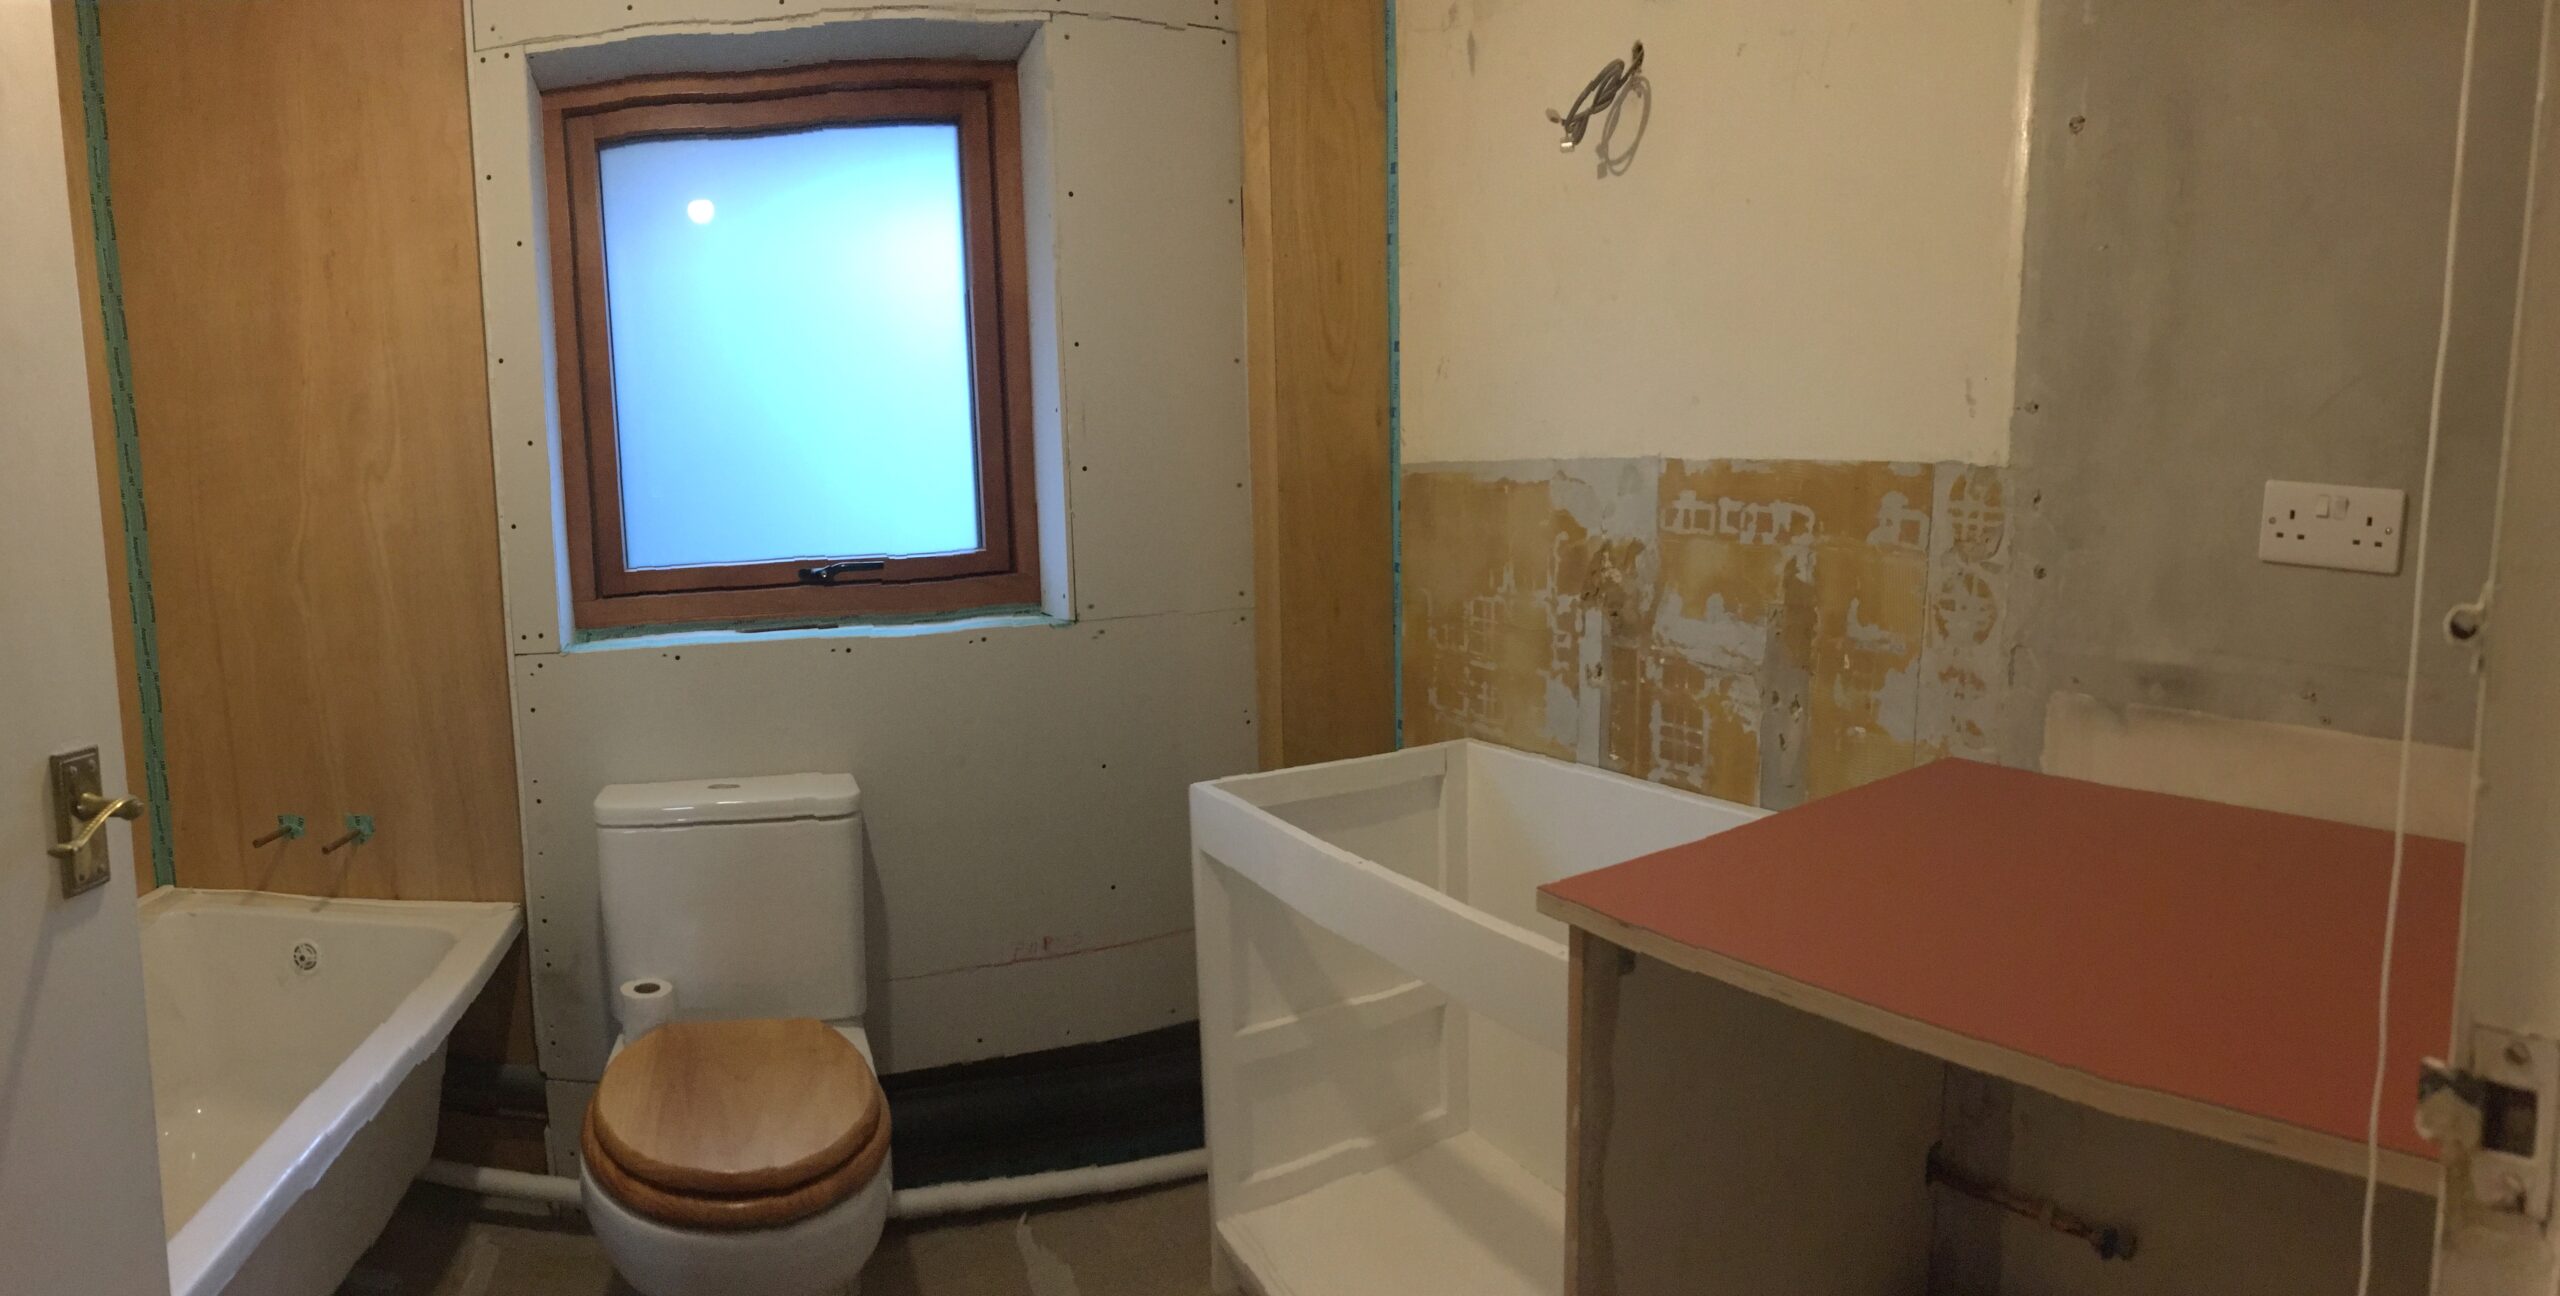
New floor. New suite. Window size halved, to allow for a shower on the wall. Sink & toilet locations swapped, to allow for a mirror & light above the sink. Hot water tank replaced with one fully insulated & heat pump powered, and relocated into the loft to save space. Space used for washing machine cupboard, and there’ll be a smaller wall cupboard above for towels and such.
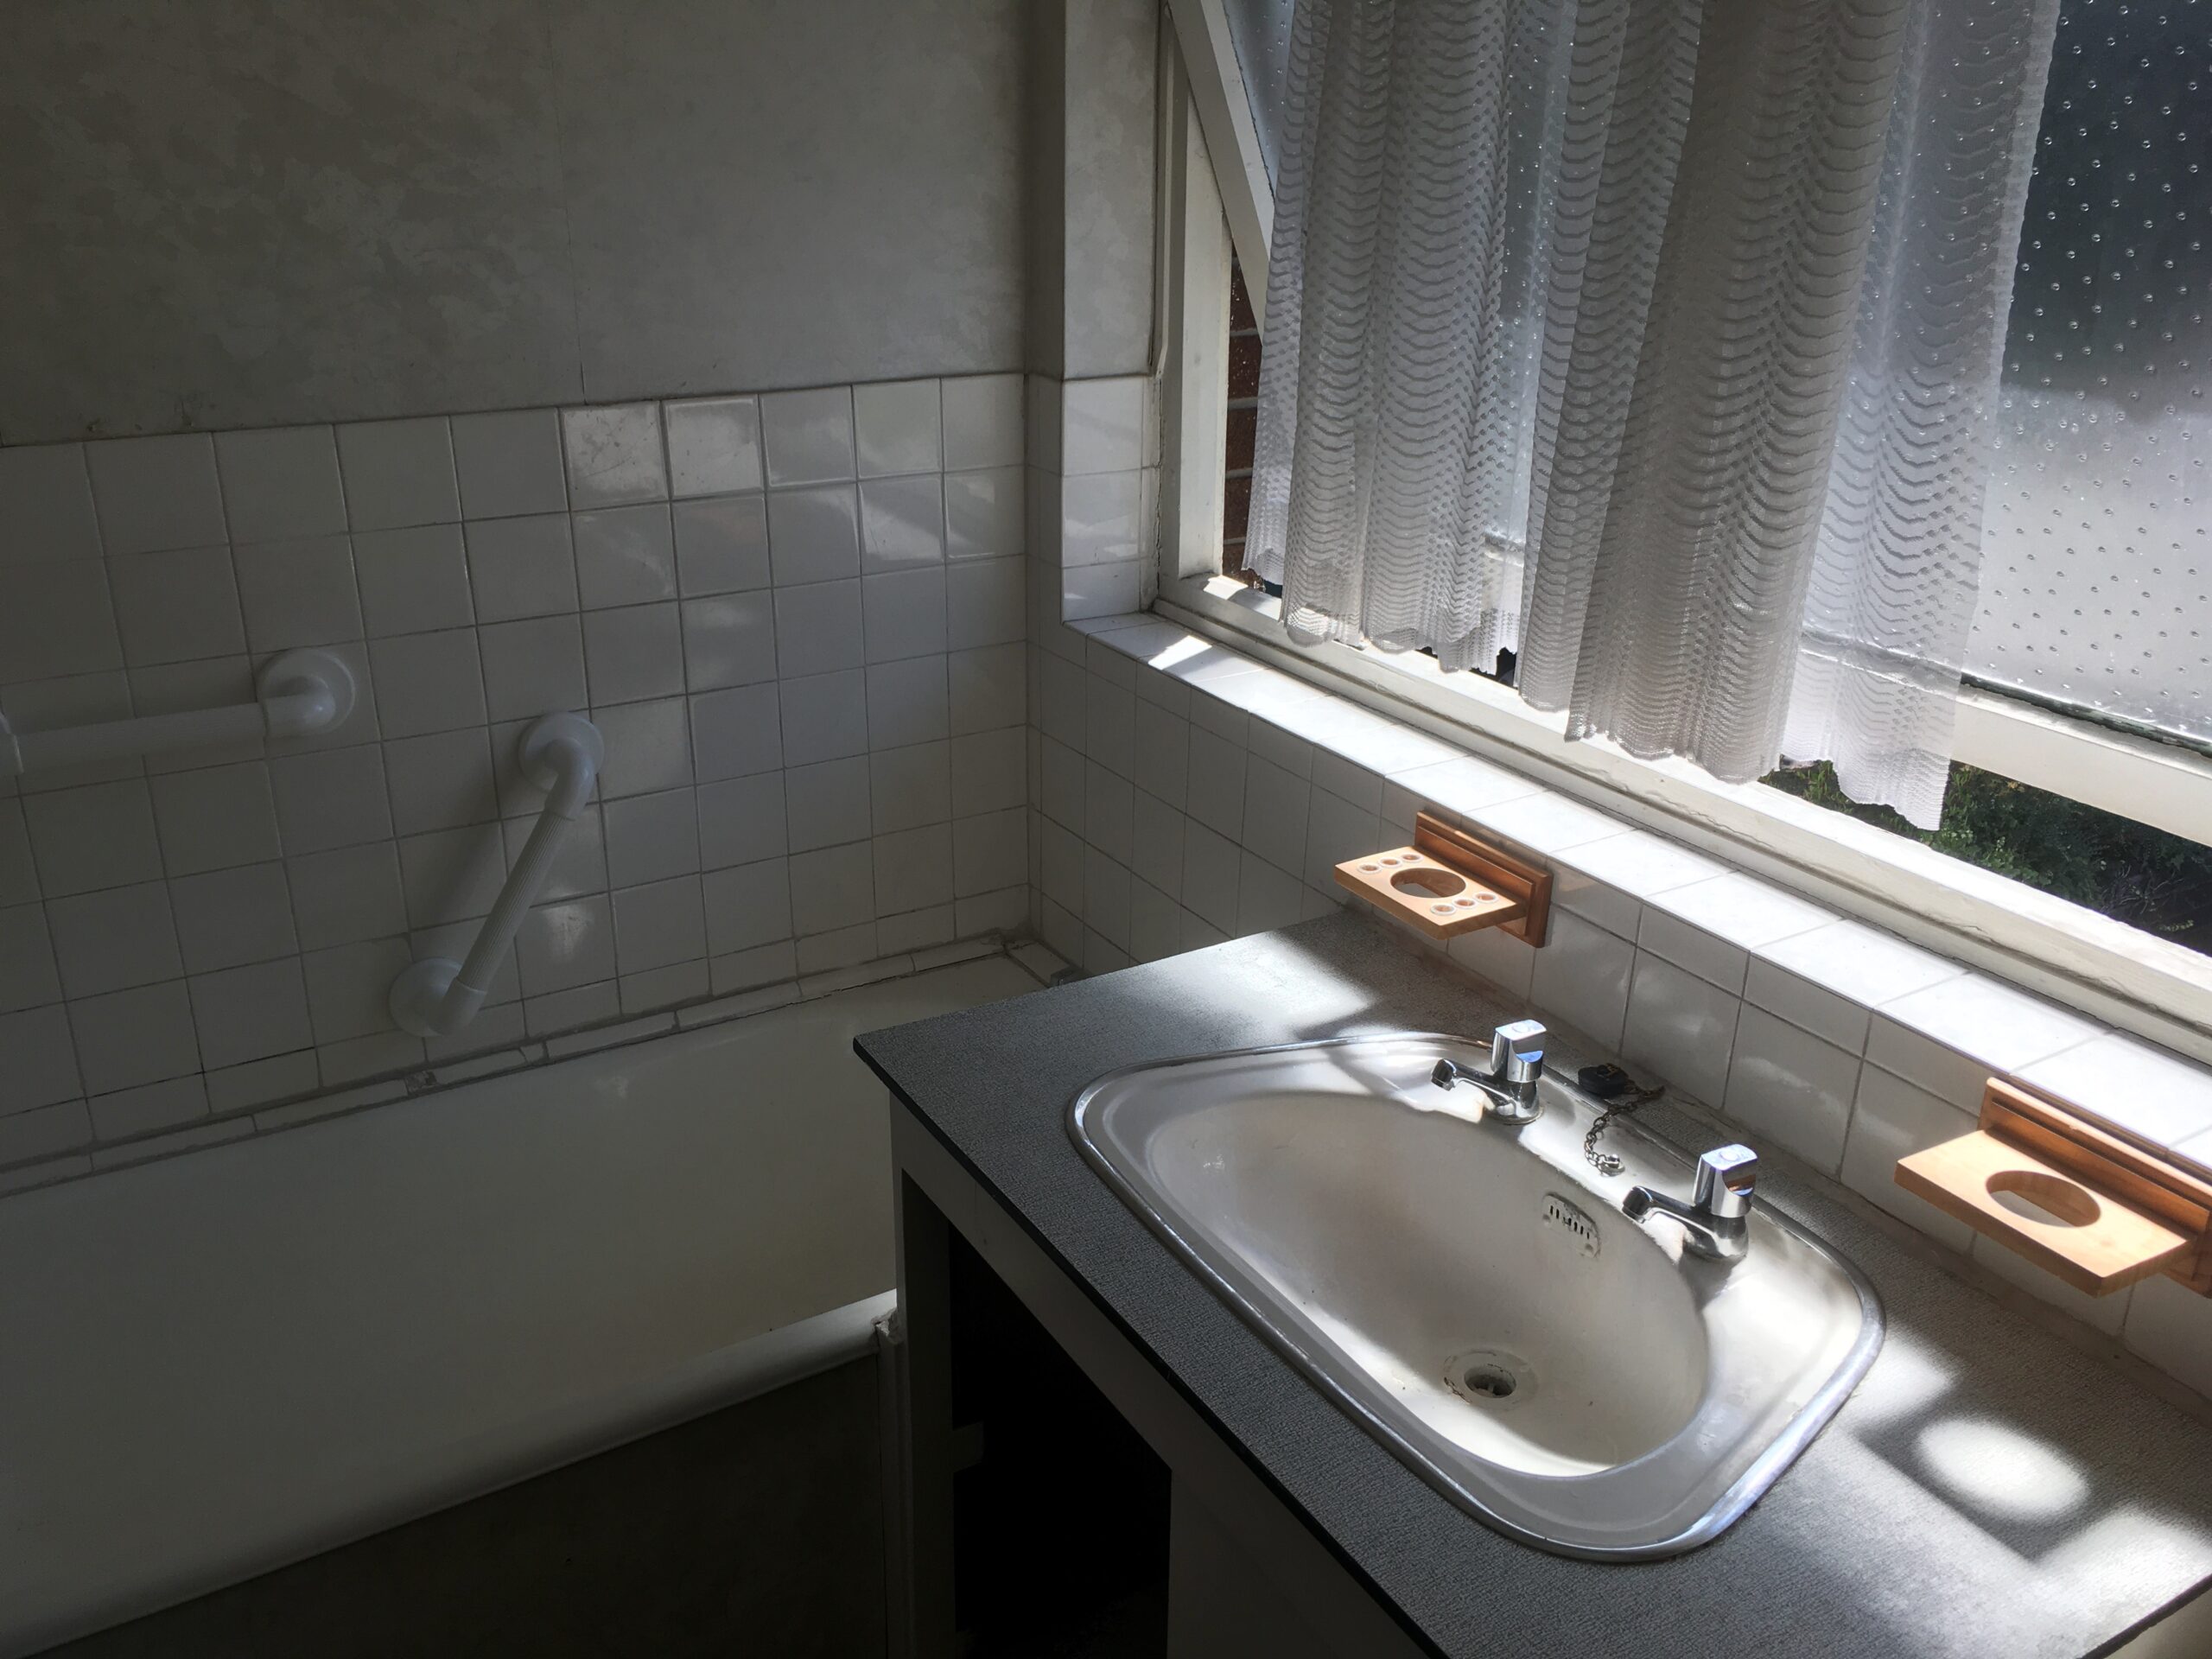
Original sink unit retained, refurbished, & reused! With new worktop, base panel & doors.
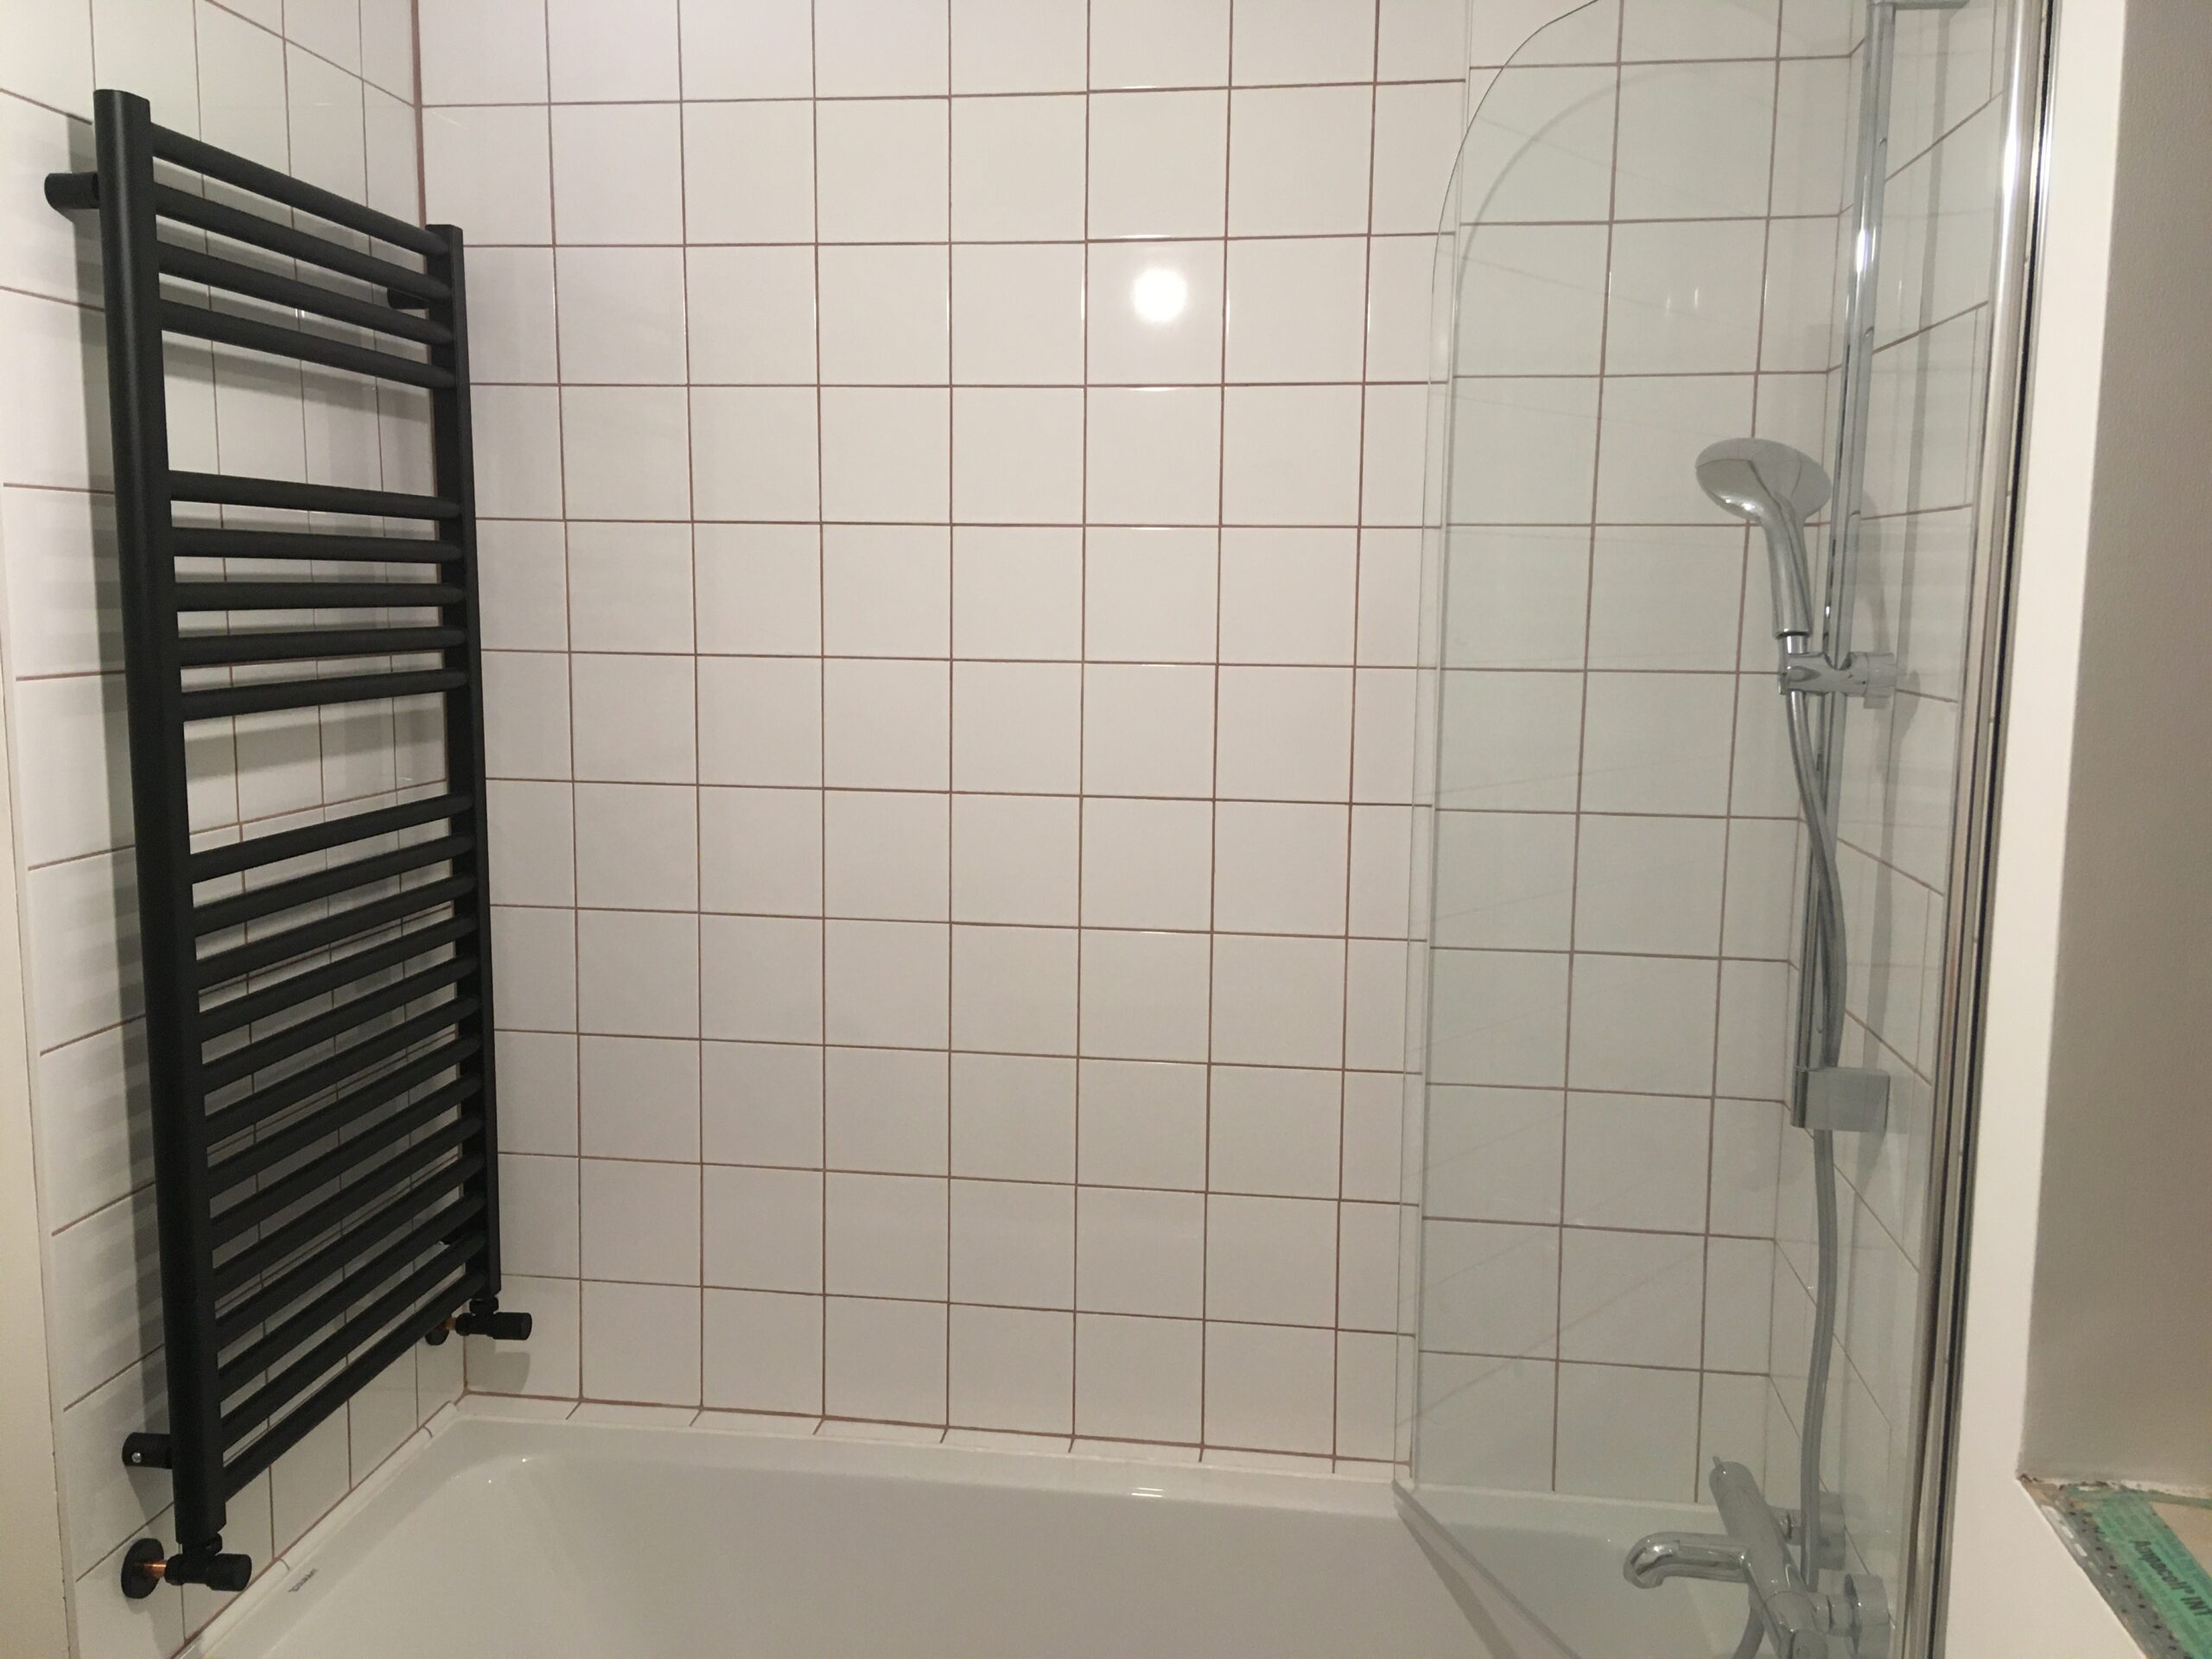
A radiator was installed with the heating system, but on the funded scheme it was a basic model, unsuitable for the potentially wet location over the bath. So this was swapped for a towel rail radiator. To work well with the heat pump (low temperature heating) this has to be big (to emit enough heat into the room).
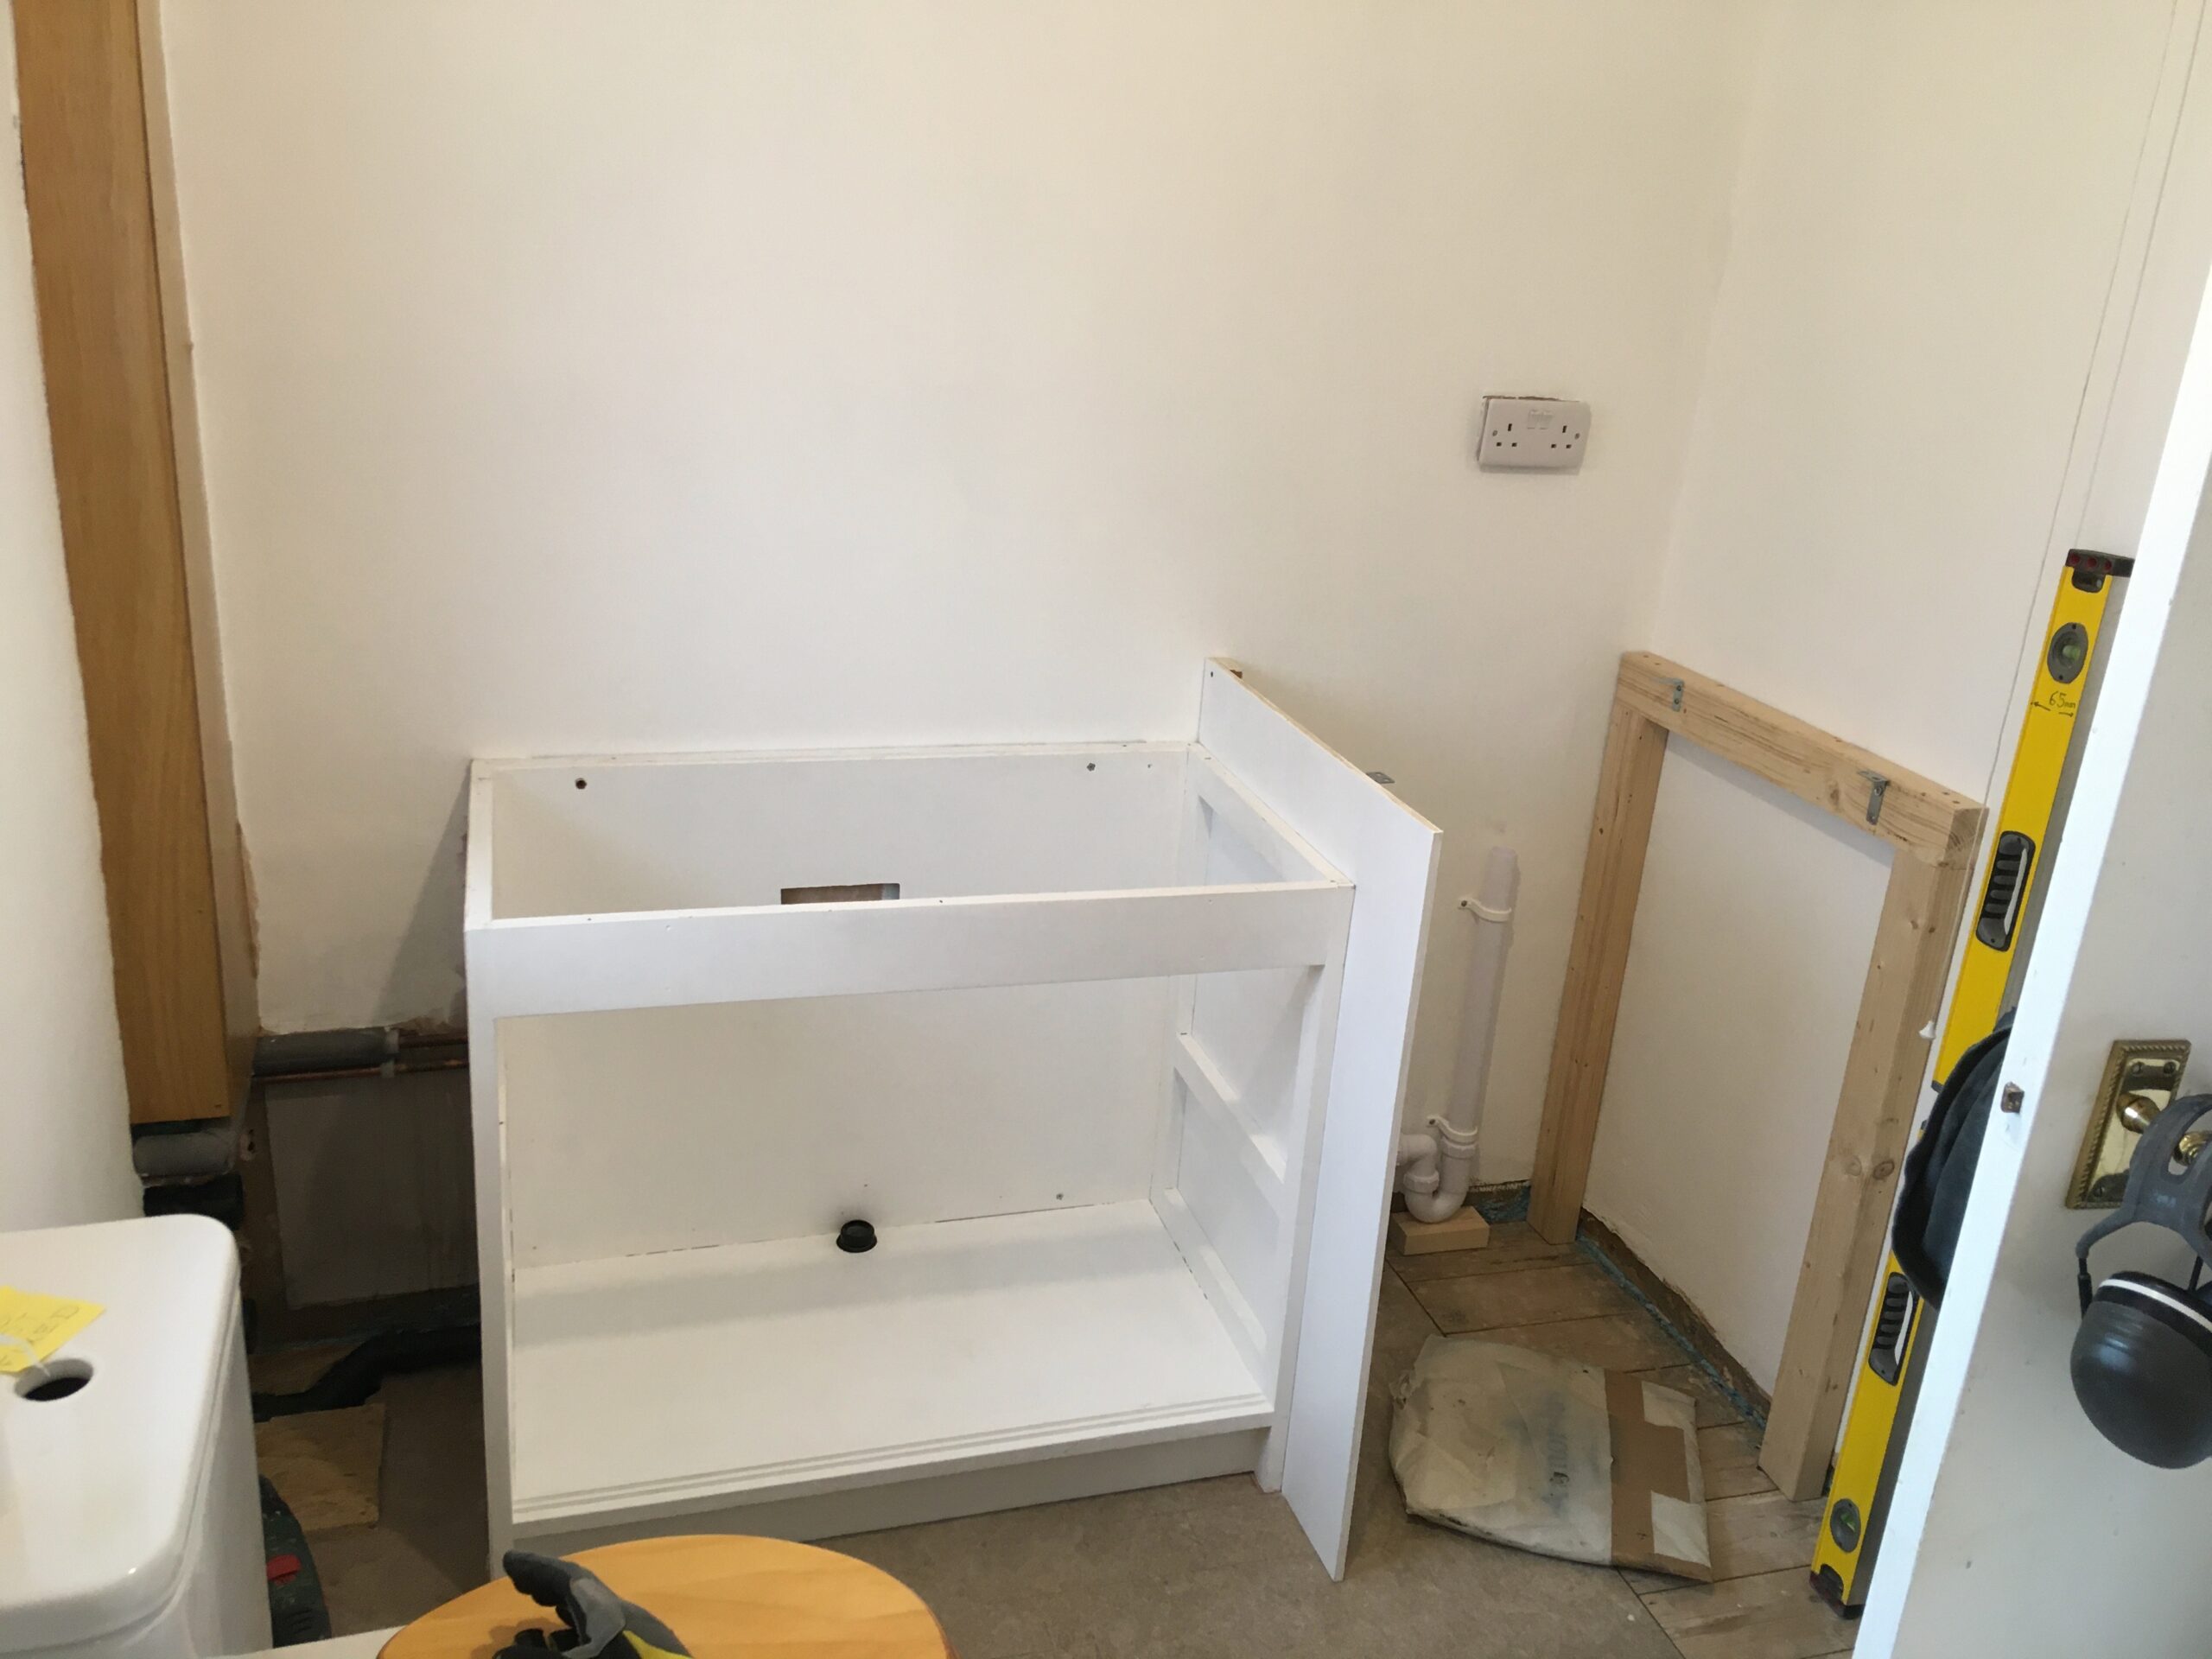
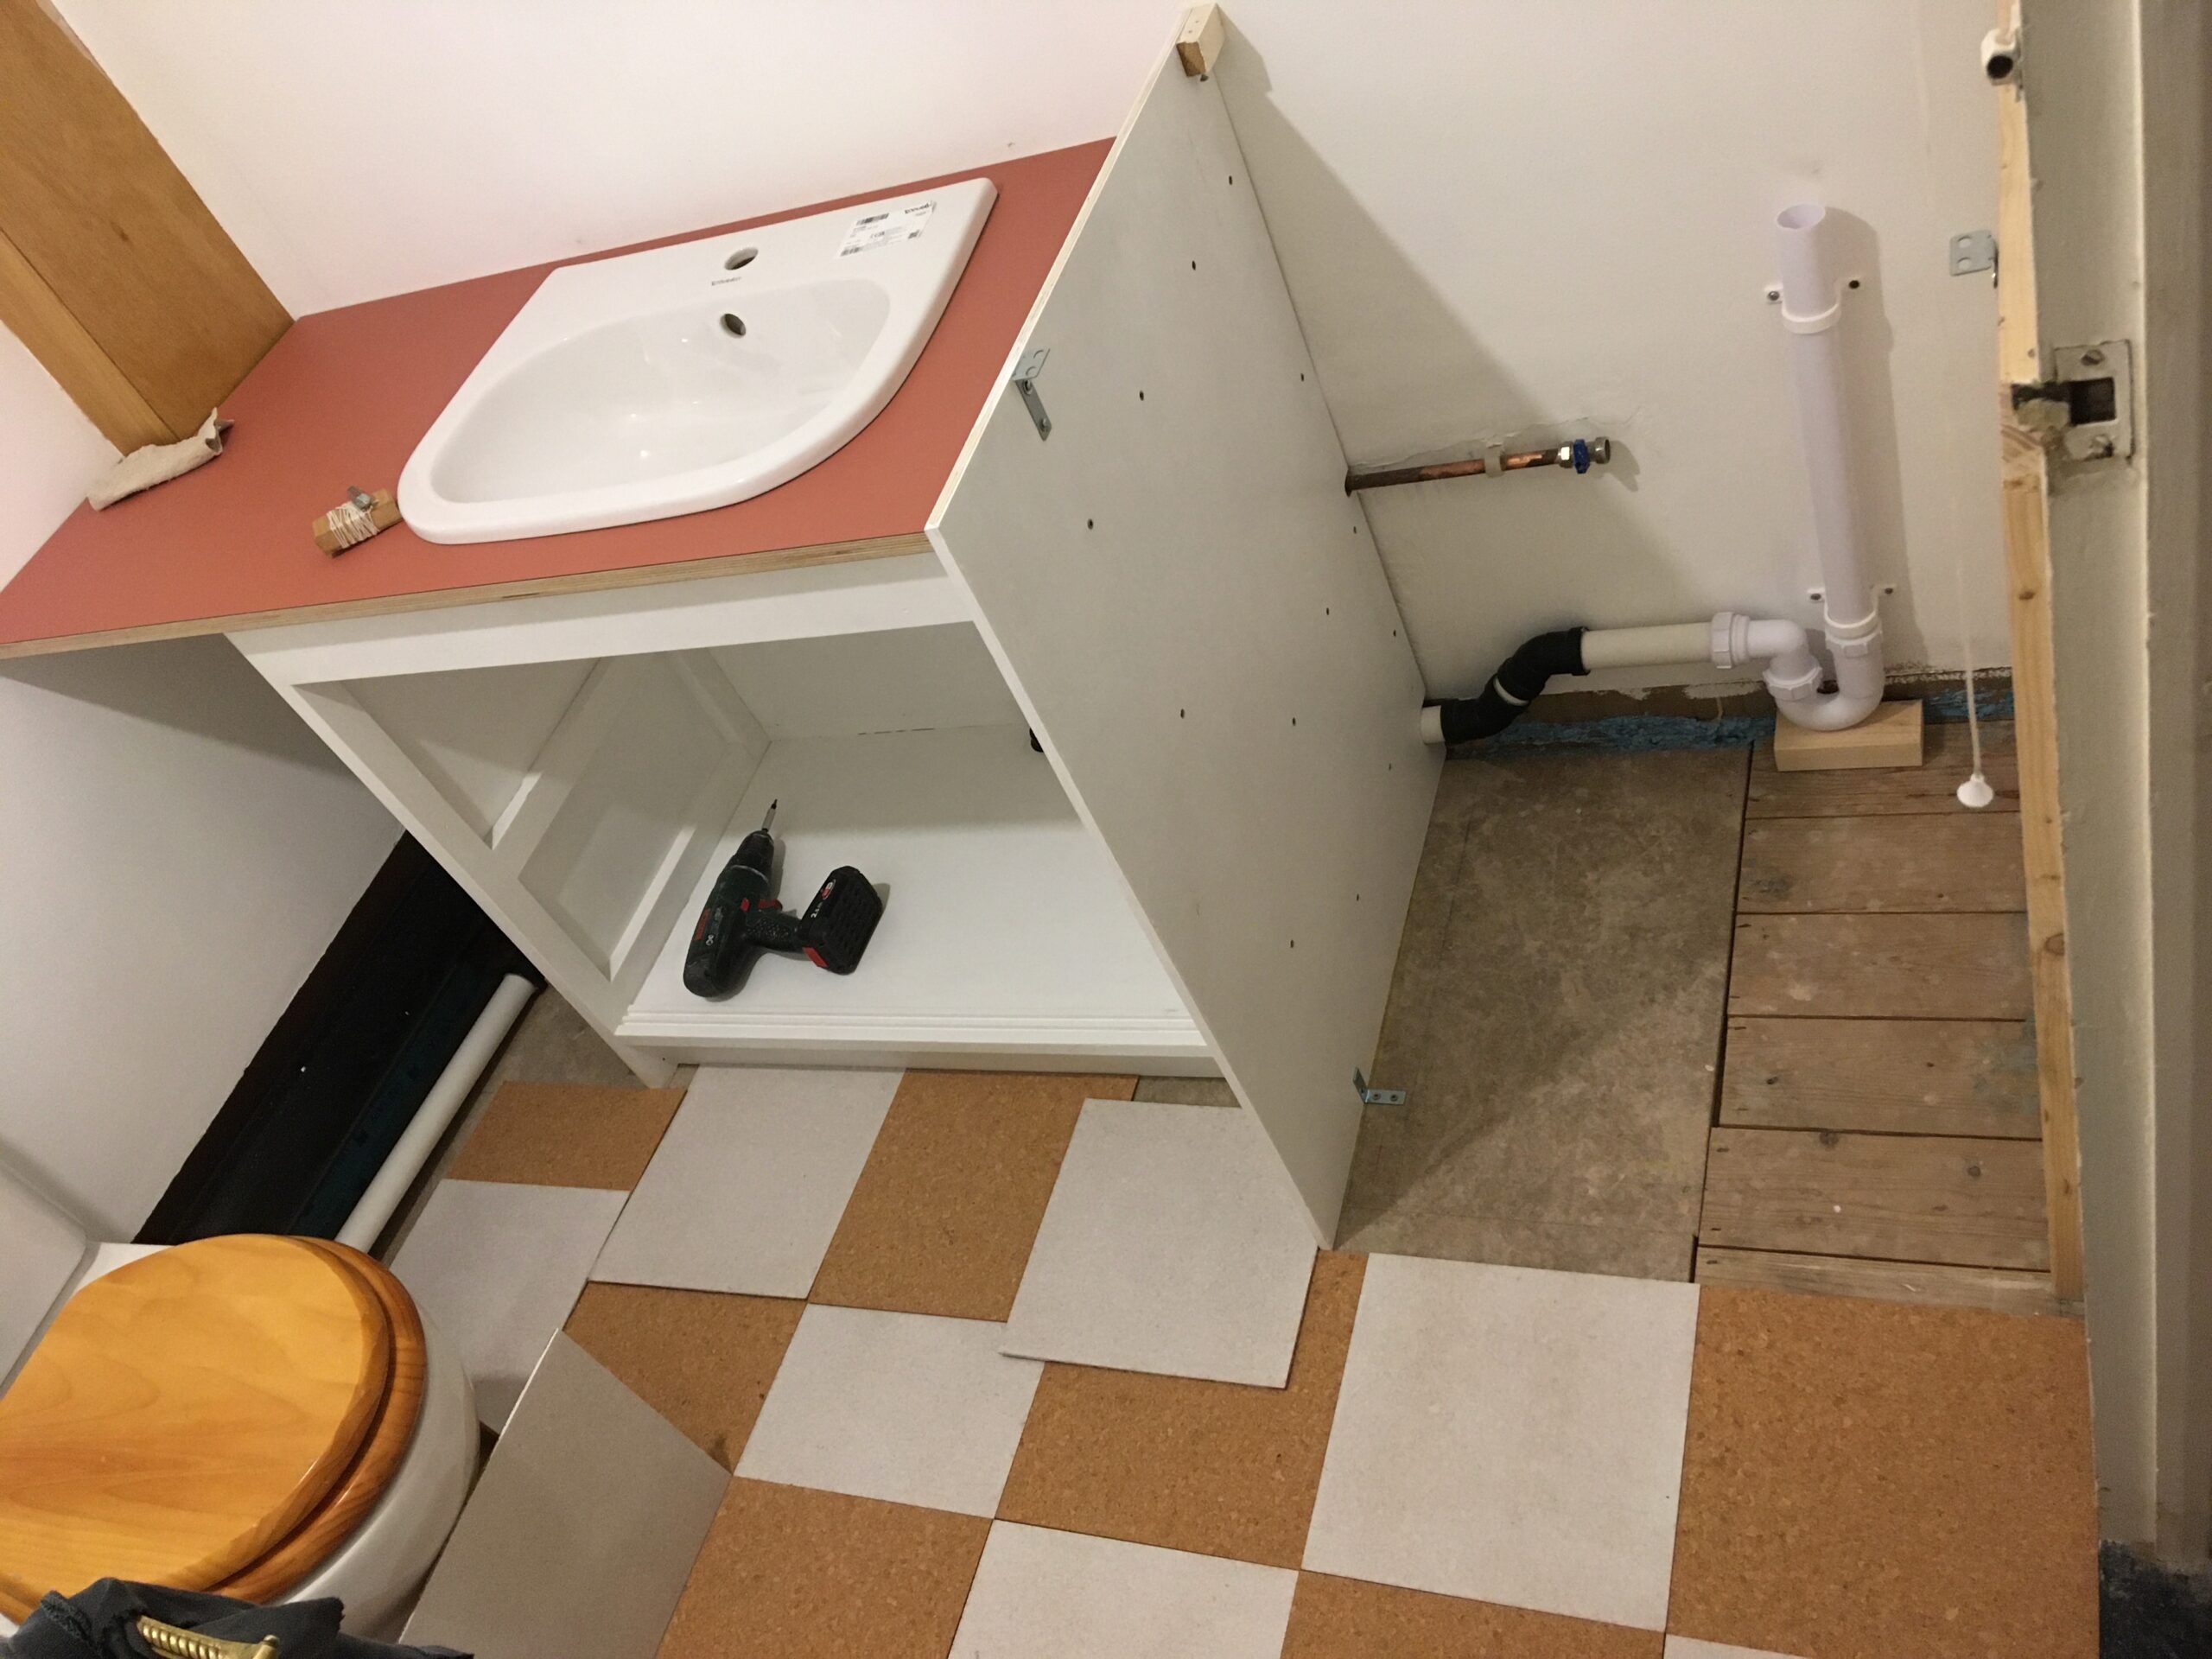
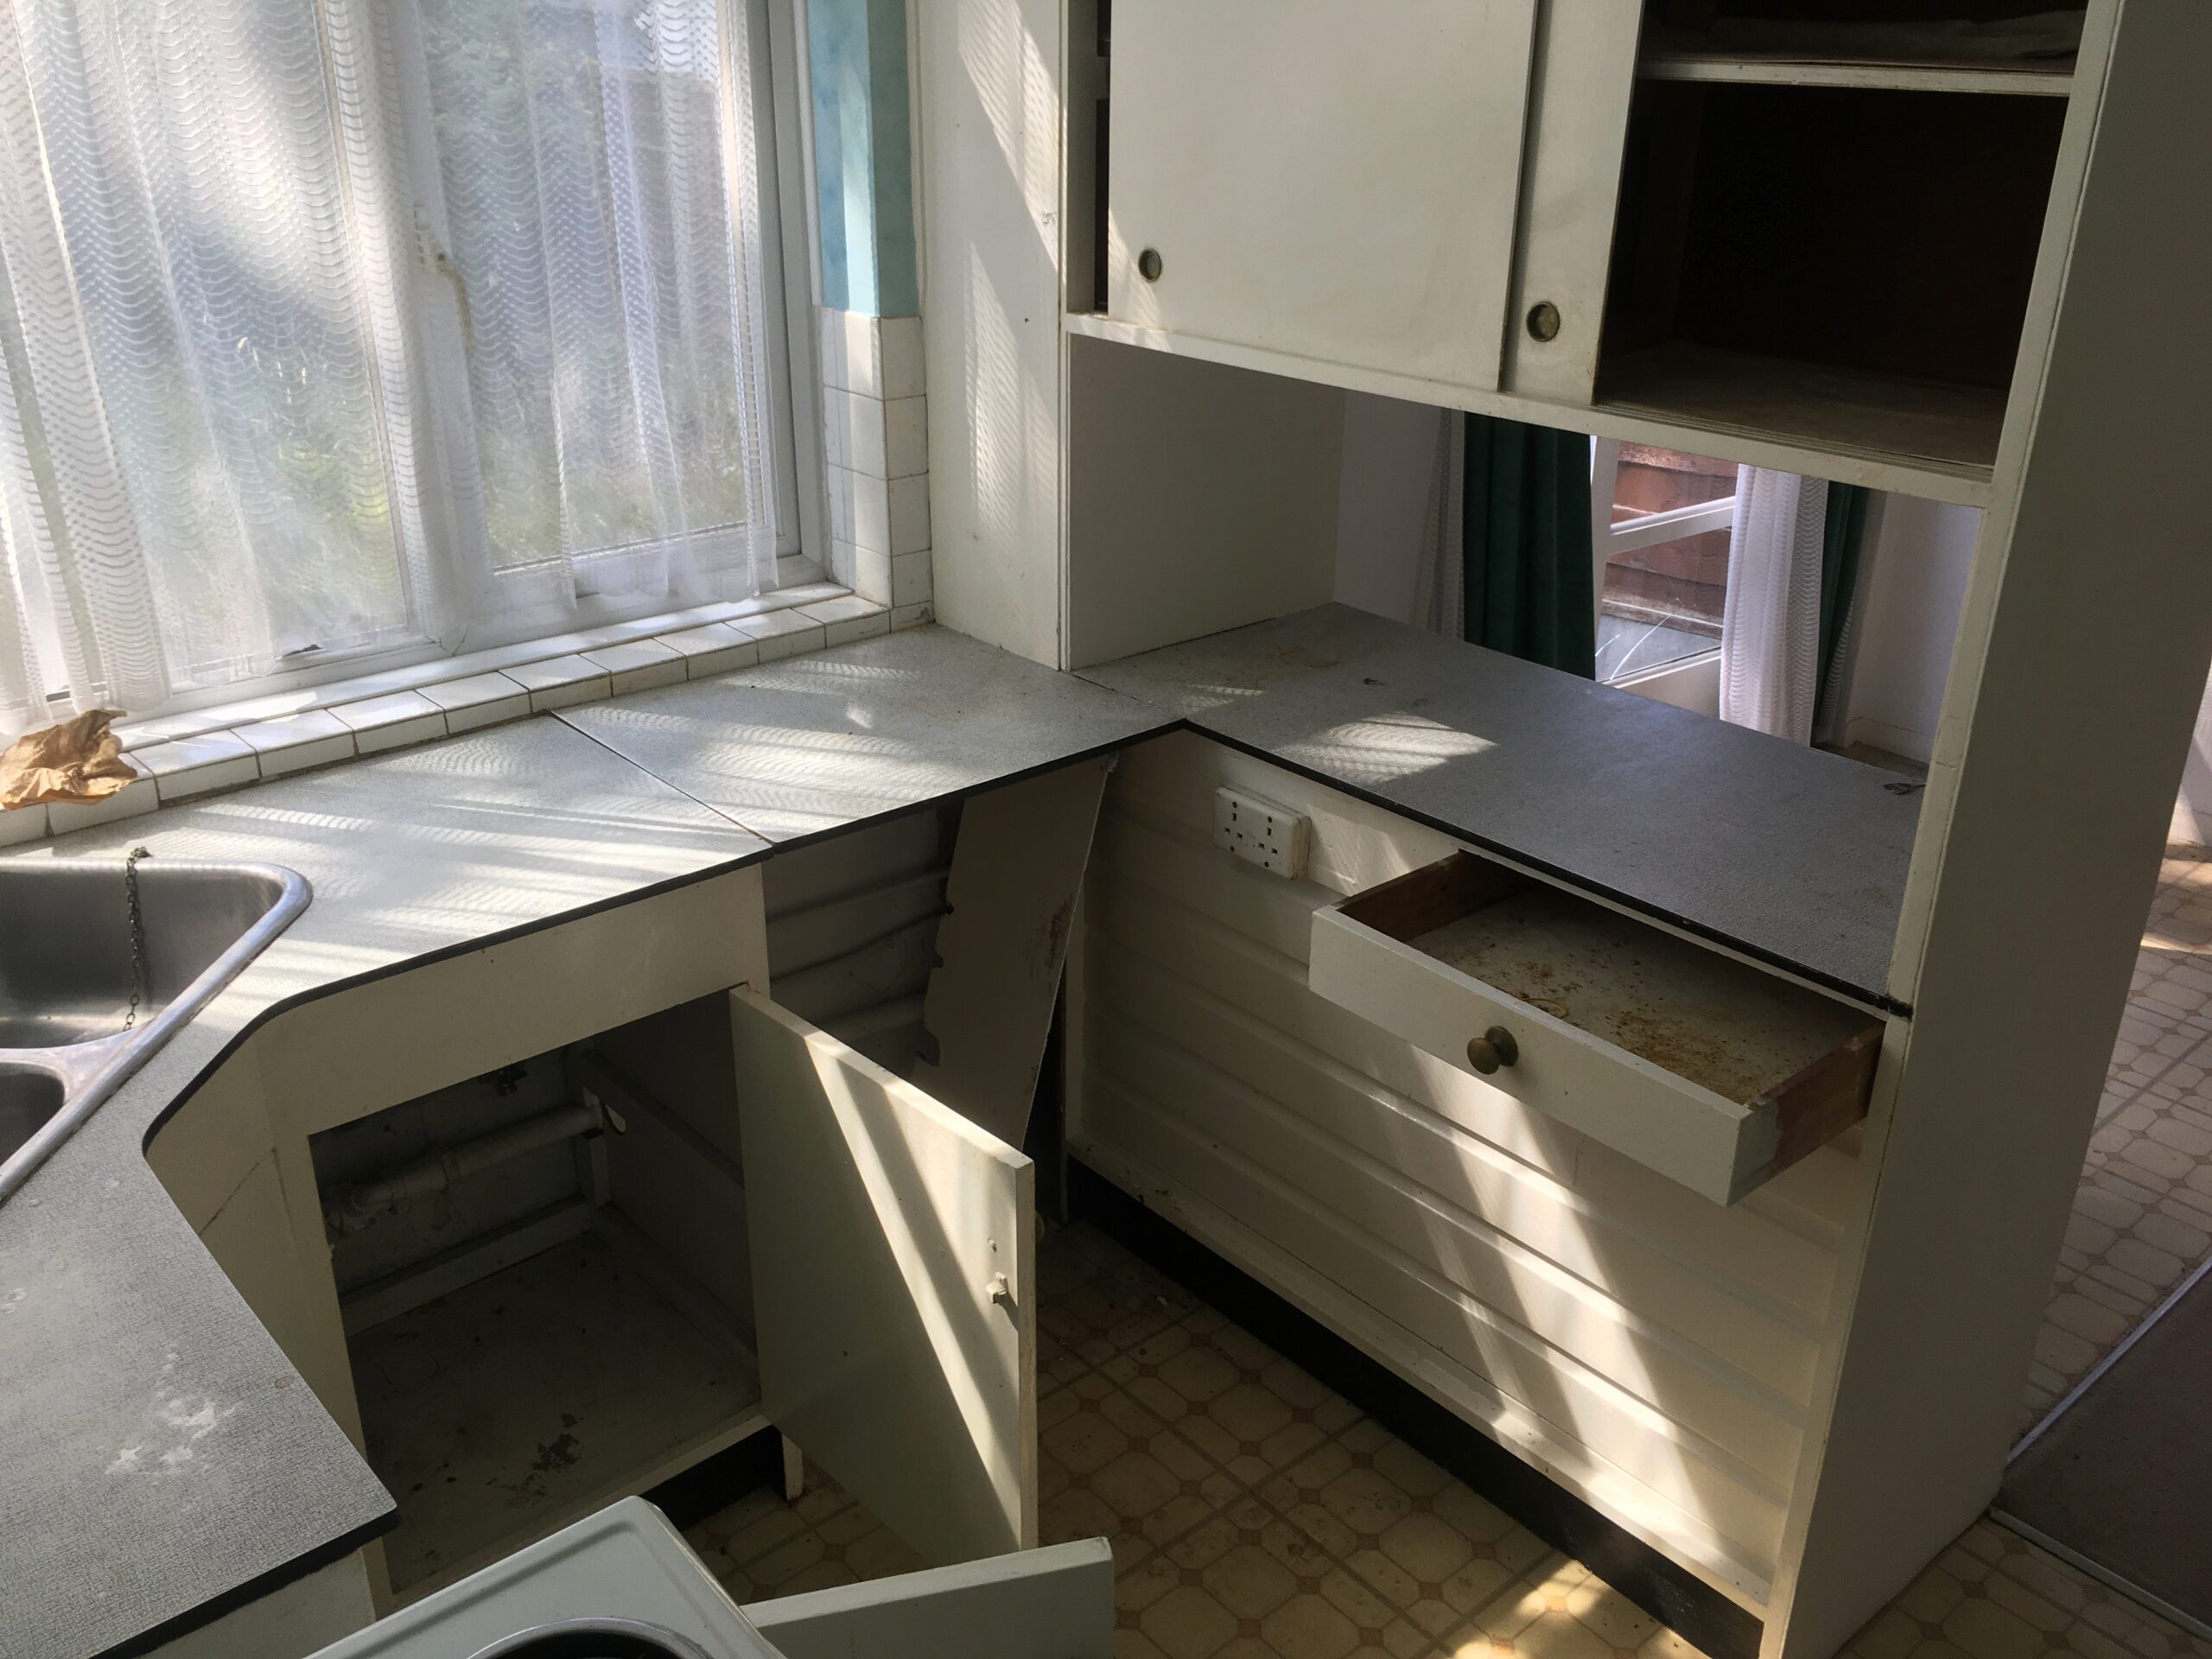
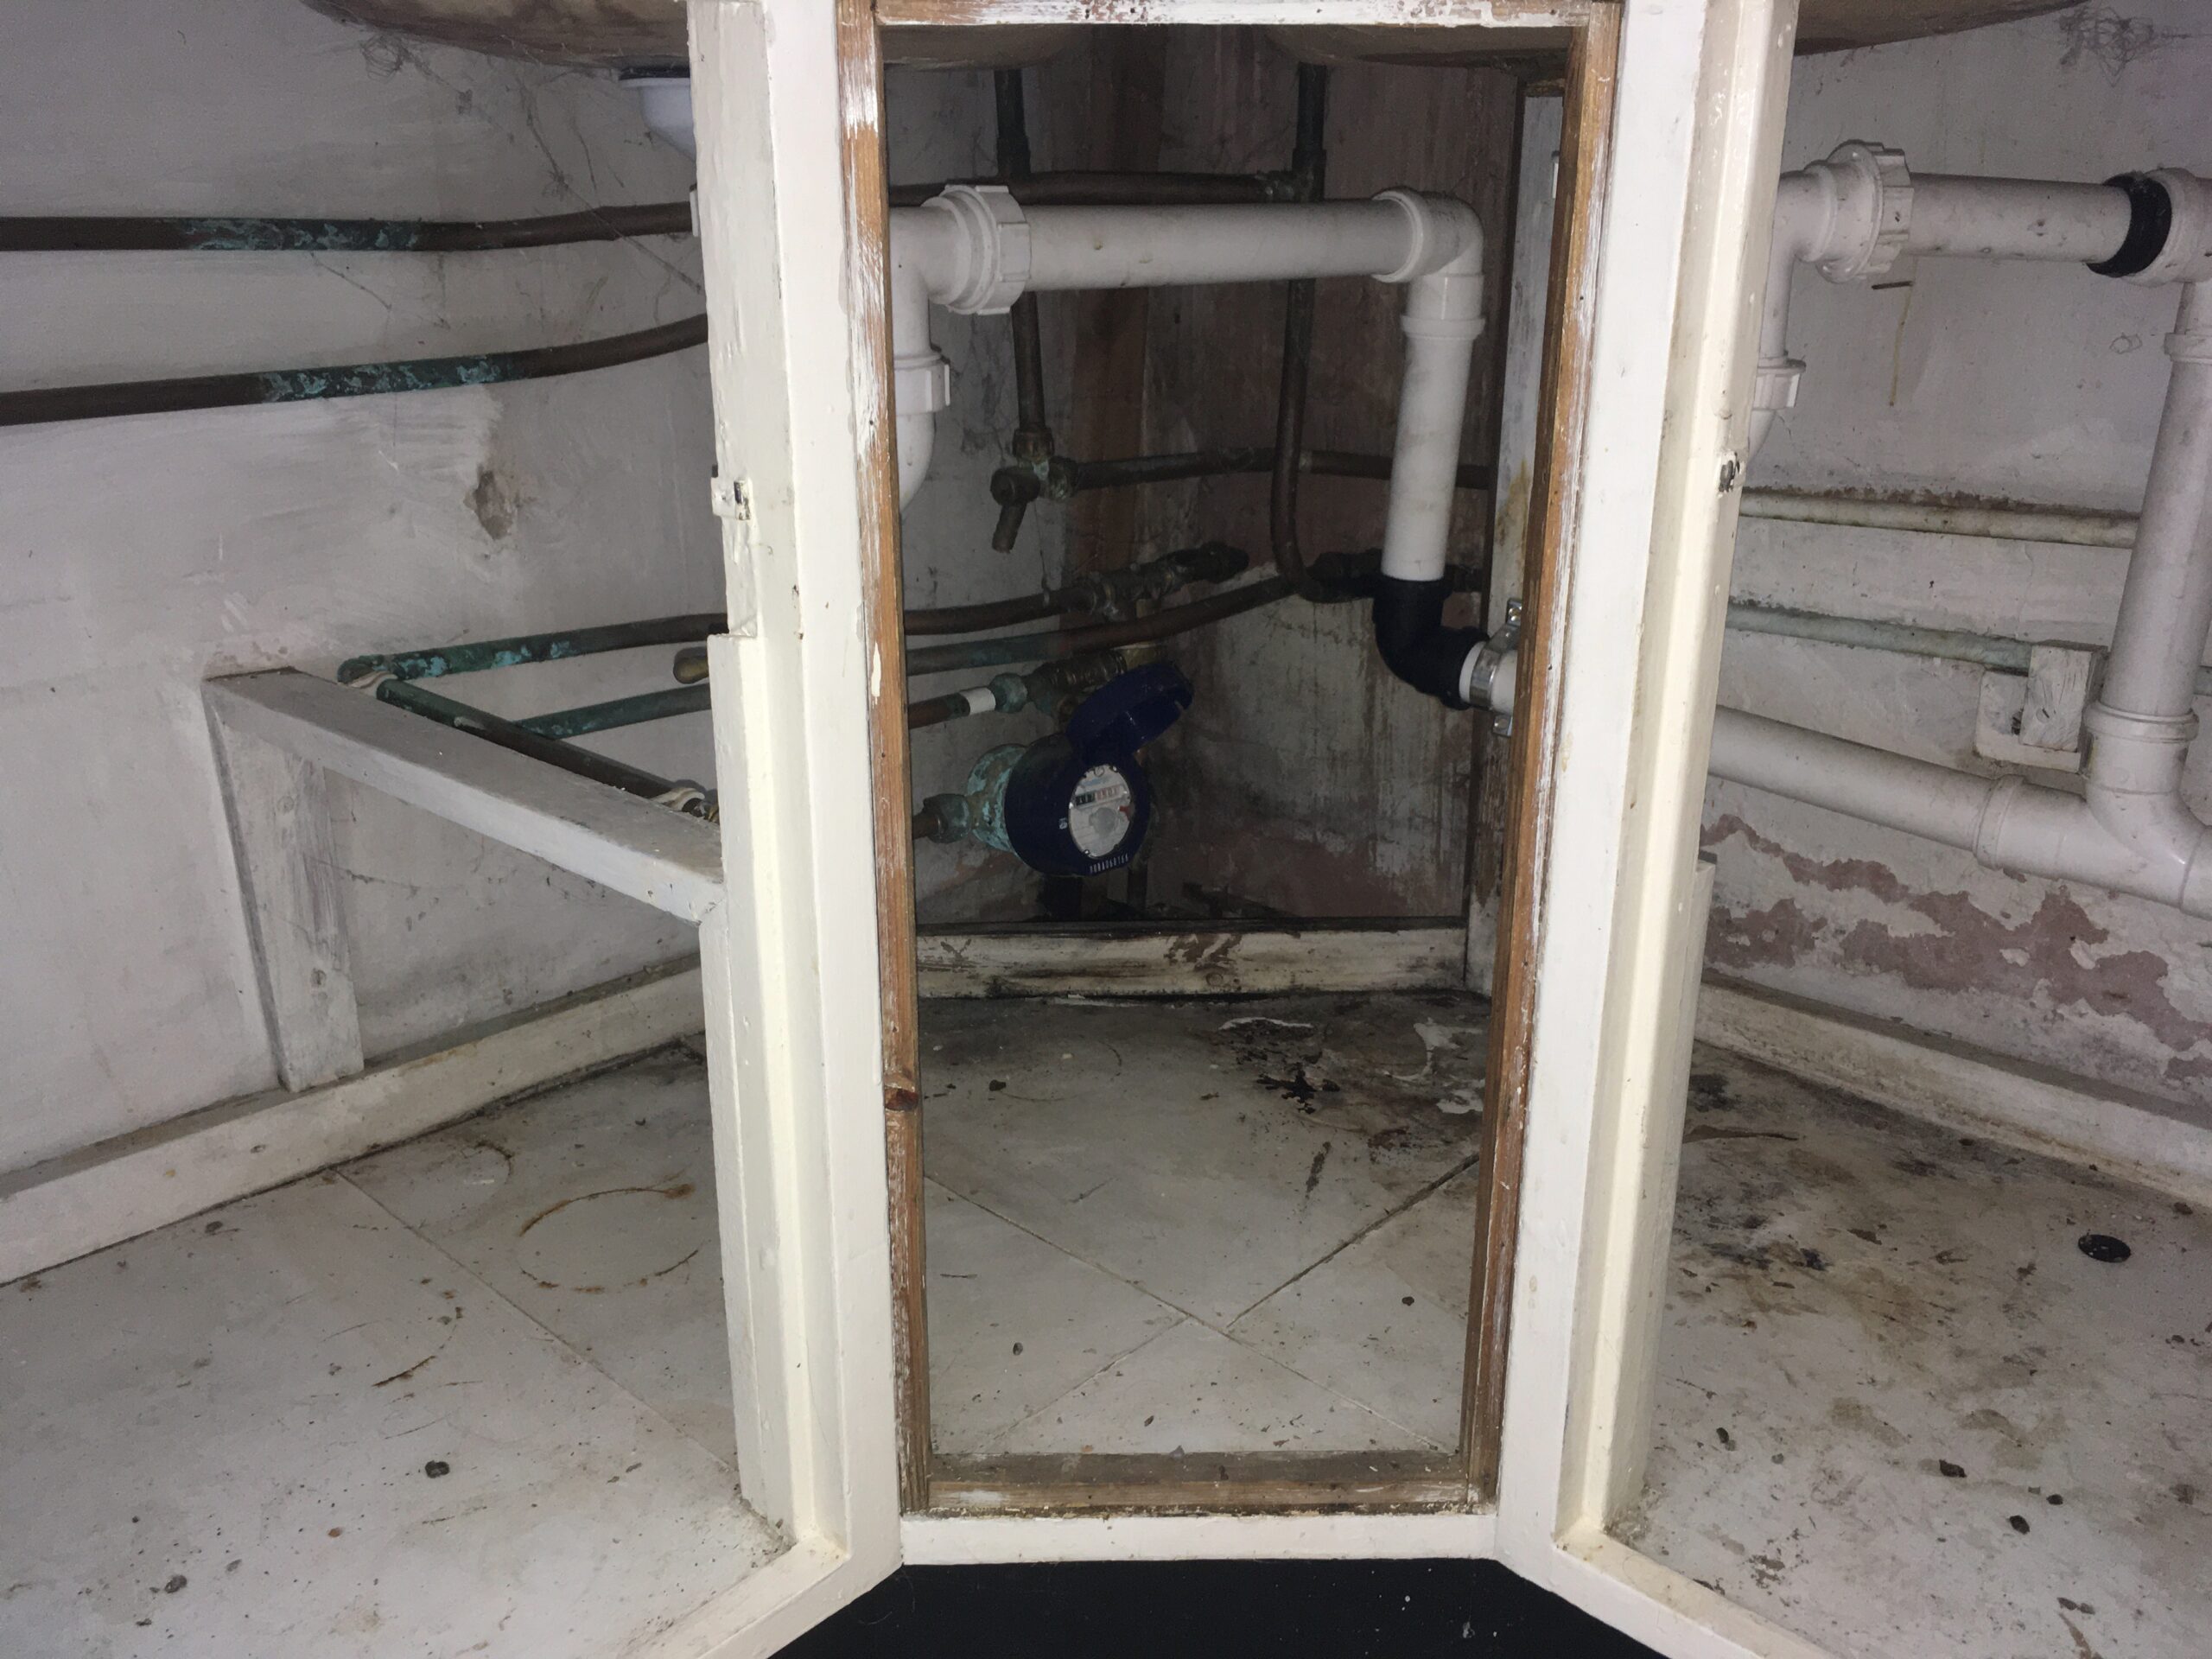
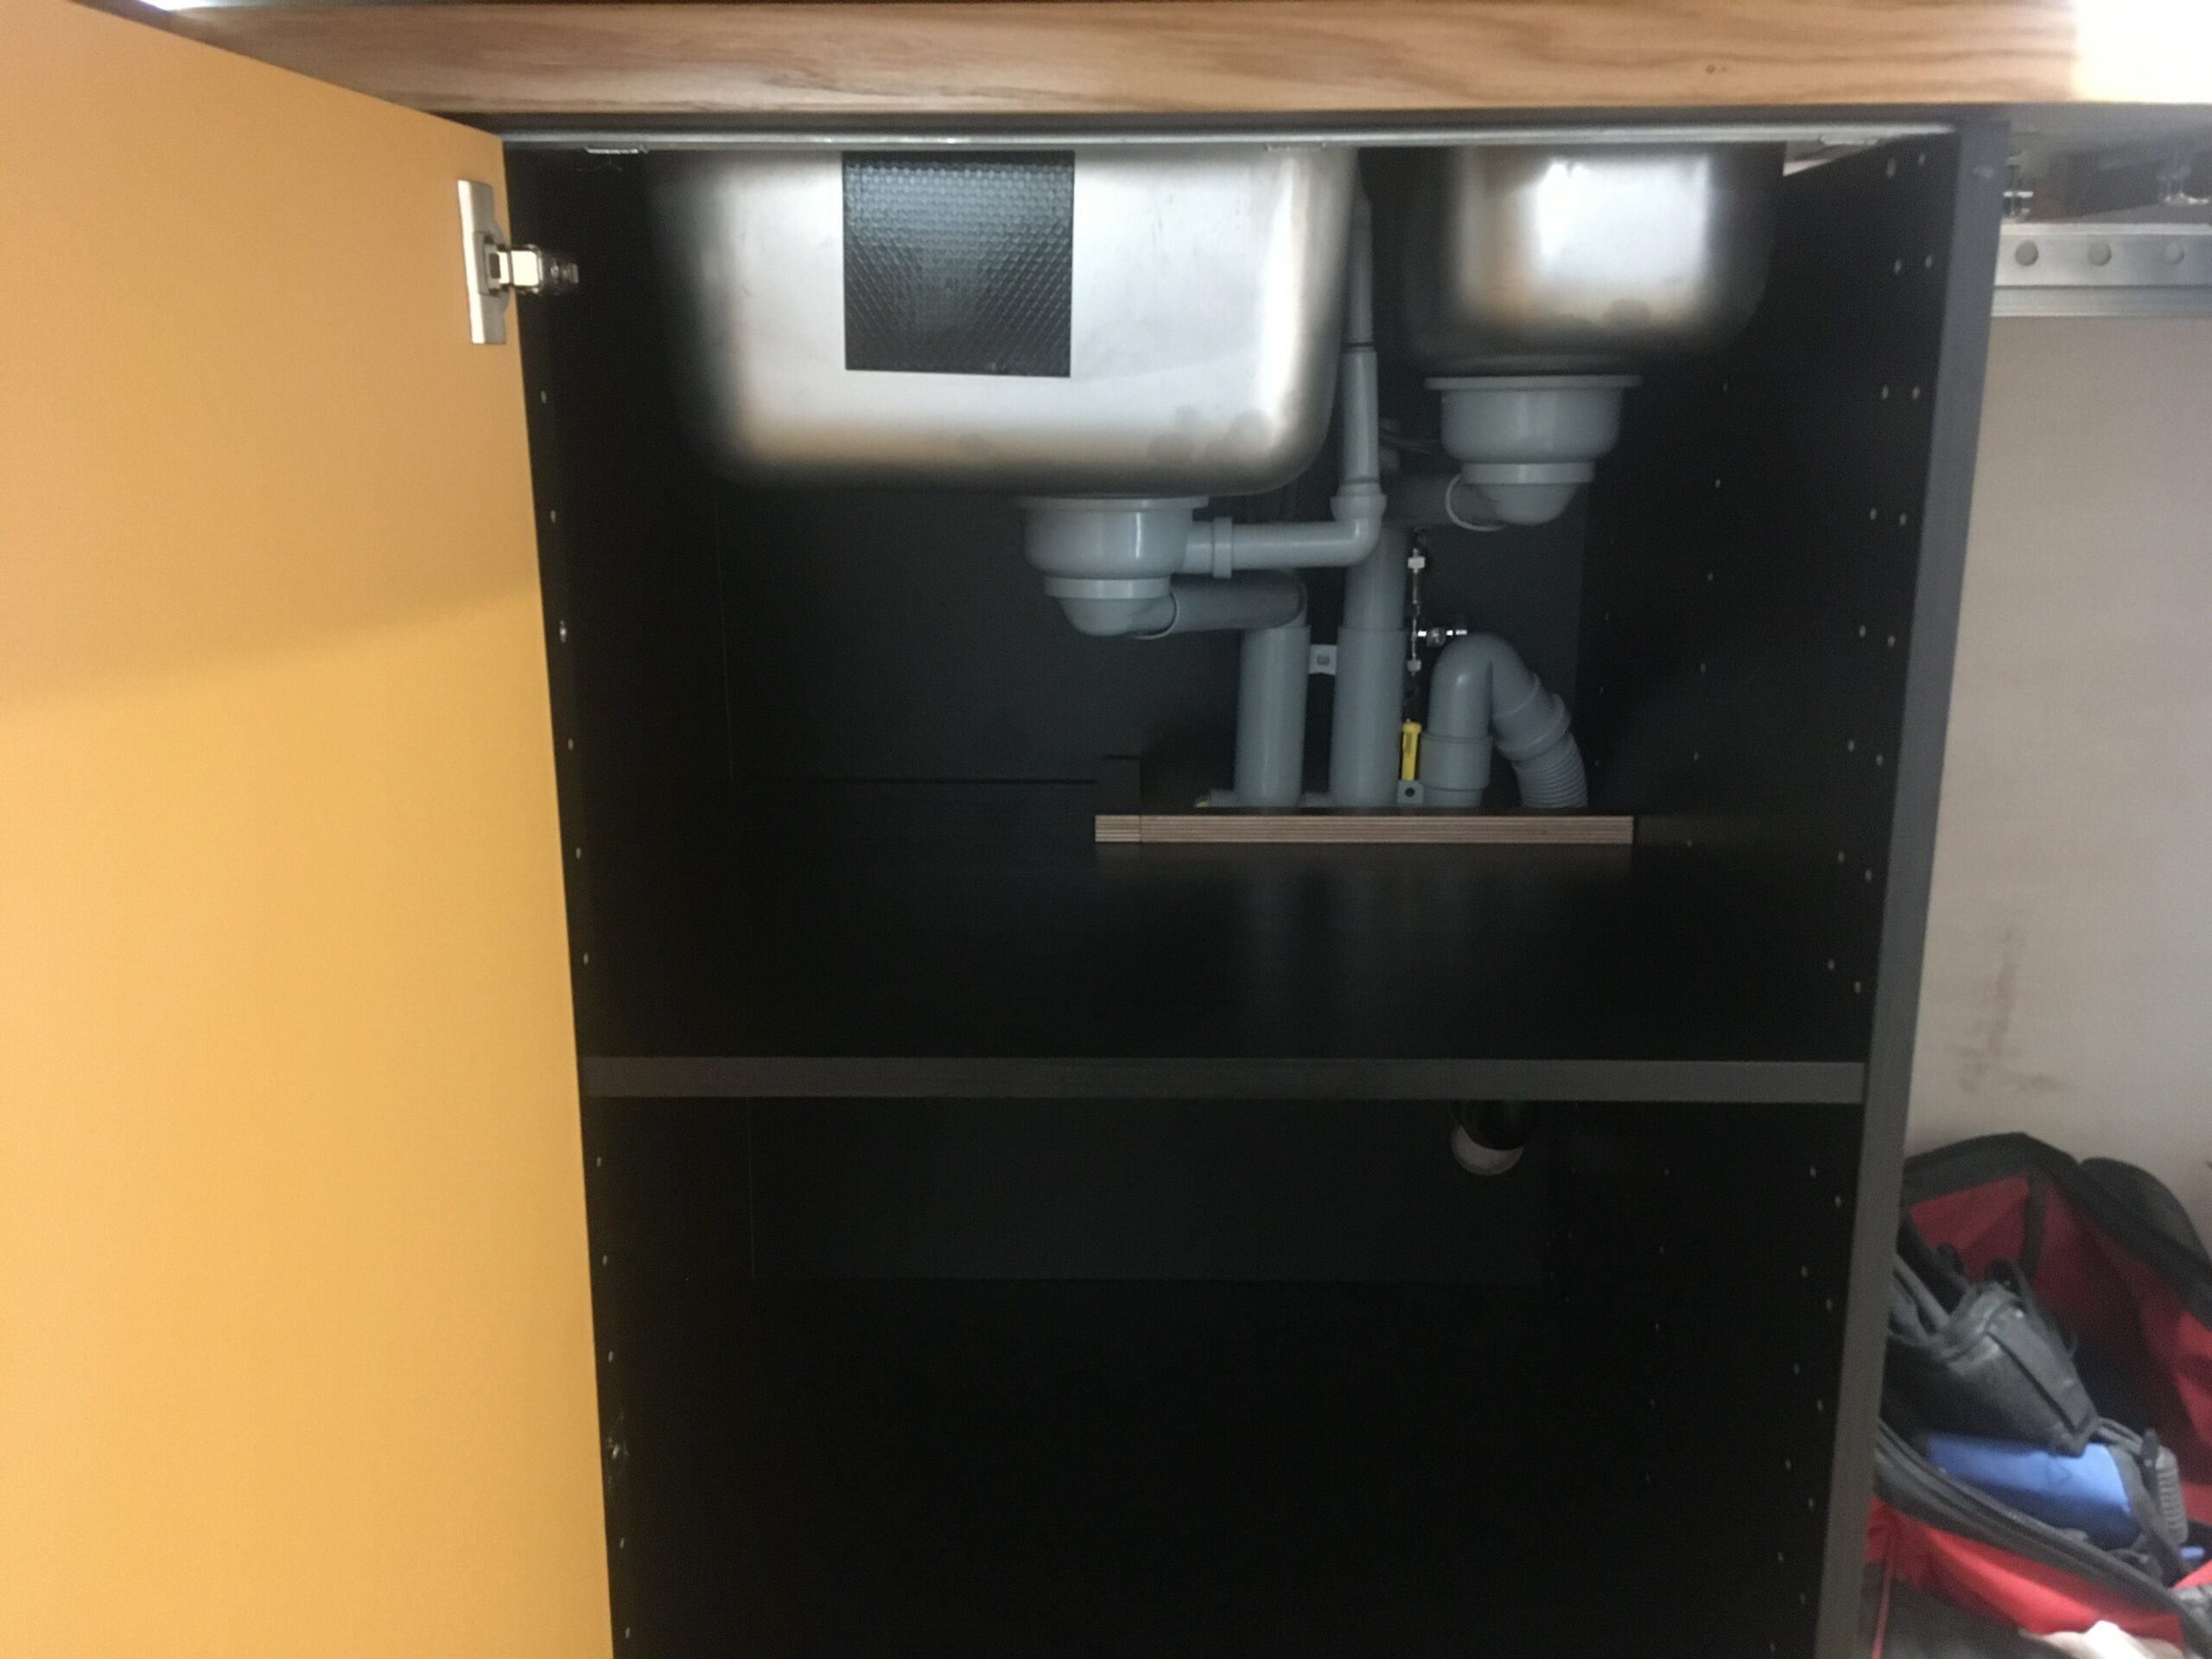
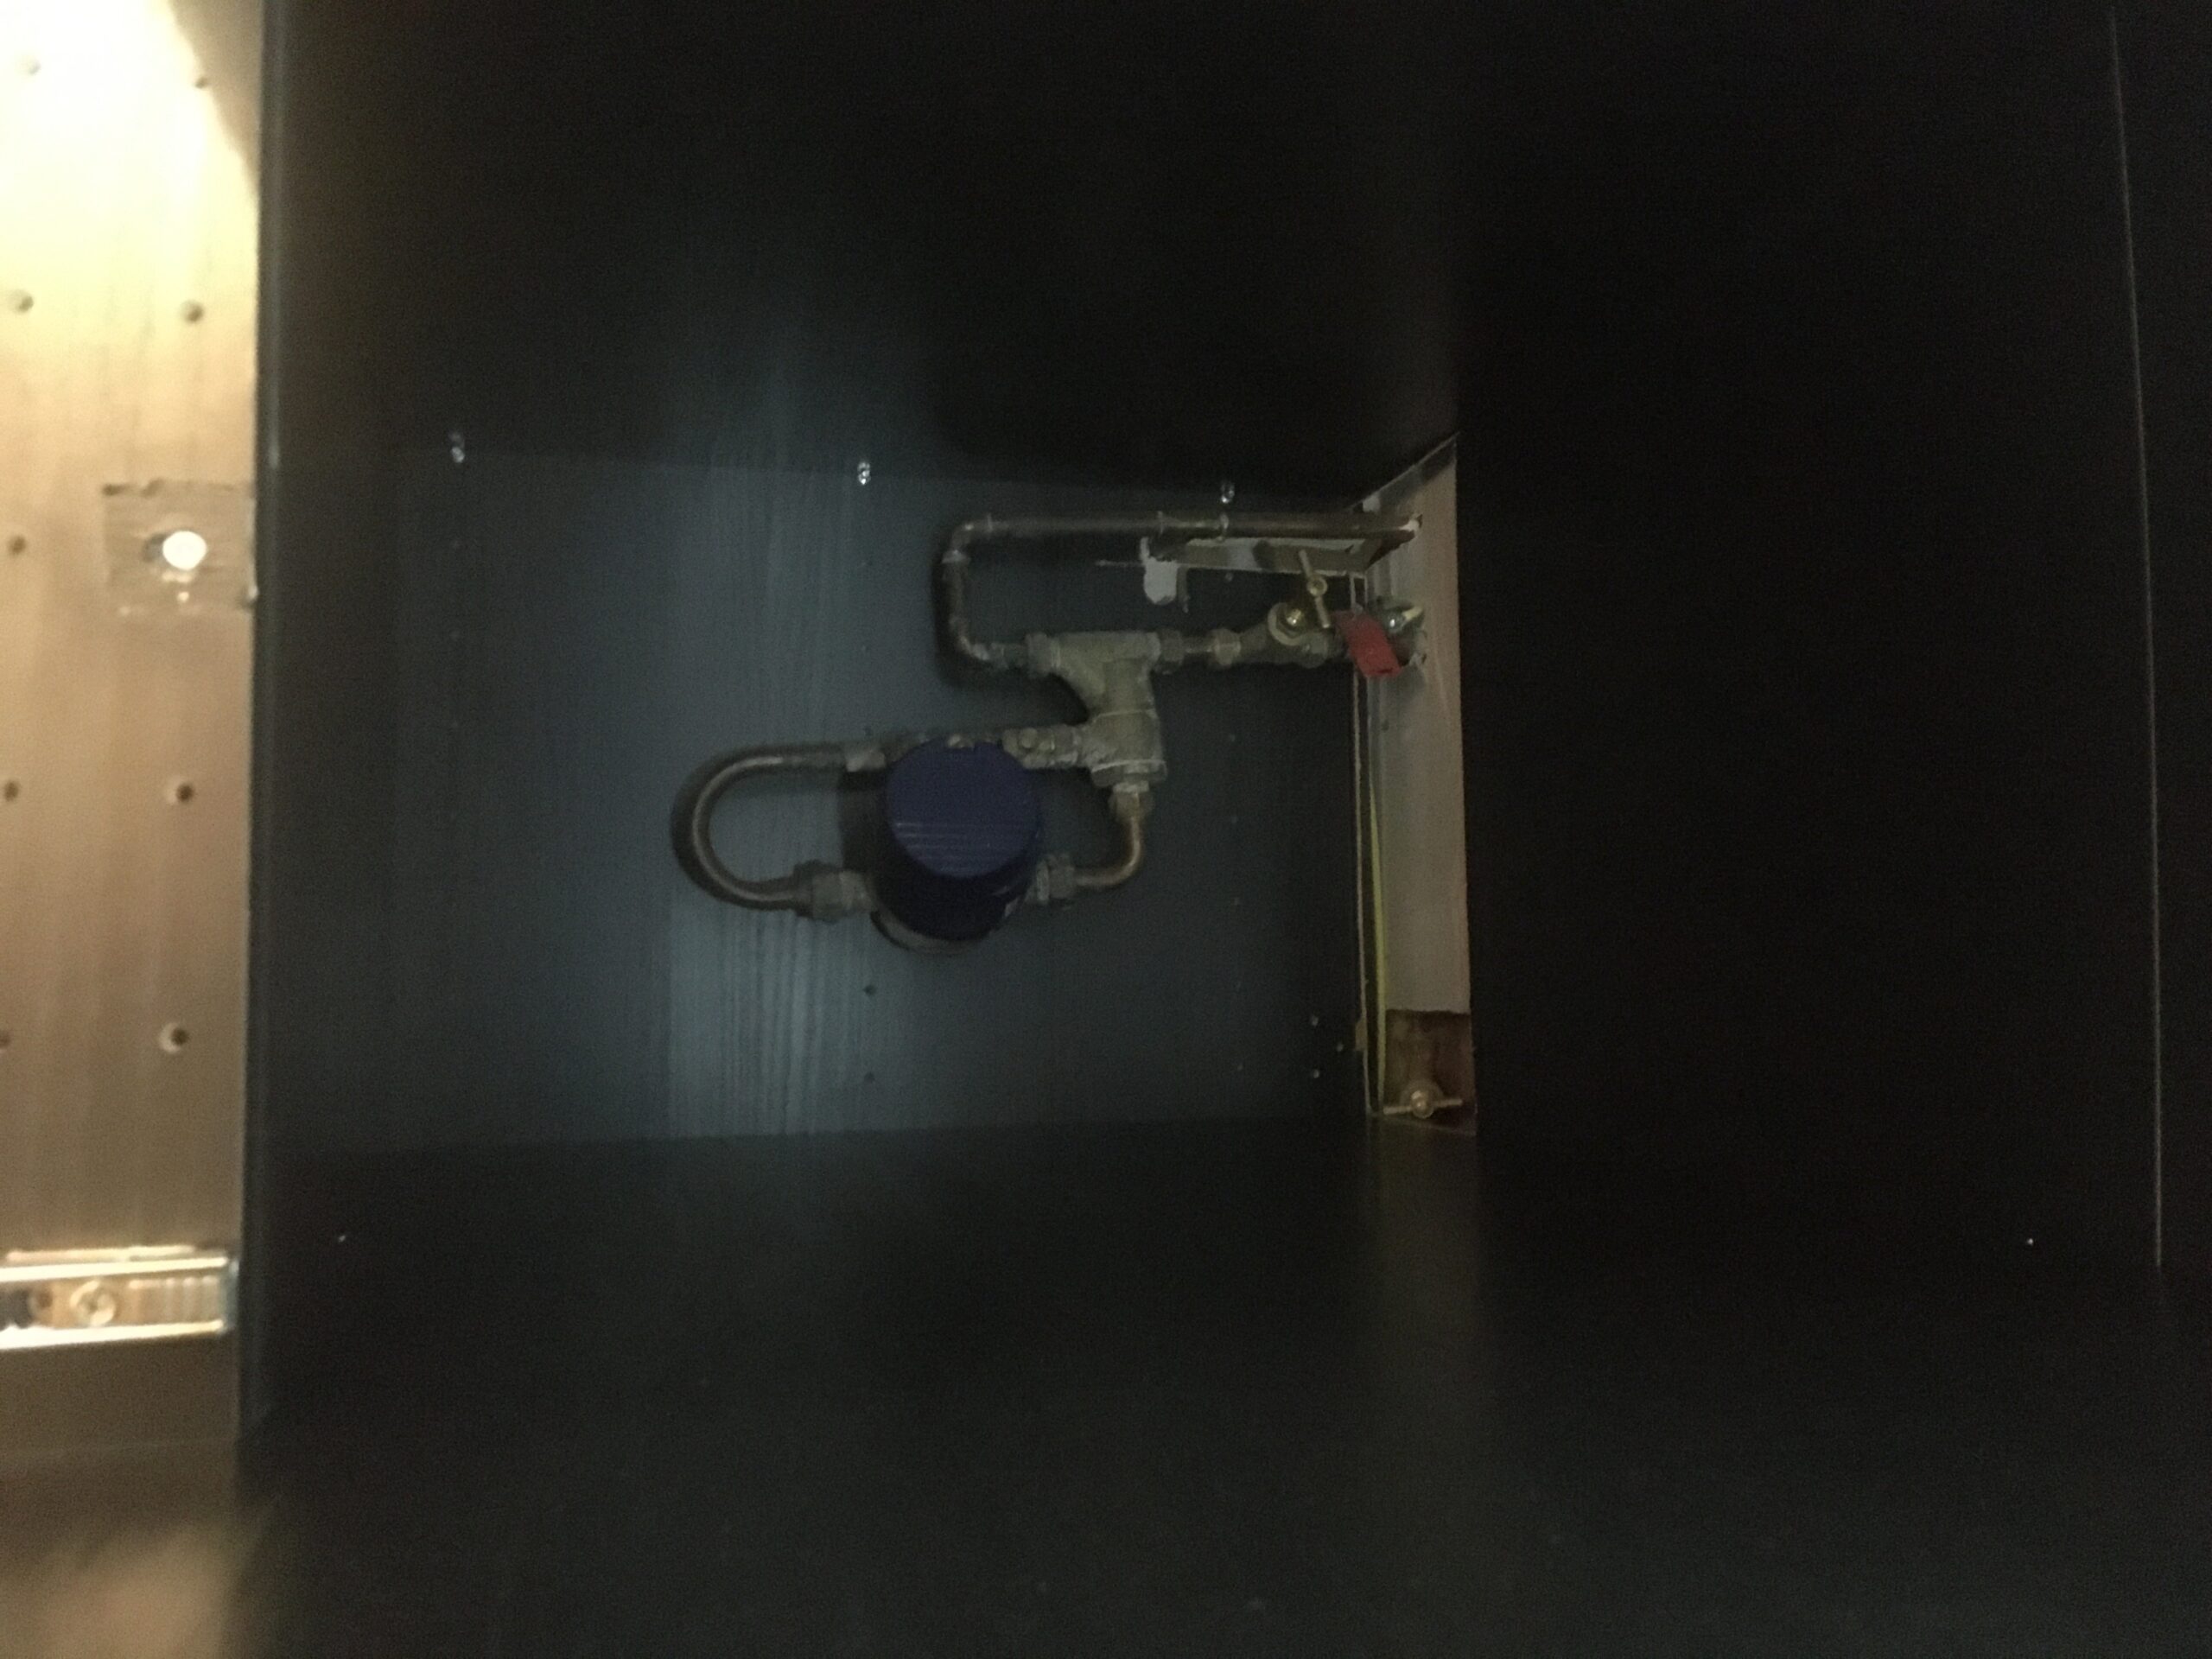
Water supply & waste pipes for the basin (centre) and washing machine (right). Cupboard frame on right.
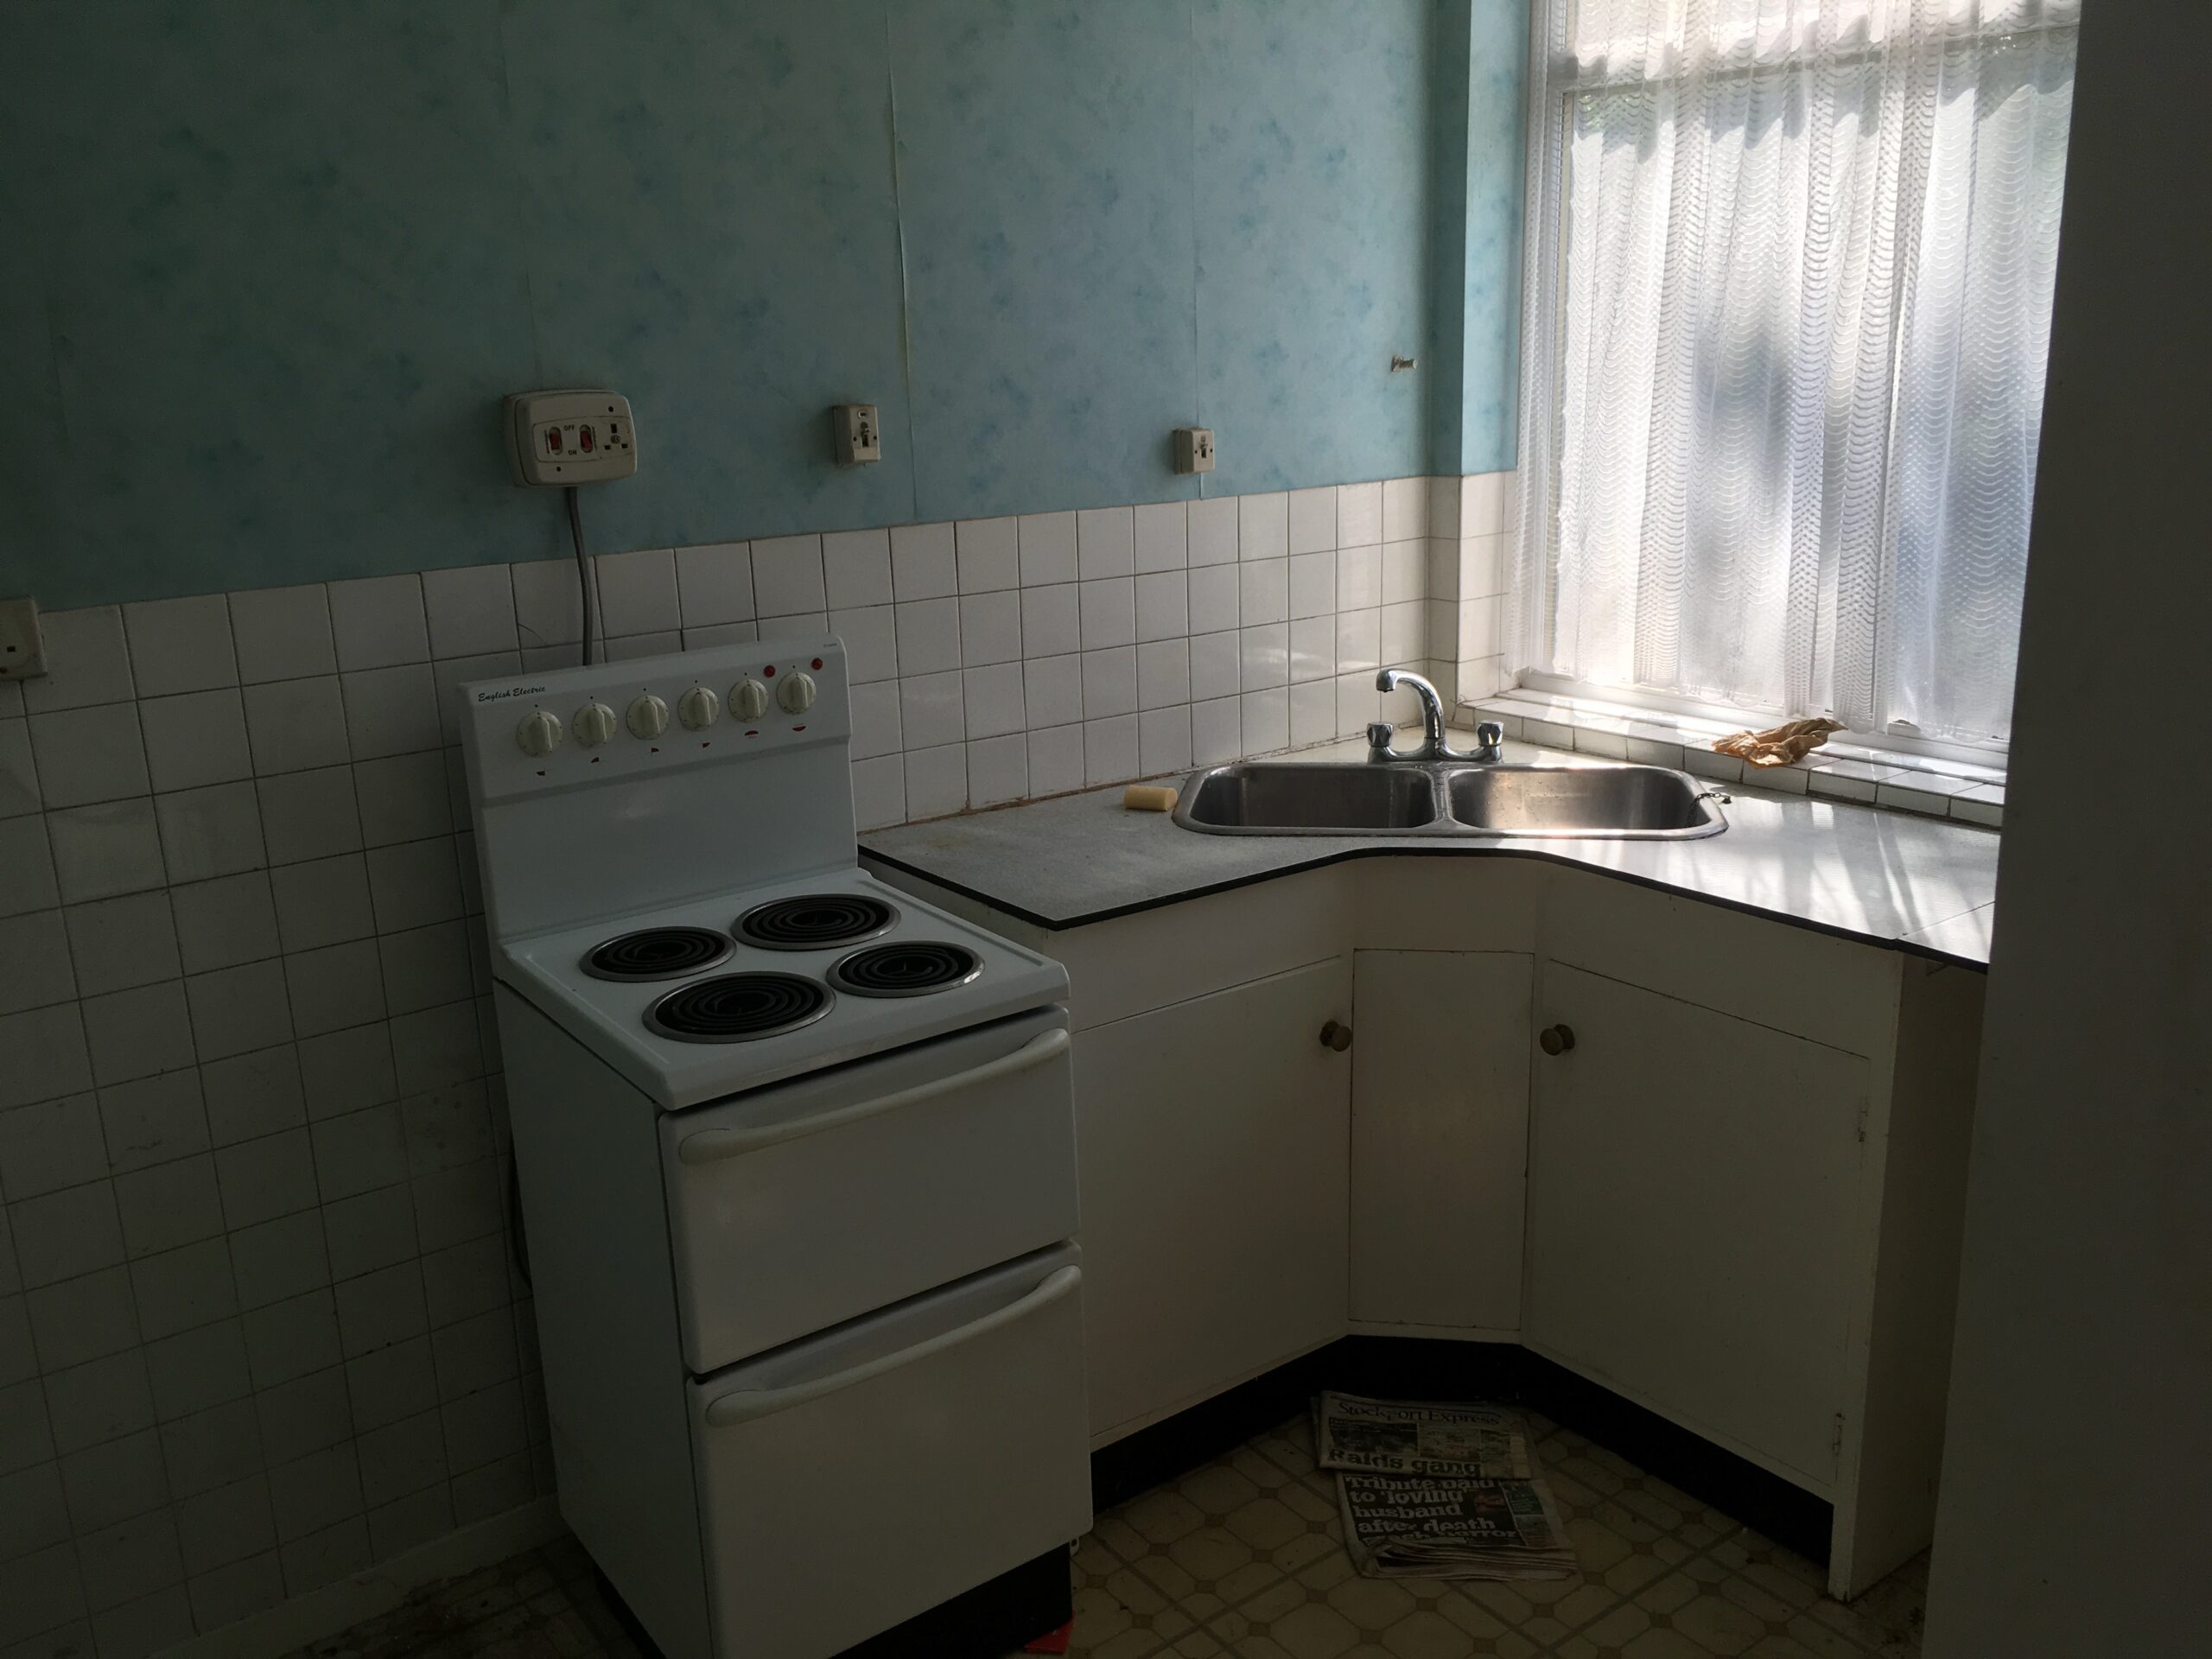
Original 1960’s sink unit refurbished. Stripping the old lead paint didn’t work, so we painted over it in the end.
Sink hole. Washing machine cupboard floor isolated for vibration proofing. (In our current flat, when neighbours run washing machines it feels like the building is being shaken down.)
Crack. Crap.
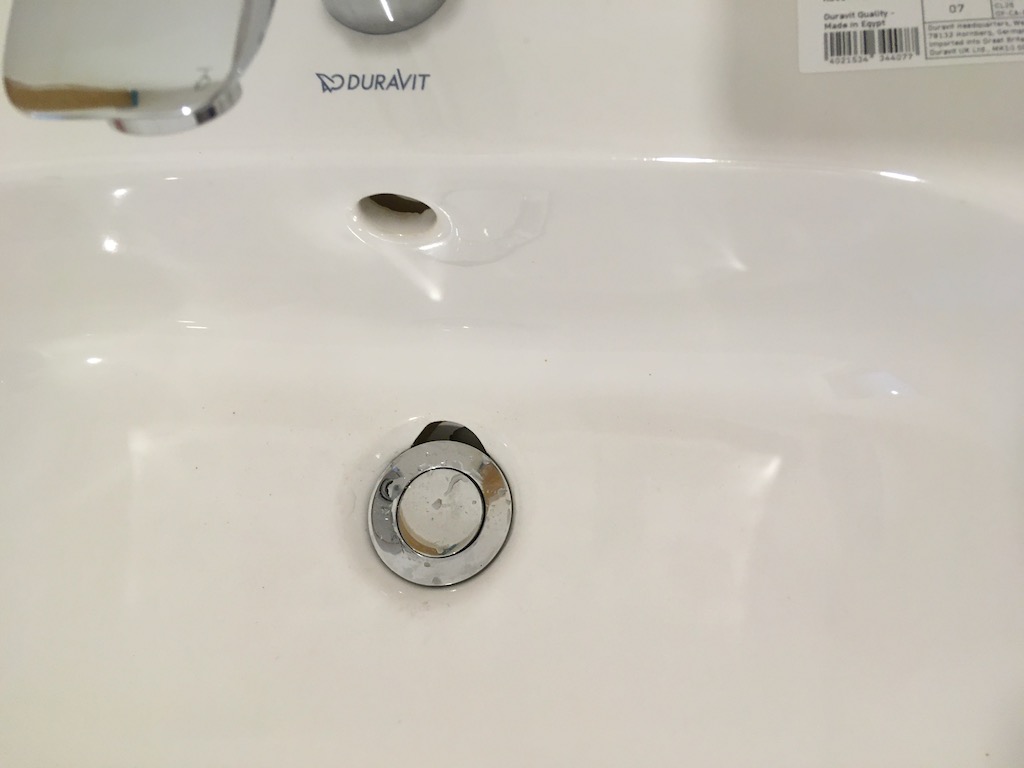
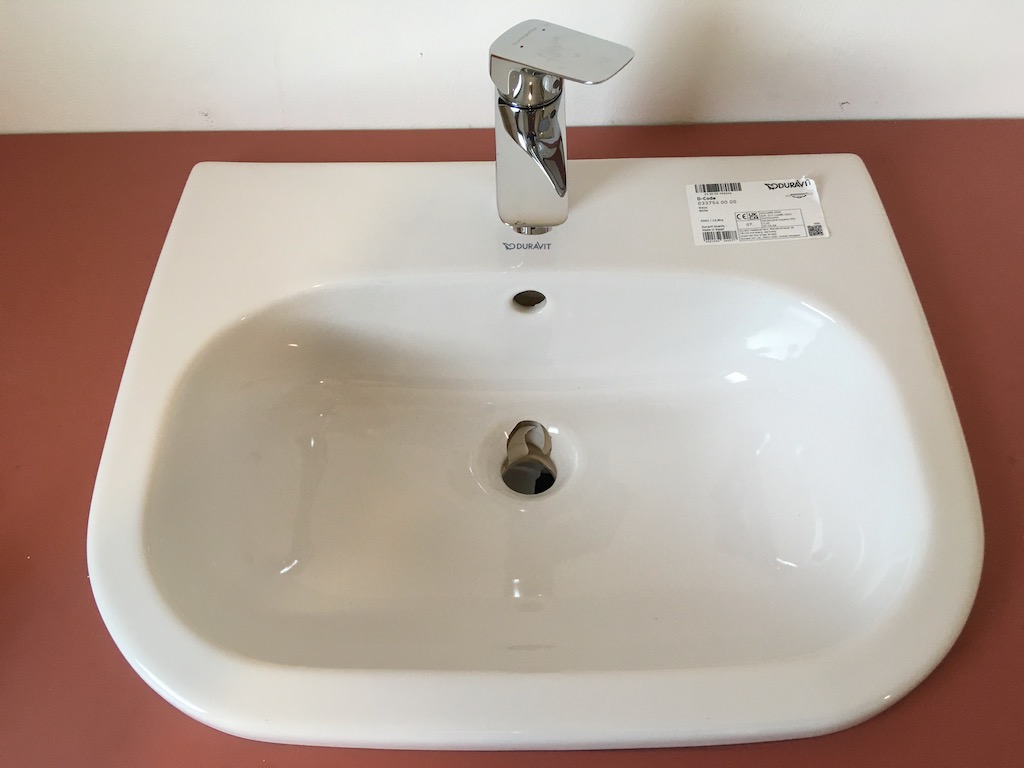
Sink installed. Looks good. Leak tested. Leaked (slightly) from the underside of the waste fitting. OK. So I tightened the plastic back nut on the metal fitting. Still dripped. This surprised me. So I tightened it some more. Still dripped. Now that’s strange. But only thing to do, I thought tiredly, was to tighten the back nut even more. KERRACK.
Well that was an expensive error. Ouch. The leak was from inside the nut, not around it. What it actually needed was lots of plumber’s tape on the thread to seal the gap.
Fortunately the manufacturer had one (and only one) in UK stock to replace it. So I snapped it up ASAP.
Cork Floor Tiles
Staining half the cork floor tiles to create …
… this effect.
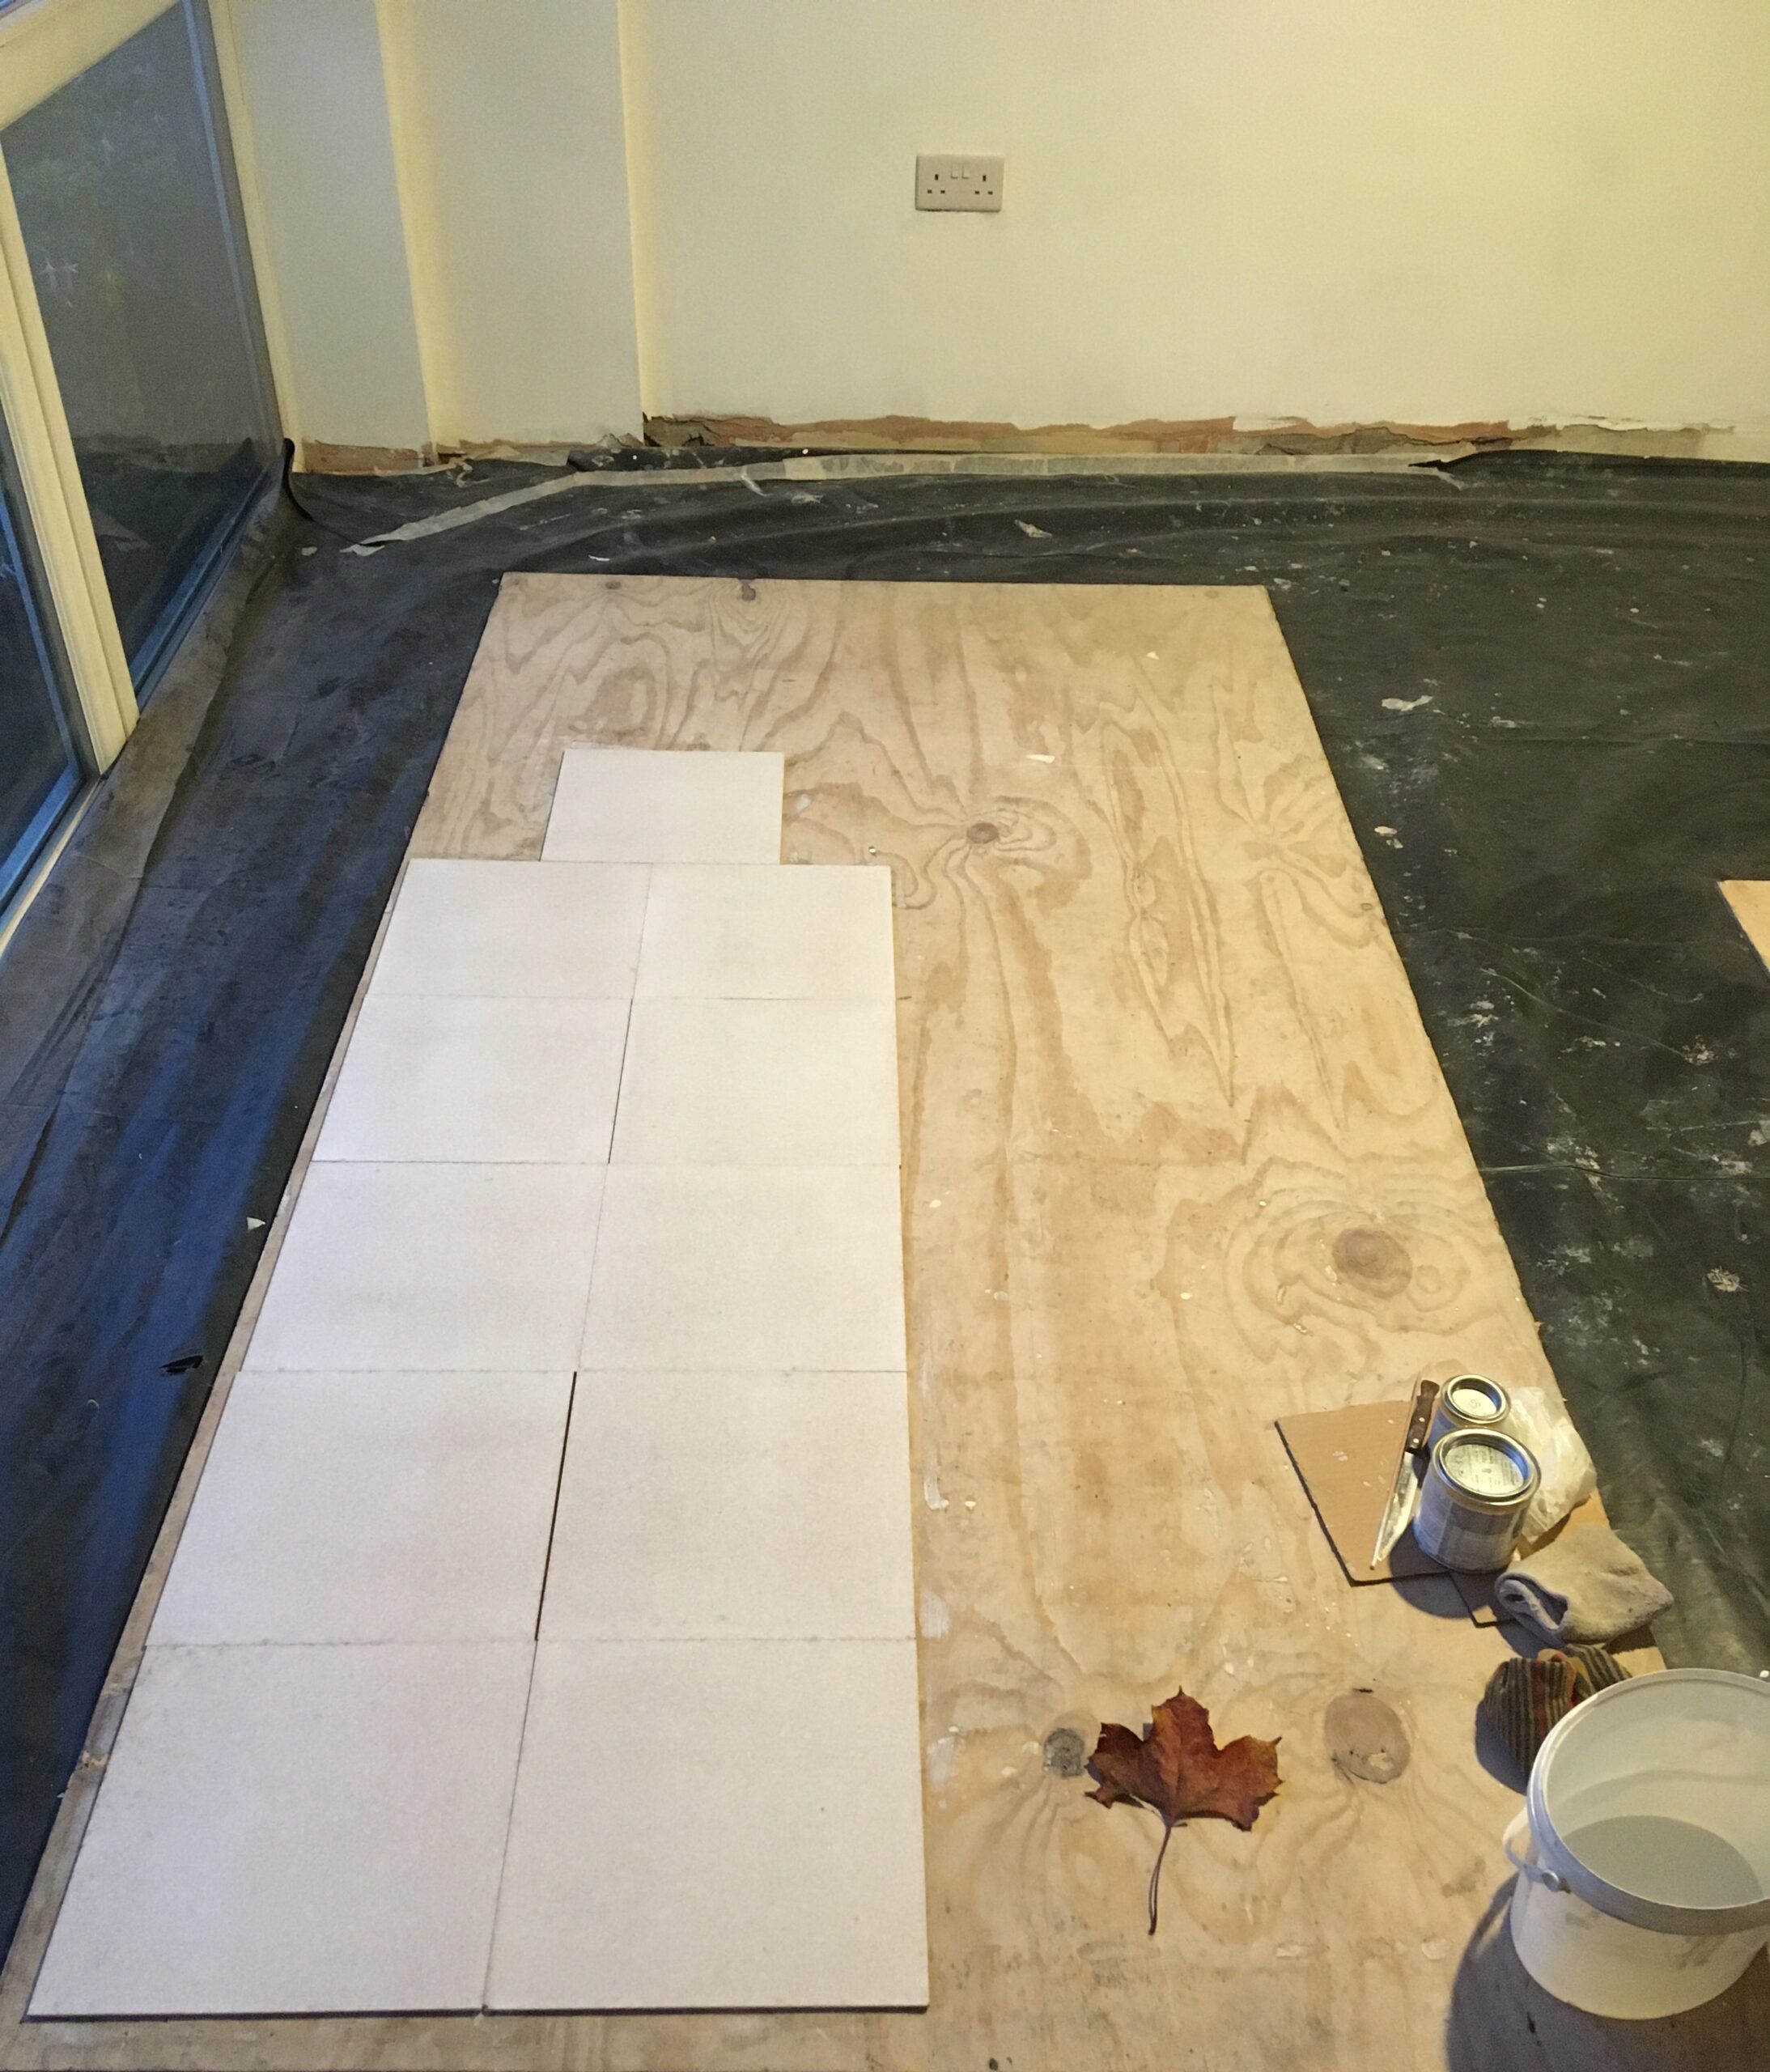
Just sizing up the layout before sticking them down.
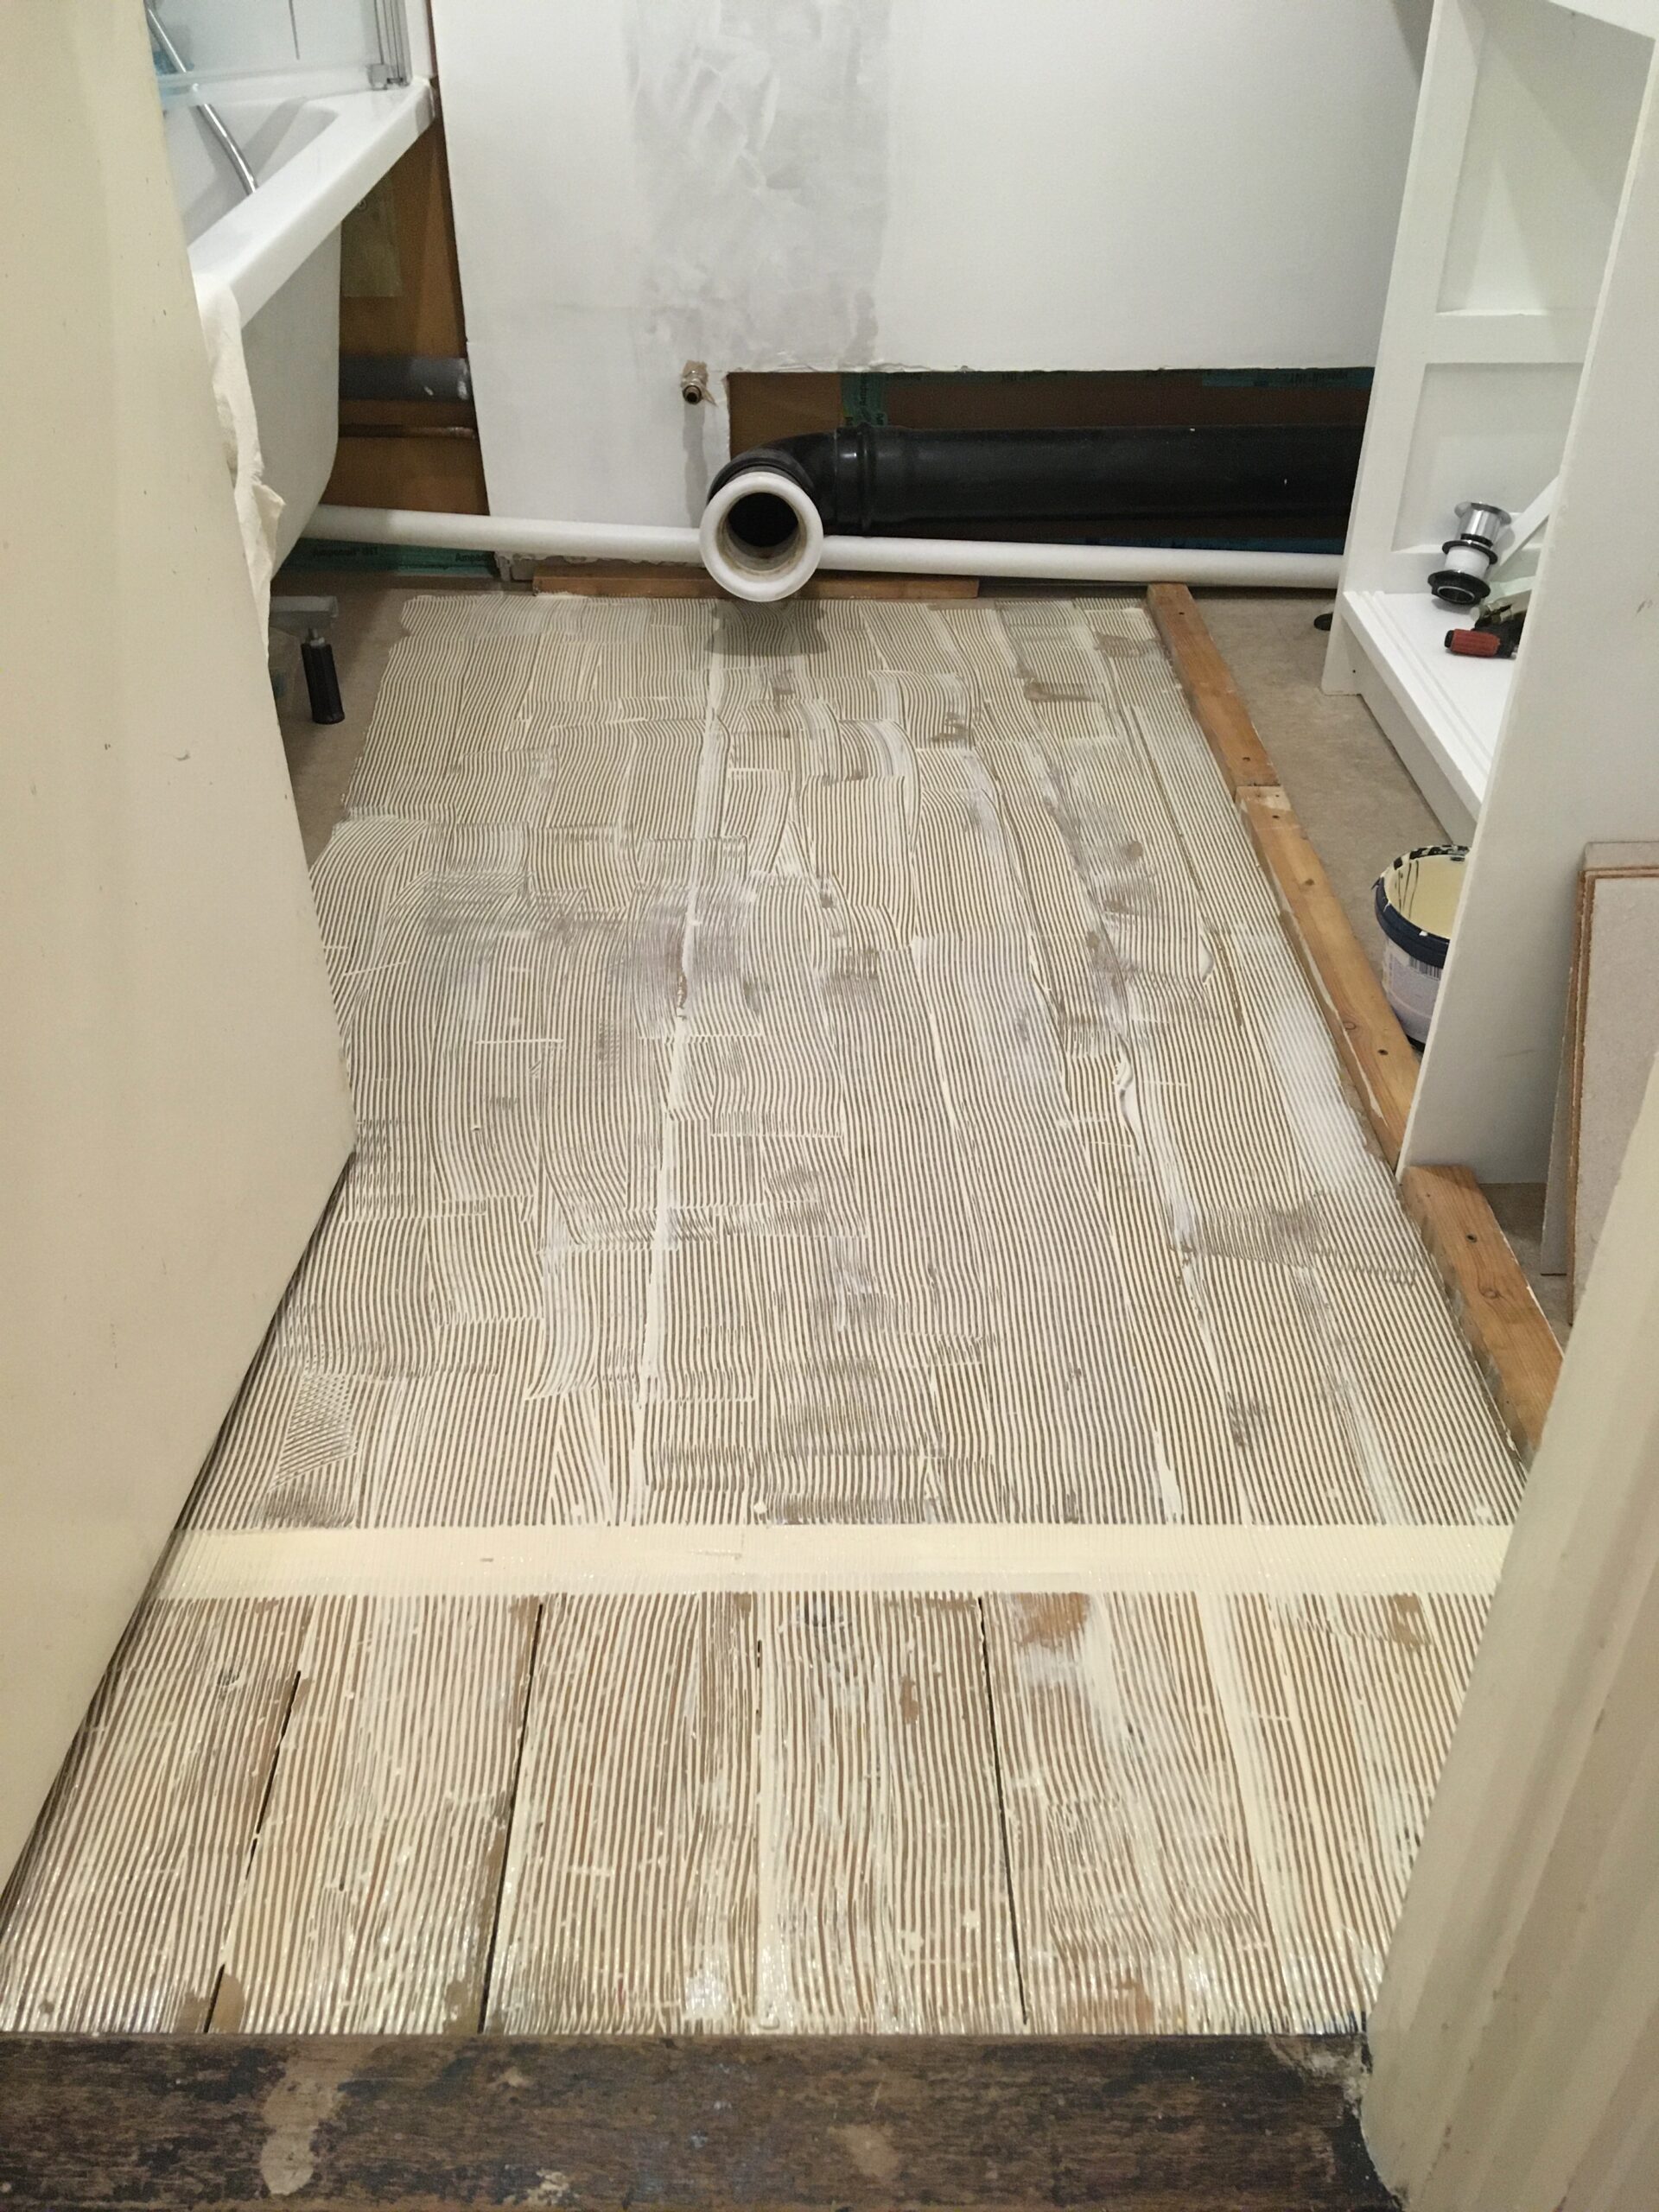
Adhesive spread. Straight edge fixed on right, to work from.
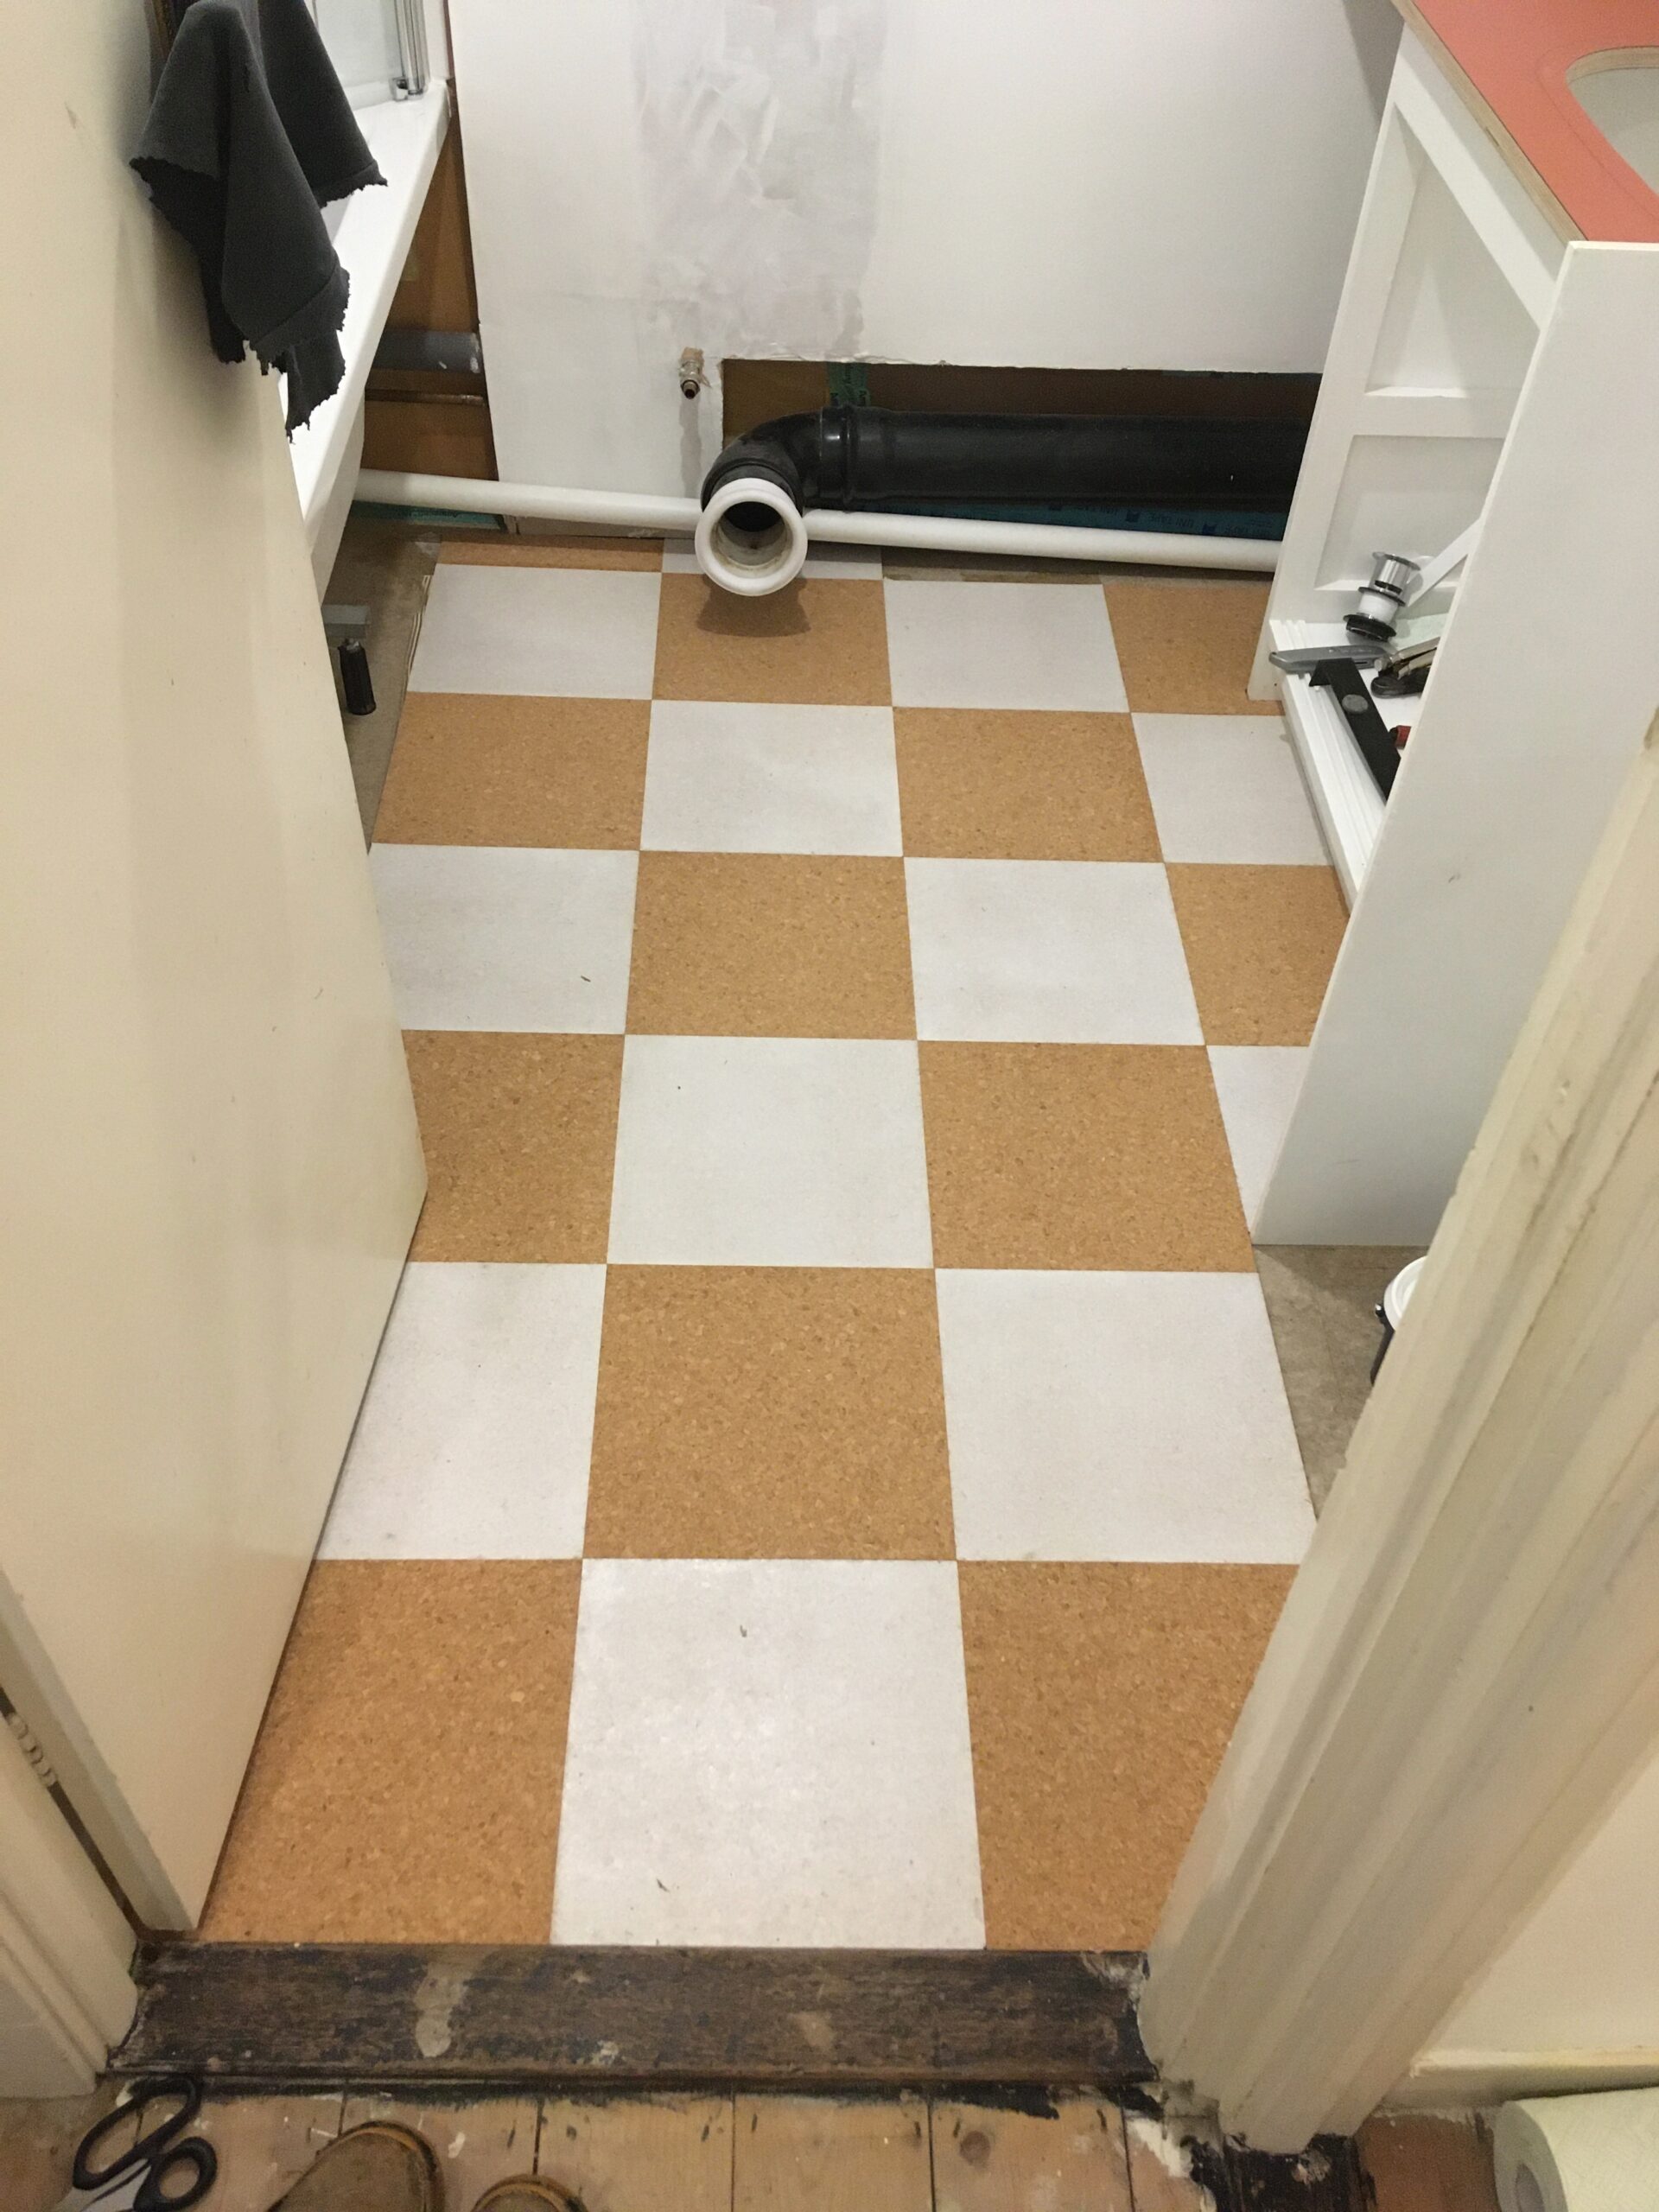
Set. Then a couple of coats of Osmo oil overall to seal.
After
Portuguese cork floor tiles.
New tap, shower, screen, & (suitable) radiator.
Almost there. Enough to move in at least. In a couple of week’s time…
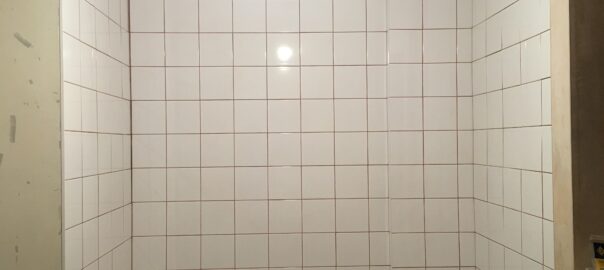
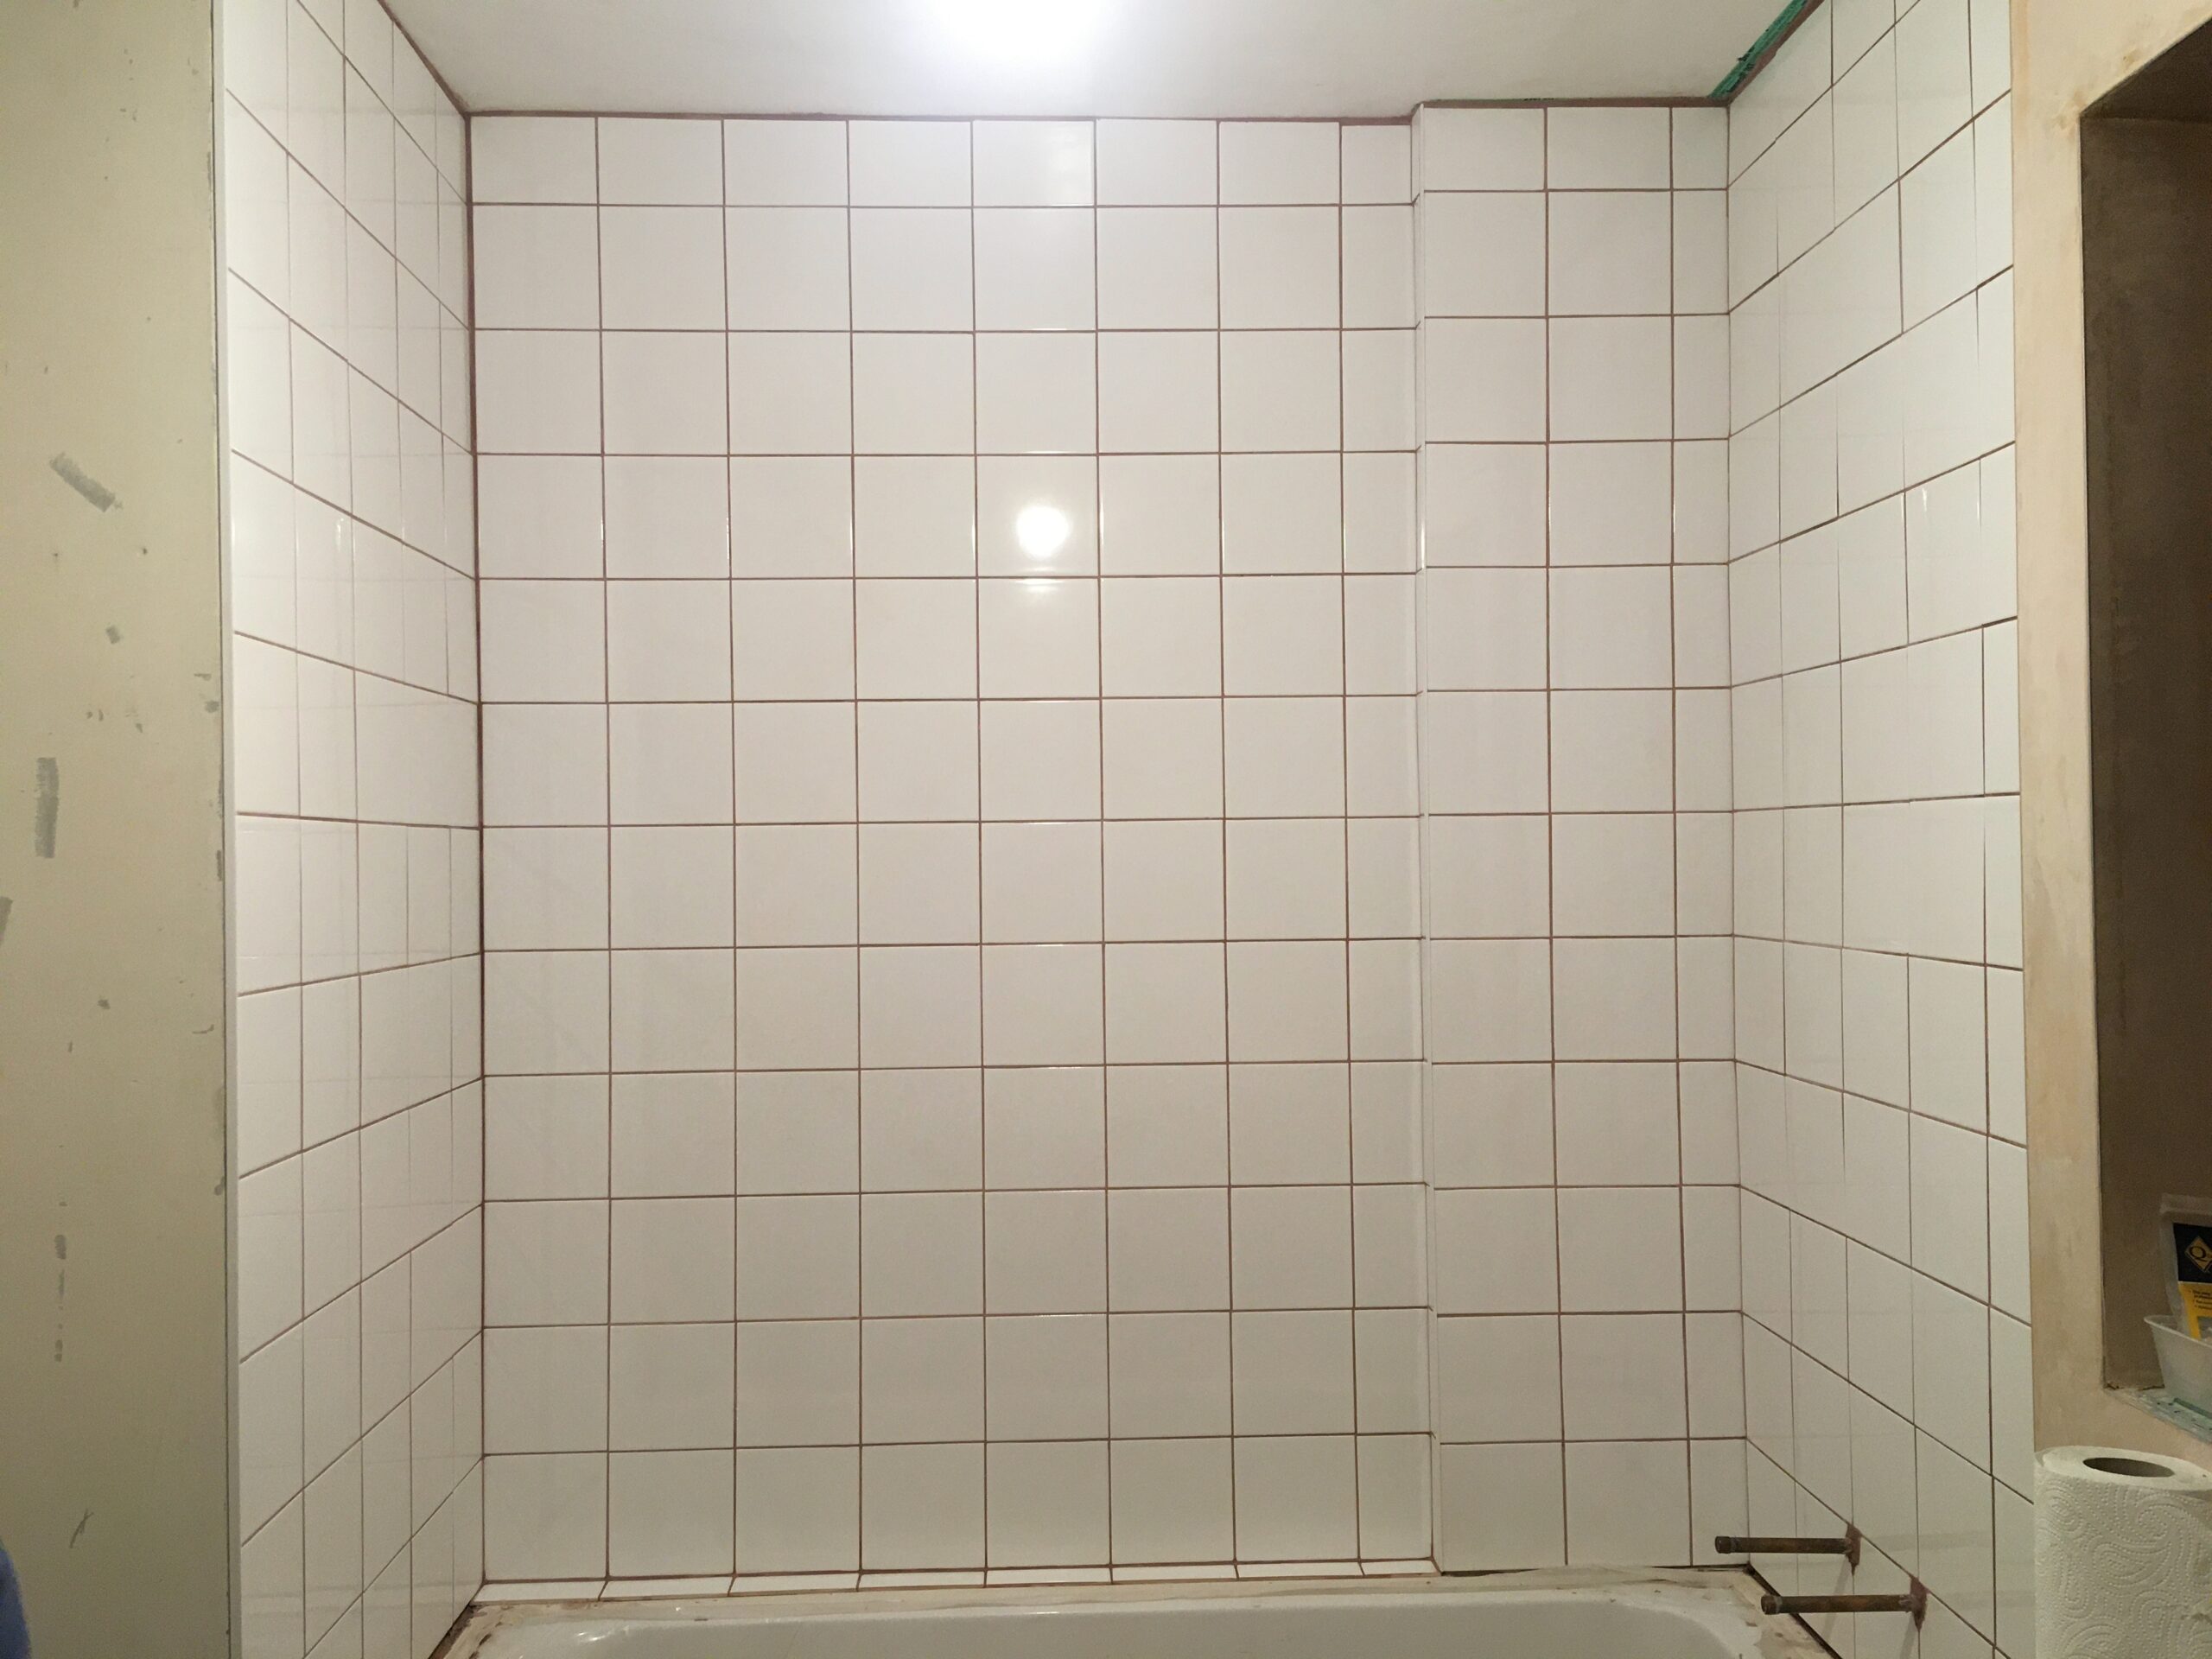
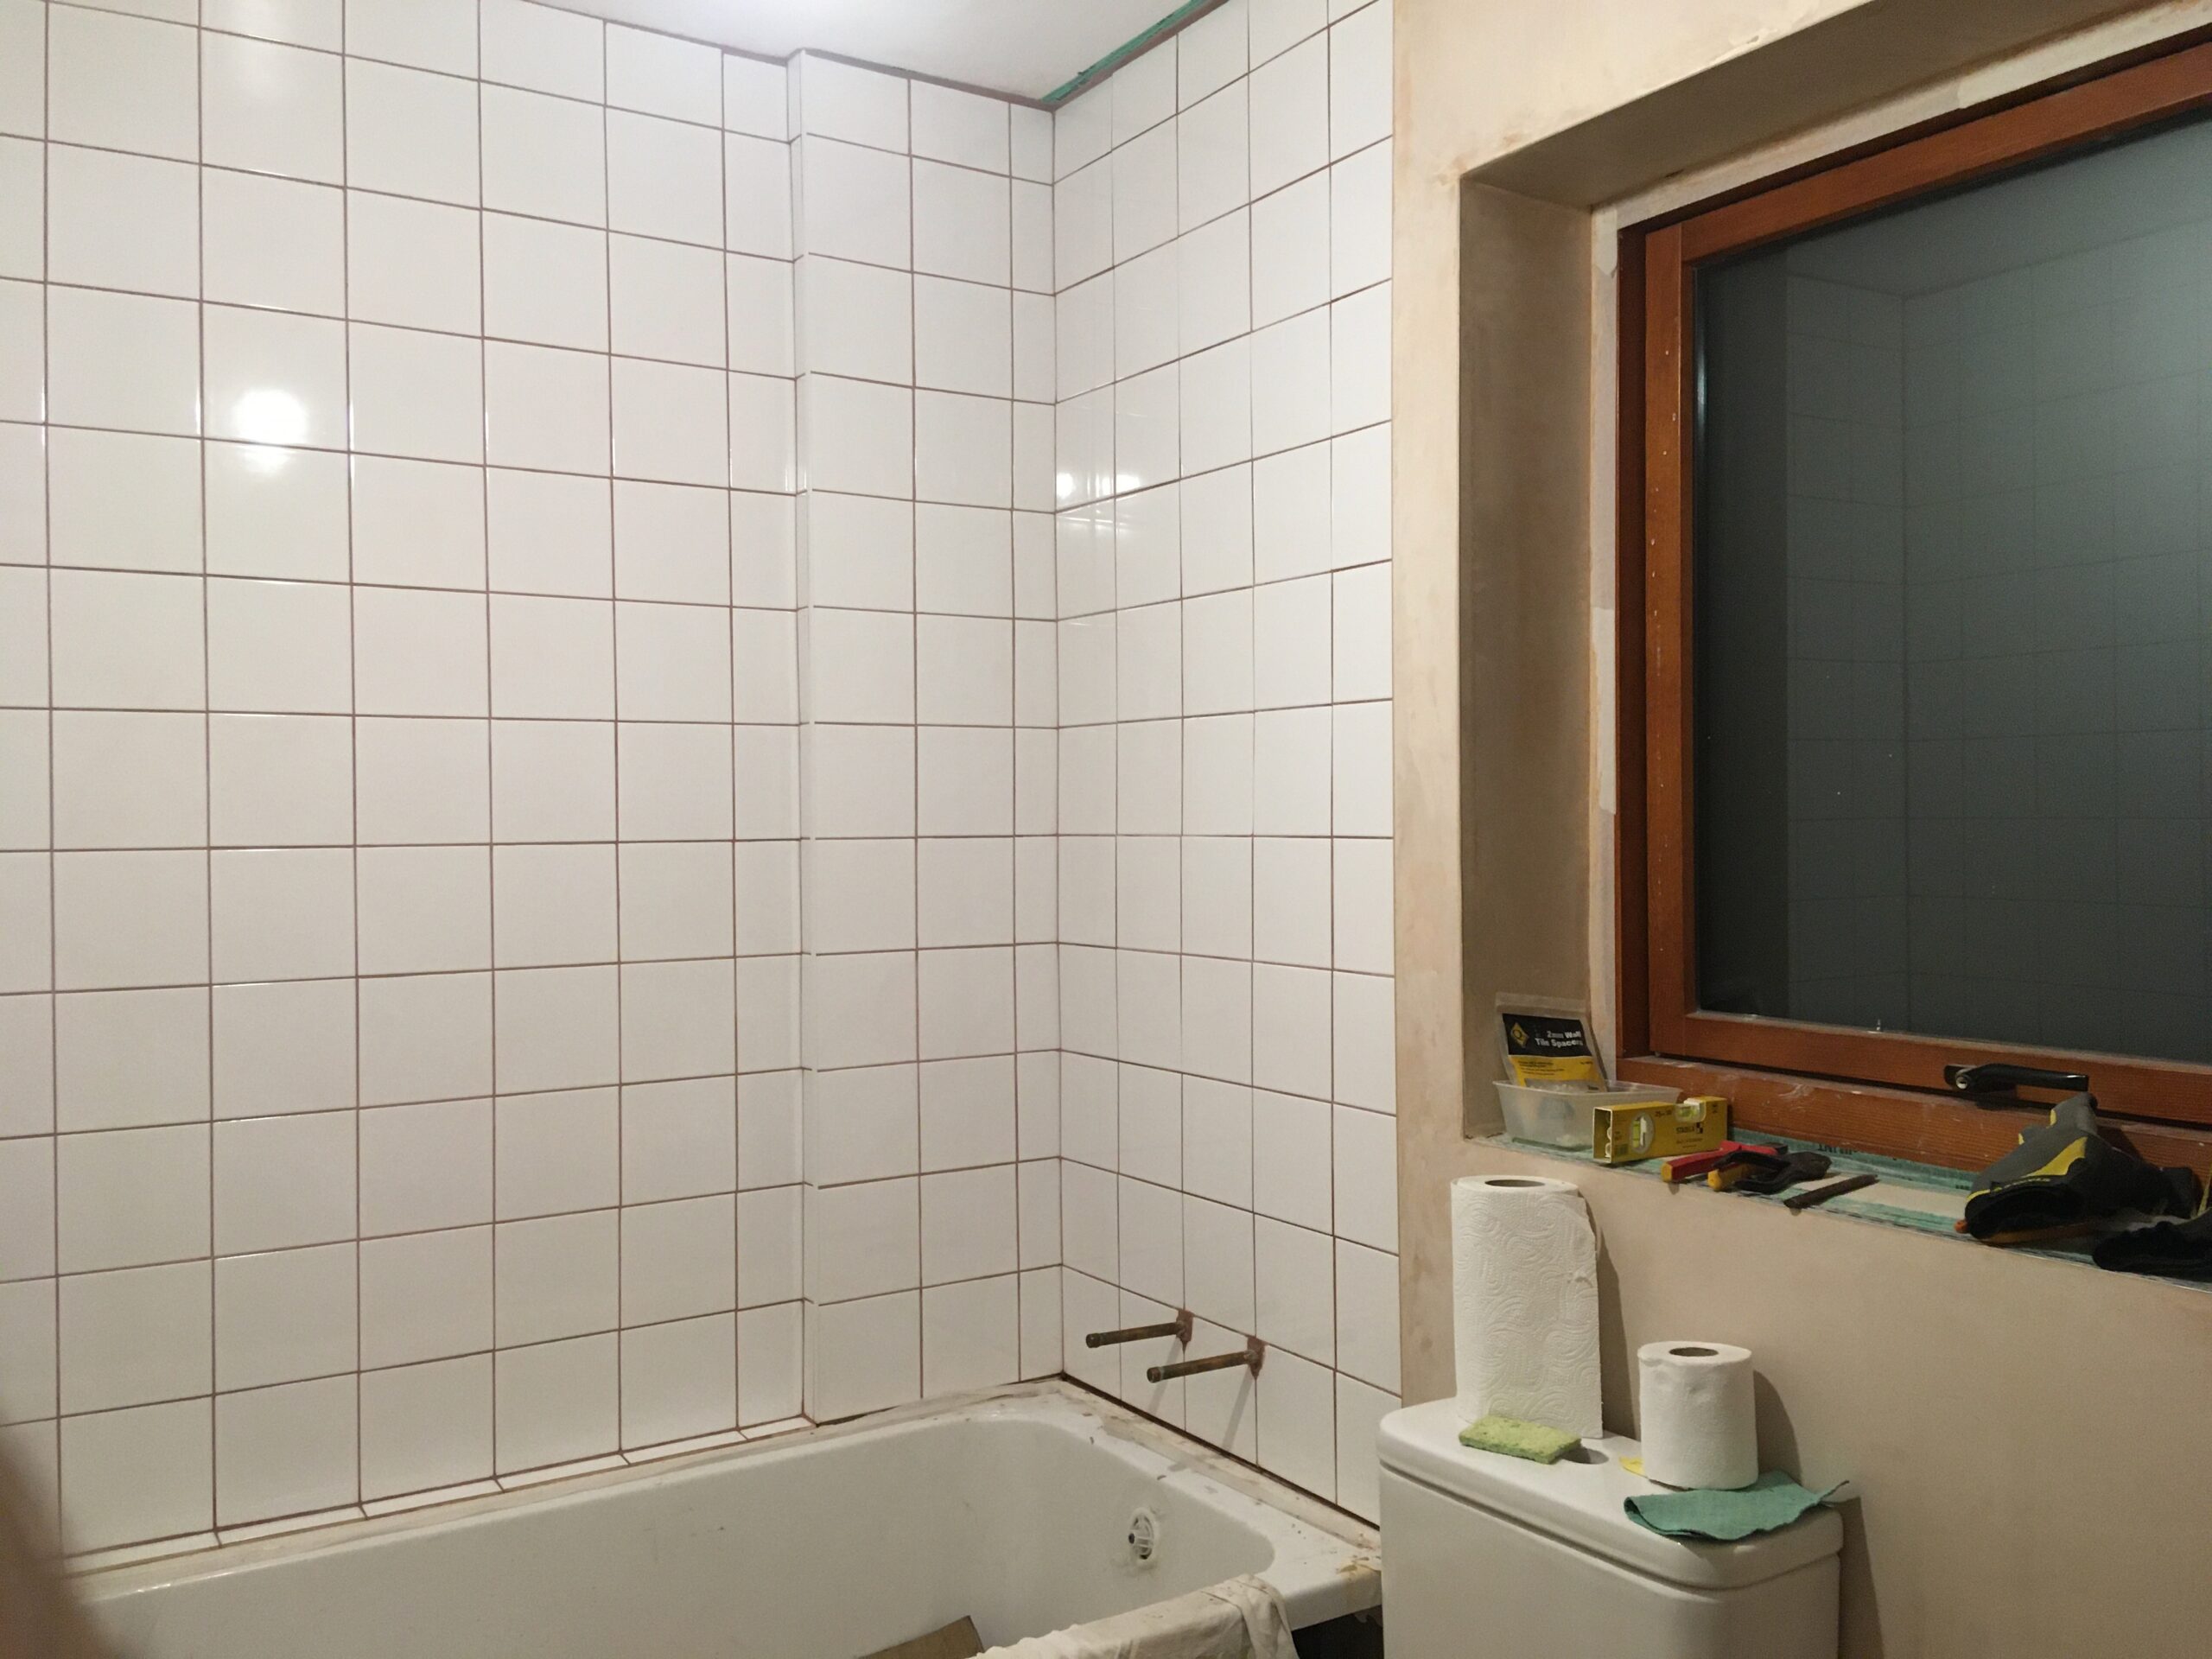
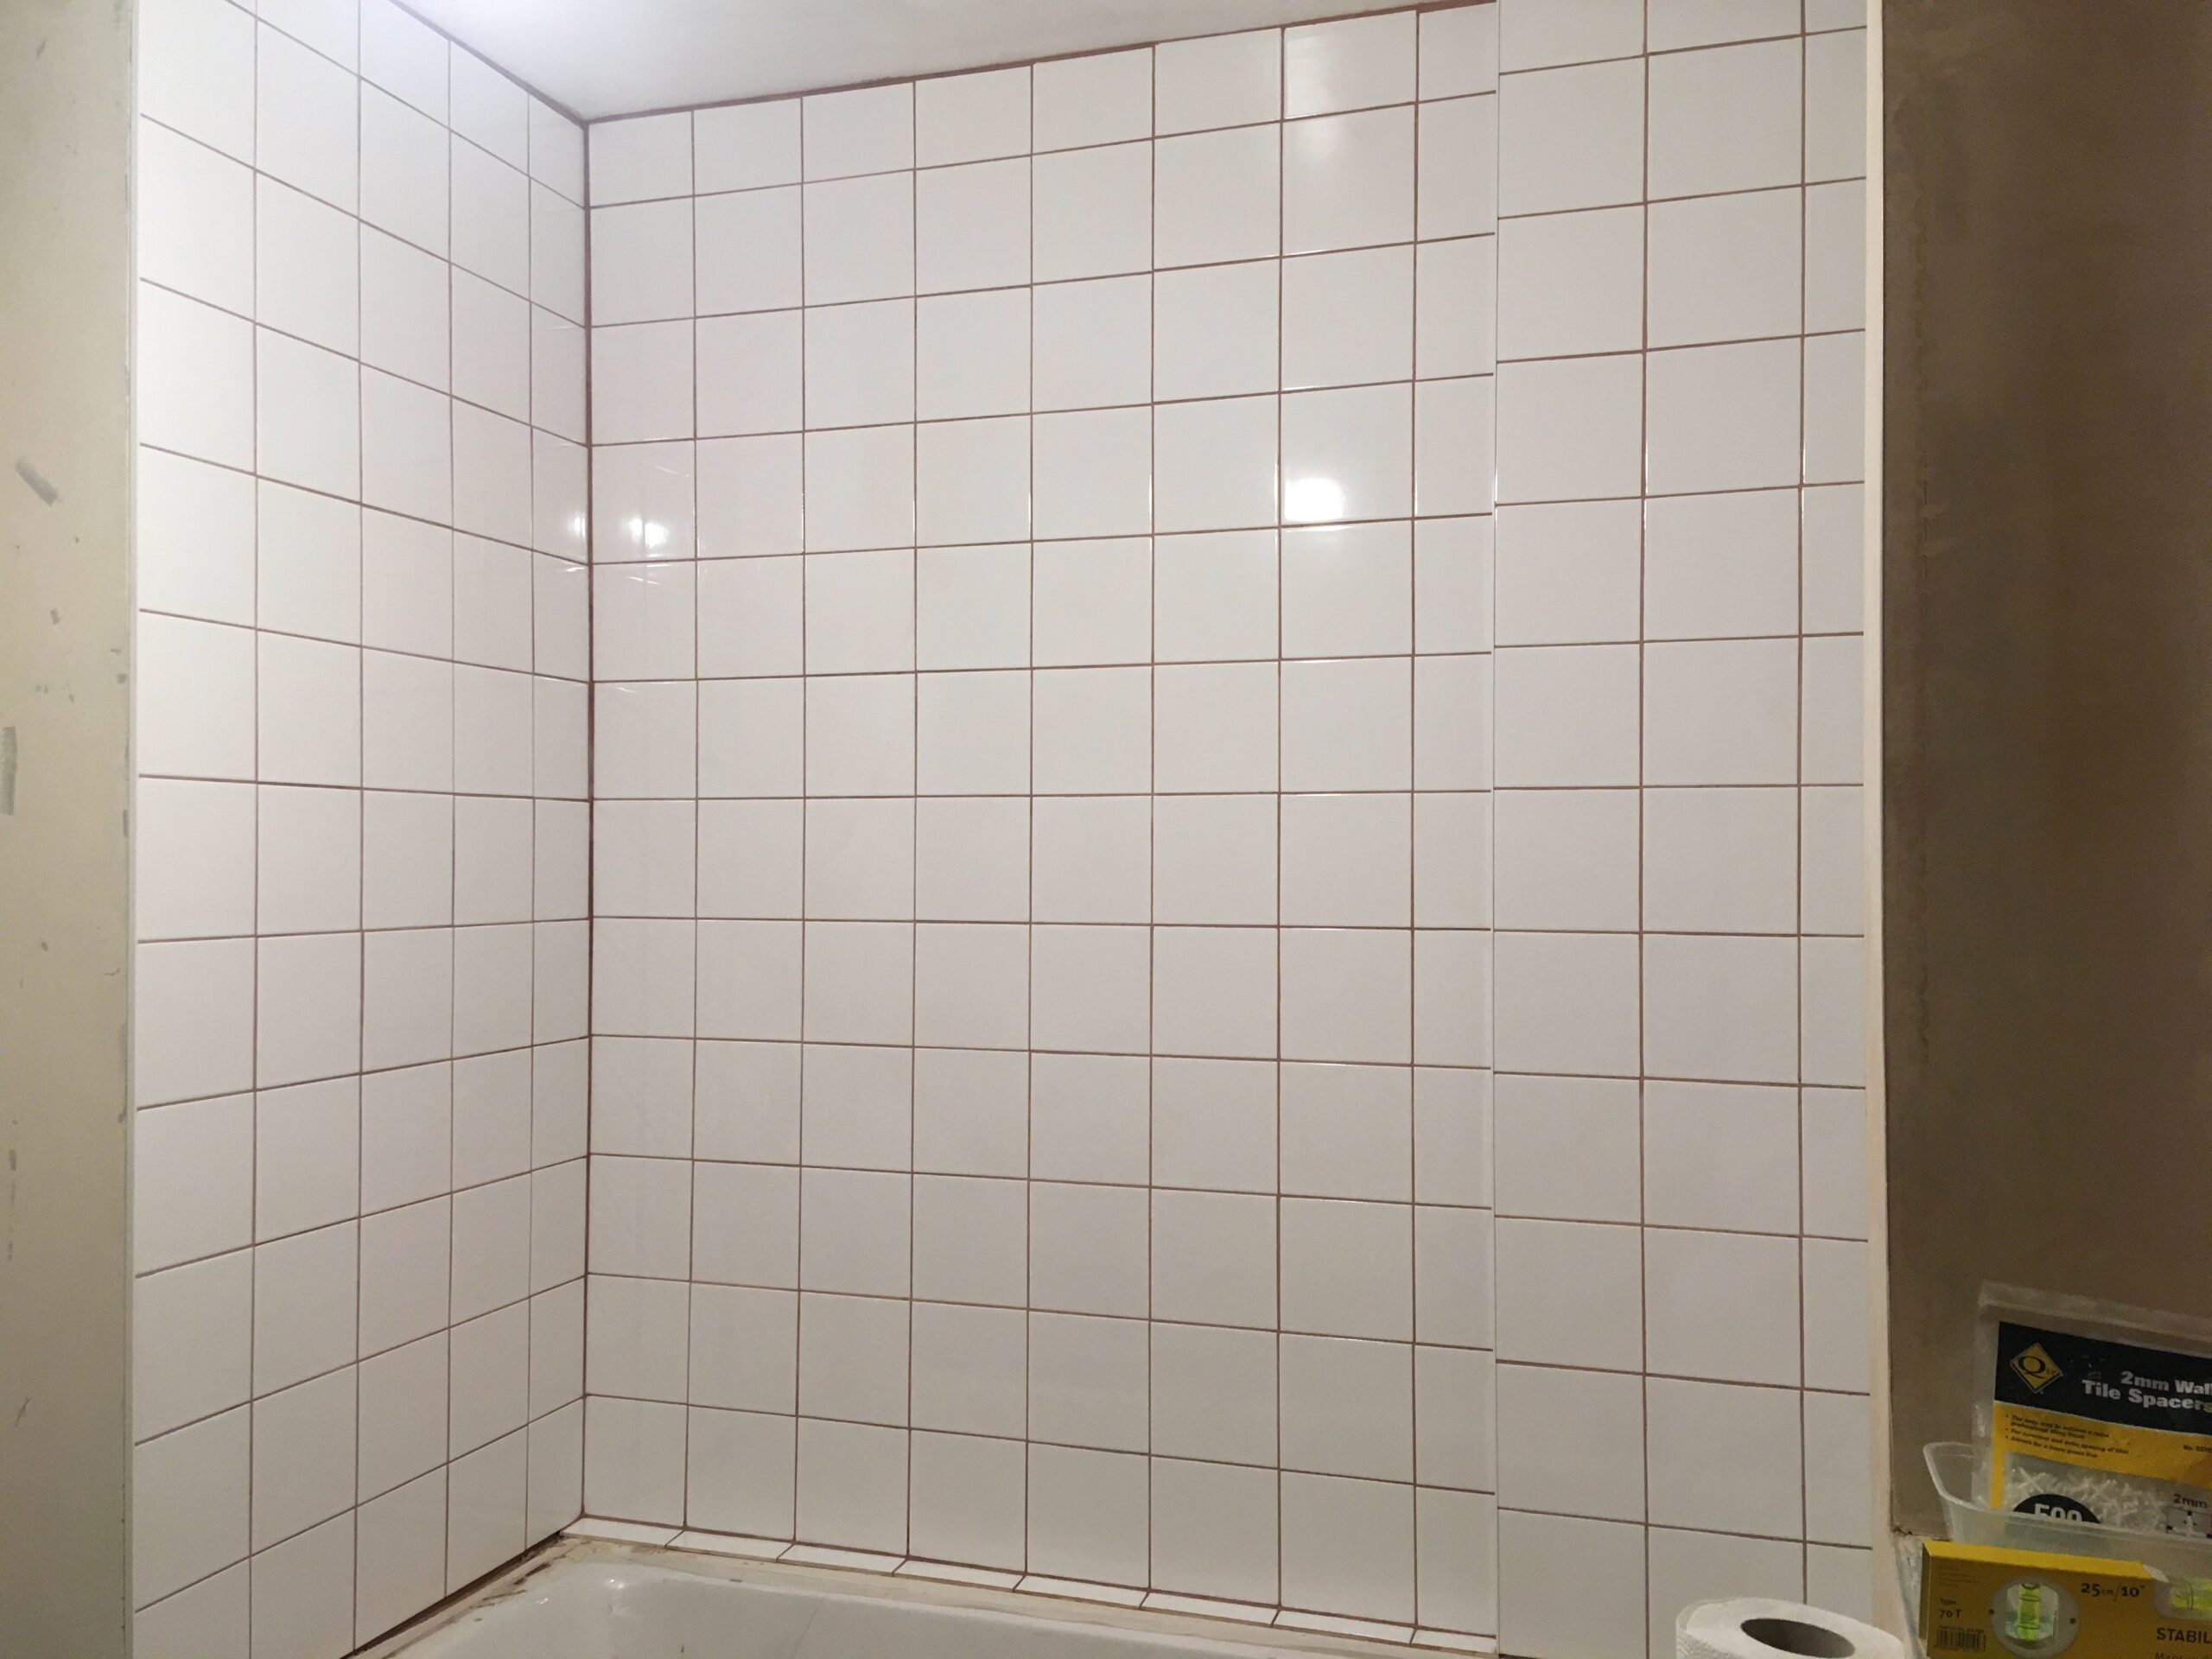
Well tiling was trickier and more time consuming than I remembered.
Good call by Isabel to use coloured grout to give a striking effect to the otherwise traditional style tiles.
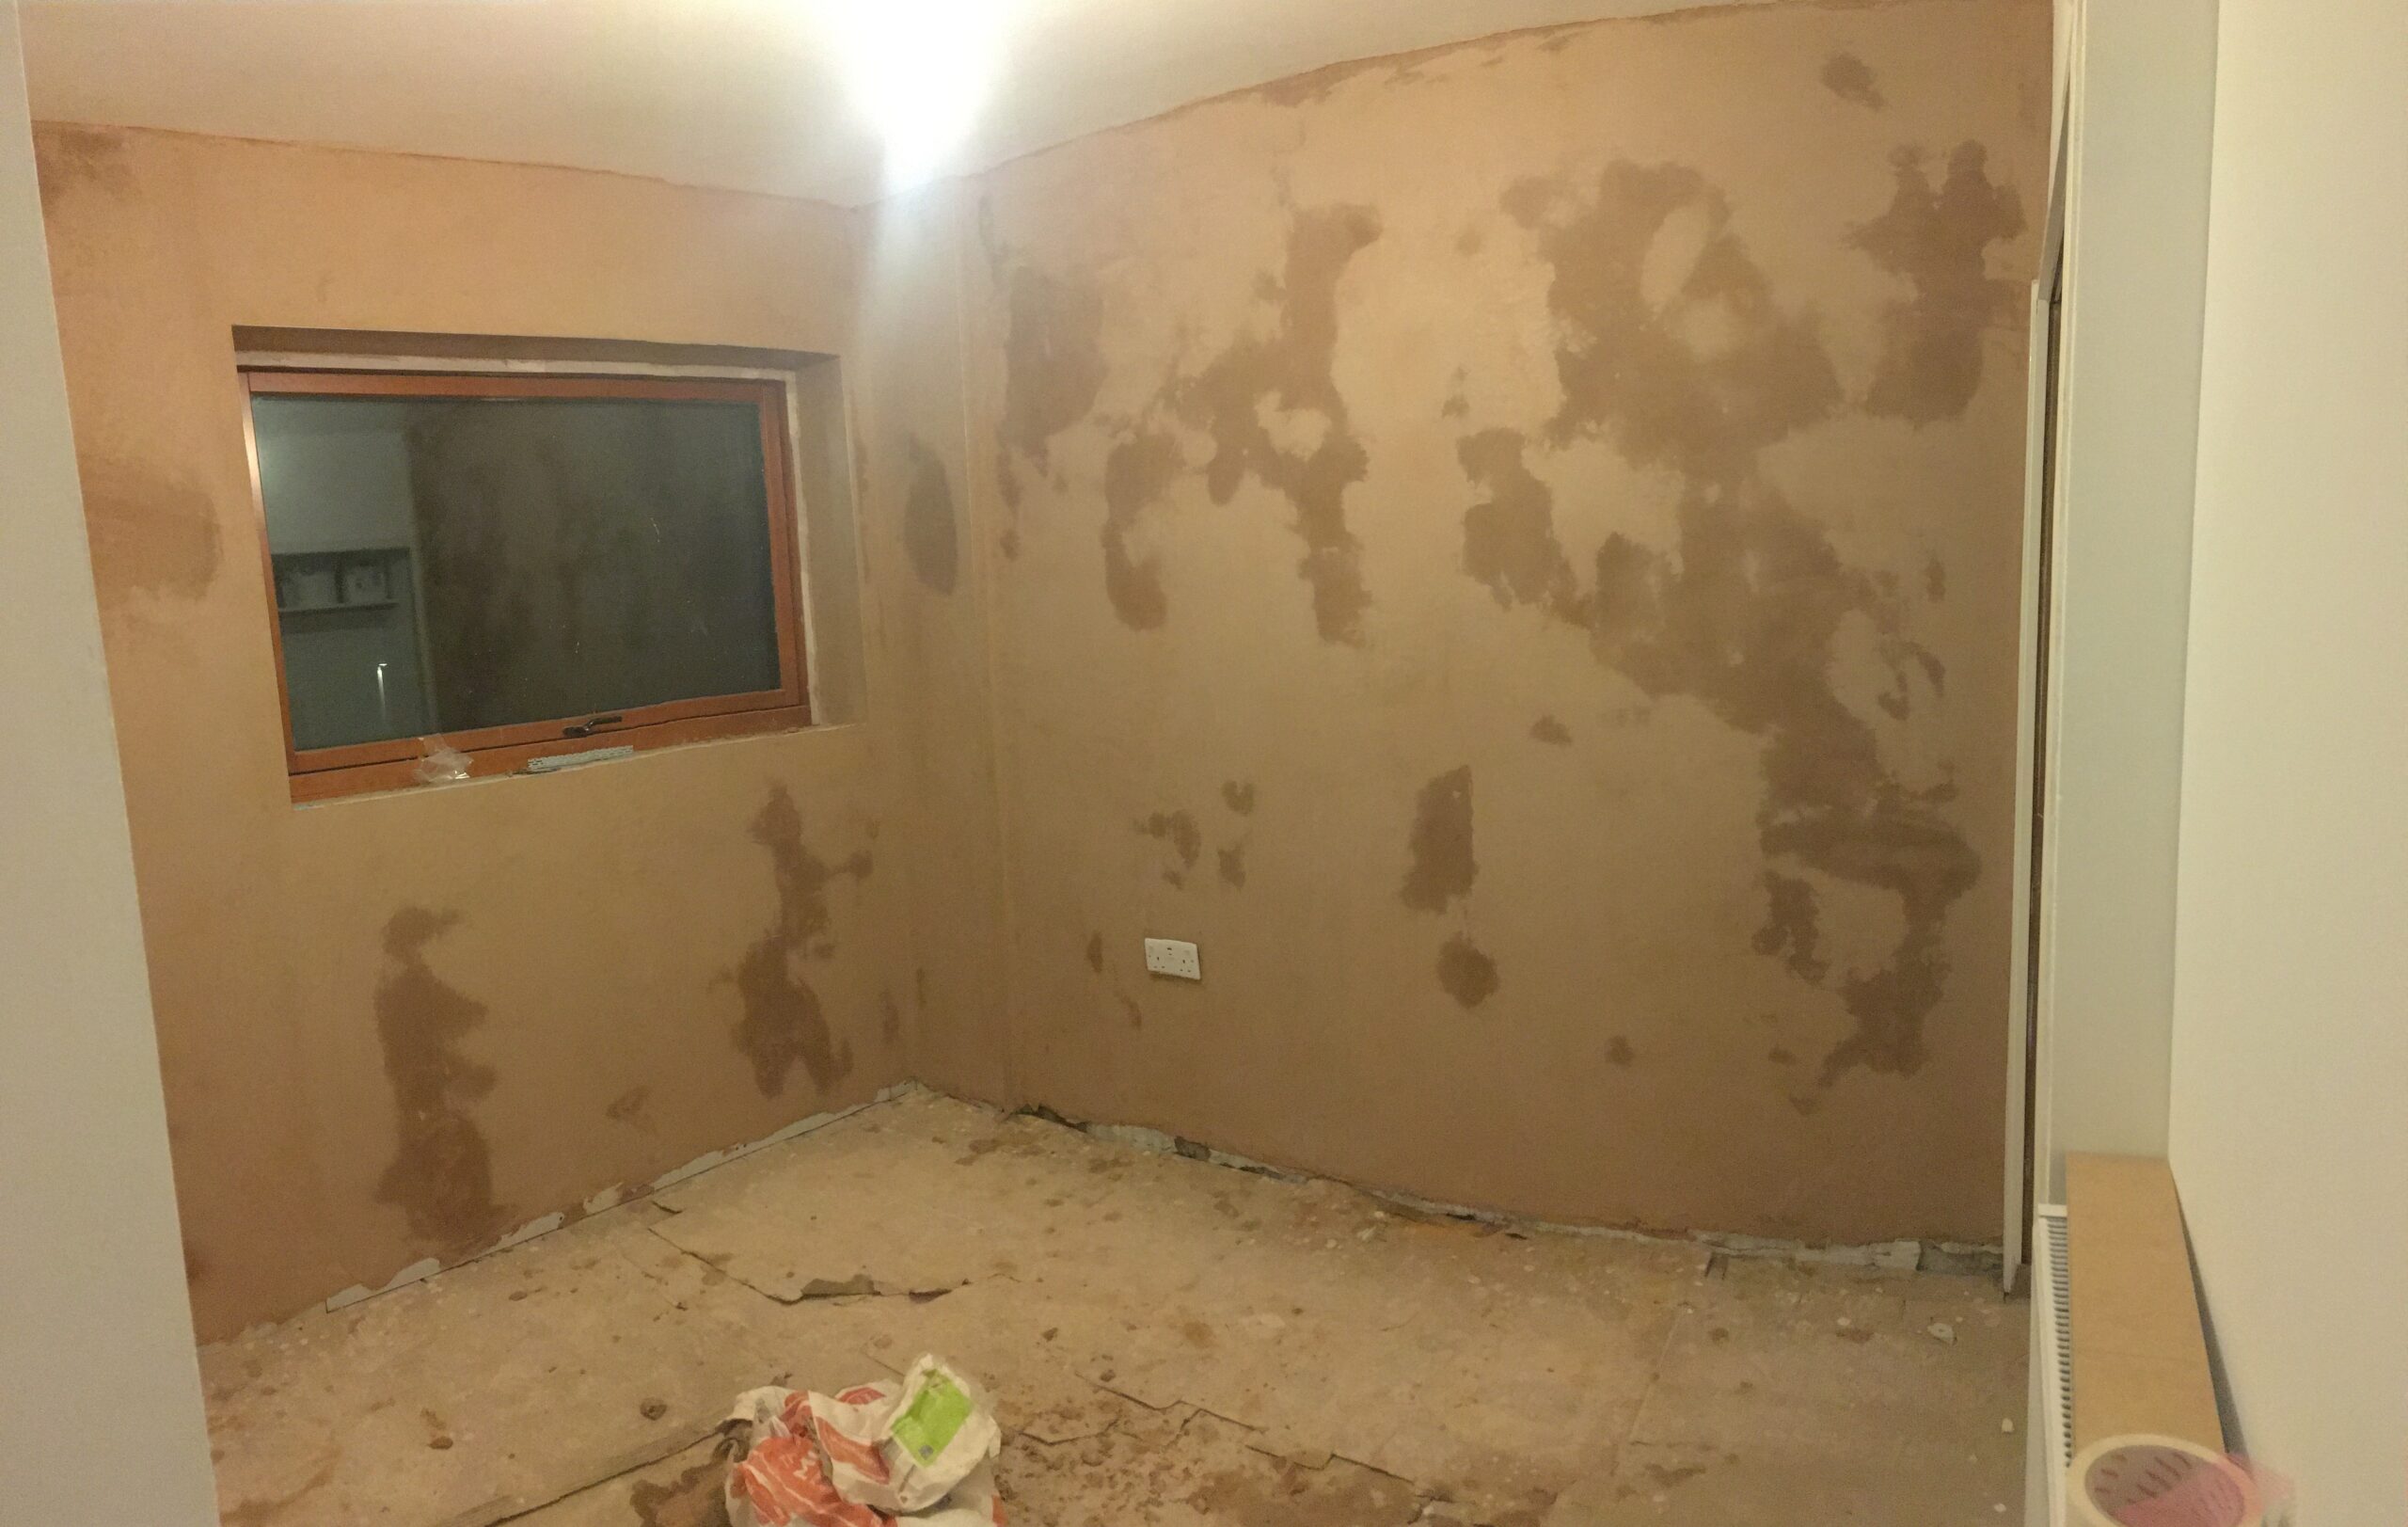
My word the plasterer was messy. Glad I covered the floor.
btw, I thought that labelling the route of the water pipes inside the wall with a red line (on the right of the loo, below) might be a bit over the top; patronising even:
The plasterer arrived (late) at tea time, after been locked out of the unit, struggling to access the materials, cancelling, and then un-cancelling, seemed to be rushing, splashed PVA all over the place and then worked down the edge of the wall just left of the toilet, installing metal edge beading, using a power driver to drive in the screws, down to where the water pipes stick out, and …
“FKING ‘ELL!!! SHIIIIT!!! Richard! Richard!”
I thought he’d cut his cut his finger off or something, so in some ways I was relieved when he said
“Turn the water off!!!”
and I realised it was merely a water pipe that had been damaged.
Fortunately I managed to turn the water off and mop up the flood before it soaked through and stained the kitchen ceiling below, which had been redecorated literally a couple weeks before.
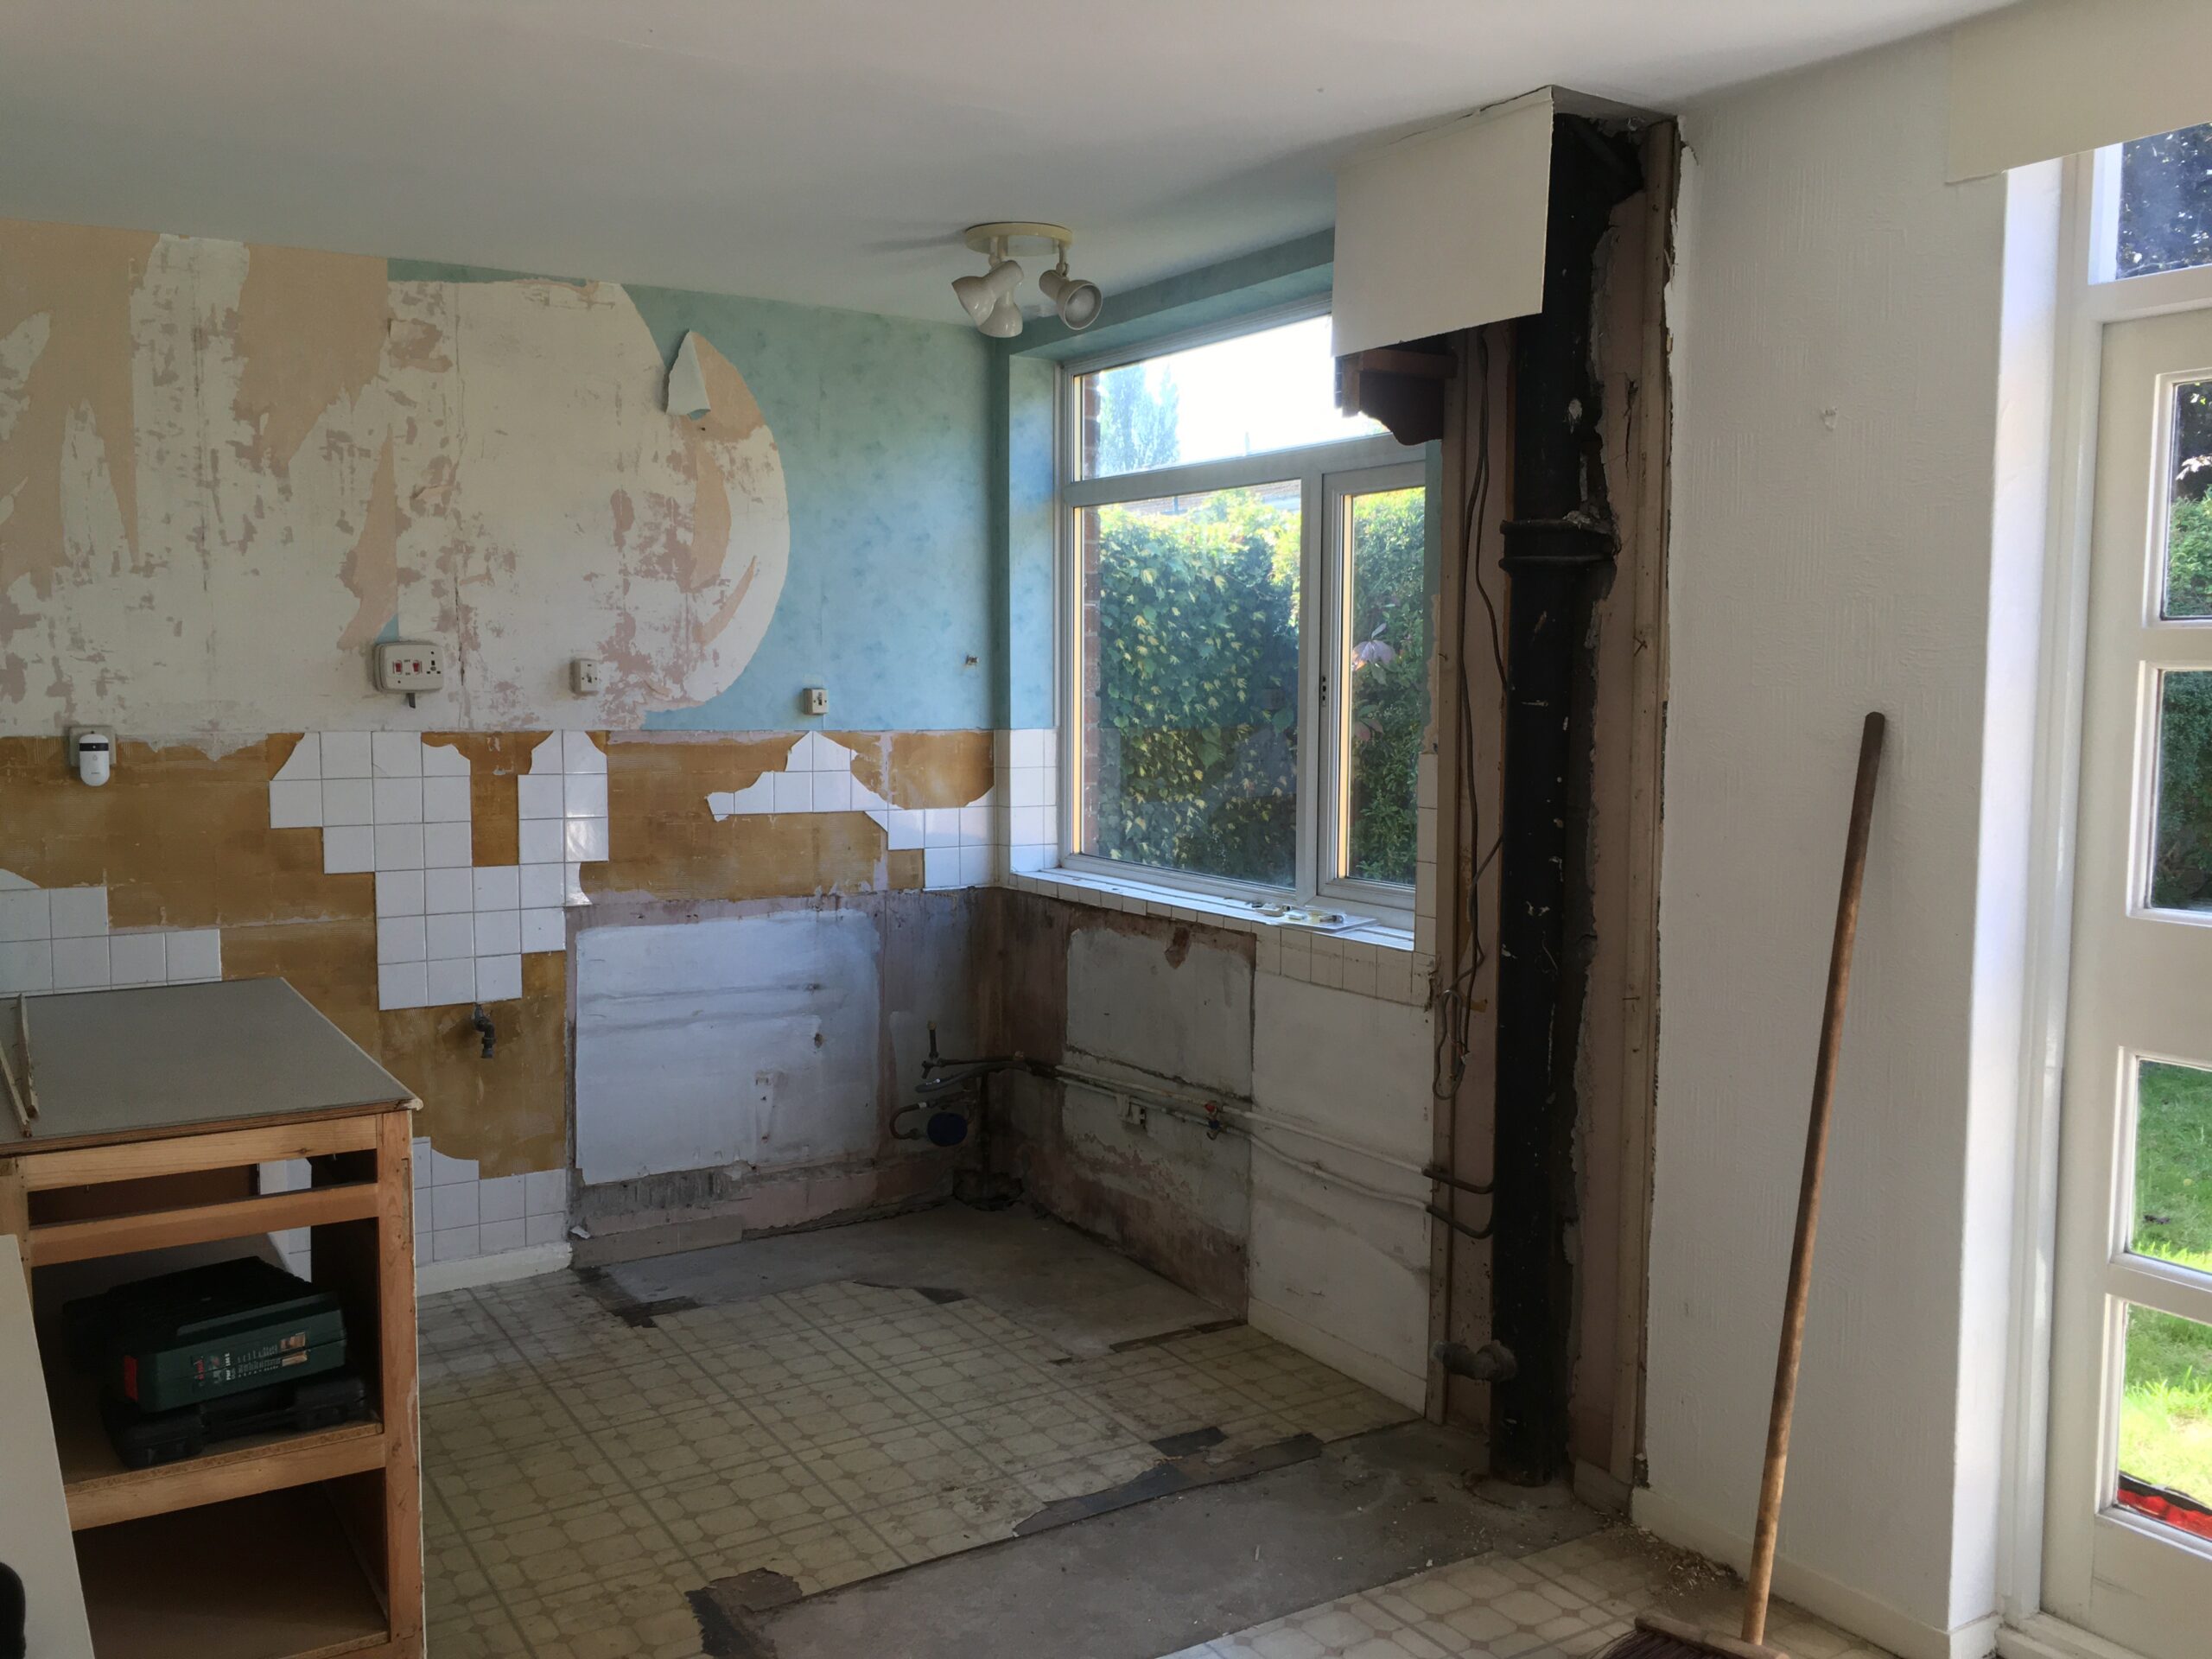
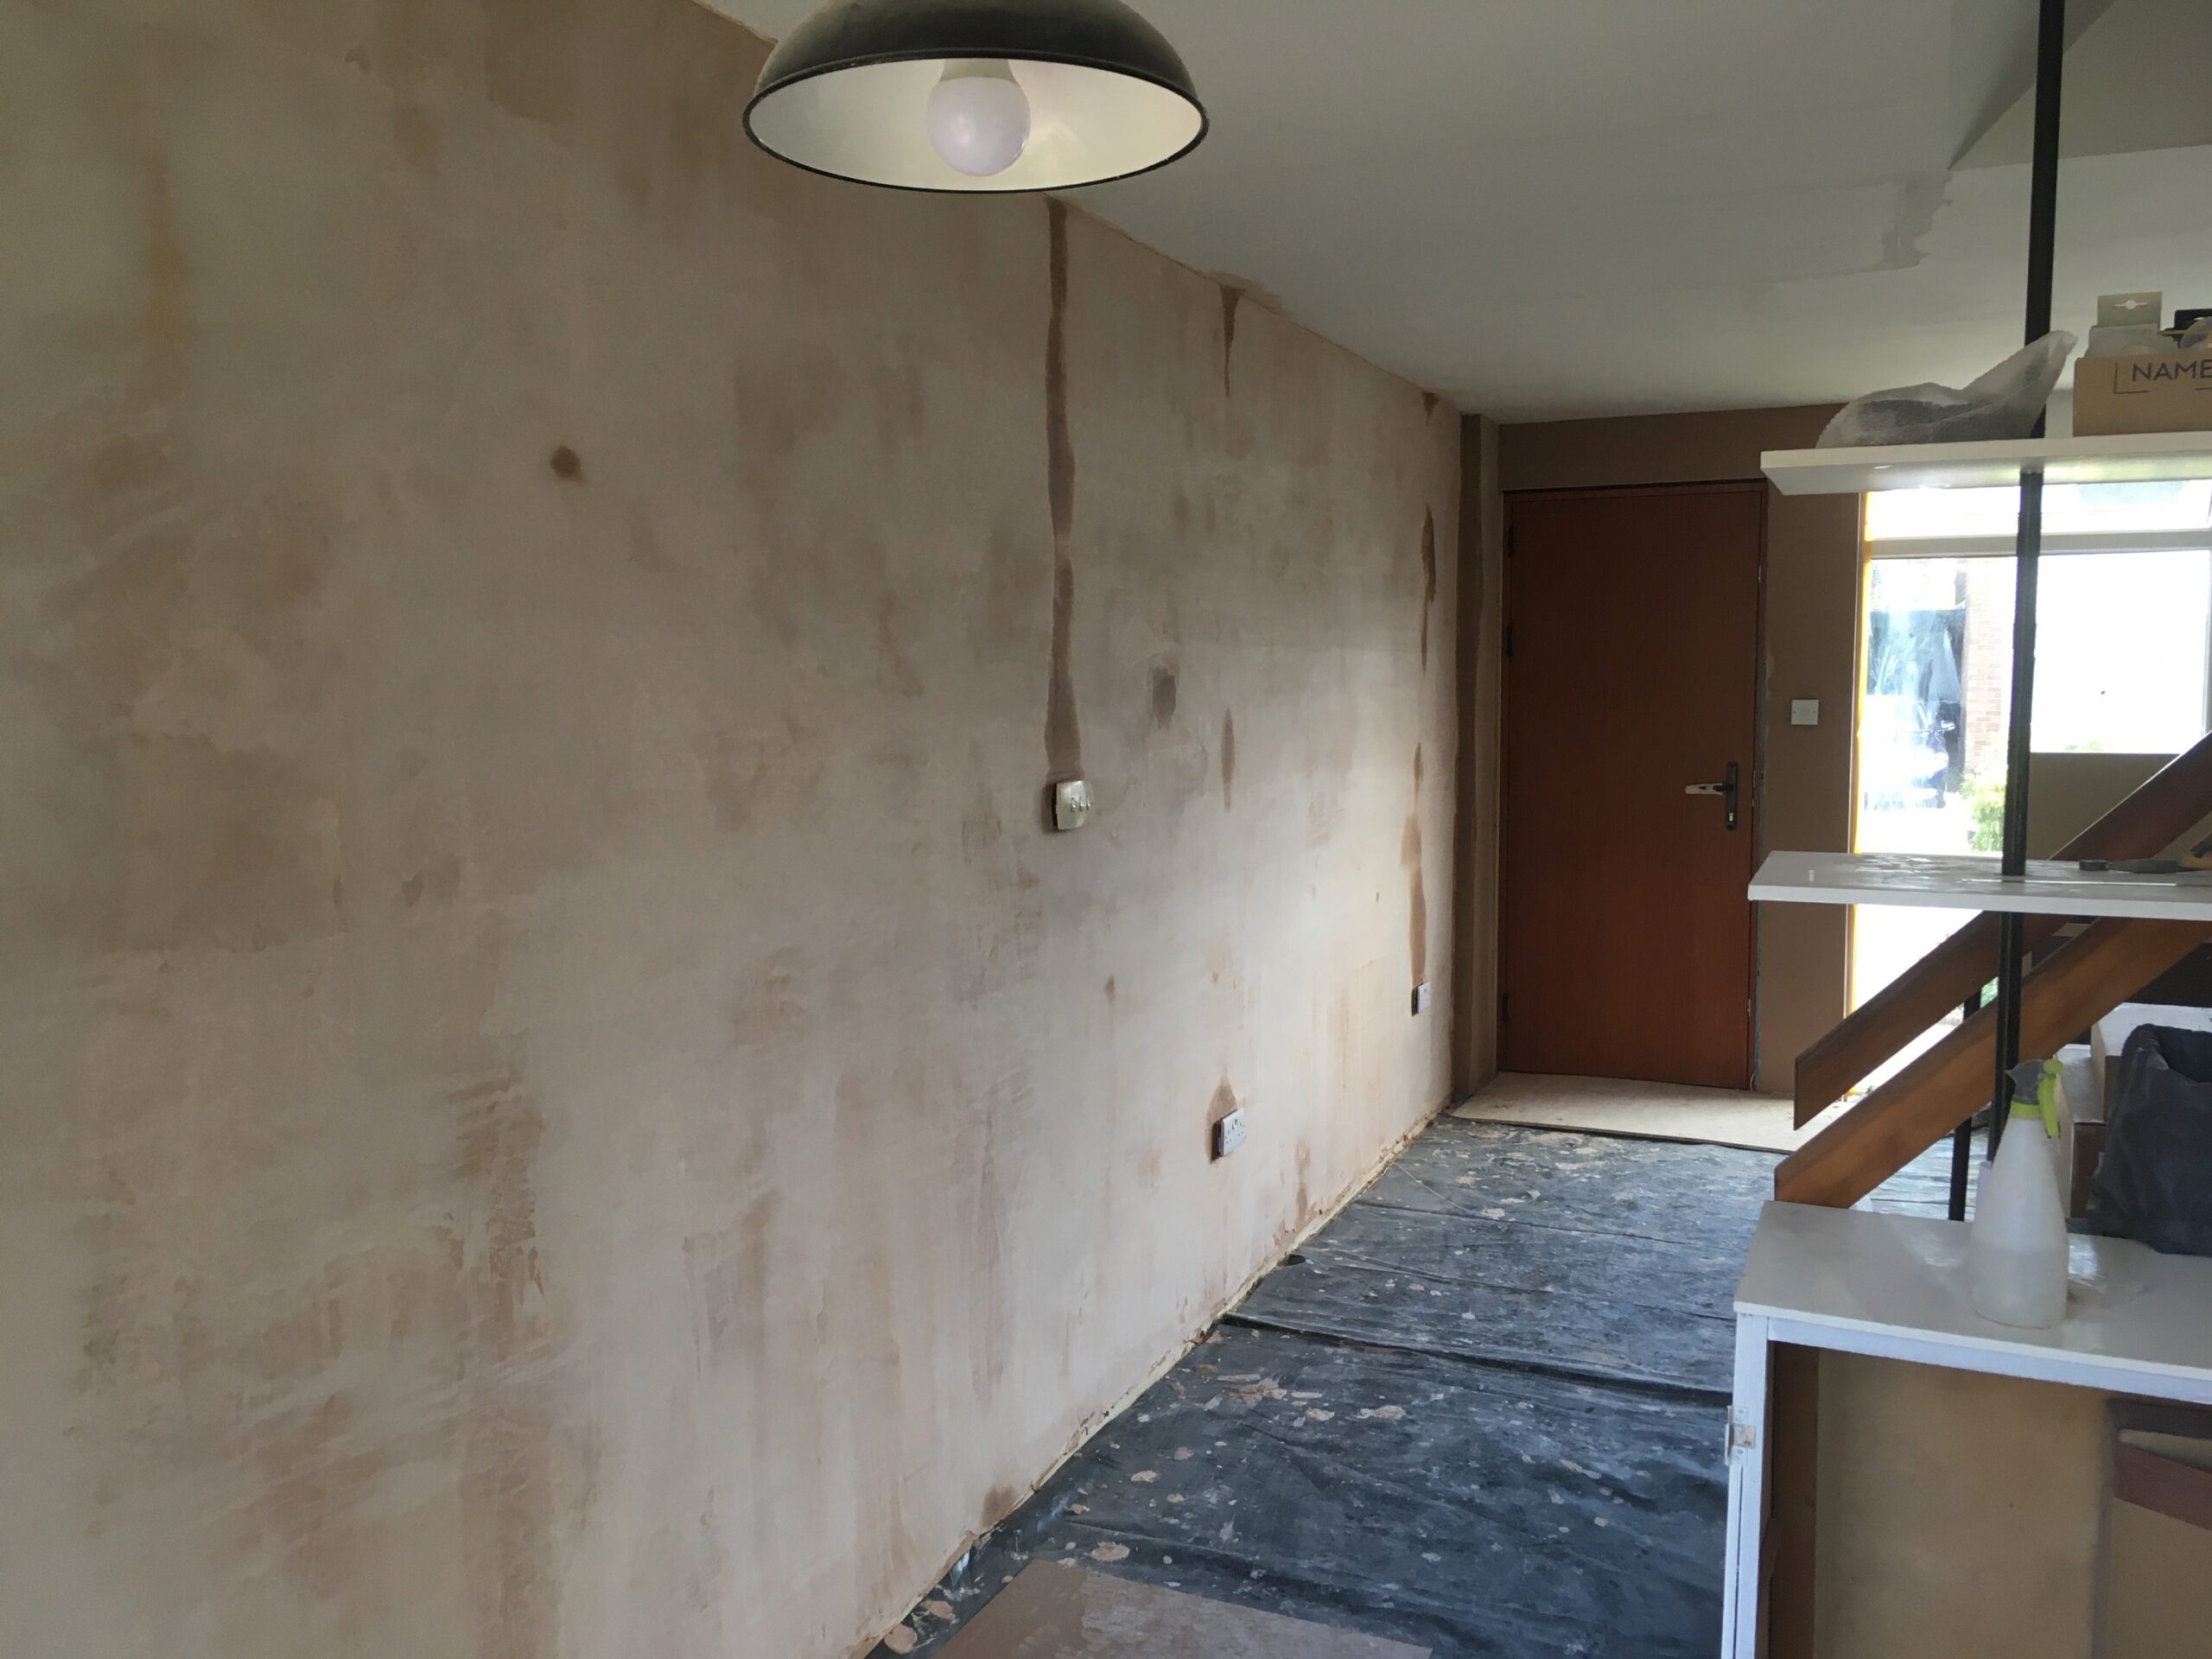
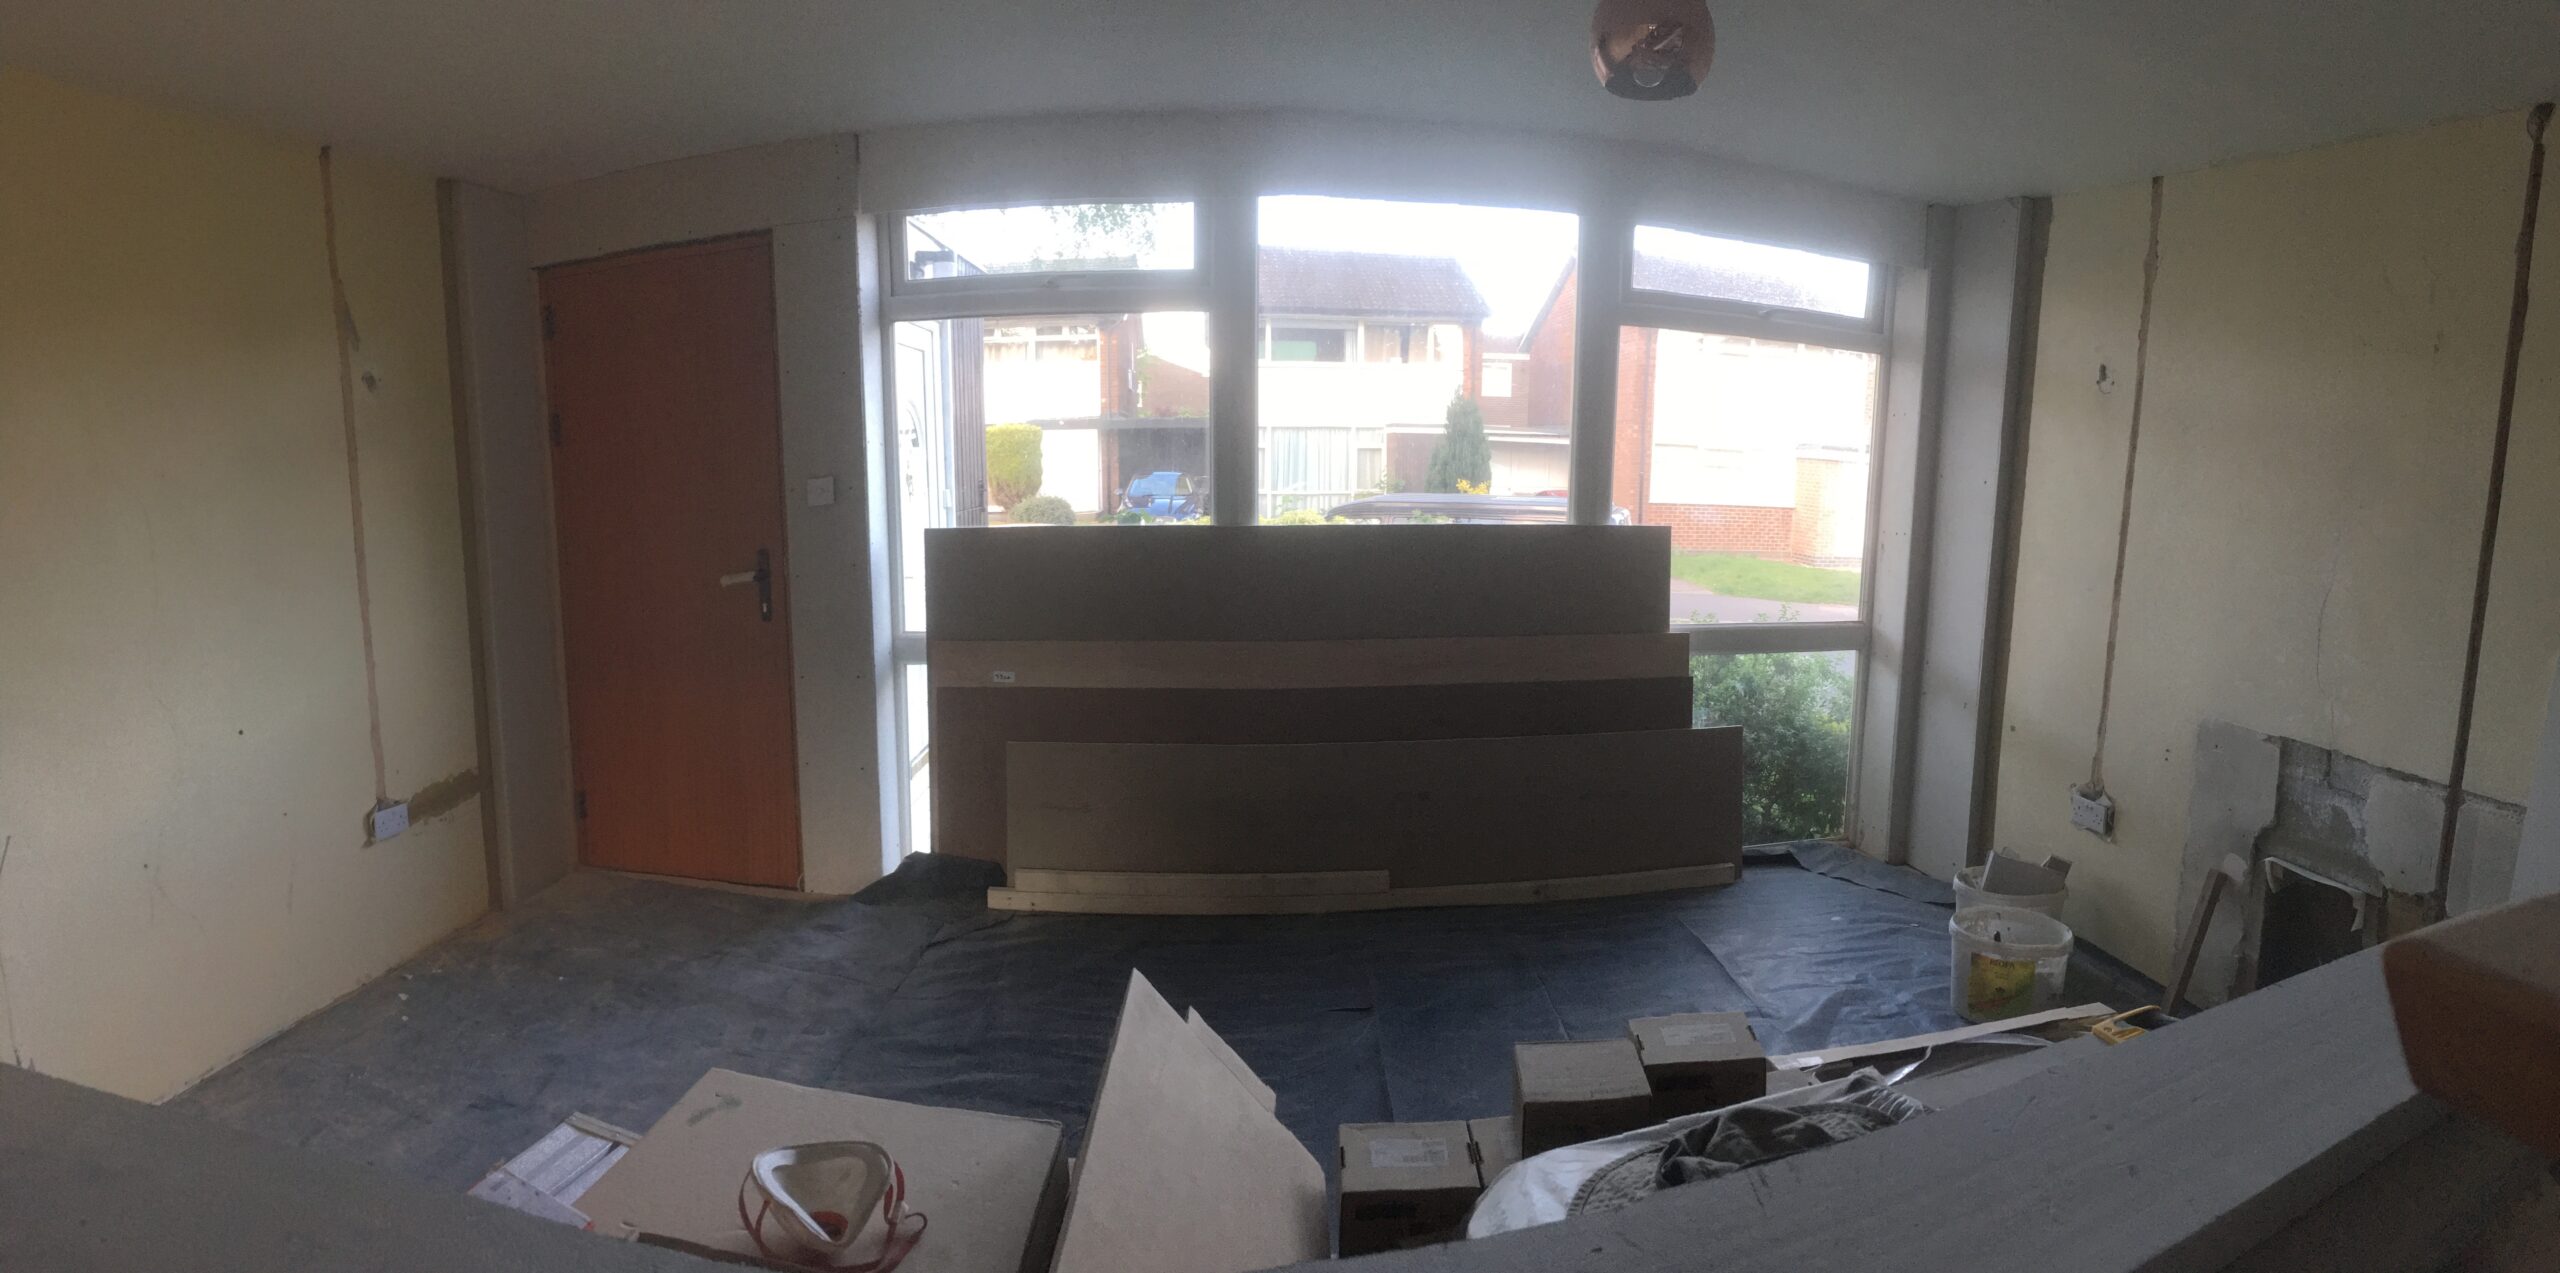
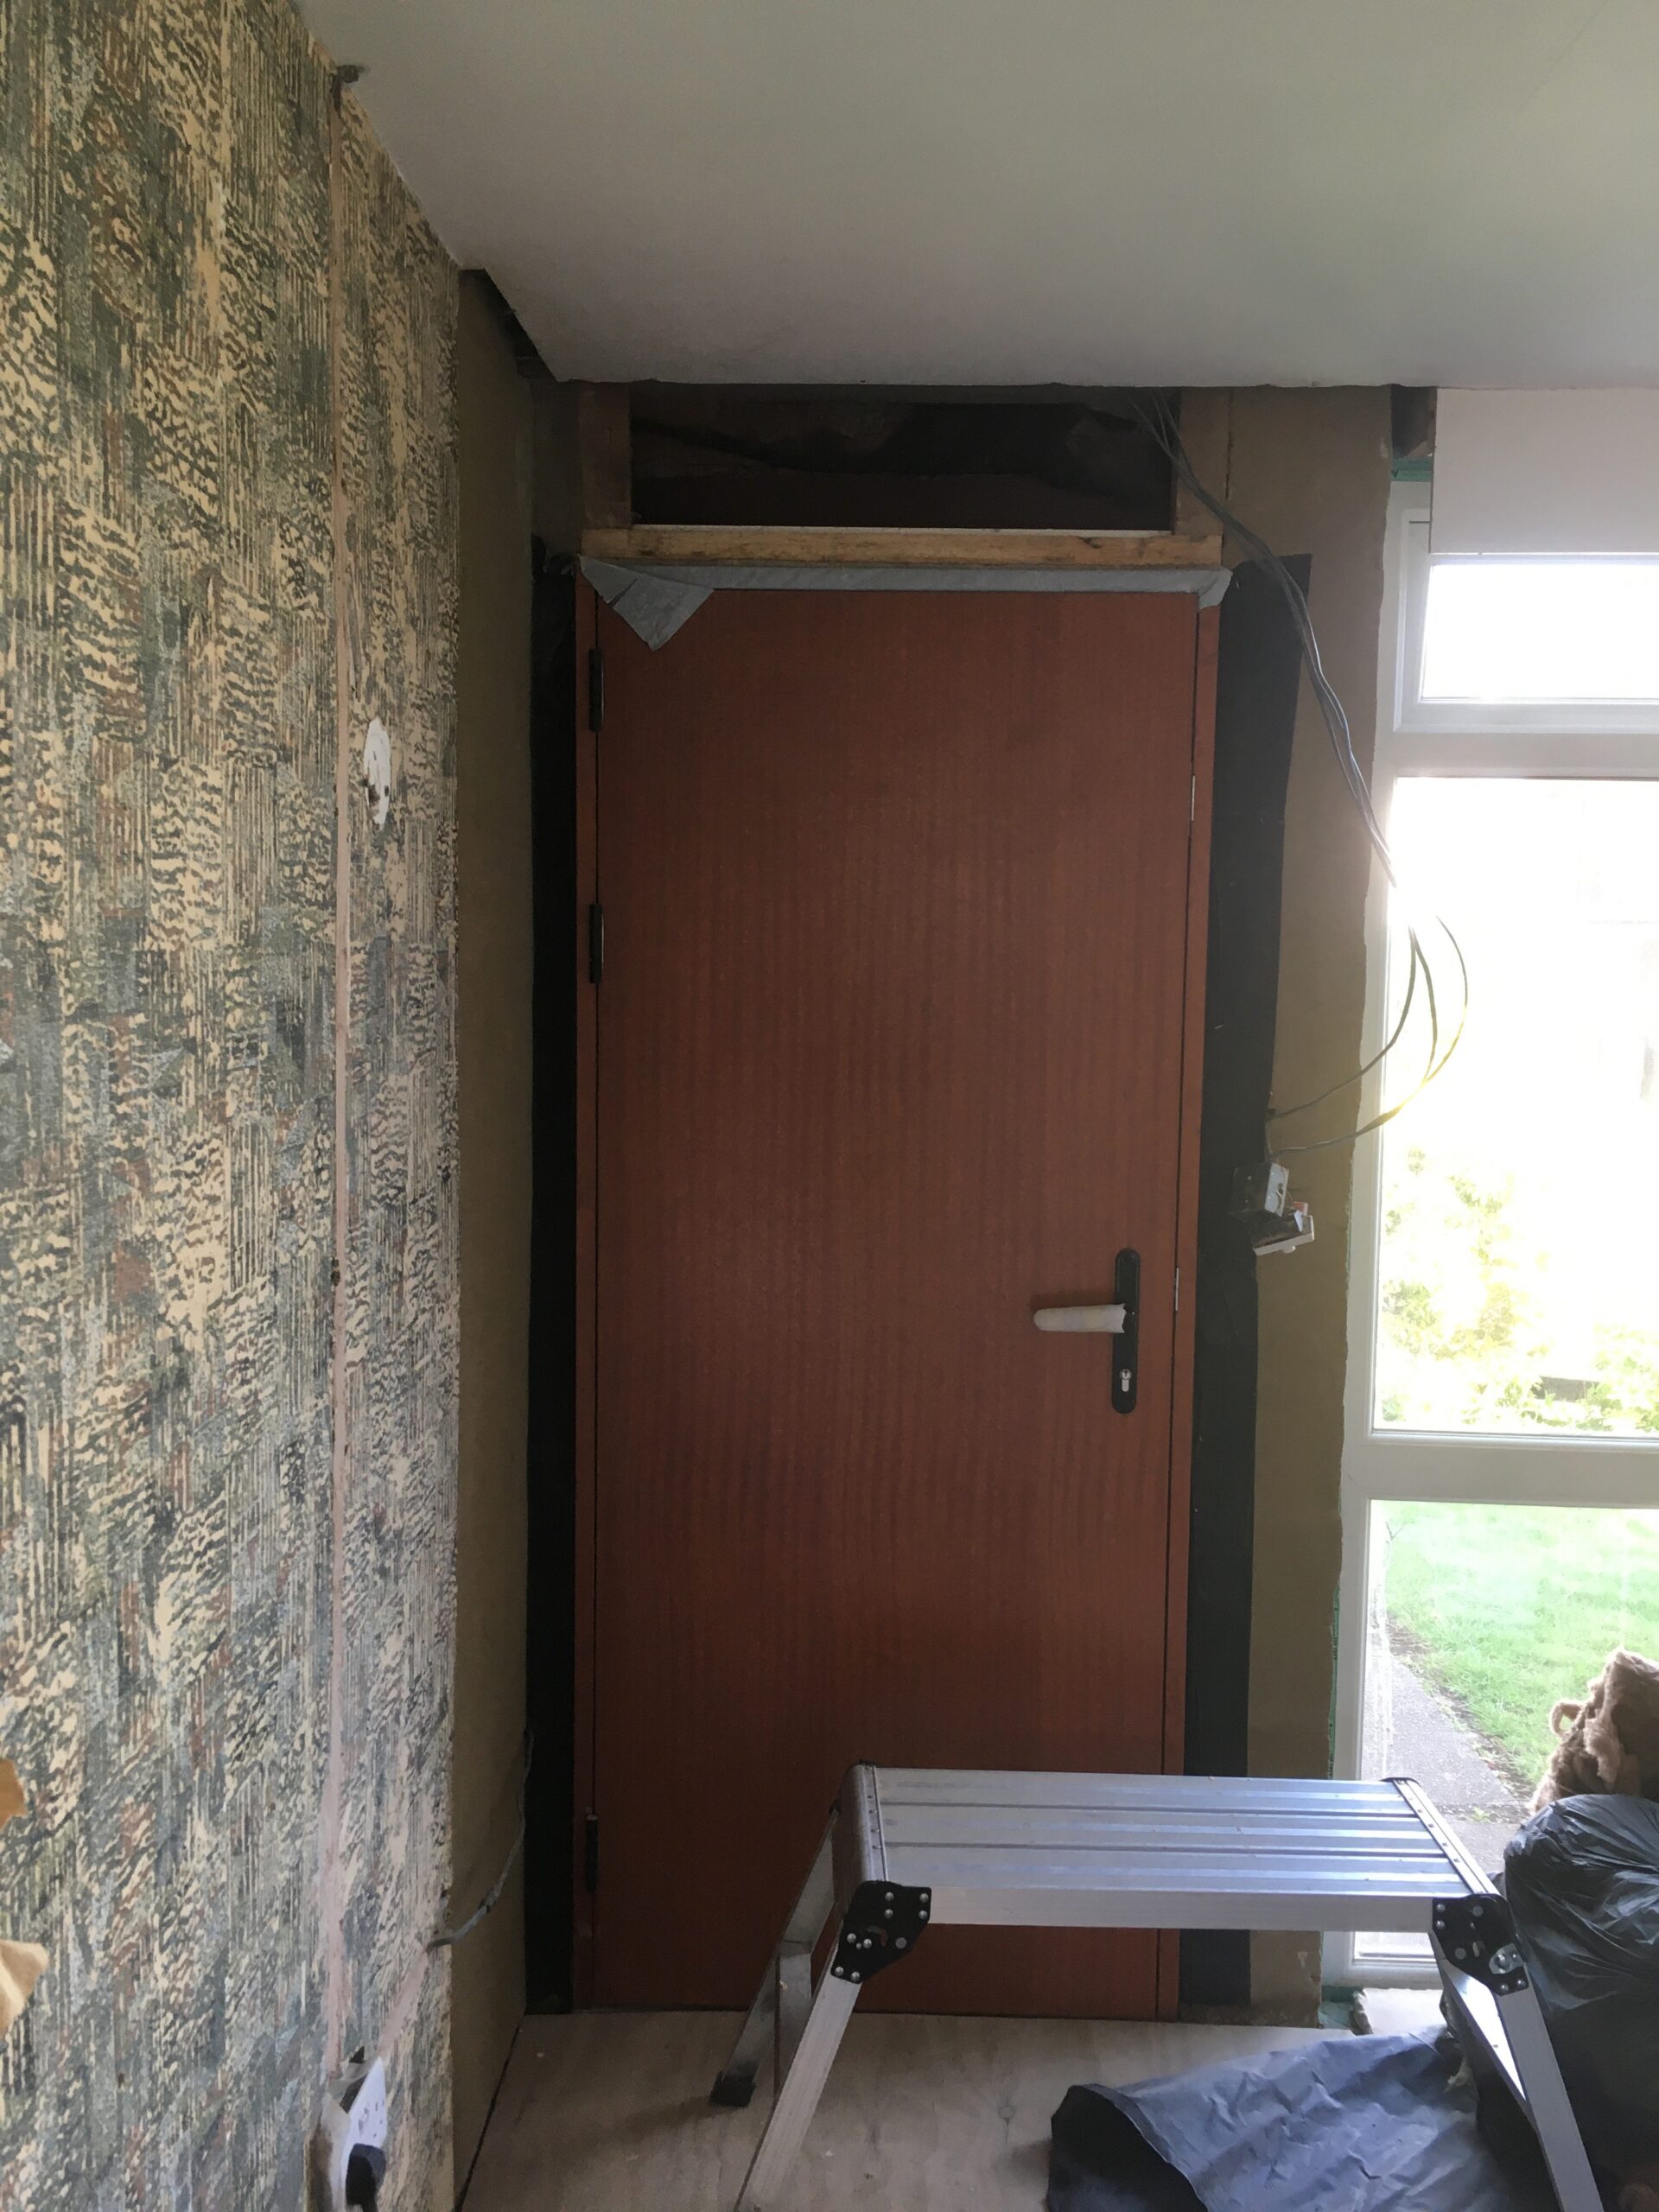
An overdue post following some slowing down over the summer by being required to go on holiday, and assisting the farm (extremely busy with our first harvest) by taking on a bit more office work, but work on the house has of course continued and I can now report progress upstairs. The bulk of work downstairs is completed, sufficiently to move in at least. Admittedly a ‘few details’ remain… like rebuilding the bottom of the built-in cupboard frames at the new floor height, and skirting boards. And let’s ignore the tary-floored porch for now, with it’s ceiling partially dismantled for that nice new door that was fitted.
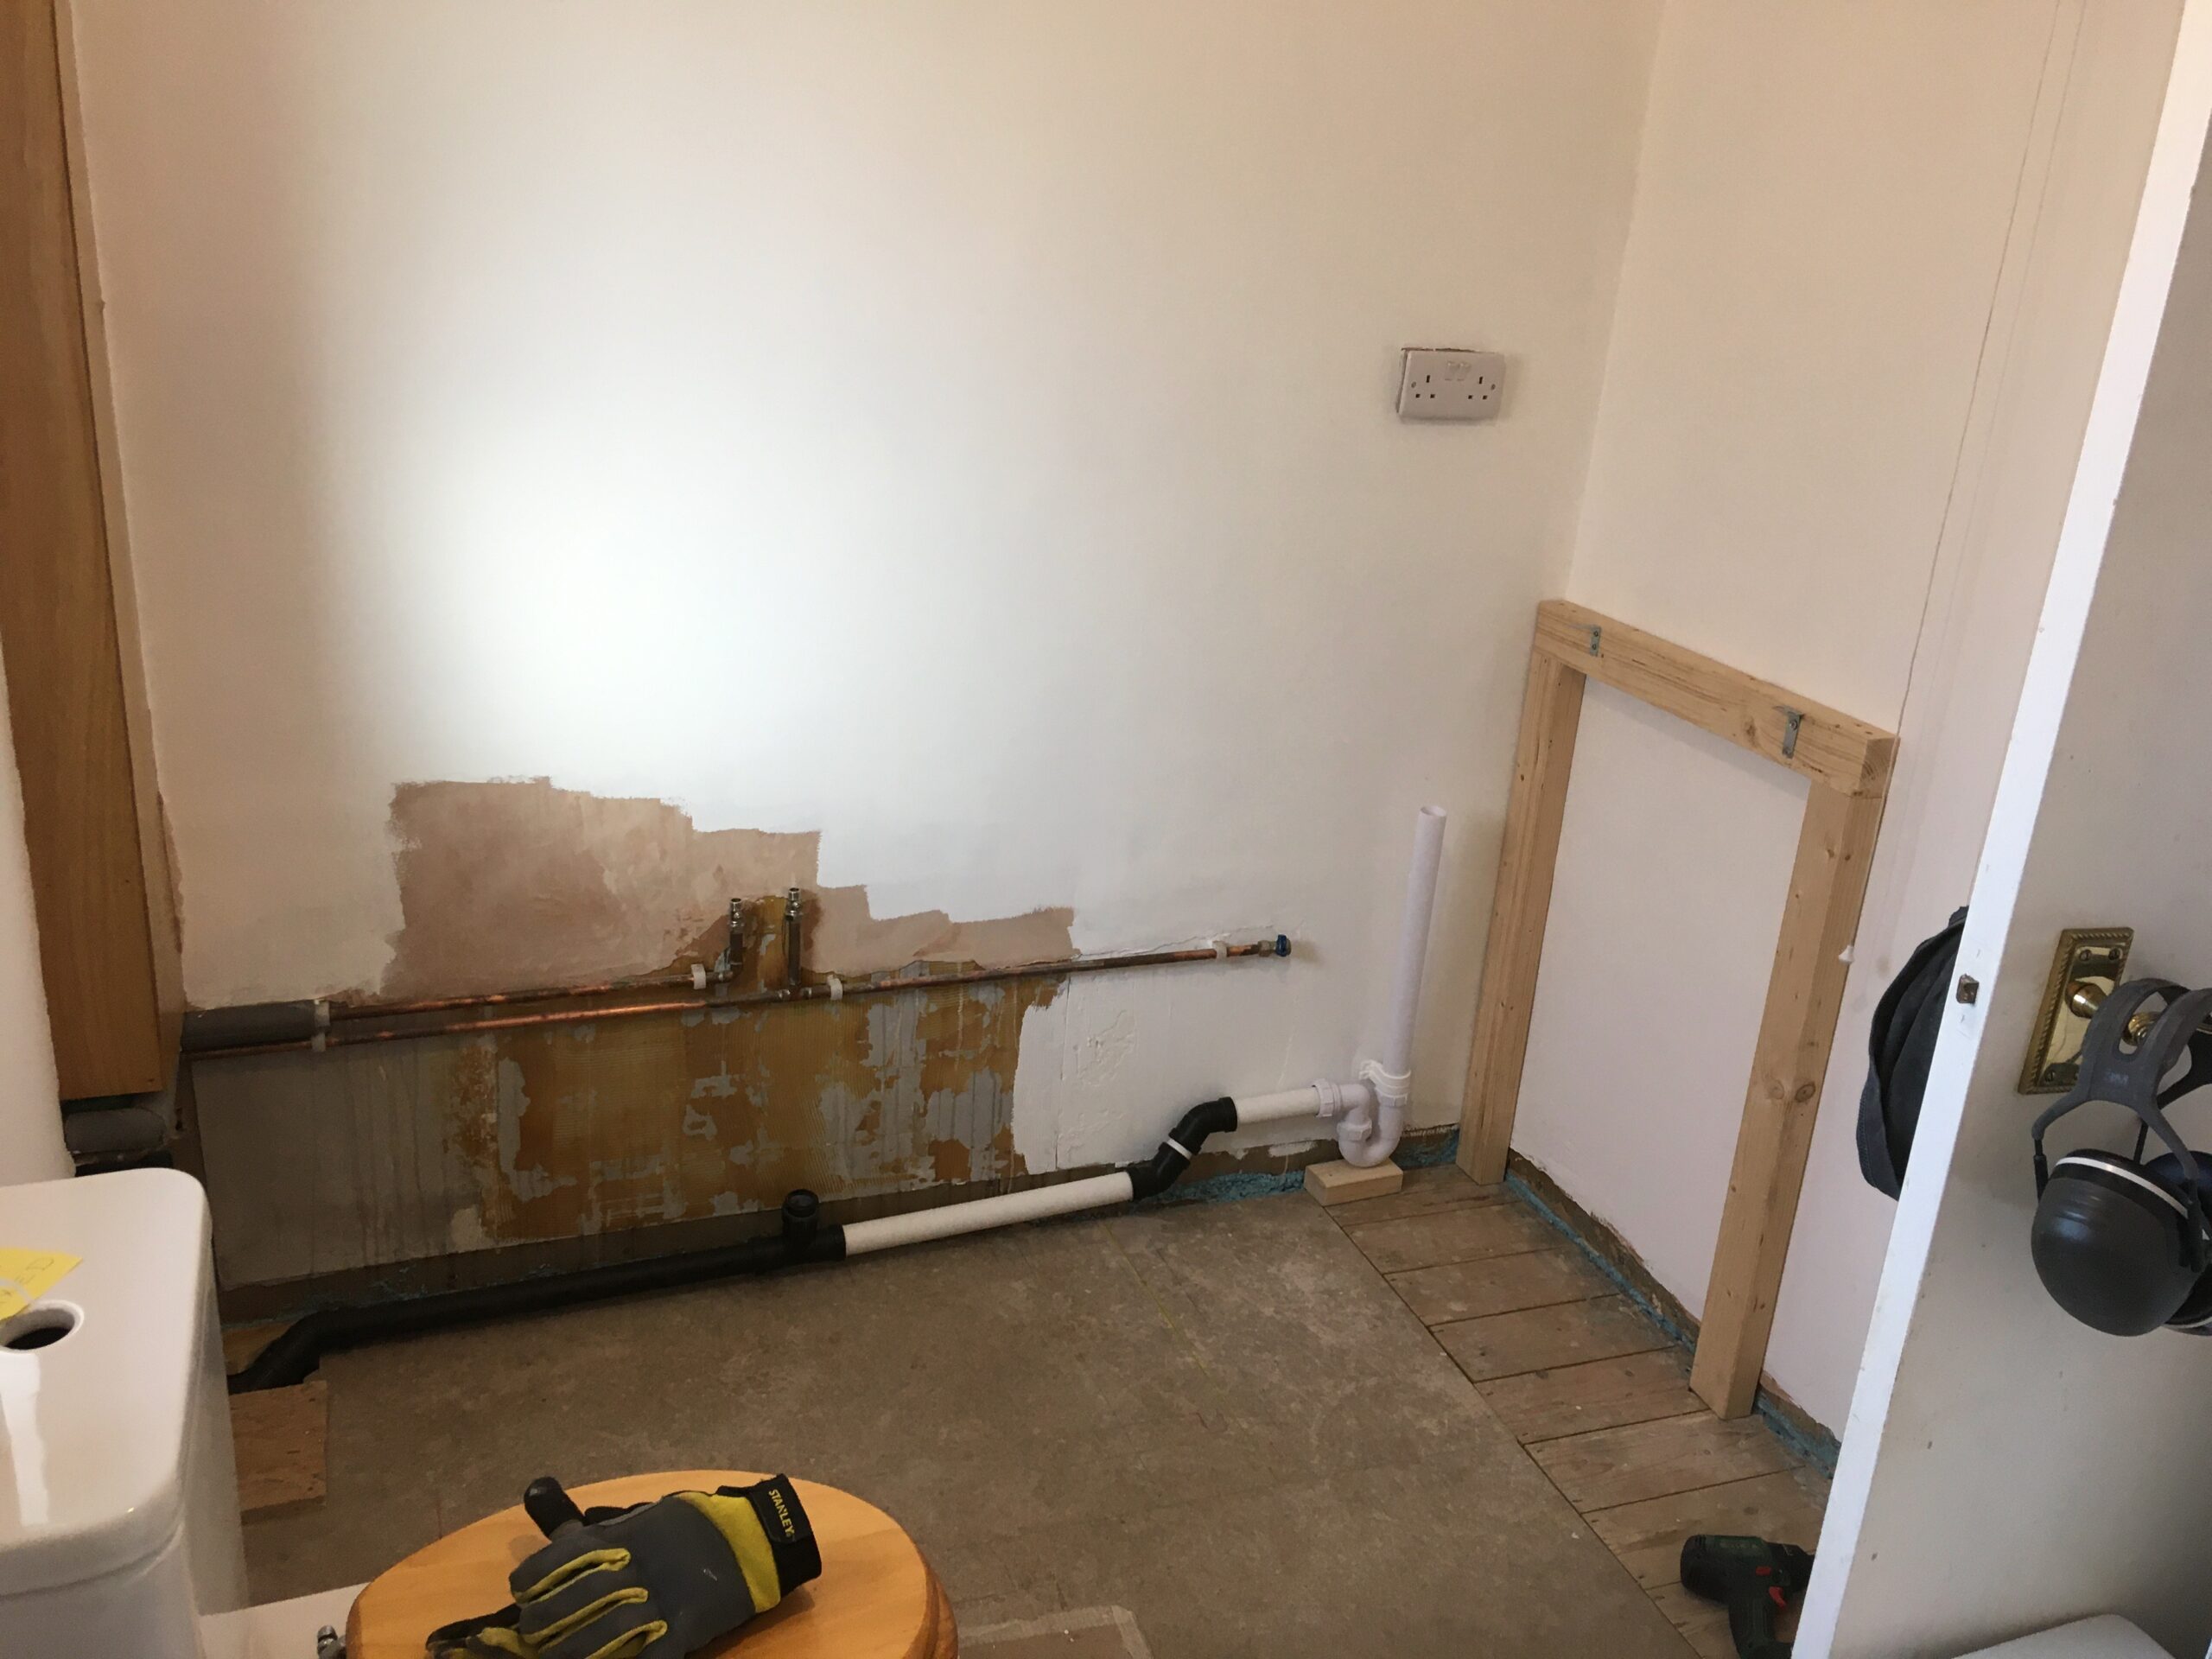
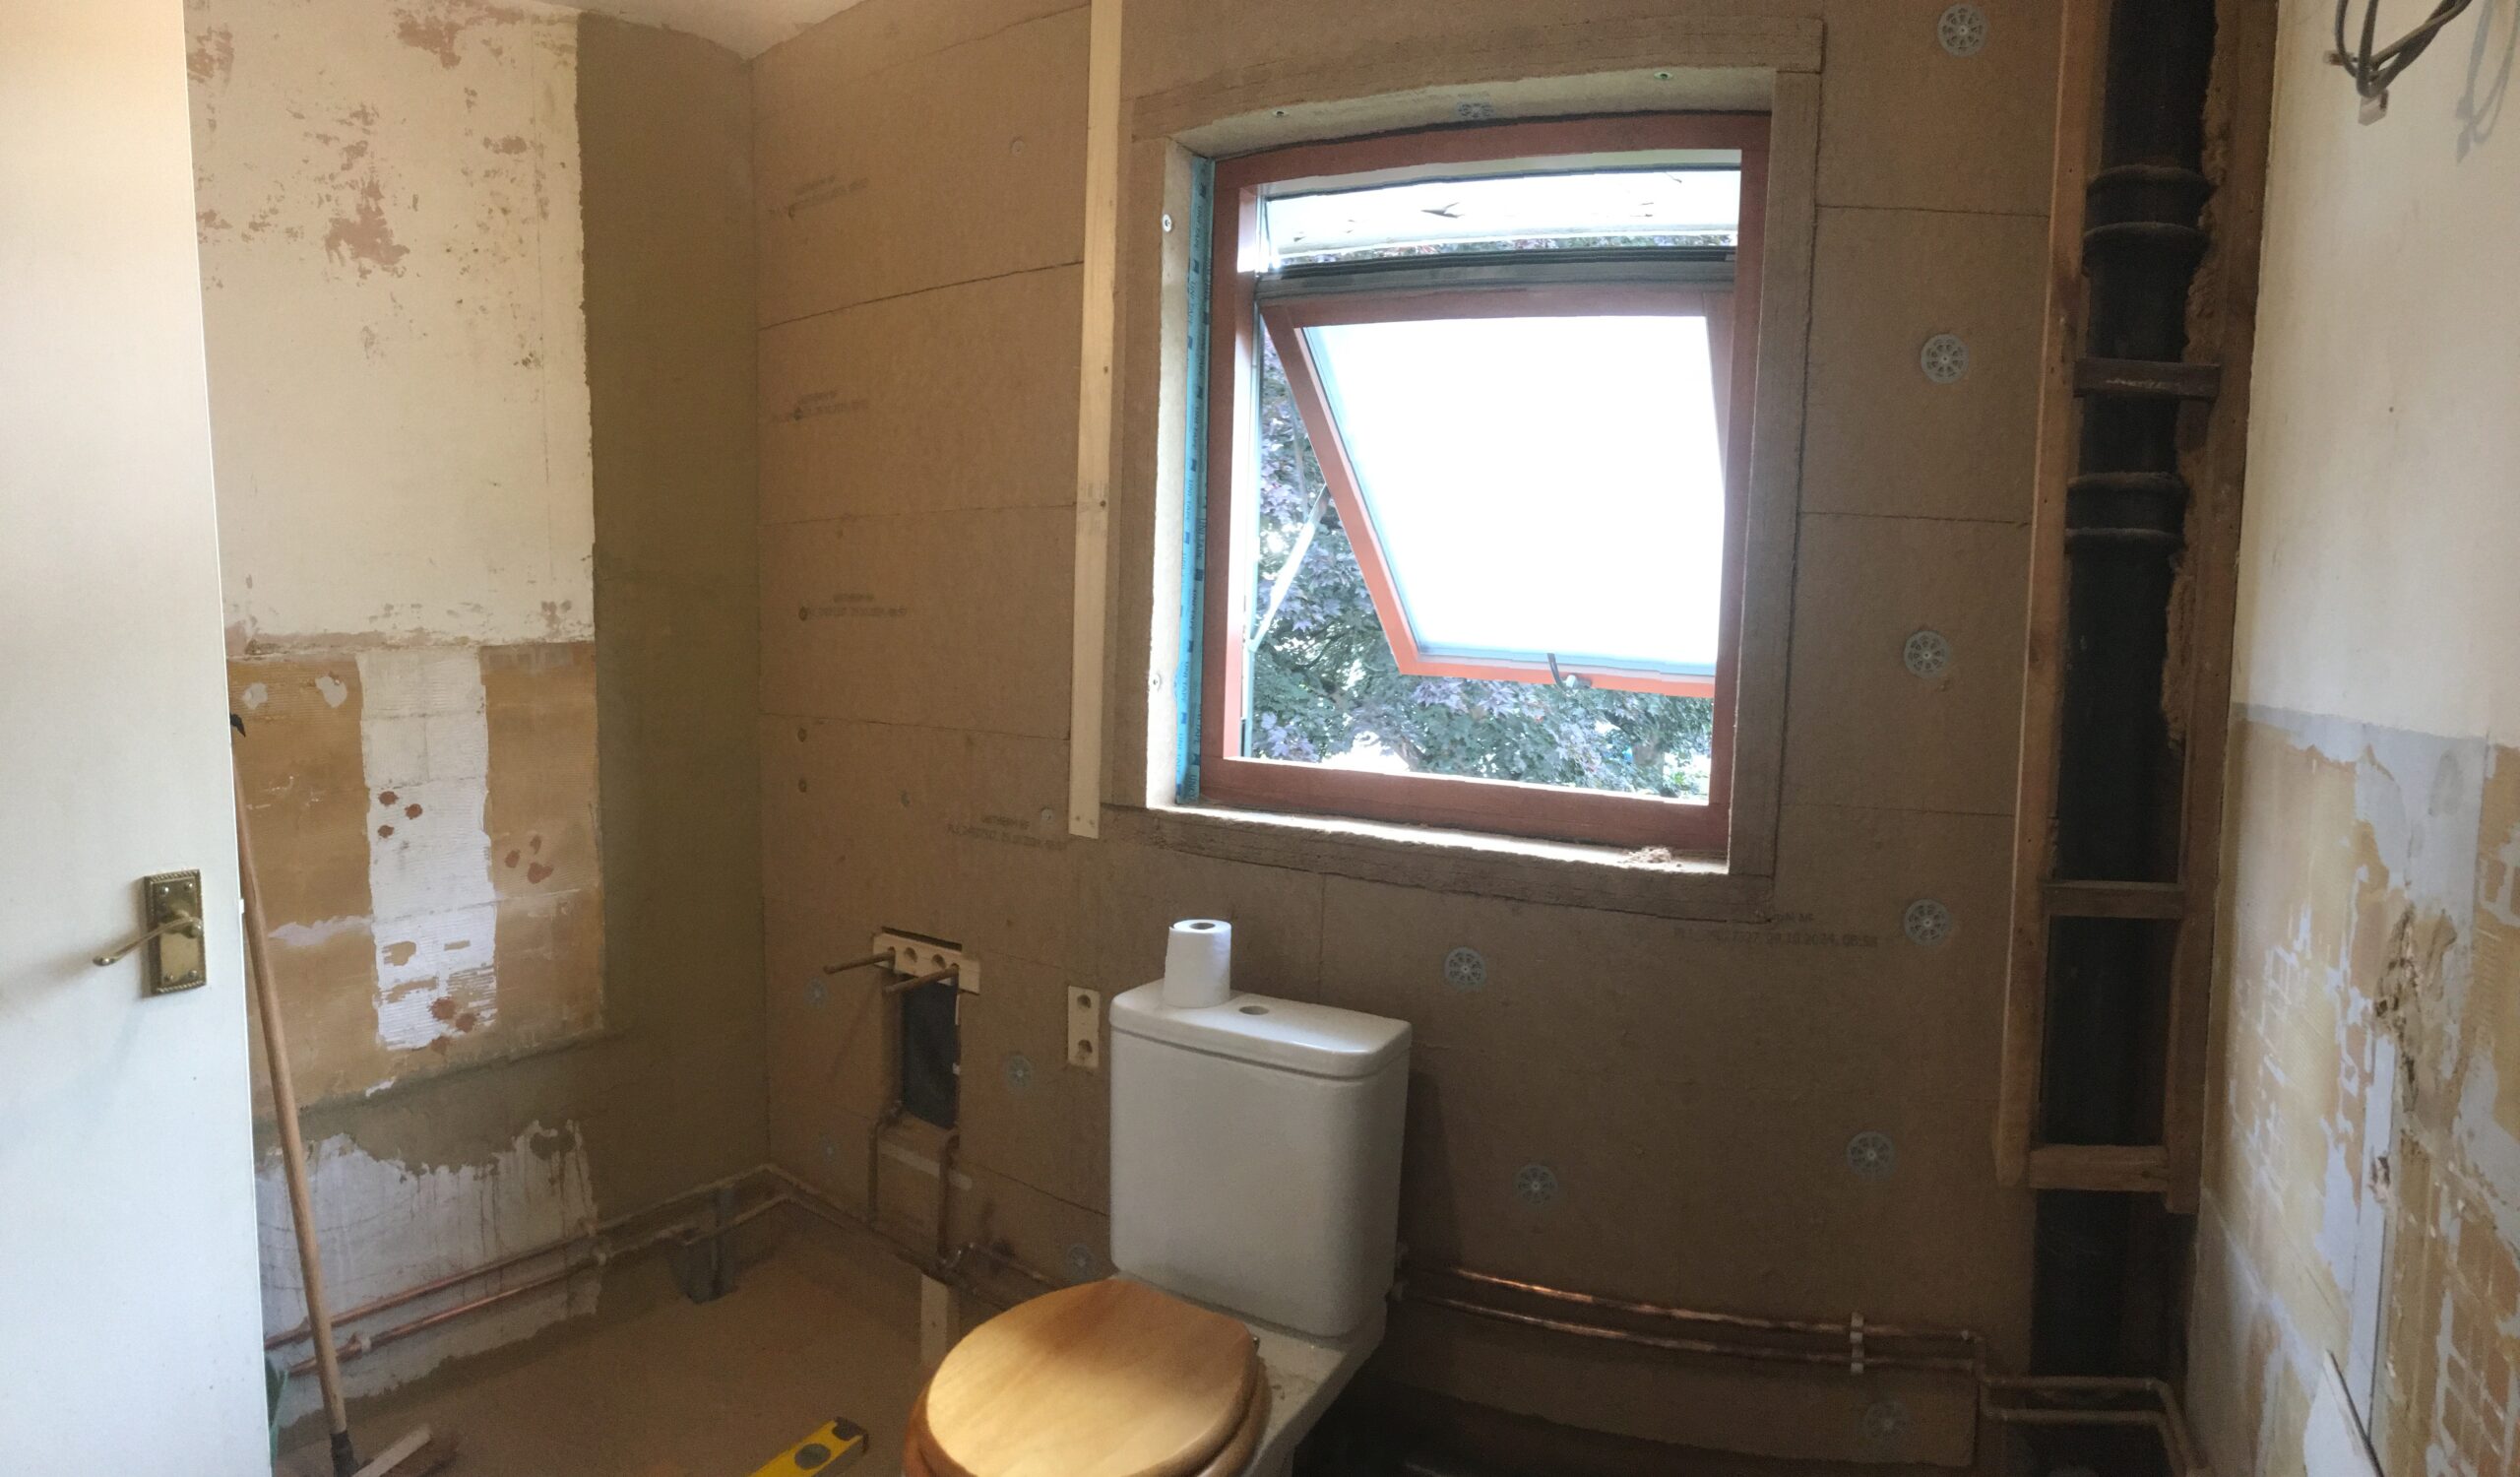
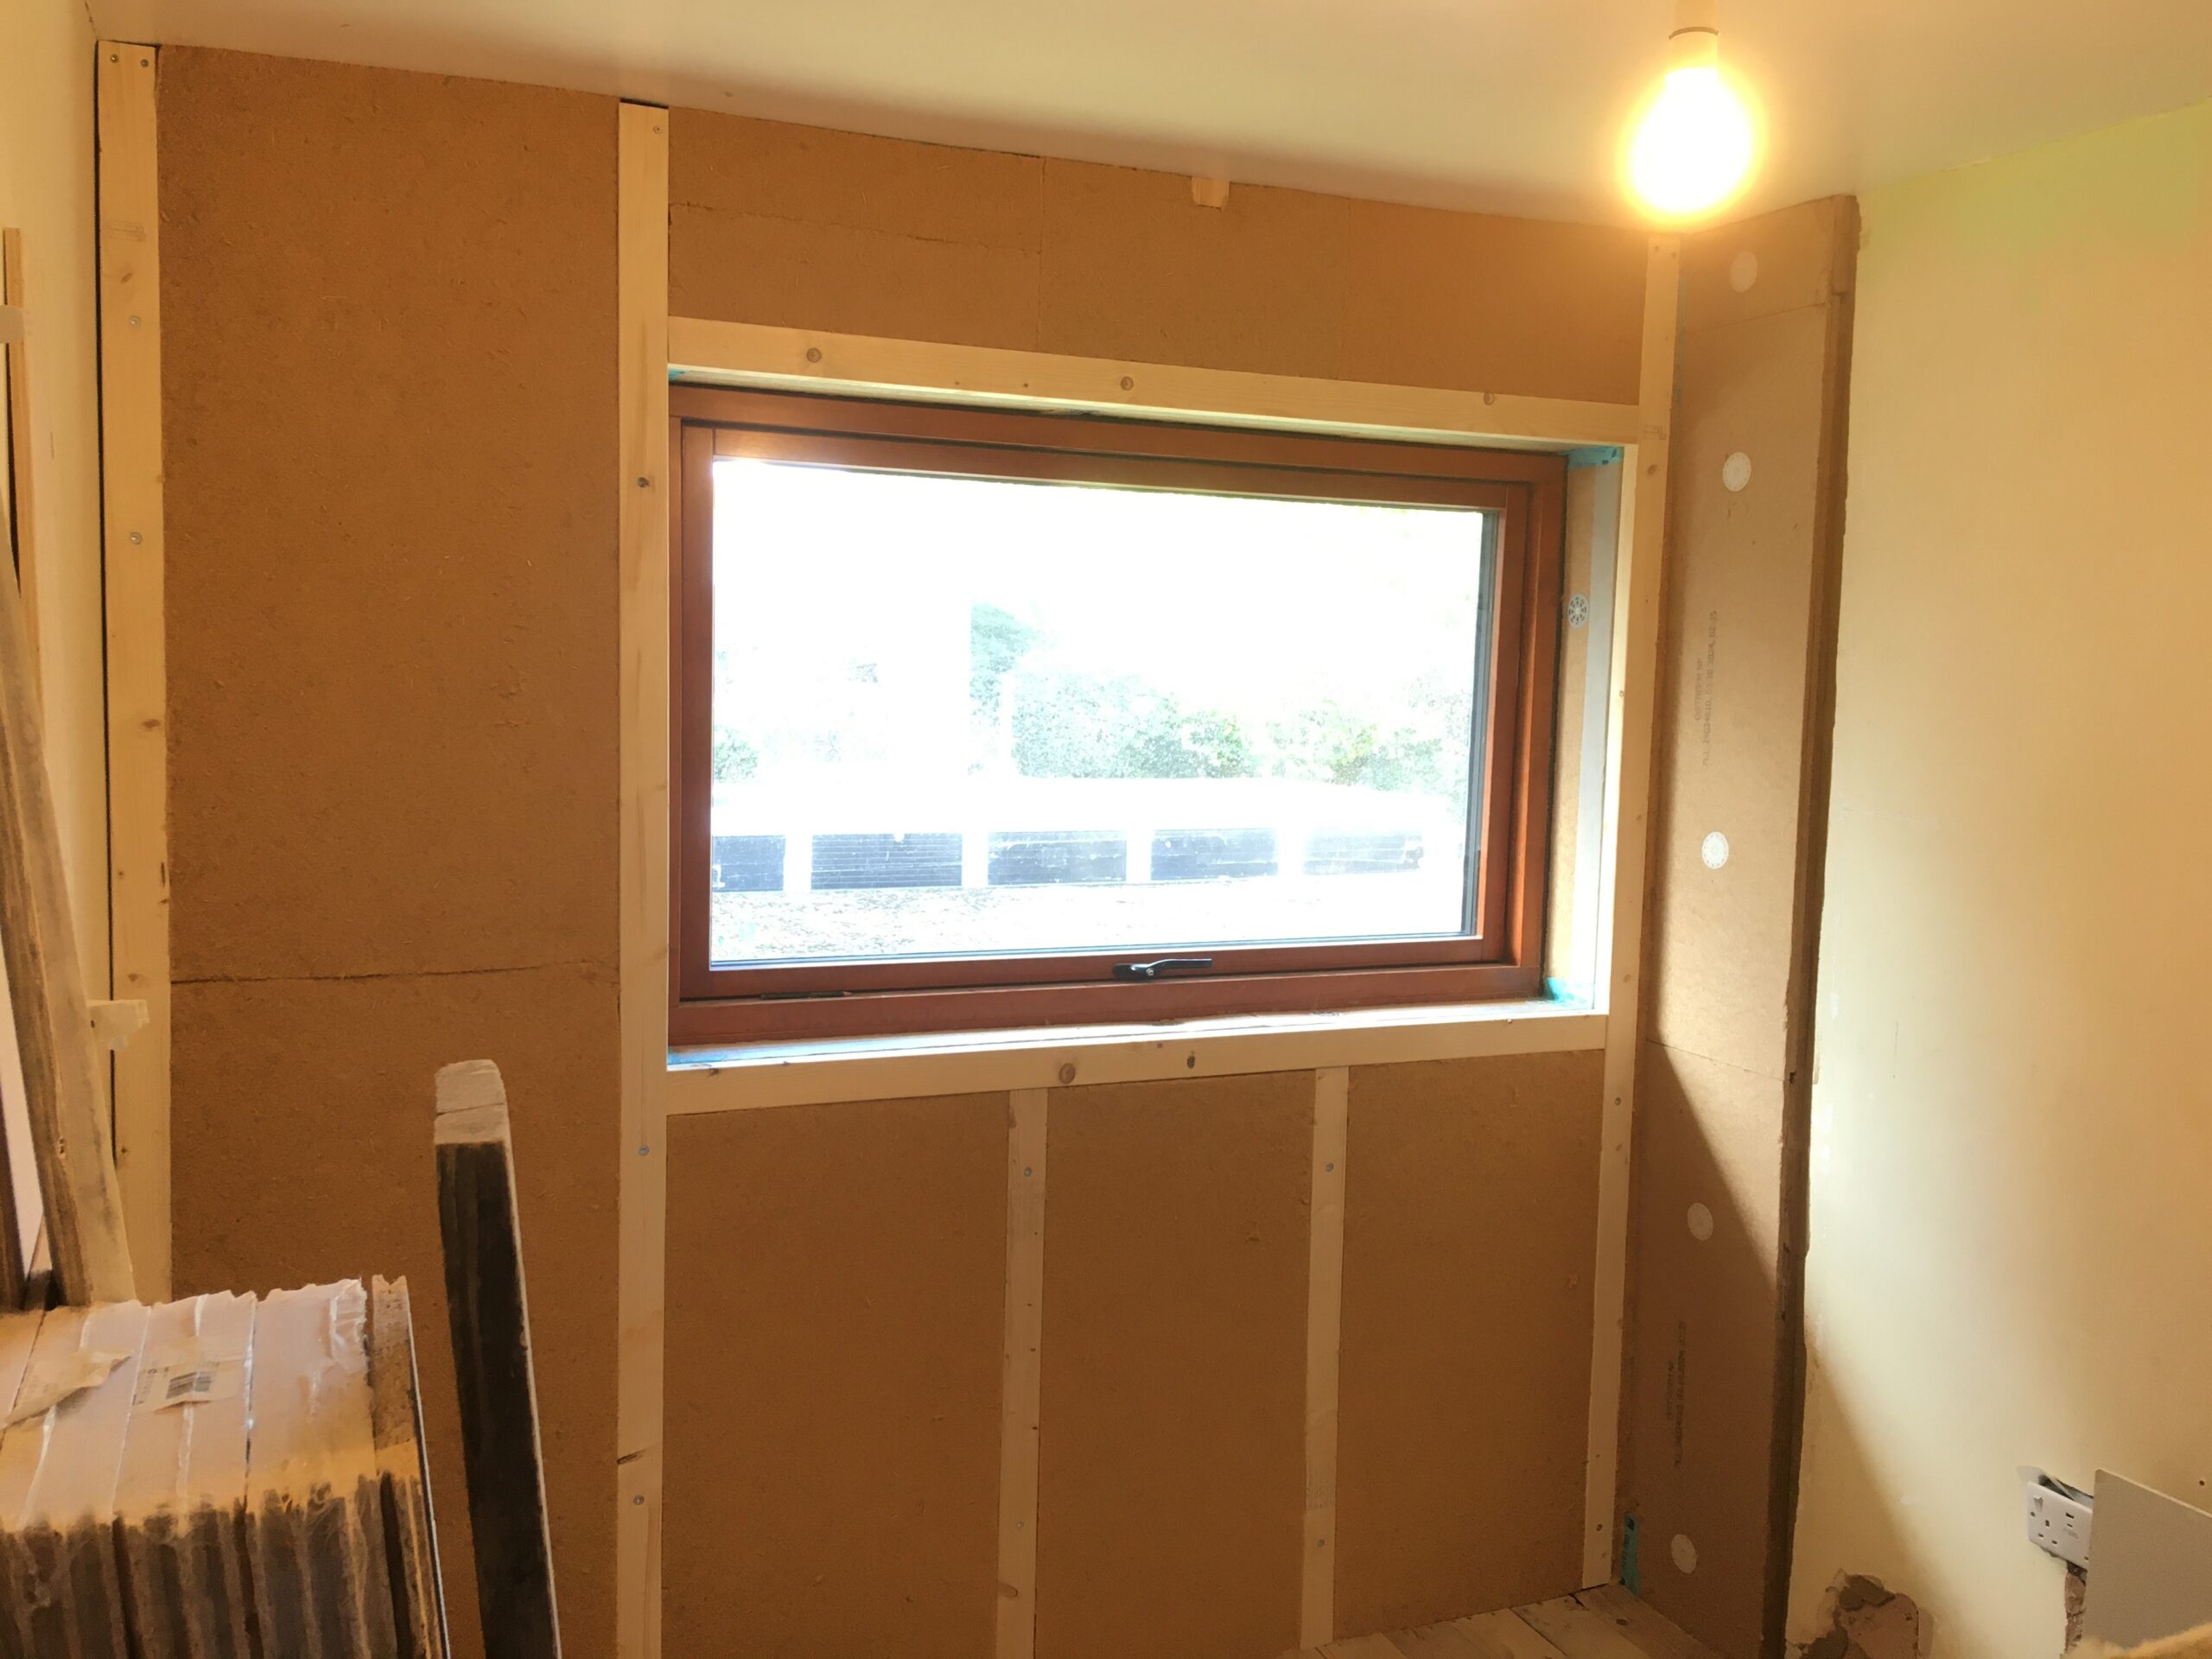
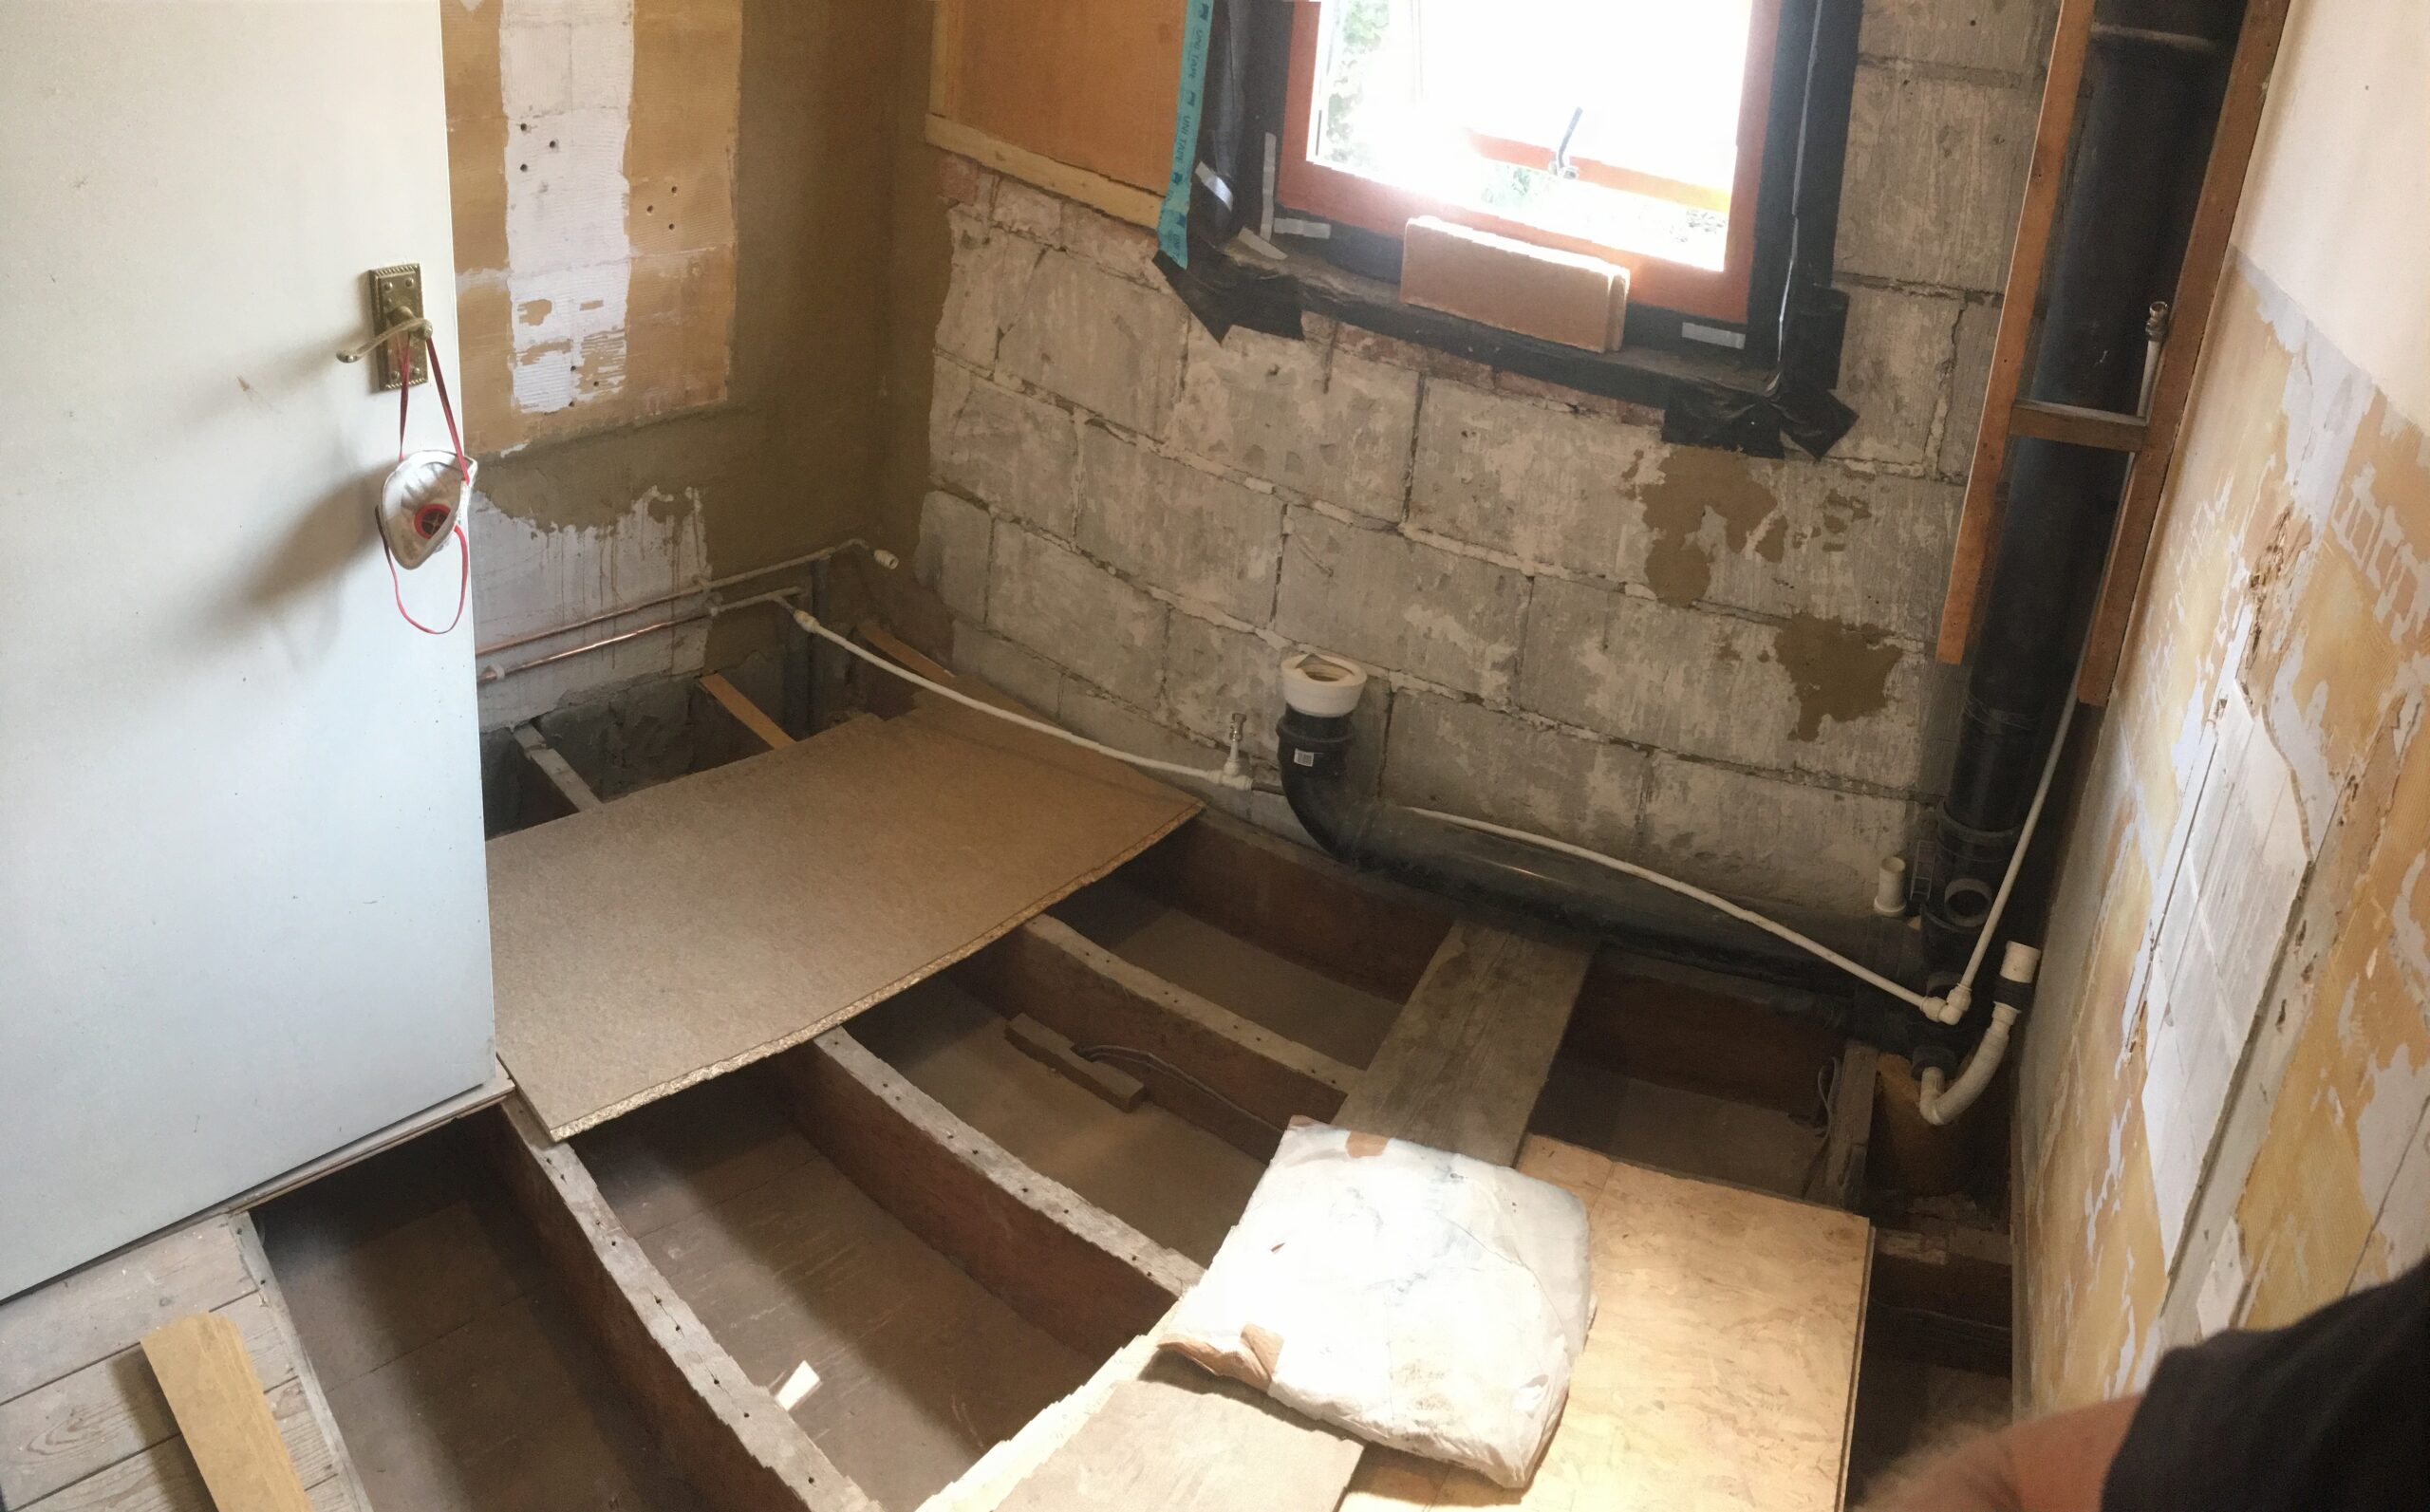
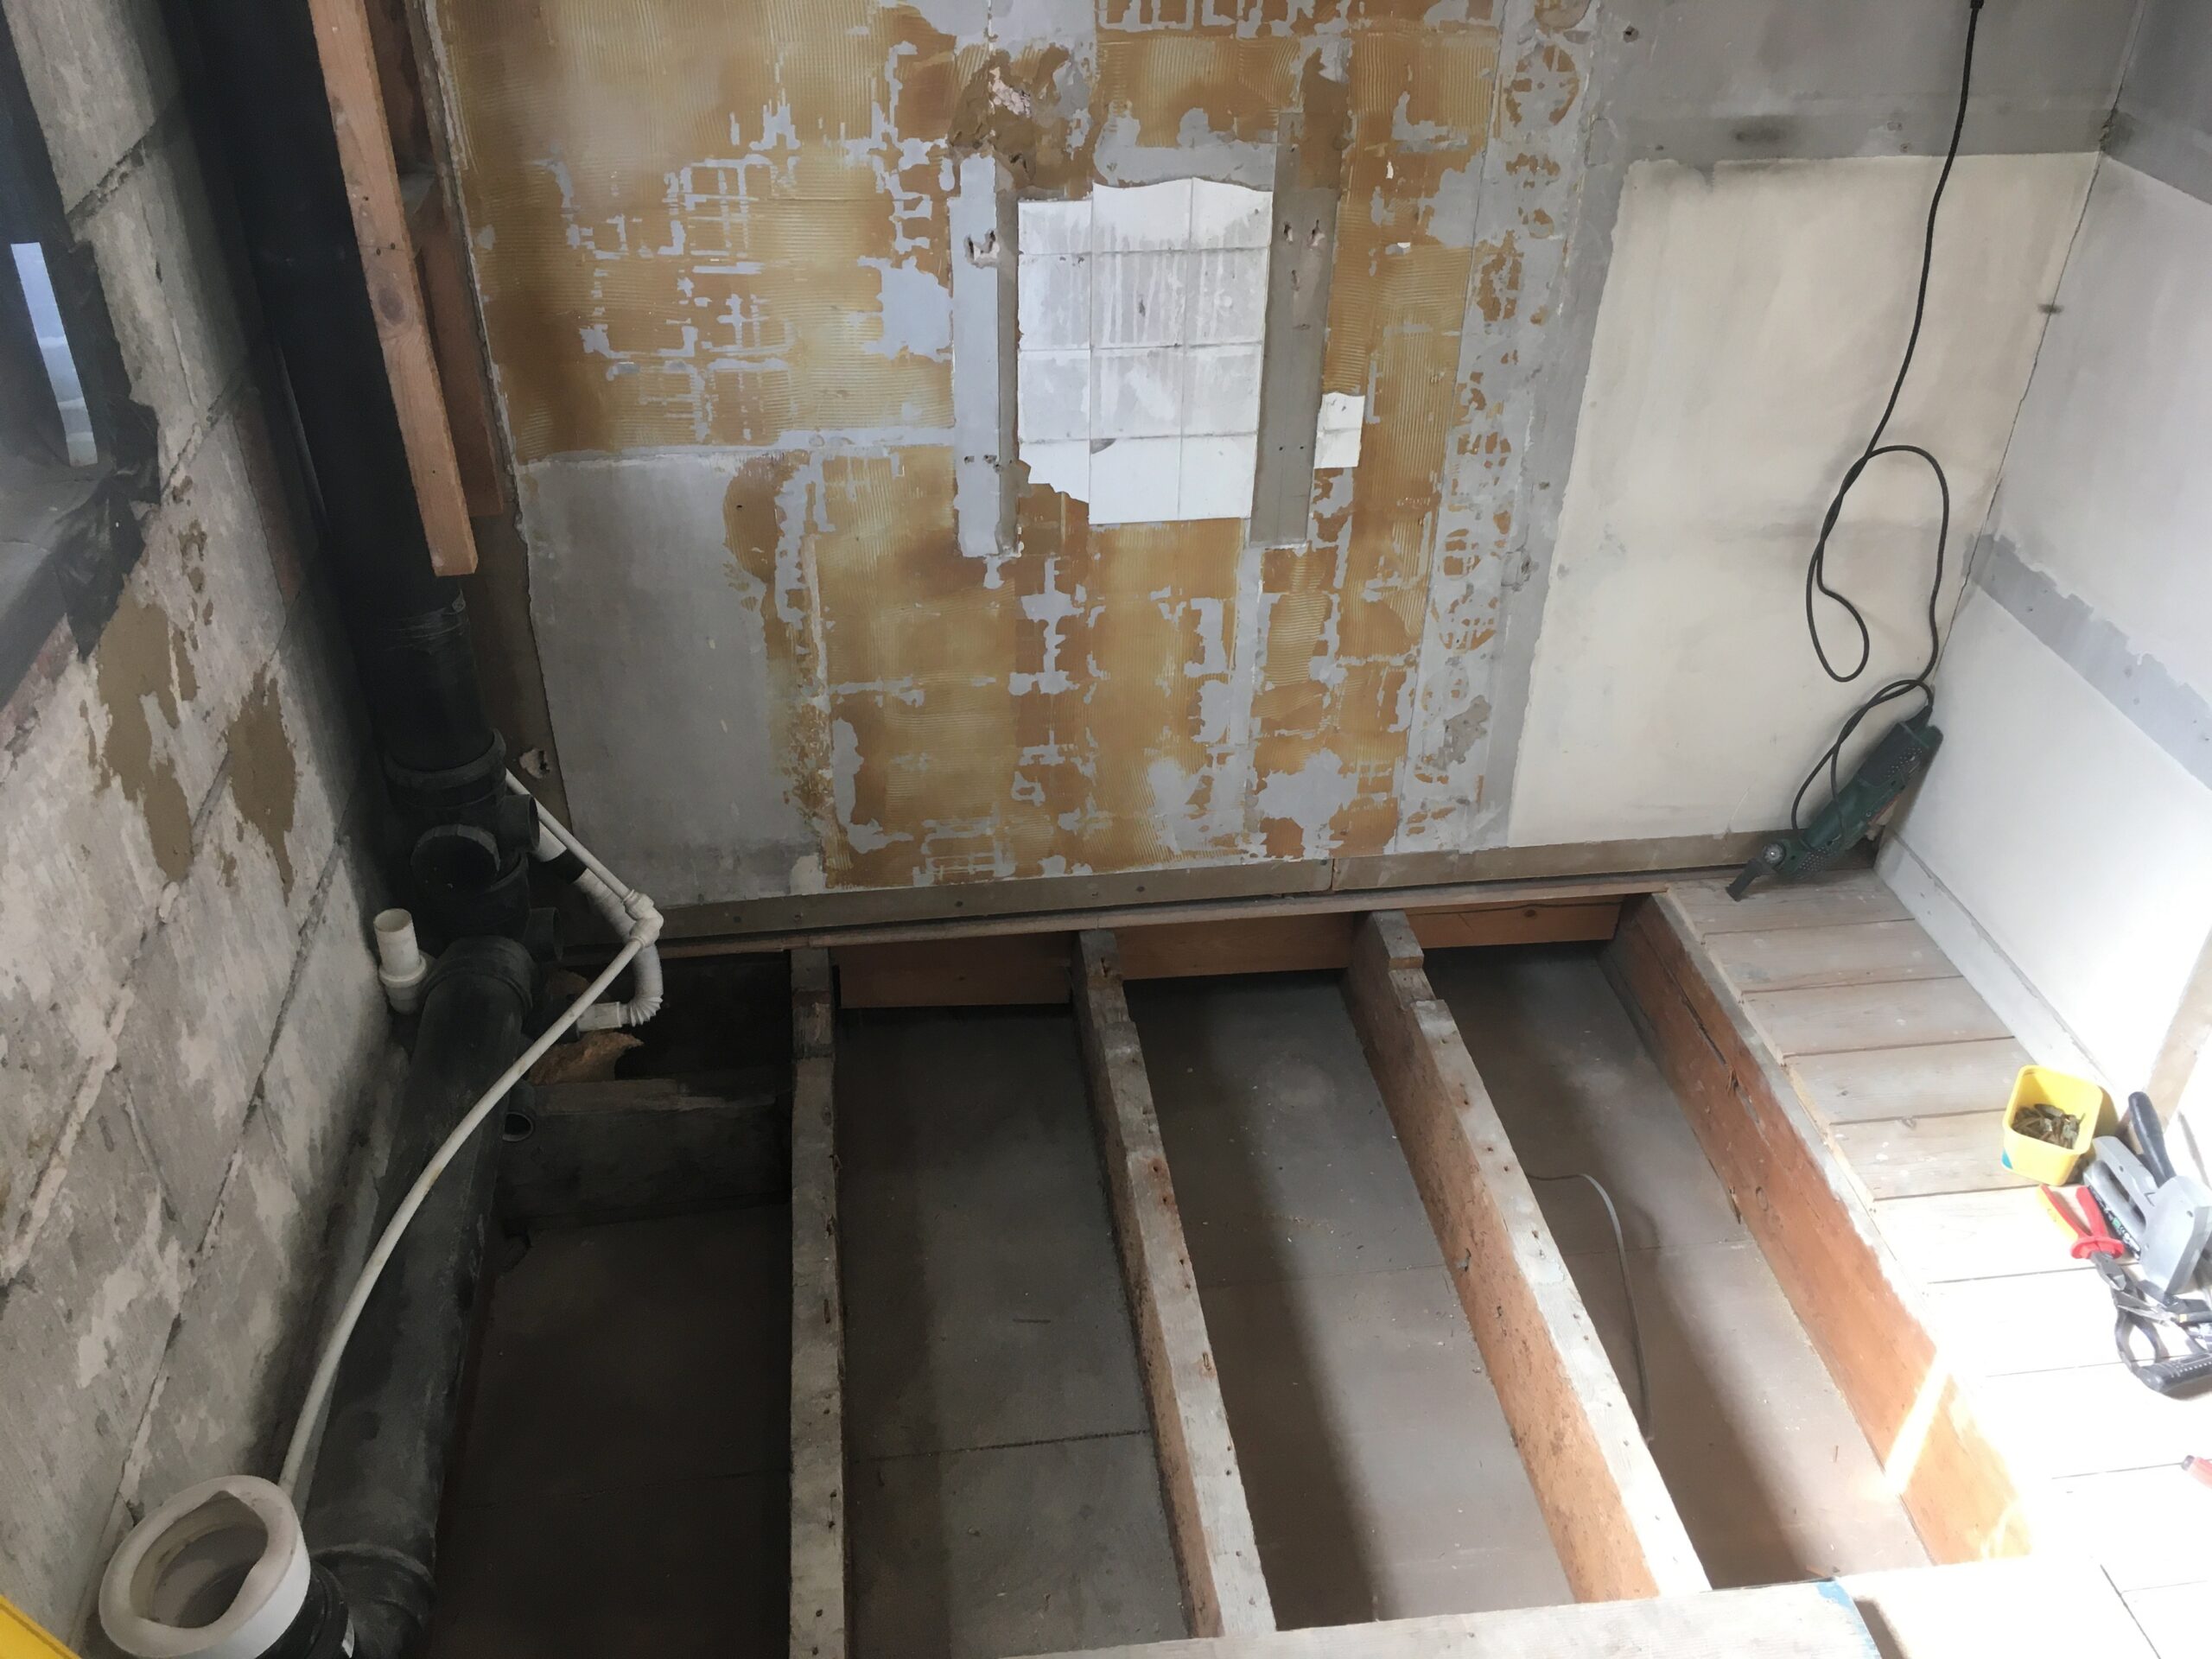
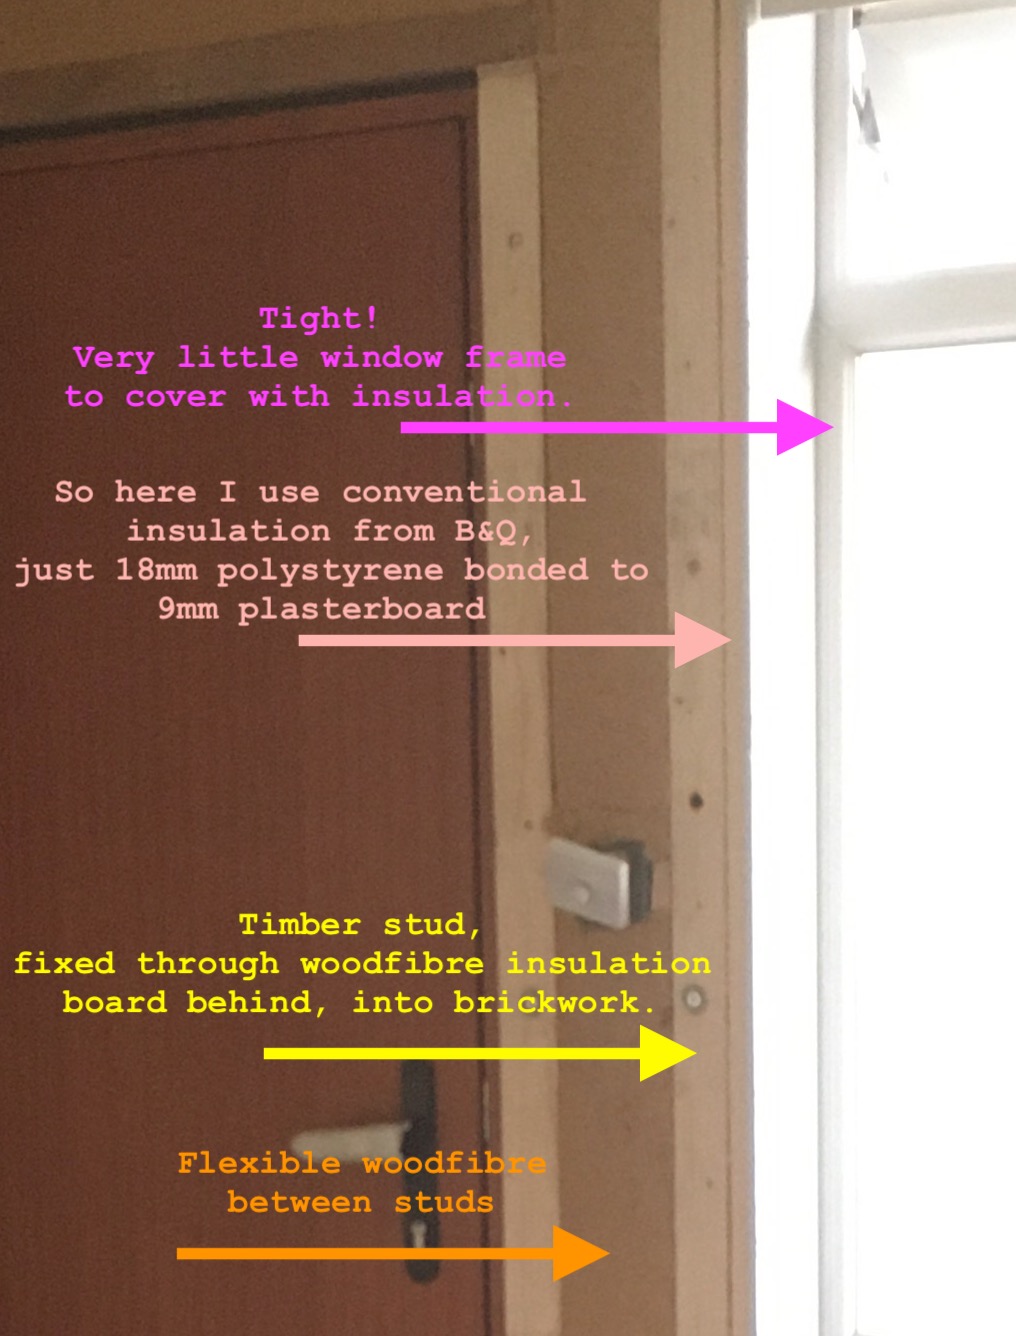
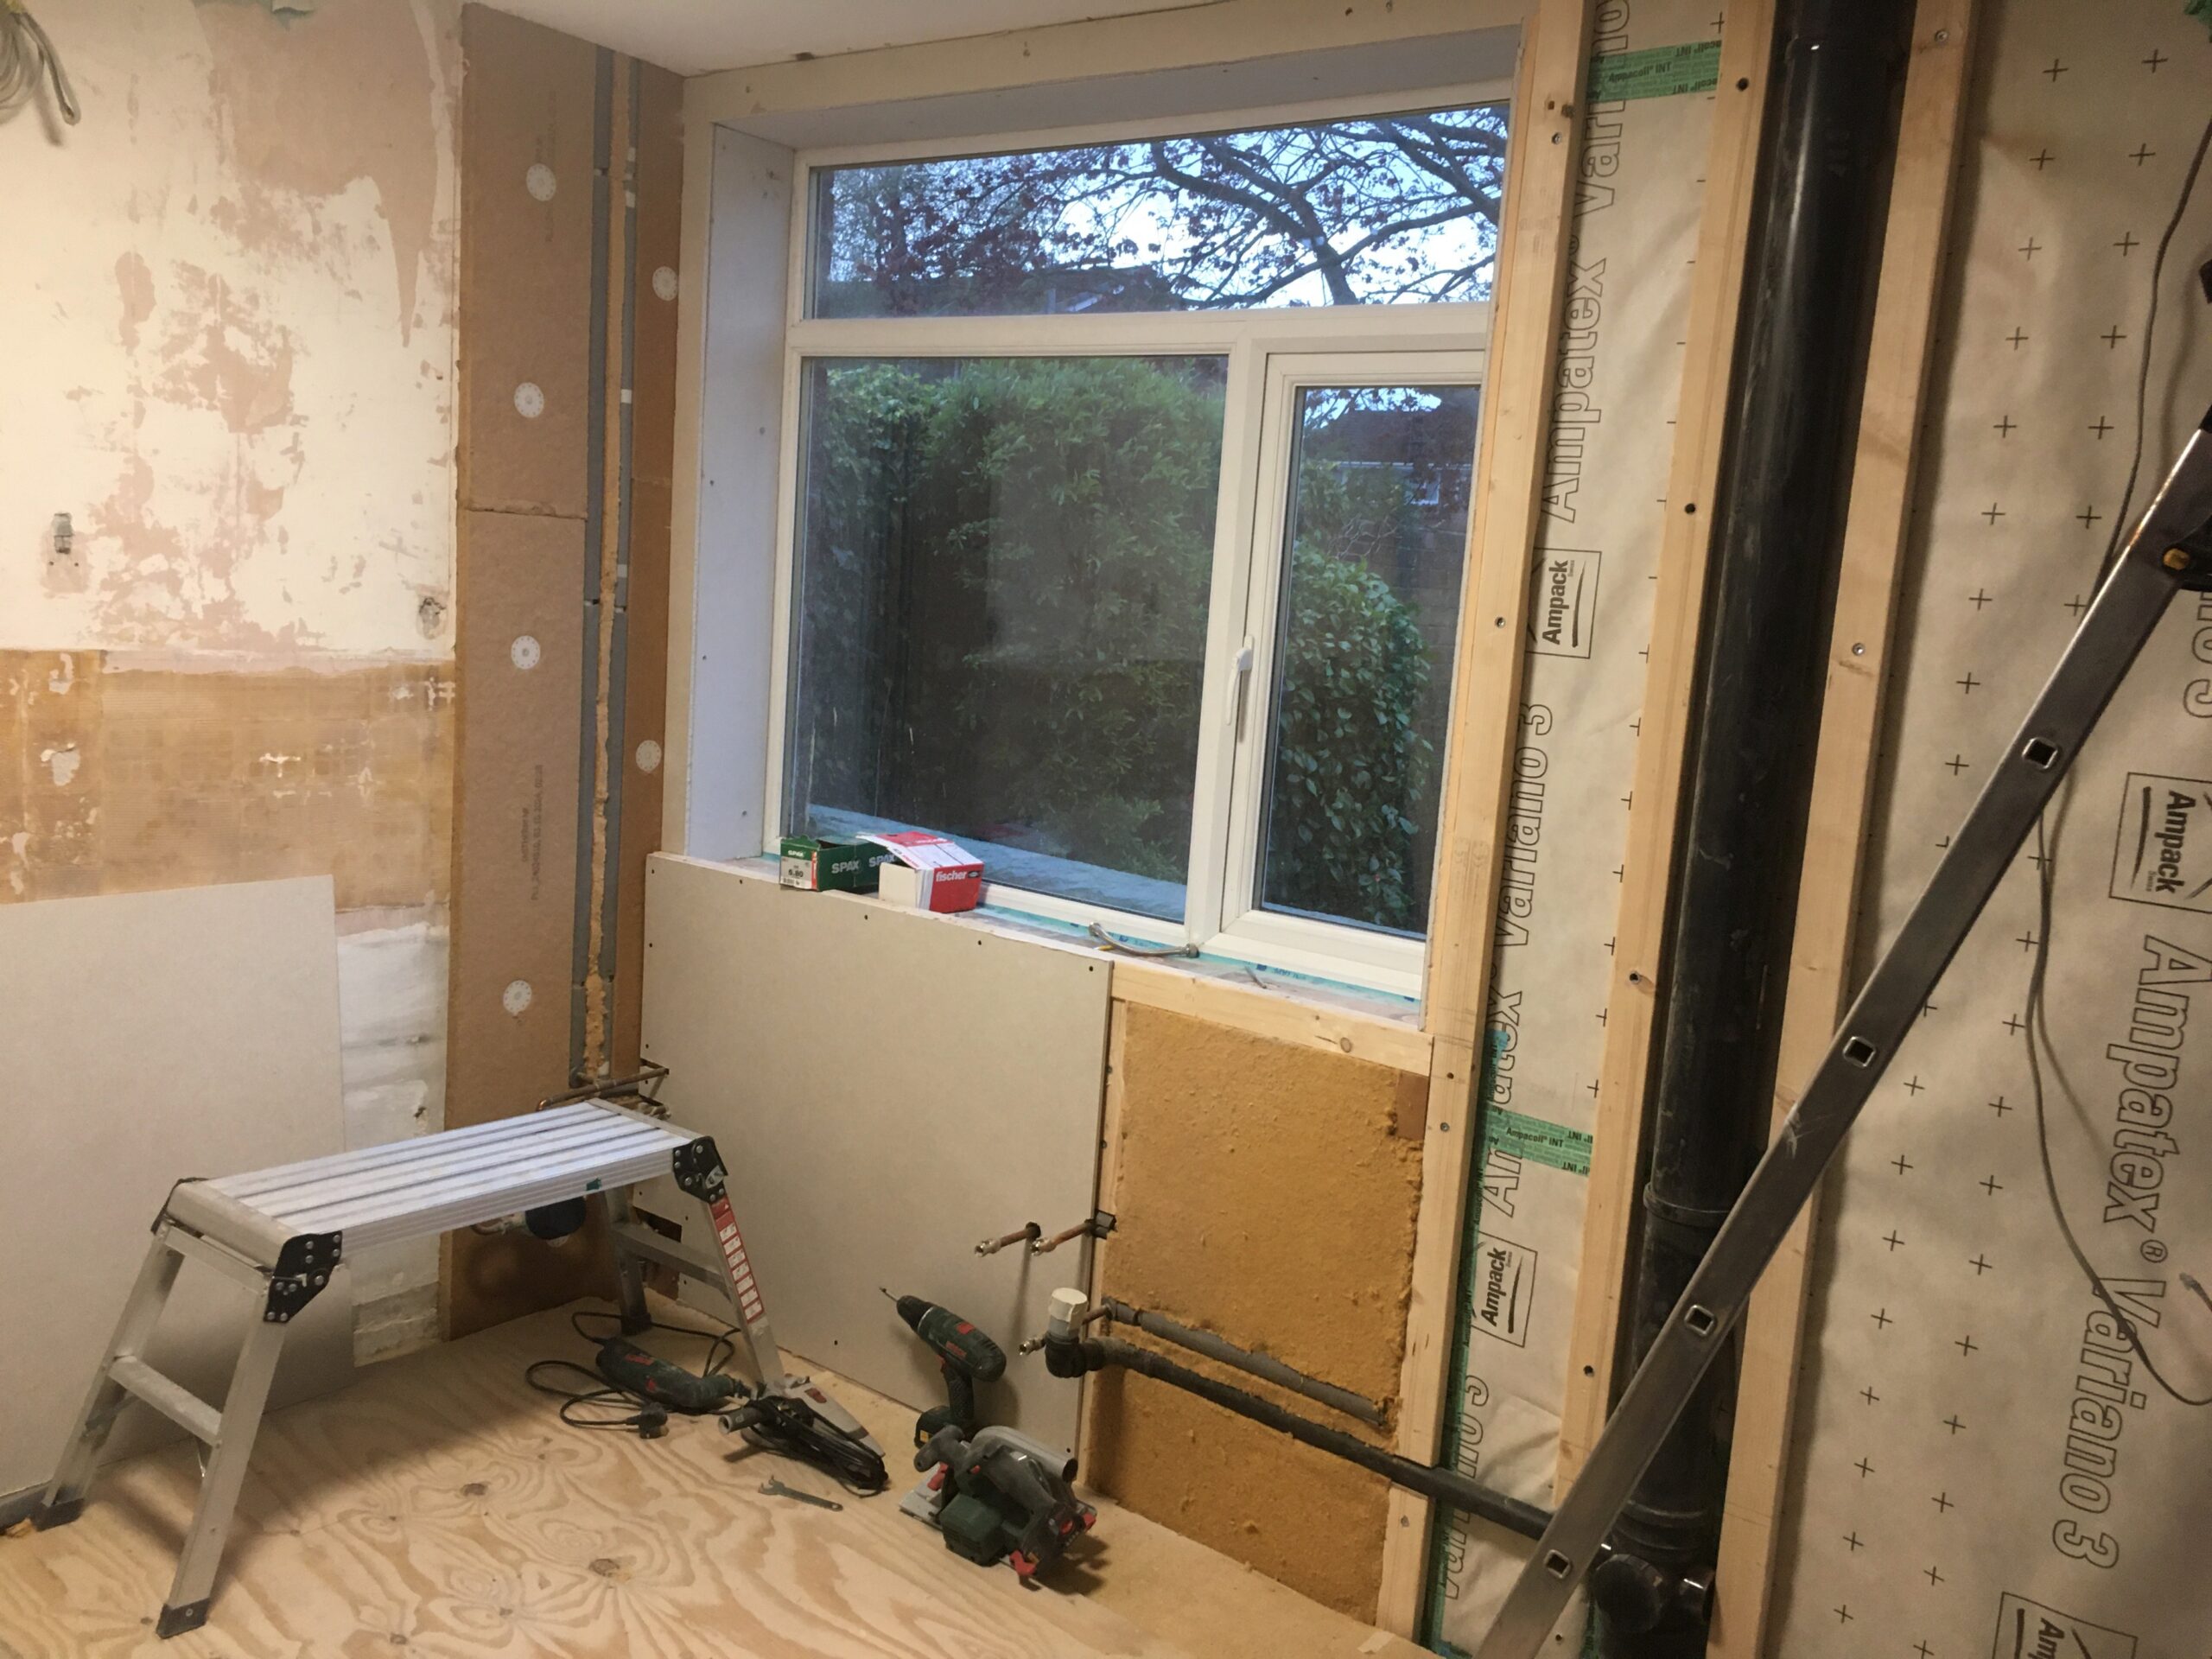
Priority to move in is a working bathroom. It was so grotty it needed complete replacement, so is being re-arranged & the back wall insulated, with the same system as downstairs – wood fibre board & stud wall with wood fibre batts, finished with plasterboard.
What takes time though is the detailing. The edges, the thinner insulation returned on the side wall, the window reveals, the toilet, the sewer pipe going across, then down and up through the roof space to vent, and water pipes. So mega-faff. A massive room with a simple wall would’ve been far quicker. Oh, and then there was the challenge of fitting the insulation around the bath, and the pipe works around the bath, and through the insulation, which took some head scratching. Also needed to plan how to securely fix a shower screen to a wall of woodfibre insulation (which can’t hold screws of any weight) that doesn’t have brick behind because it used to be a window.
Although not planned, we ended up doing the back bedroom in parallel, ‘cos as a simple room it didn’t take much longer. The upside is we might as well finish the back bedroom at the same time, before we move in. And then use it as a bedroom, whilst the large front bedroom is a workshop/building site.
Photo captions explain what’s going on:
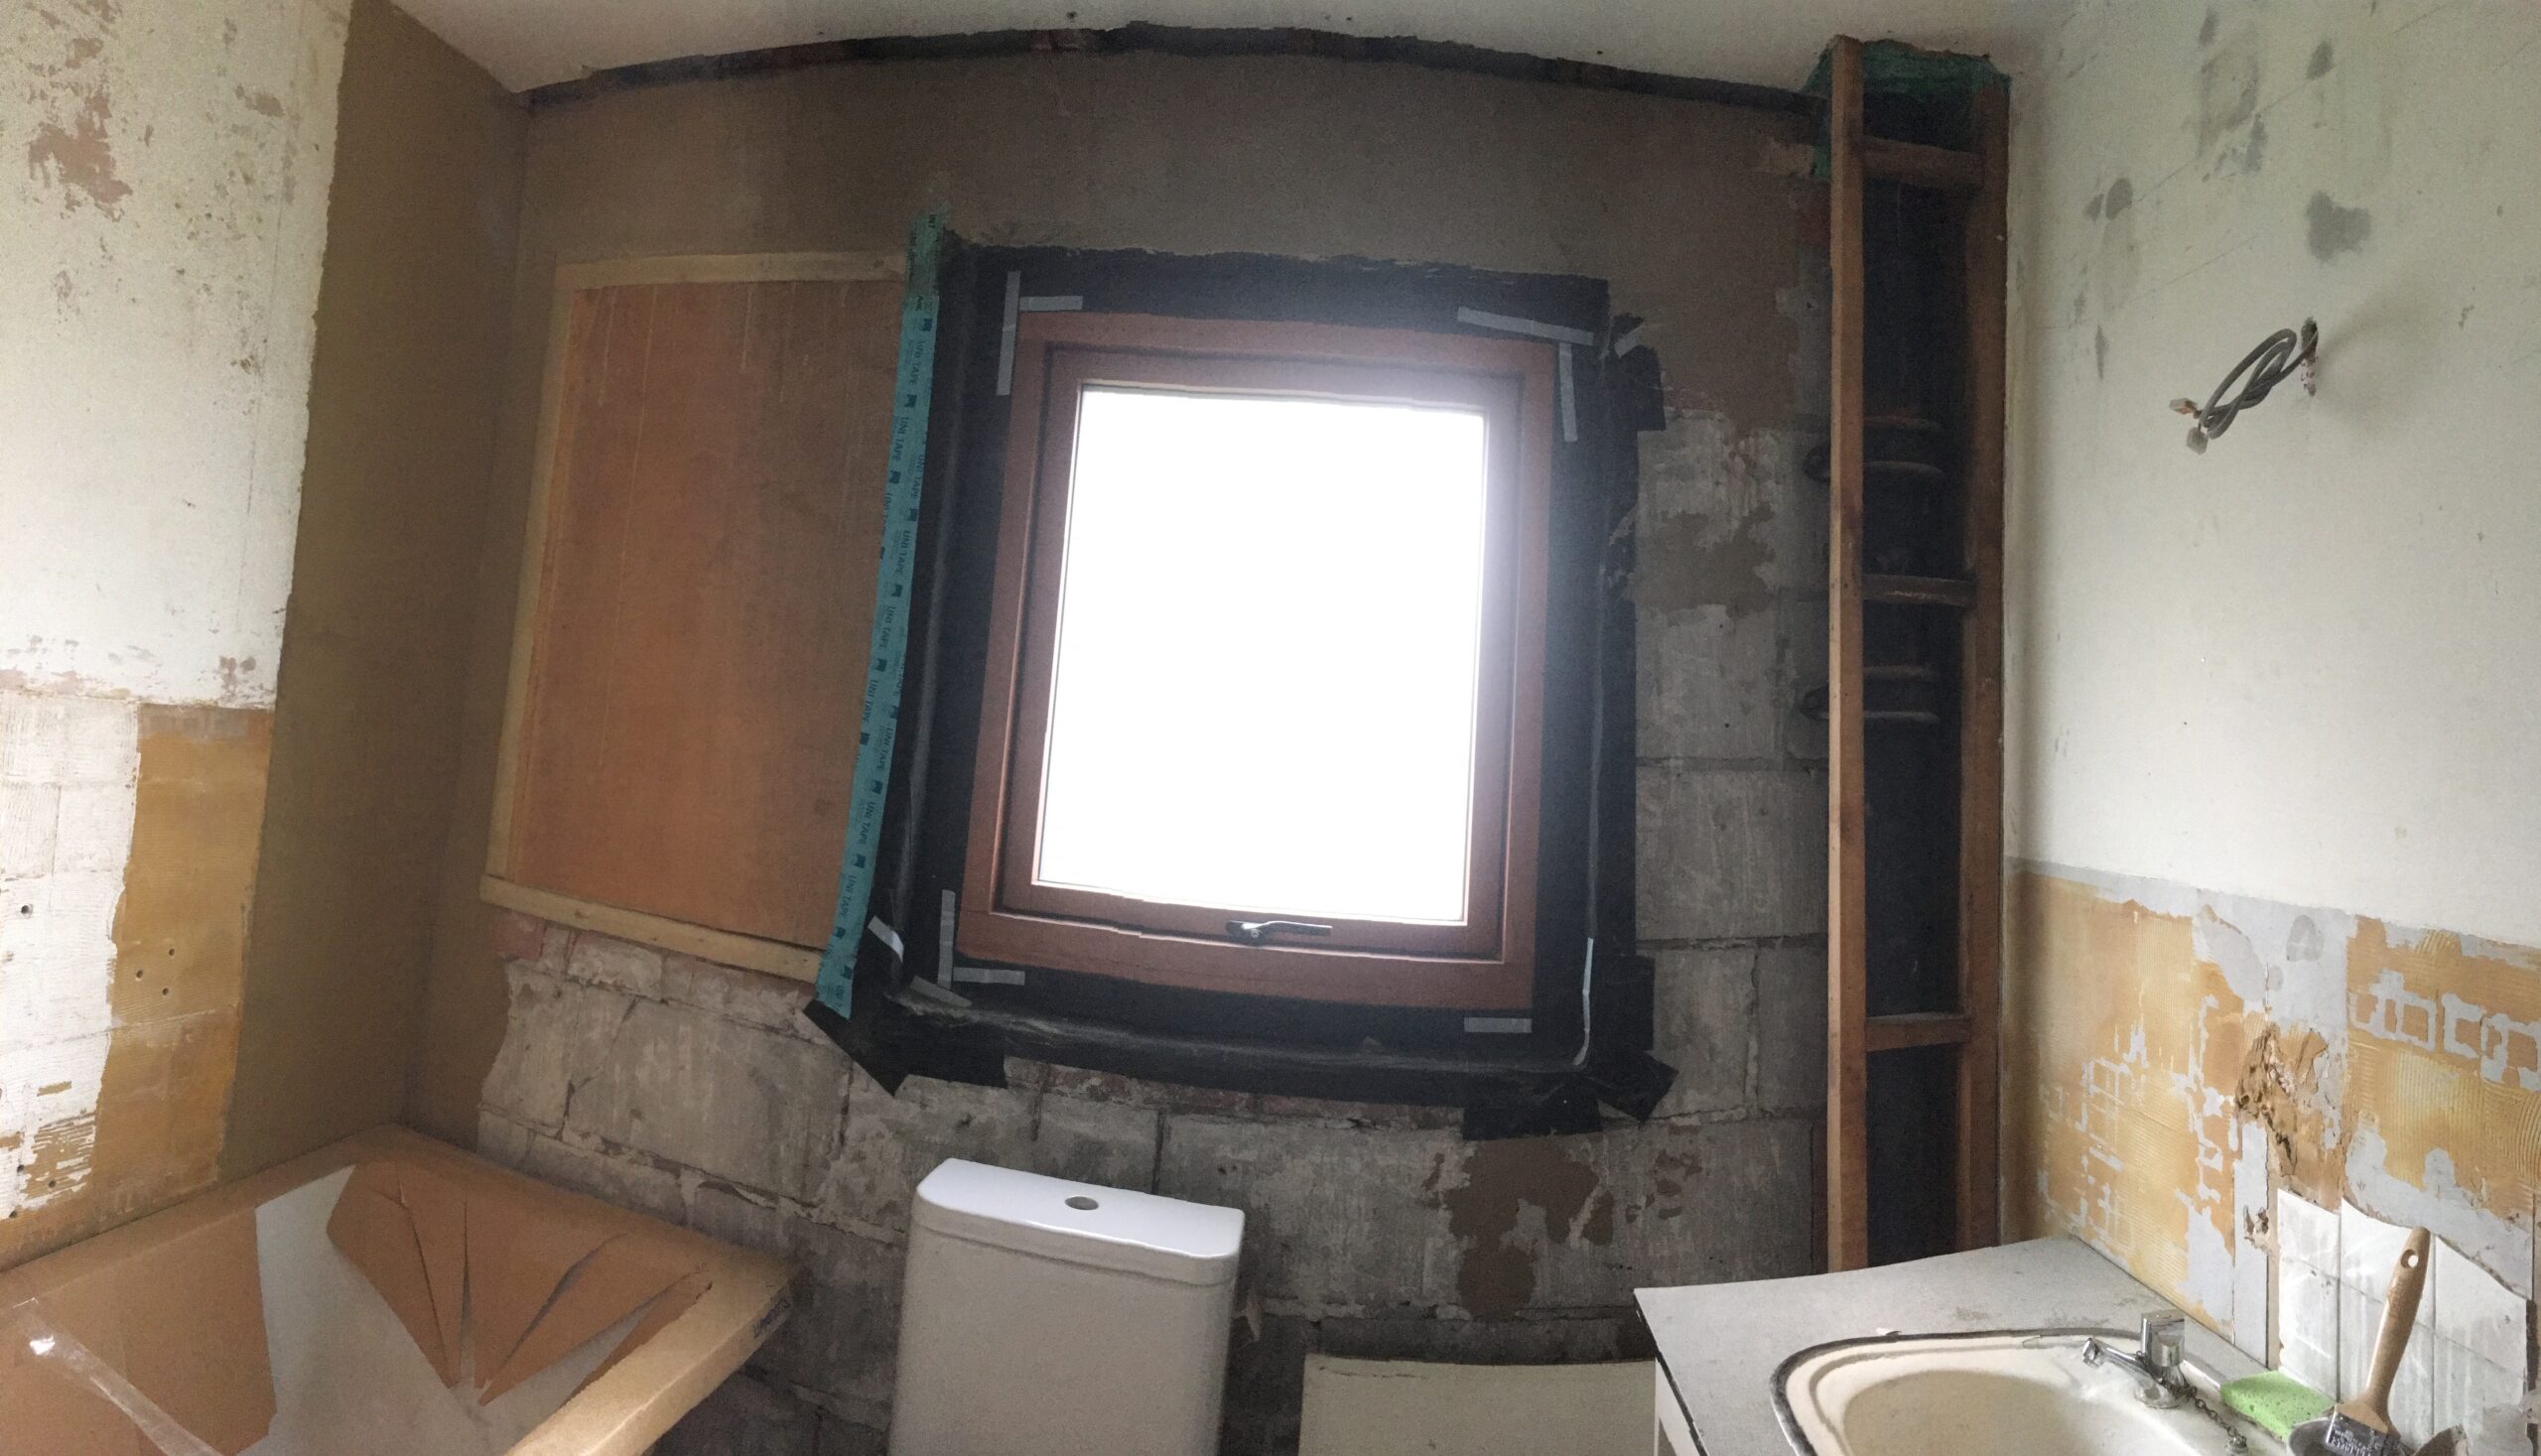
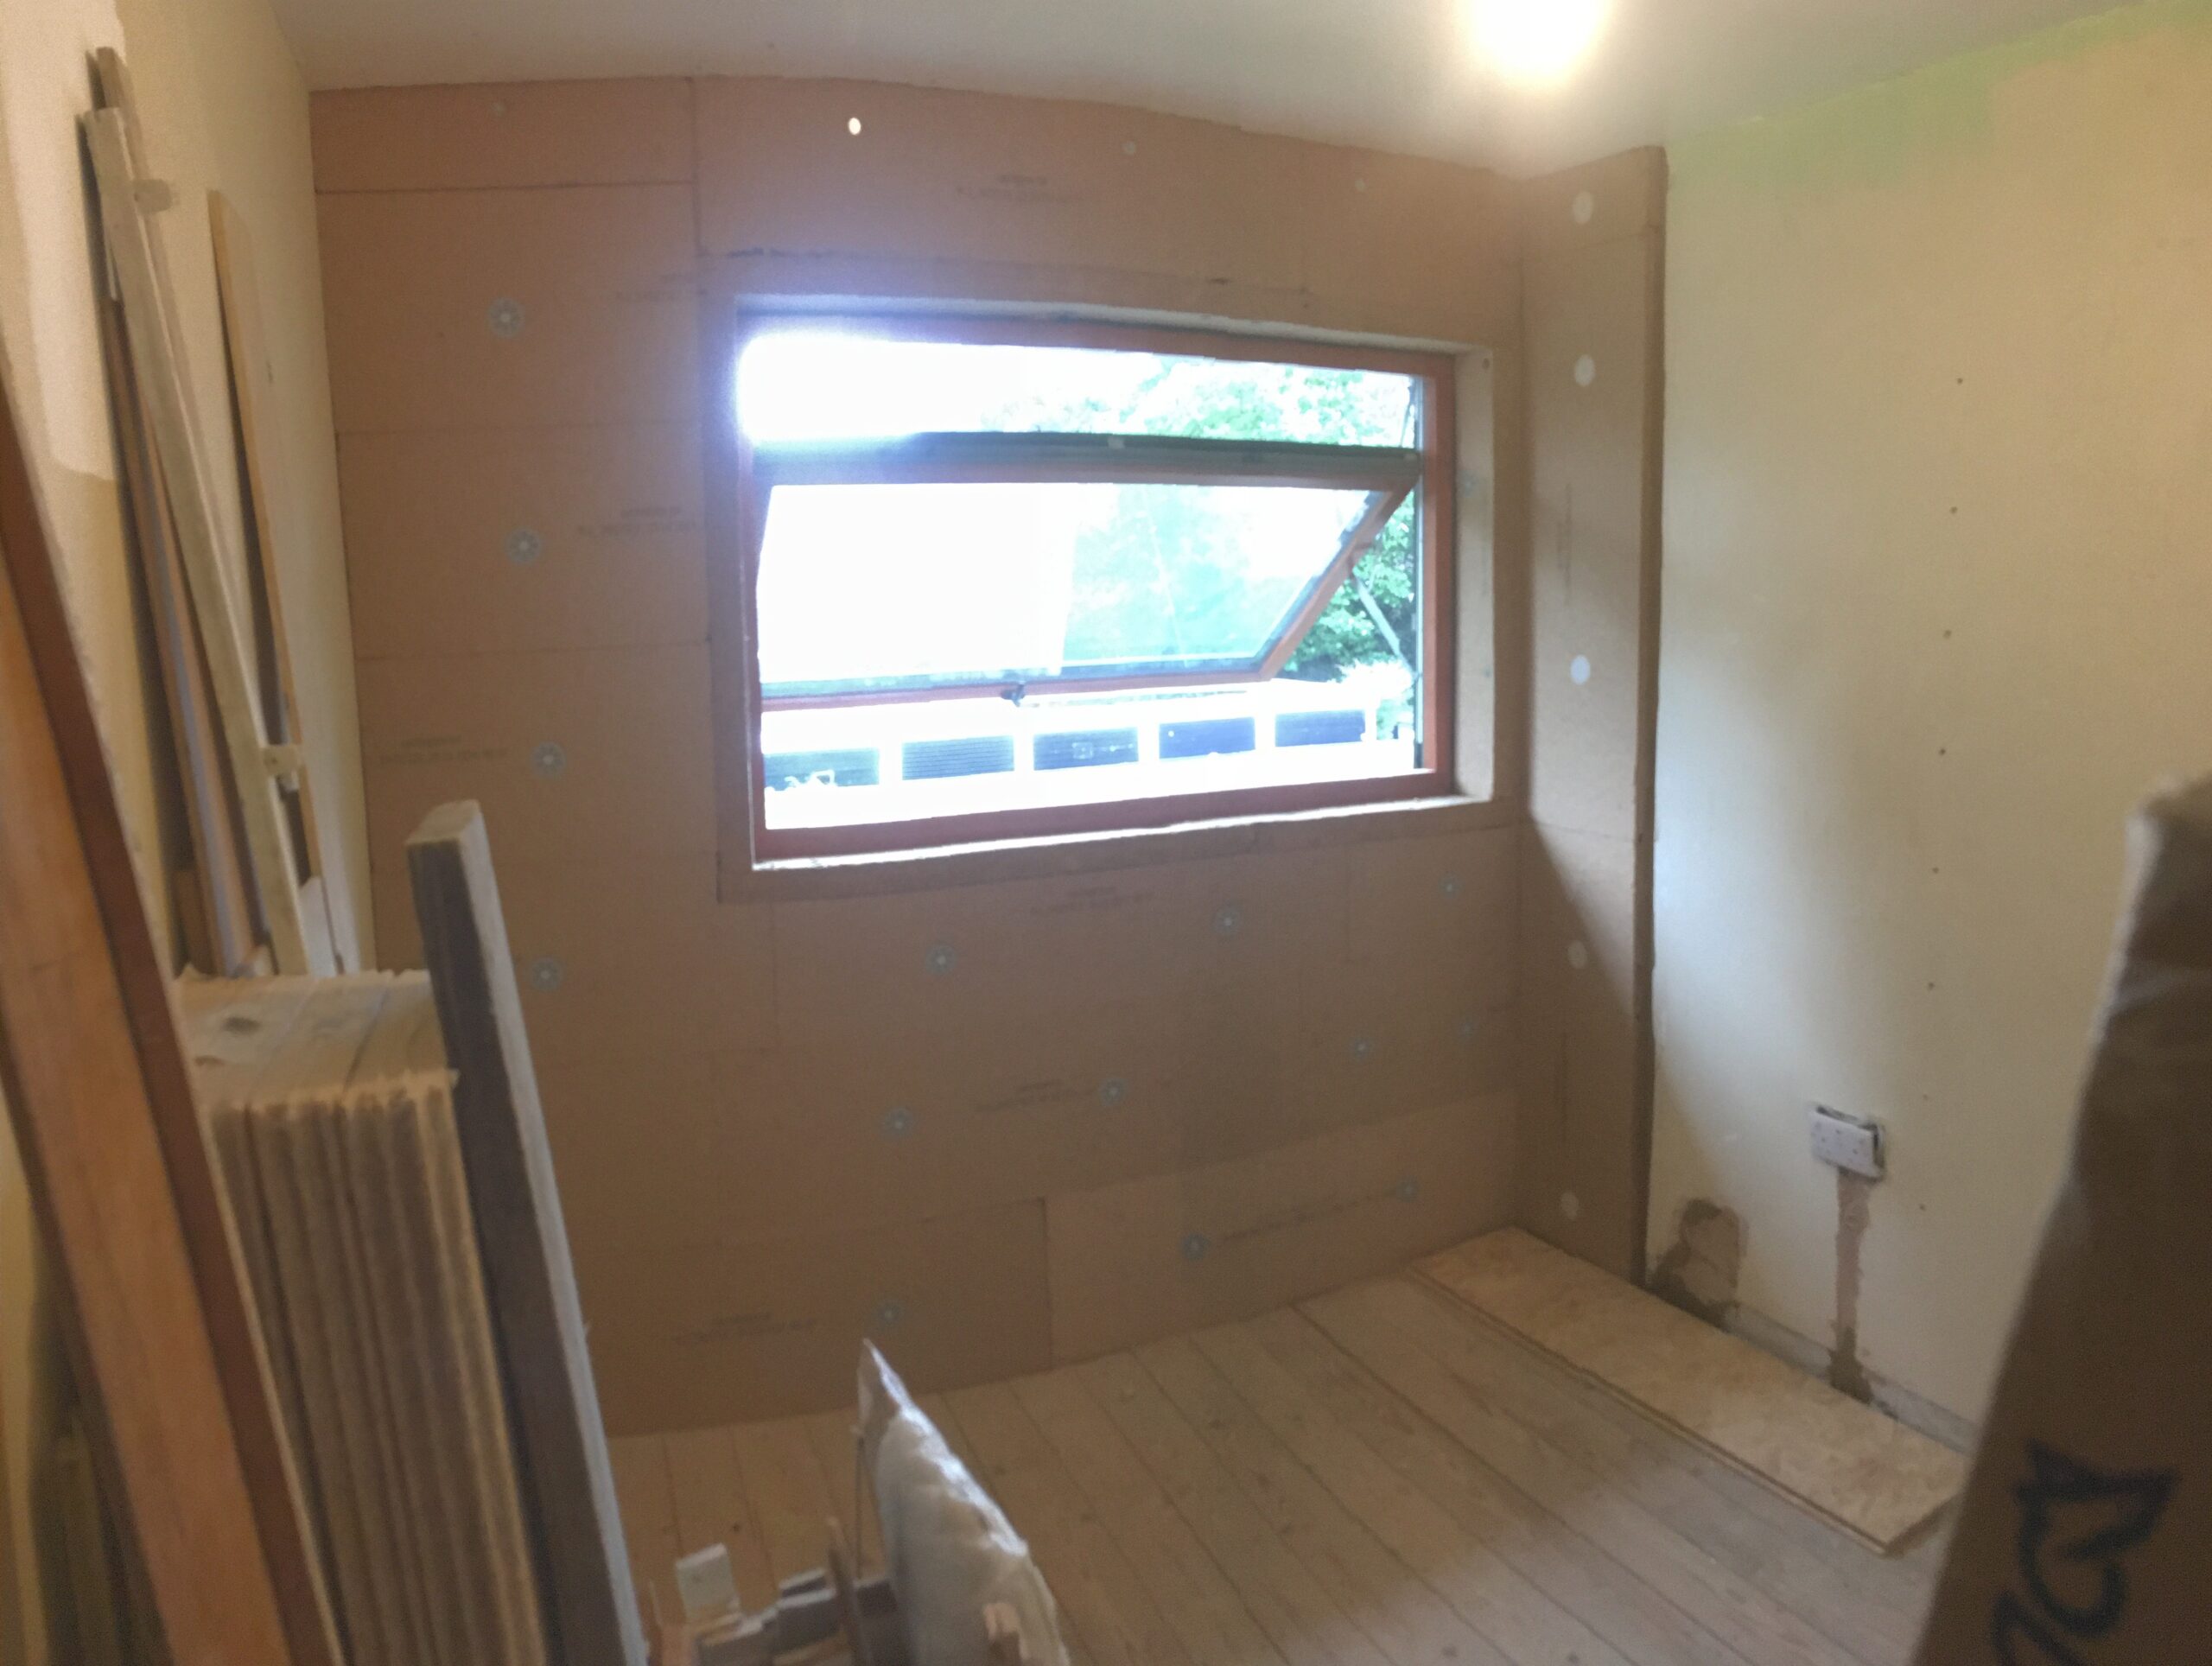
As it was in June. Very large window was halved in size. Base coat of clay plaster partially applied. Trying out placement of the bath to plan detailing. Ceiling boards cut back.
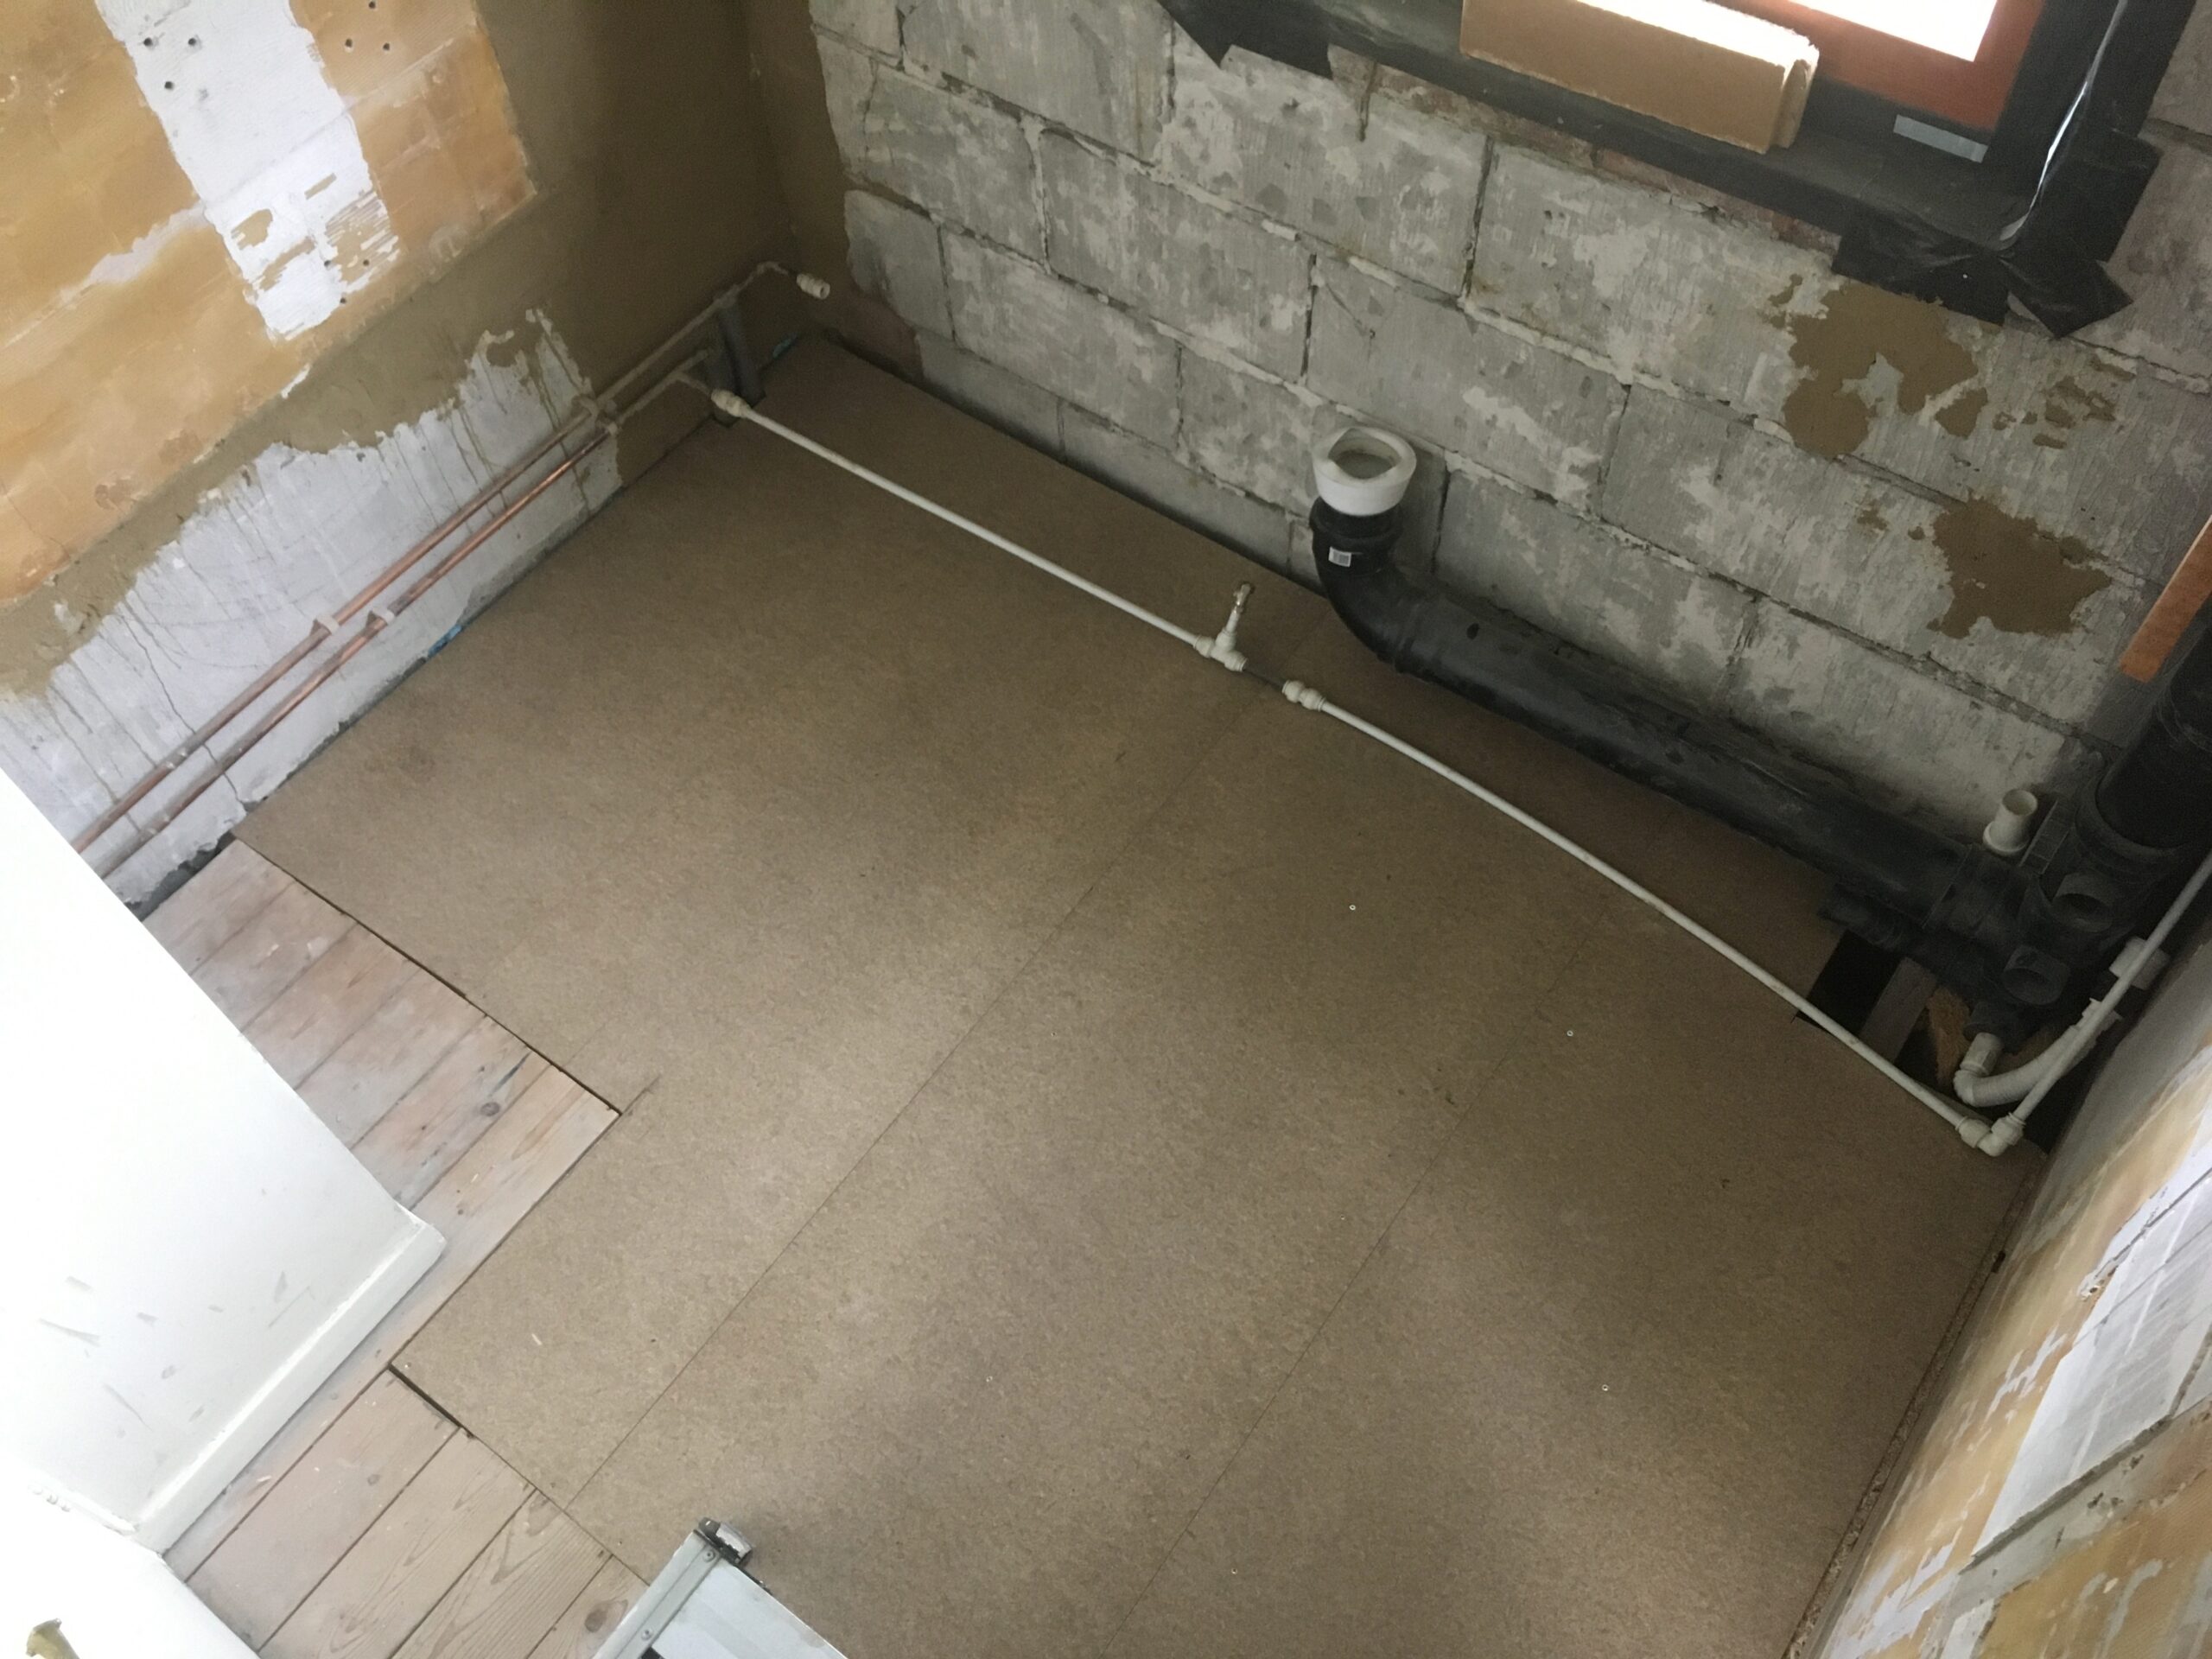
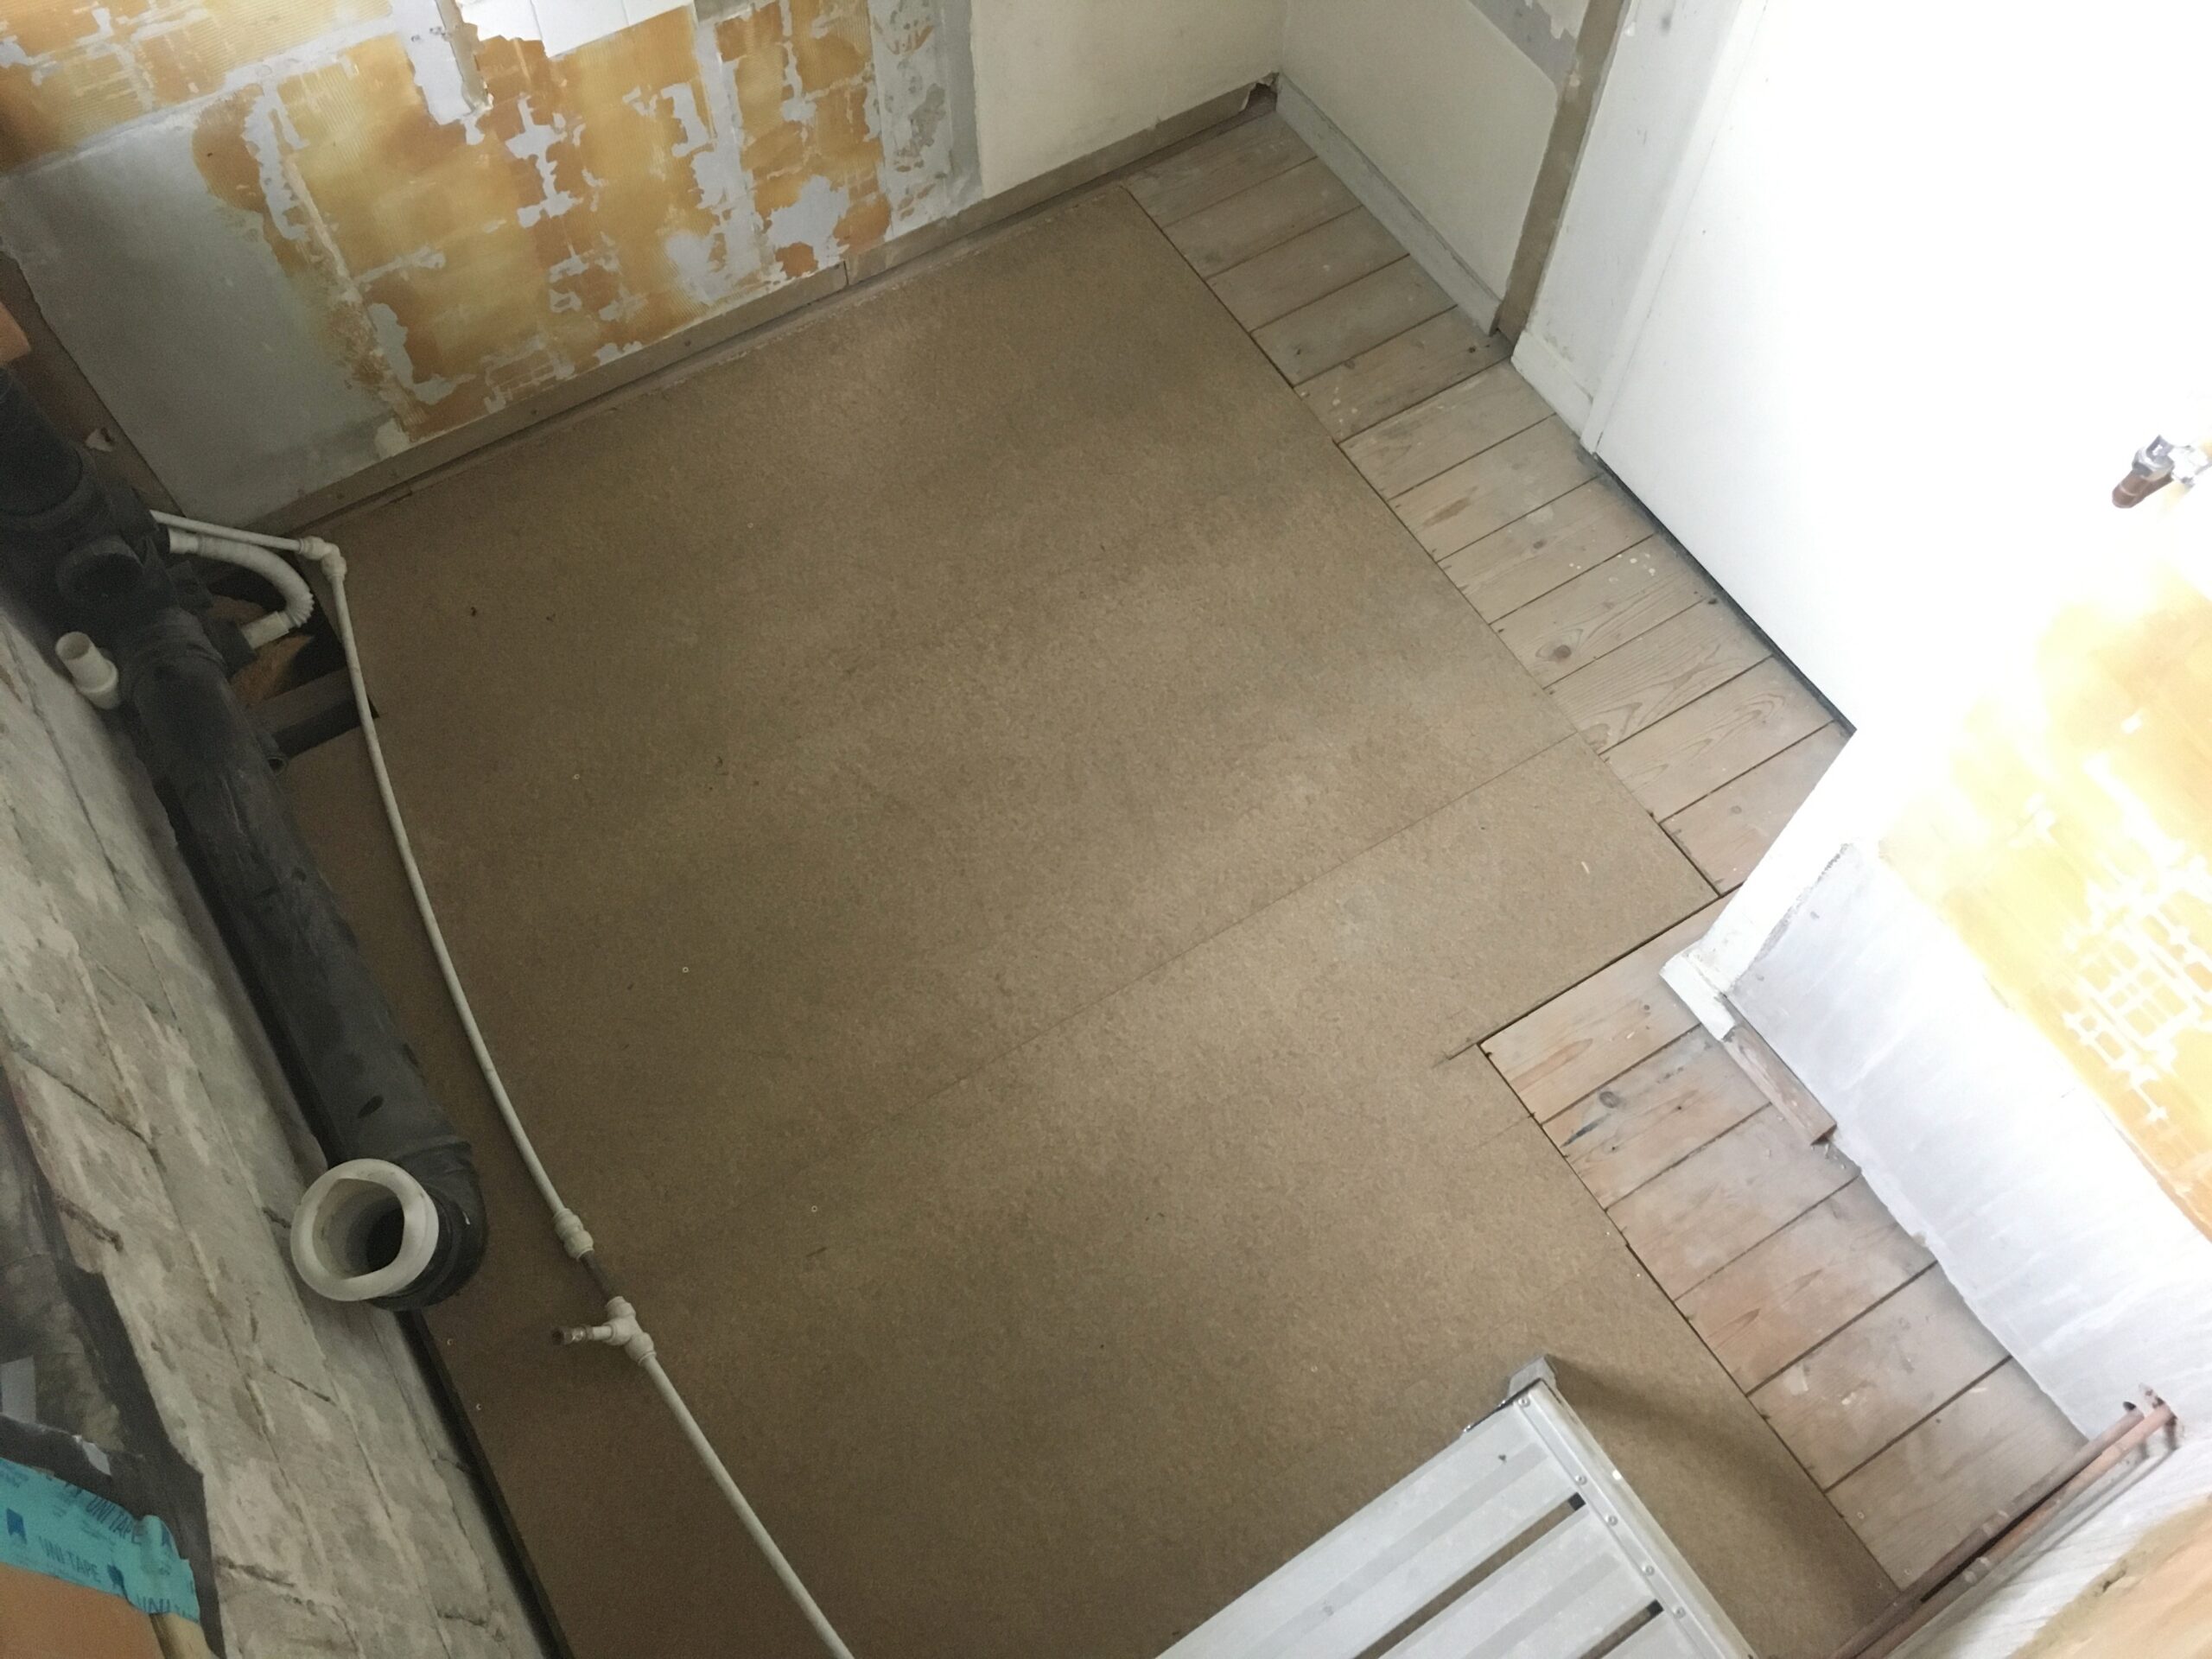
Wood fibre boards installed. Hot & cold water pipes re-routed from downstairs to tank in loft. Then back to the taps, around edge of bath…
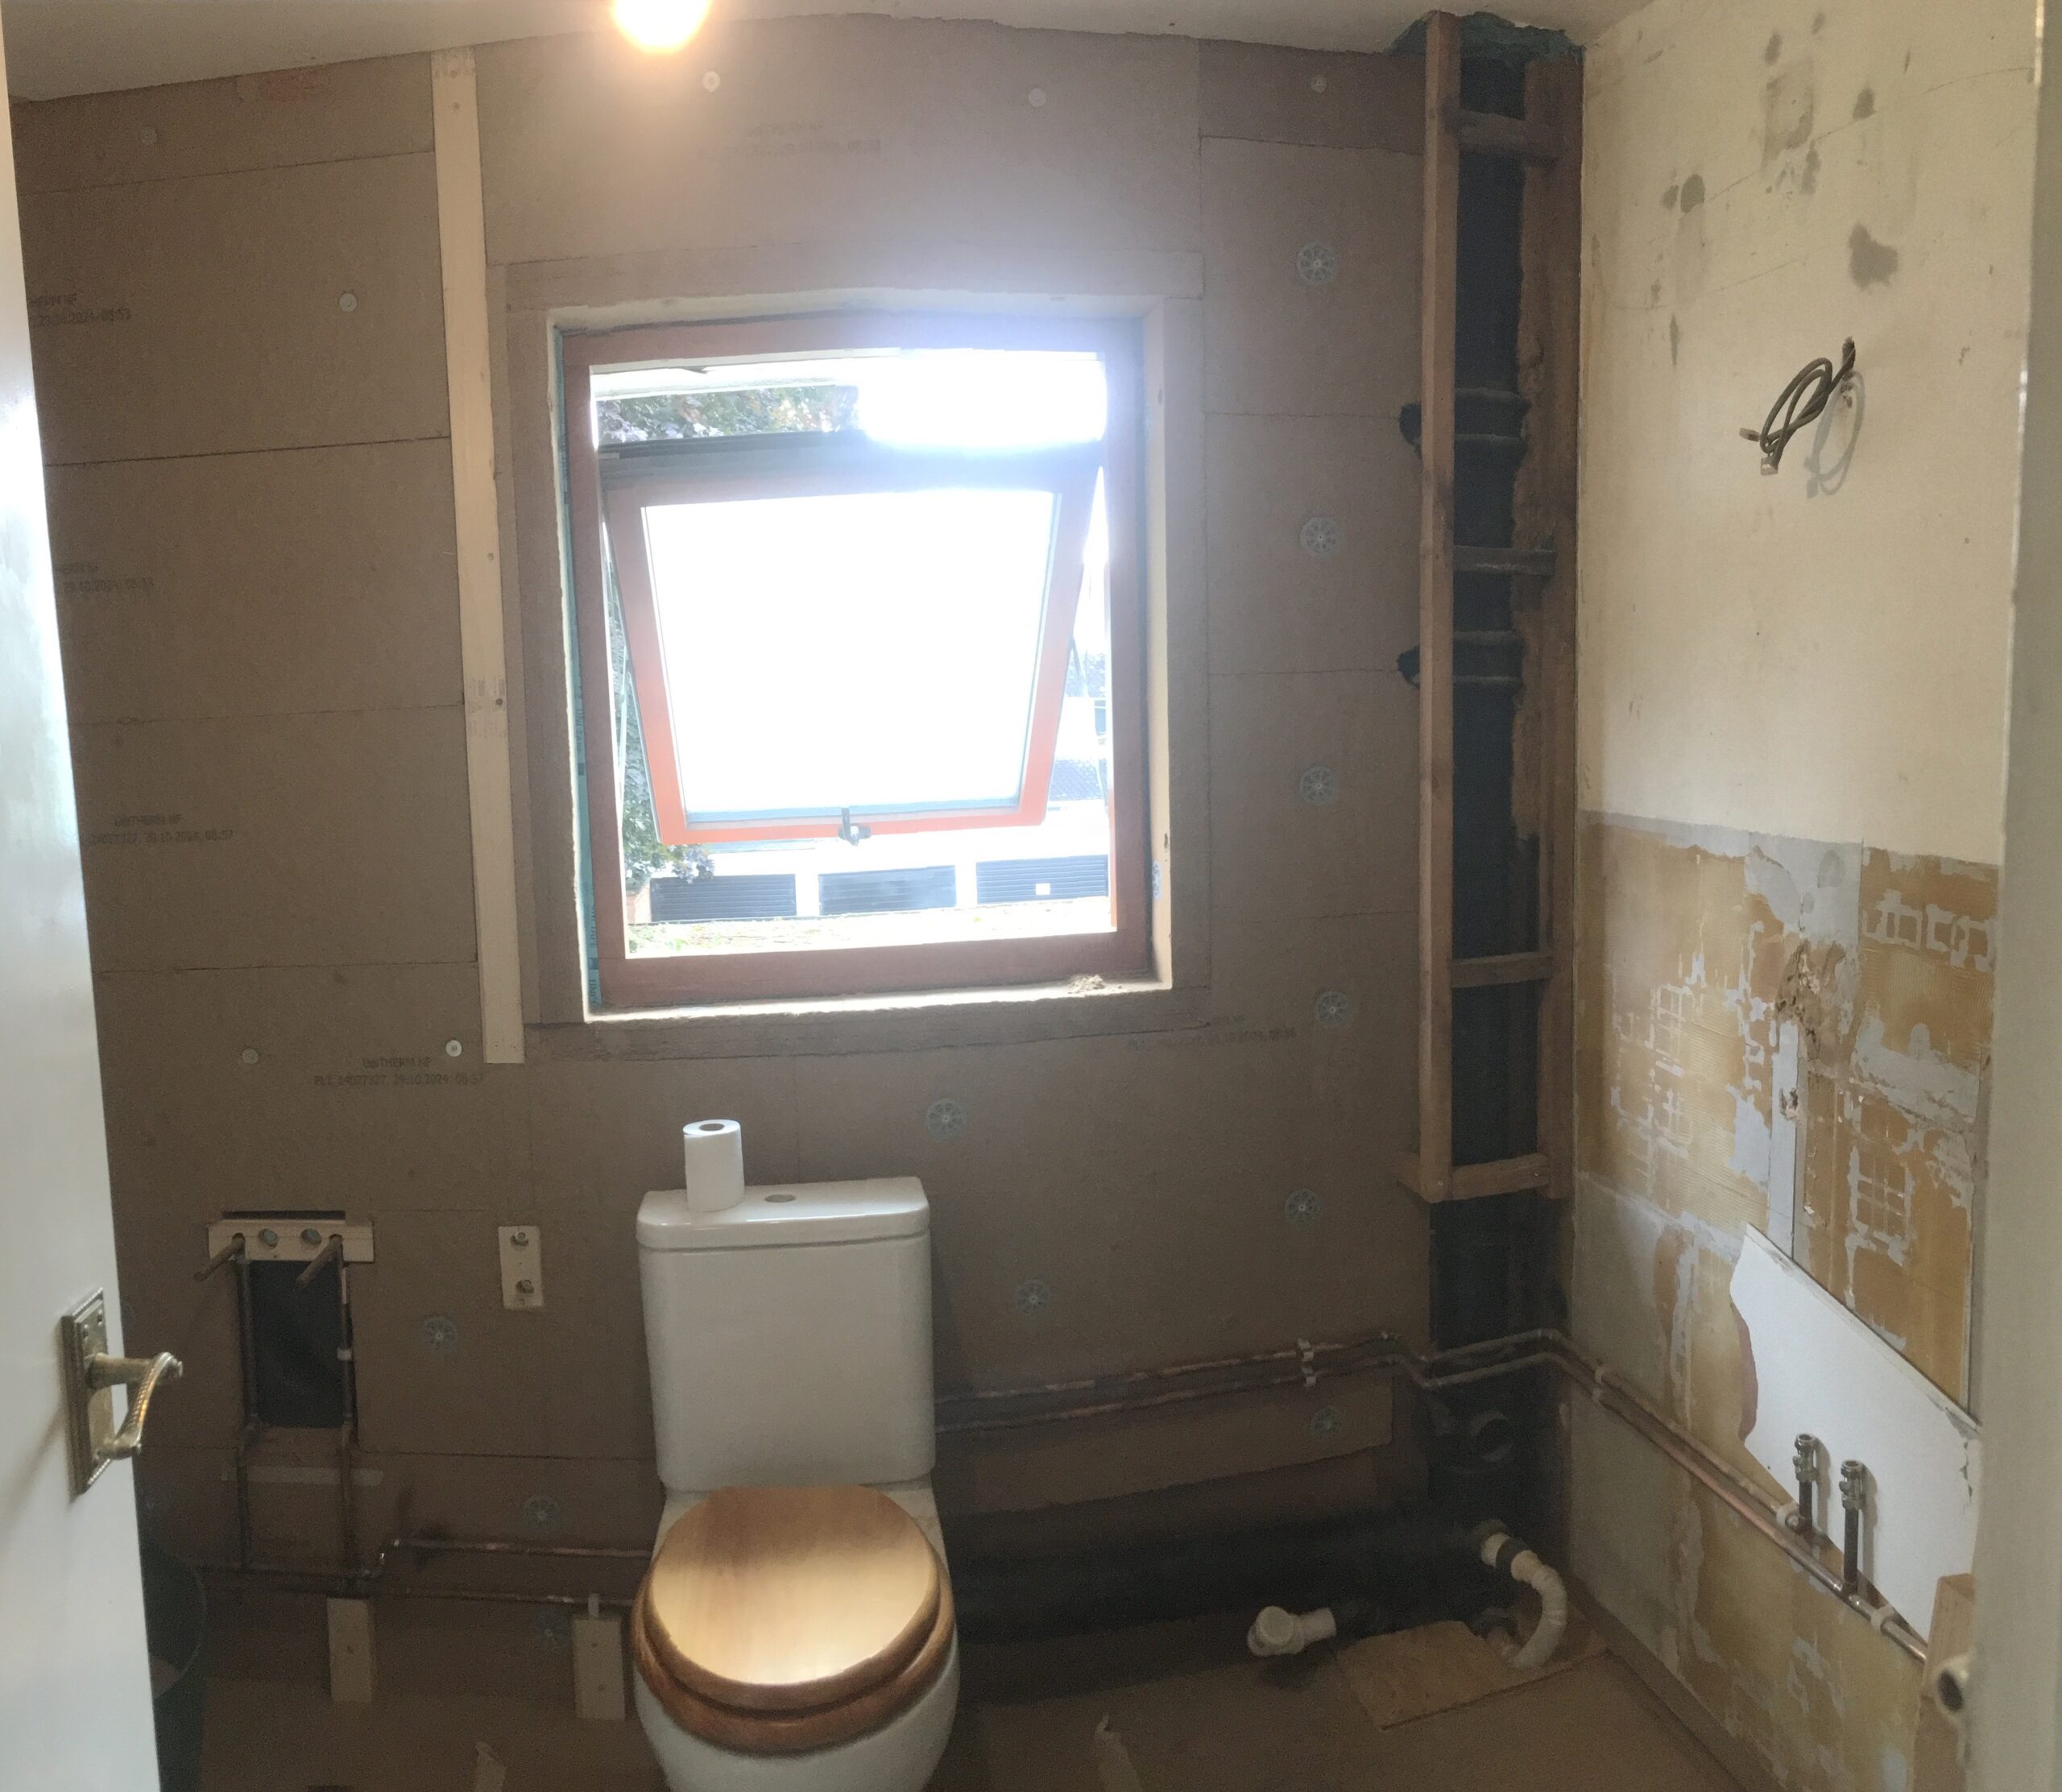
… and to loo, sink, and washing machine (out of shot on right). Toilet waste connected. Just left of the window a vertical timber is embedded (bridging the old window frame) to take the shower screen fixings.
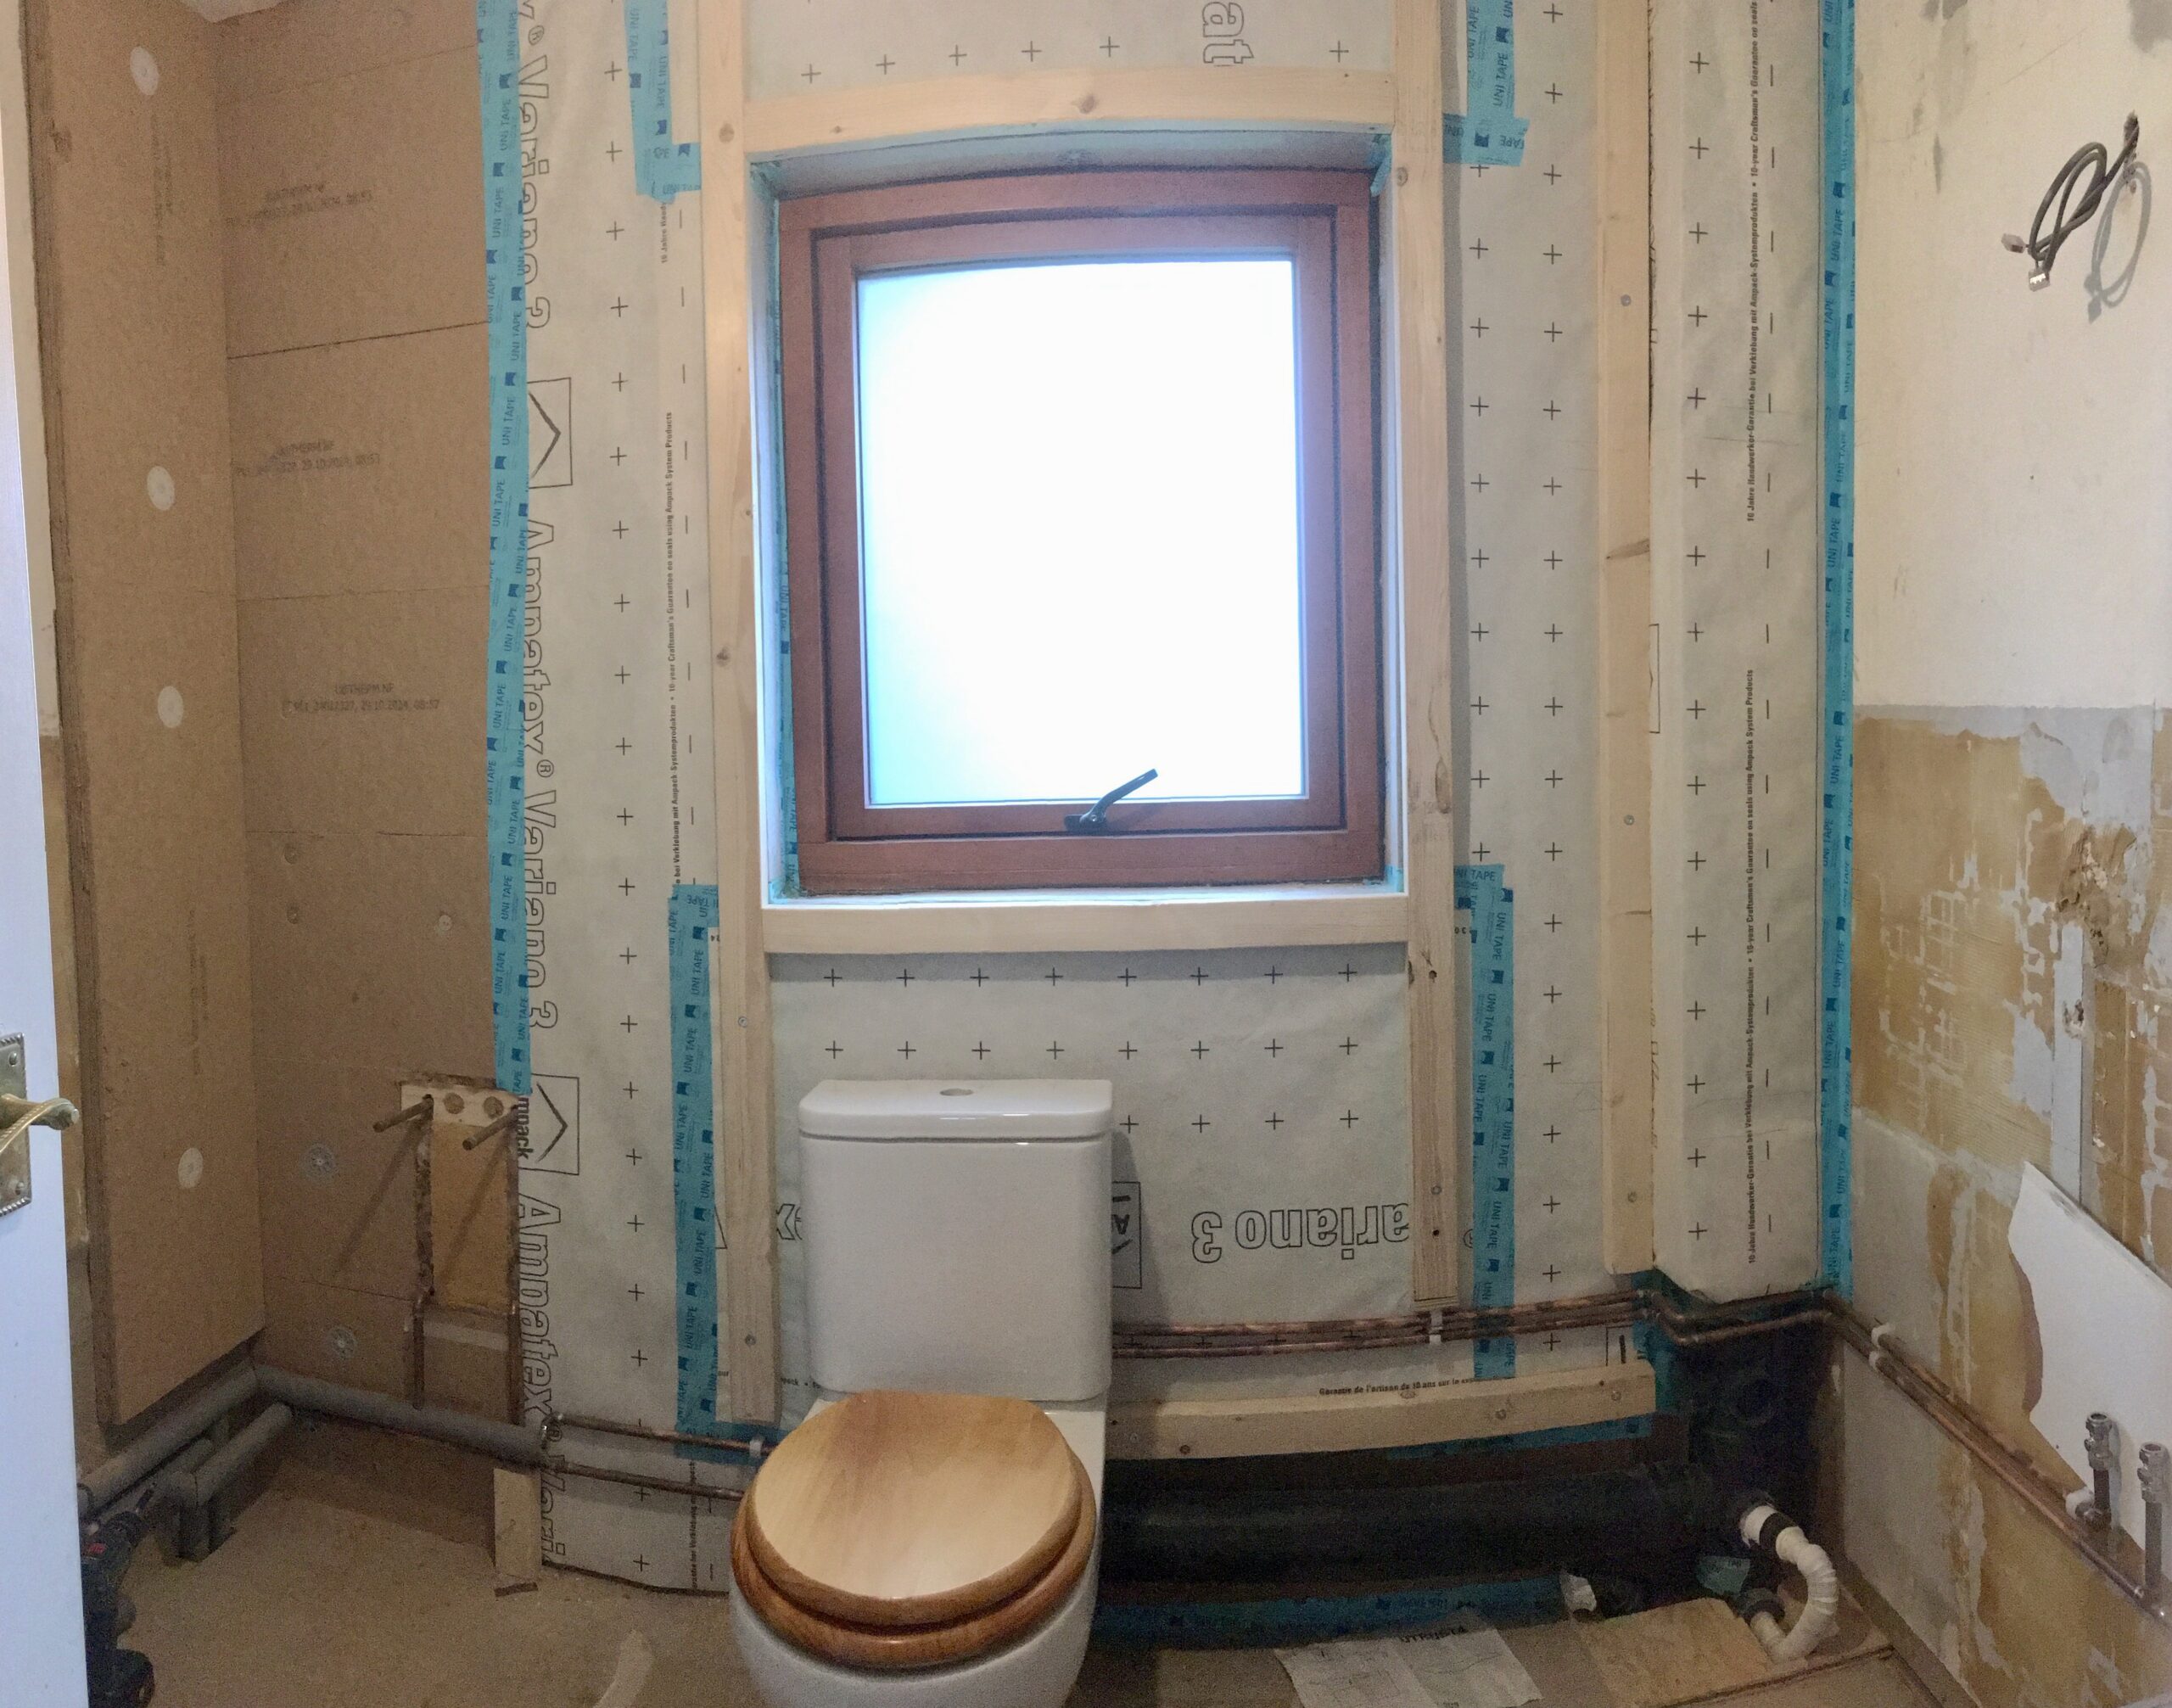
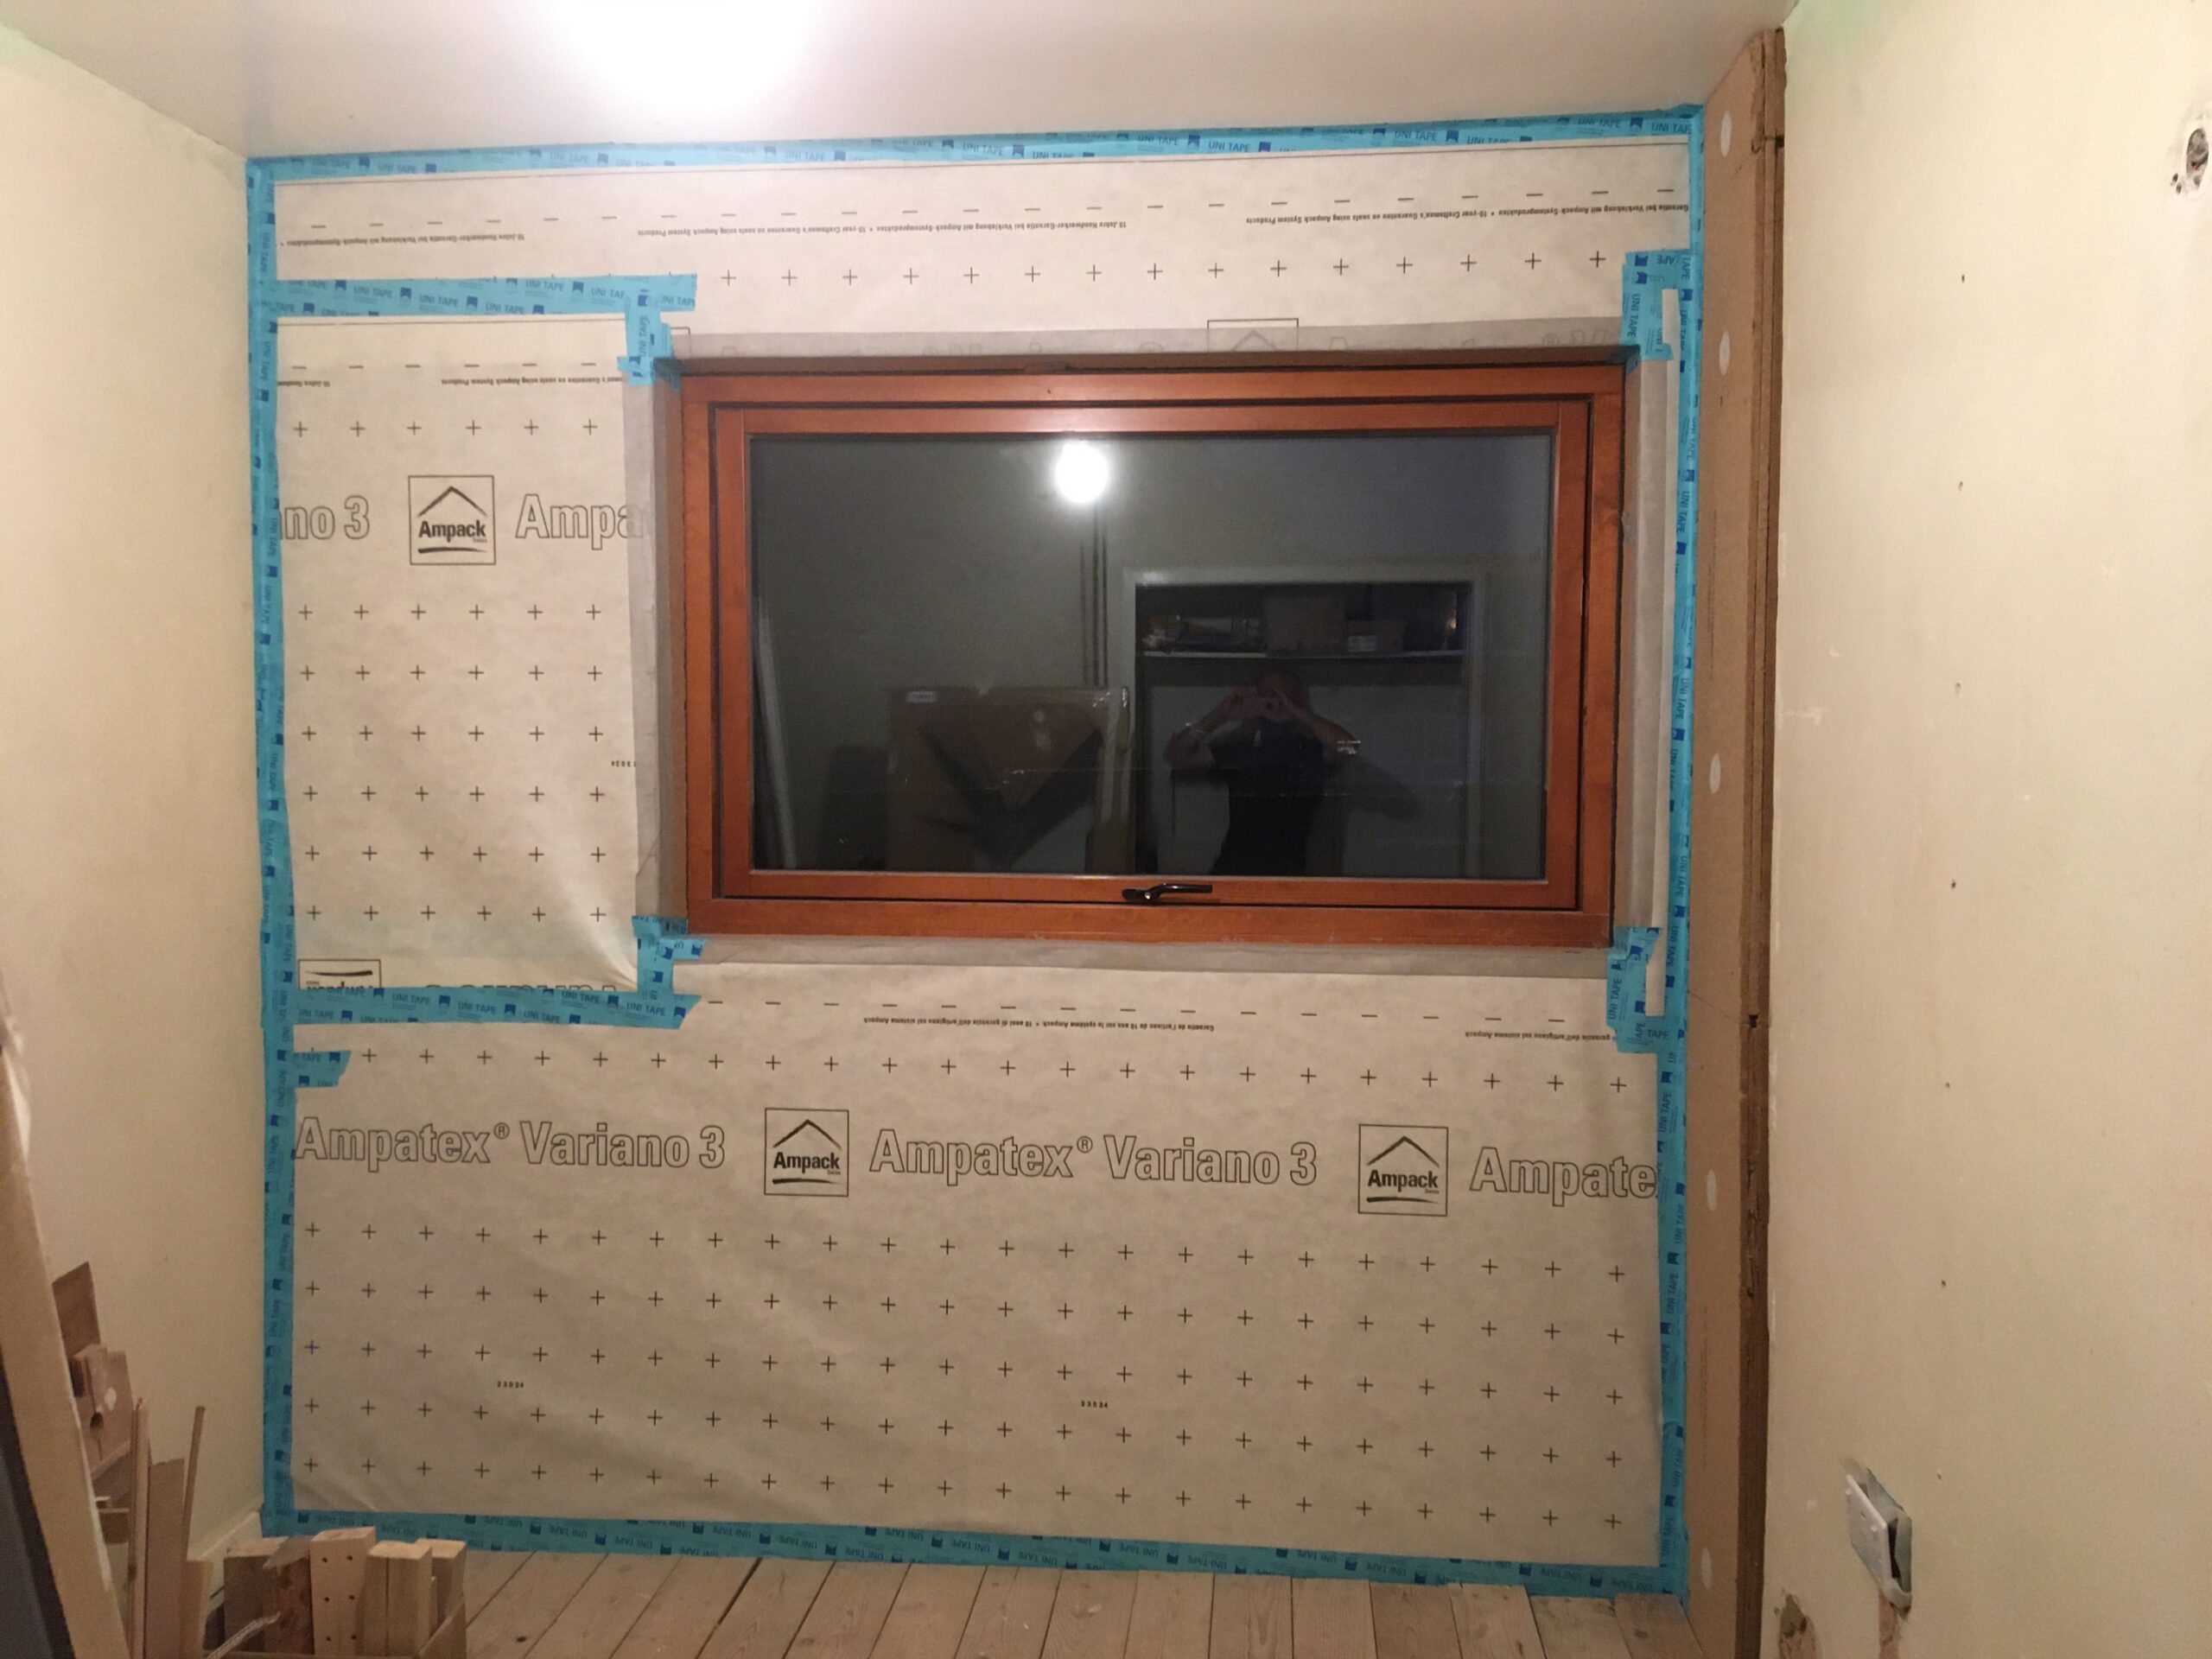
Variable vapour control membrane – that changes permeability according to humidity. Tape sealed especially carefully, given this is the bathroom.
Flexible wood fibre batts between the timber studs.
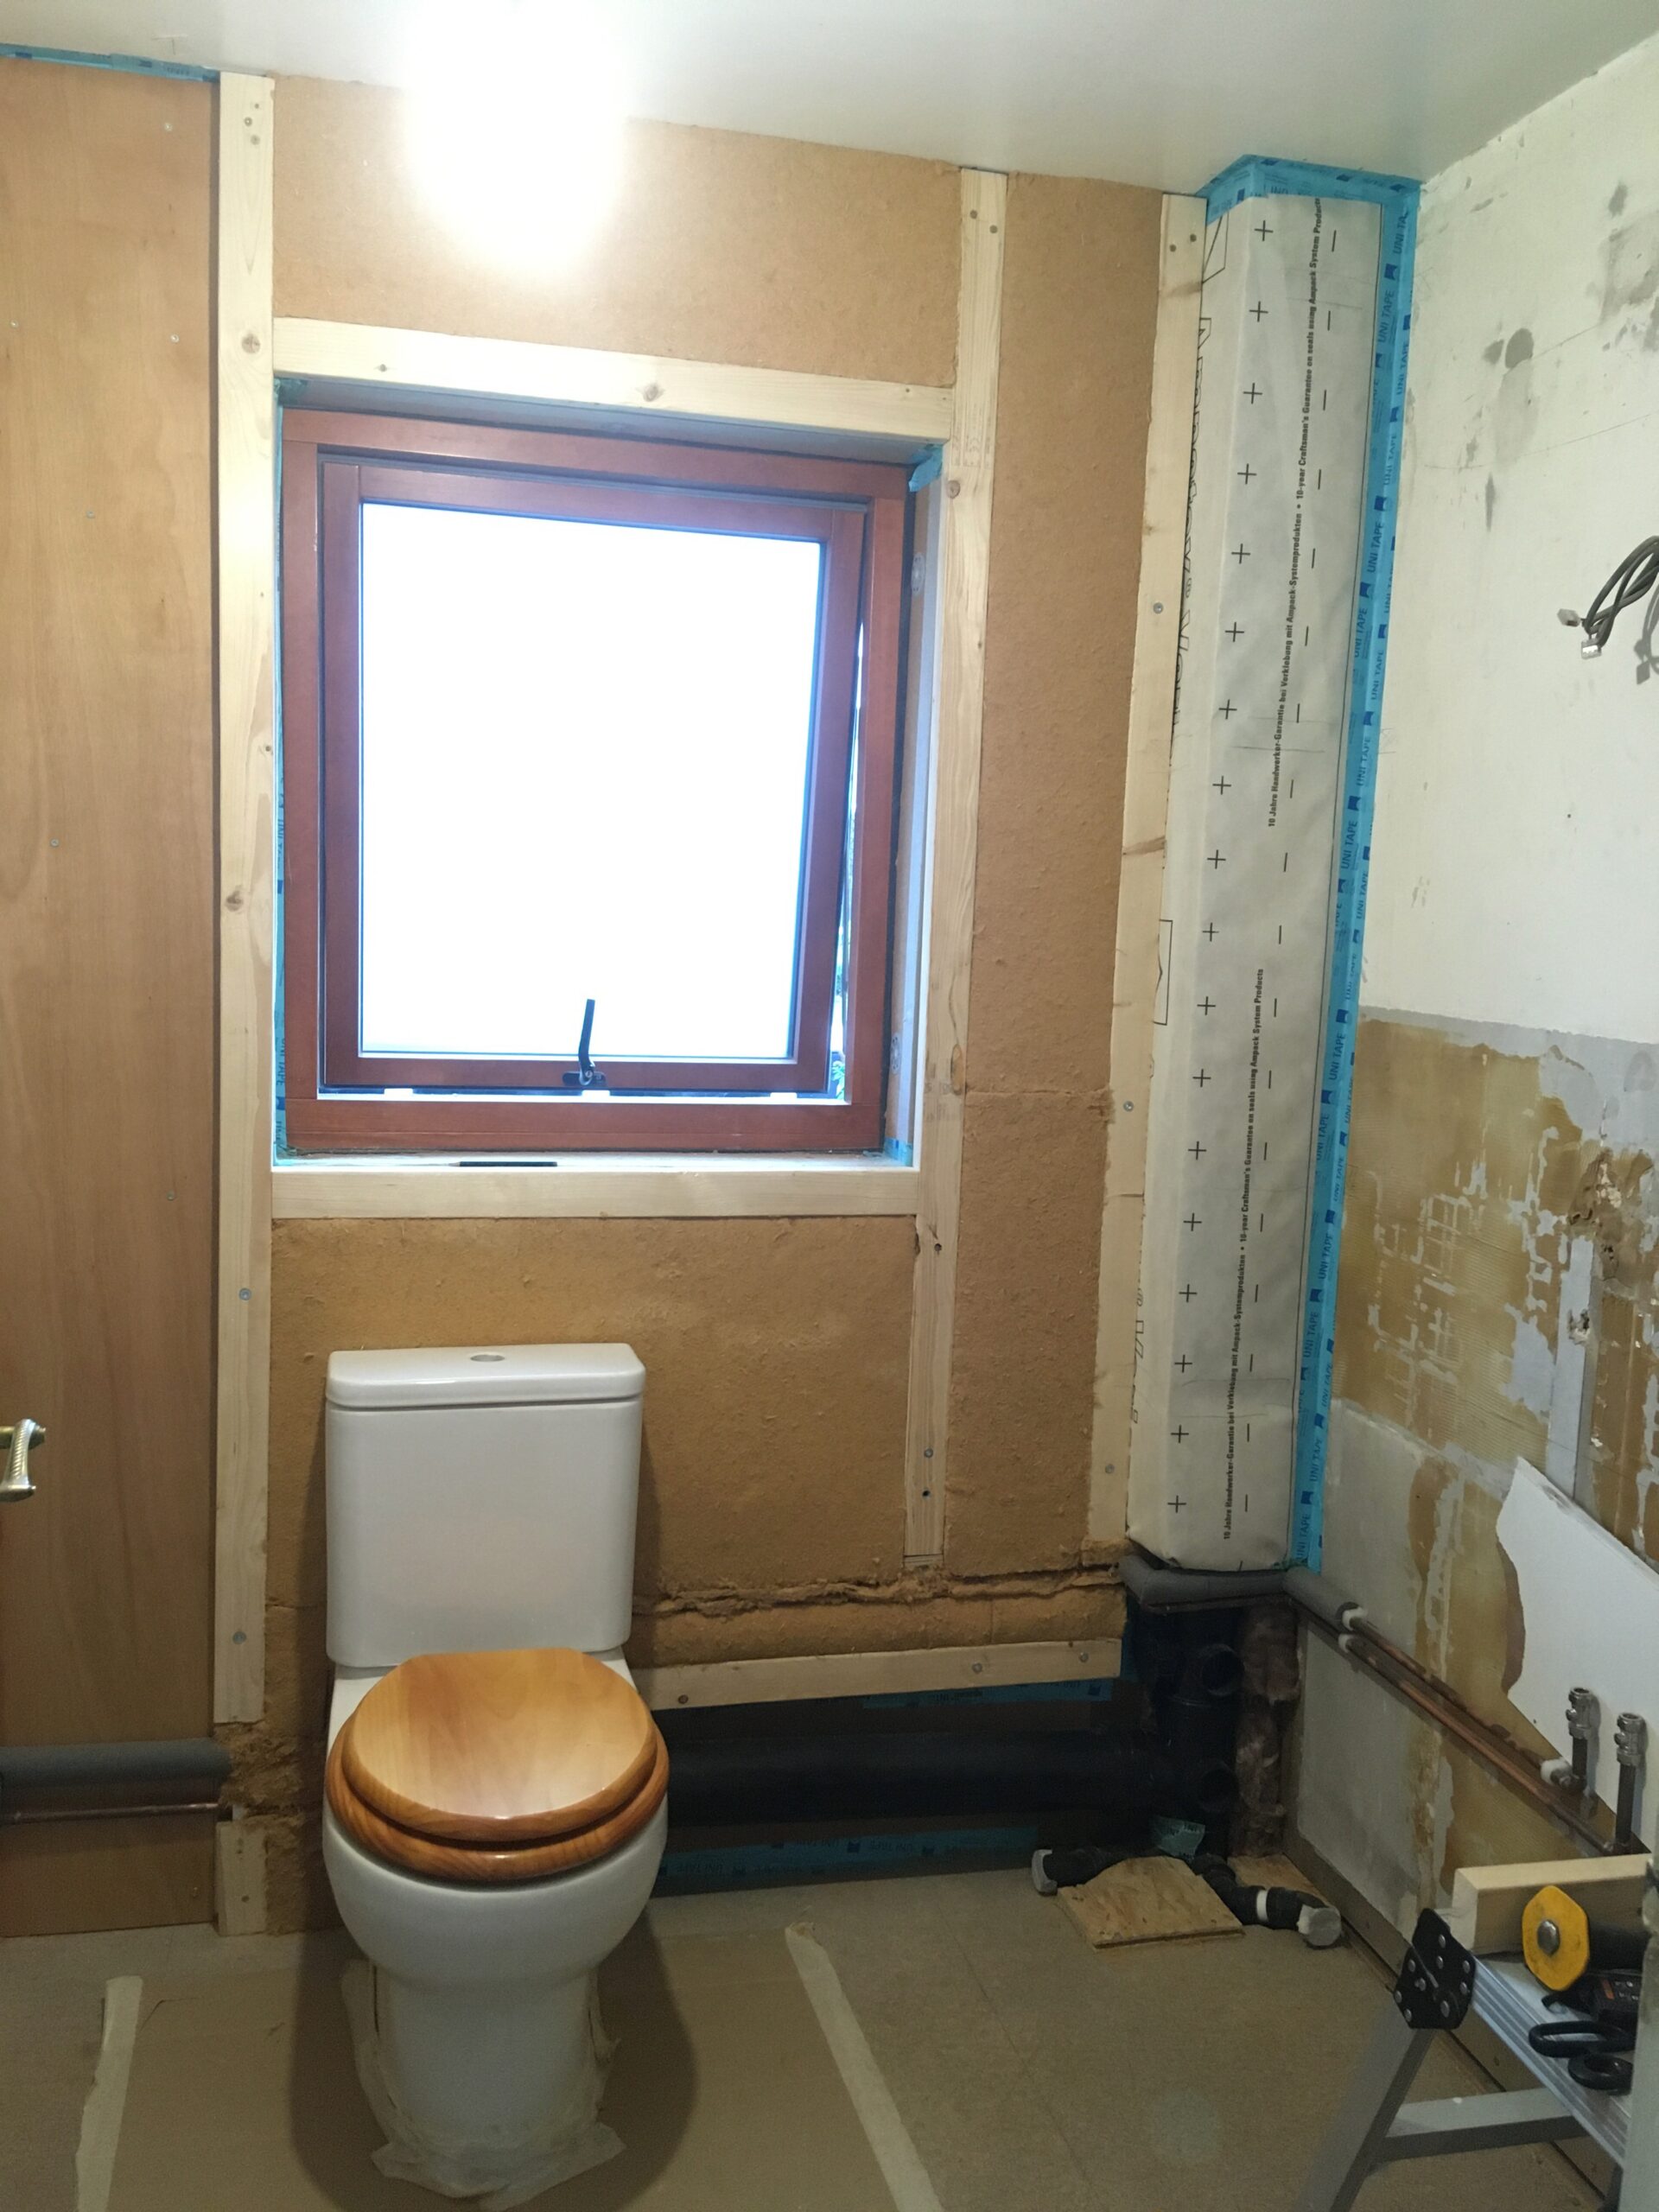
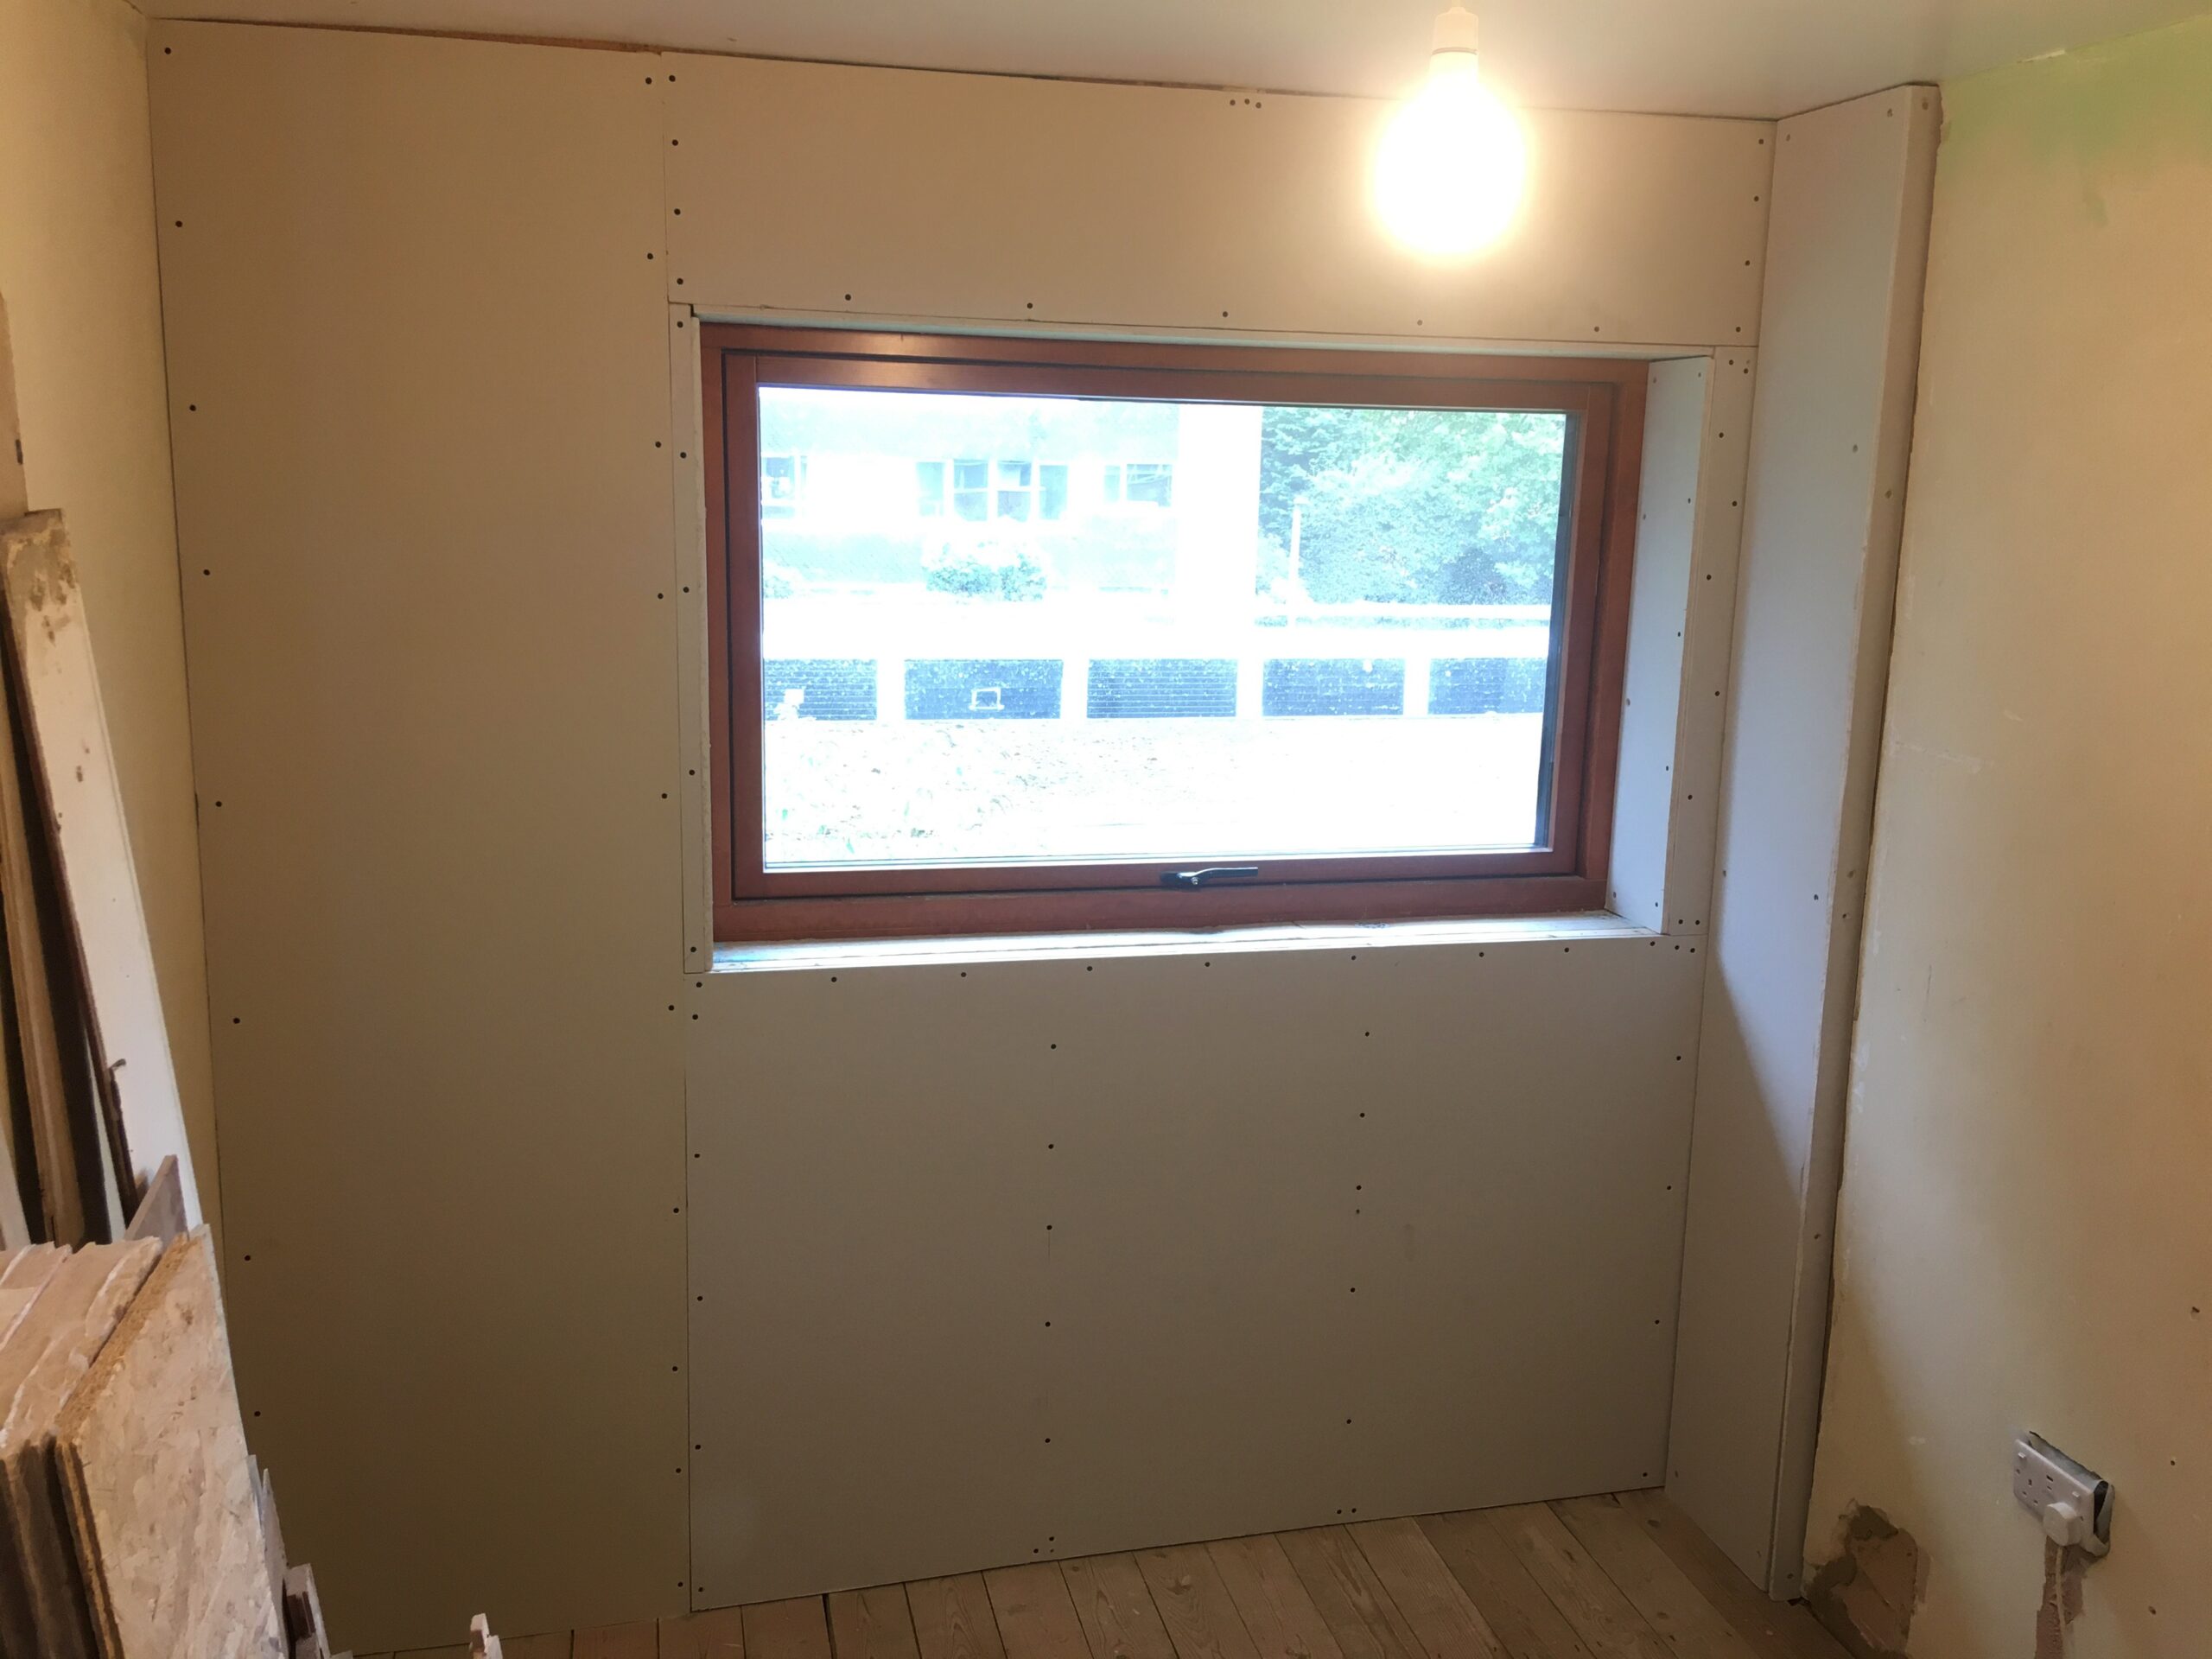
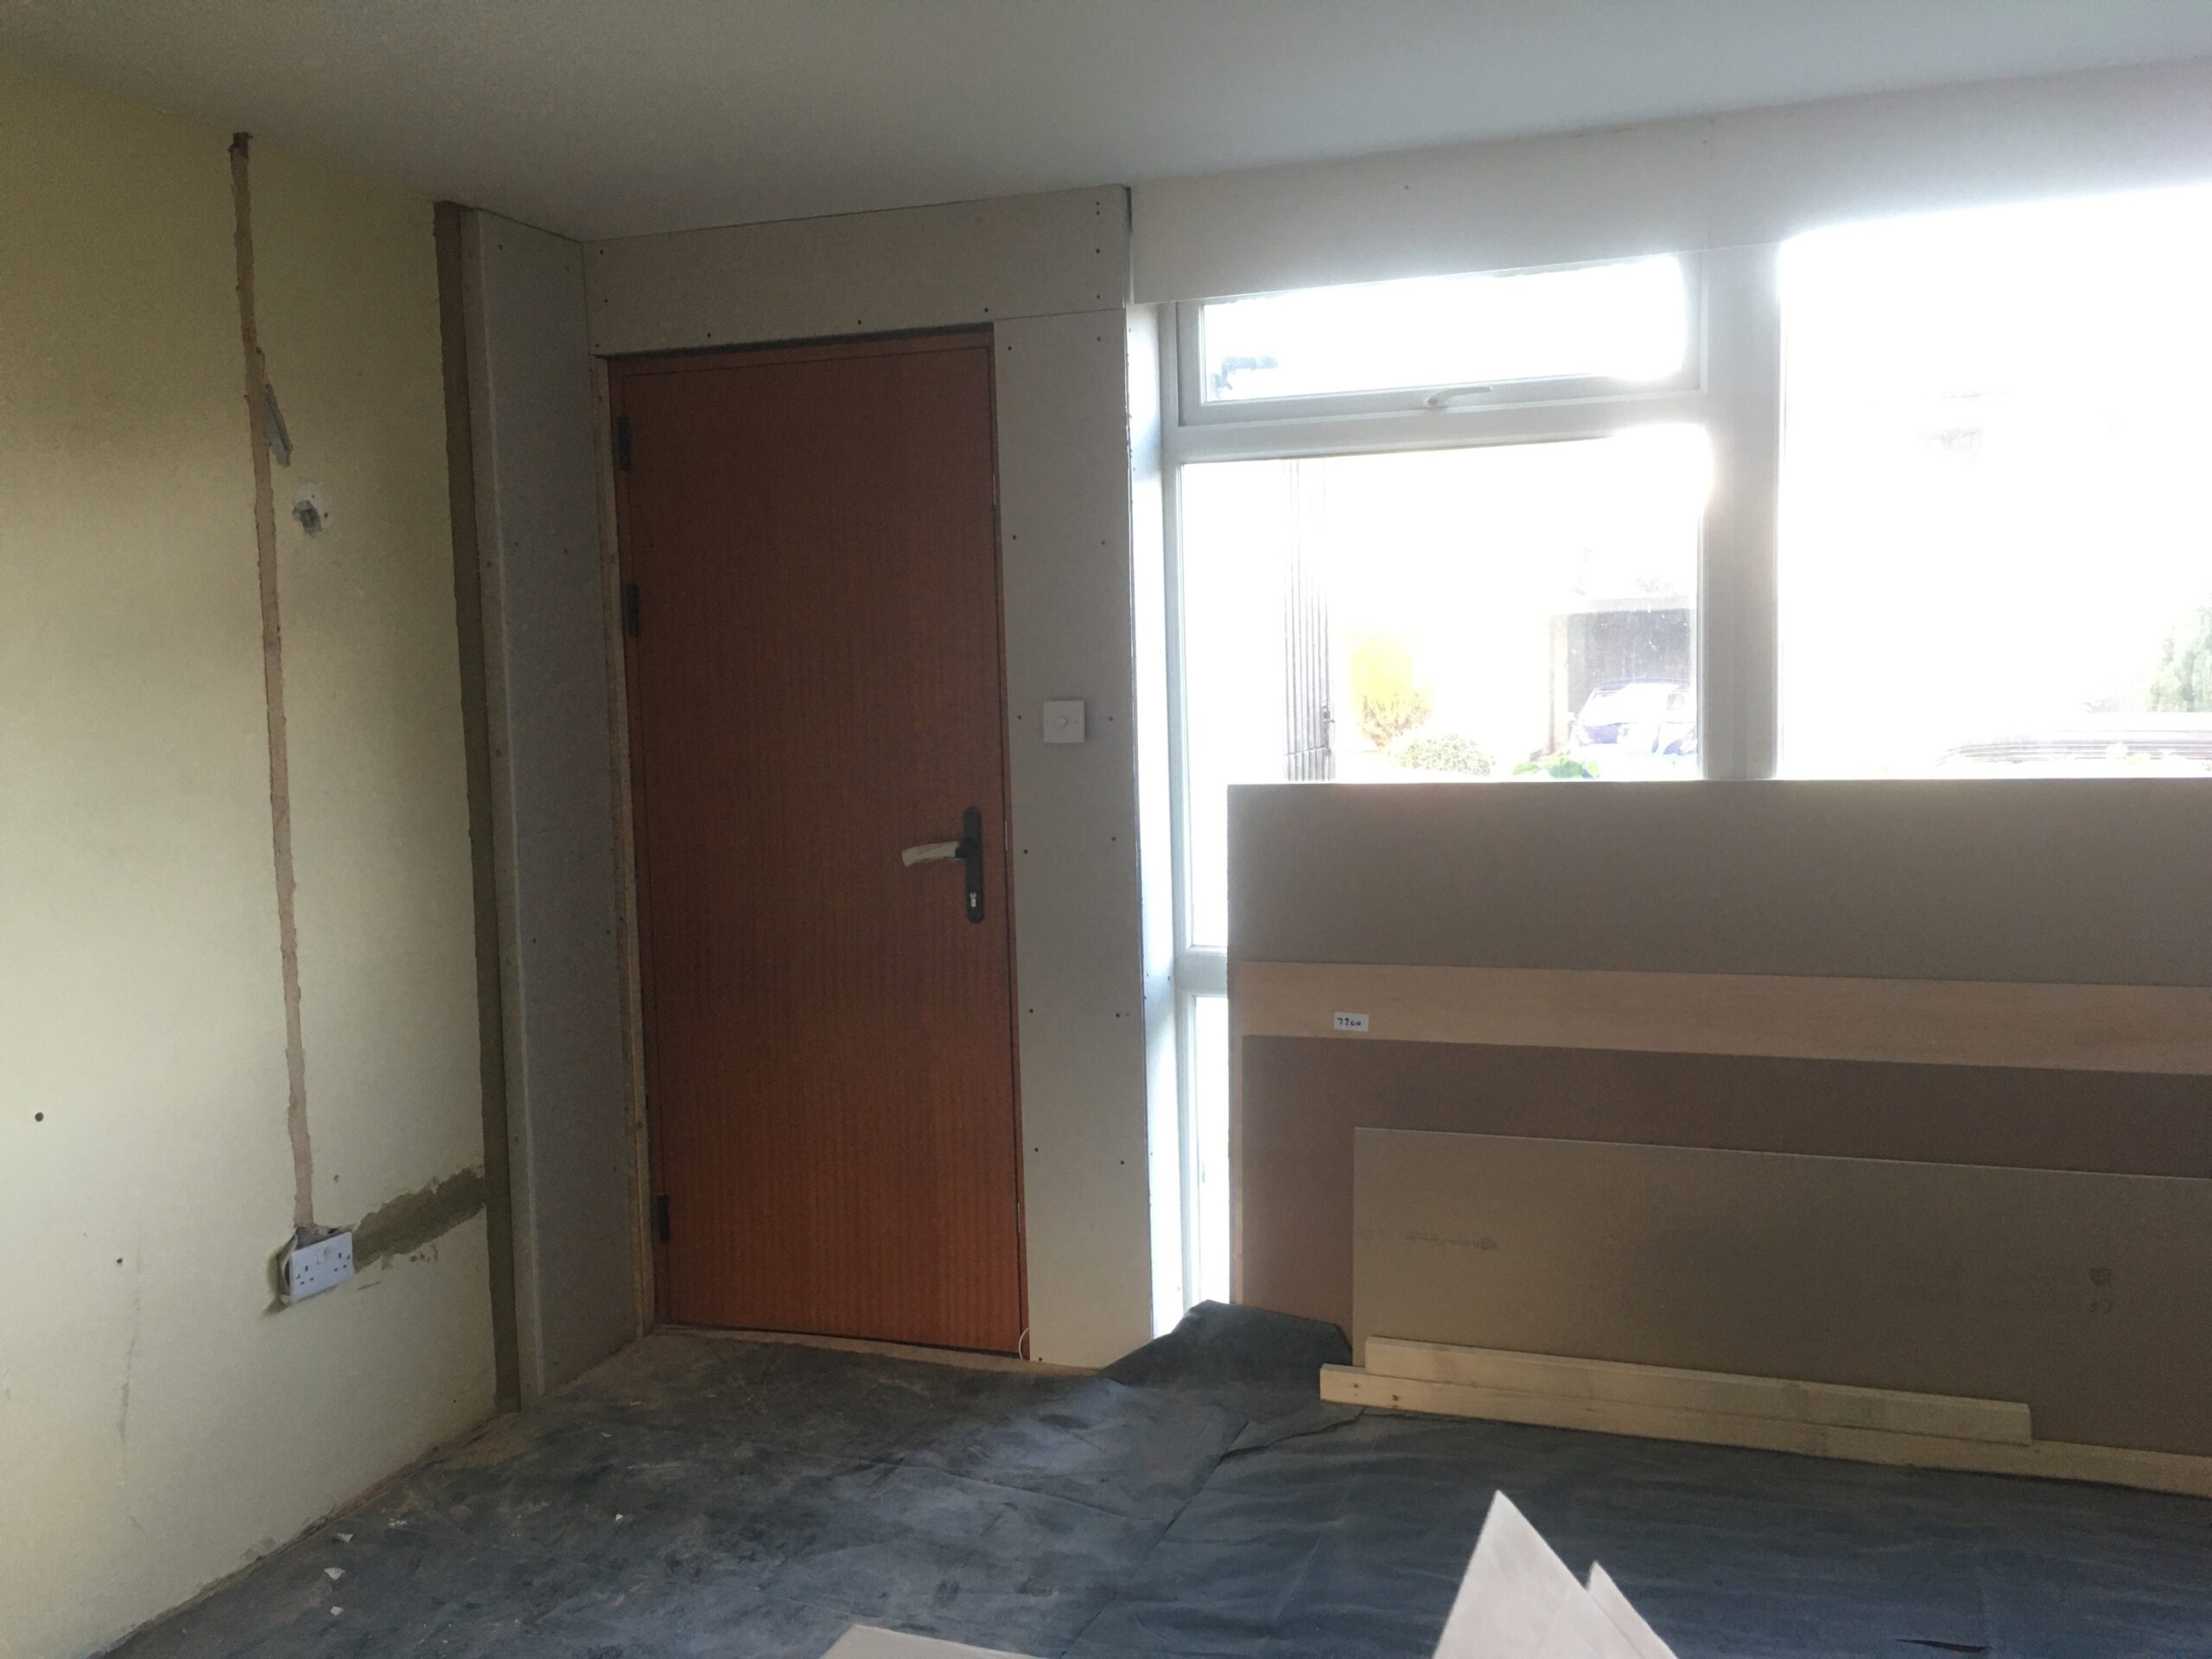
And plasterboarded. Sewer pipe on right boxed in.
Simpler, less thick wall buildup next to bath (not enough space for stud wall). Woodfibre covered with ply ready to take tiles. Bath fixed, waste pipe plumbed.
Ready for plastering. Meanwhile, Adapting original sink unit to new location & constructing washing machine cupboard.
Back Bedroom
OK, so you know how this goes by now…
Meanwhile
Seriously readying for move in now. Decorating downstairs.
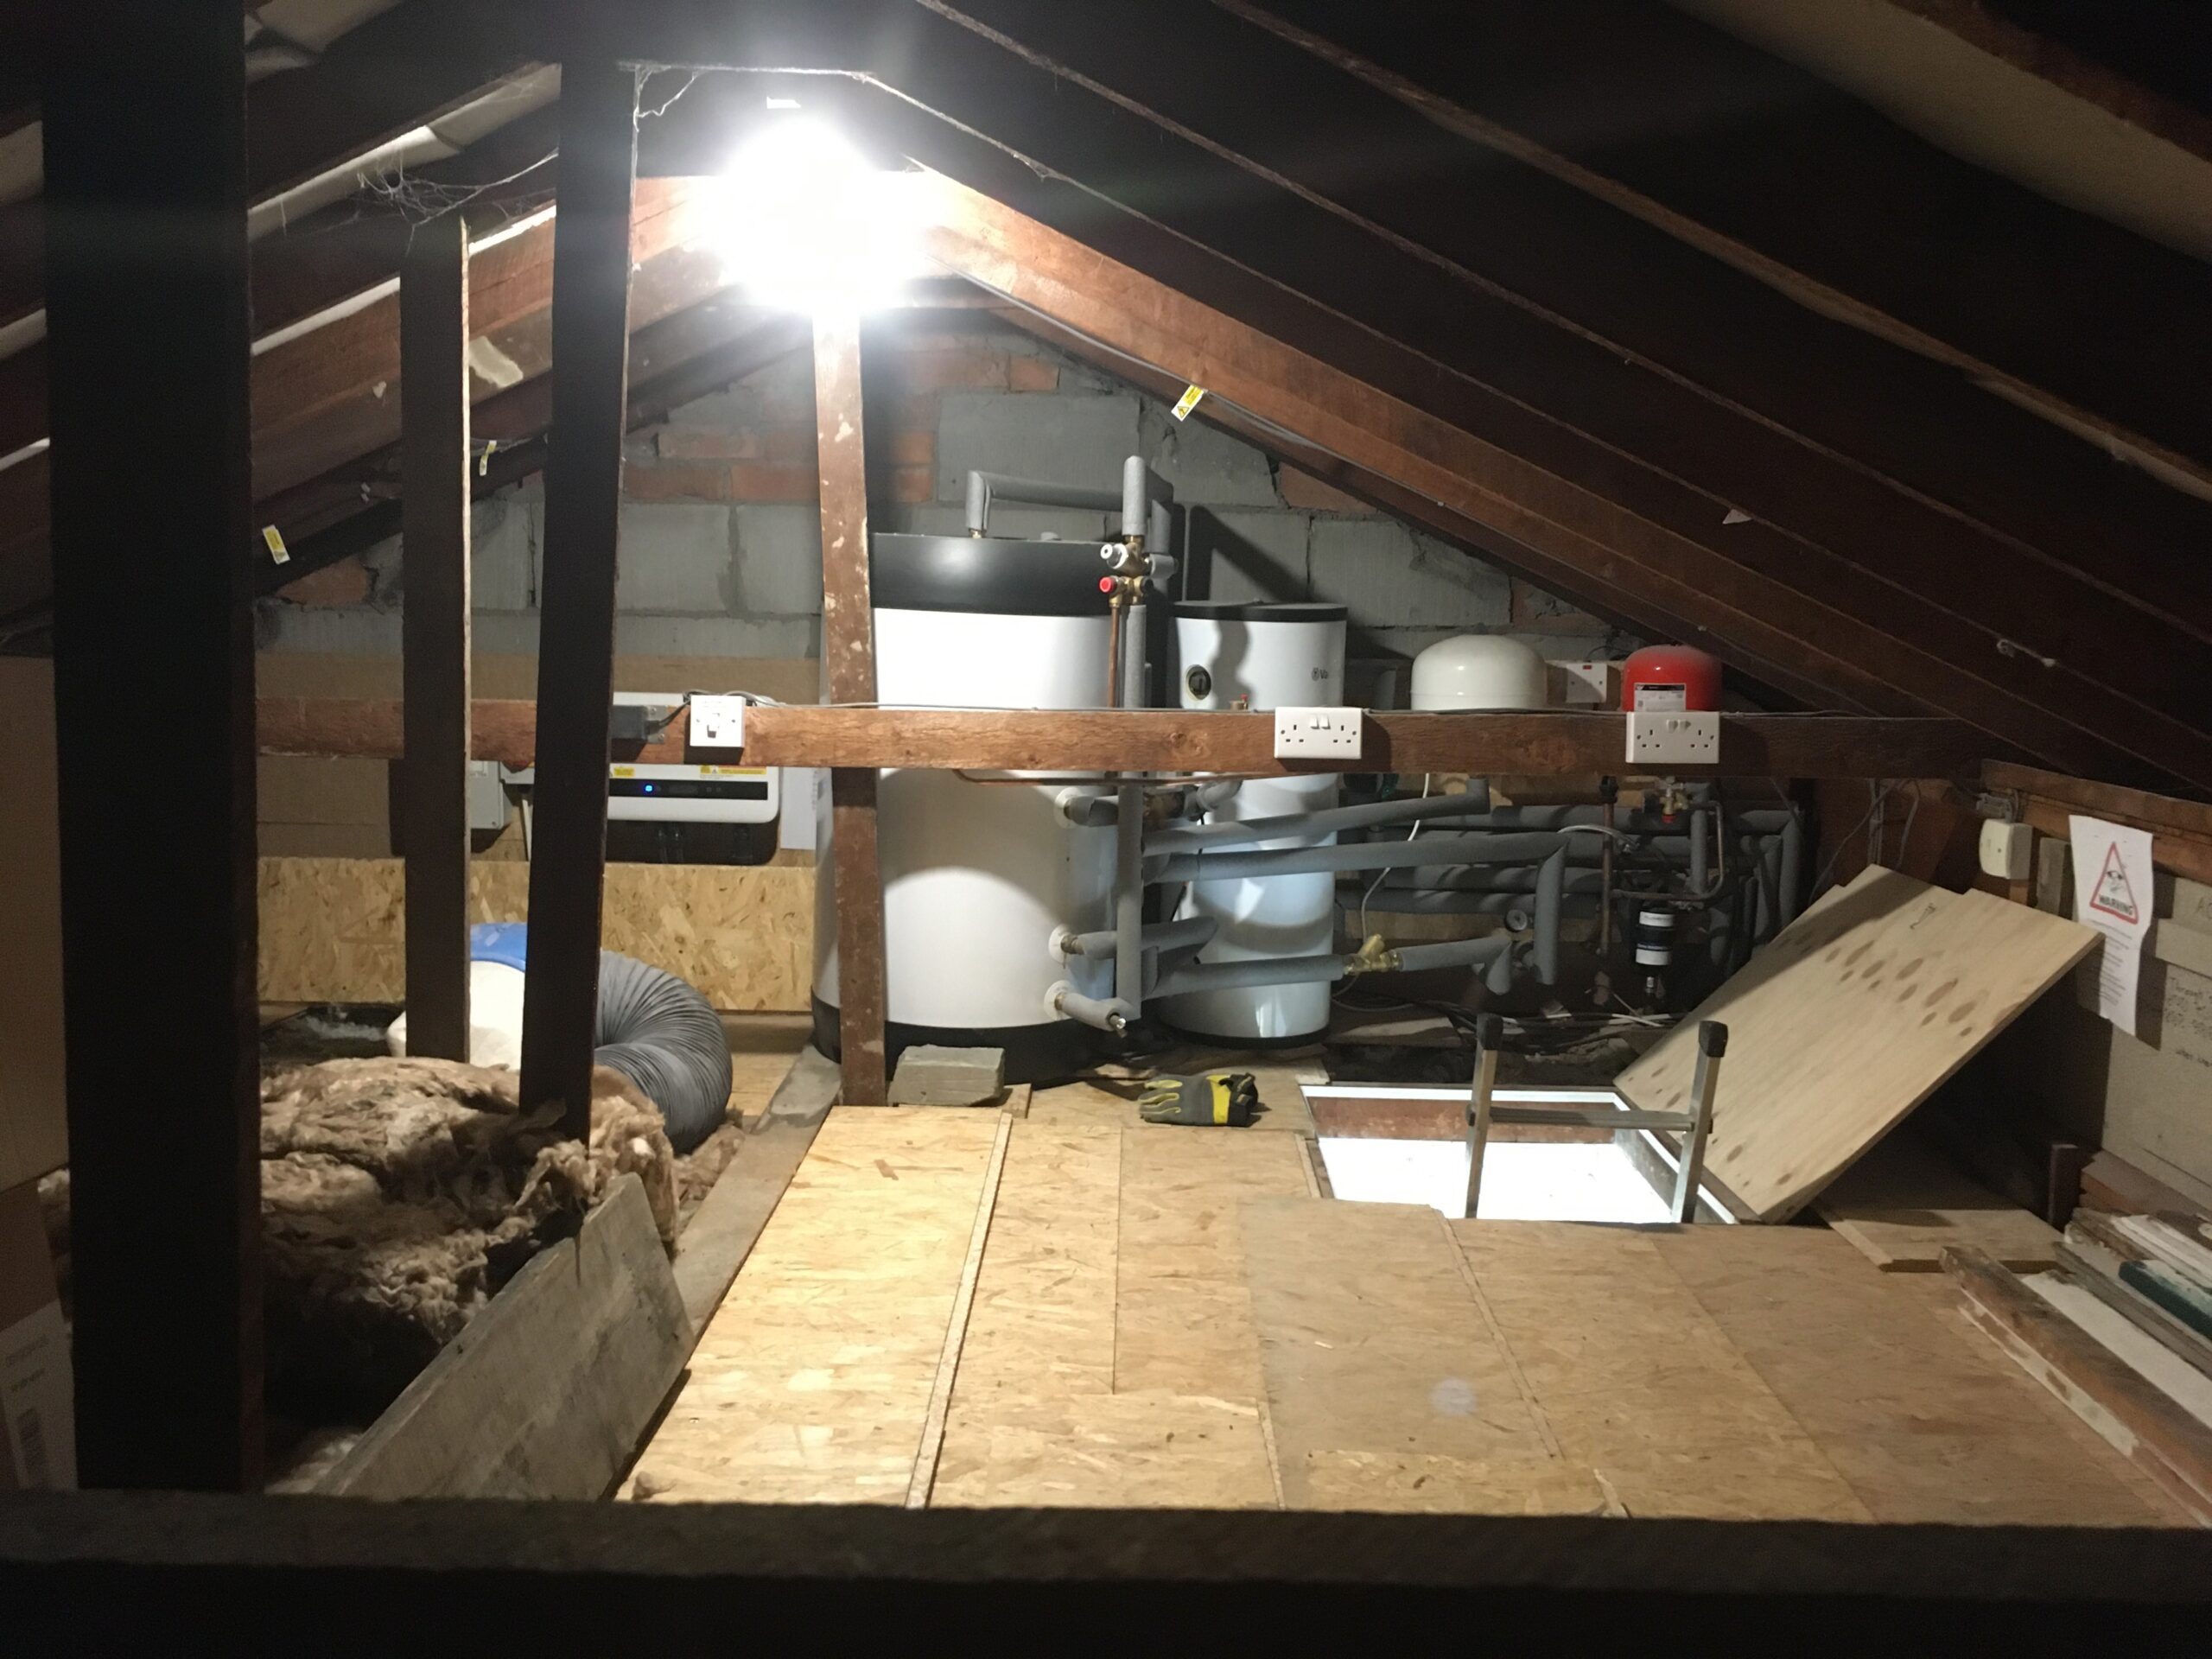
Loft organised to make space, repurposing shelf brackets from elsewhere. Most pleasing.
Woven hazel fence panels – hurdles. Ostensibly to screen the bins. But in actual fact to hide the heat pump outside unit from view, and reduce the chances of it getting nicked.
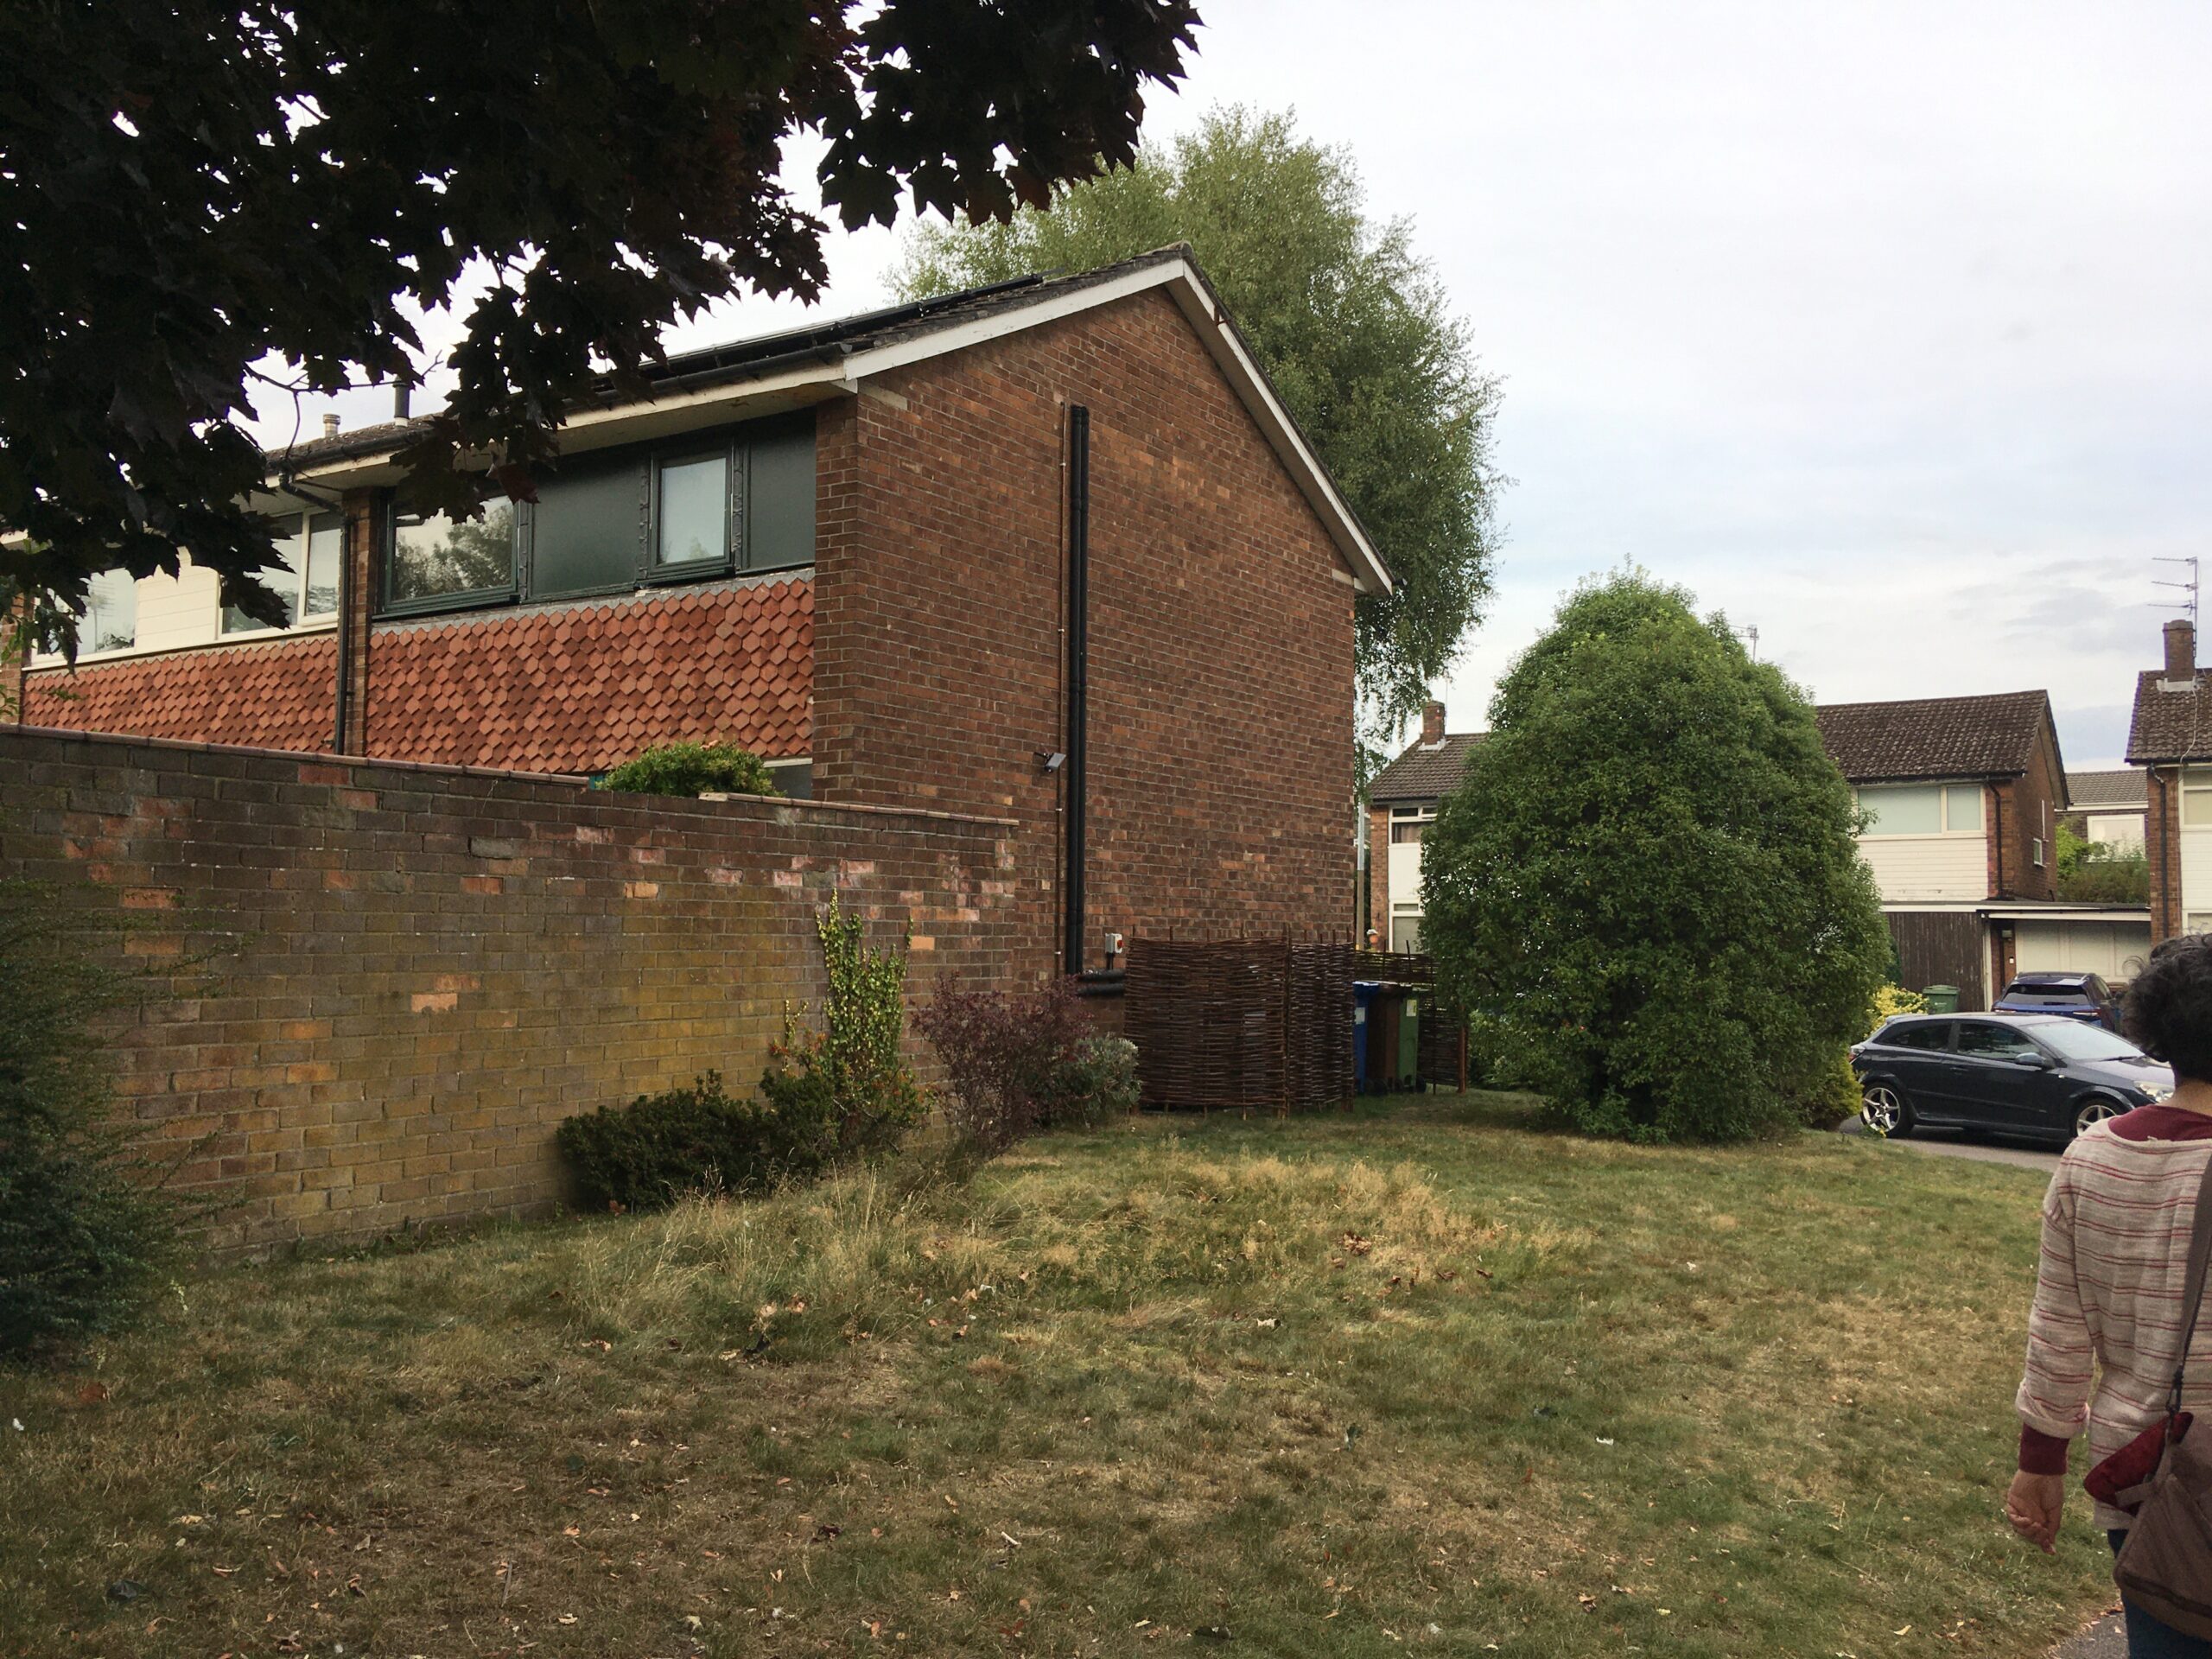
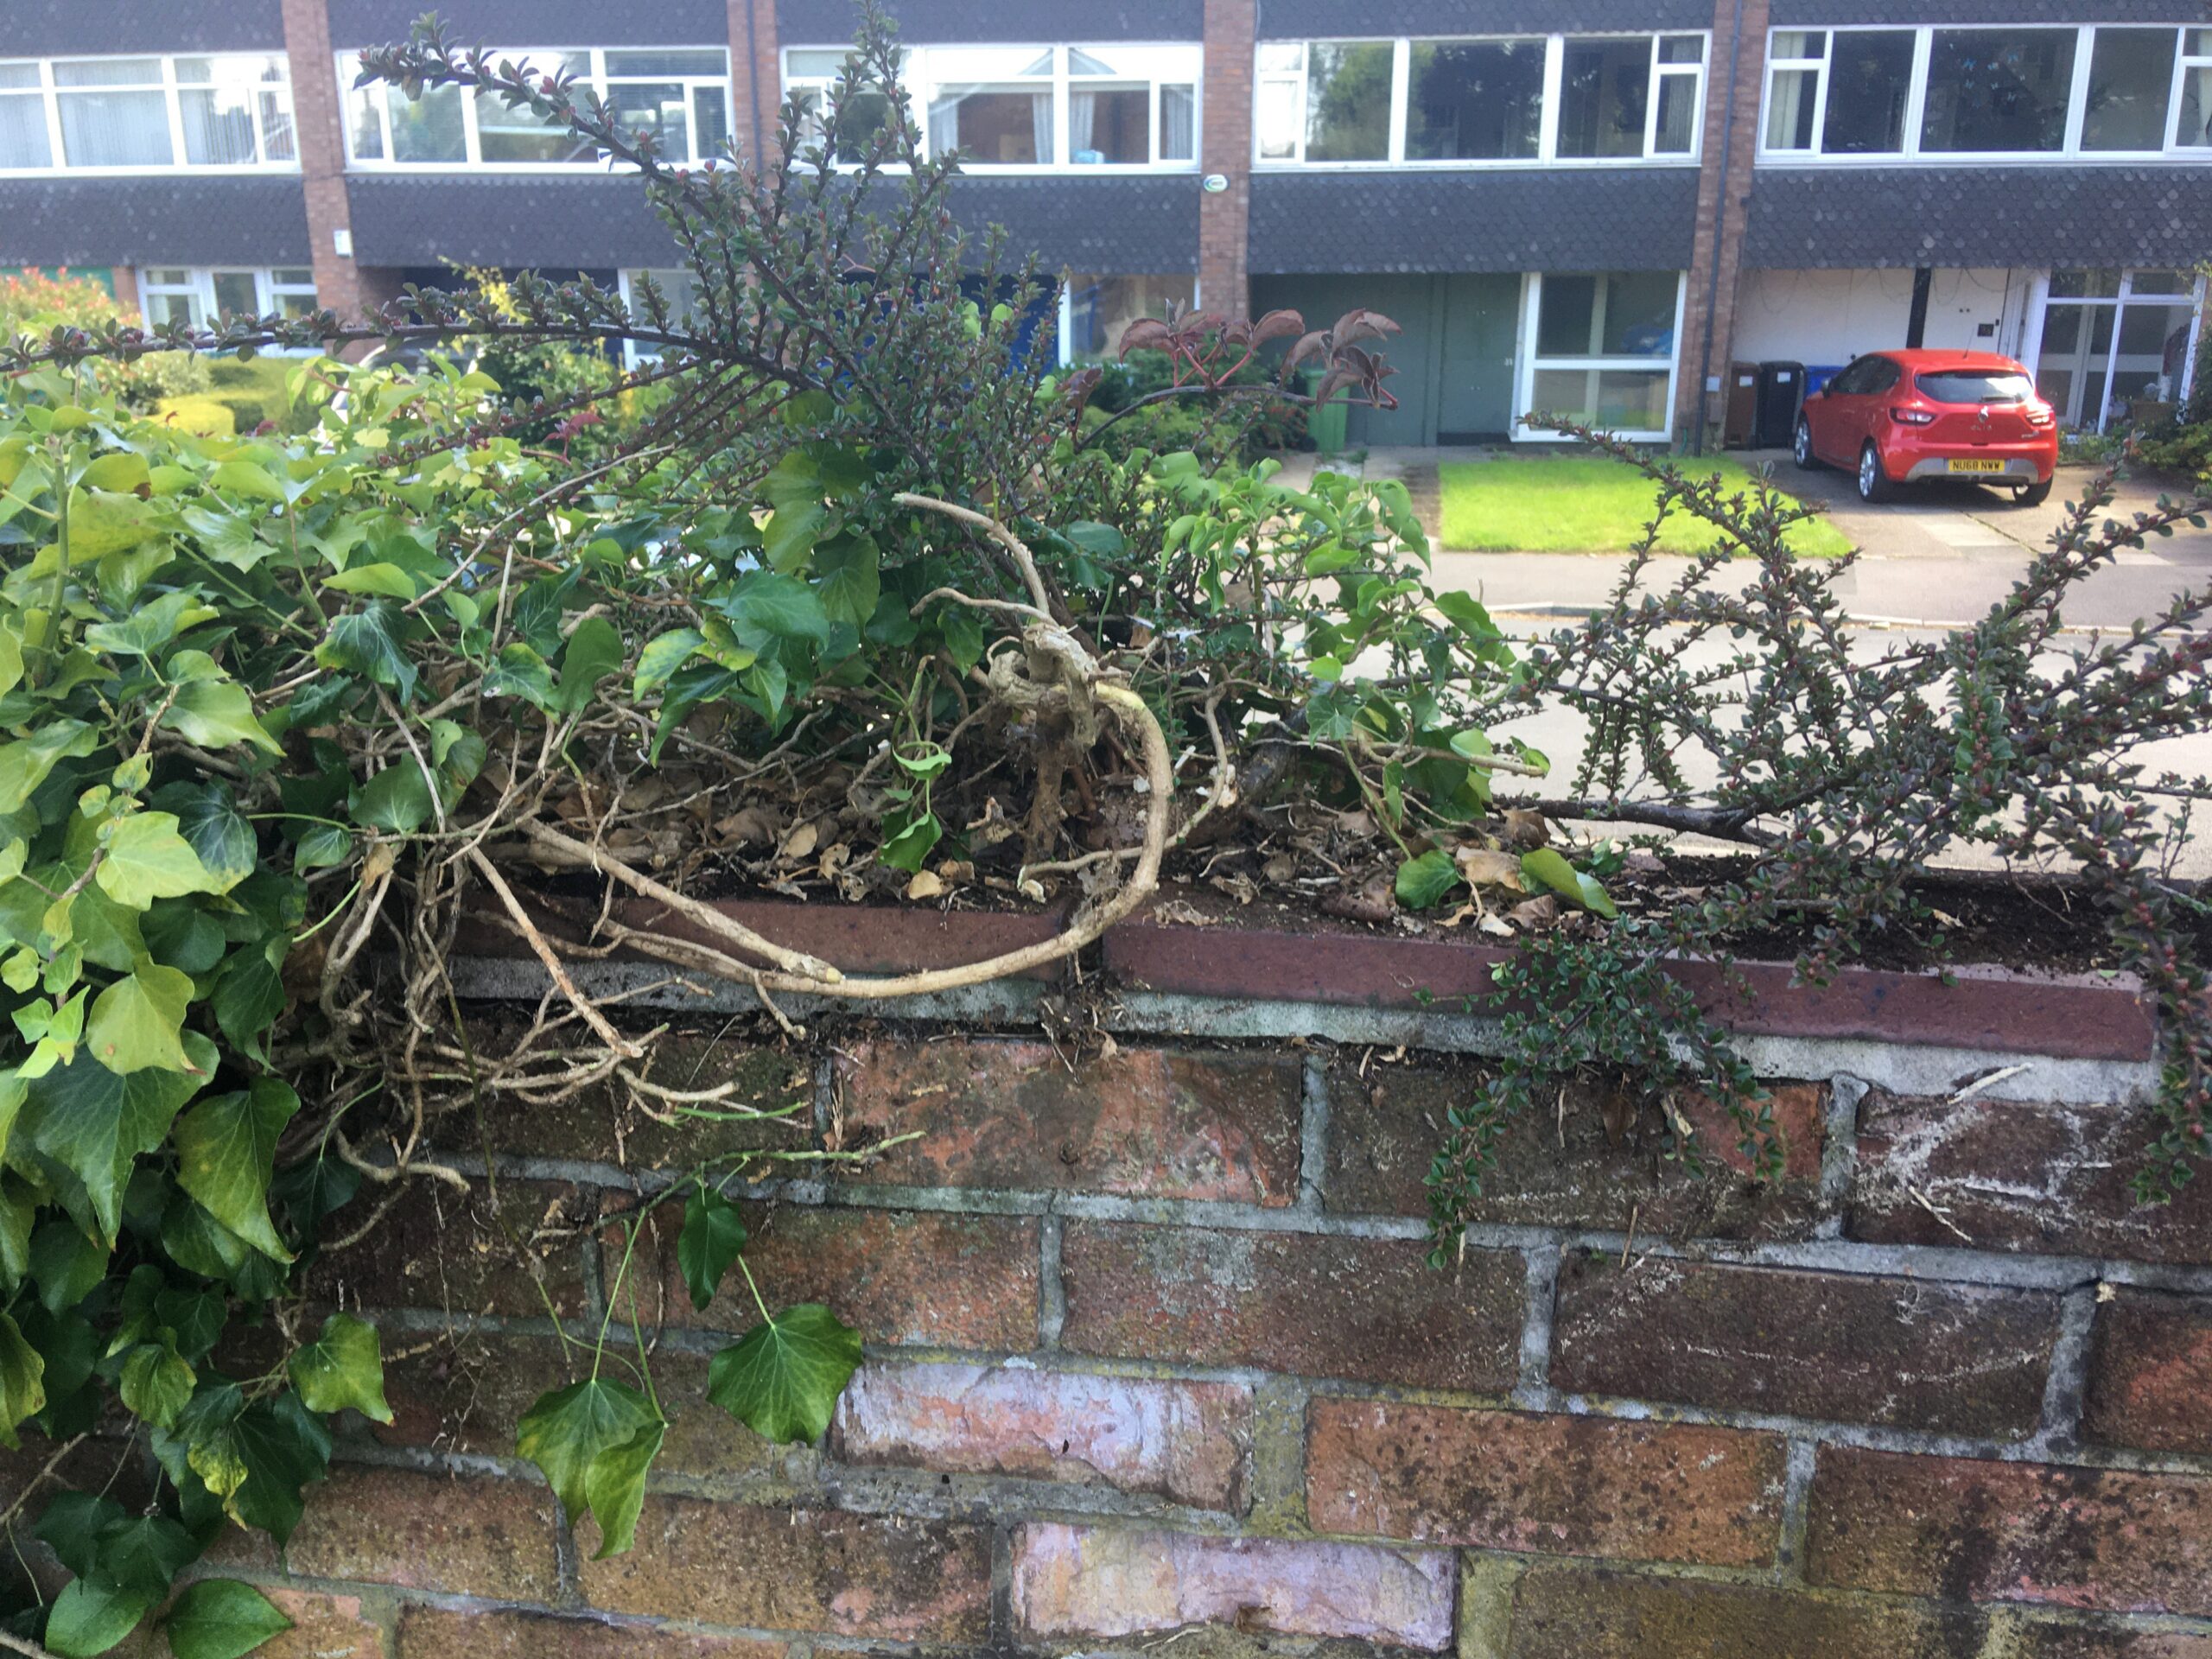
Also, the garden wall had become so overgrown with ivy it was getting damaged. But when we removed it, it turned out plants were growing out of the wall itself. So that job needed doing.
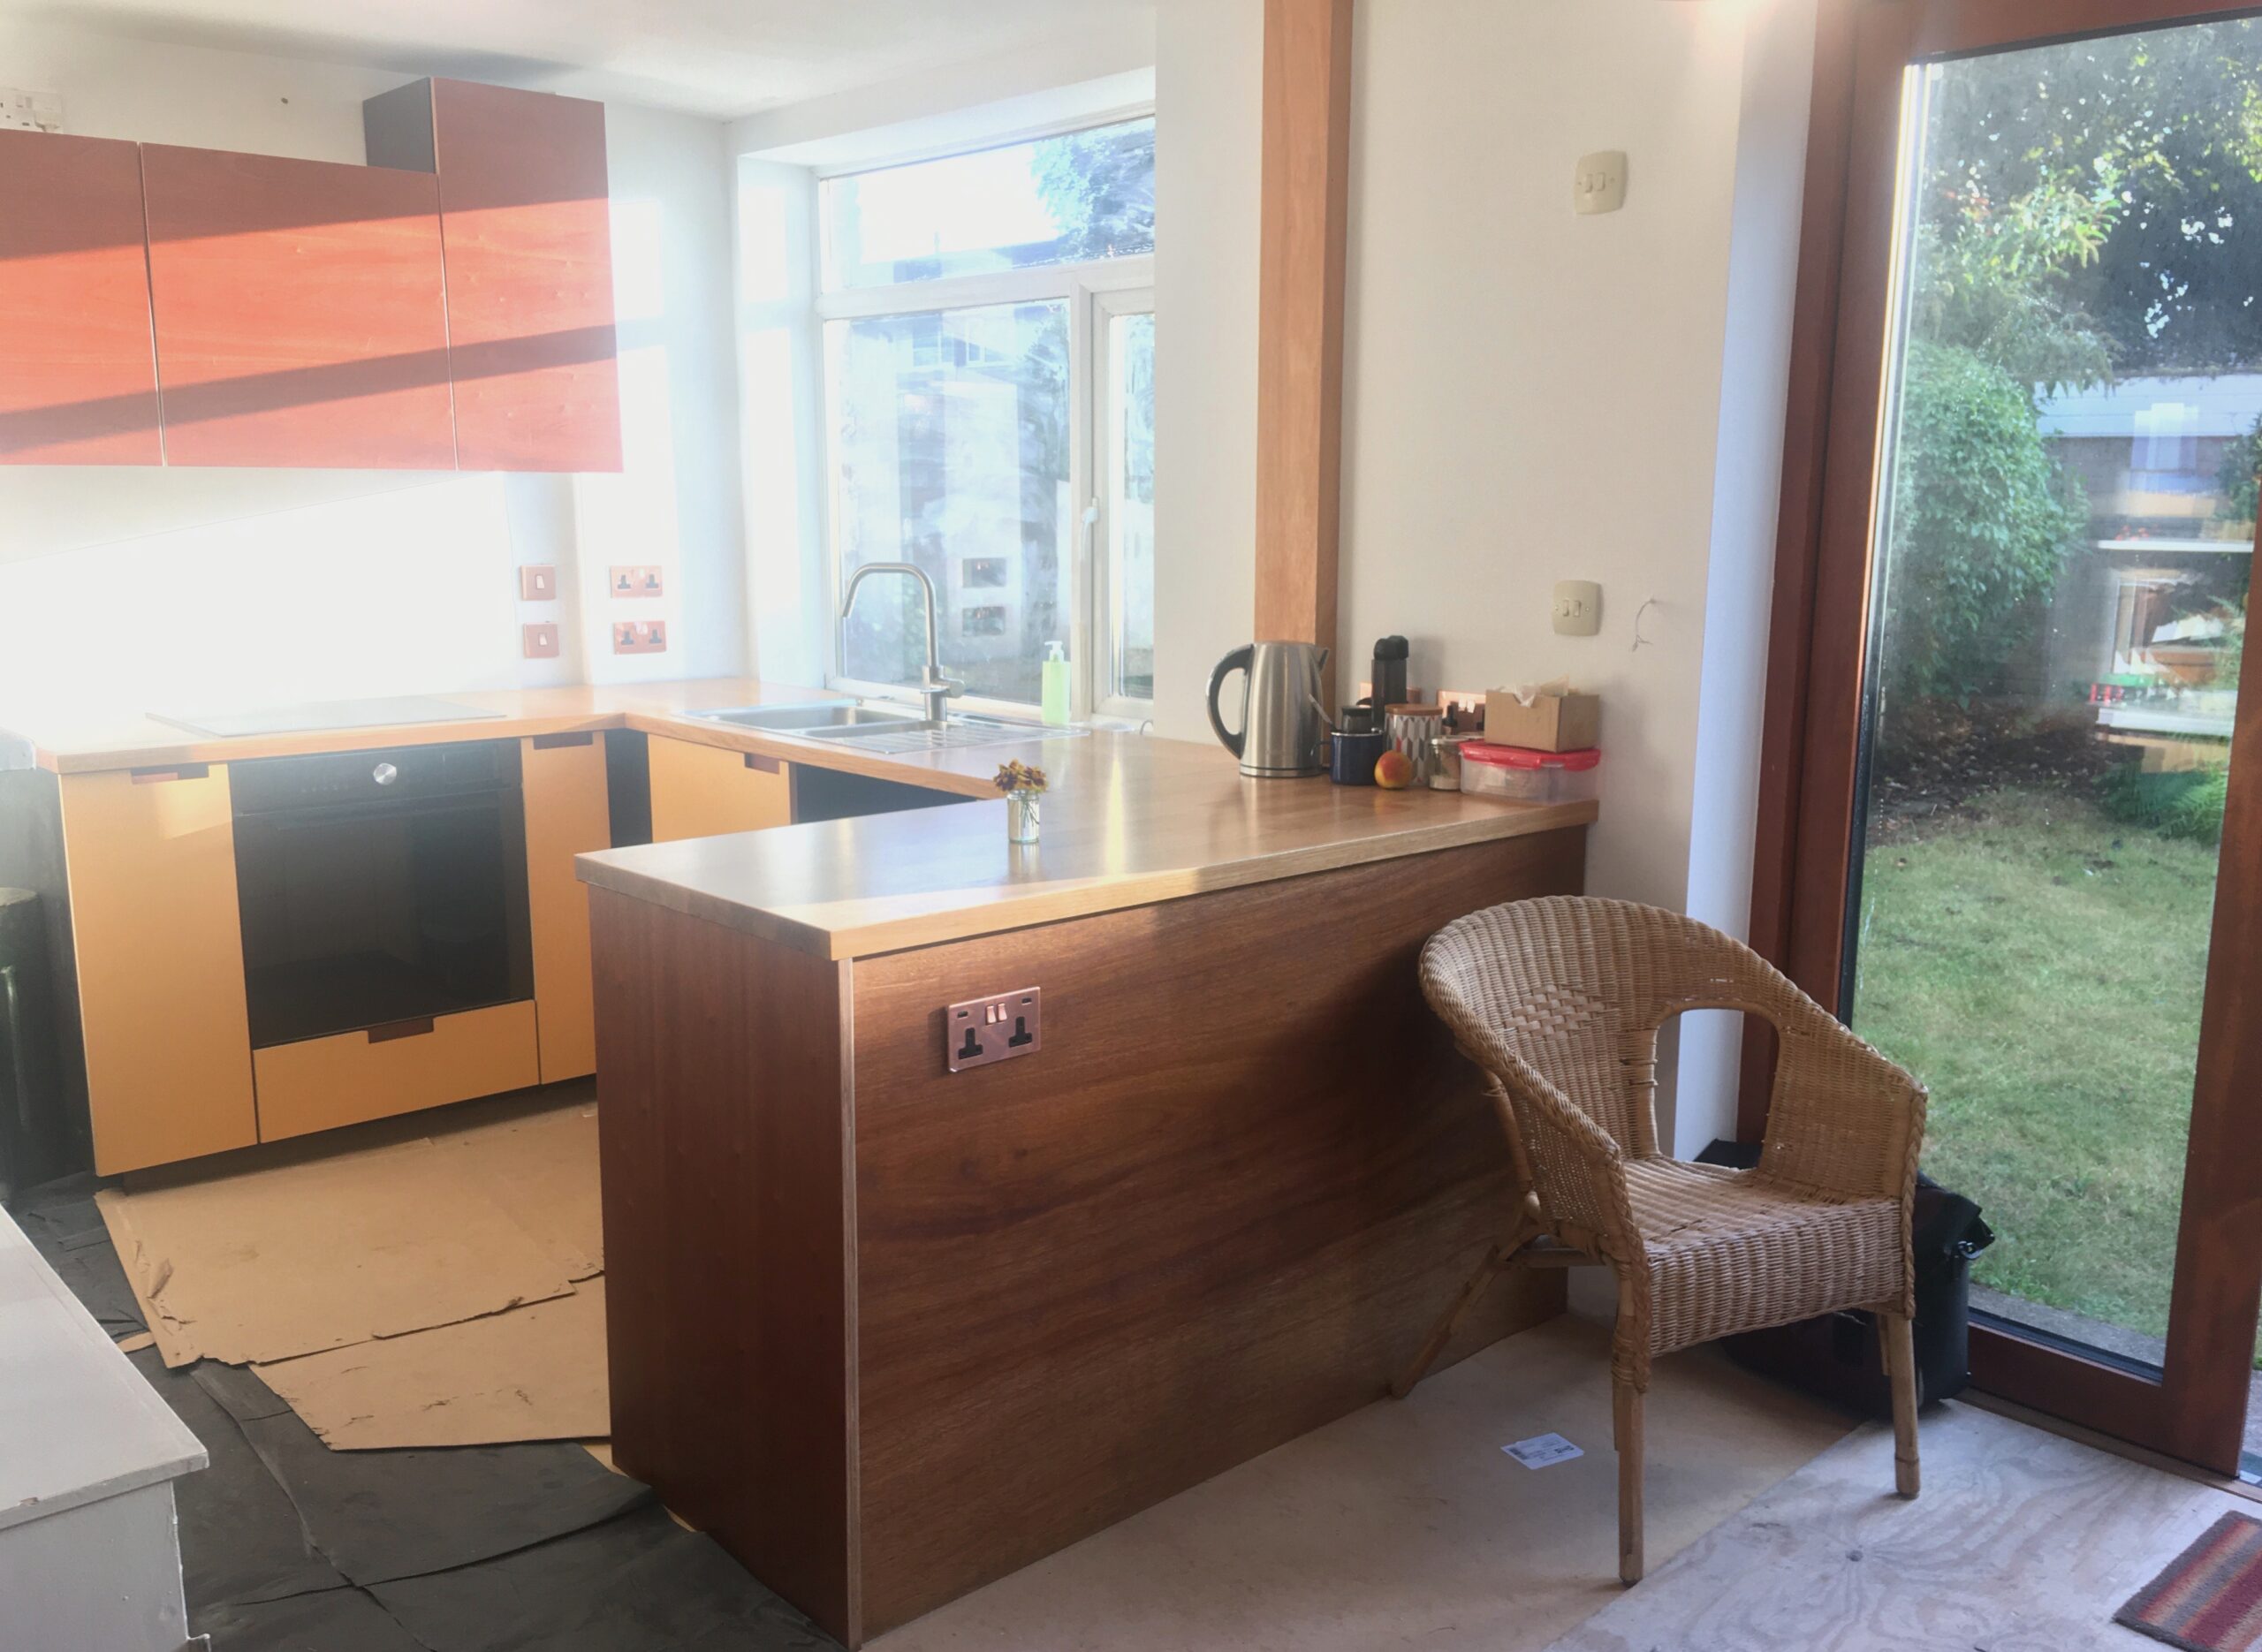
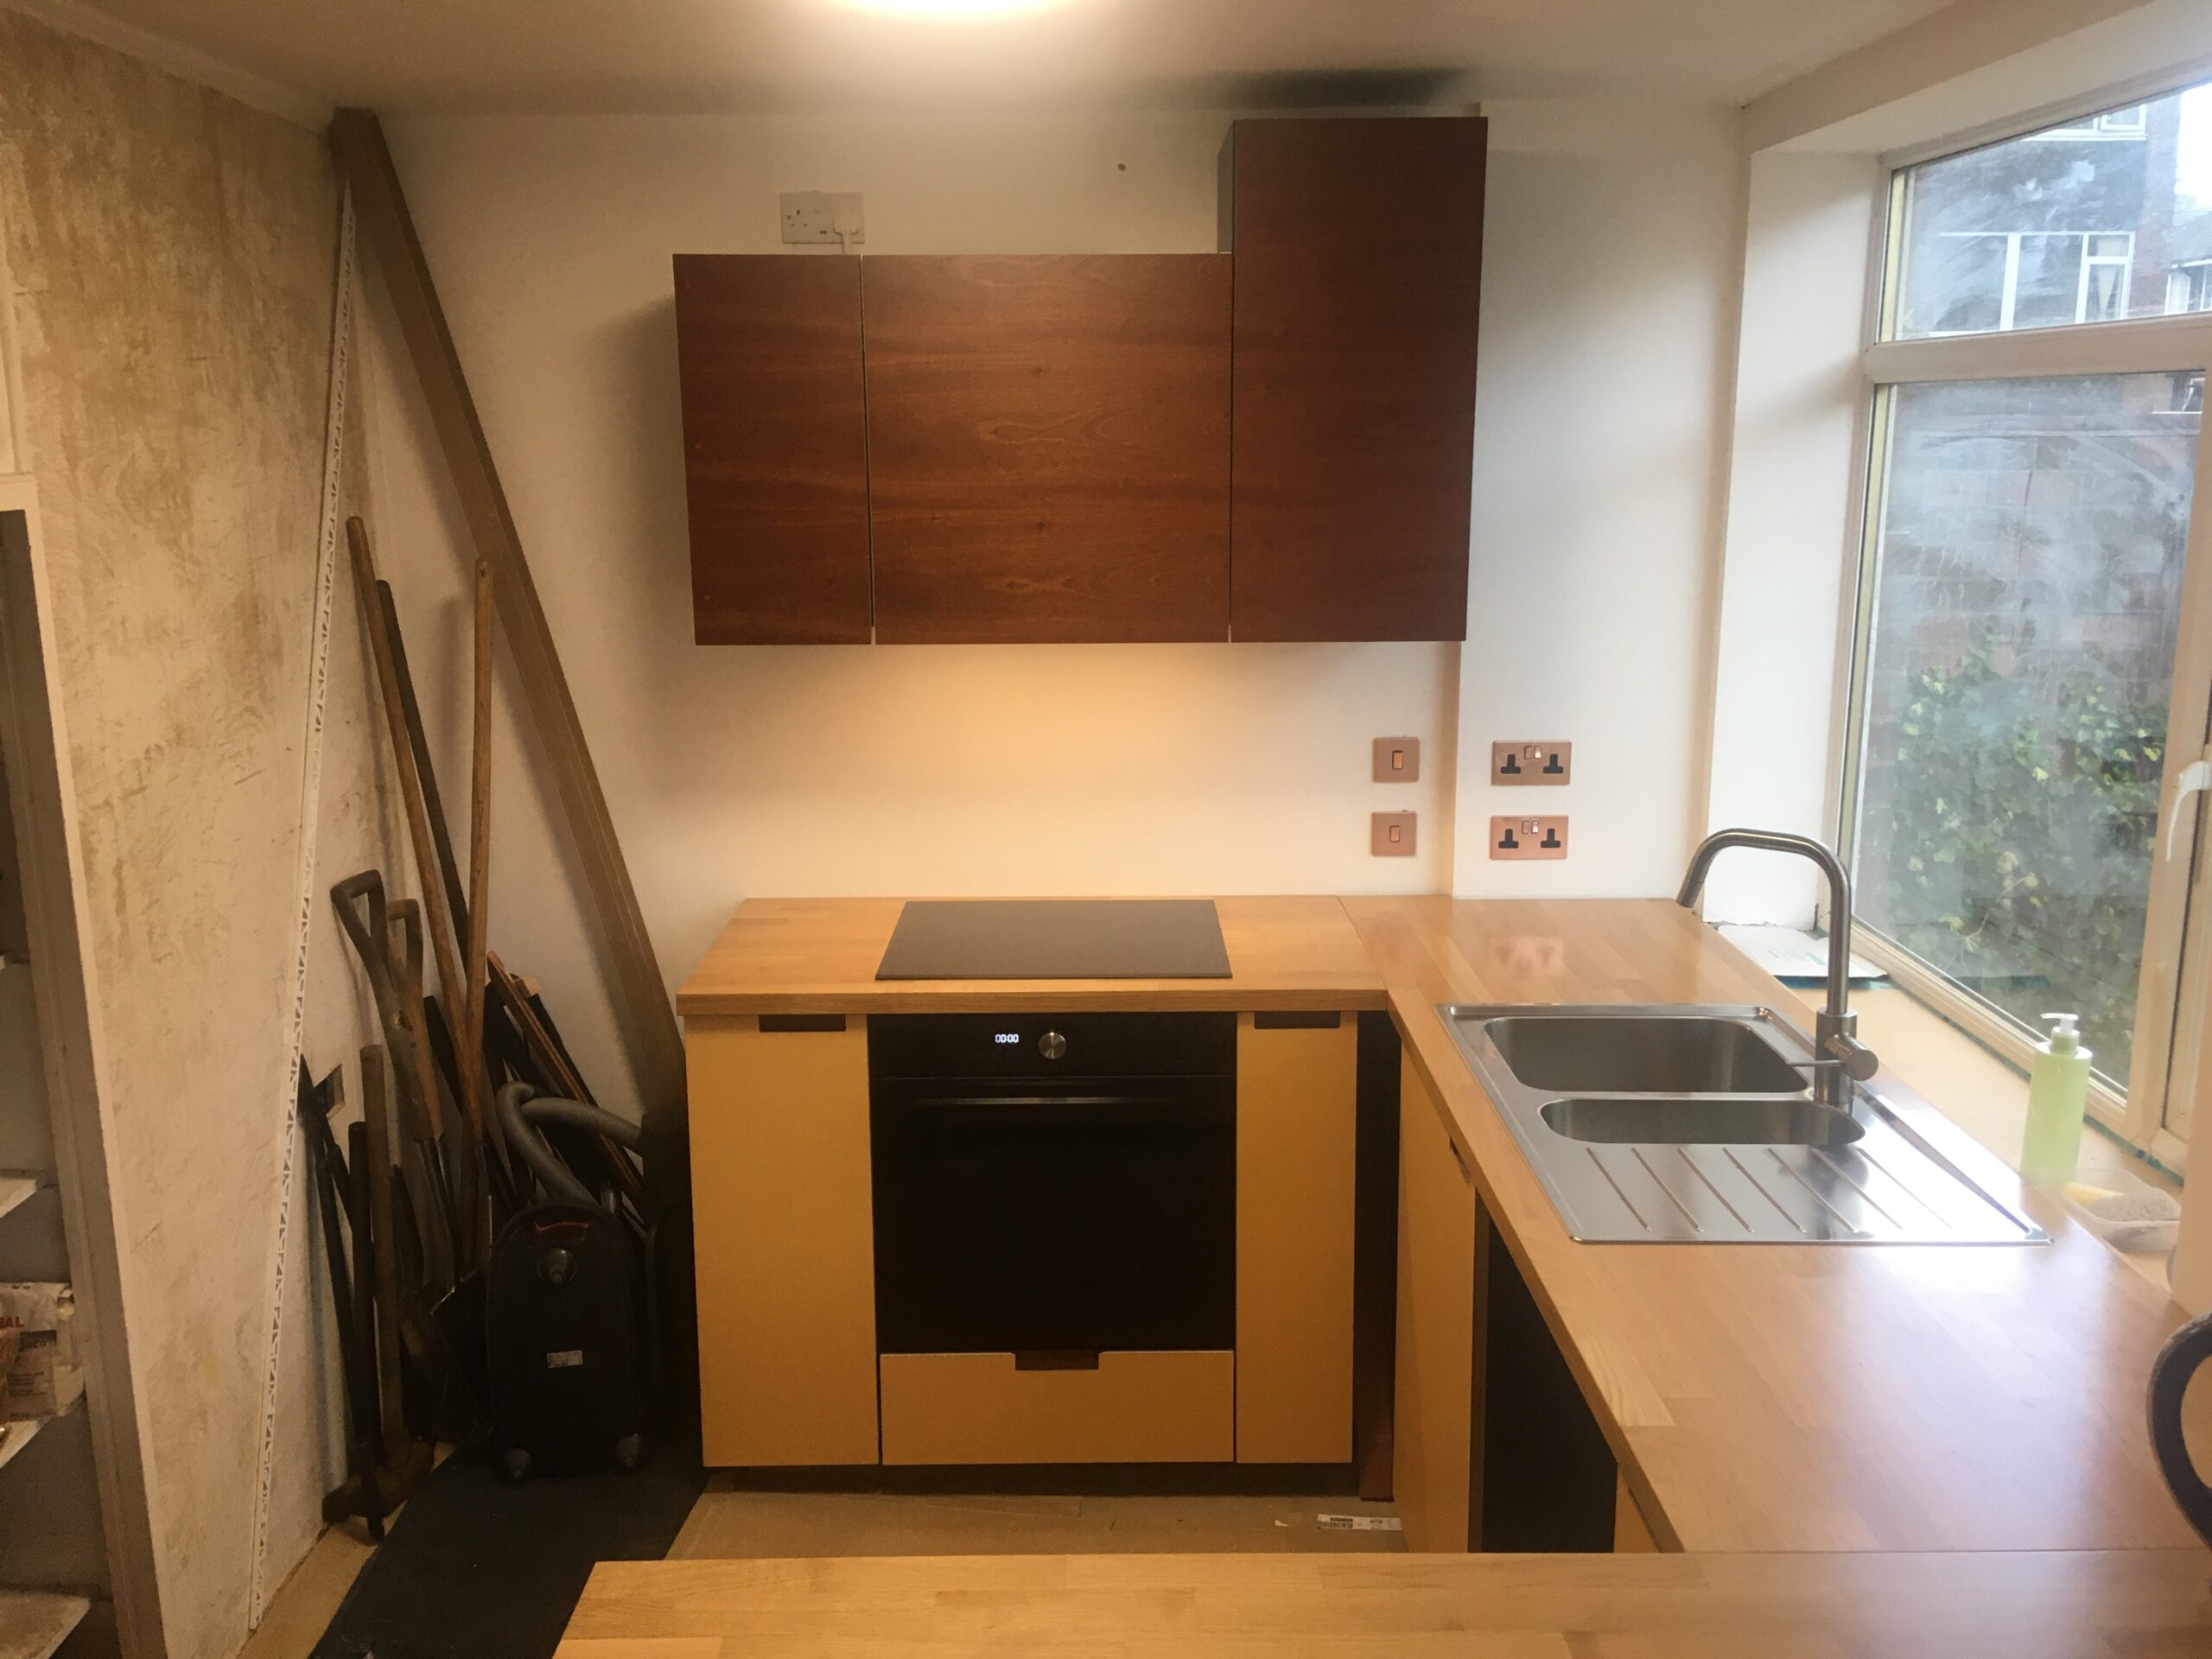
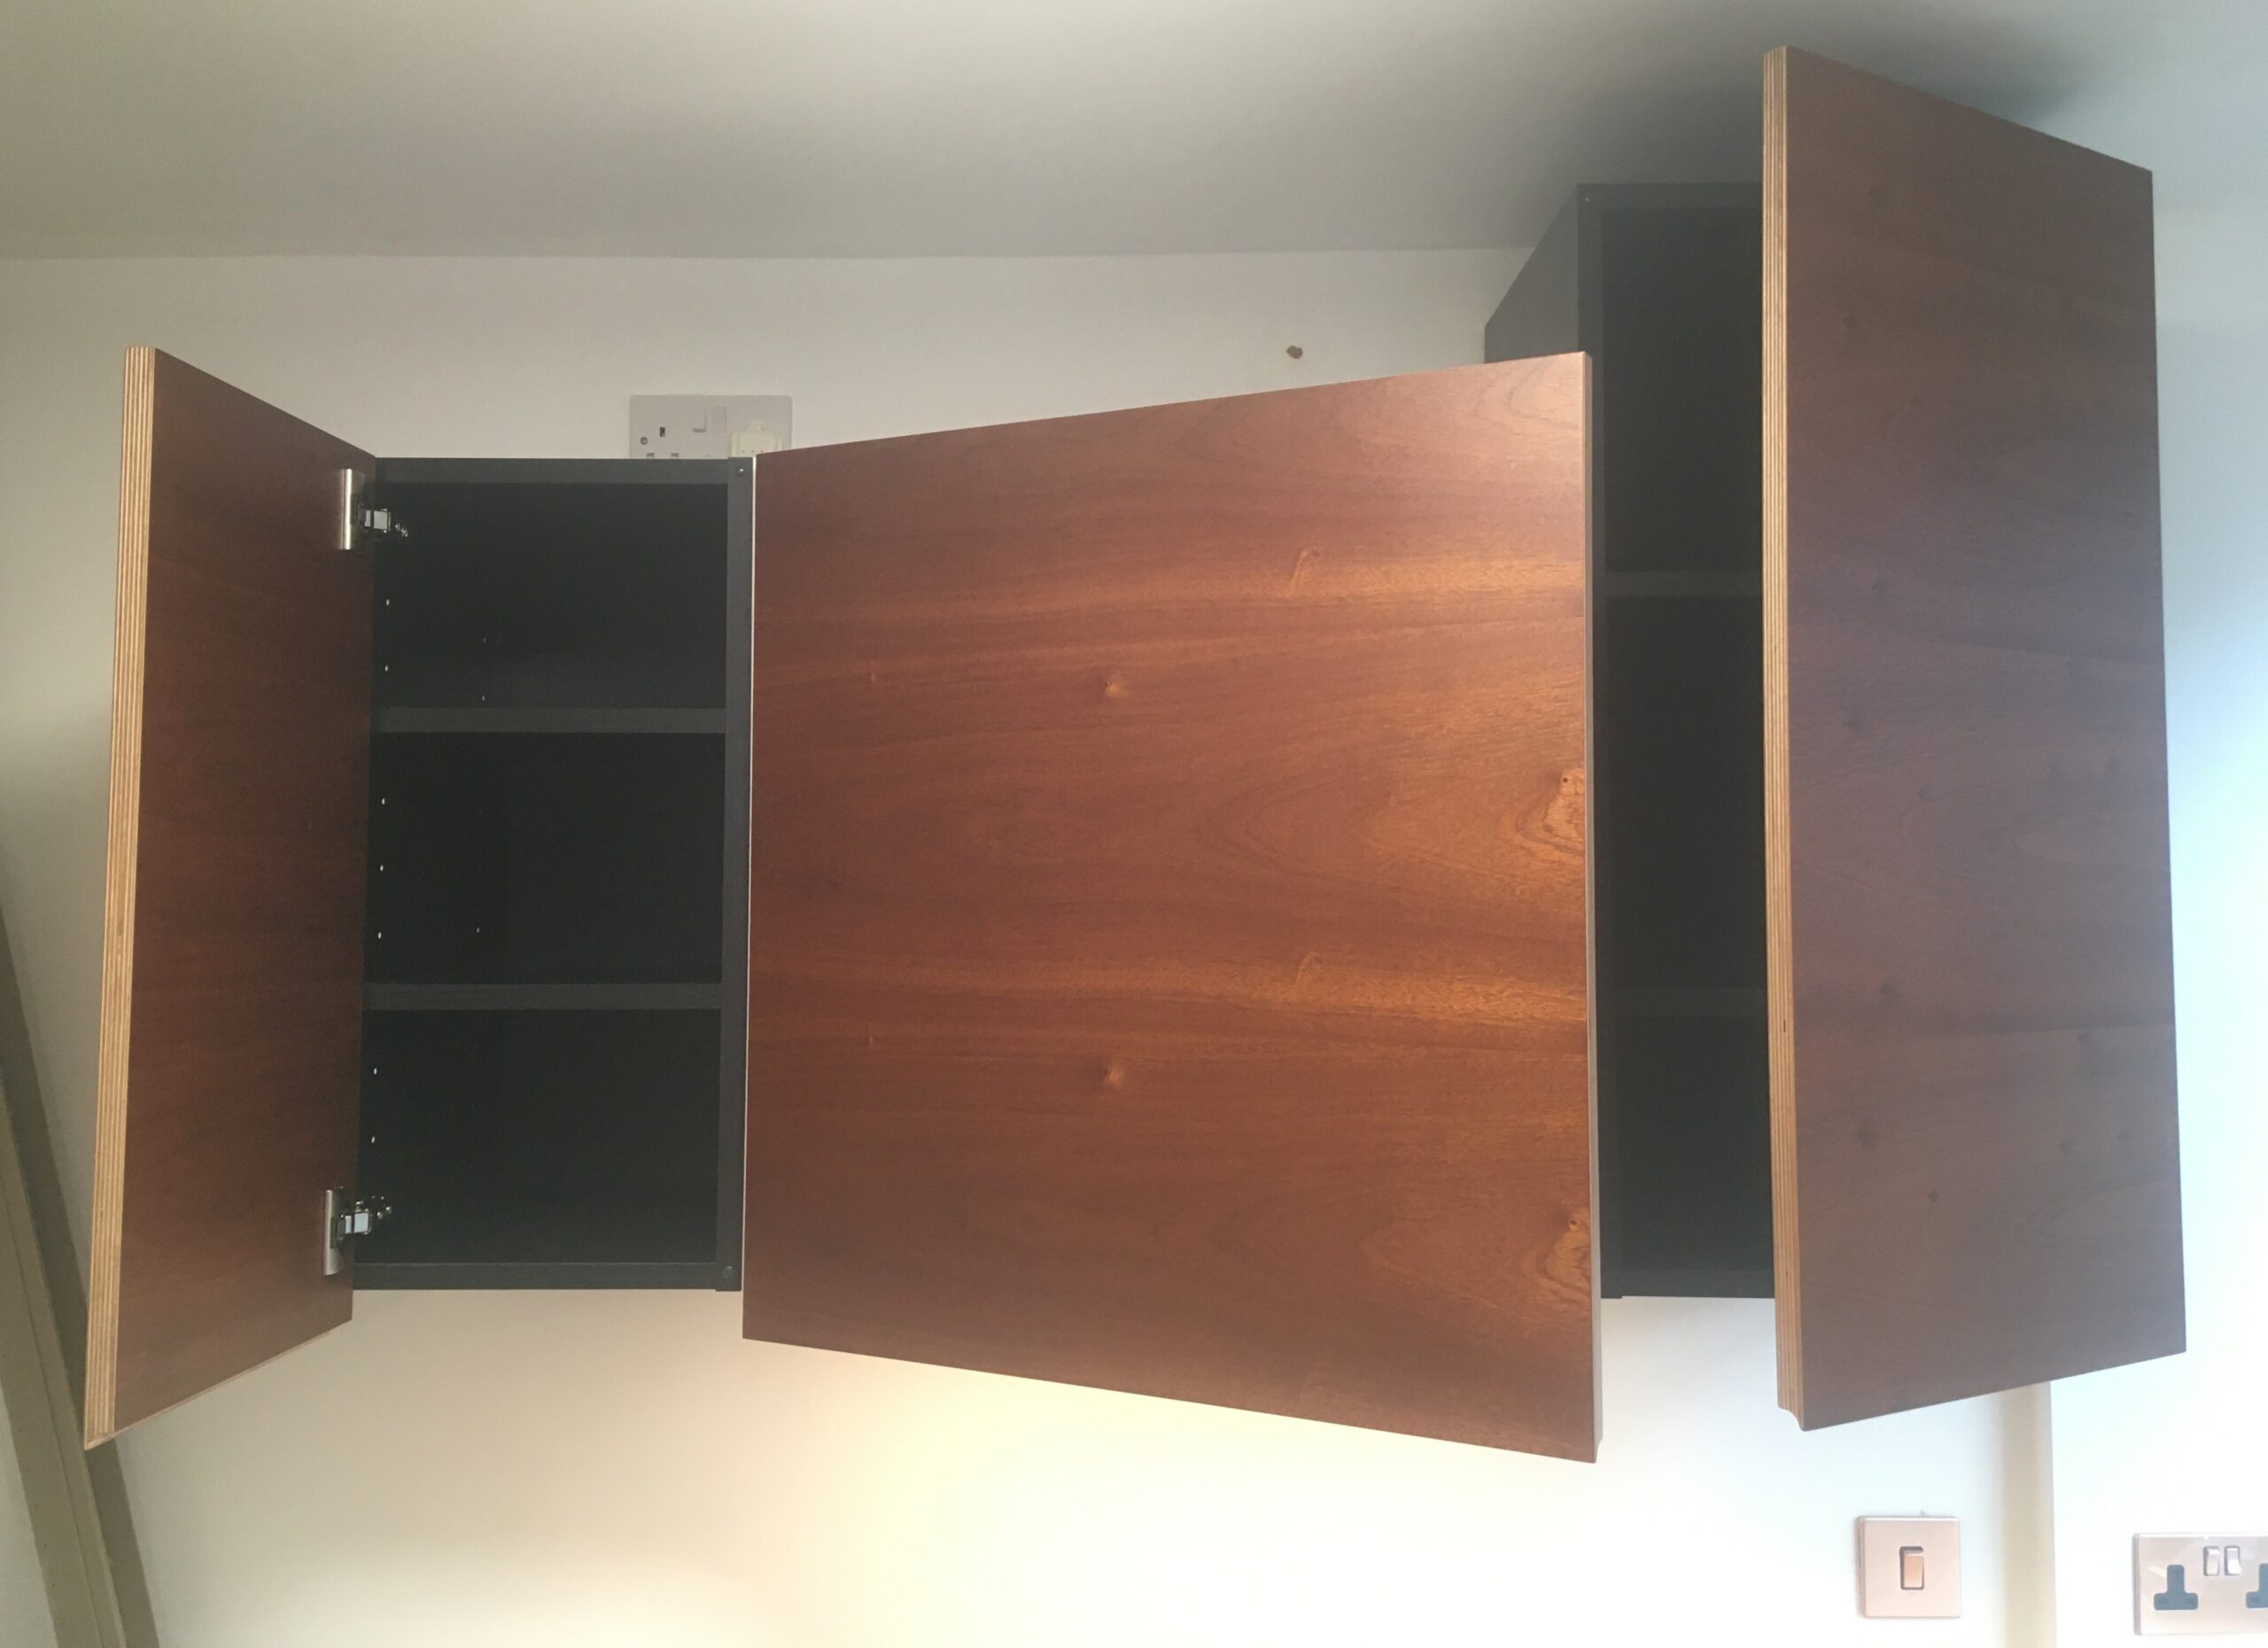
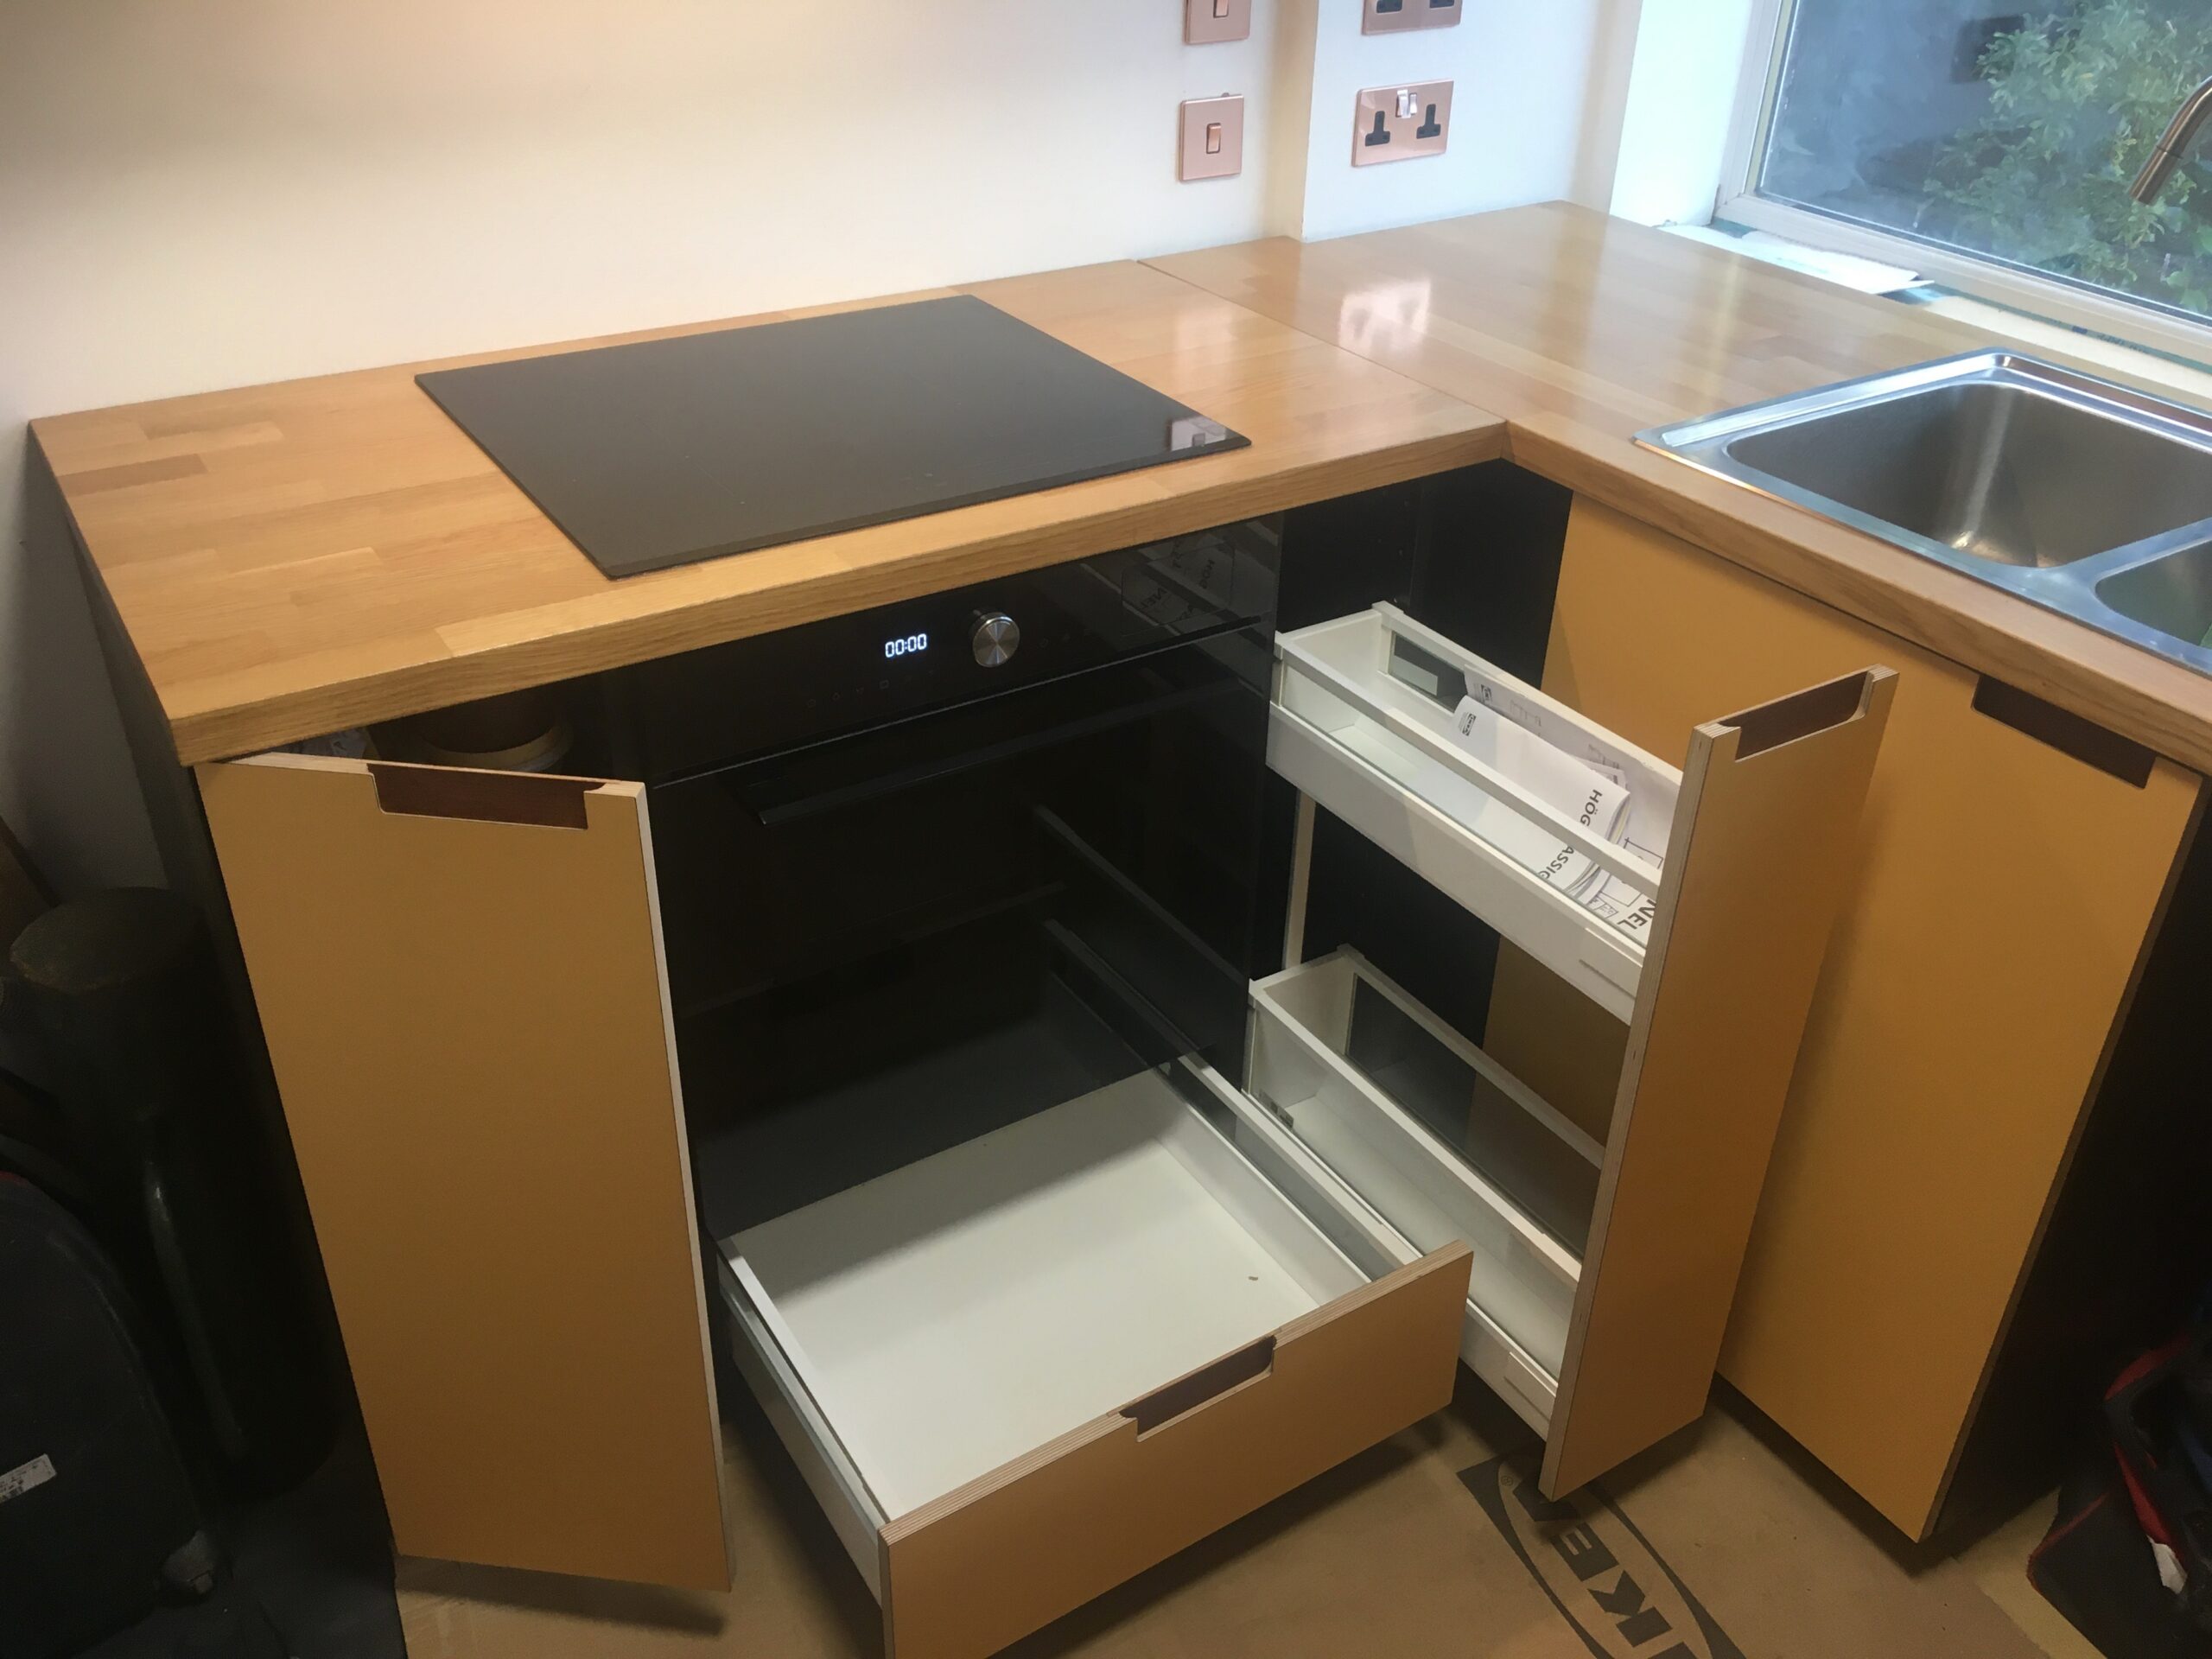
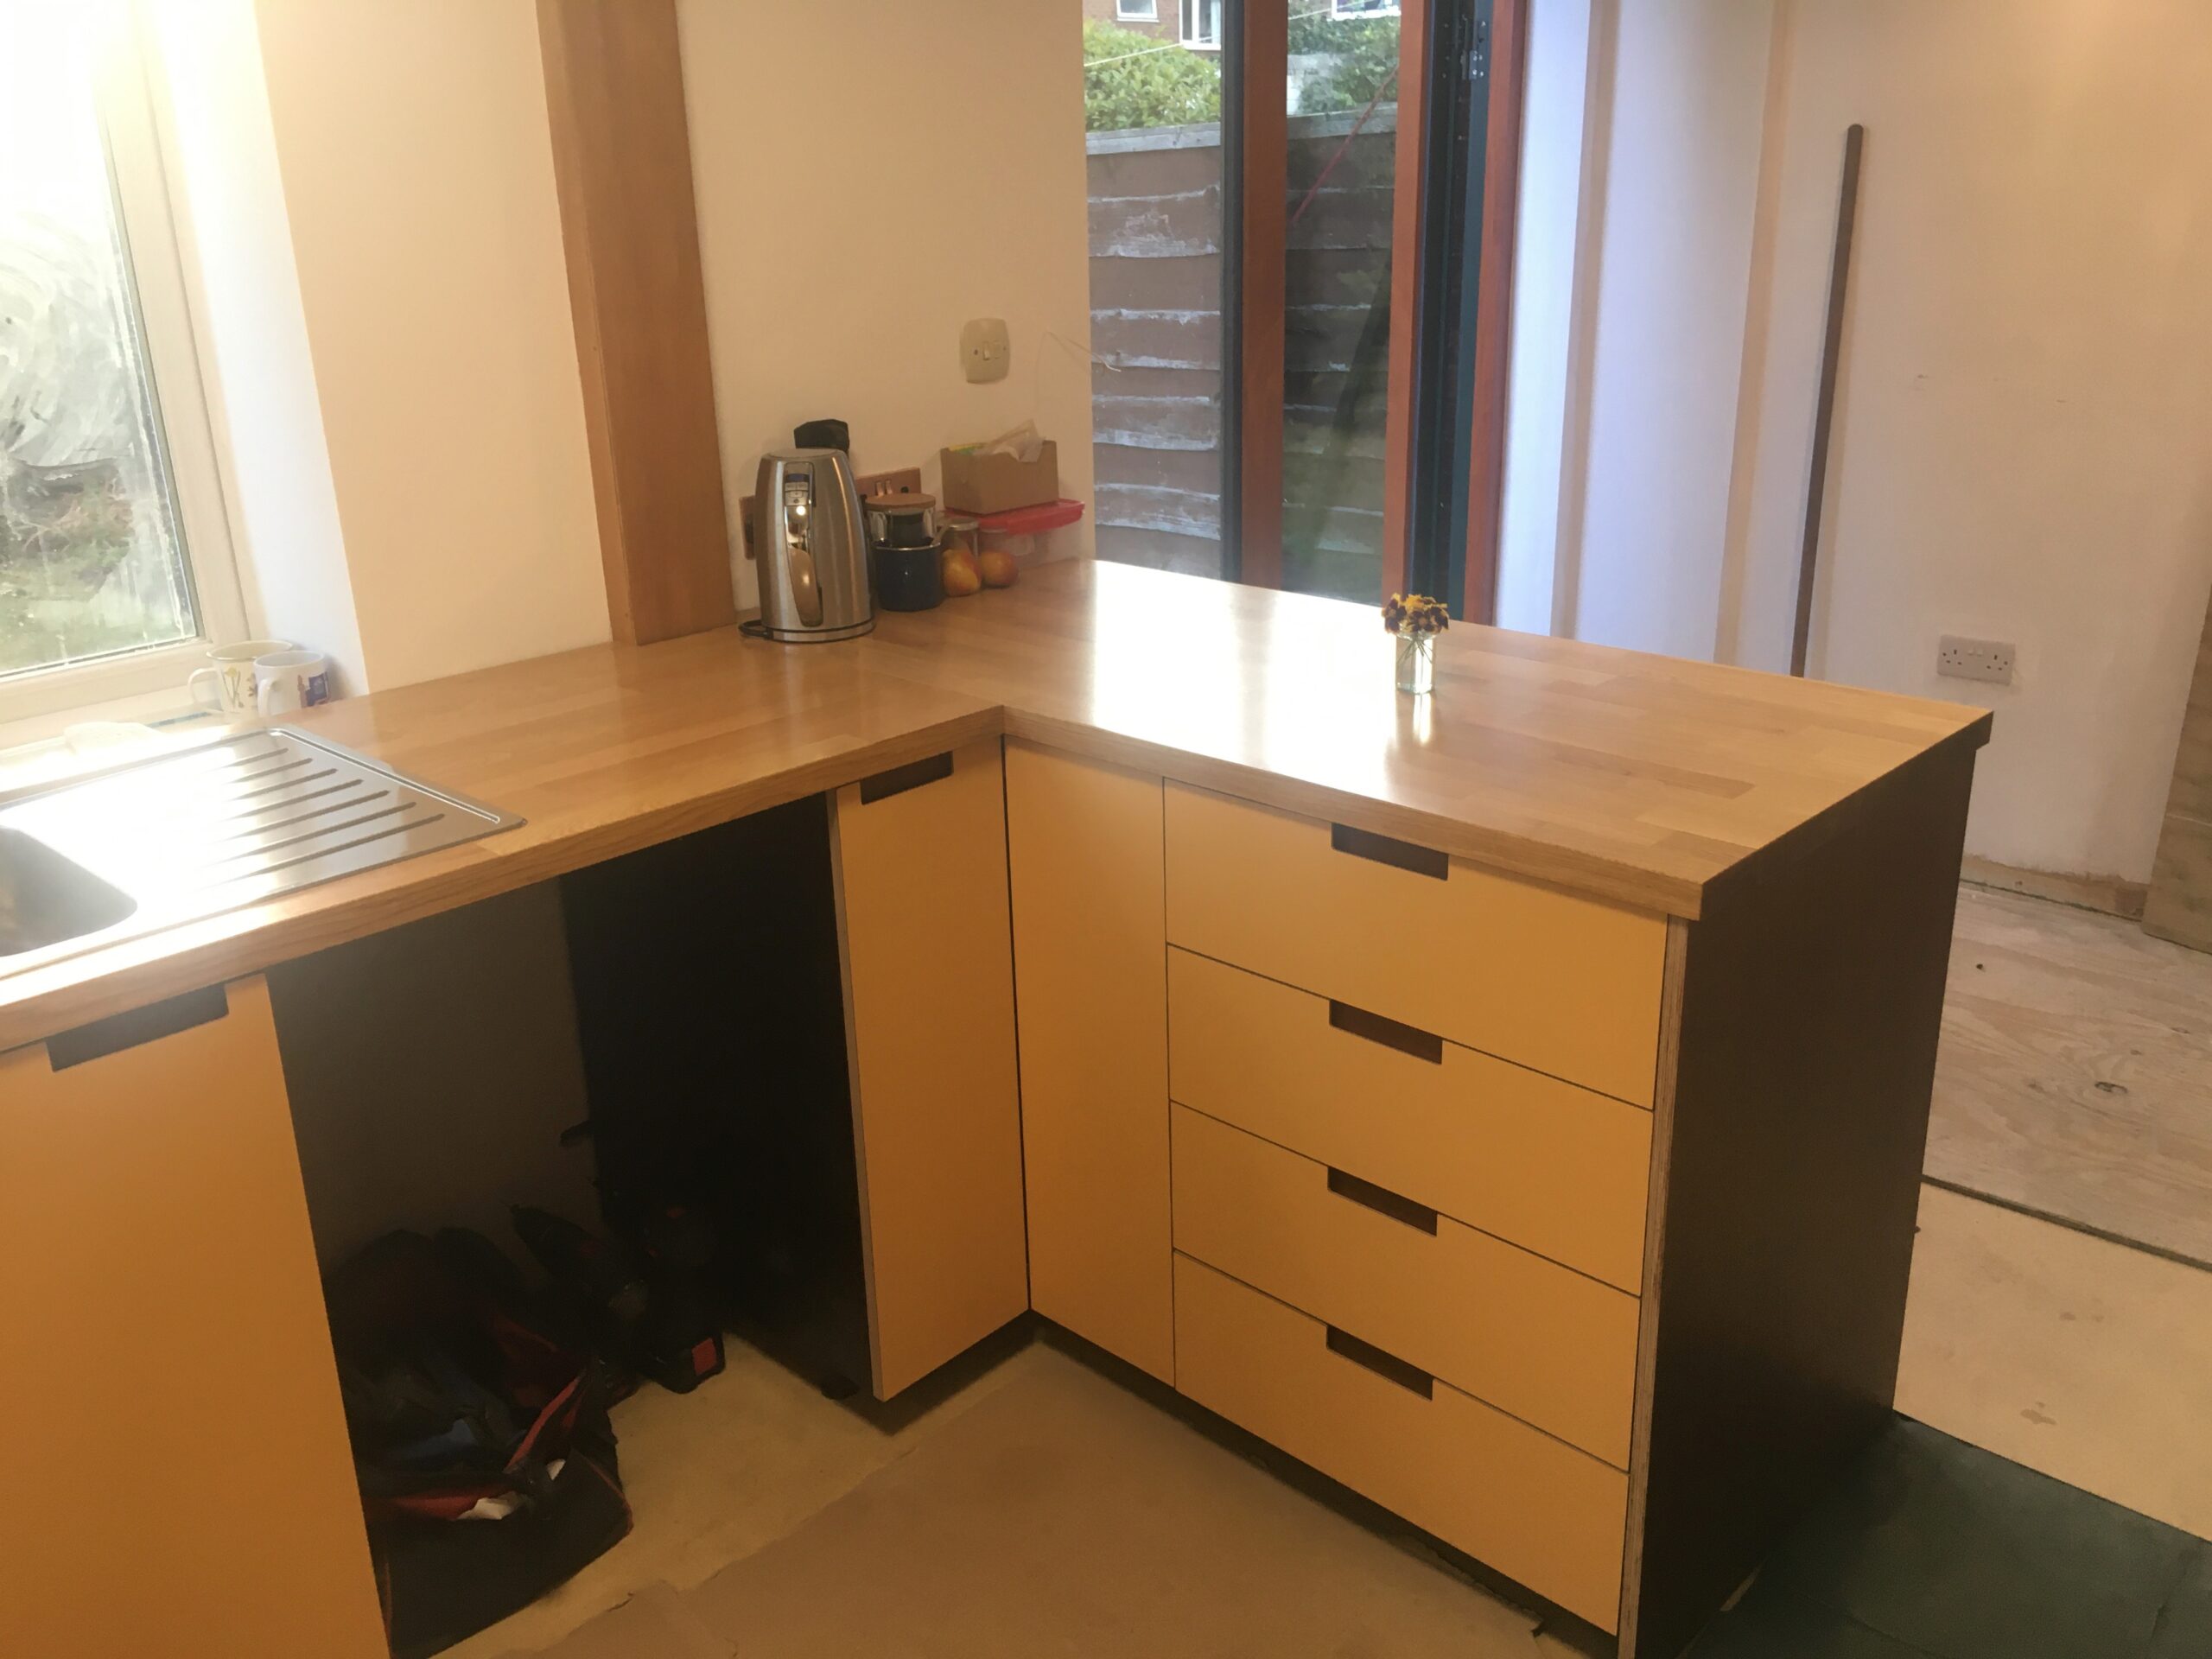
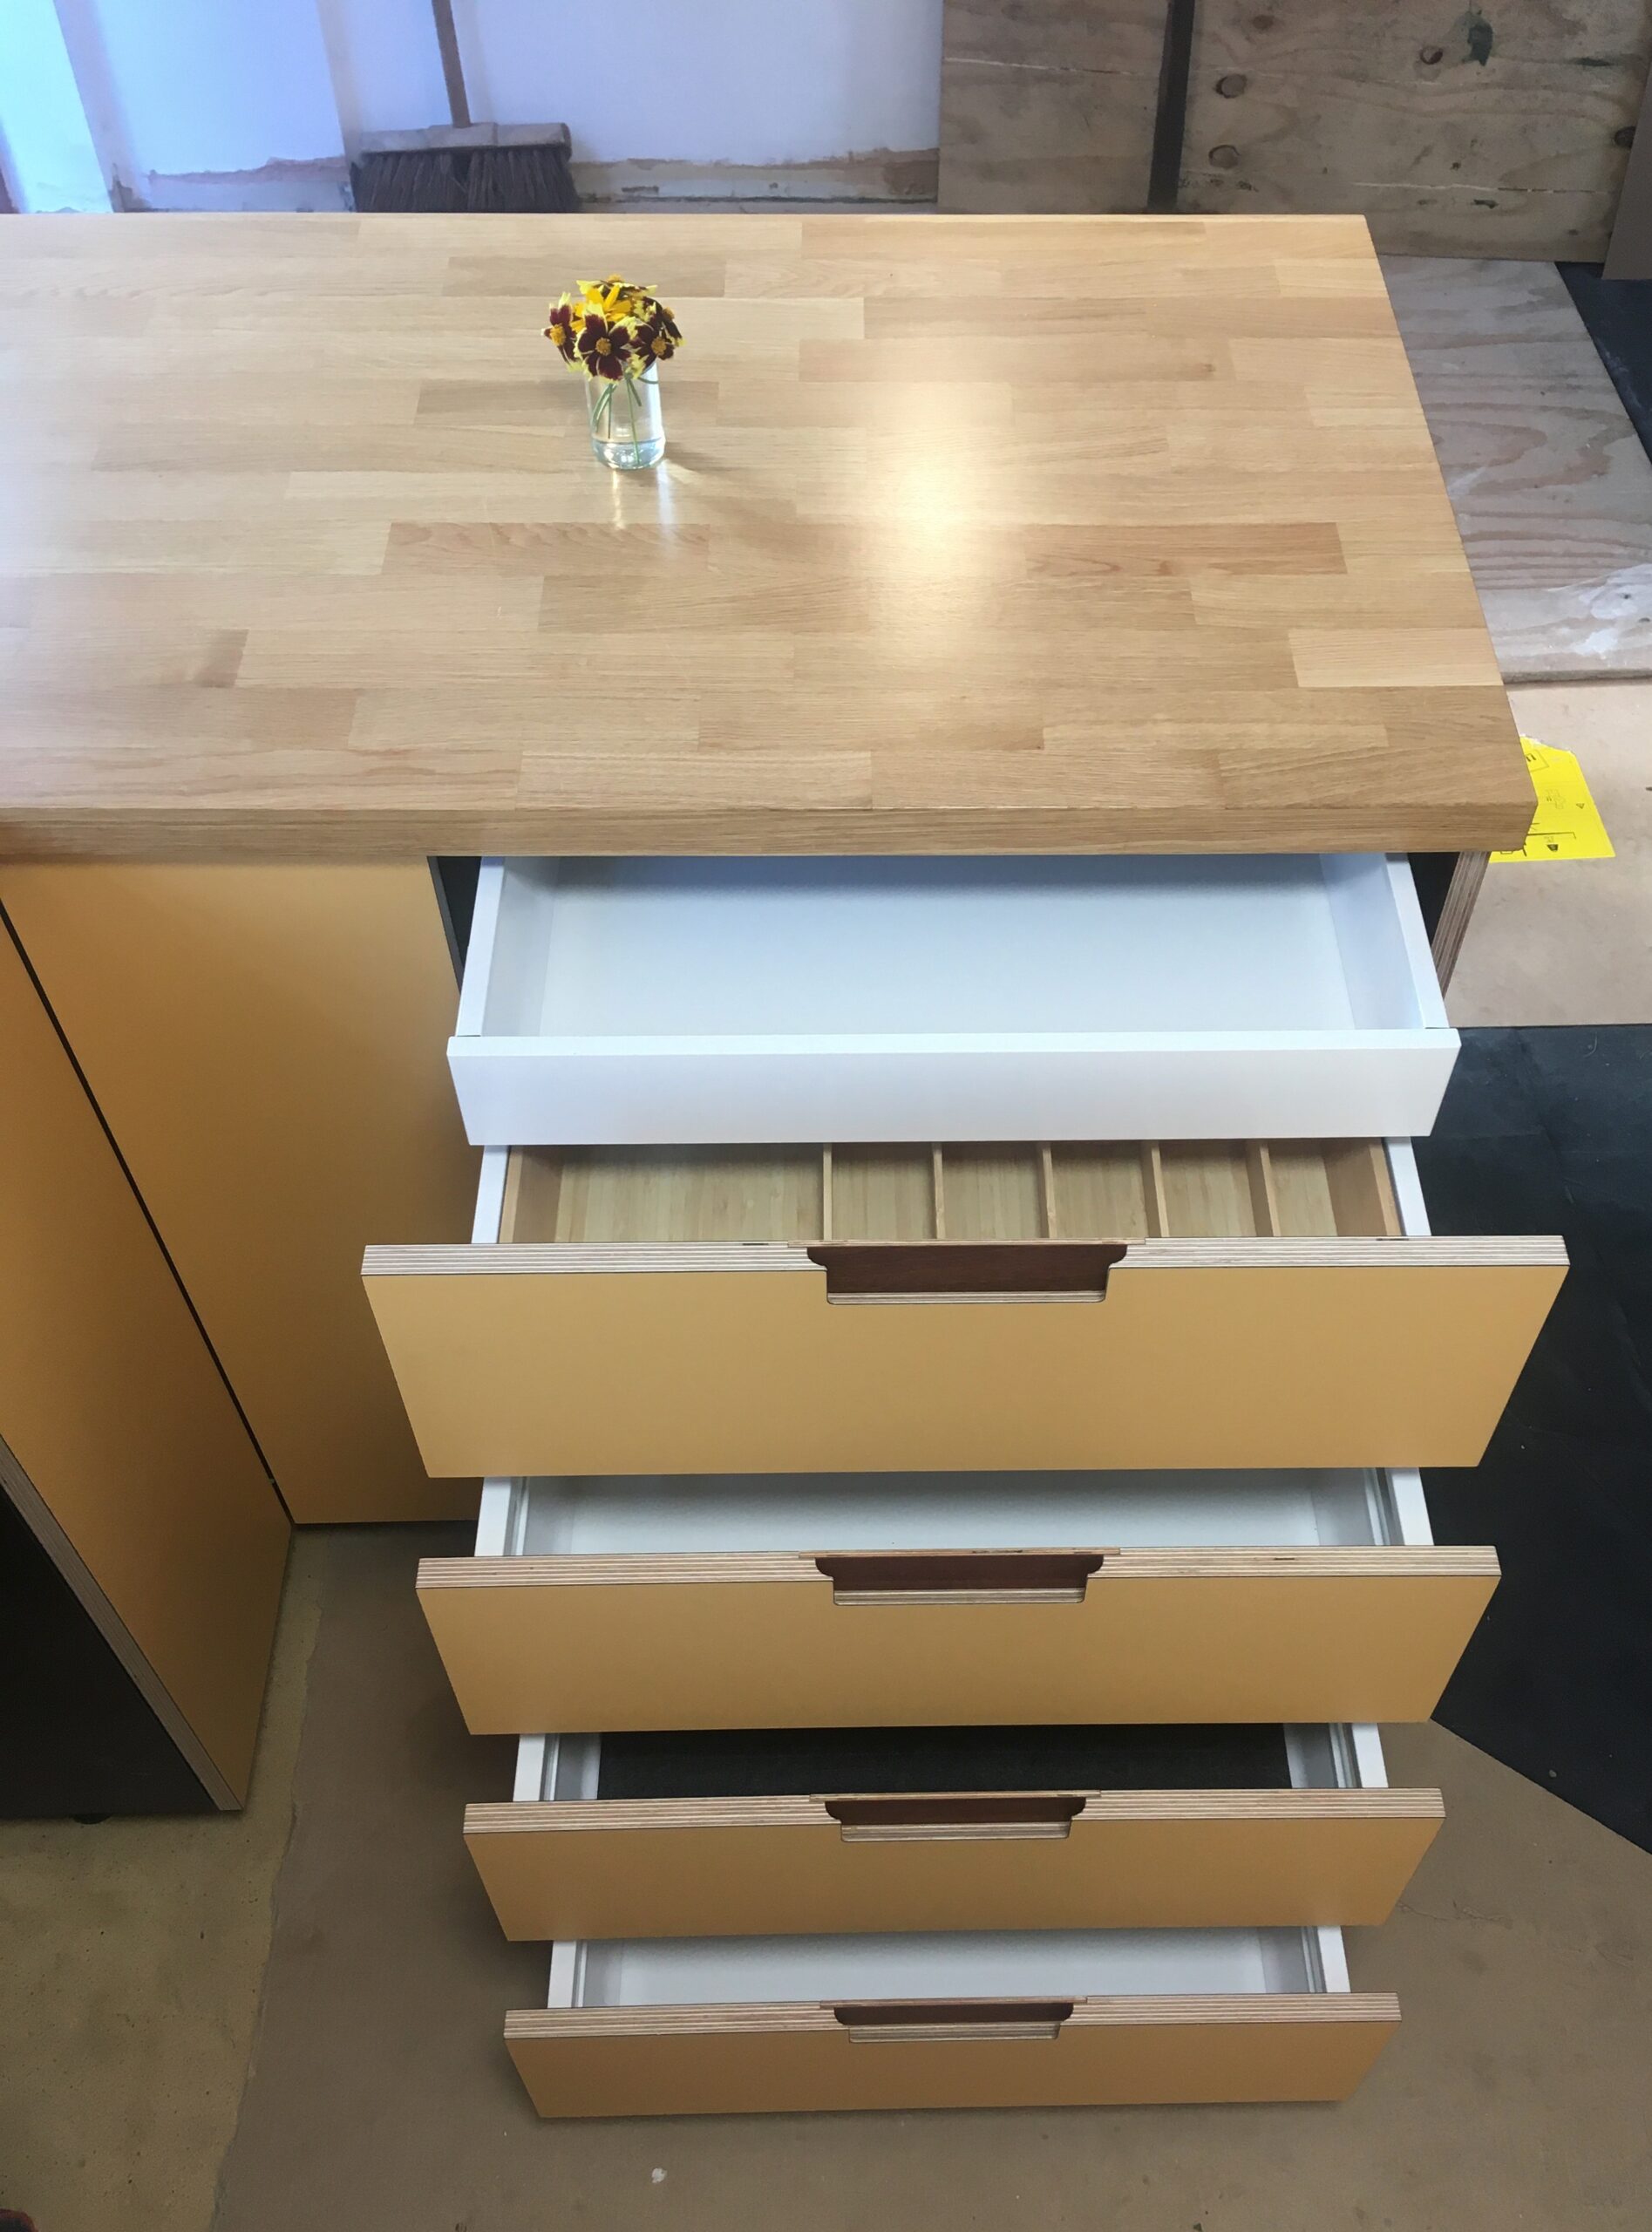
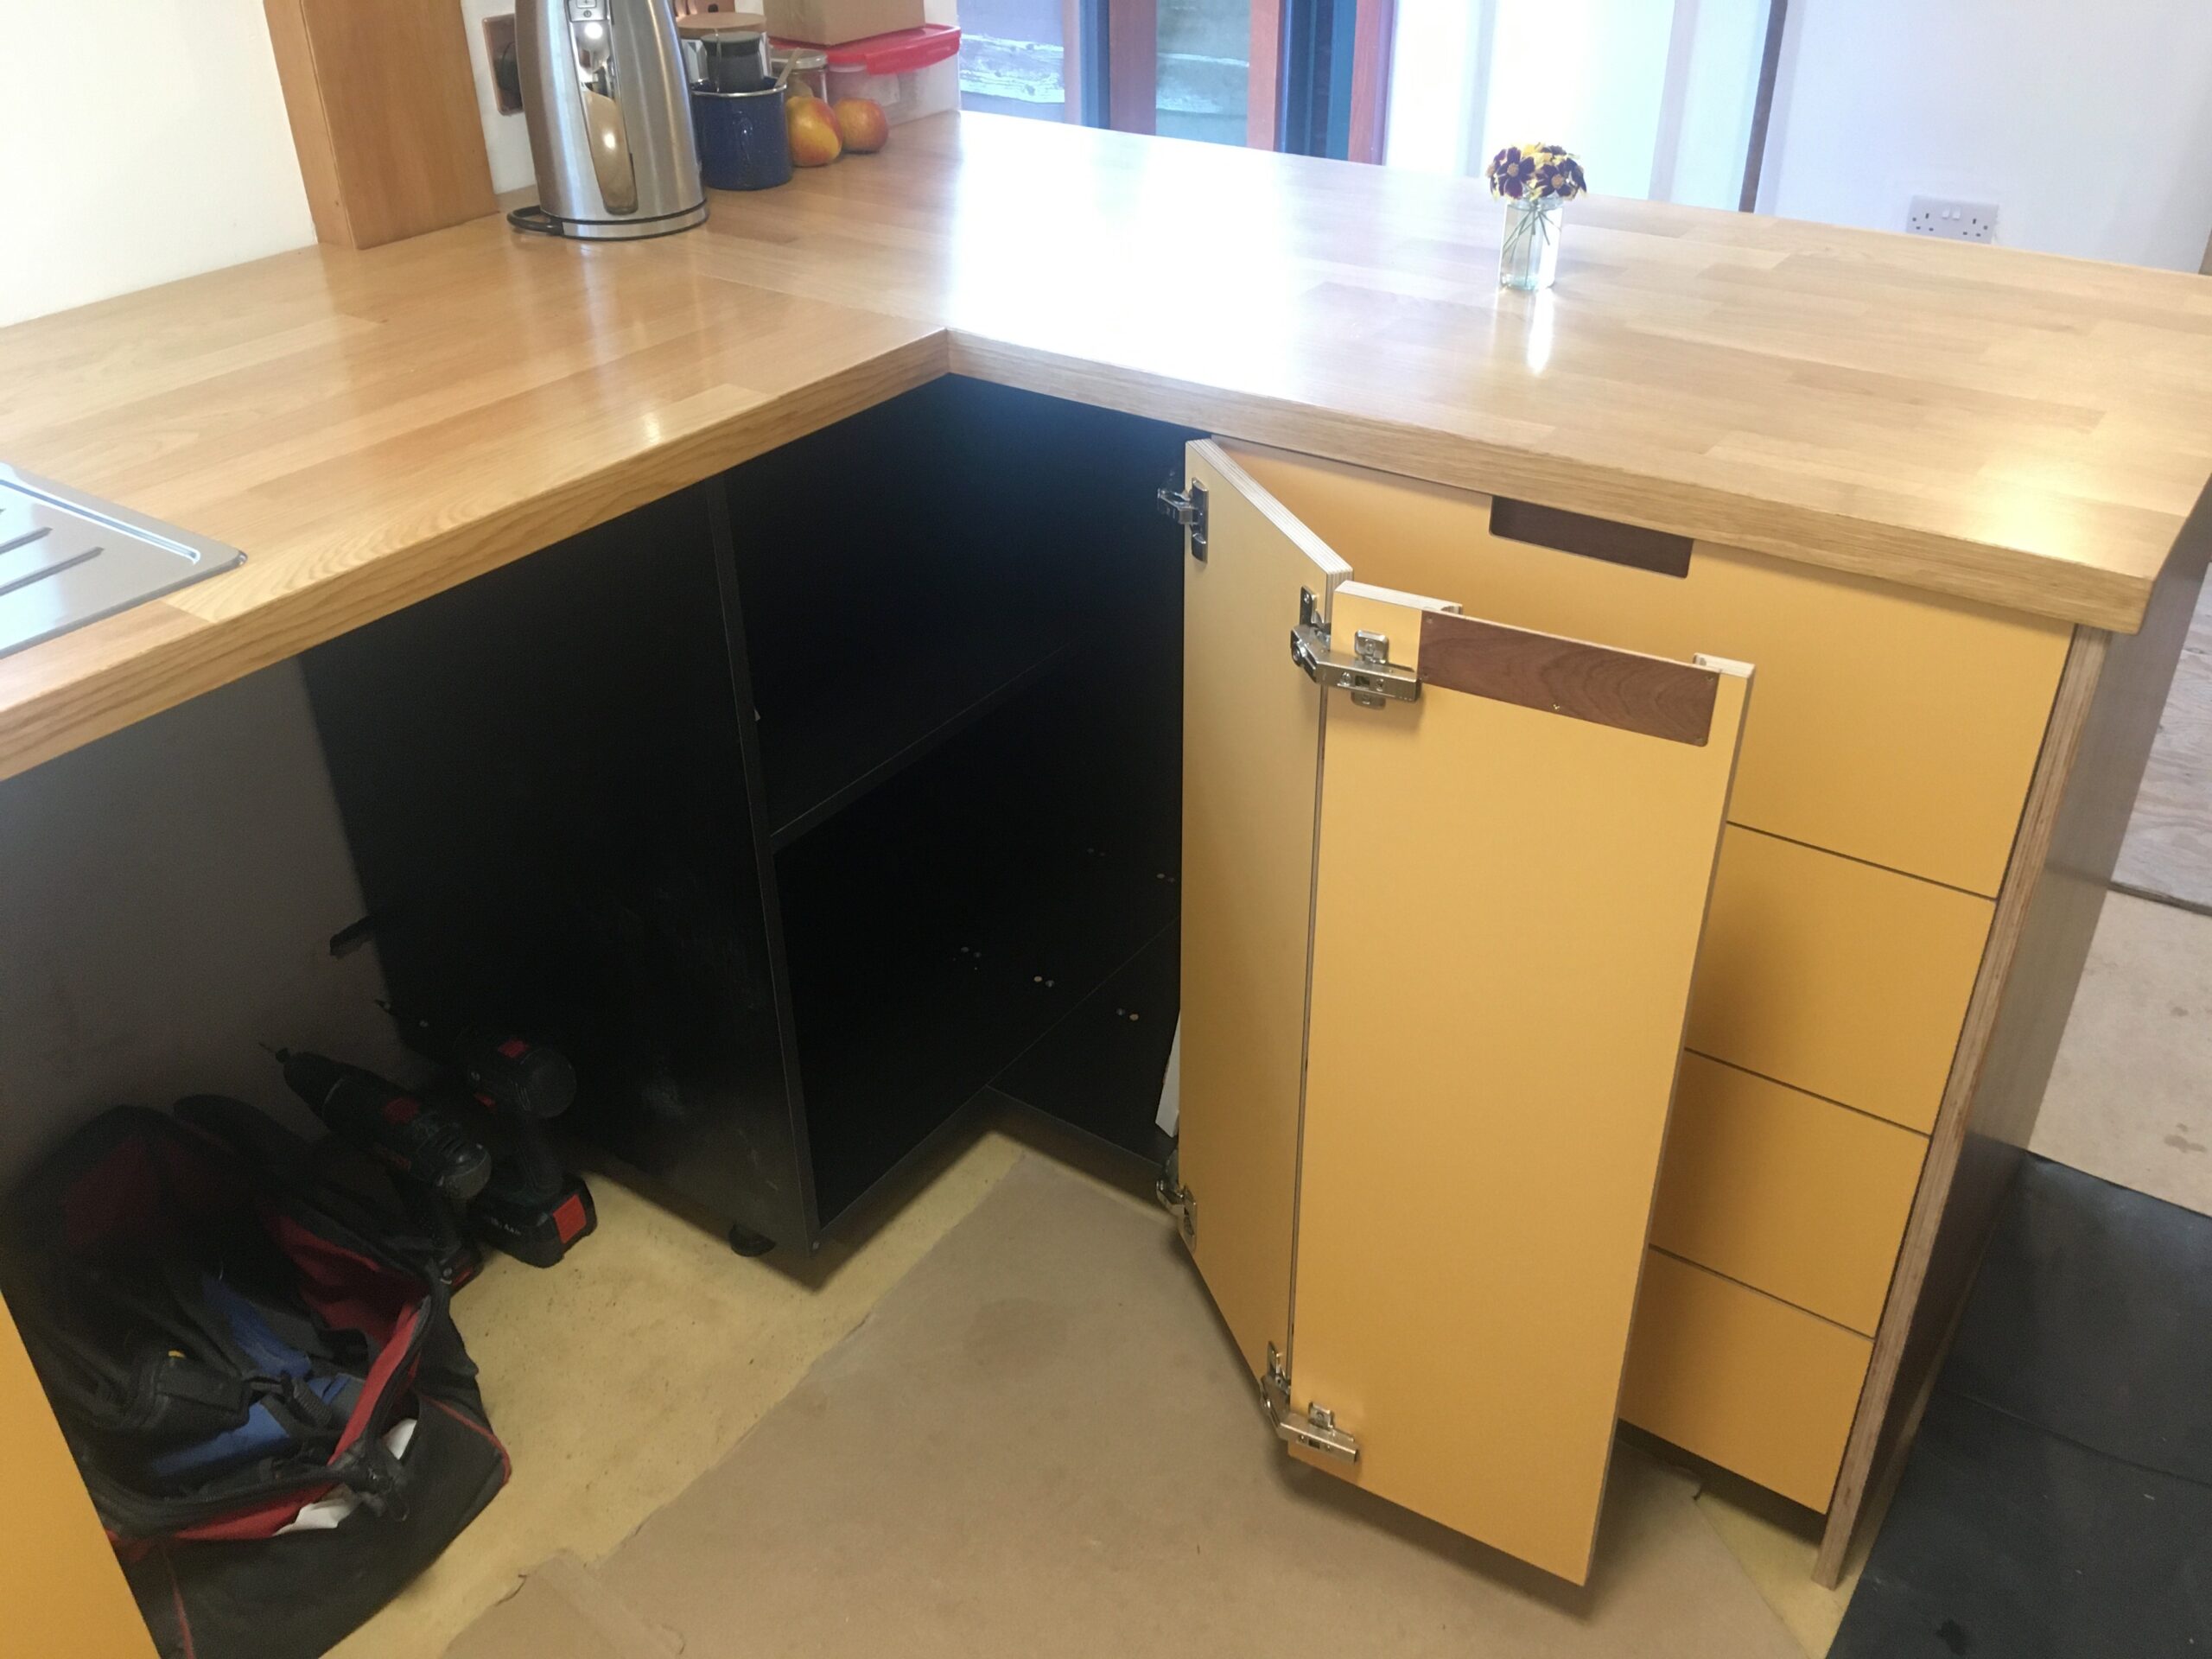
It’s Plykea.
i.e. Ikea units & worktop with Plykea fronts in Arpa Bloom (colour Giallo Canary) & Sapele wood. A nice detail is how the wood grain runs across the wall unit doors.
Wood has memory. This can be a good thing, with oak barrels of port wine for example, which can then give distinctive colour, flavour and aroma to whisky.
Not so good around a leaky loo though. Hence, new floor.
So the old floorboards were cut at the last joist inside the room, lifted (lump hammer, pry bars and force) and removed. Smelly & broken boards thrown out to wood recycling. Good boards kept to replace damaged floorboards elsewhere upstairs, prior to sanding, to be used as the finished floor surface.
Meanwhile…
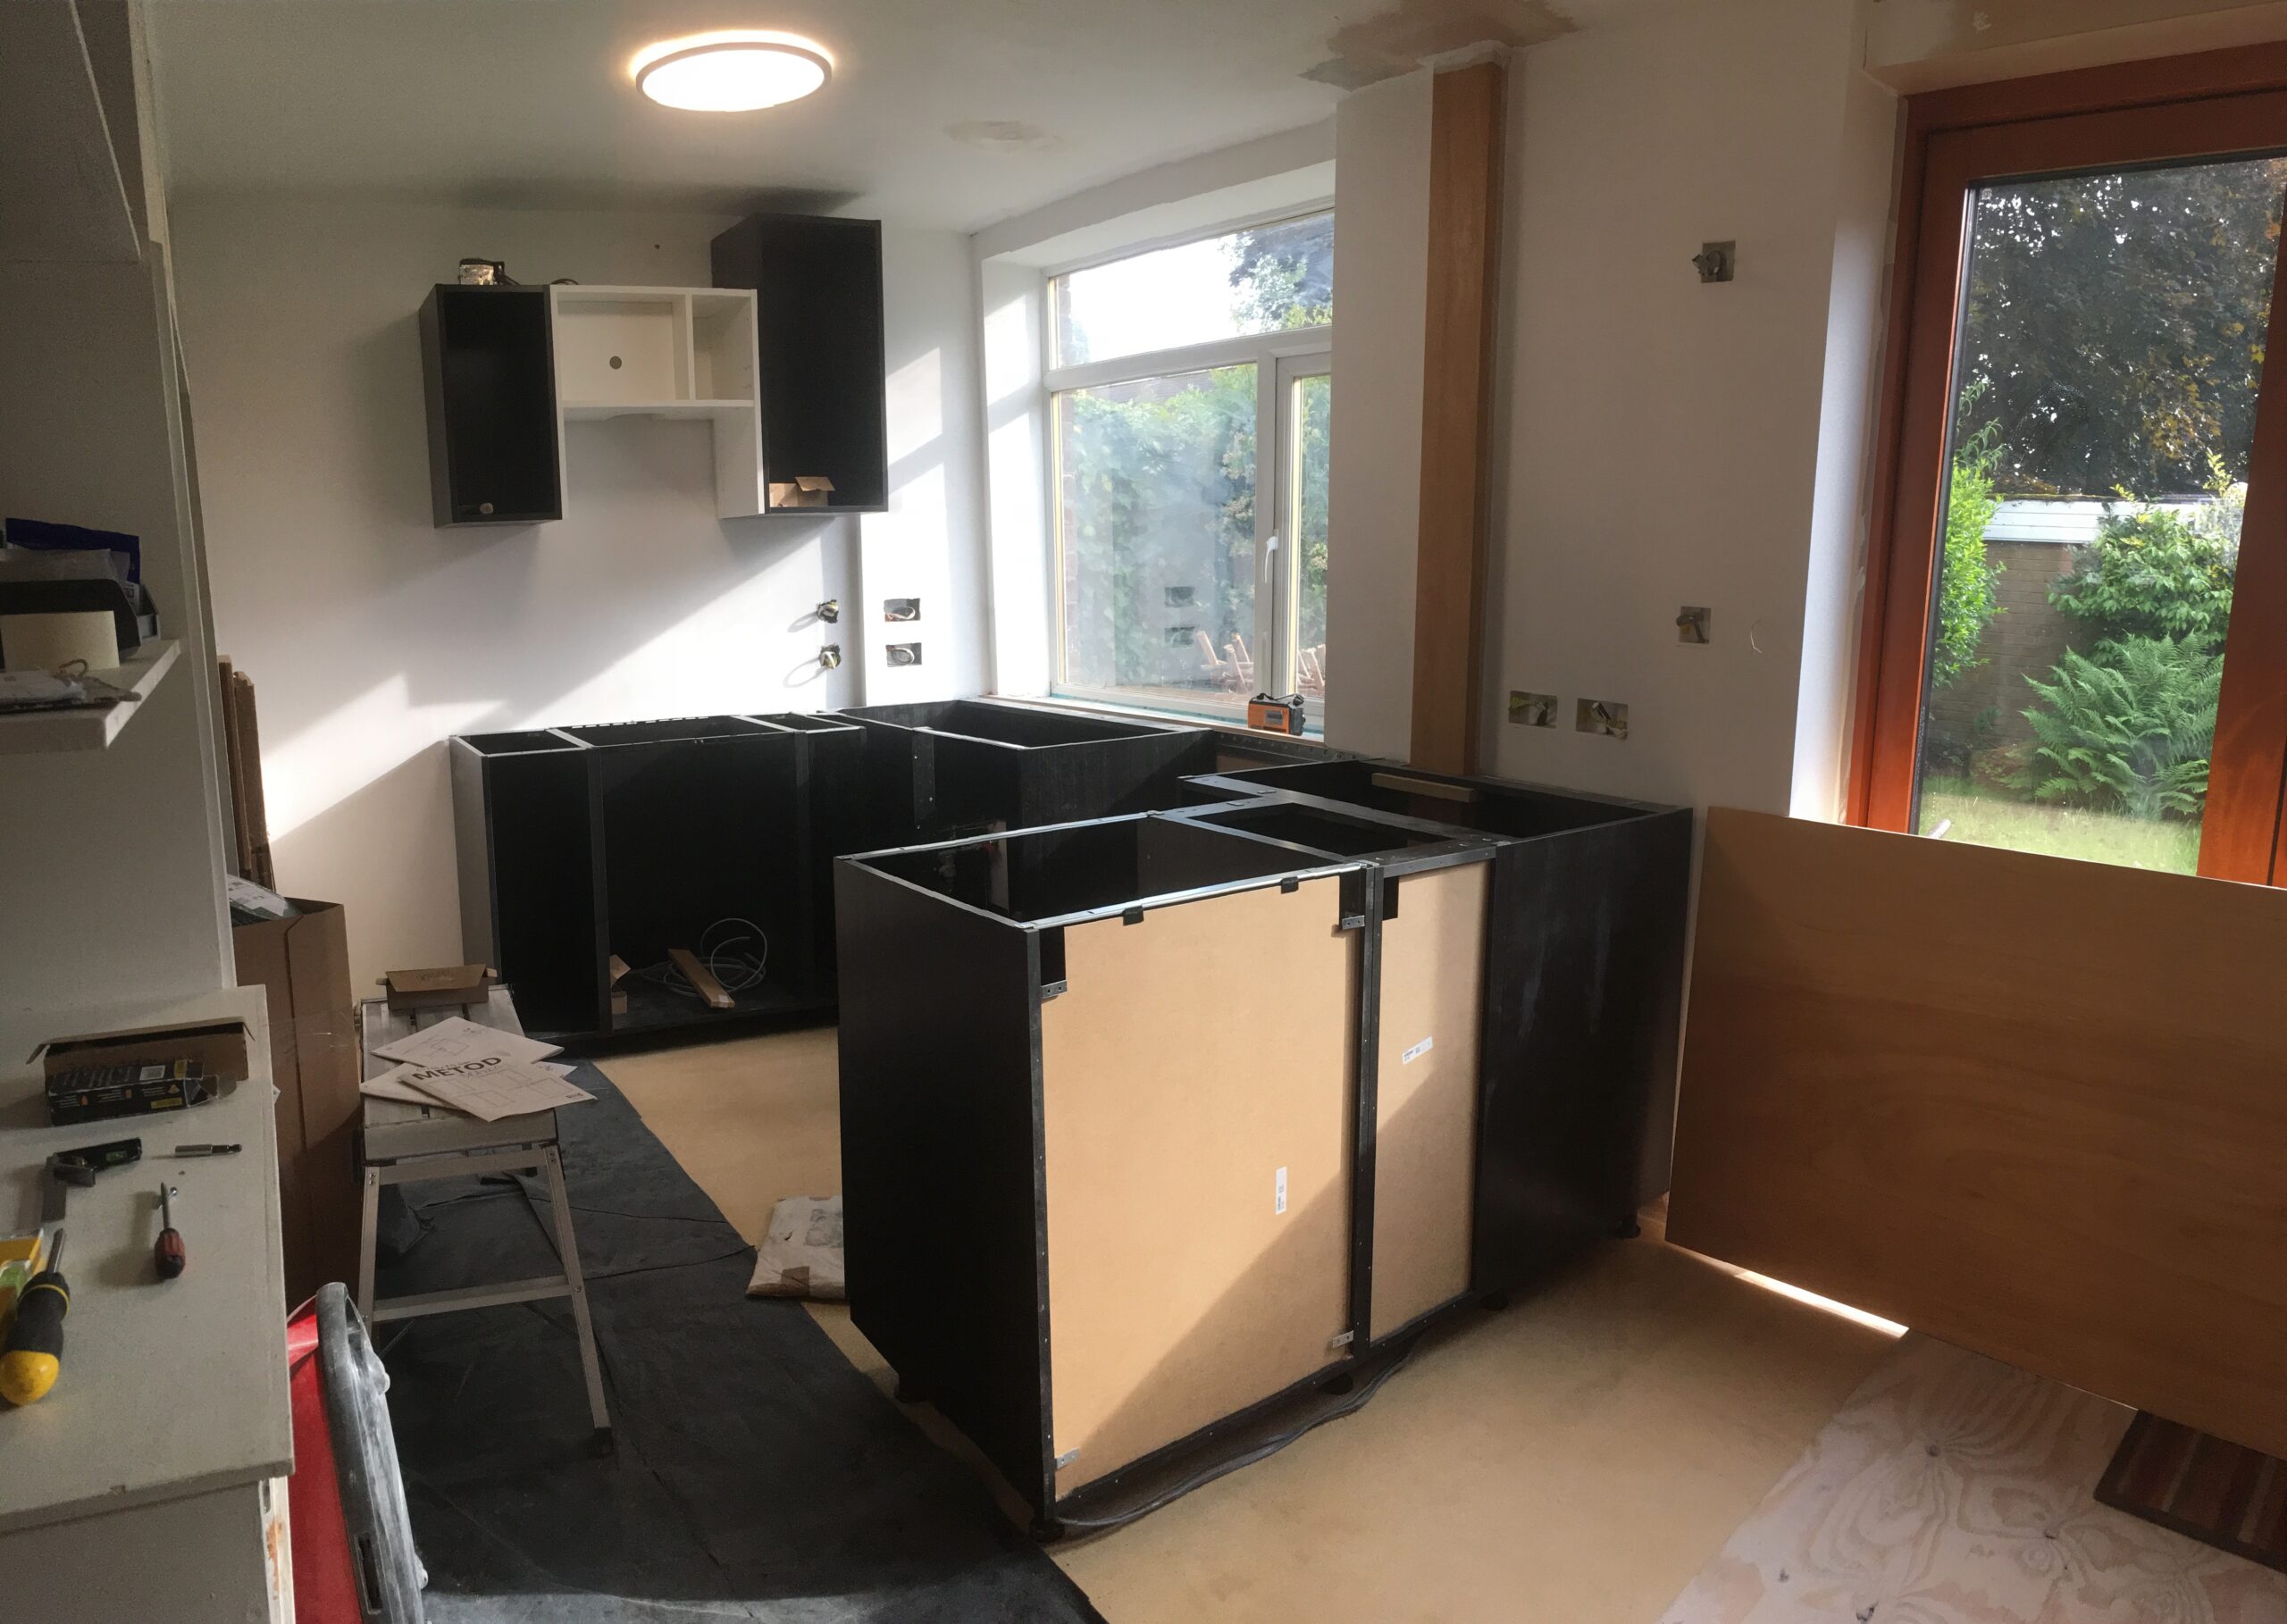
In the kitchen the custom made fronts have been delayed again, but will arrive soon.
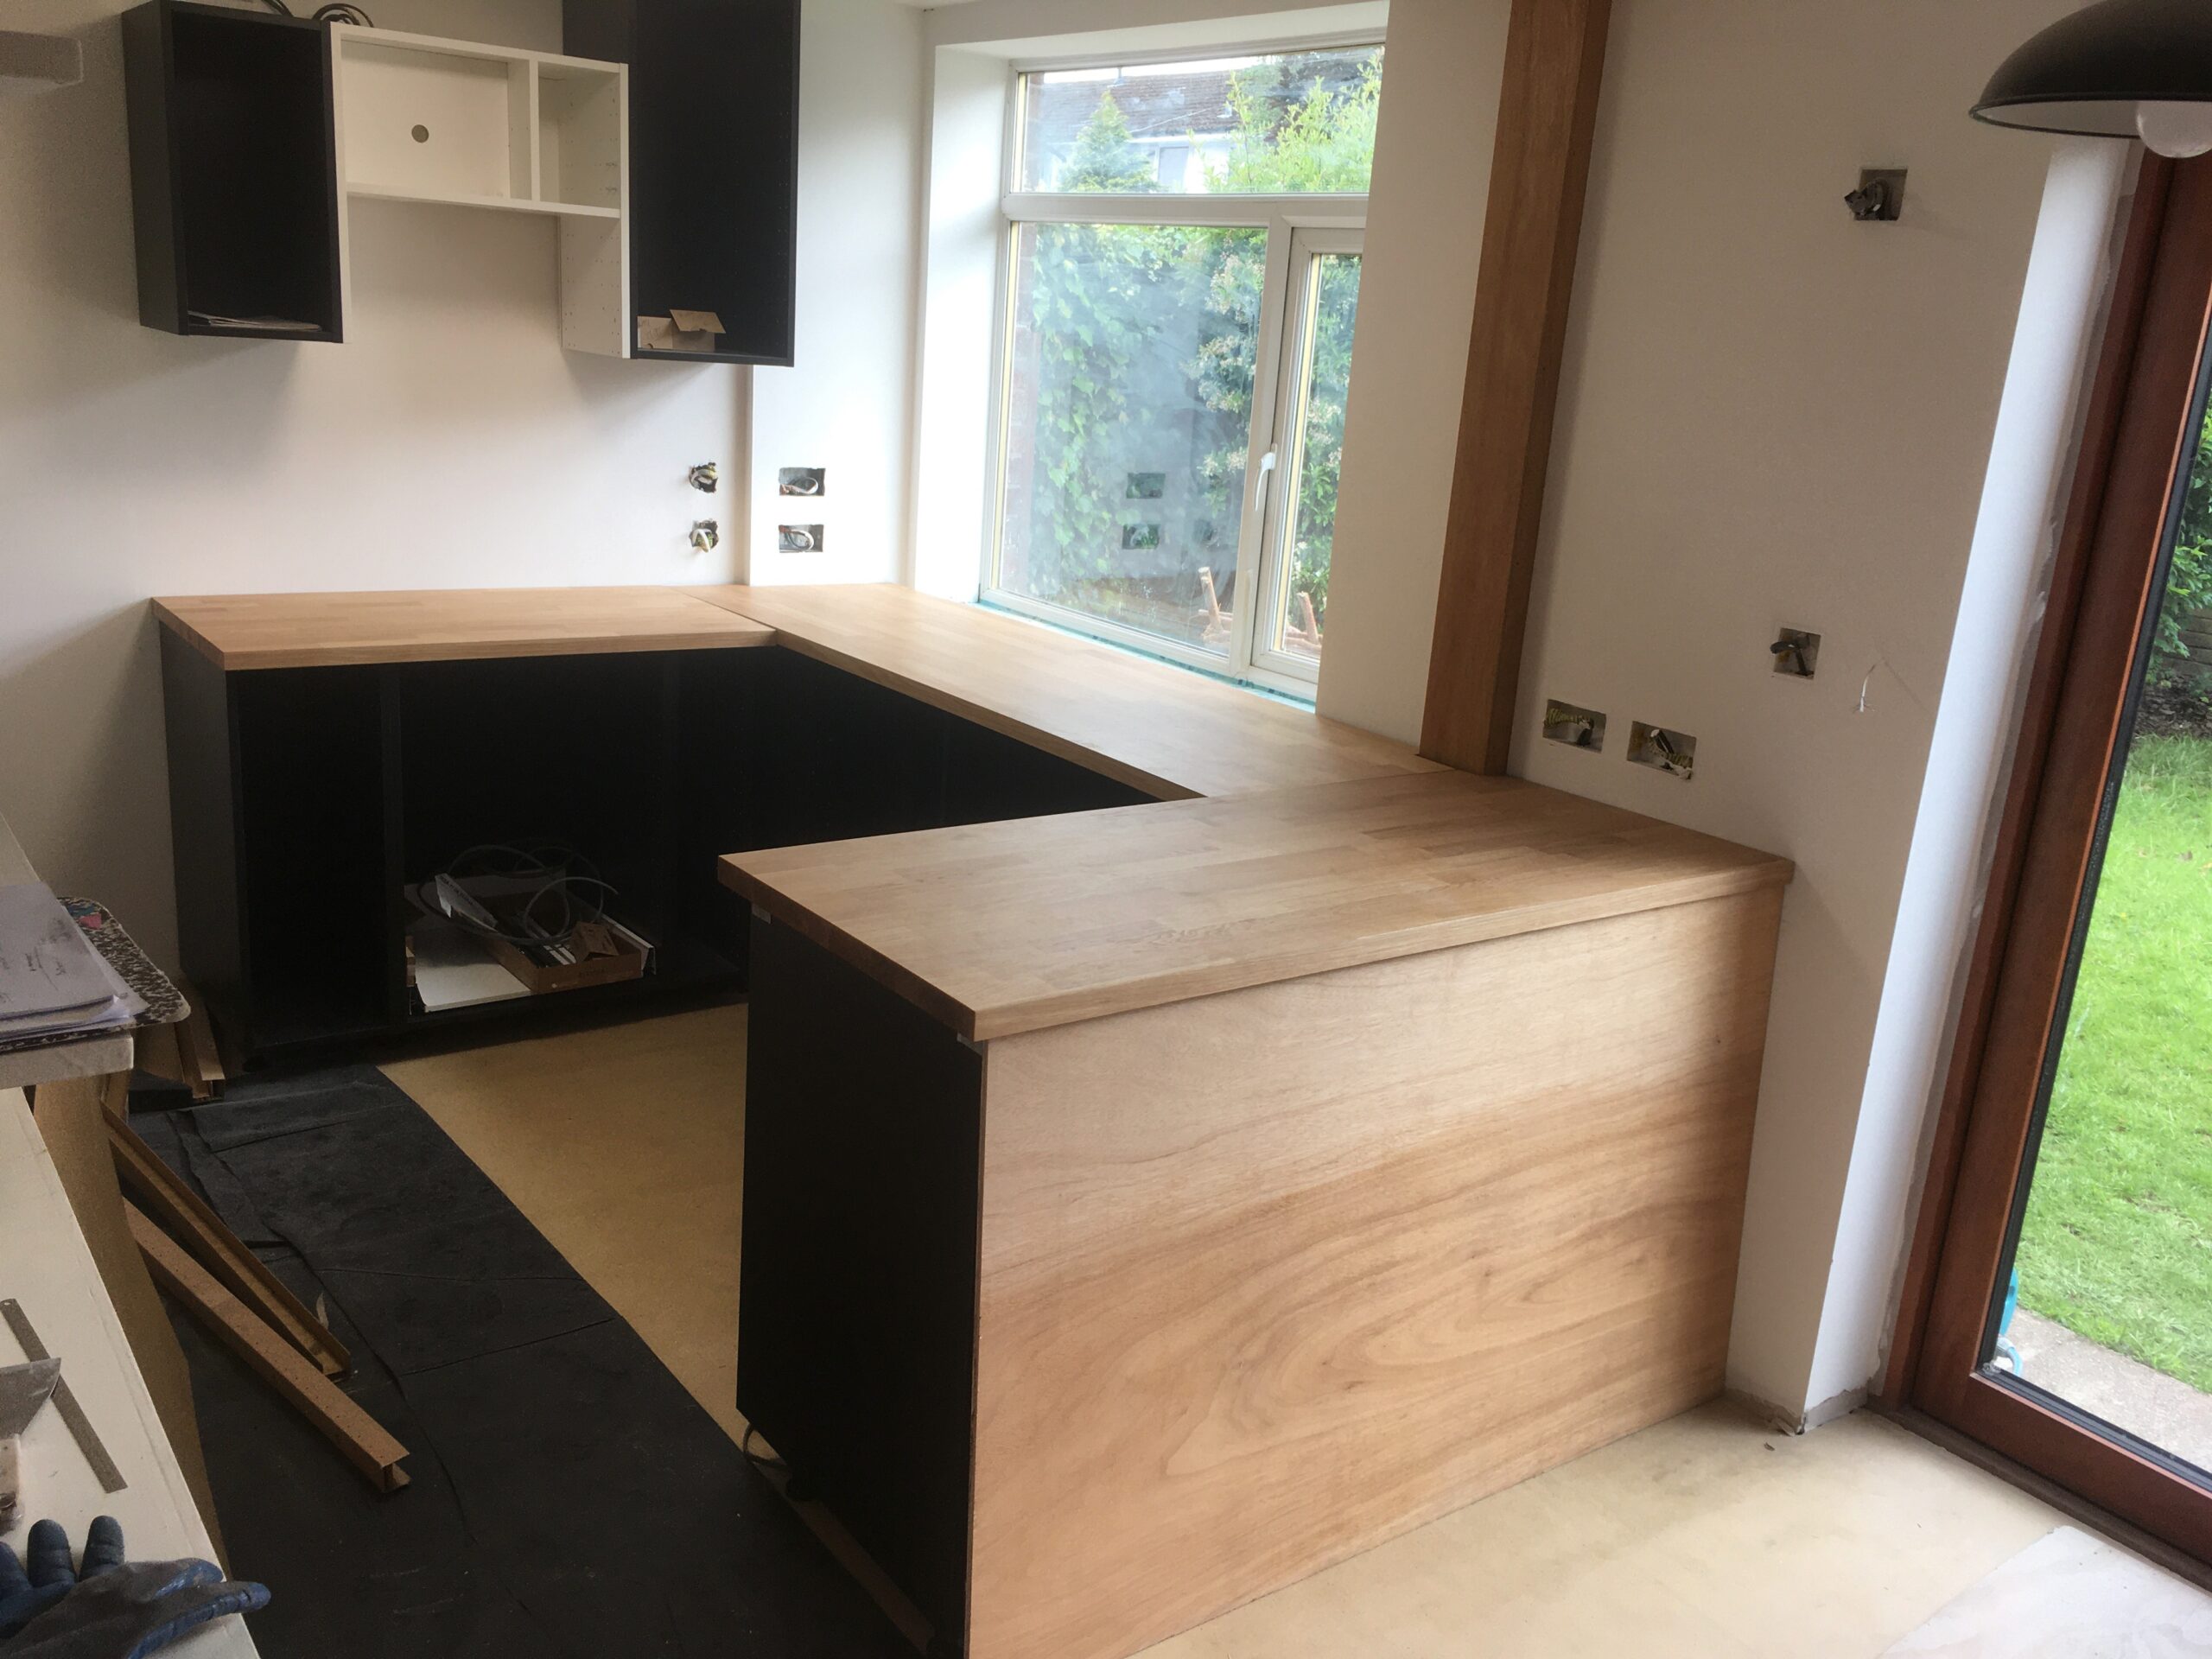
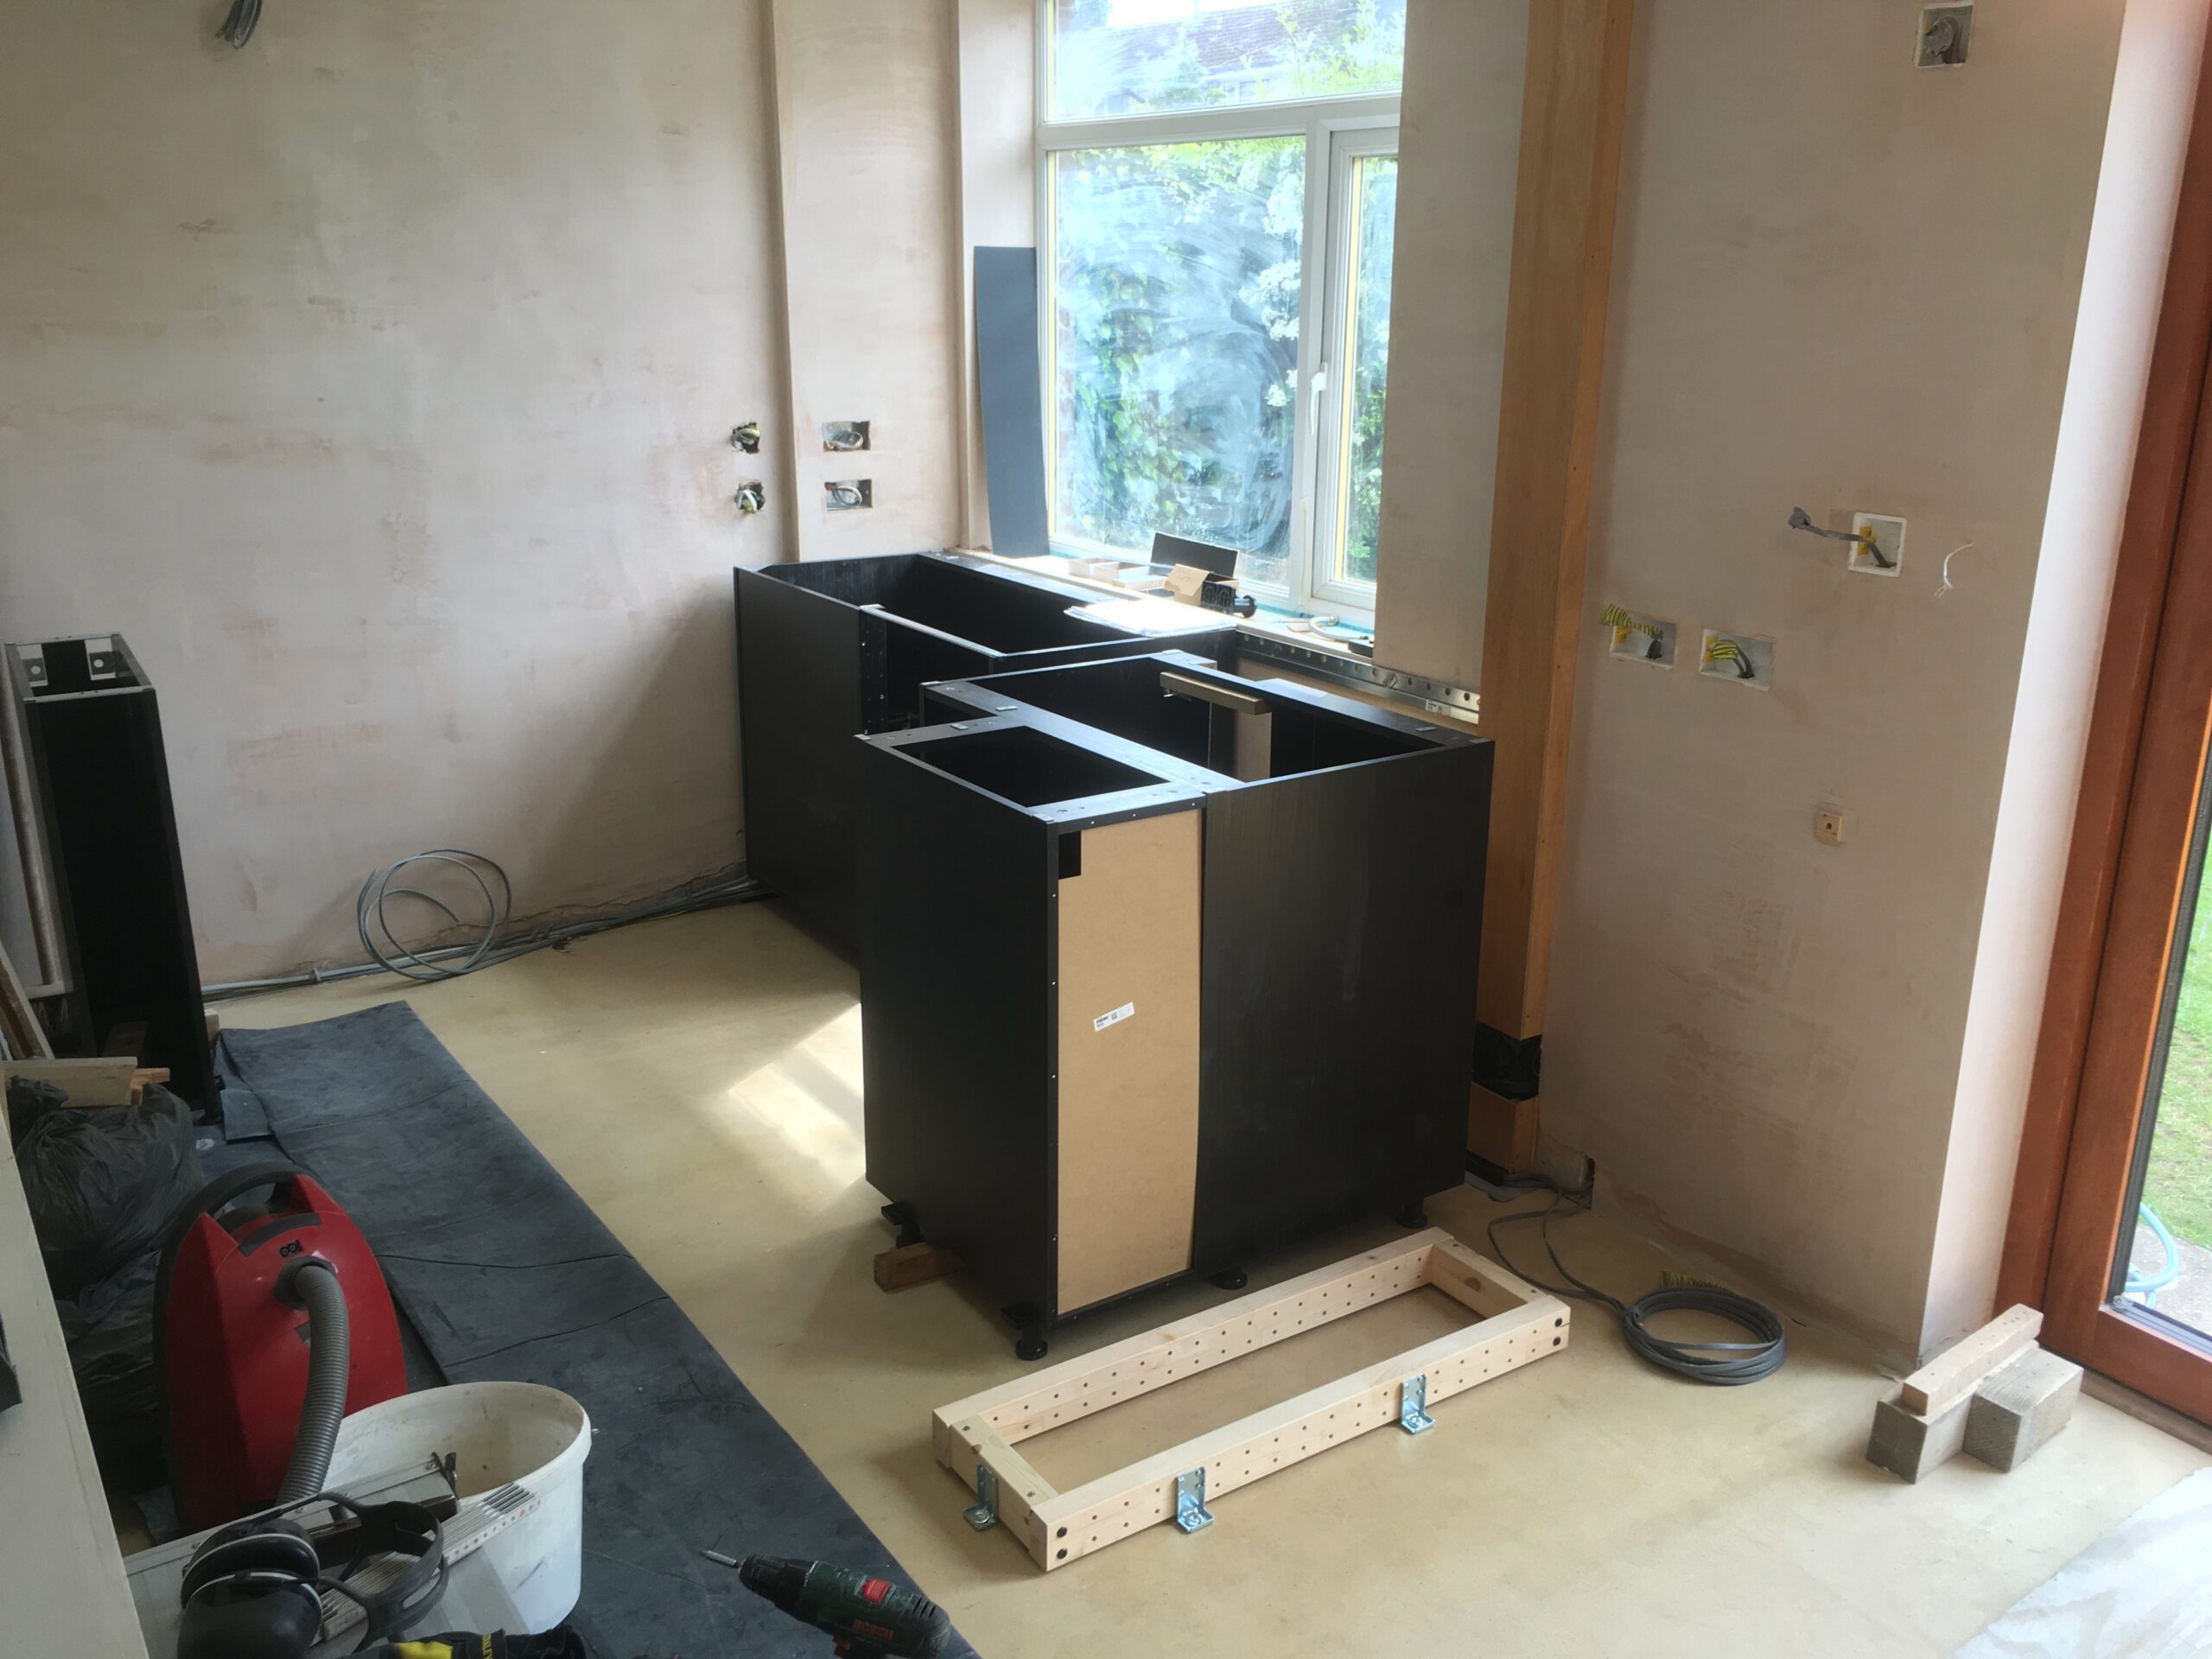
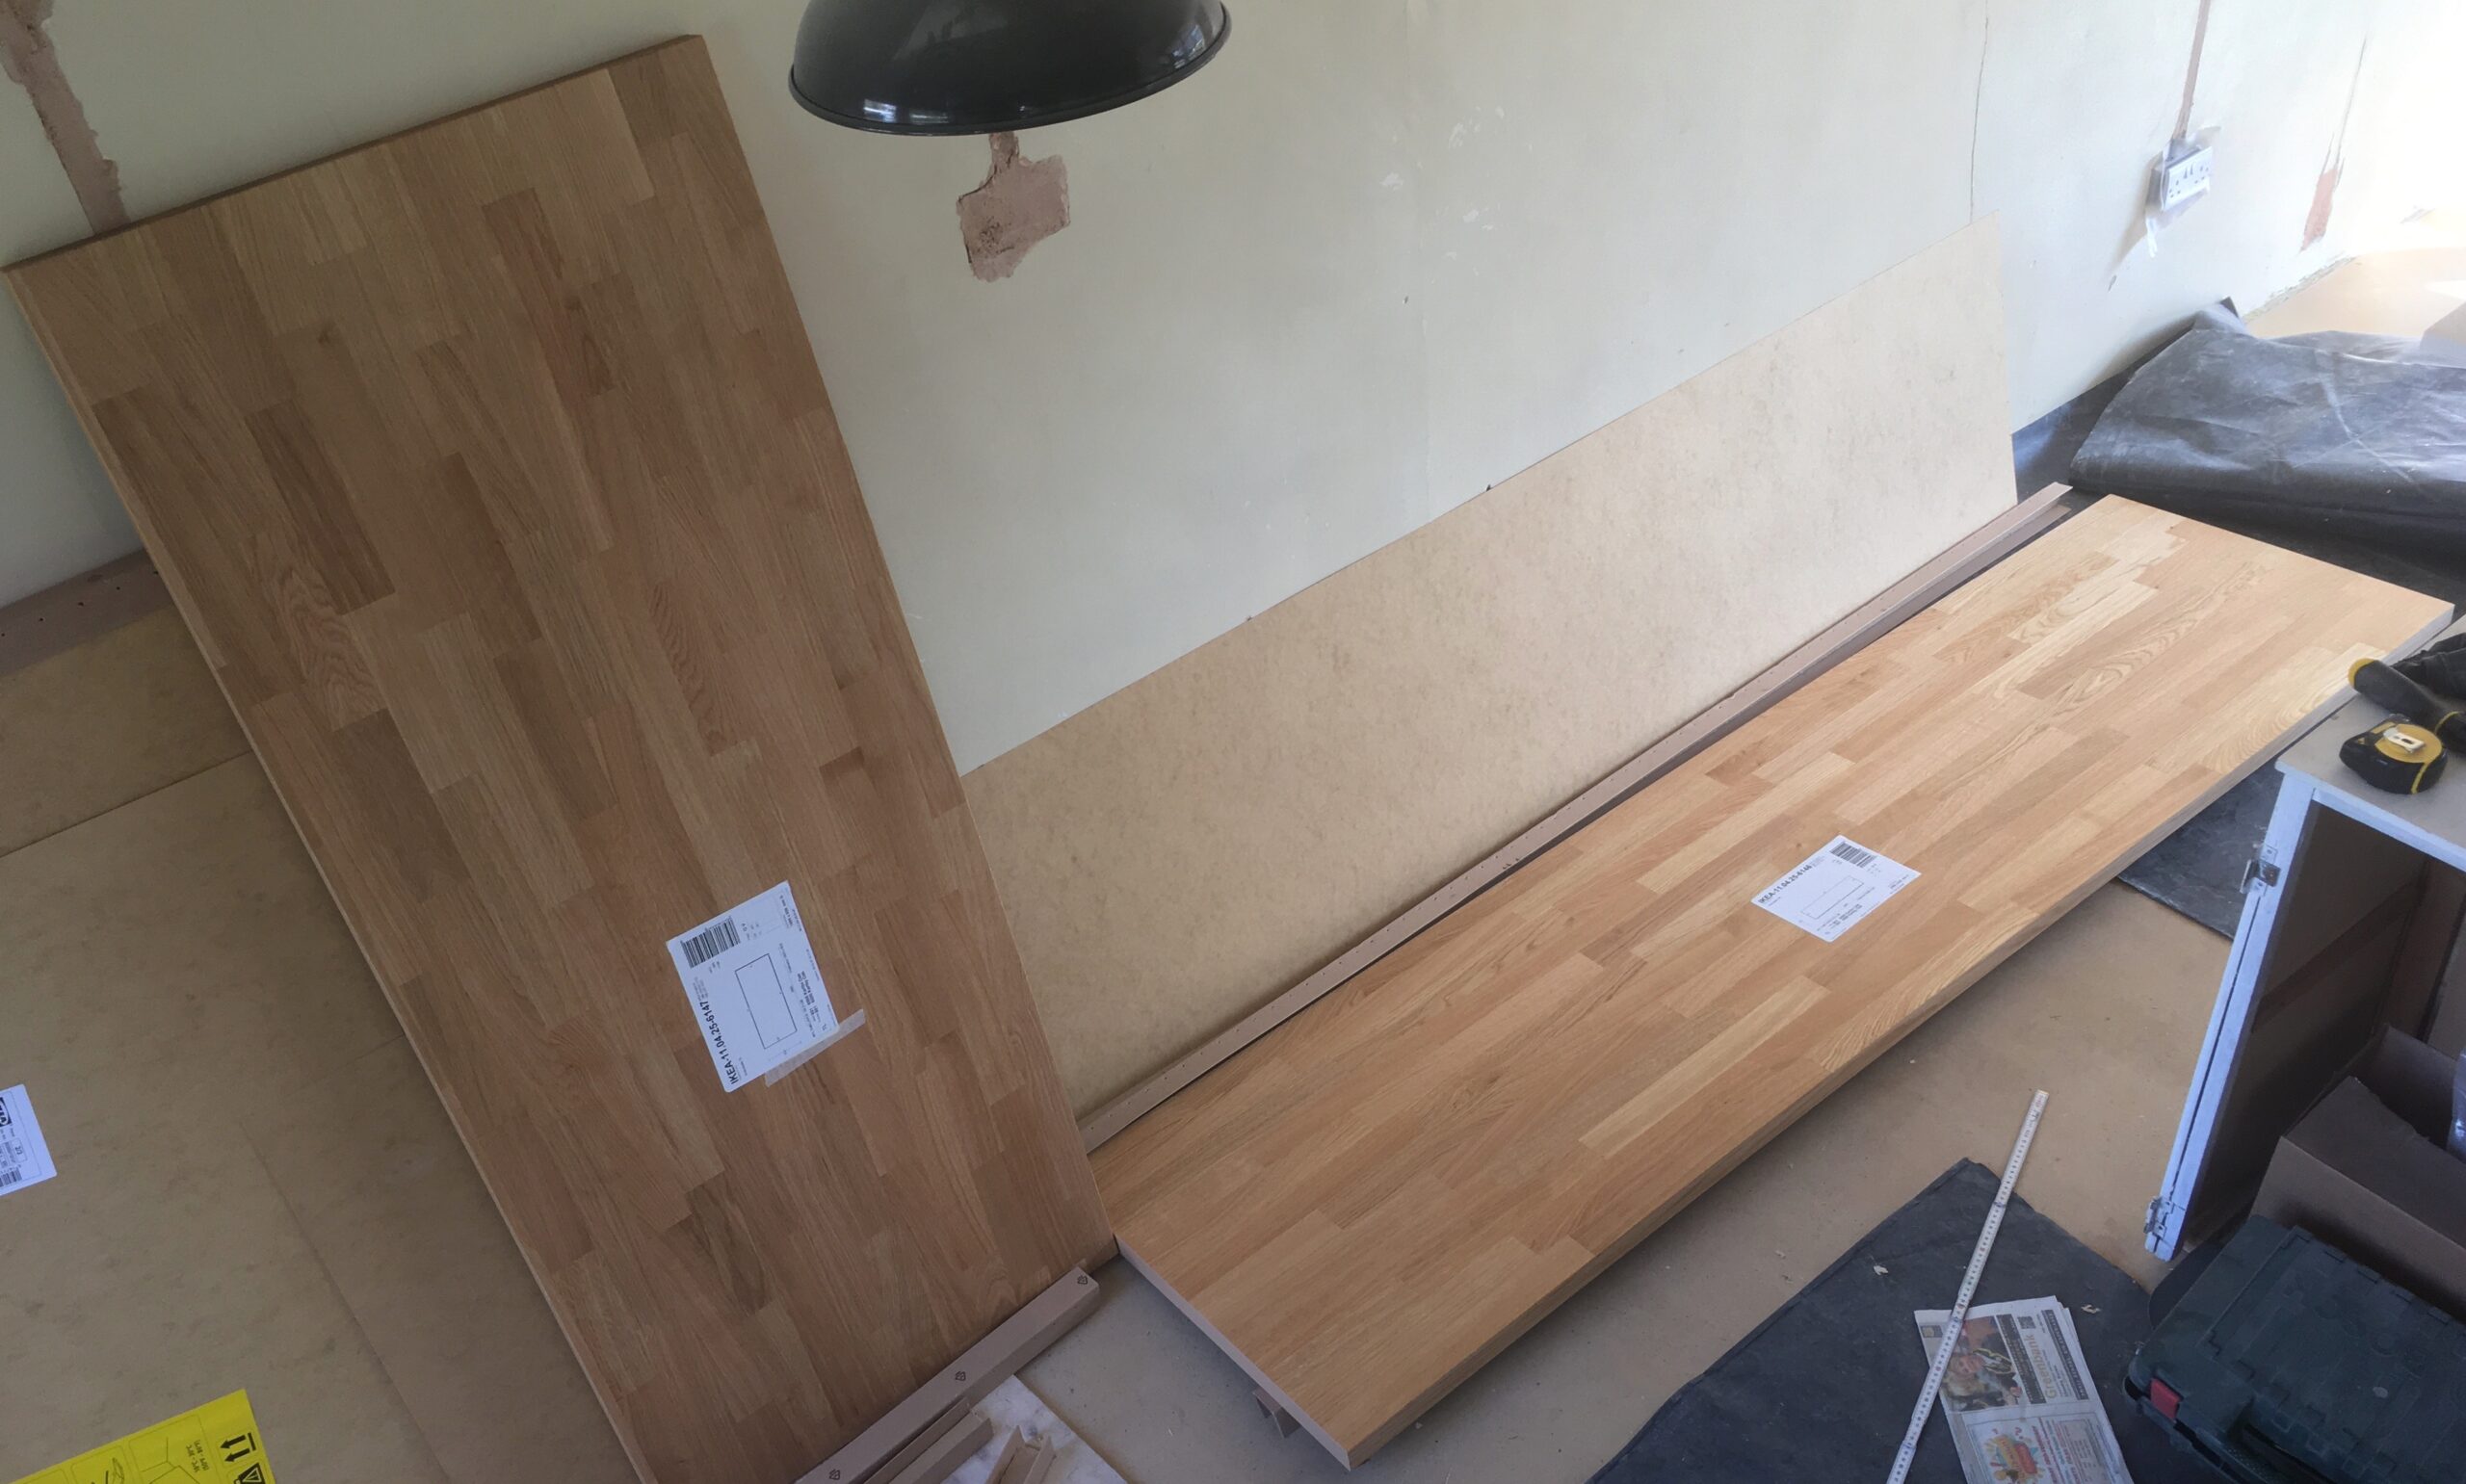
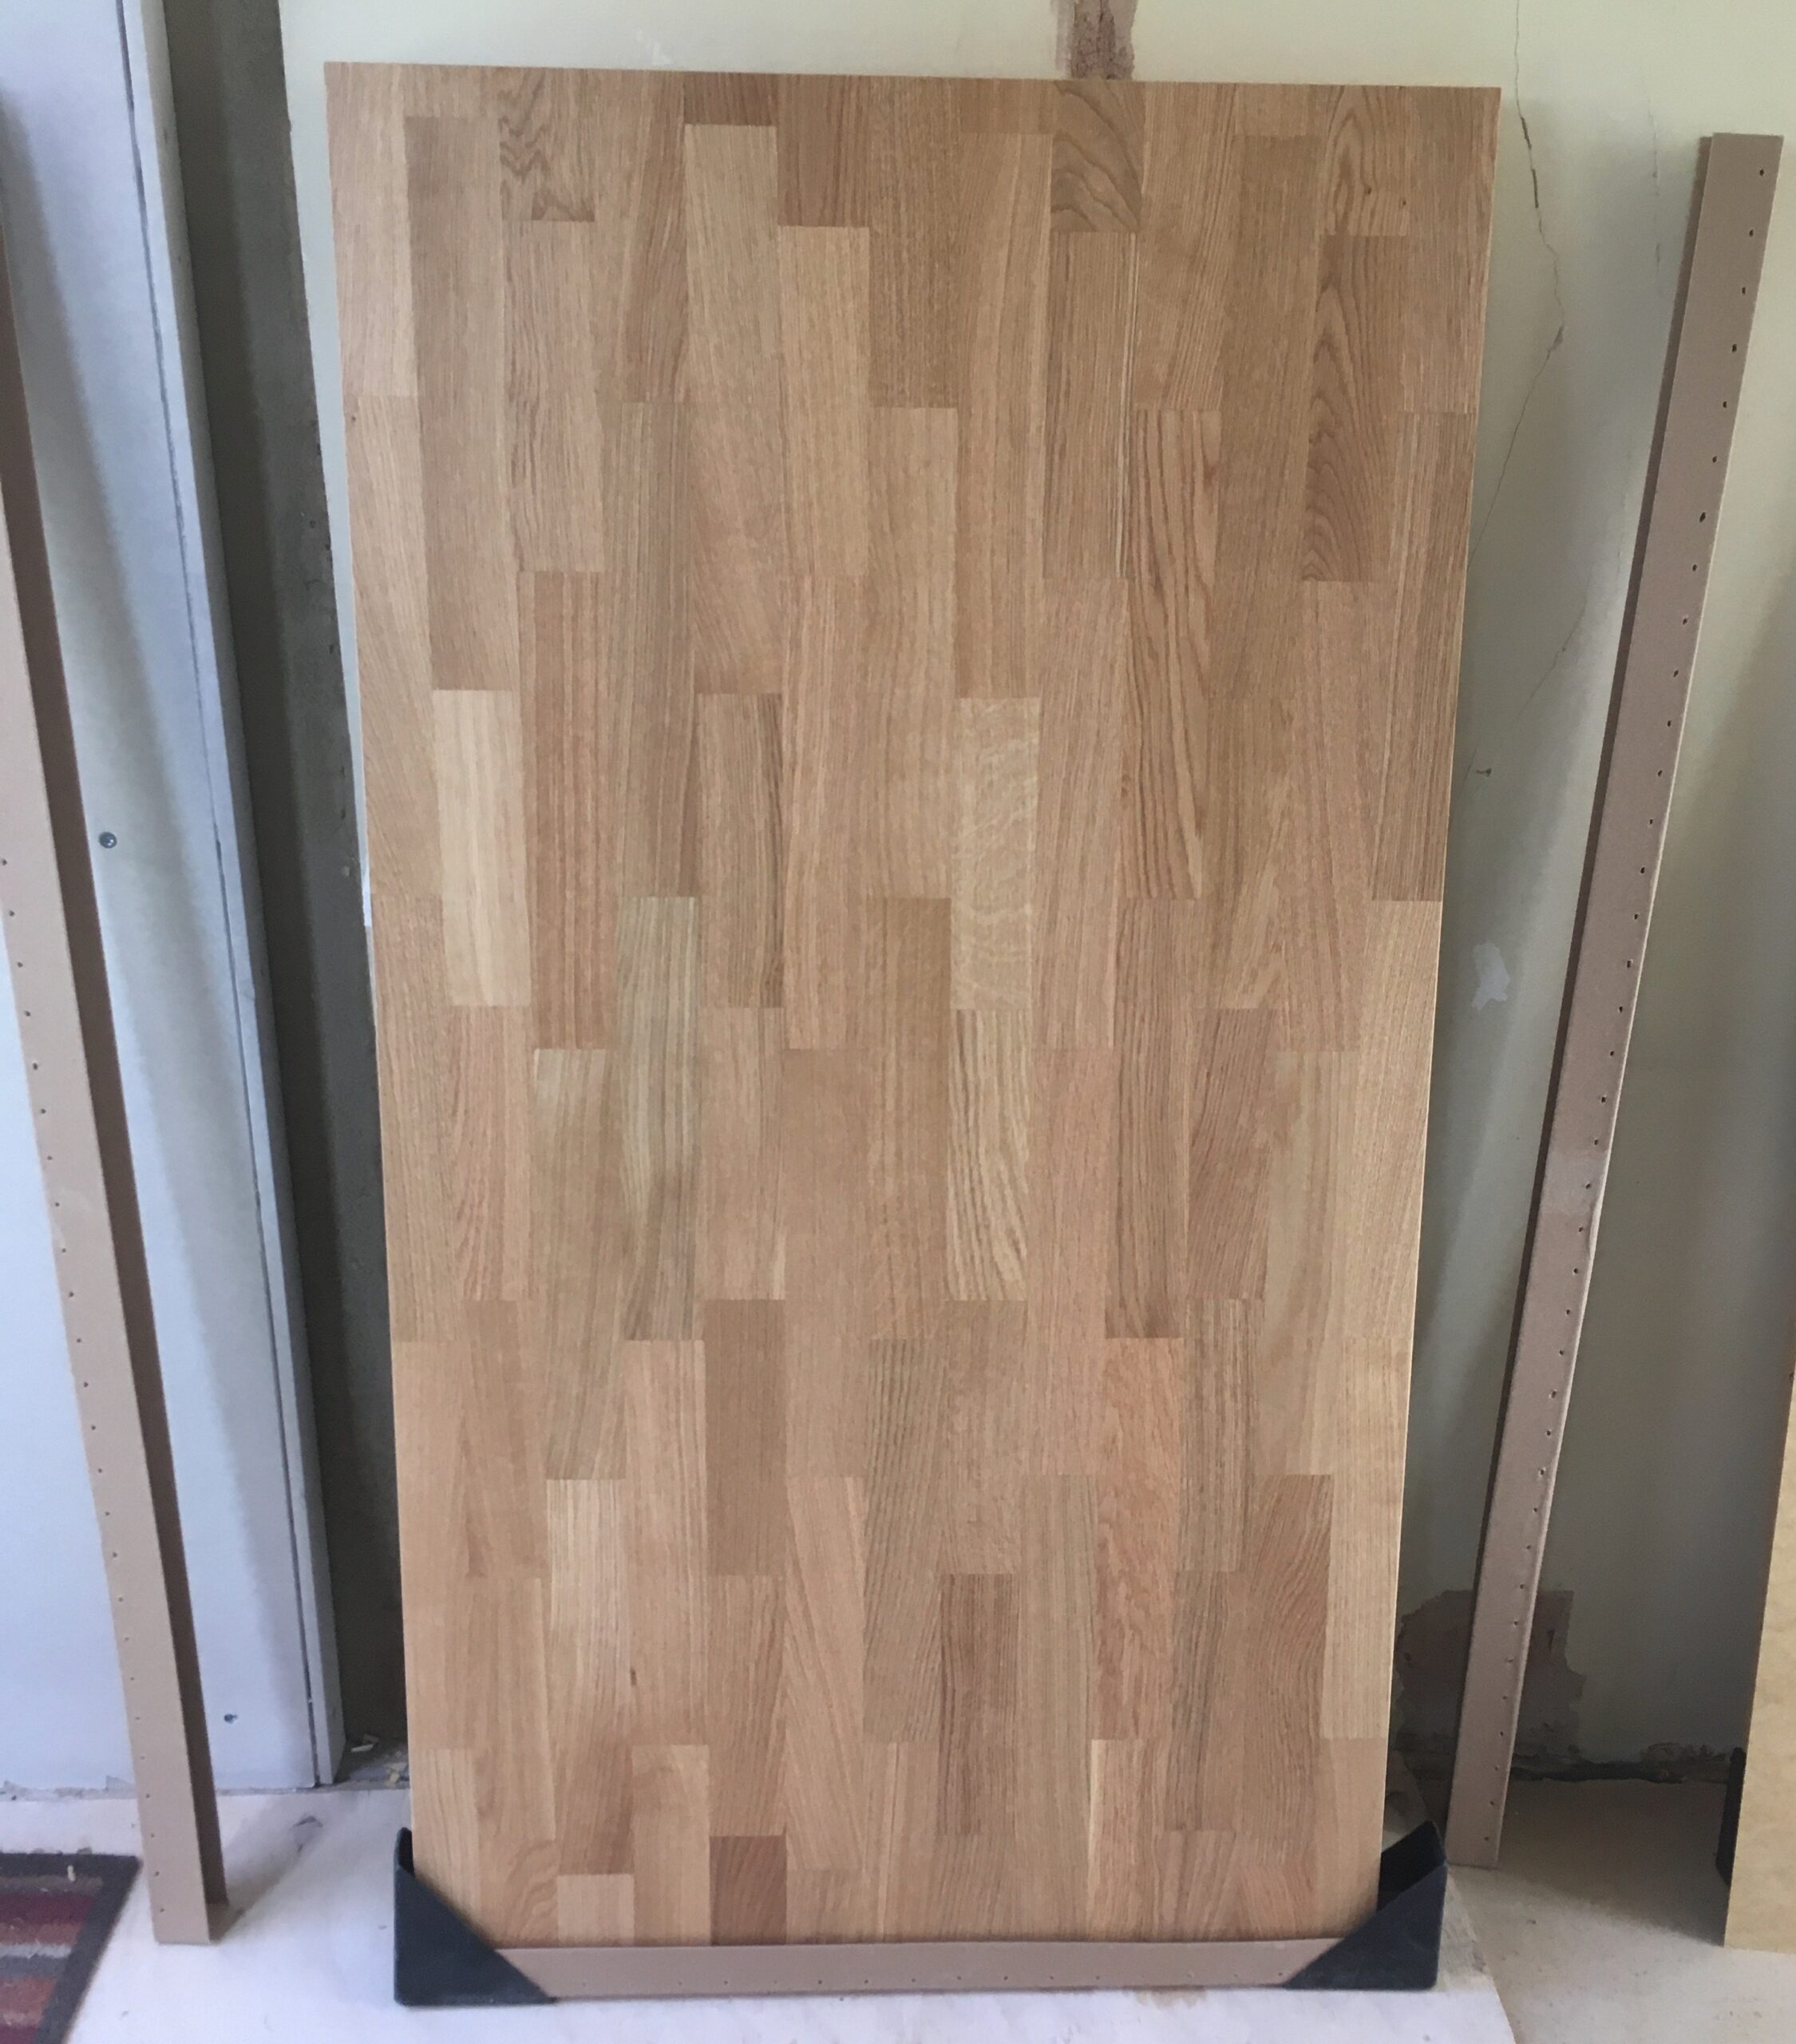
Worktop cut to size. “Measure twice, cut once.” Or in this case check & recheck a few times before plunging the blade.
Looks good. Almost seems a shame to cut holes in it for the sink & hob.
Rails fixed to walls. Nice and level, then fixings tightened.
Cupboards hung on rails. Discover the rails aren’t perfectly level. Tweak.
Floor anchor for the ‘peninsula’, where the base units are not back against the wall. Before drilling in to the floor, check very carefully where the underfloor heating pipe is. (We left unheated areas where cupboards were planned so it doesn’t slow cook the food in our pantry.)
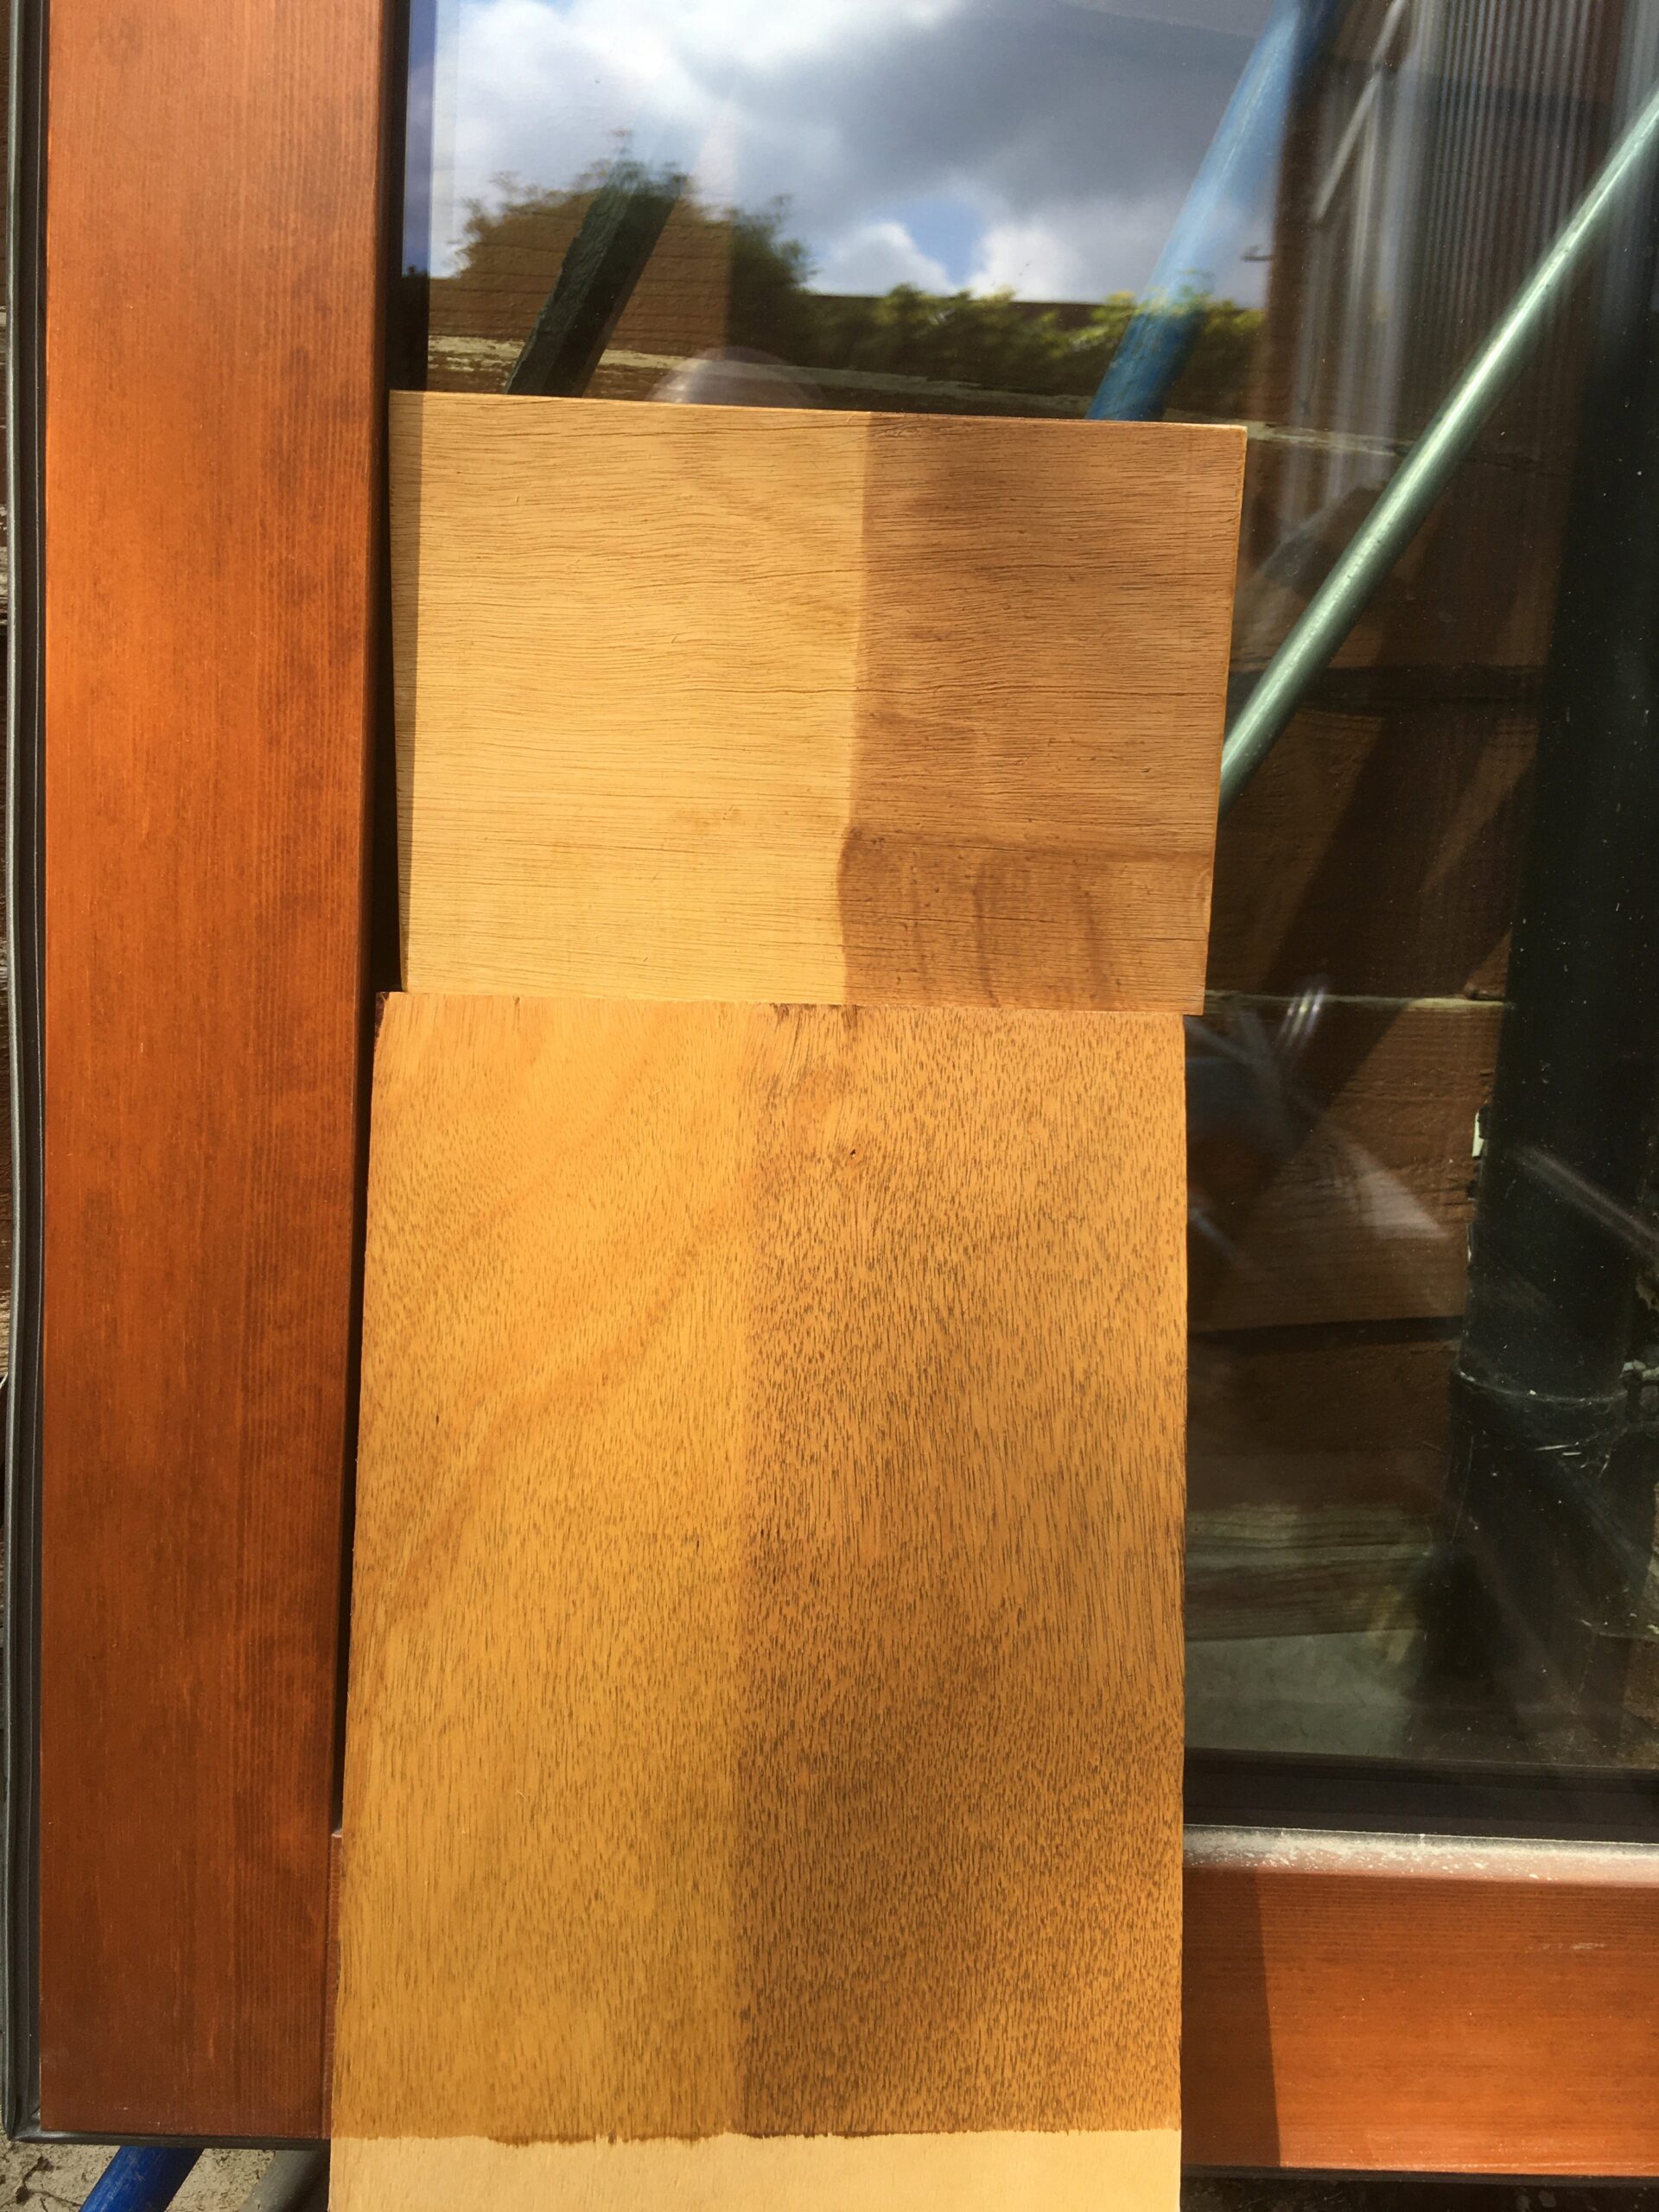
That lovely piece of marine ply on the right was destined to replace the asbestos soffits before that plan was abandoned; it’s now being repurposed as a back panel of the peninsula. It will be stained & oiled with Osmo oil (similar to the boxed in pipe).
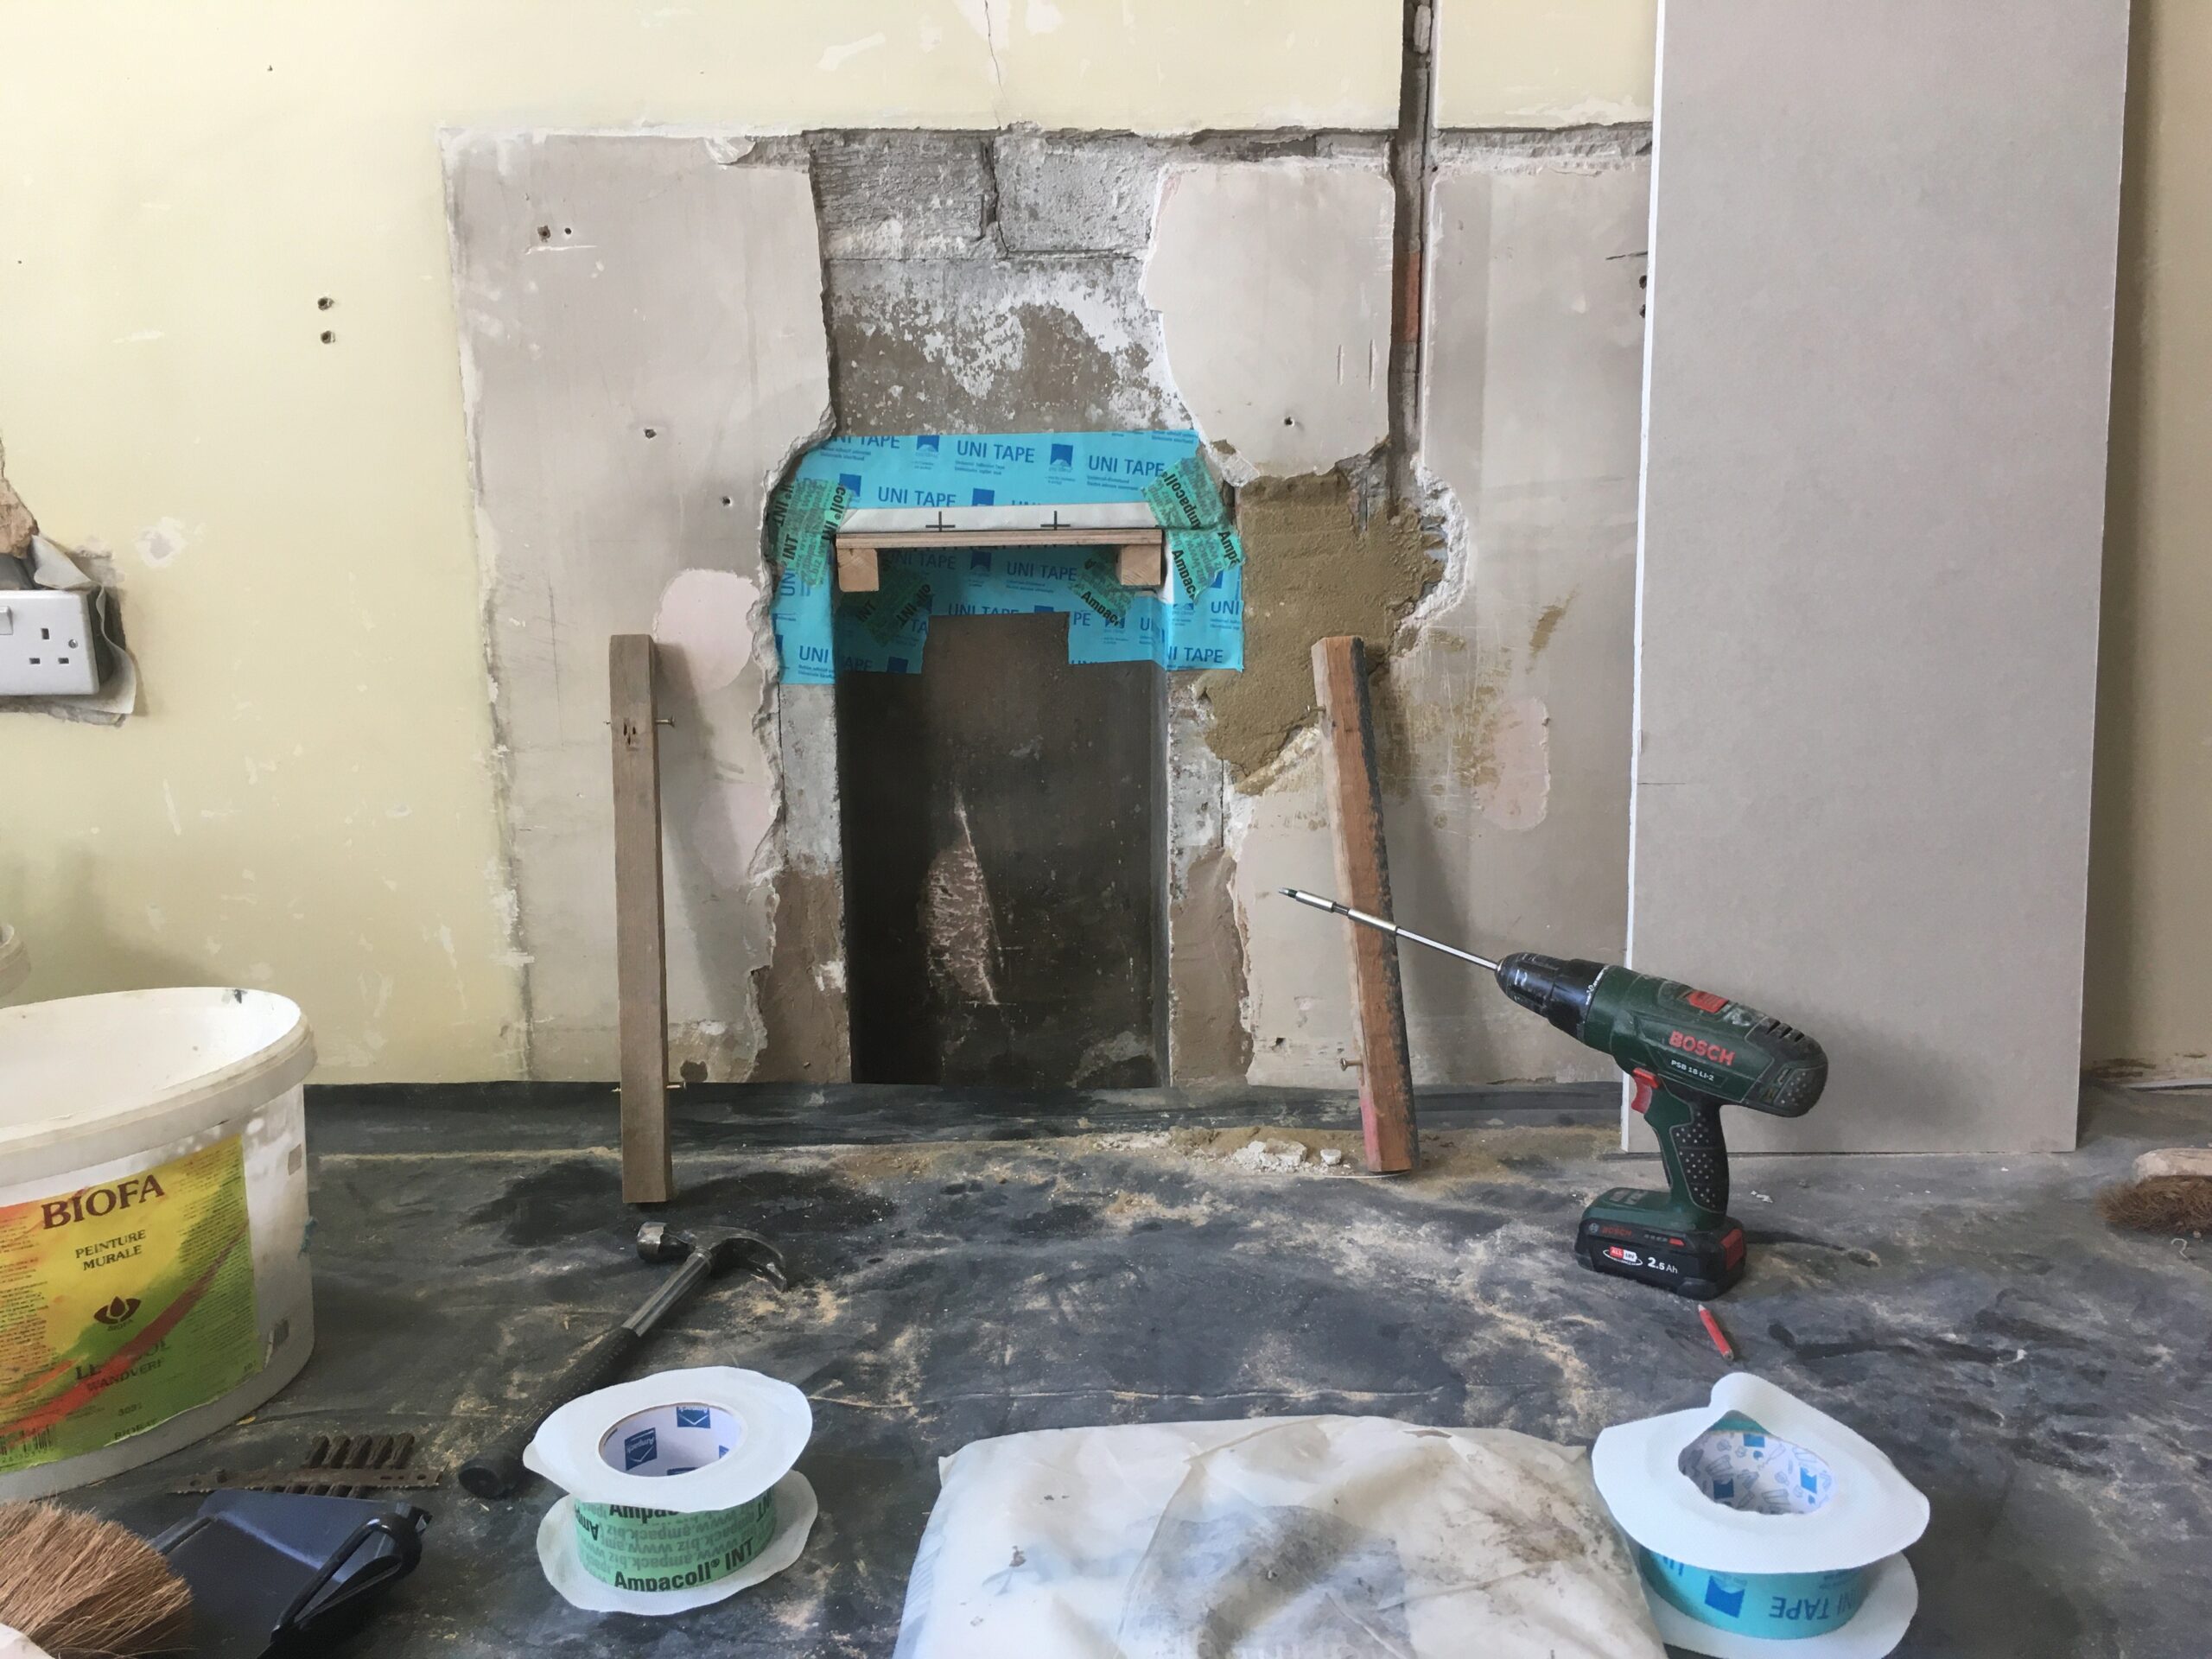
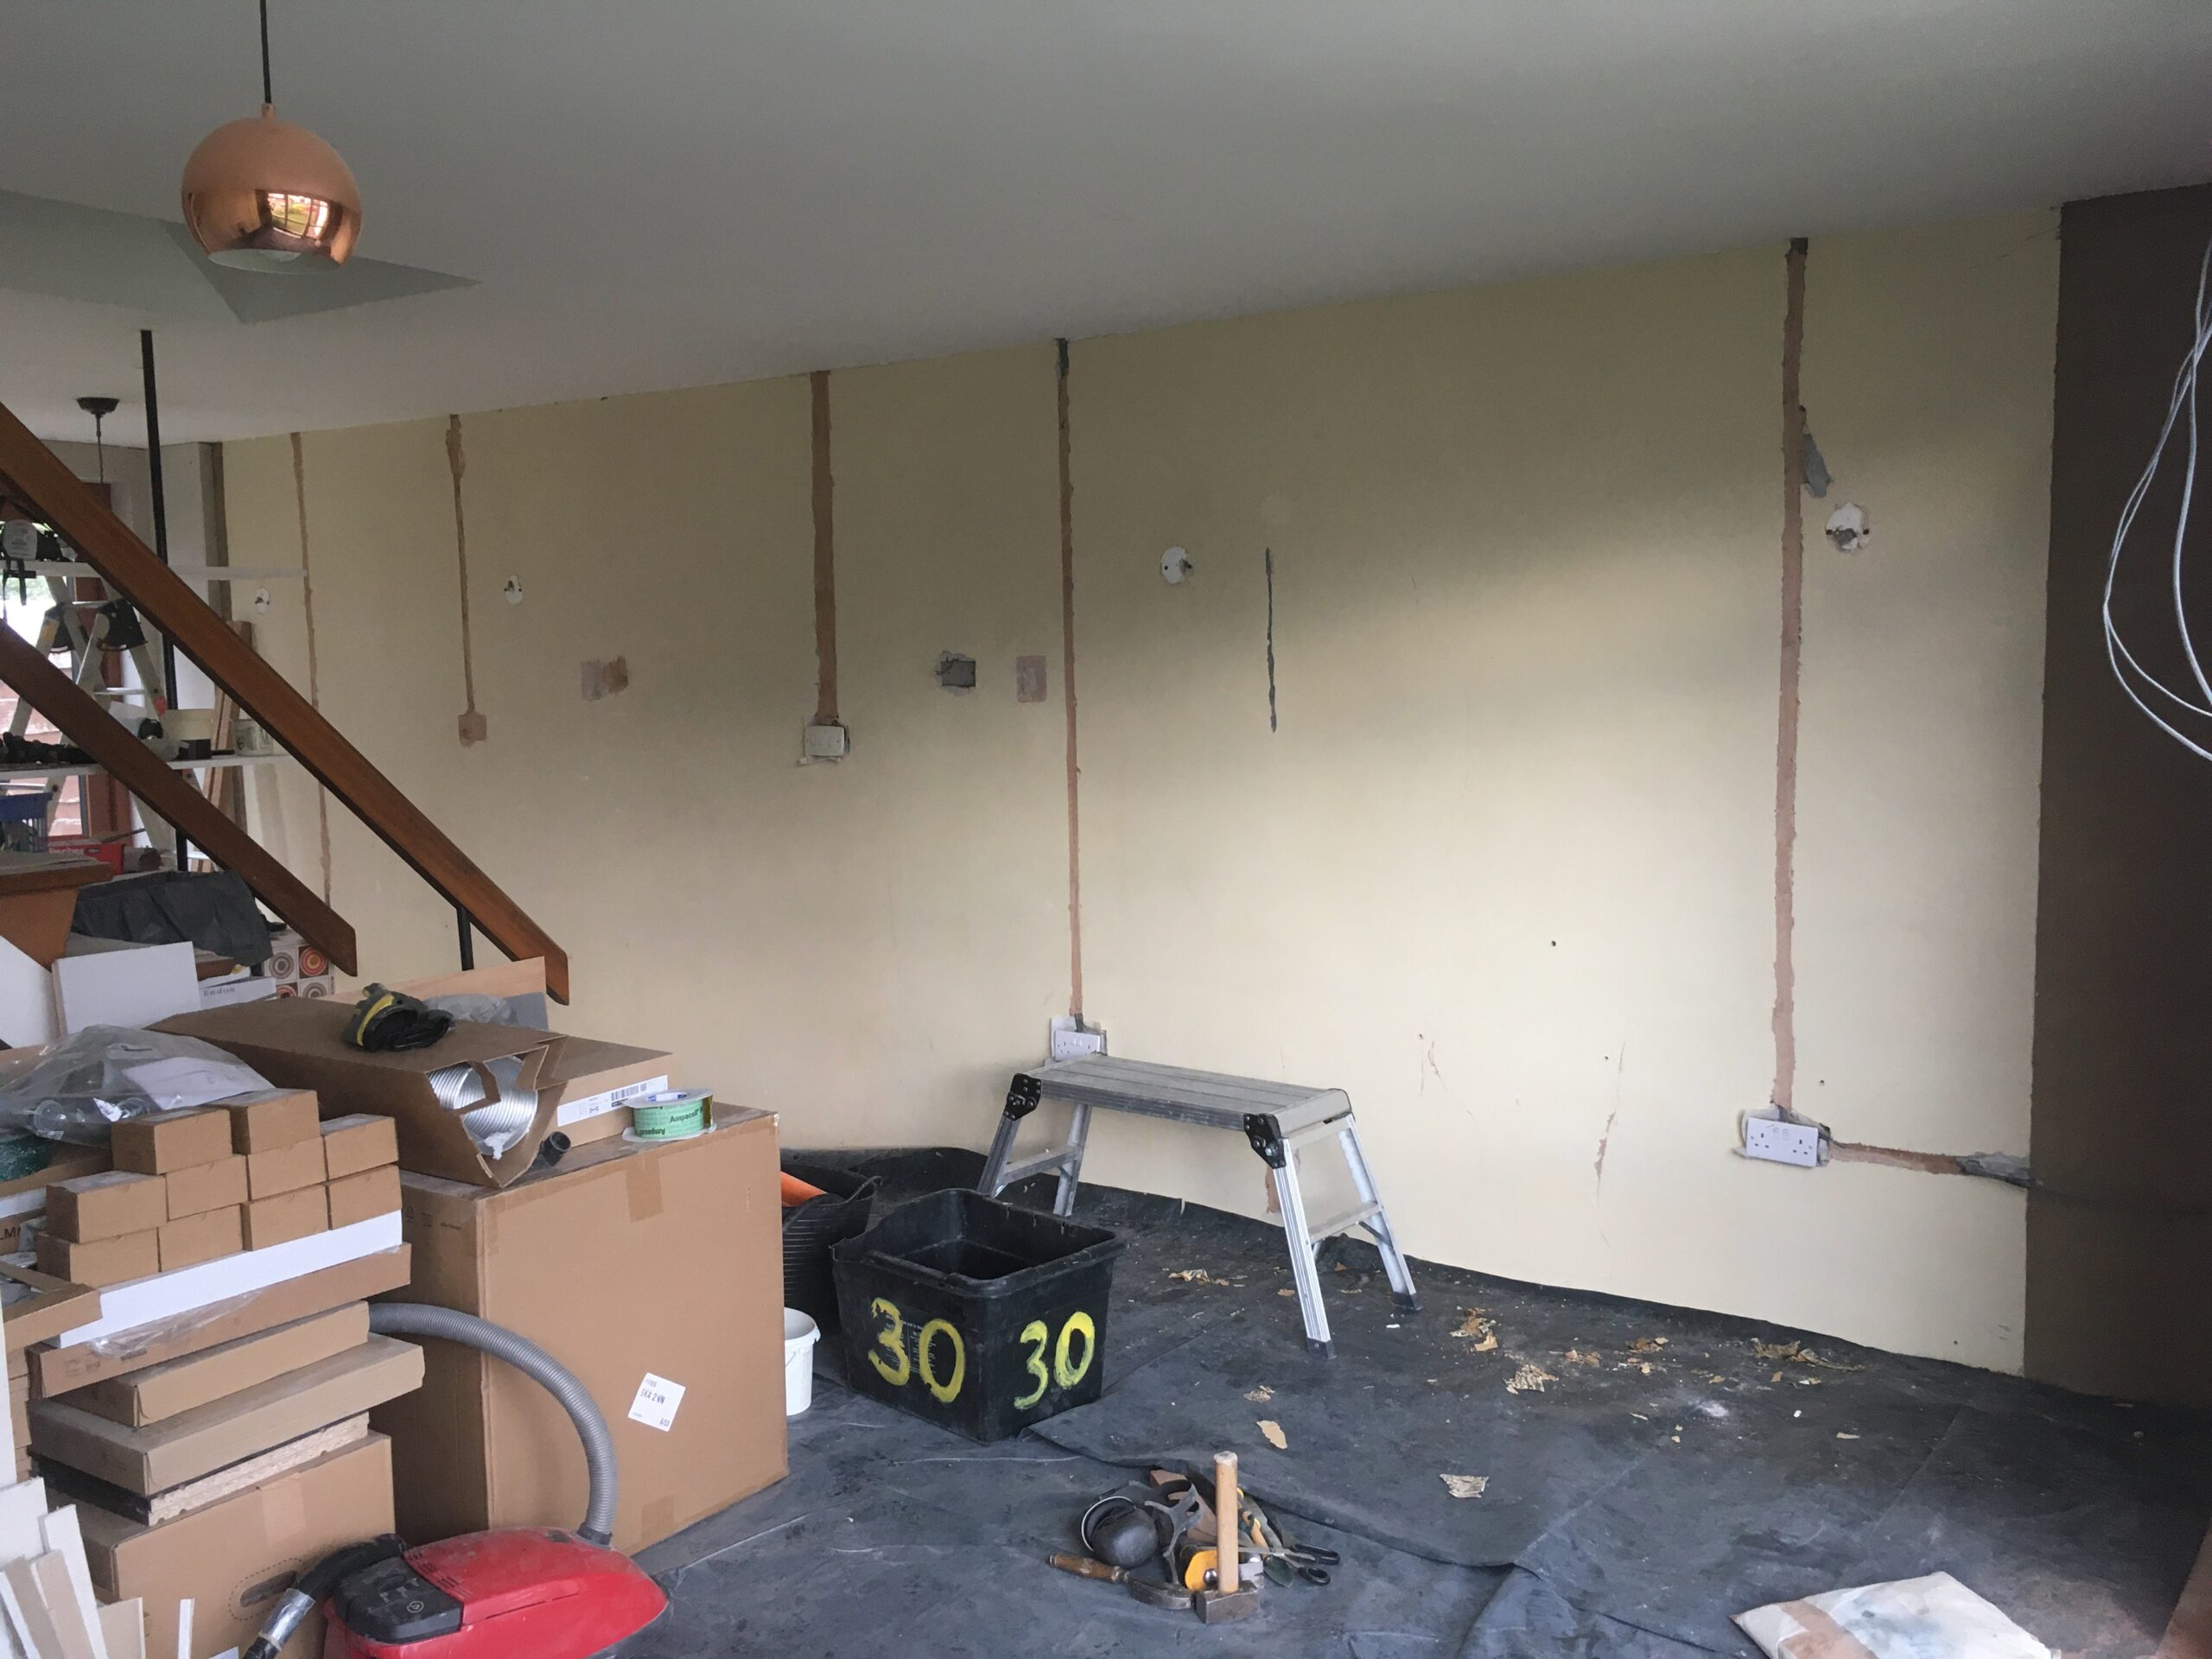
Fireplace boarded up. And yes, draught proofed, and stuffed with insulation of course. (You know this by now, right?)
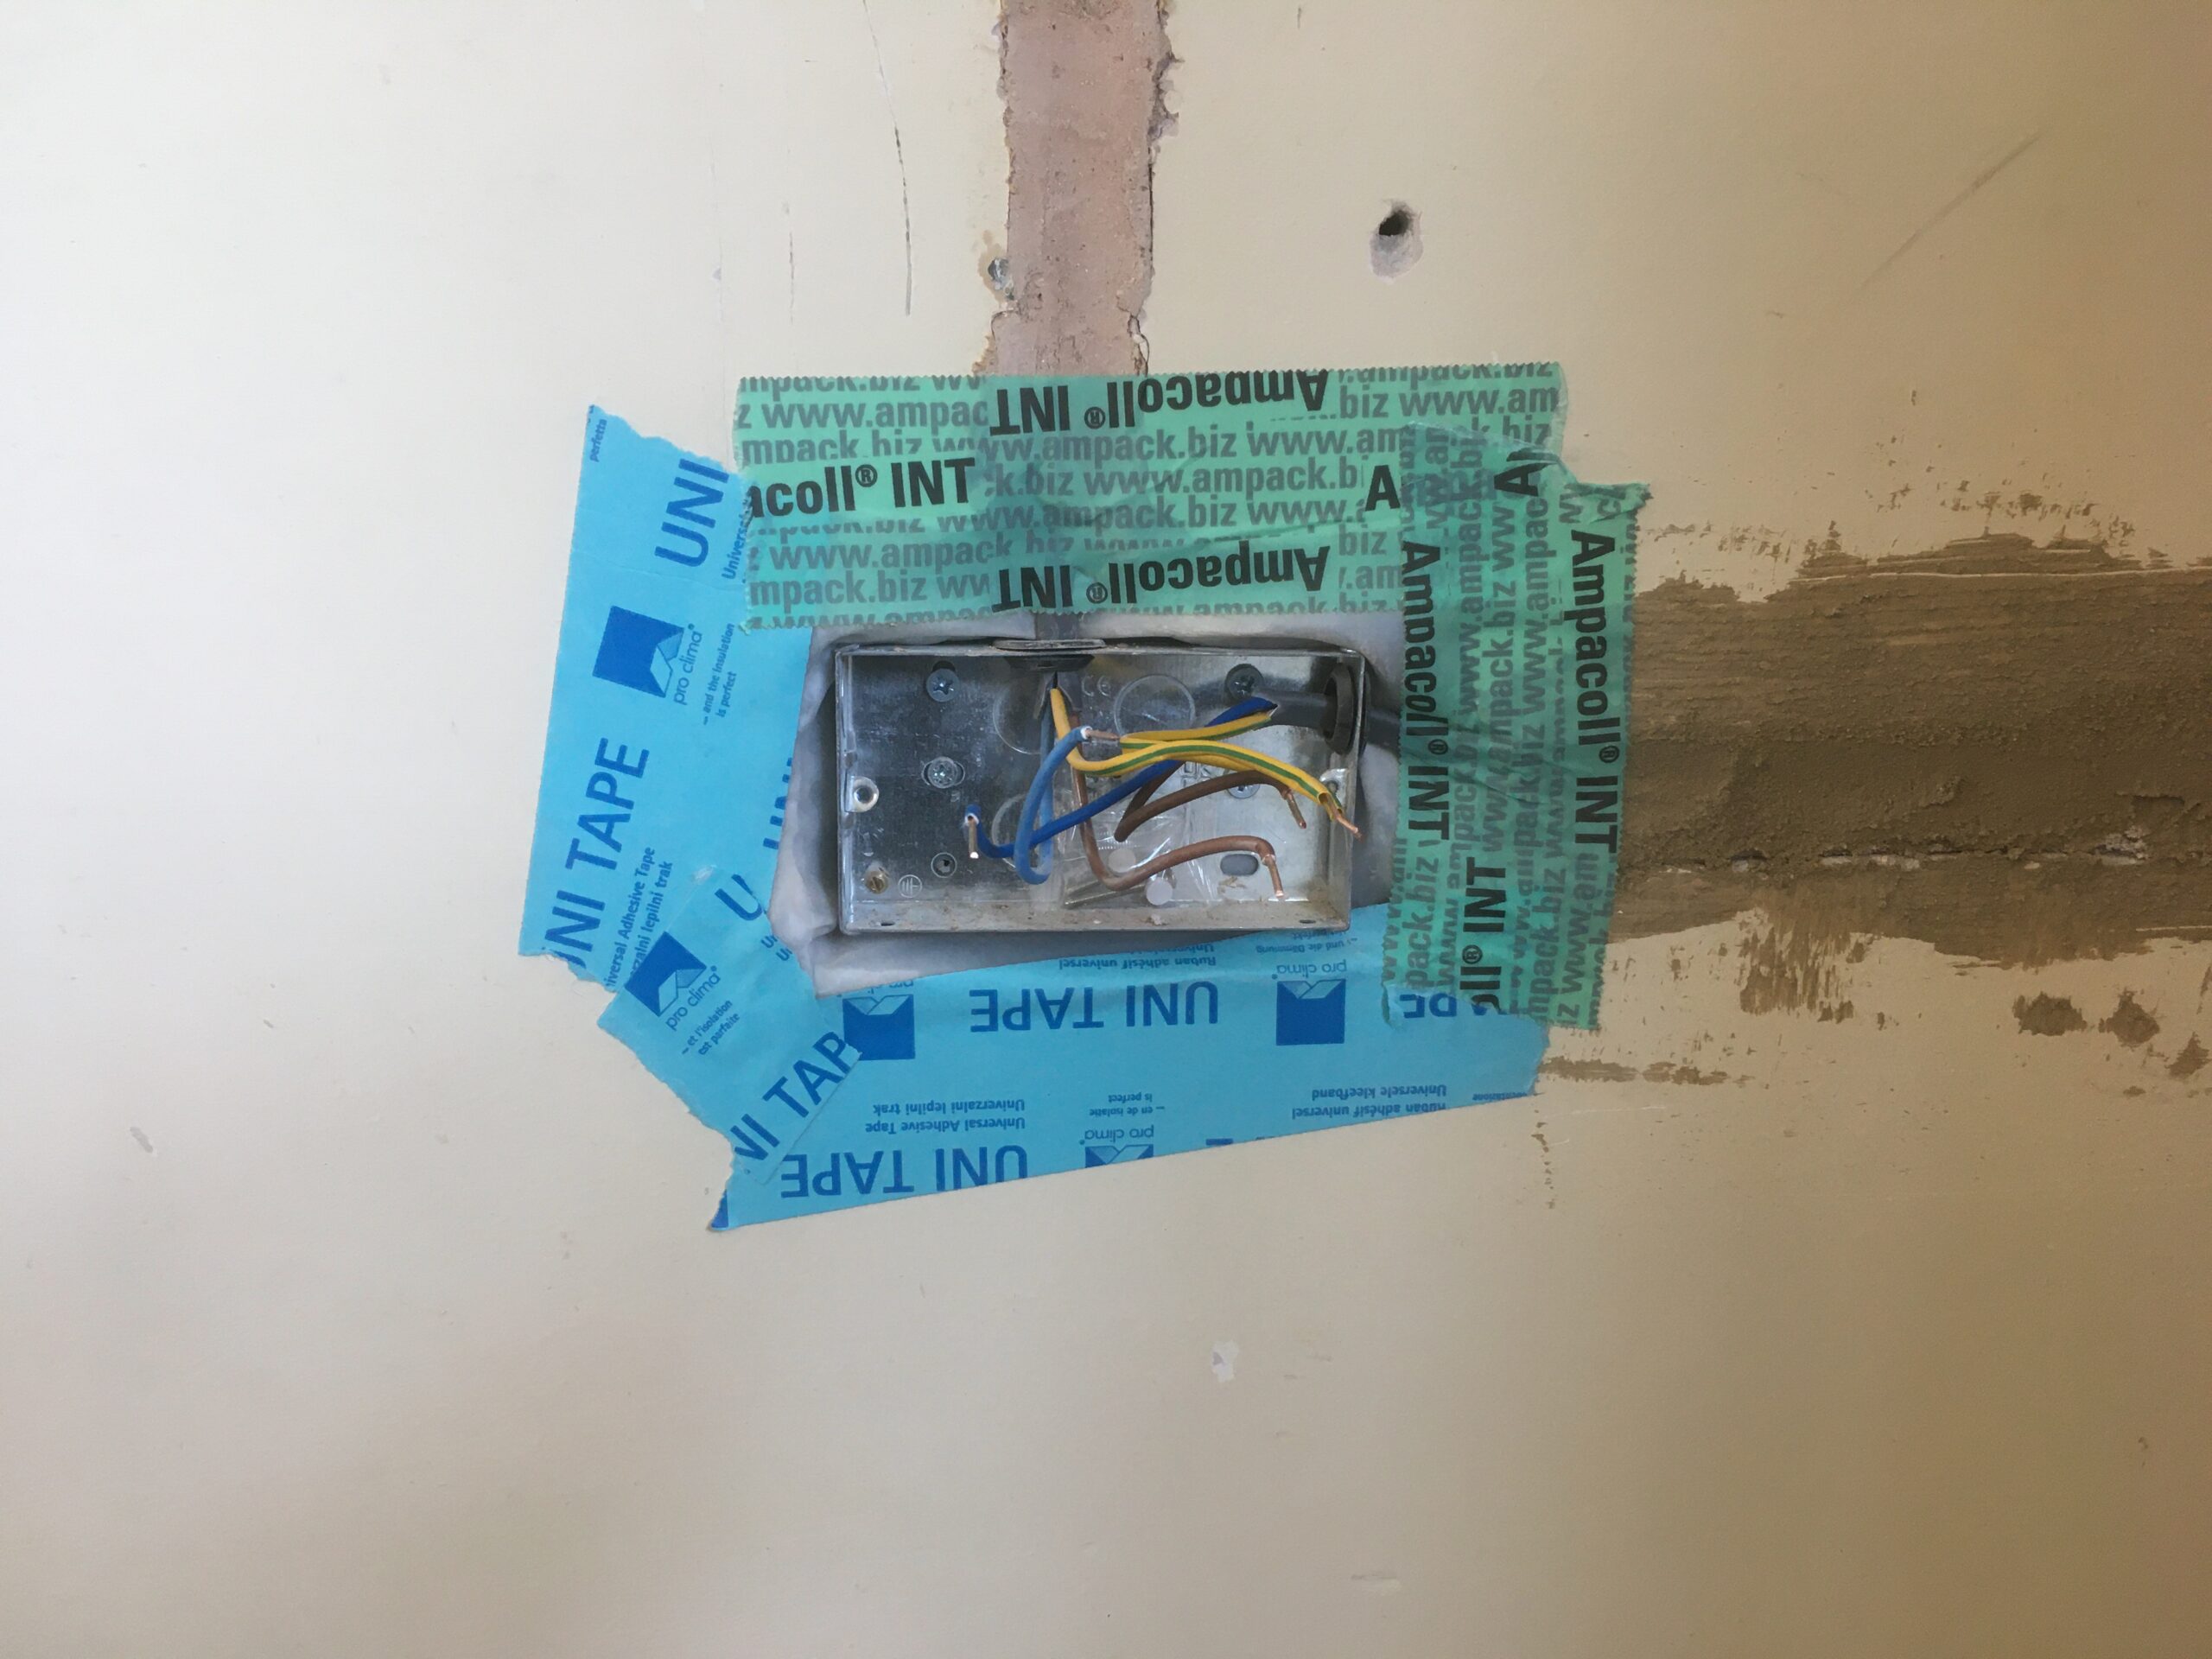
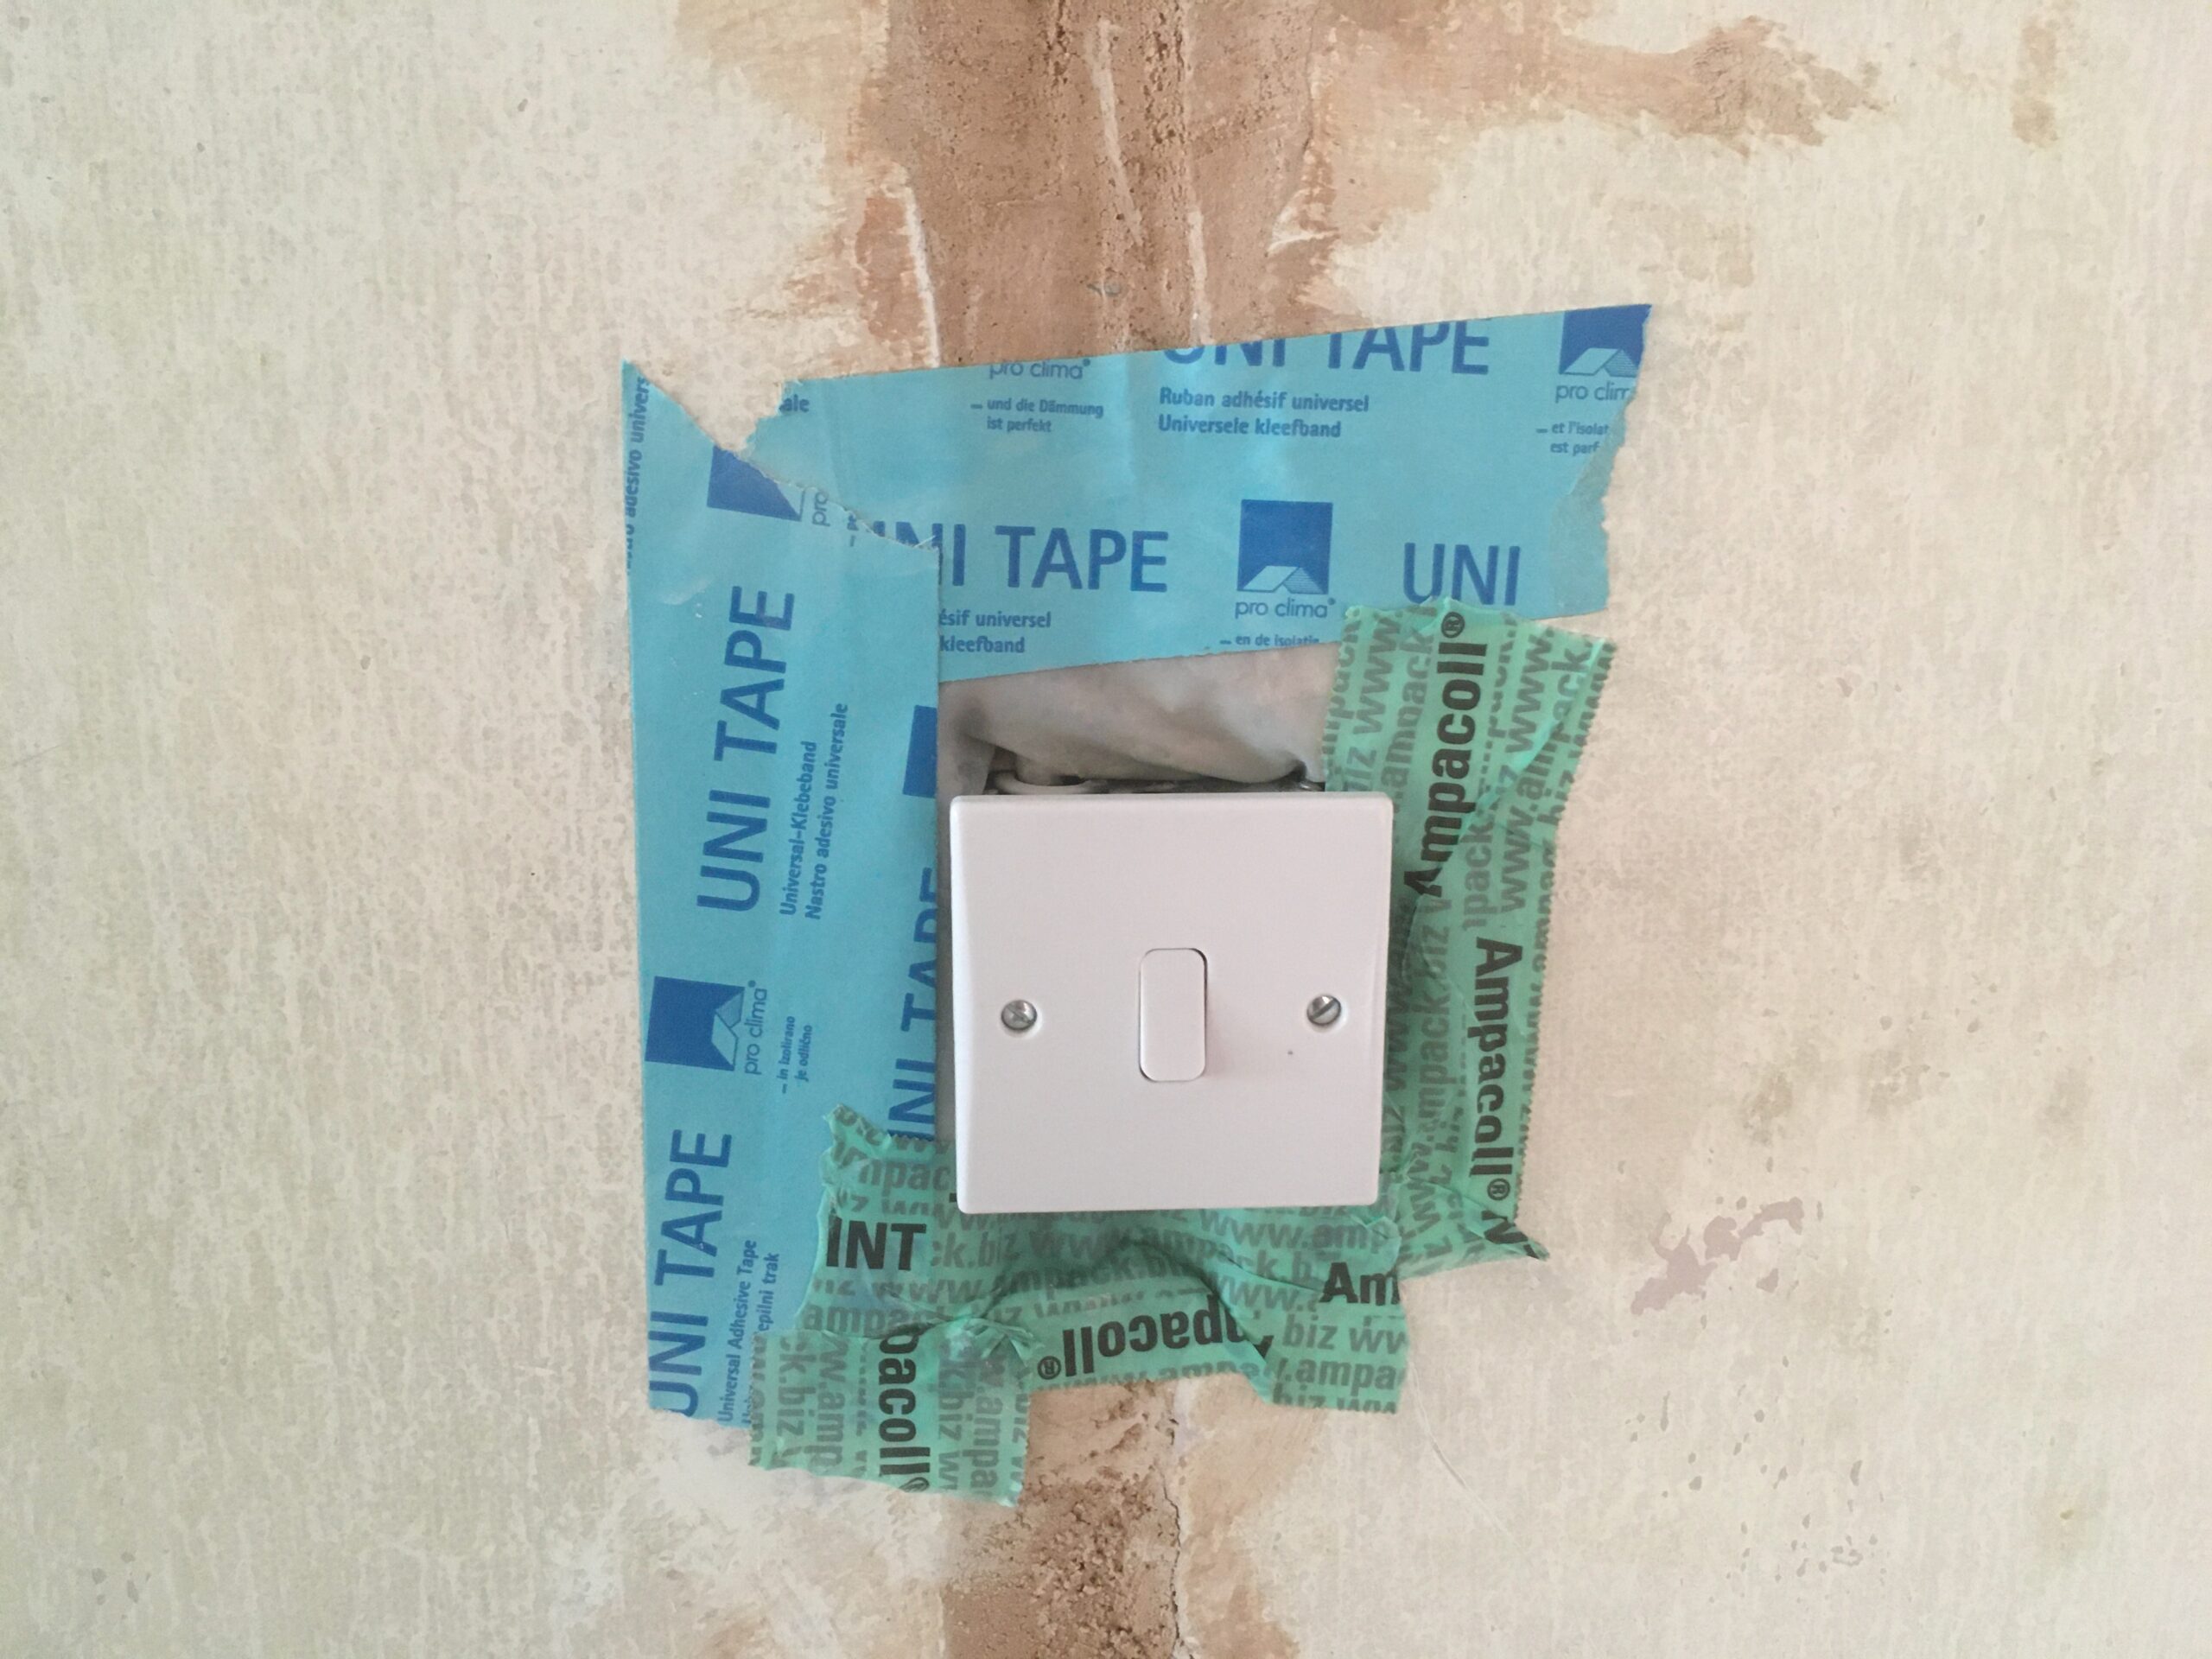
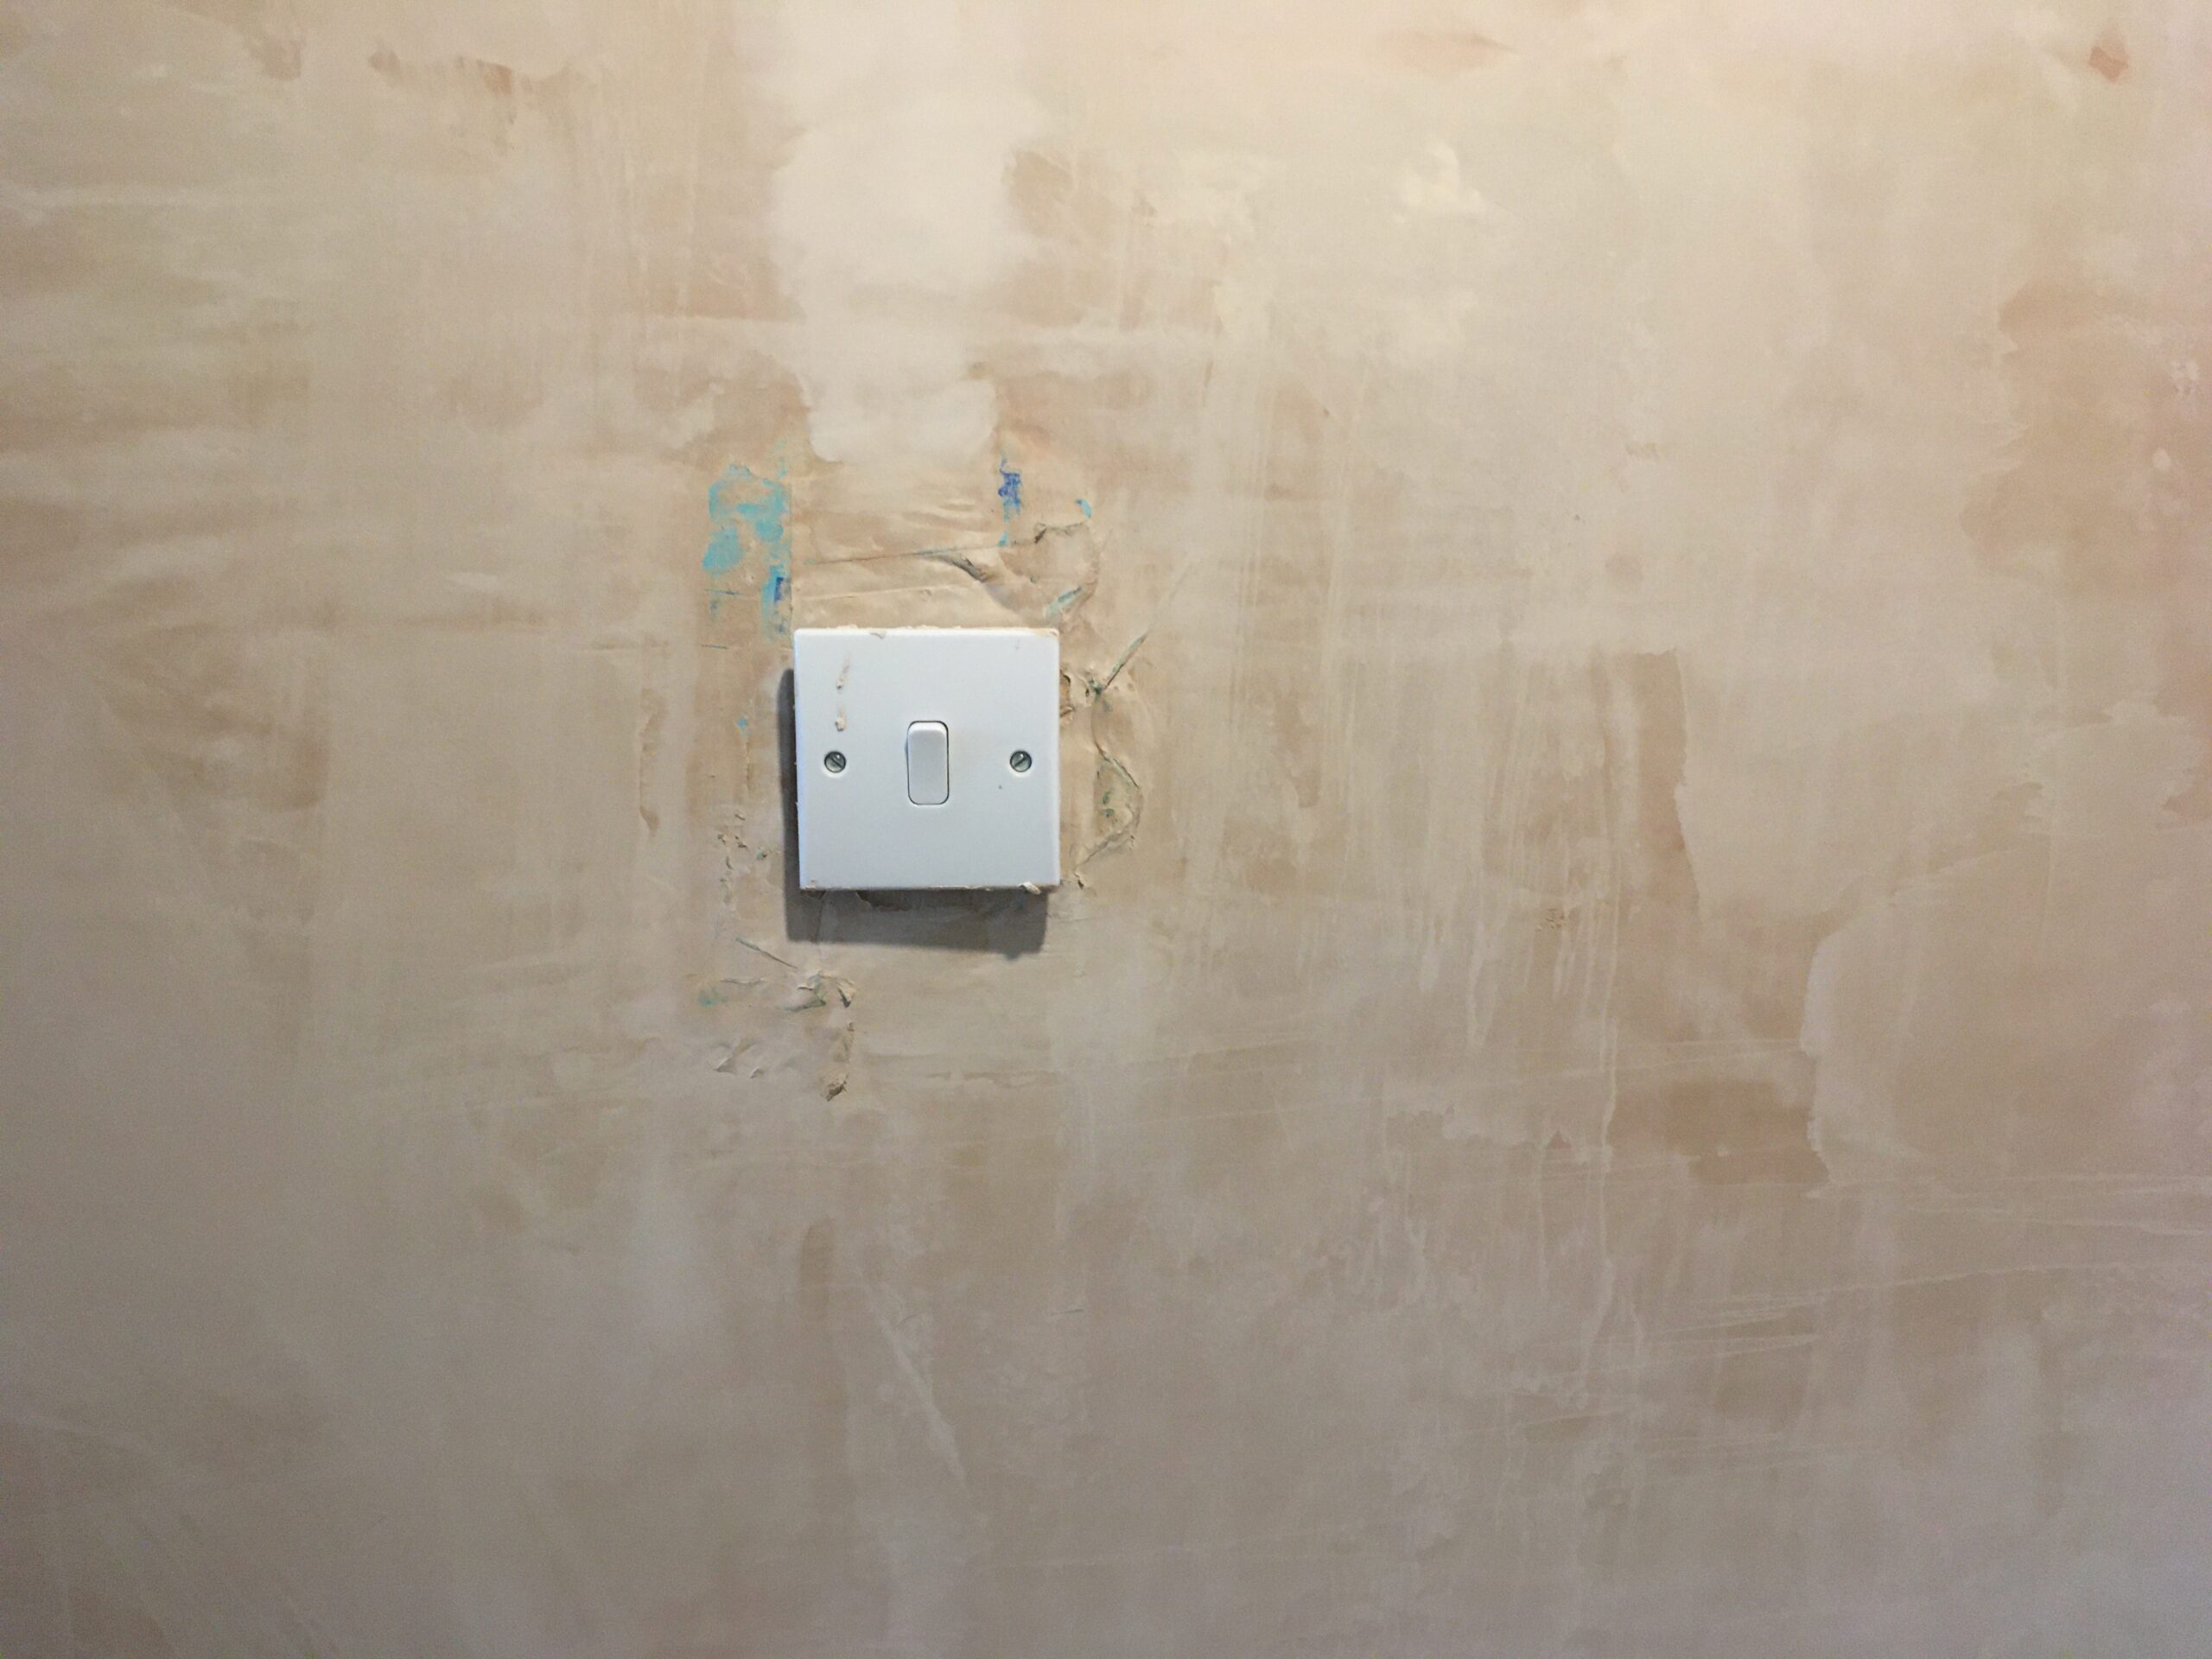
I also tried using this draught proofing thing behind socket boxes. Not great through. The electricians failed to follow the instructions, and didn’t bother to thread the wires through. I had been warned that trying to get workmen to do anything a bit different than what they’re used to is really hard.
Not easy to use though, as really big, and difficult to get flat. The landing light switch looks rubbish. Will have to redo, or cover with a wood border or something.
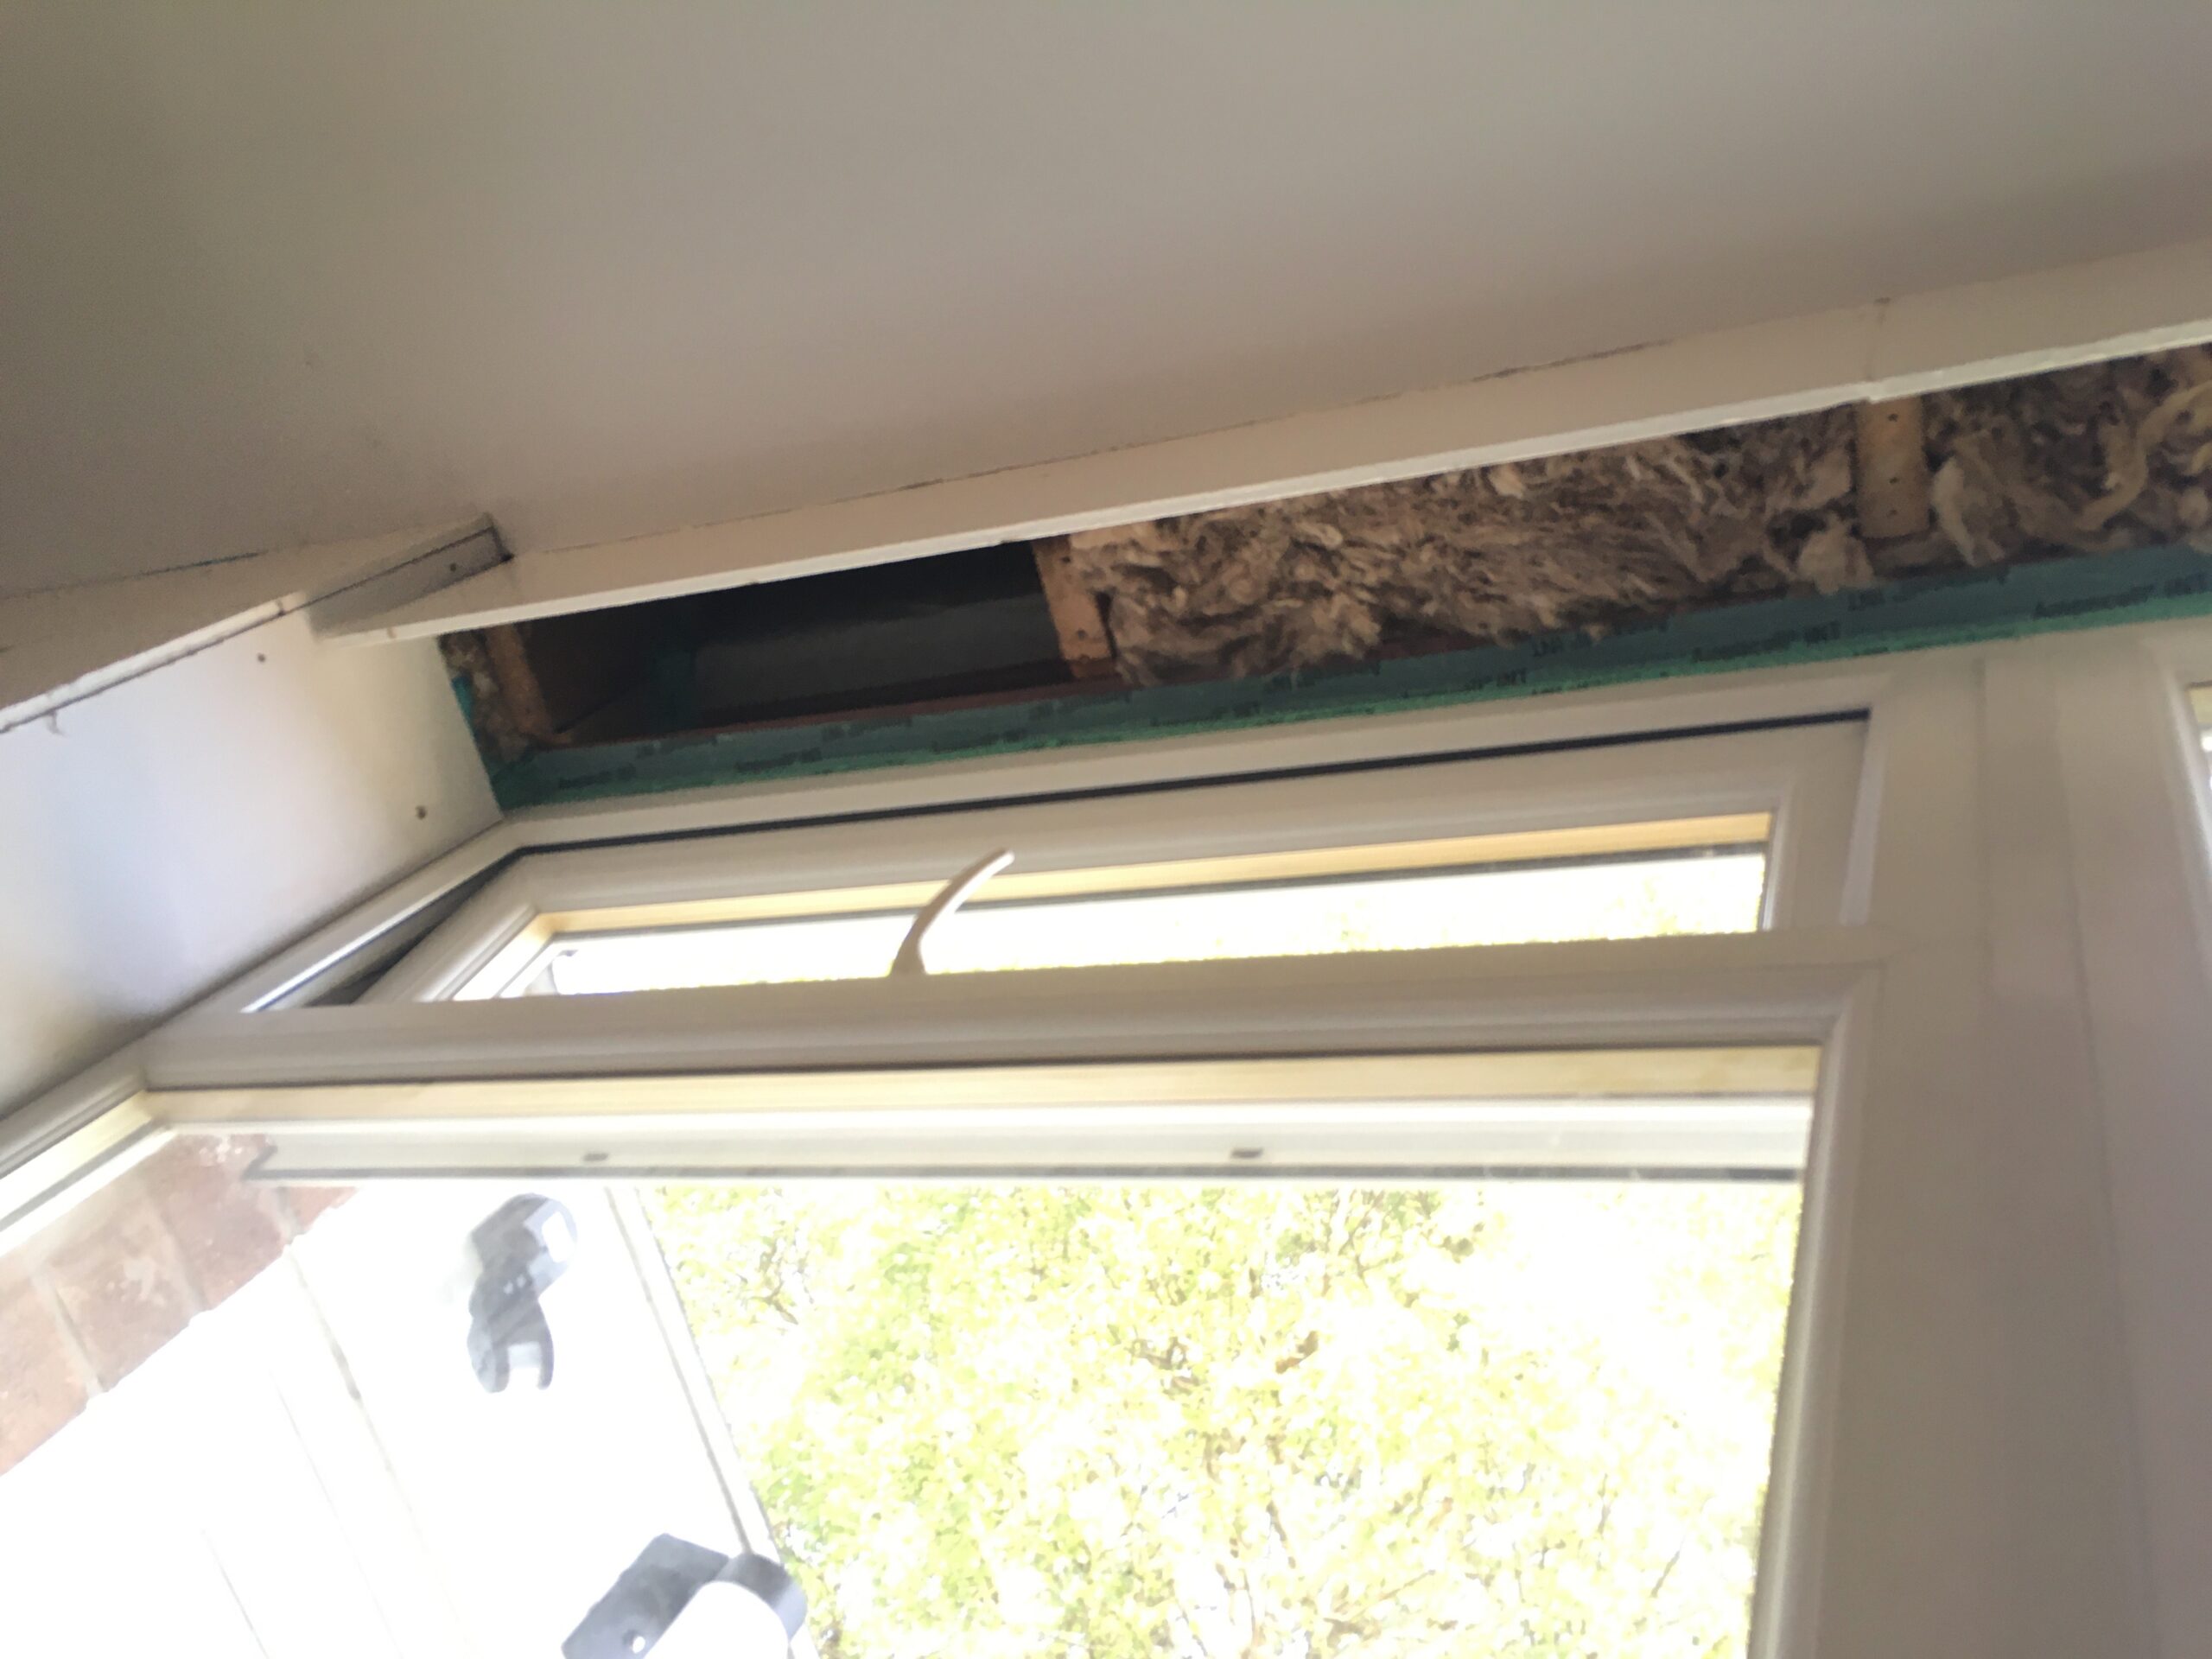
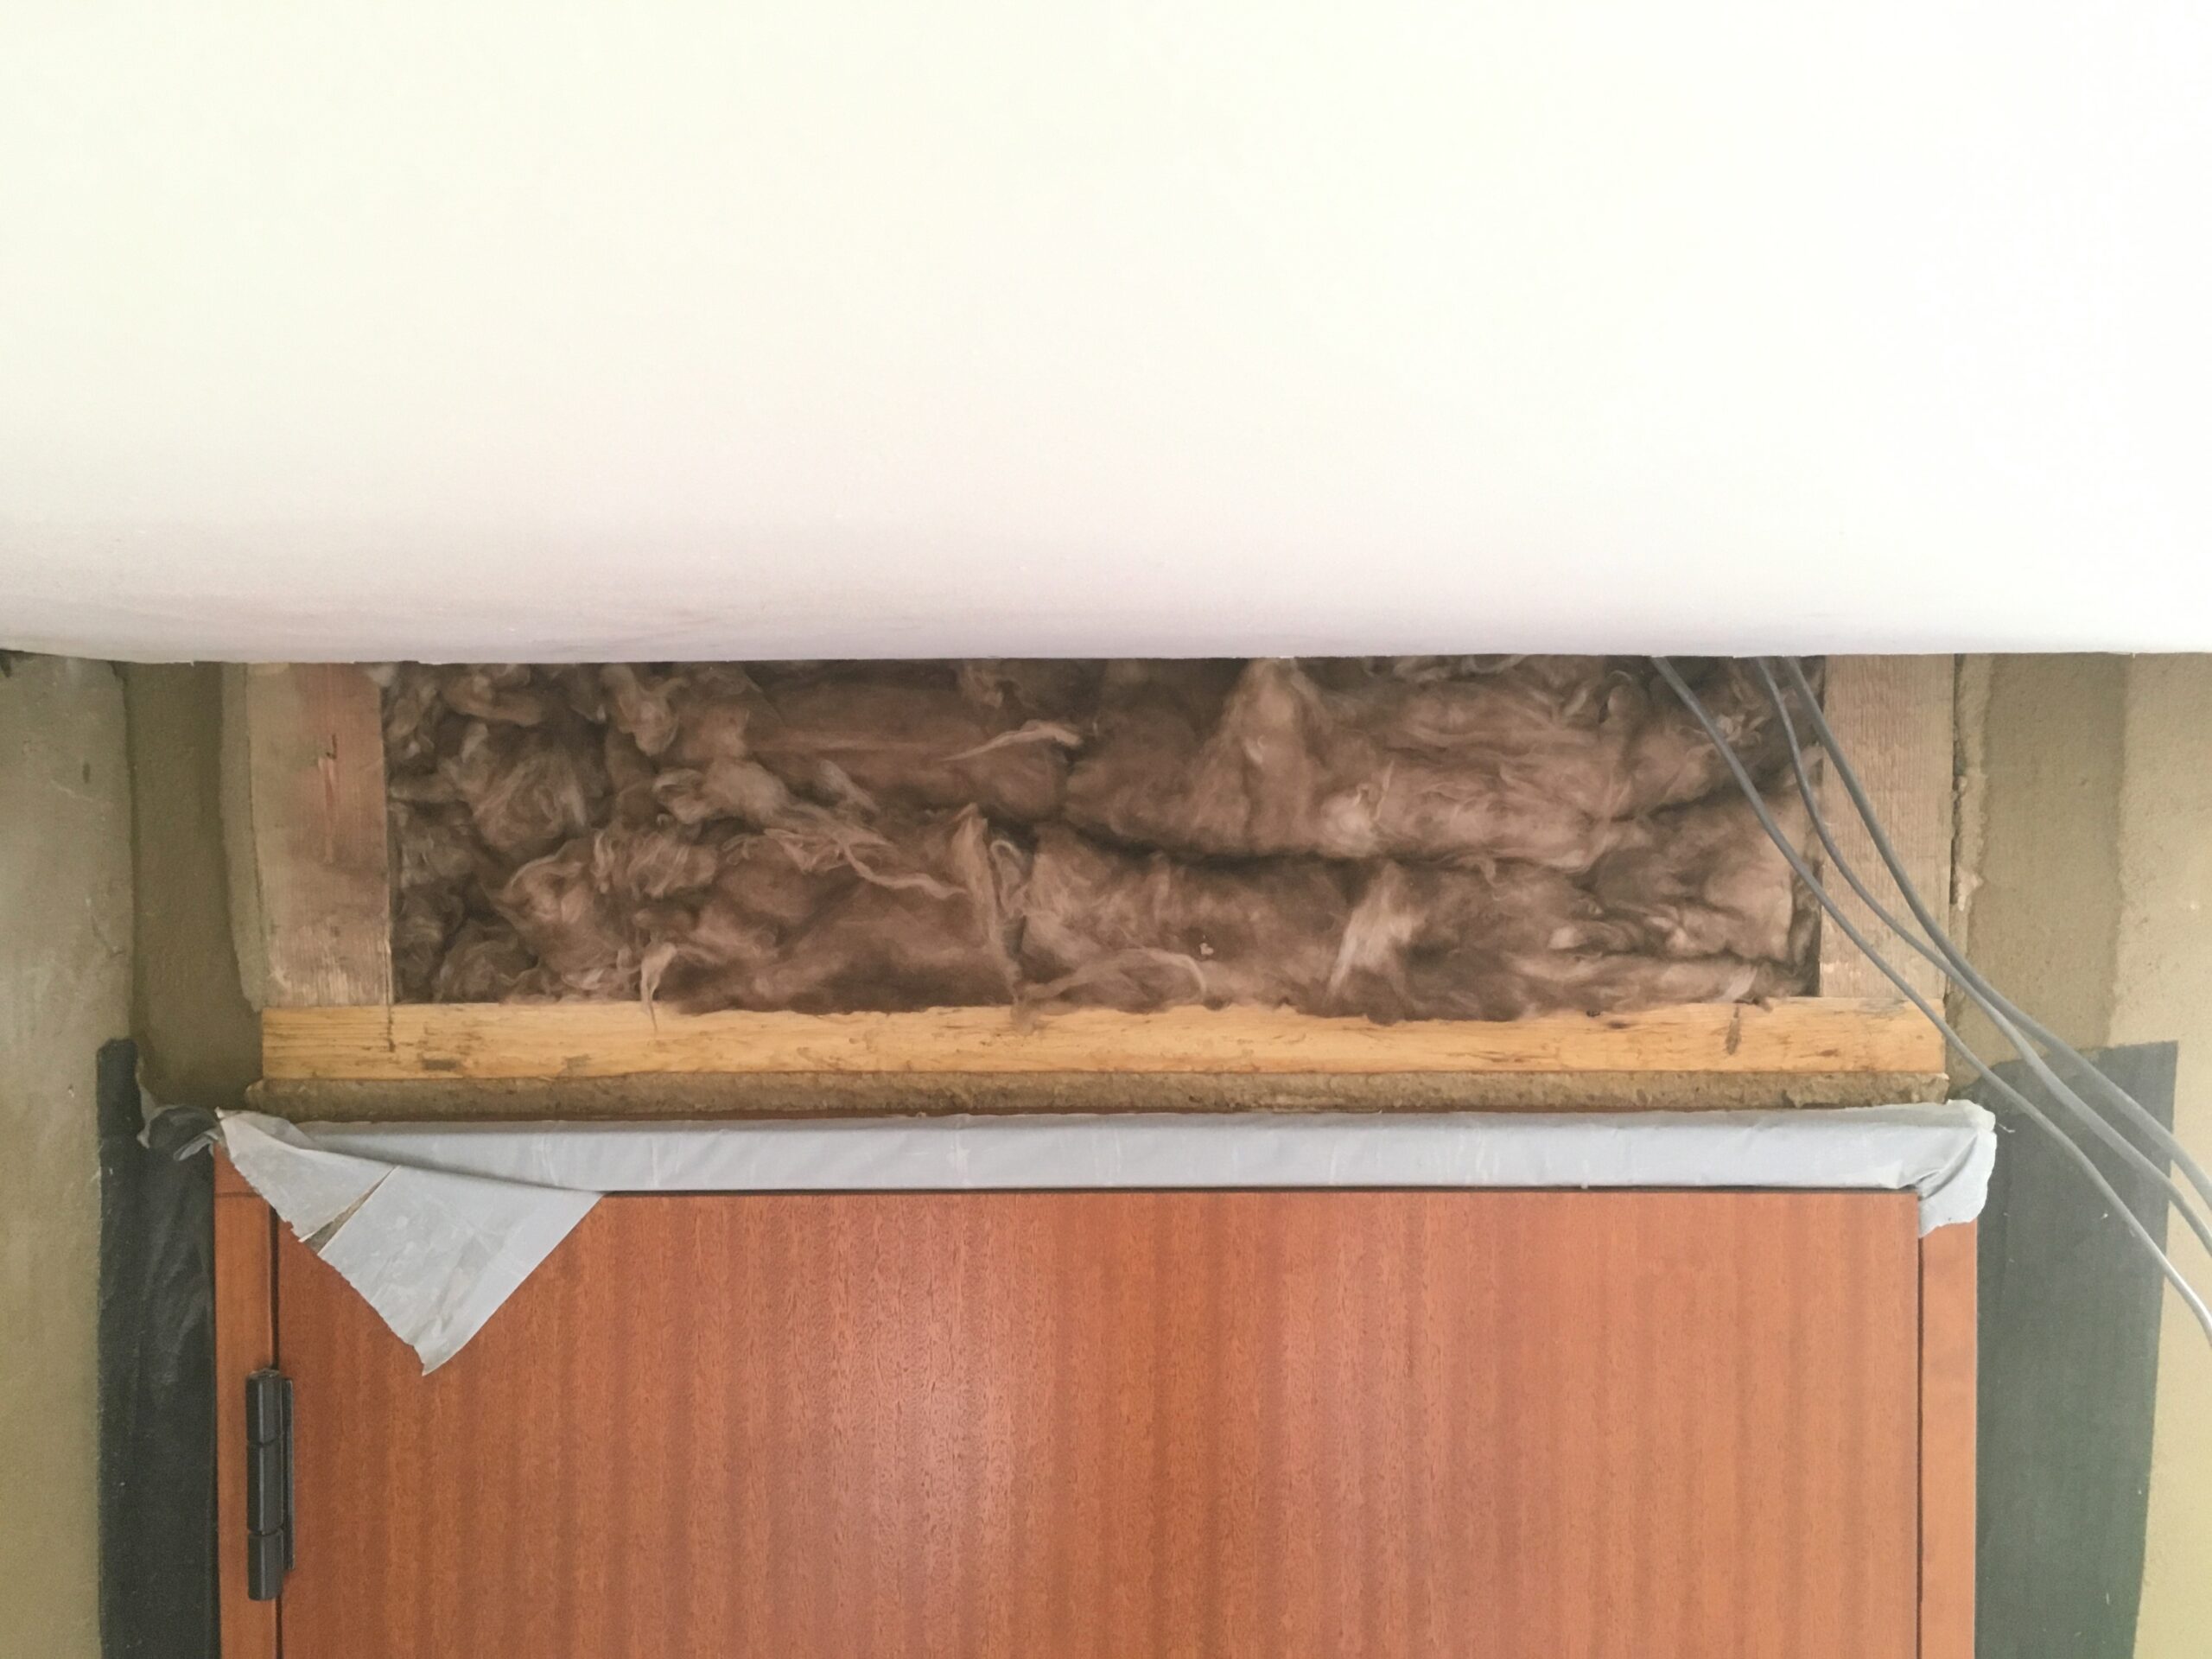
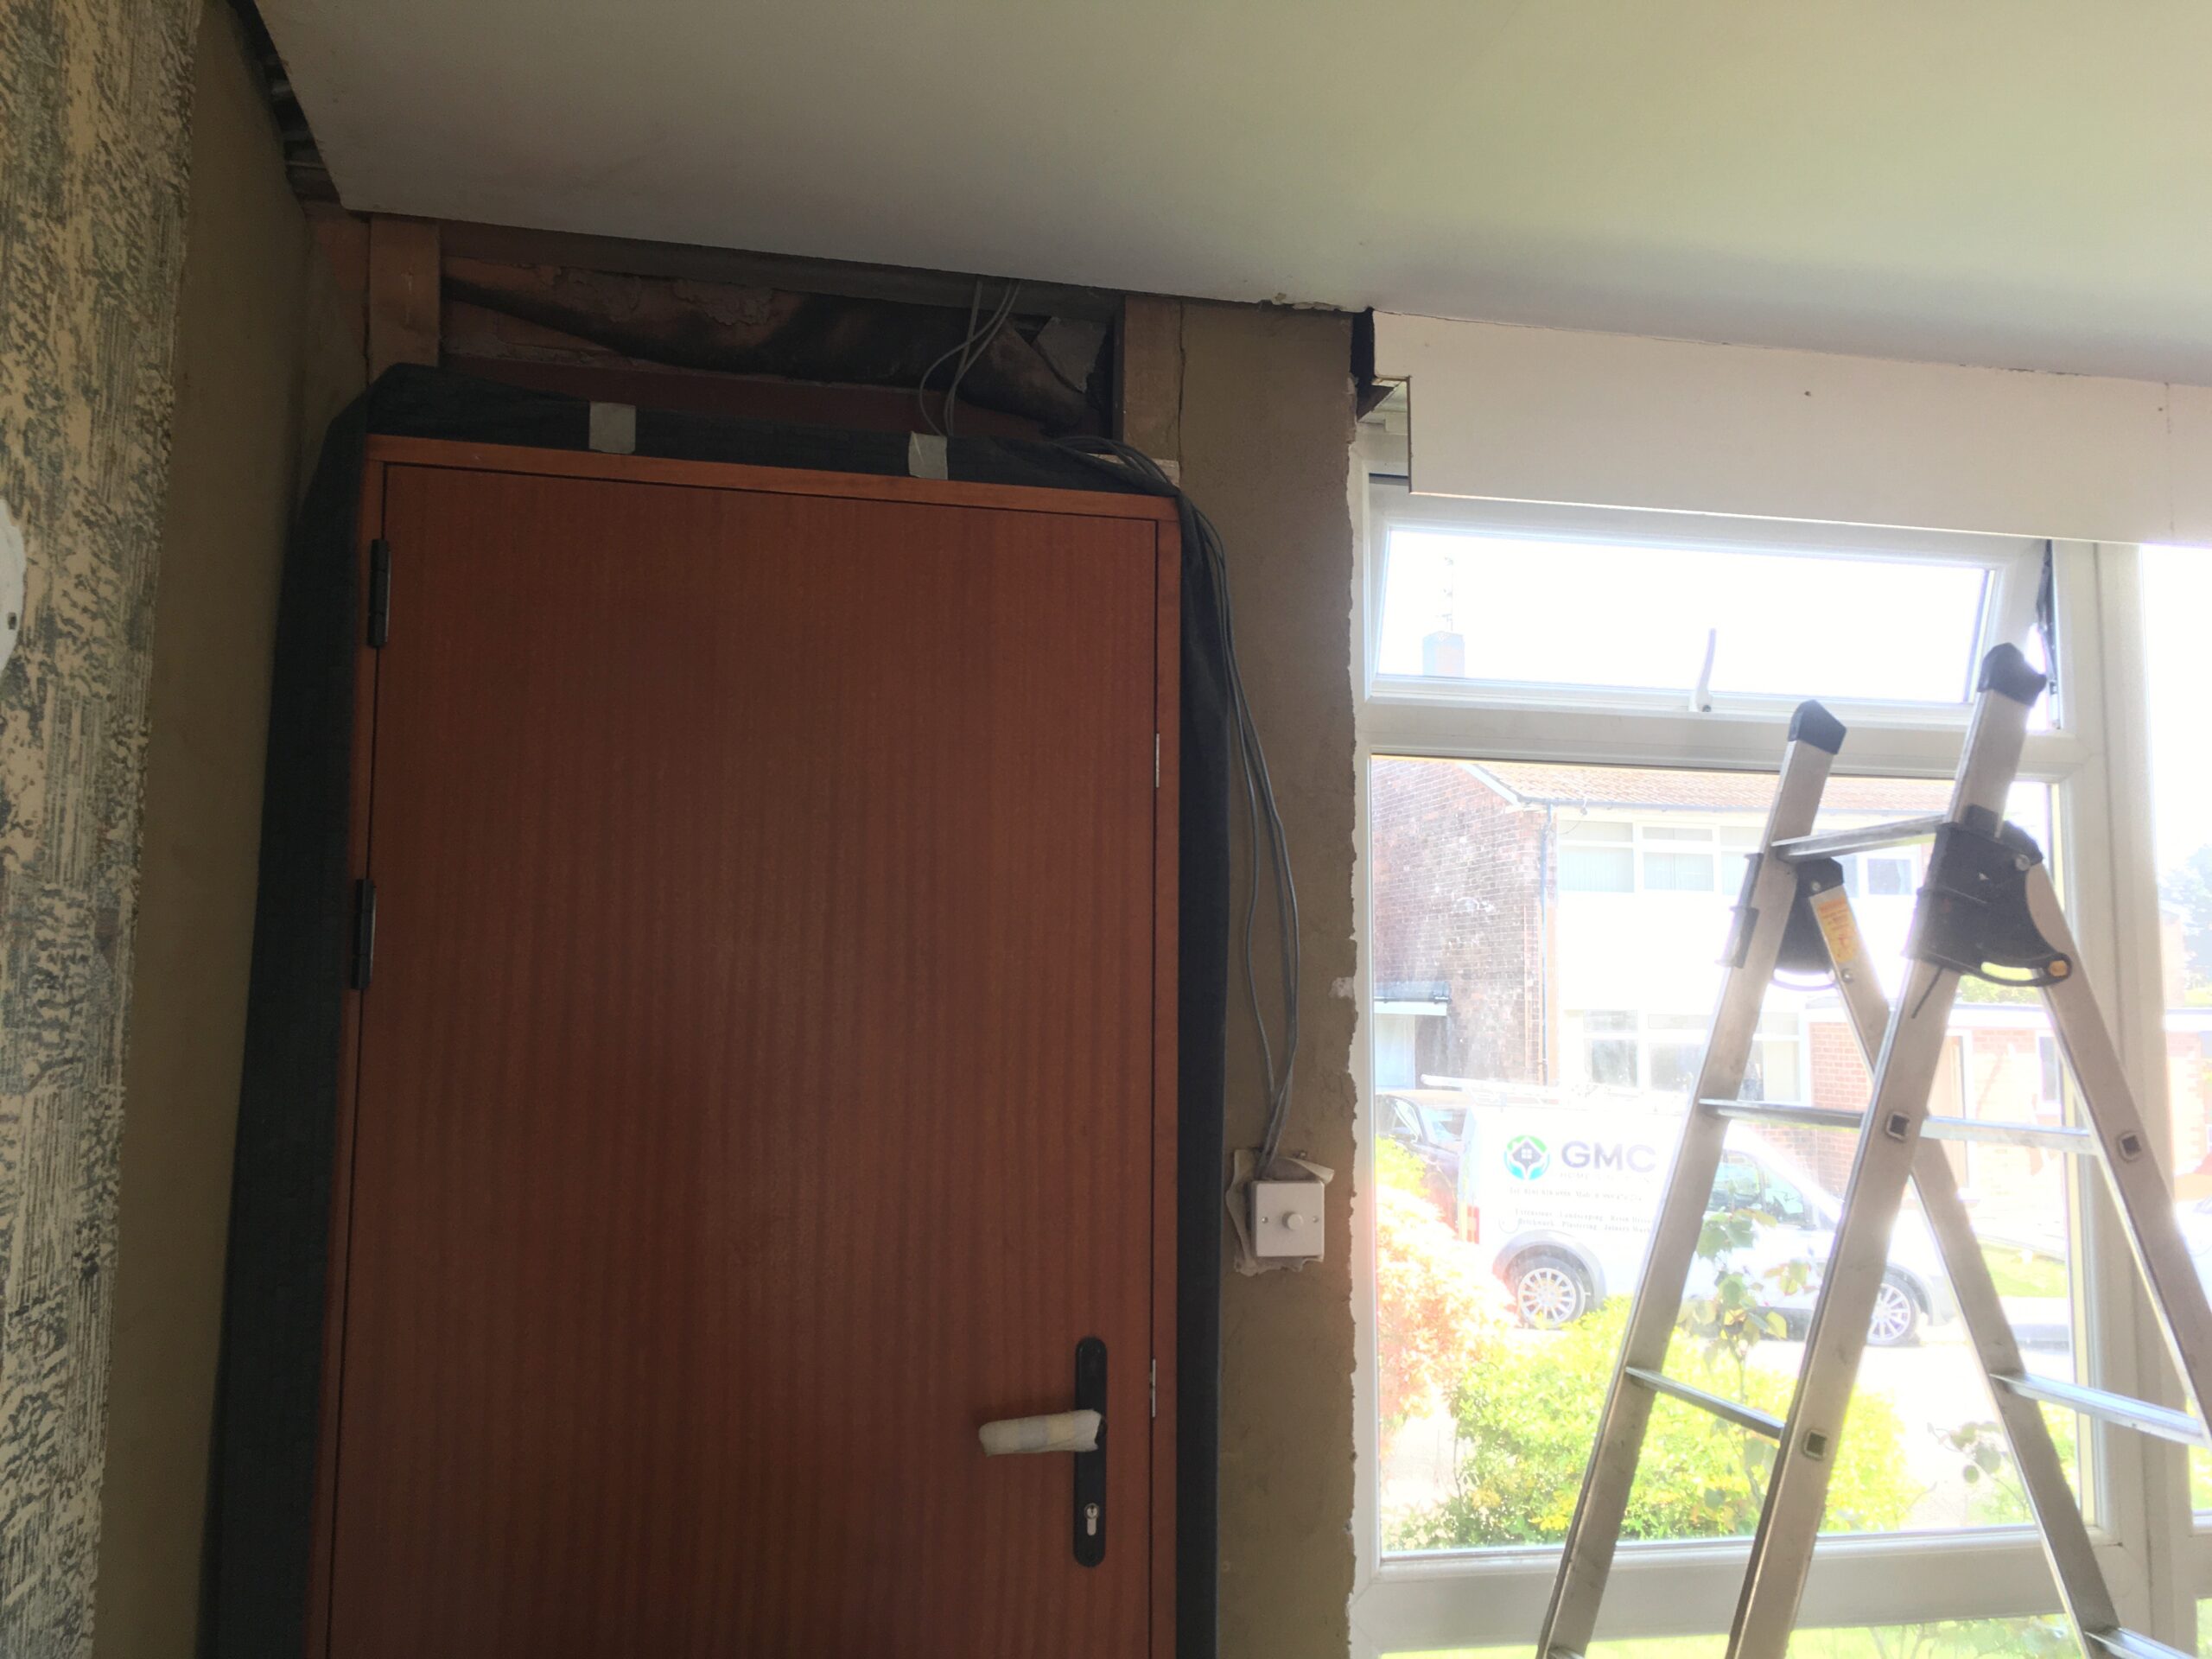
That girder above the lounge window has been exposed, draught-proofed, (you guessed it) stuffed with insulation, boarded with a strip of left-over polystyrene floor insulation, and finished with plywood.
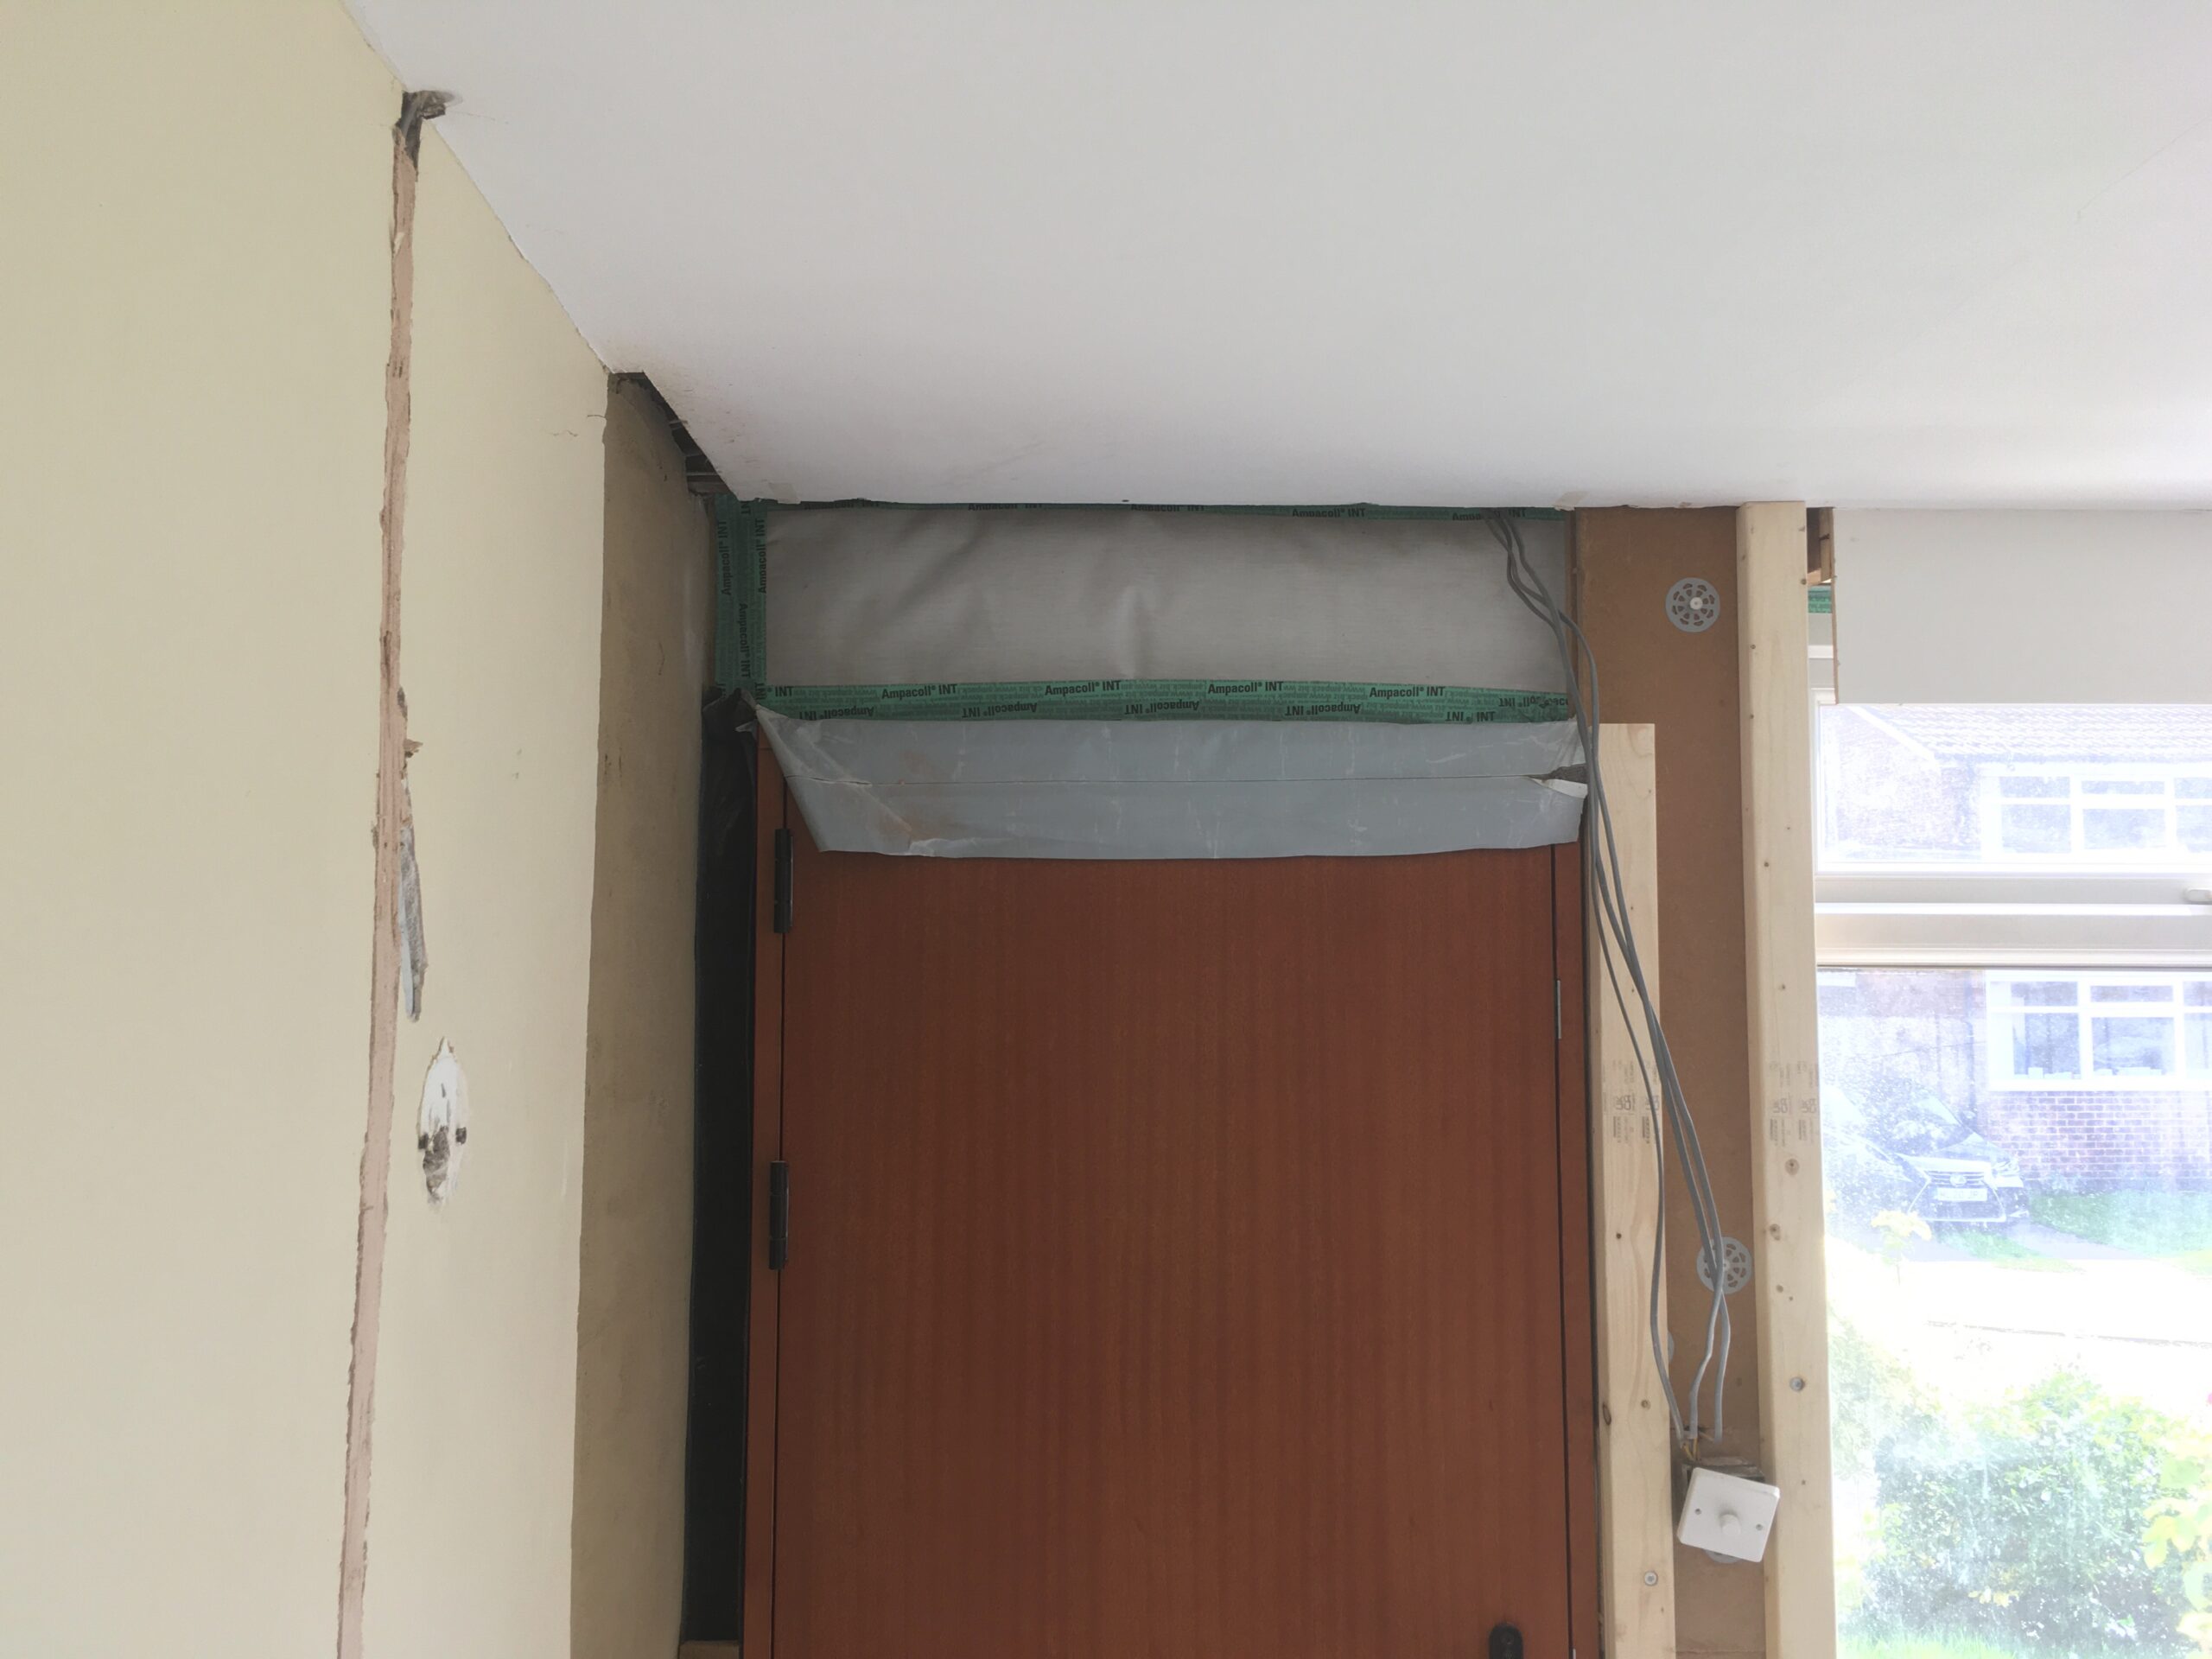
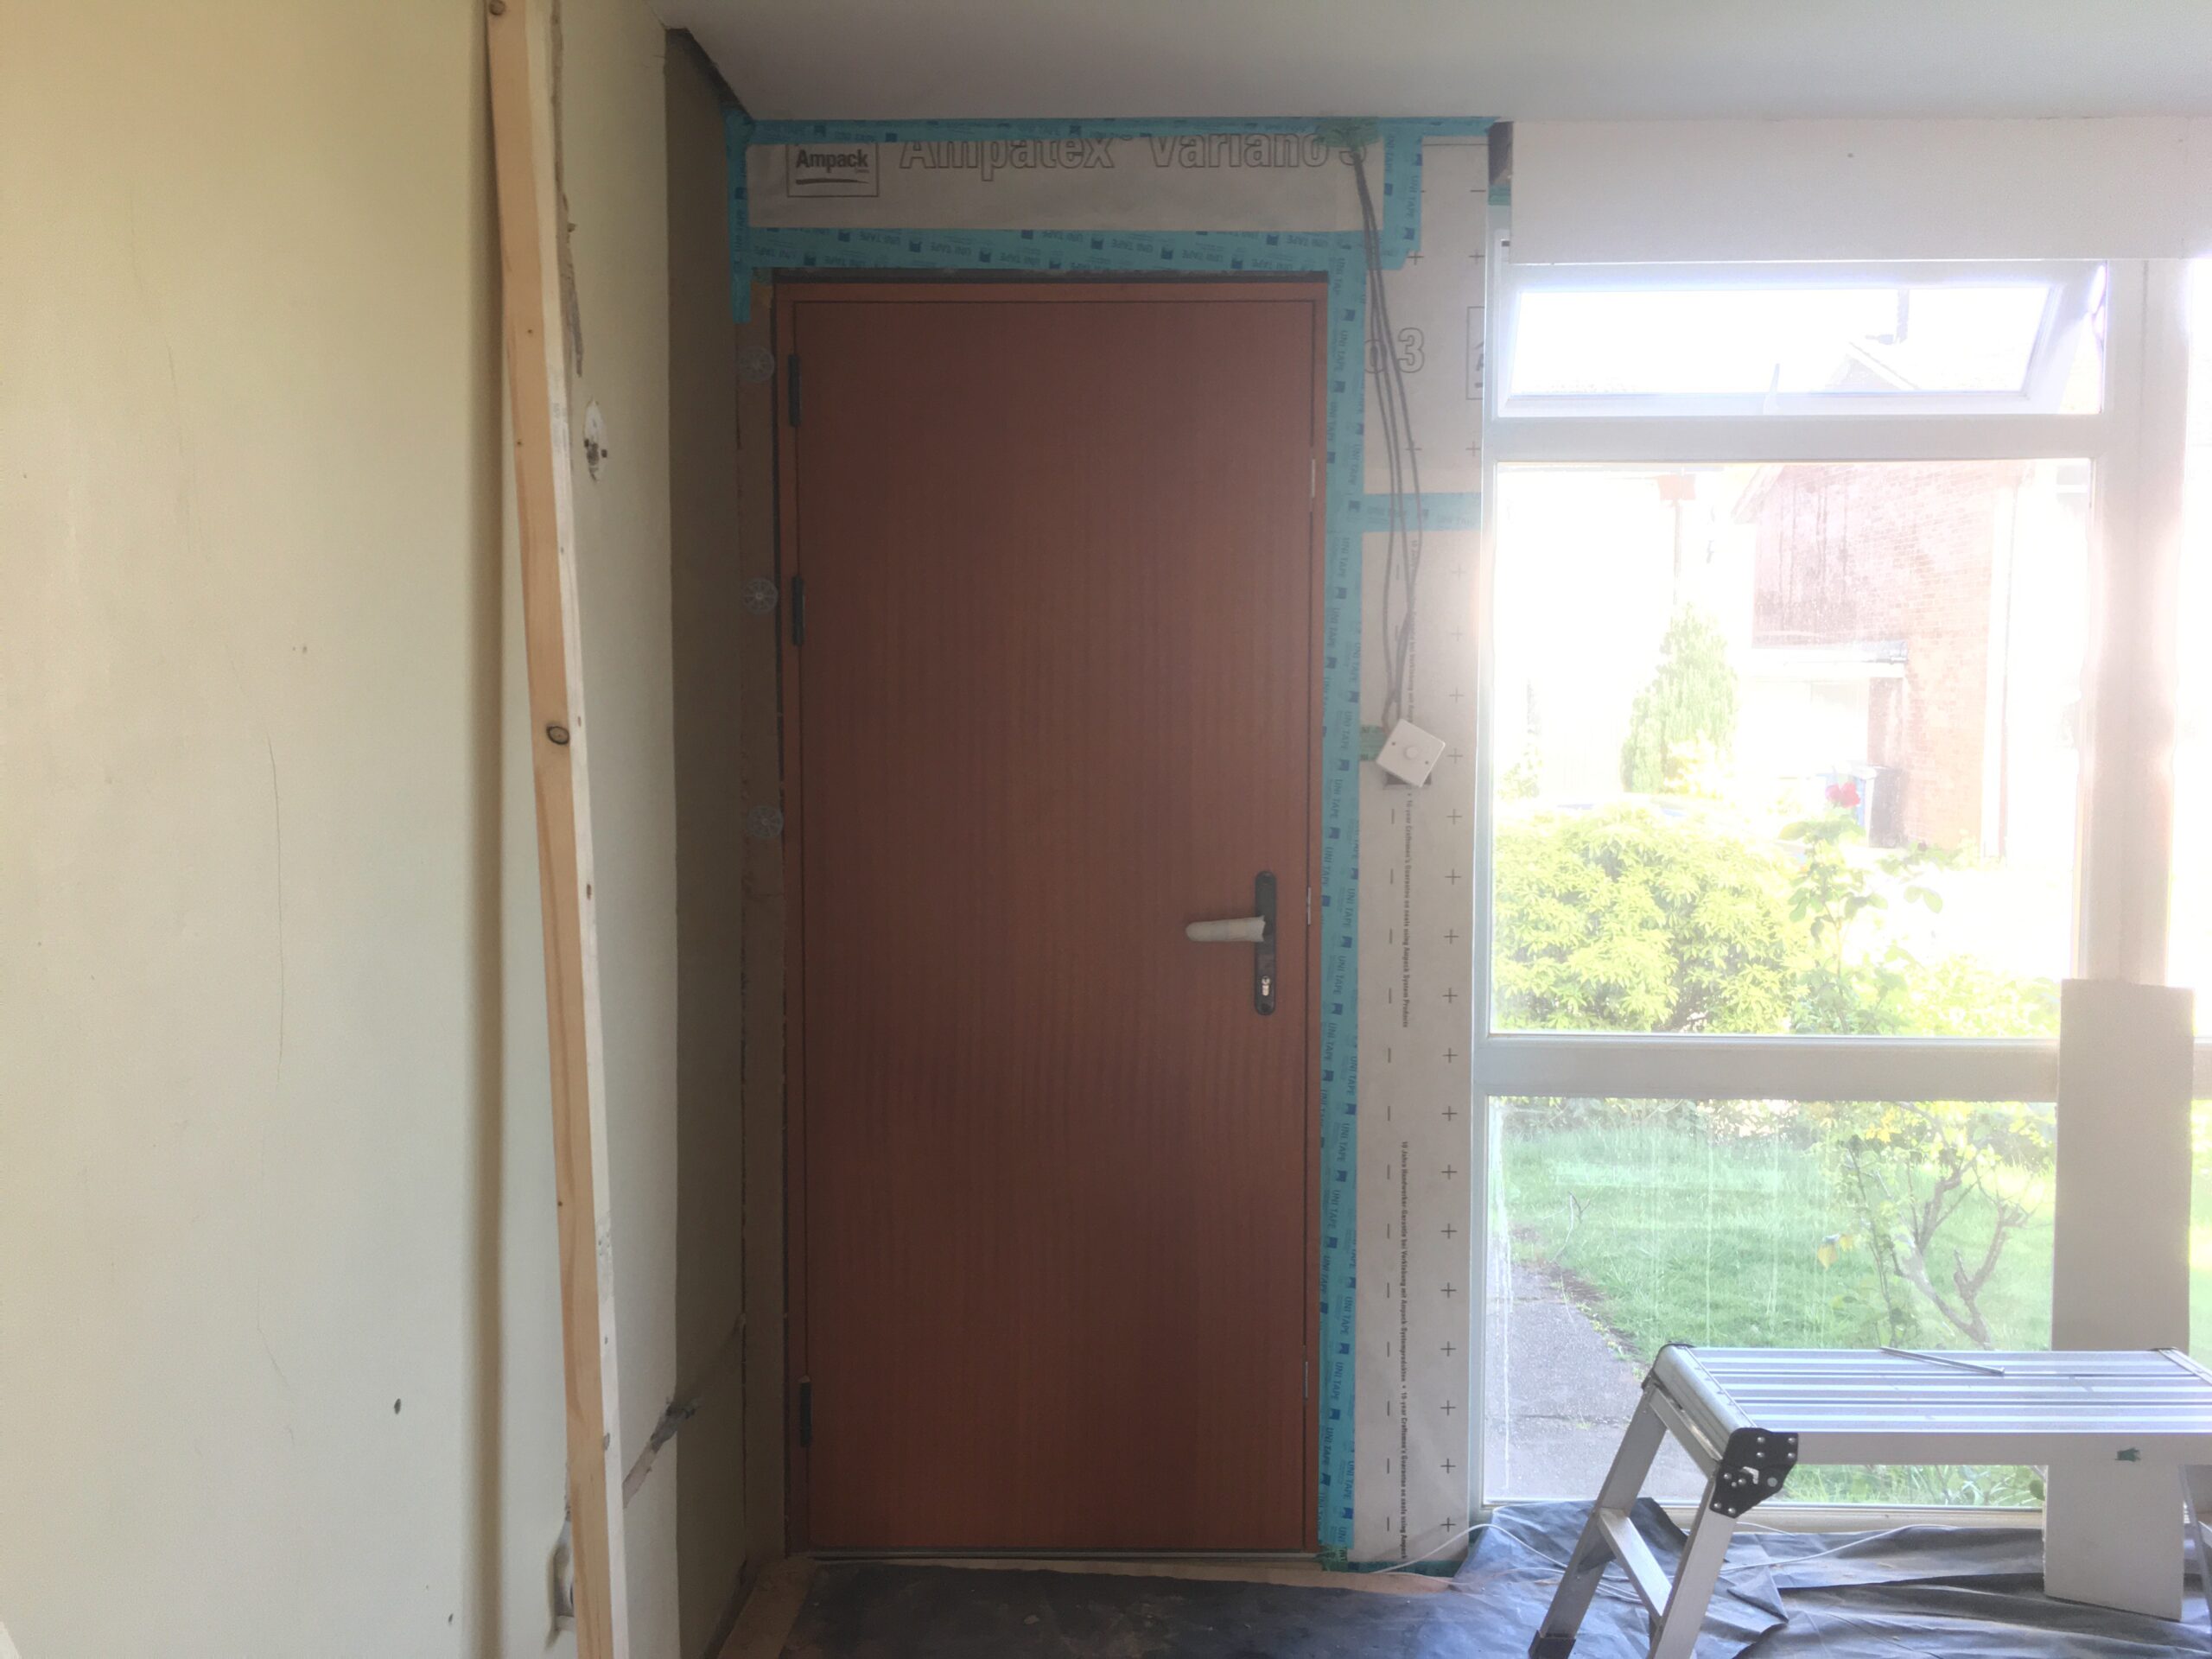
Plastered
Meanwhile
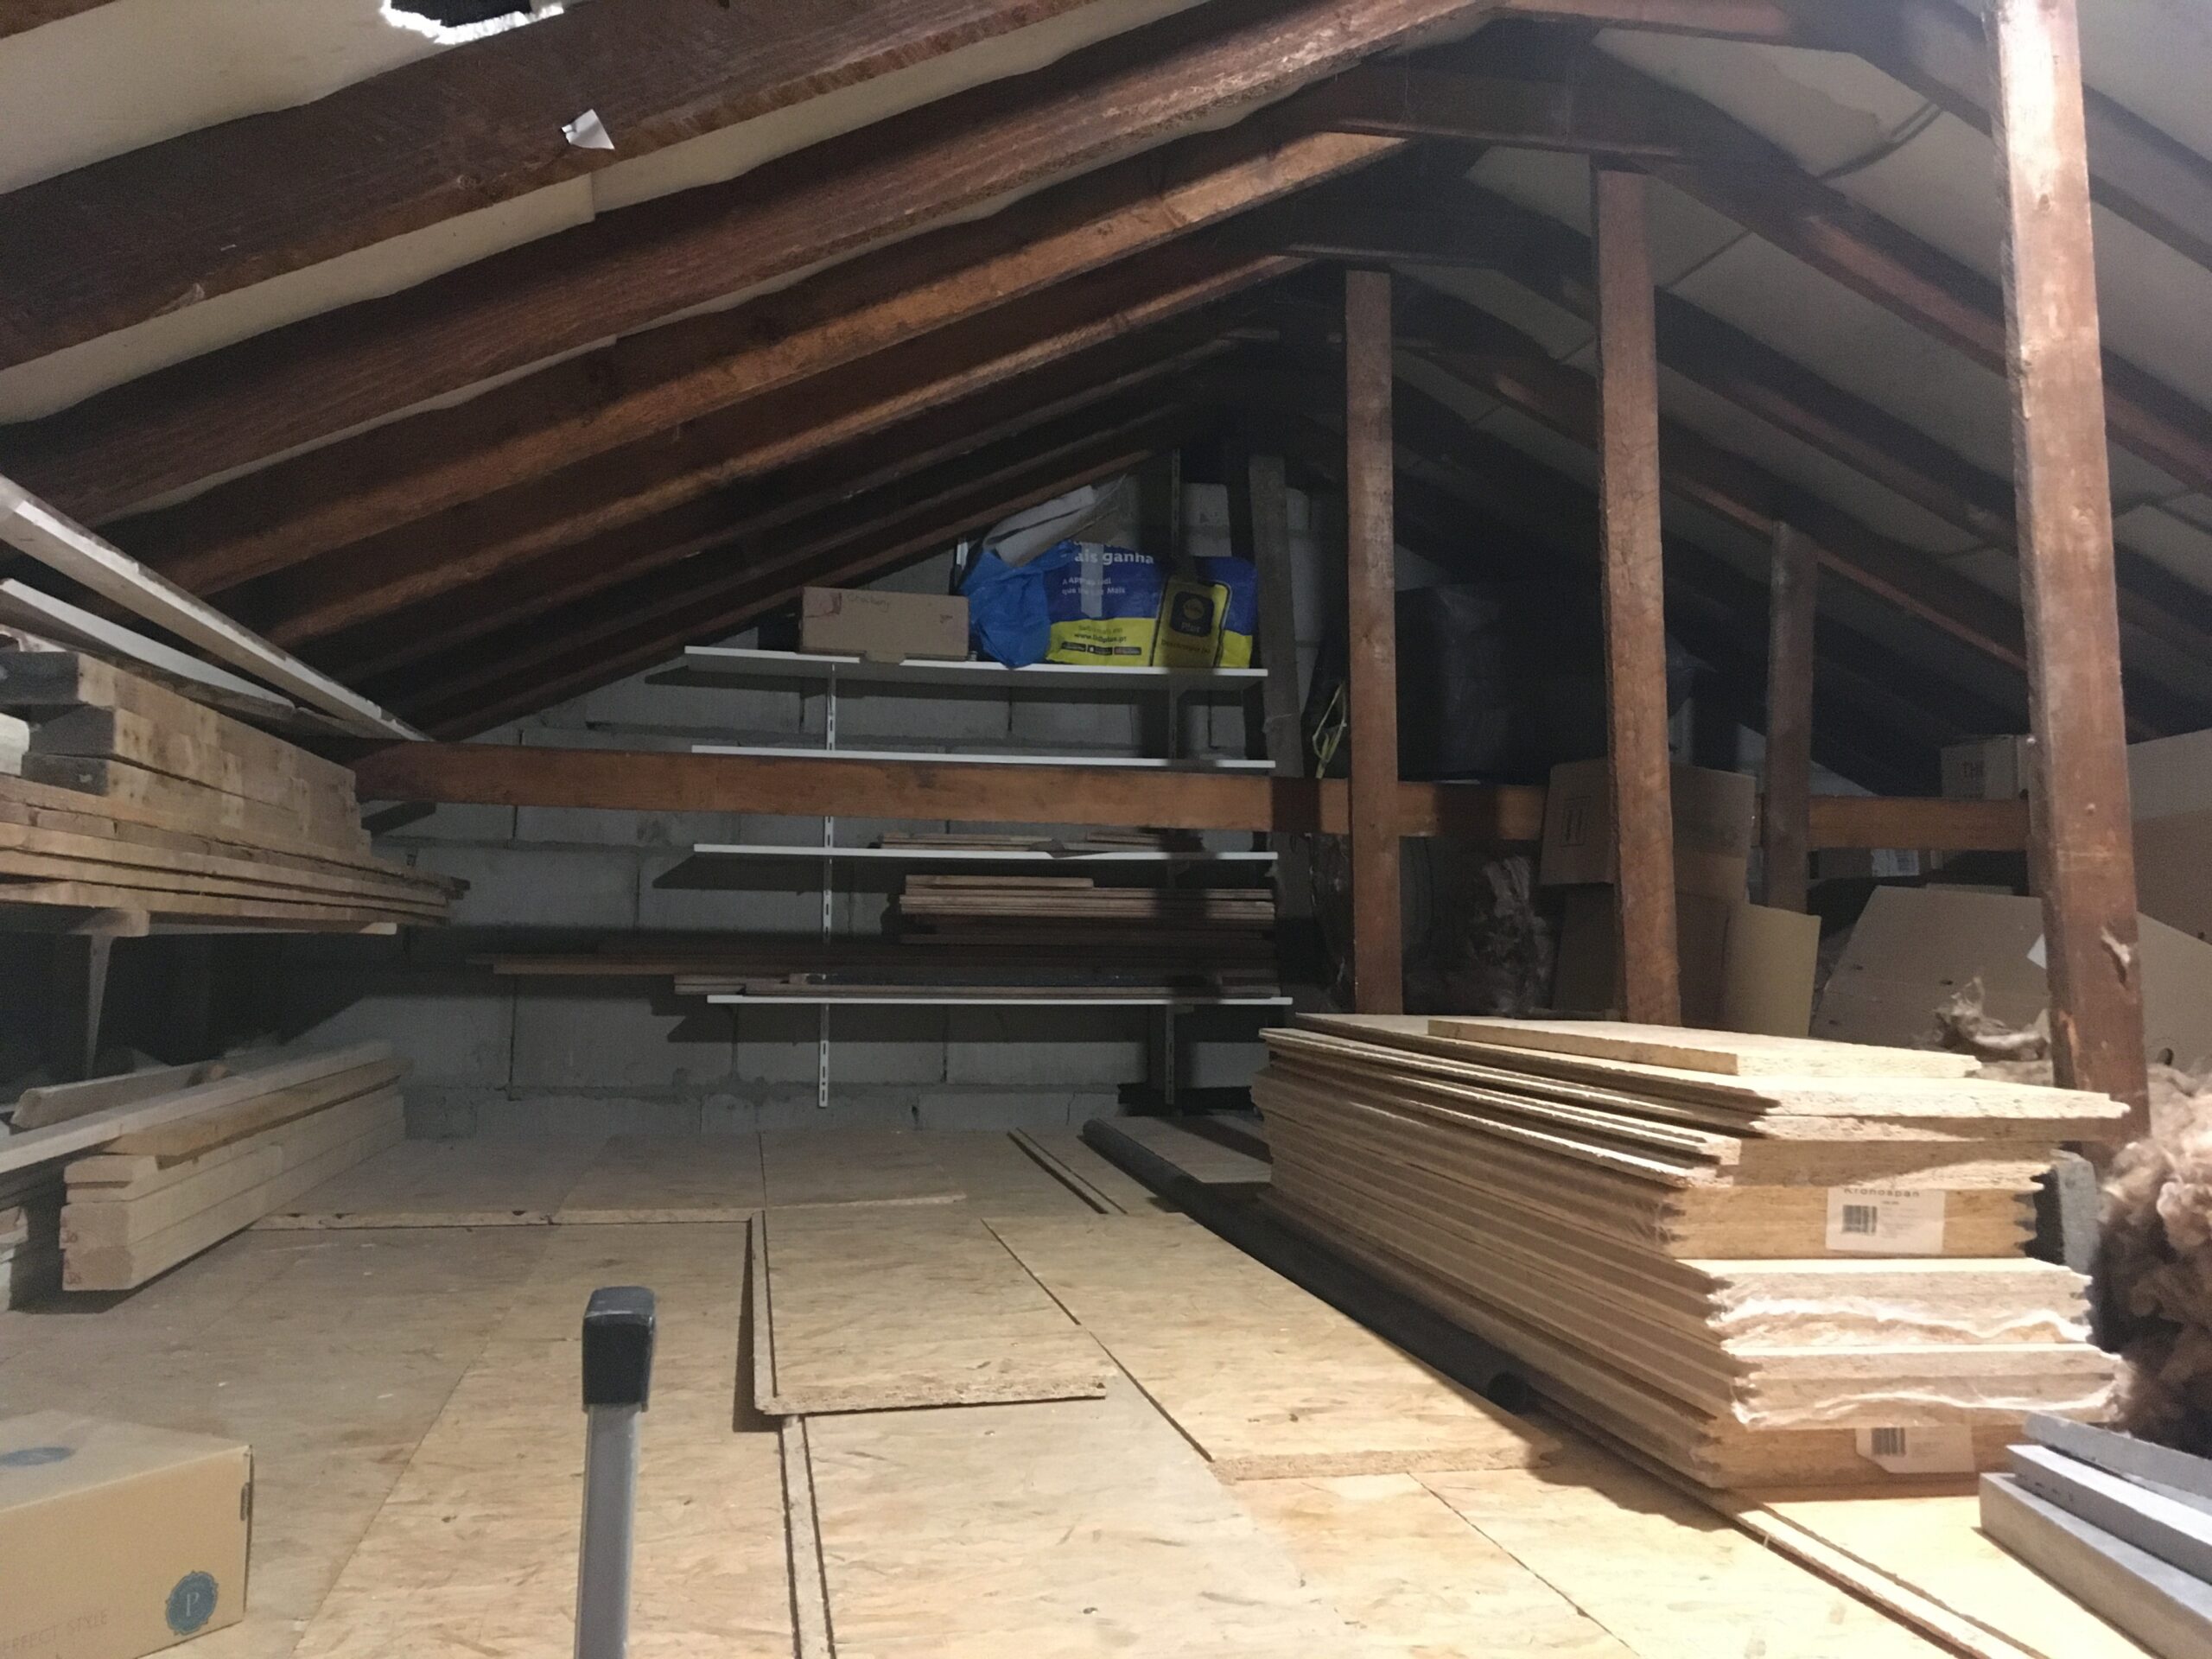
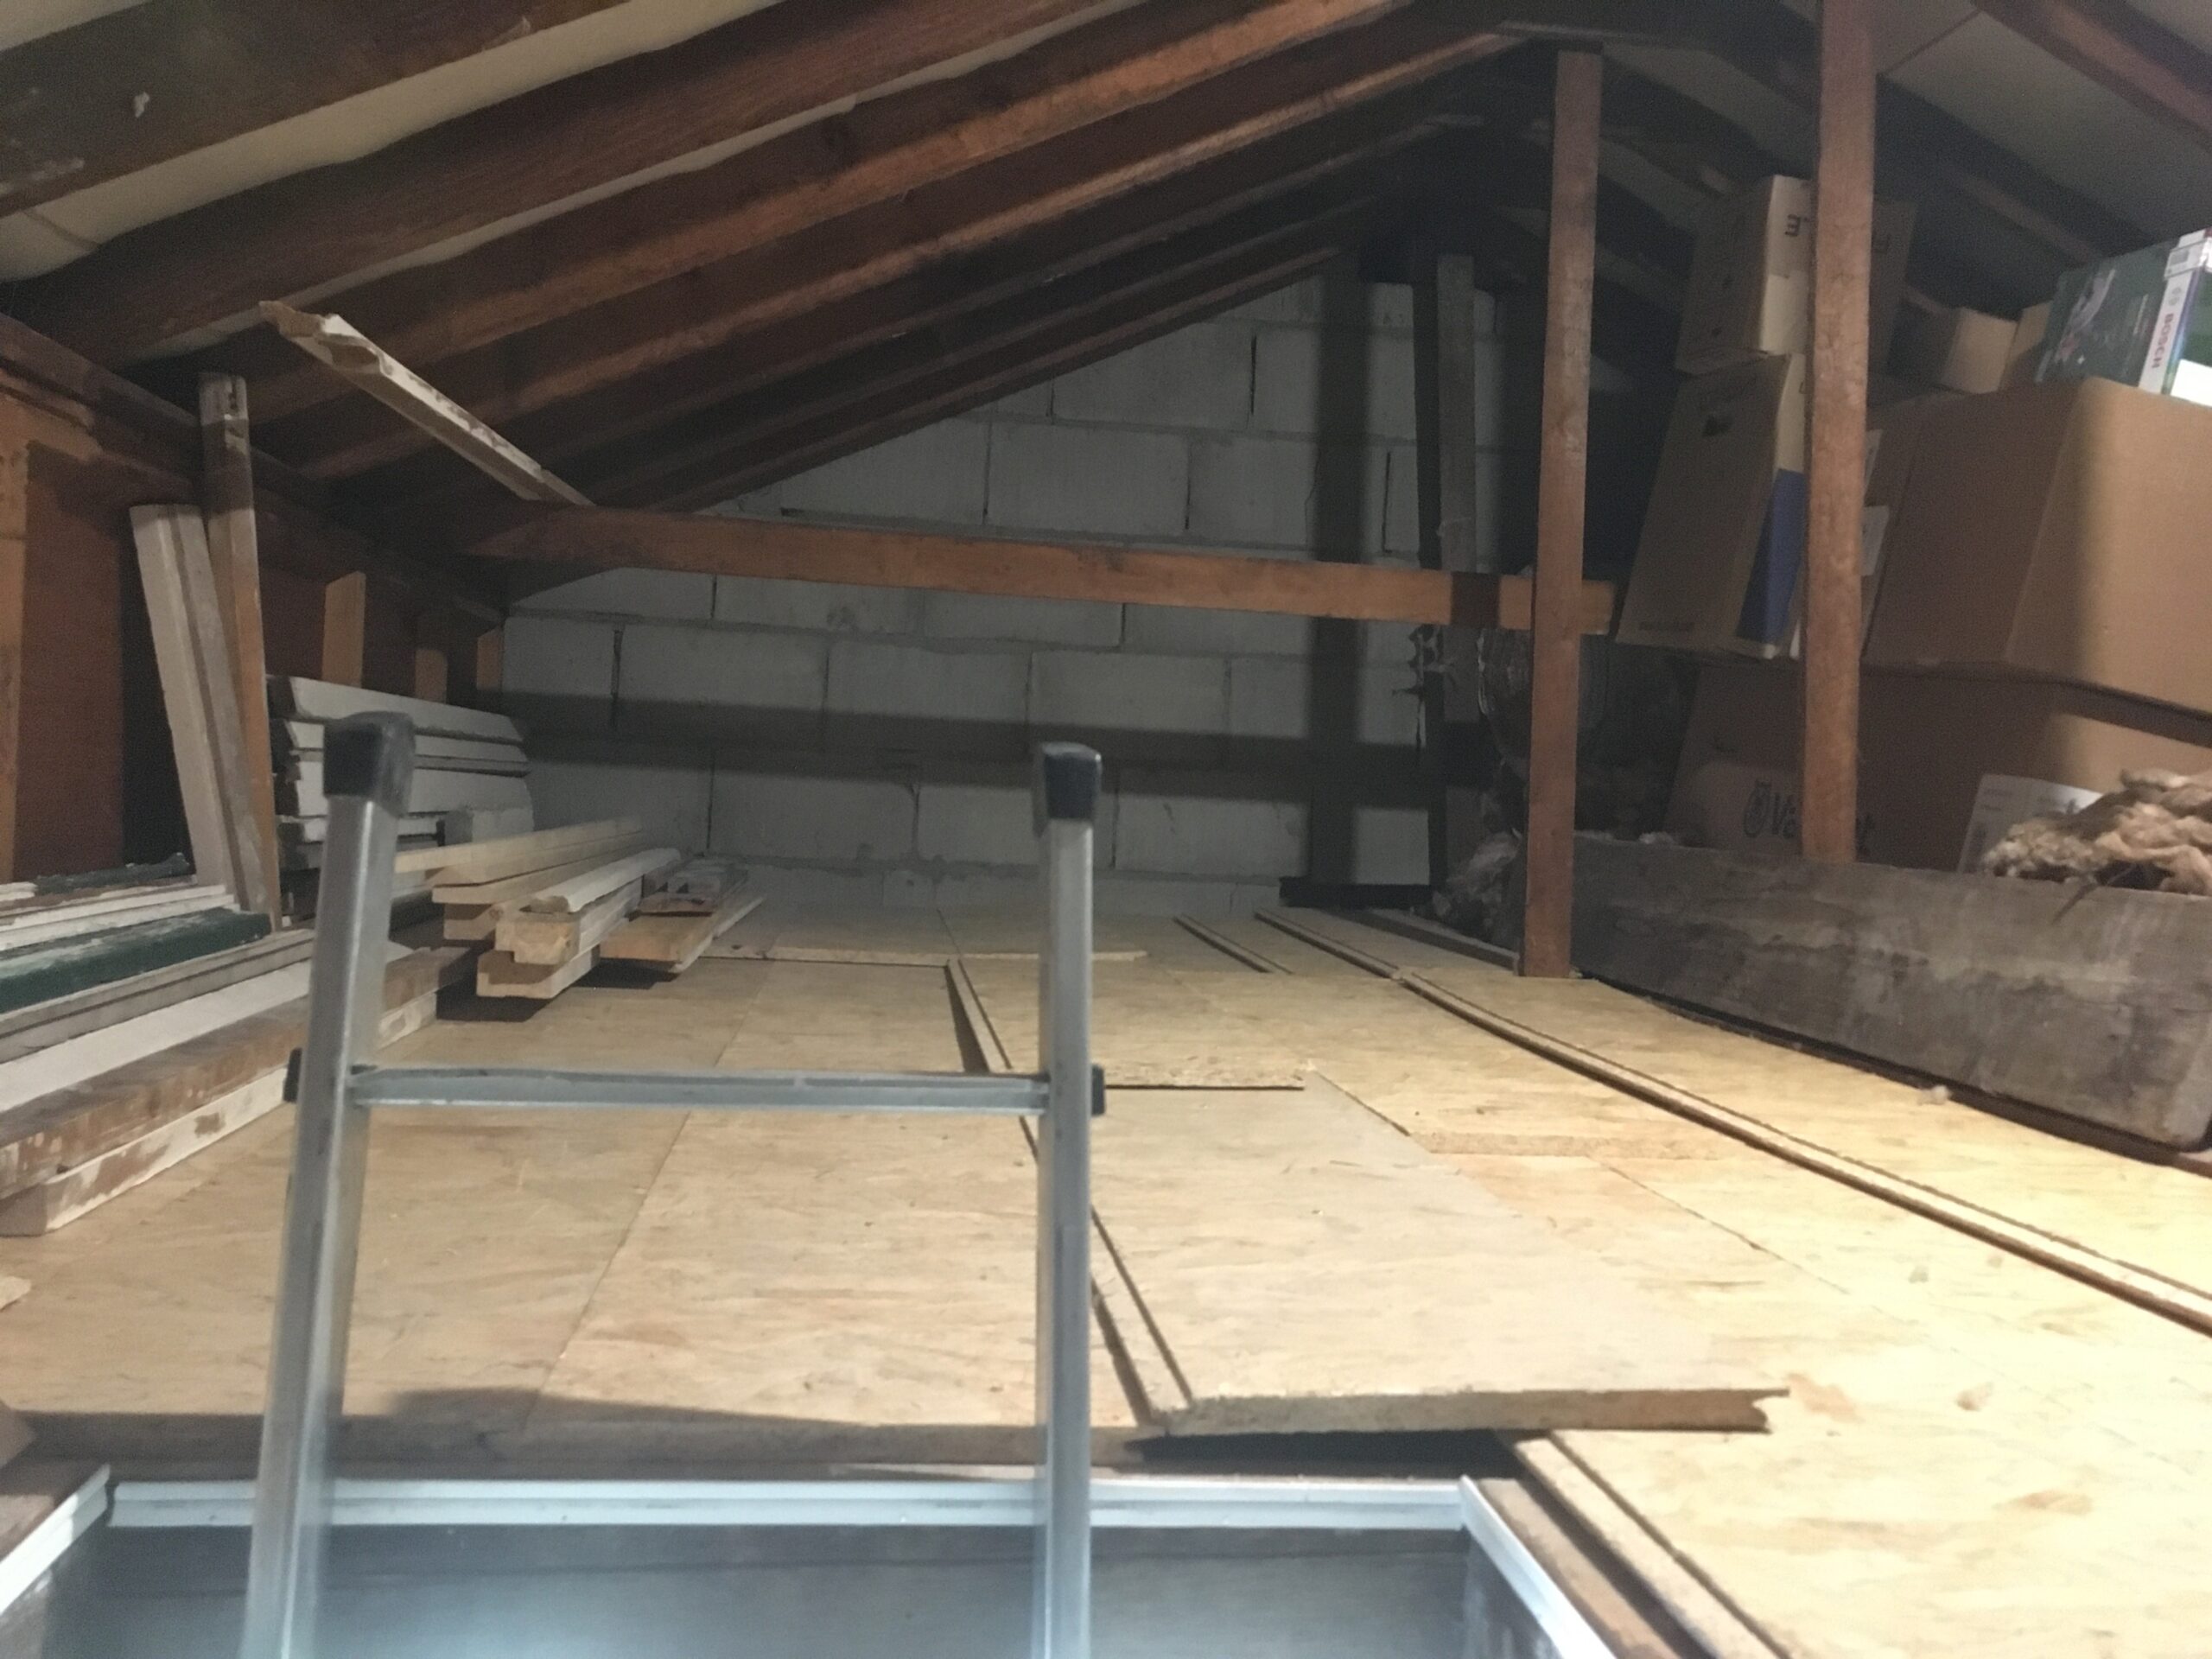
In the loft the extra insulation has been moved aside to make way for temporary boarding for storage when we move in, while works are completed.
Later, the floor will be raised so the insulation can go back, whilst still being able to use the valuable storage space.
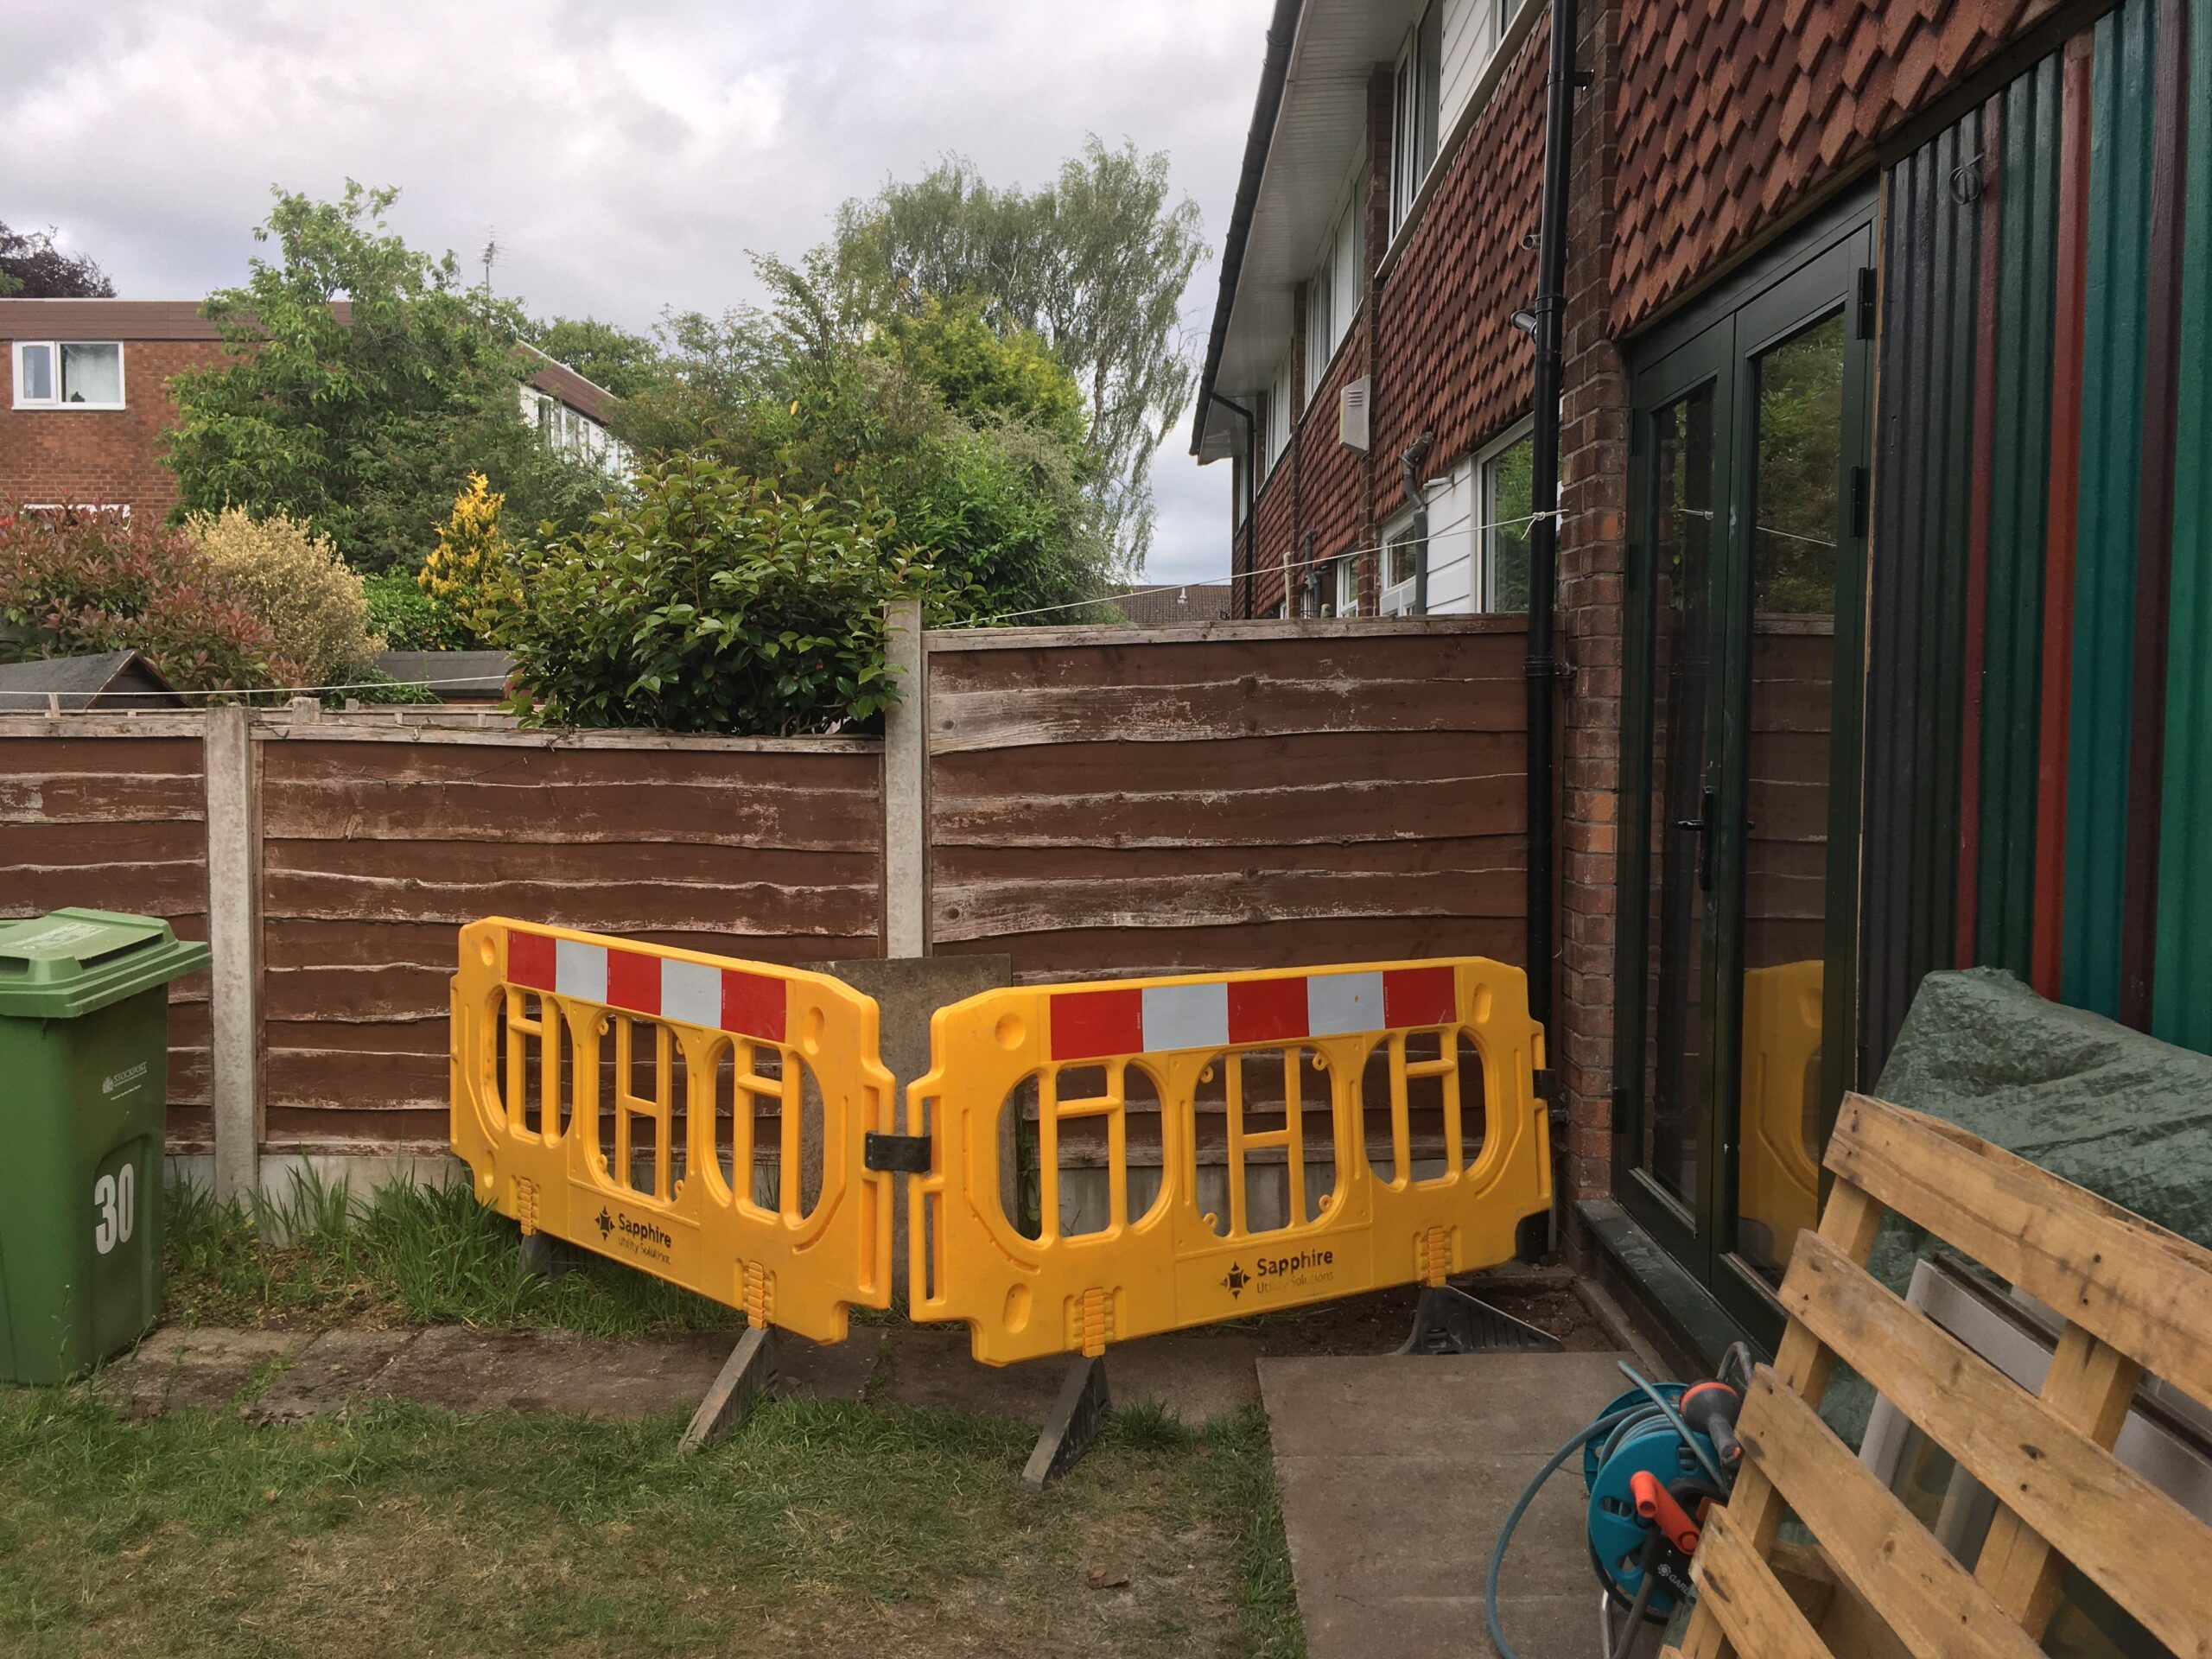
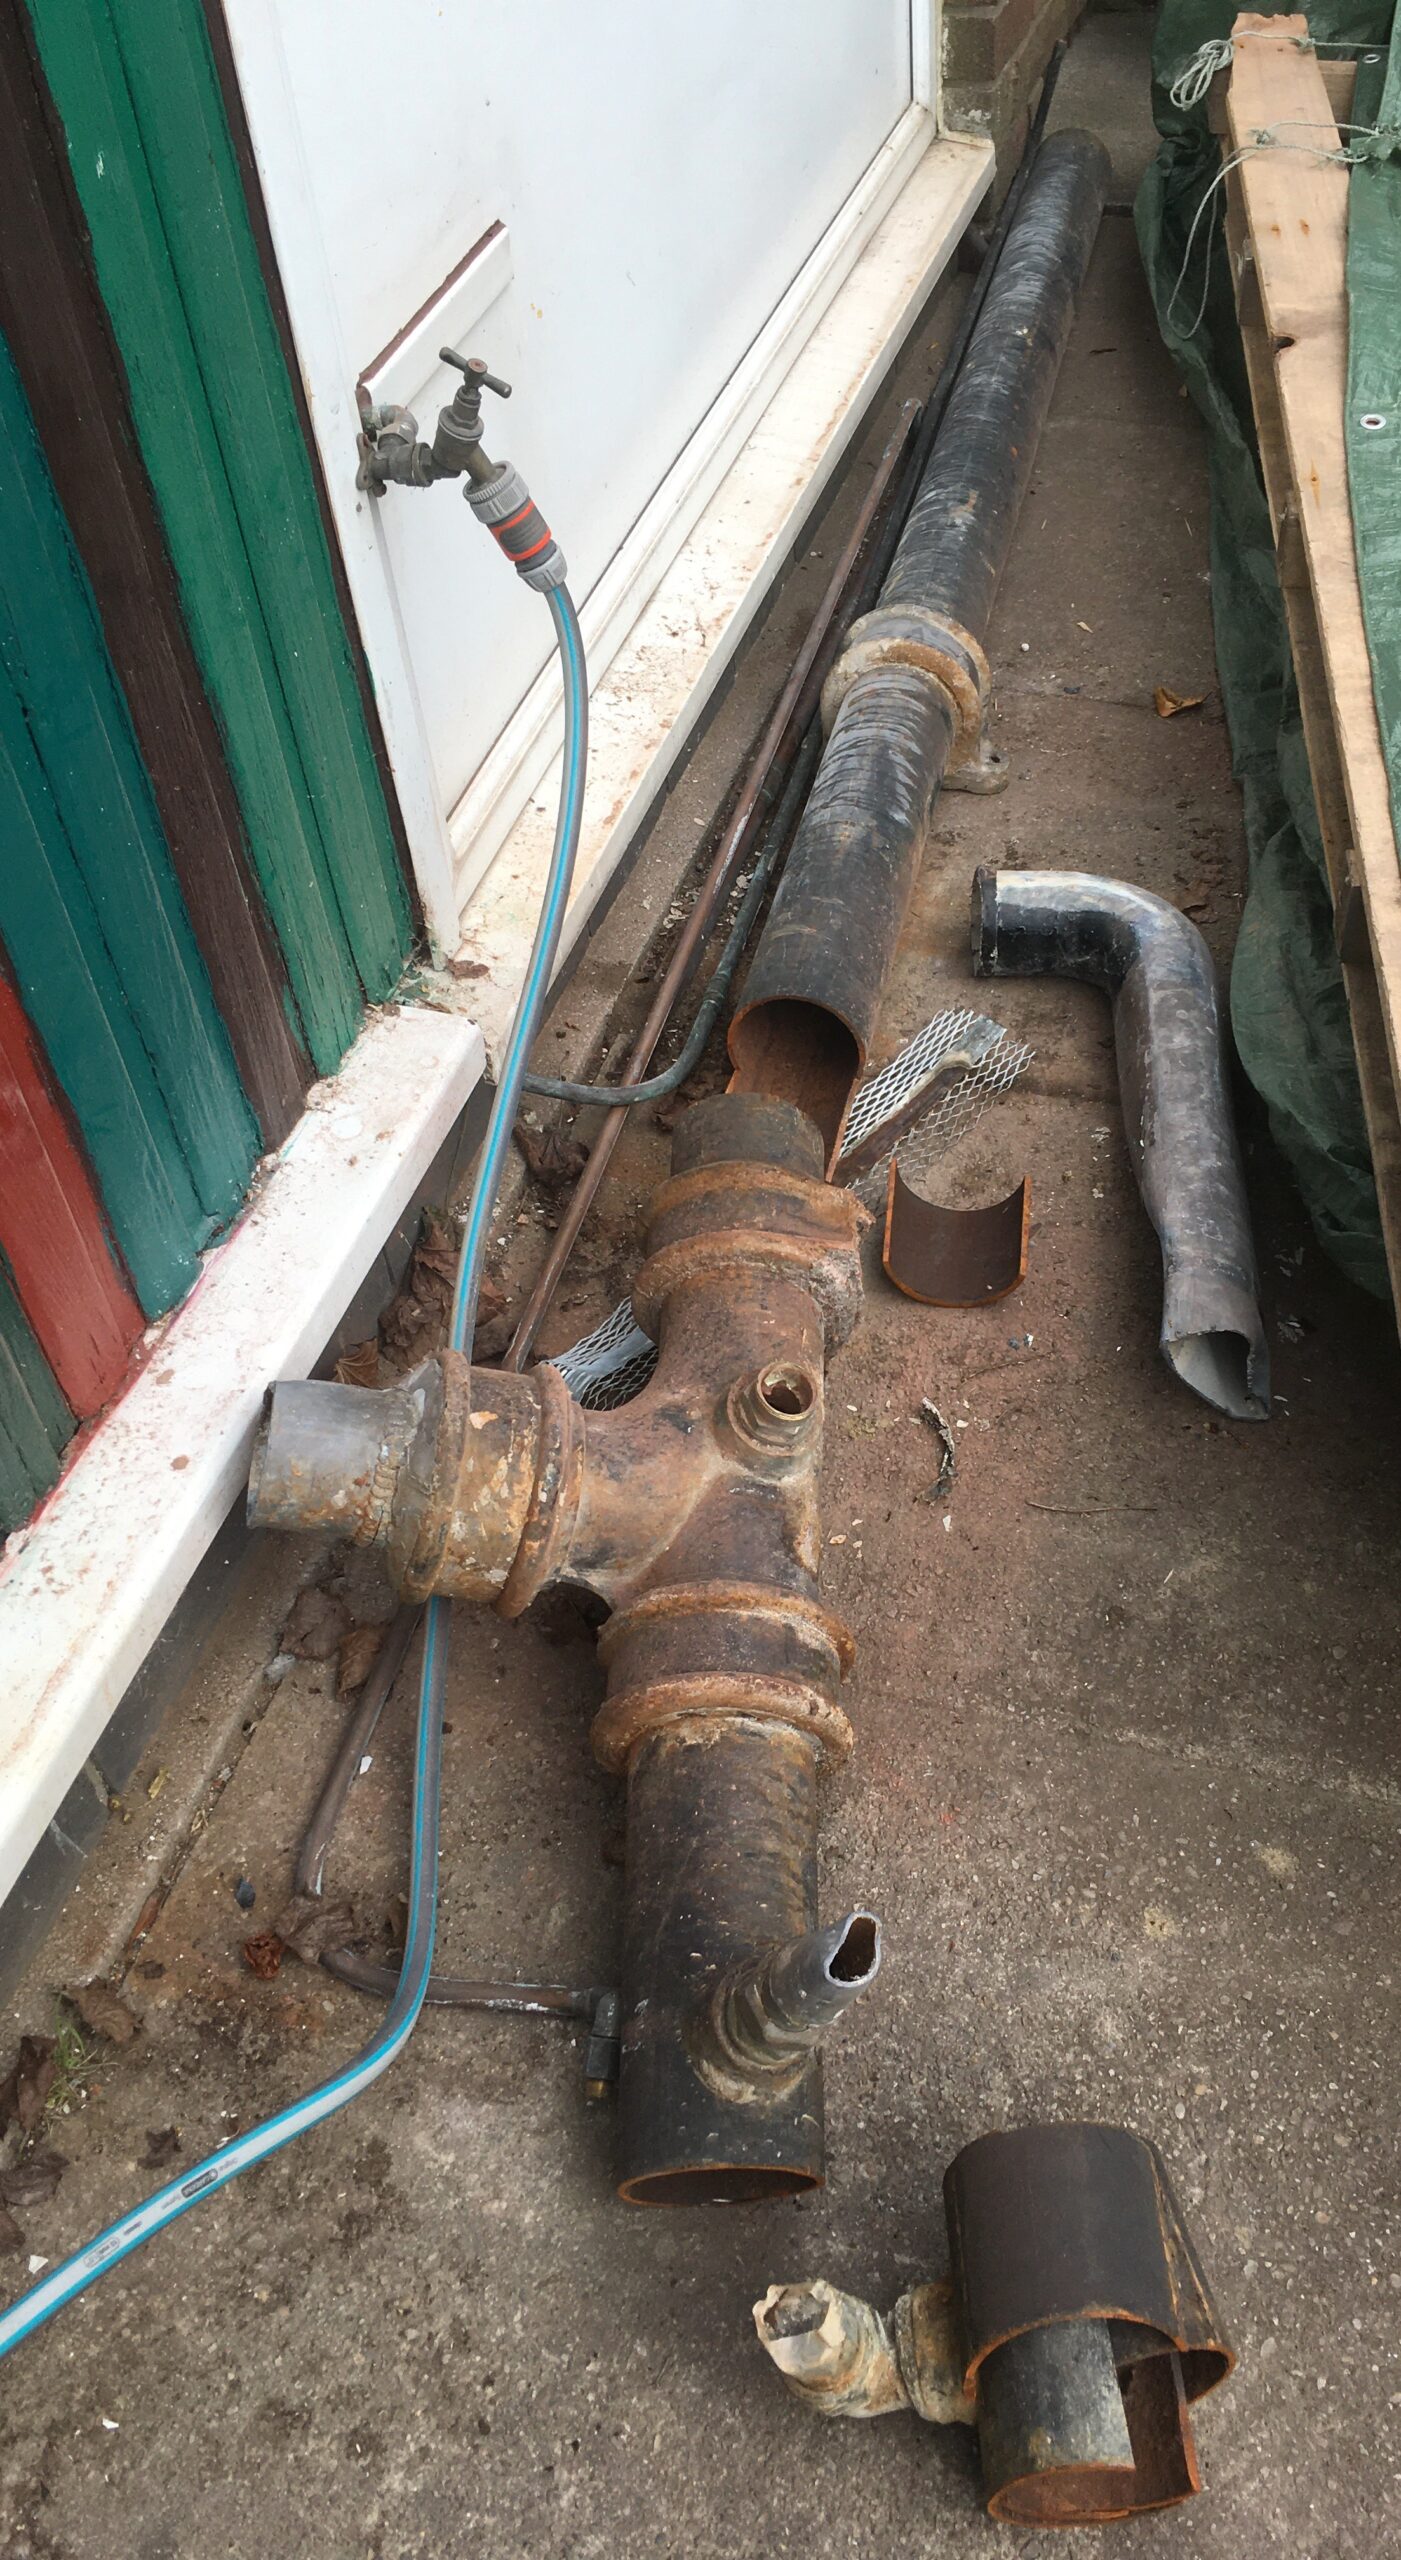
United Utilities are still trying to unblock the rainwater drain in the back garden.
They’ve struggled to get jet hoses or cameras round the old style trap (like a u-bend, but more of a swan neck). Then their big pump truck on the road outside popped it’s hydraulics, spilling oil everywhere; made a right mess. I think this week was about the 6th visit. They dug up the garden around the drain (which turned out to be encased in concrete) and installed an access hatch.
Me: “Looks good, access hatch installed OK then?”
Workman: “Yep, all done.”
“So, it’s unblocked now?
“No, we just dig the hole.”
“Oh.”
“We’re just contractors, United Utilities will contact you to come back and unblock it.
“Right. And that big paving slab you lifted, that is now leaning against the fence, could you perhaps put it back down?”
“No, that’s Reinstatement who do that.”
“I see… “
So now our garden looks like this. We’re still waiting for the call…
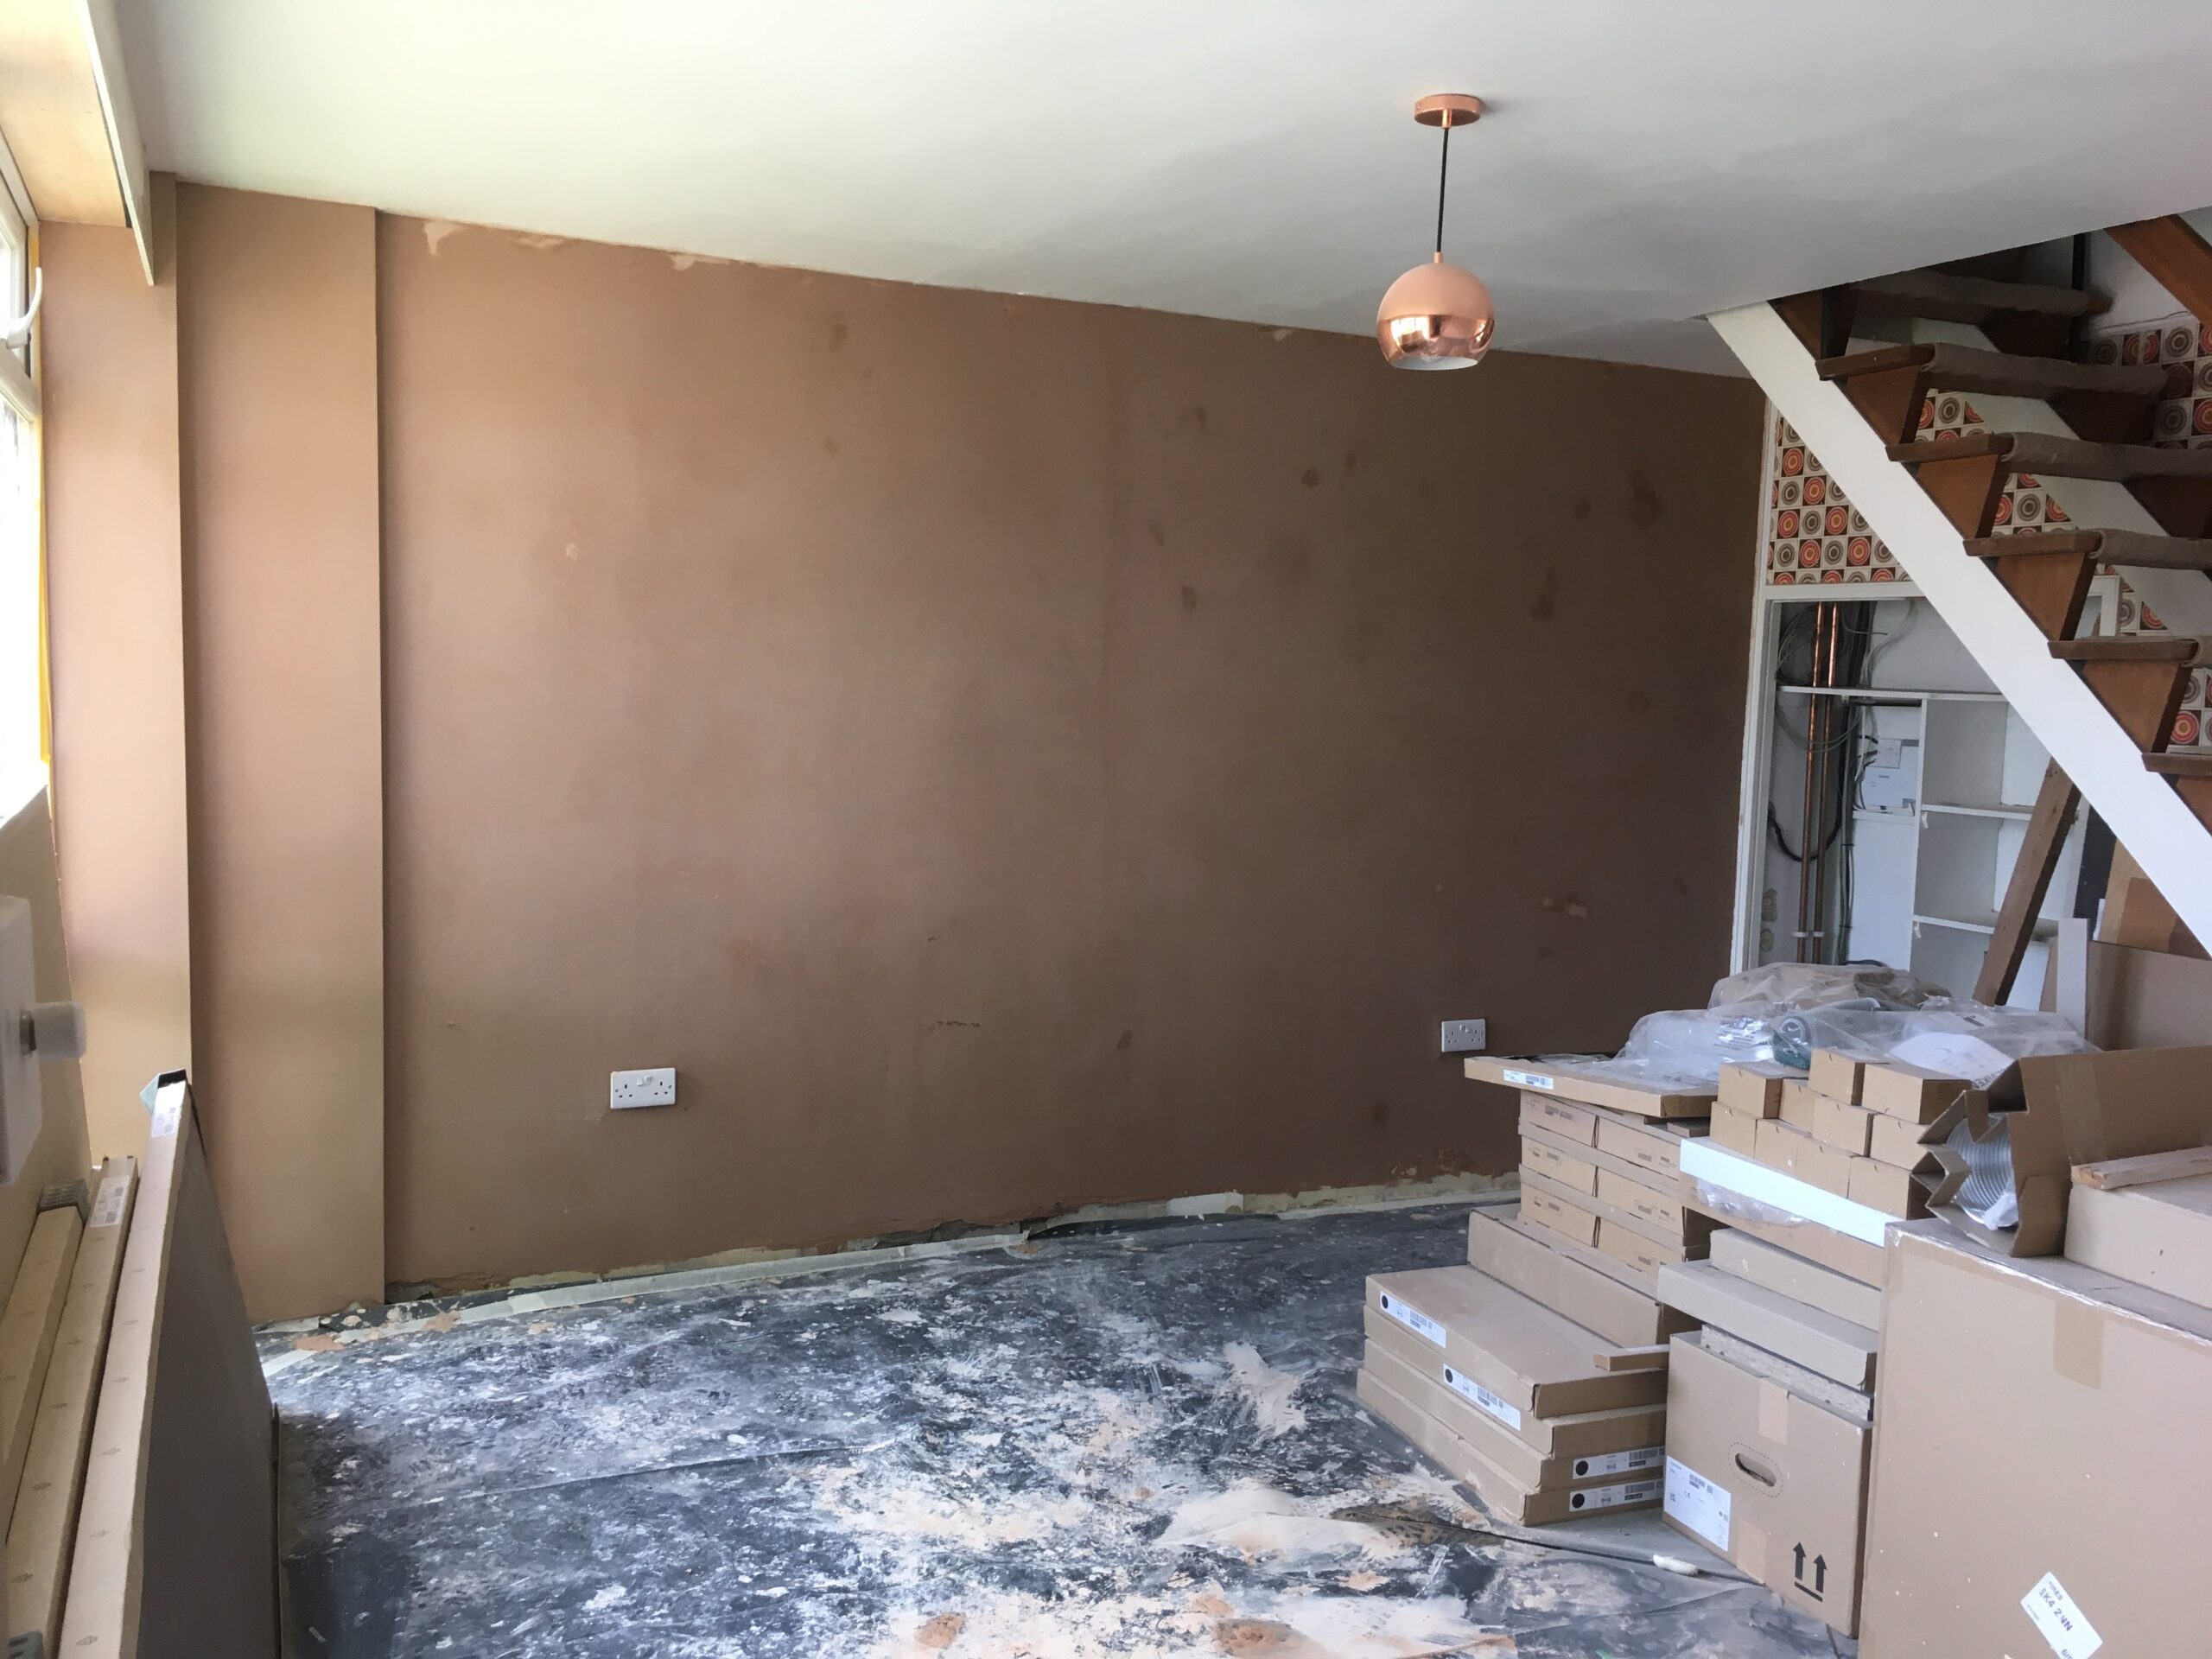
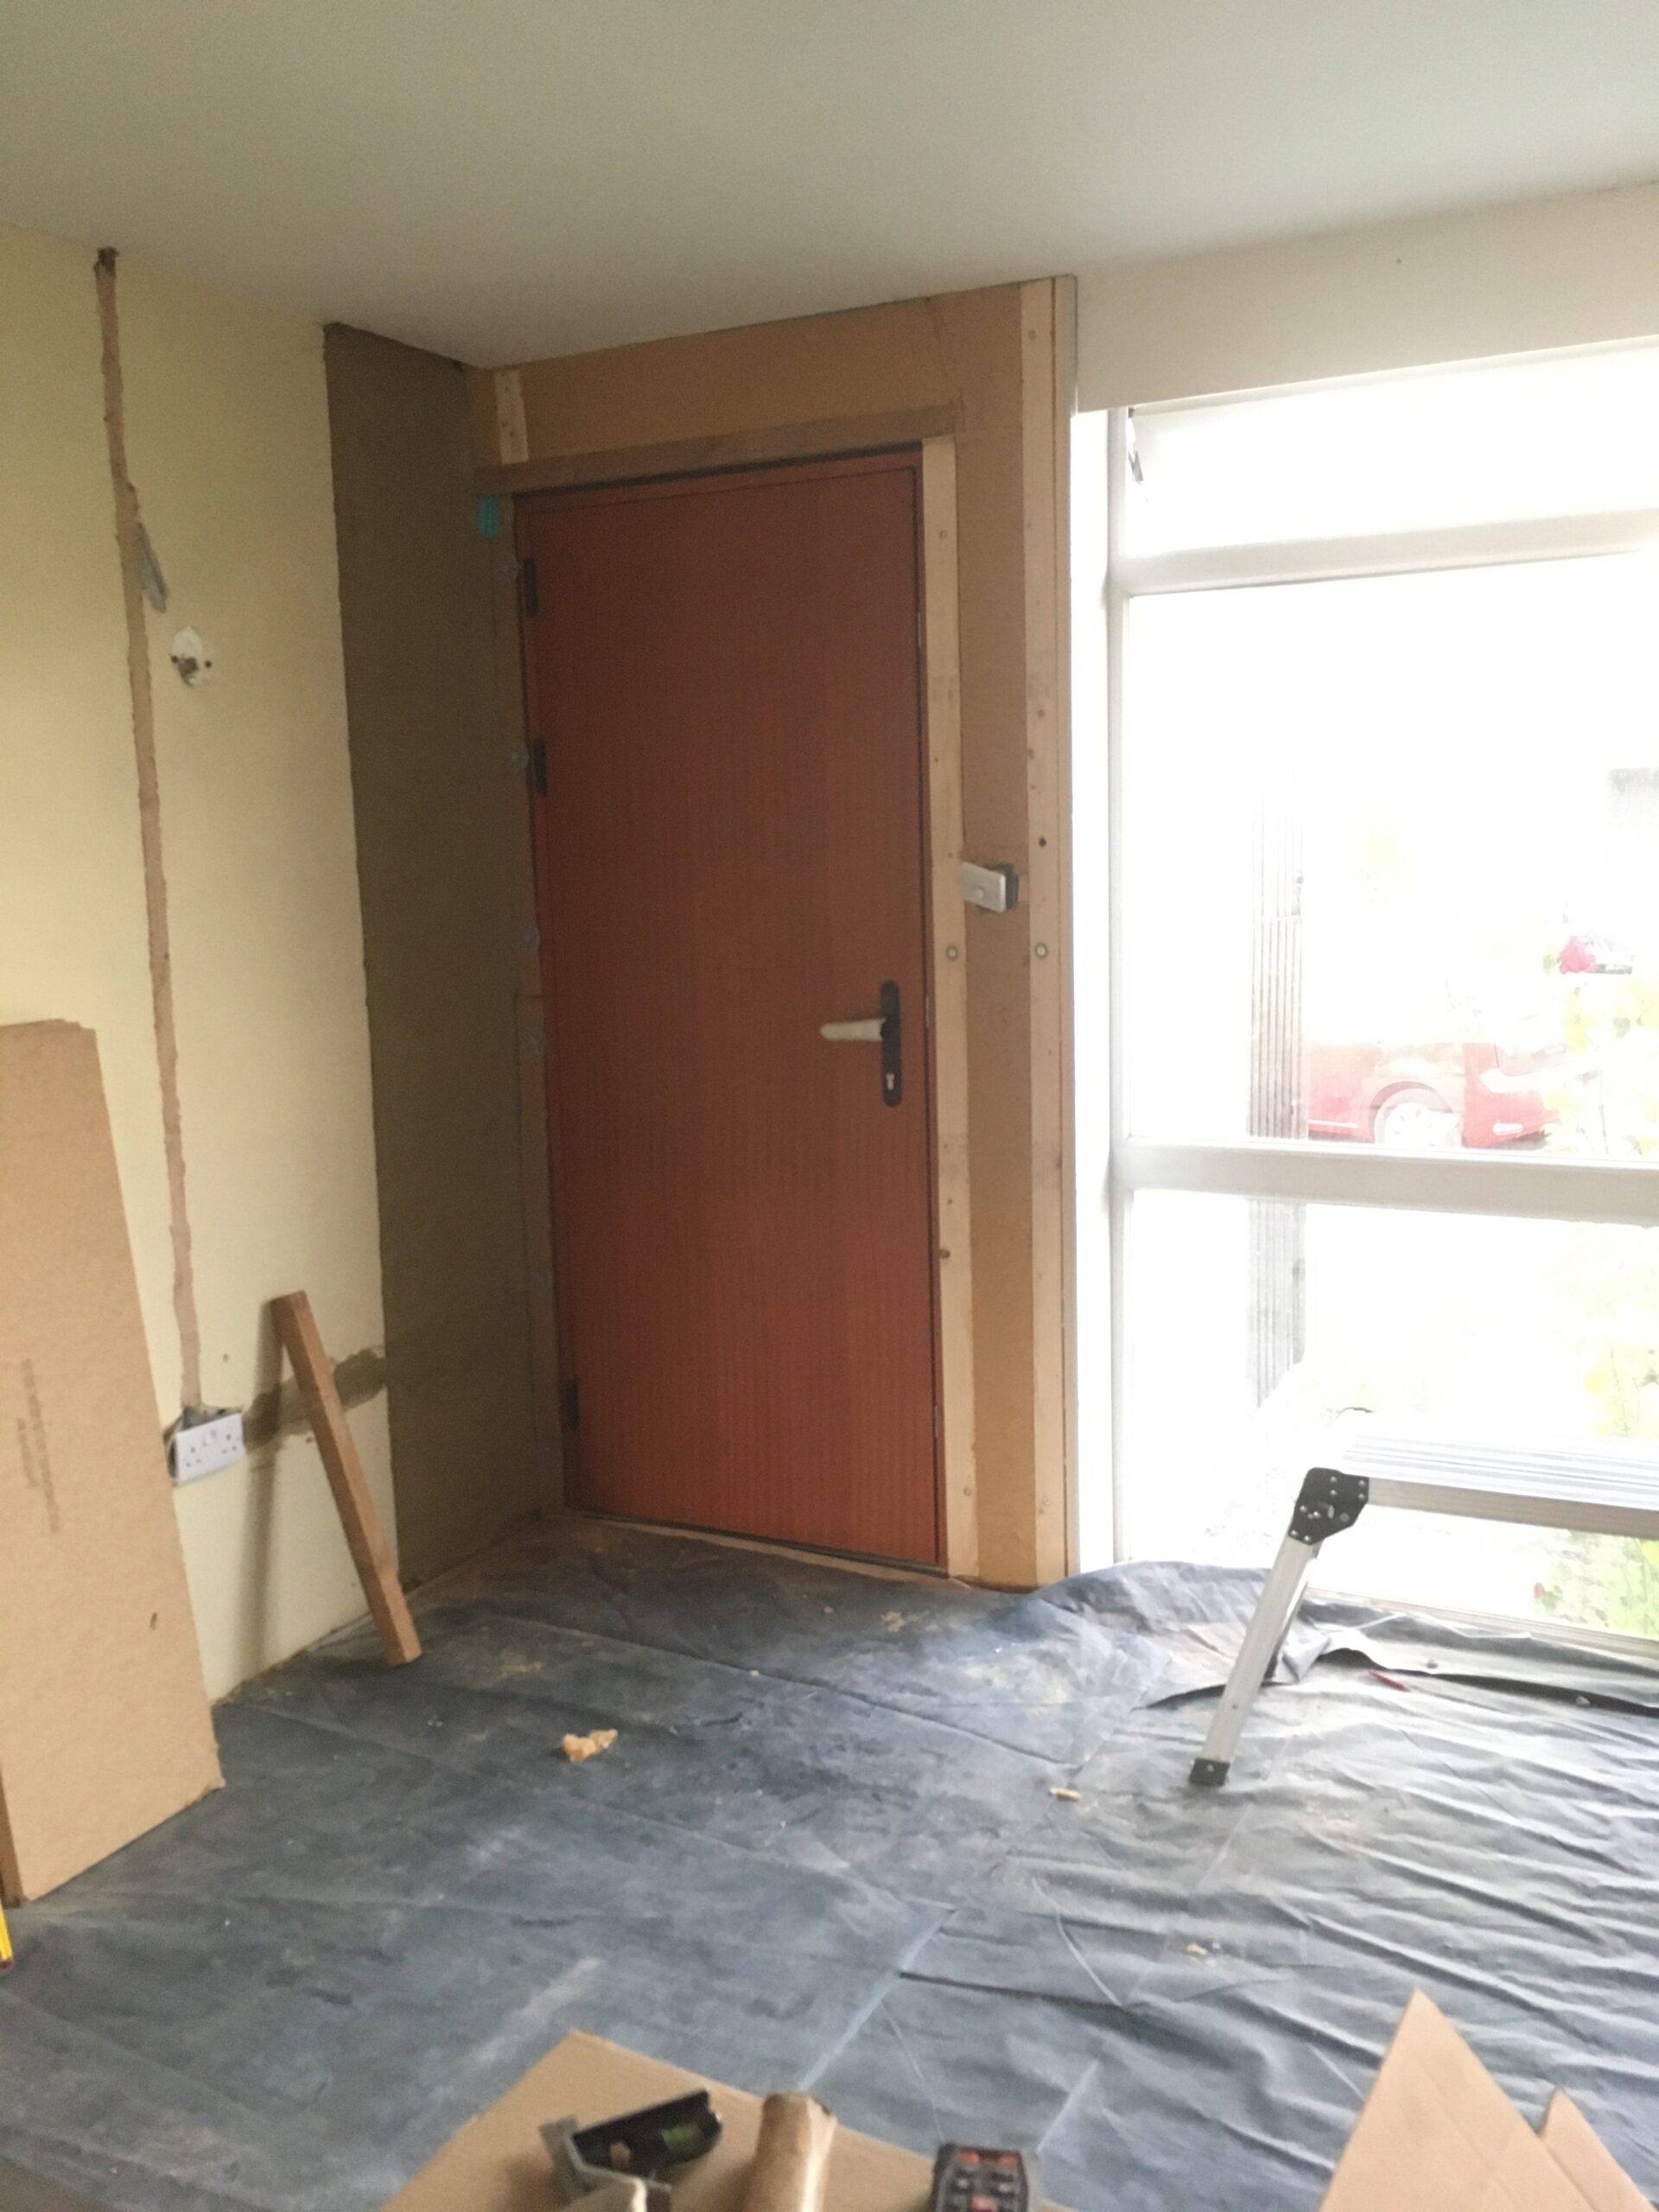
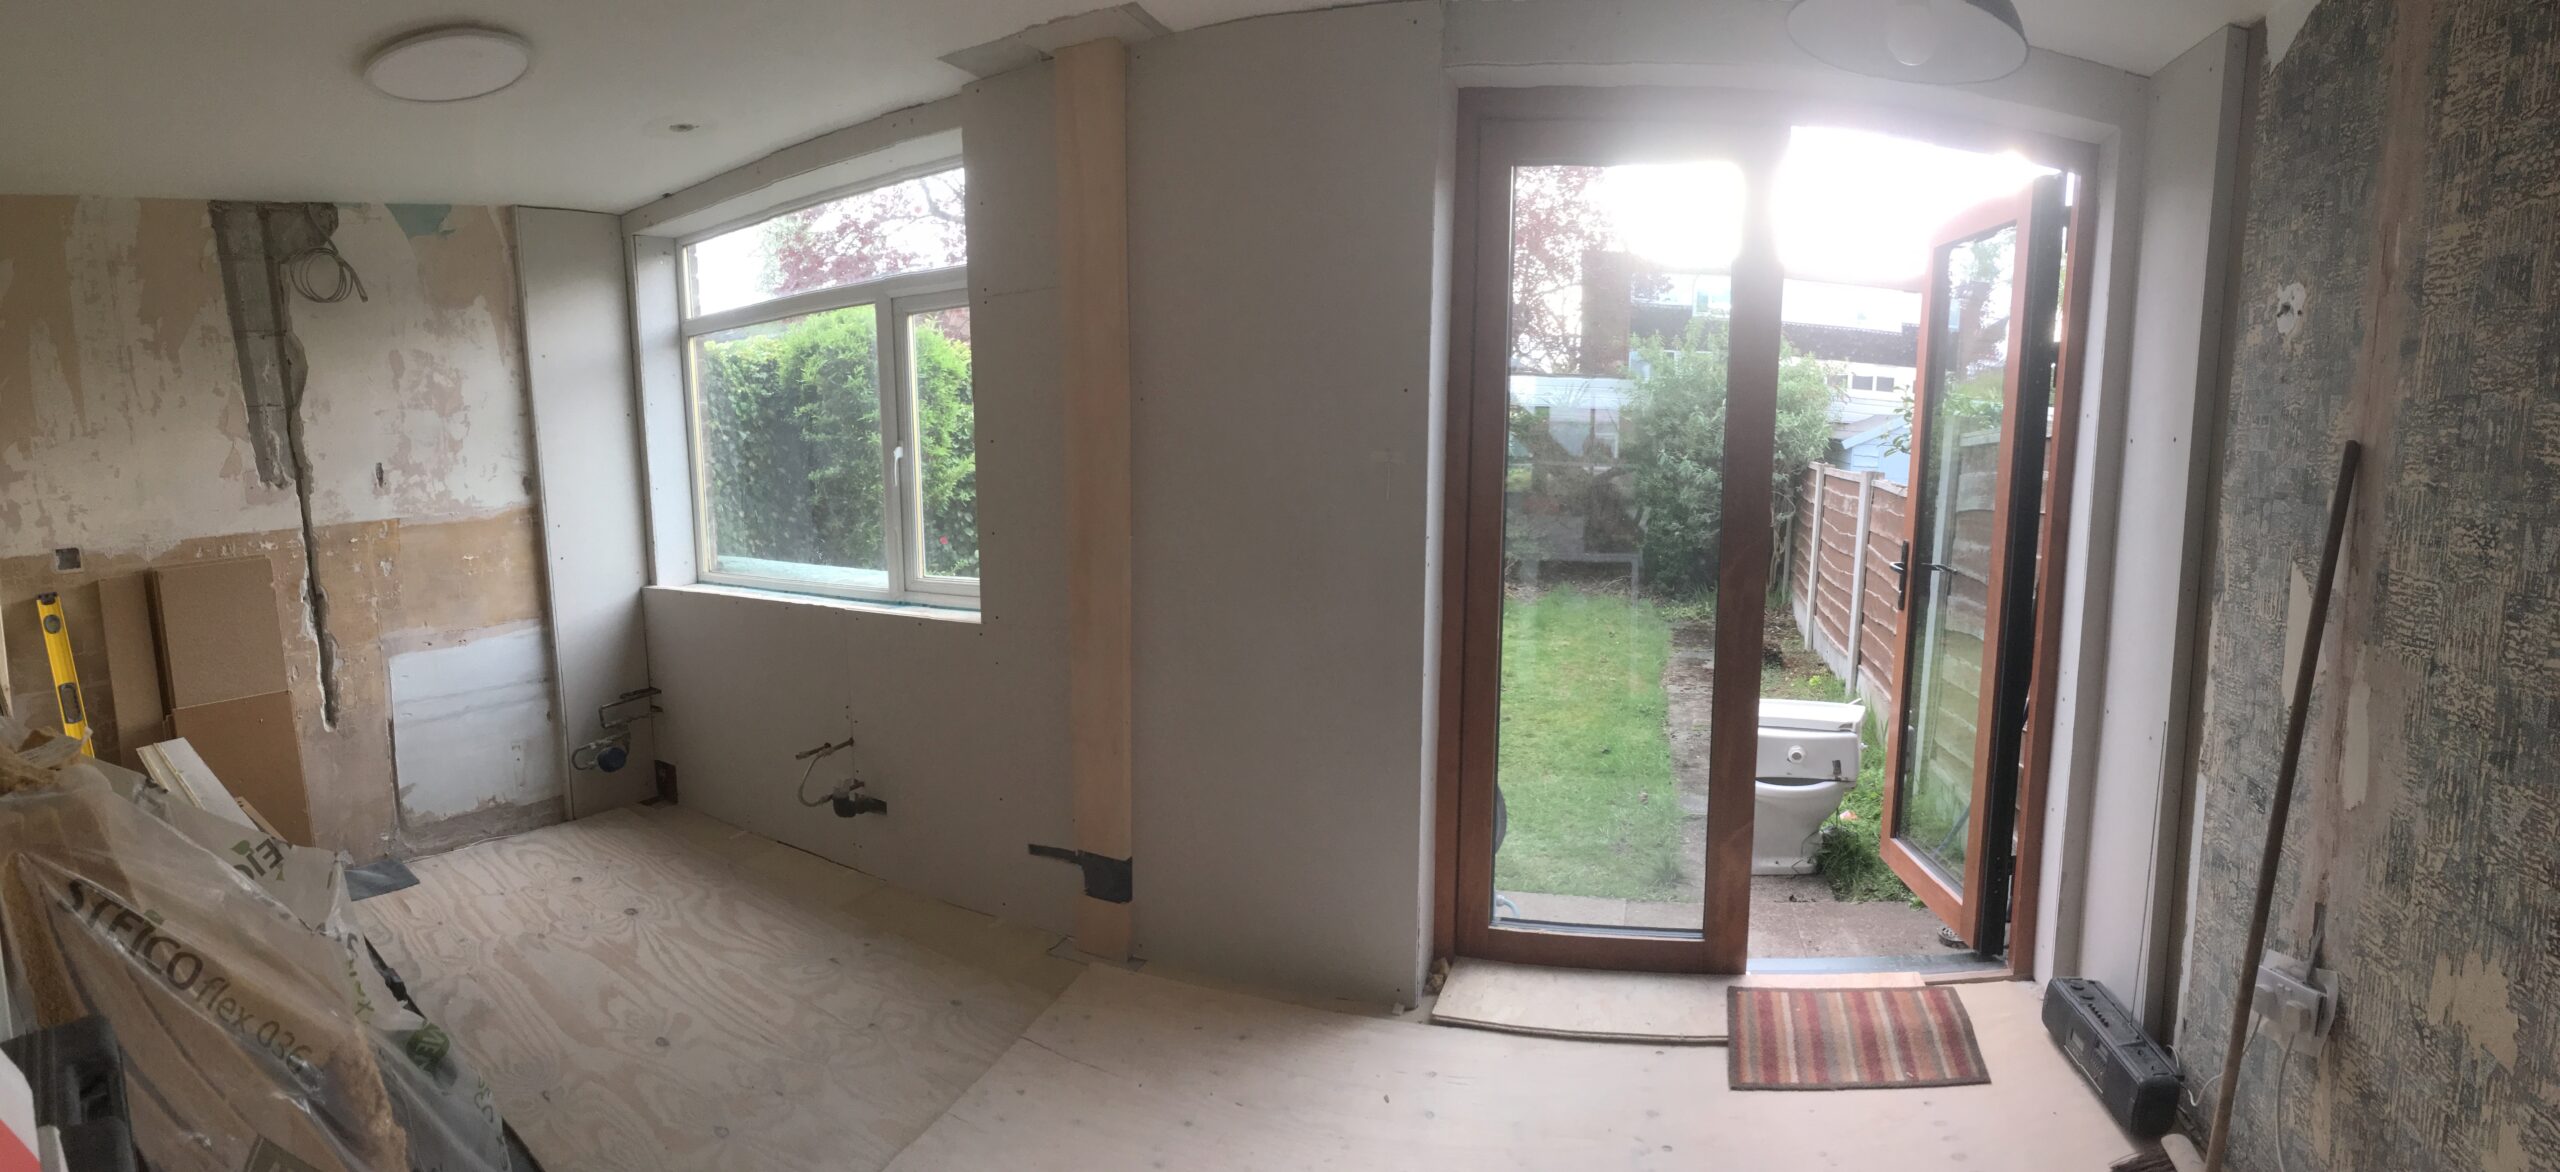
Following completion a couple of weeks ago of the wall insulation at the back downstairs, the front is now done. Not a lot of wall here – but it’s the detailing that takes time.
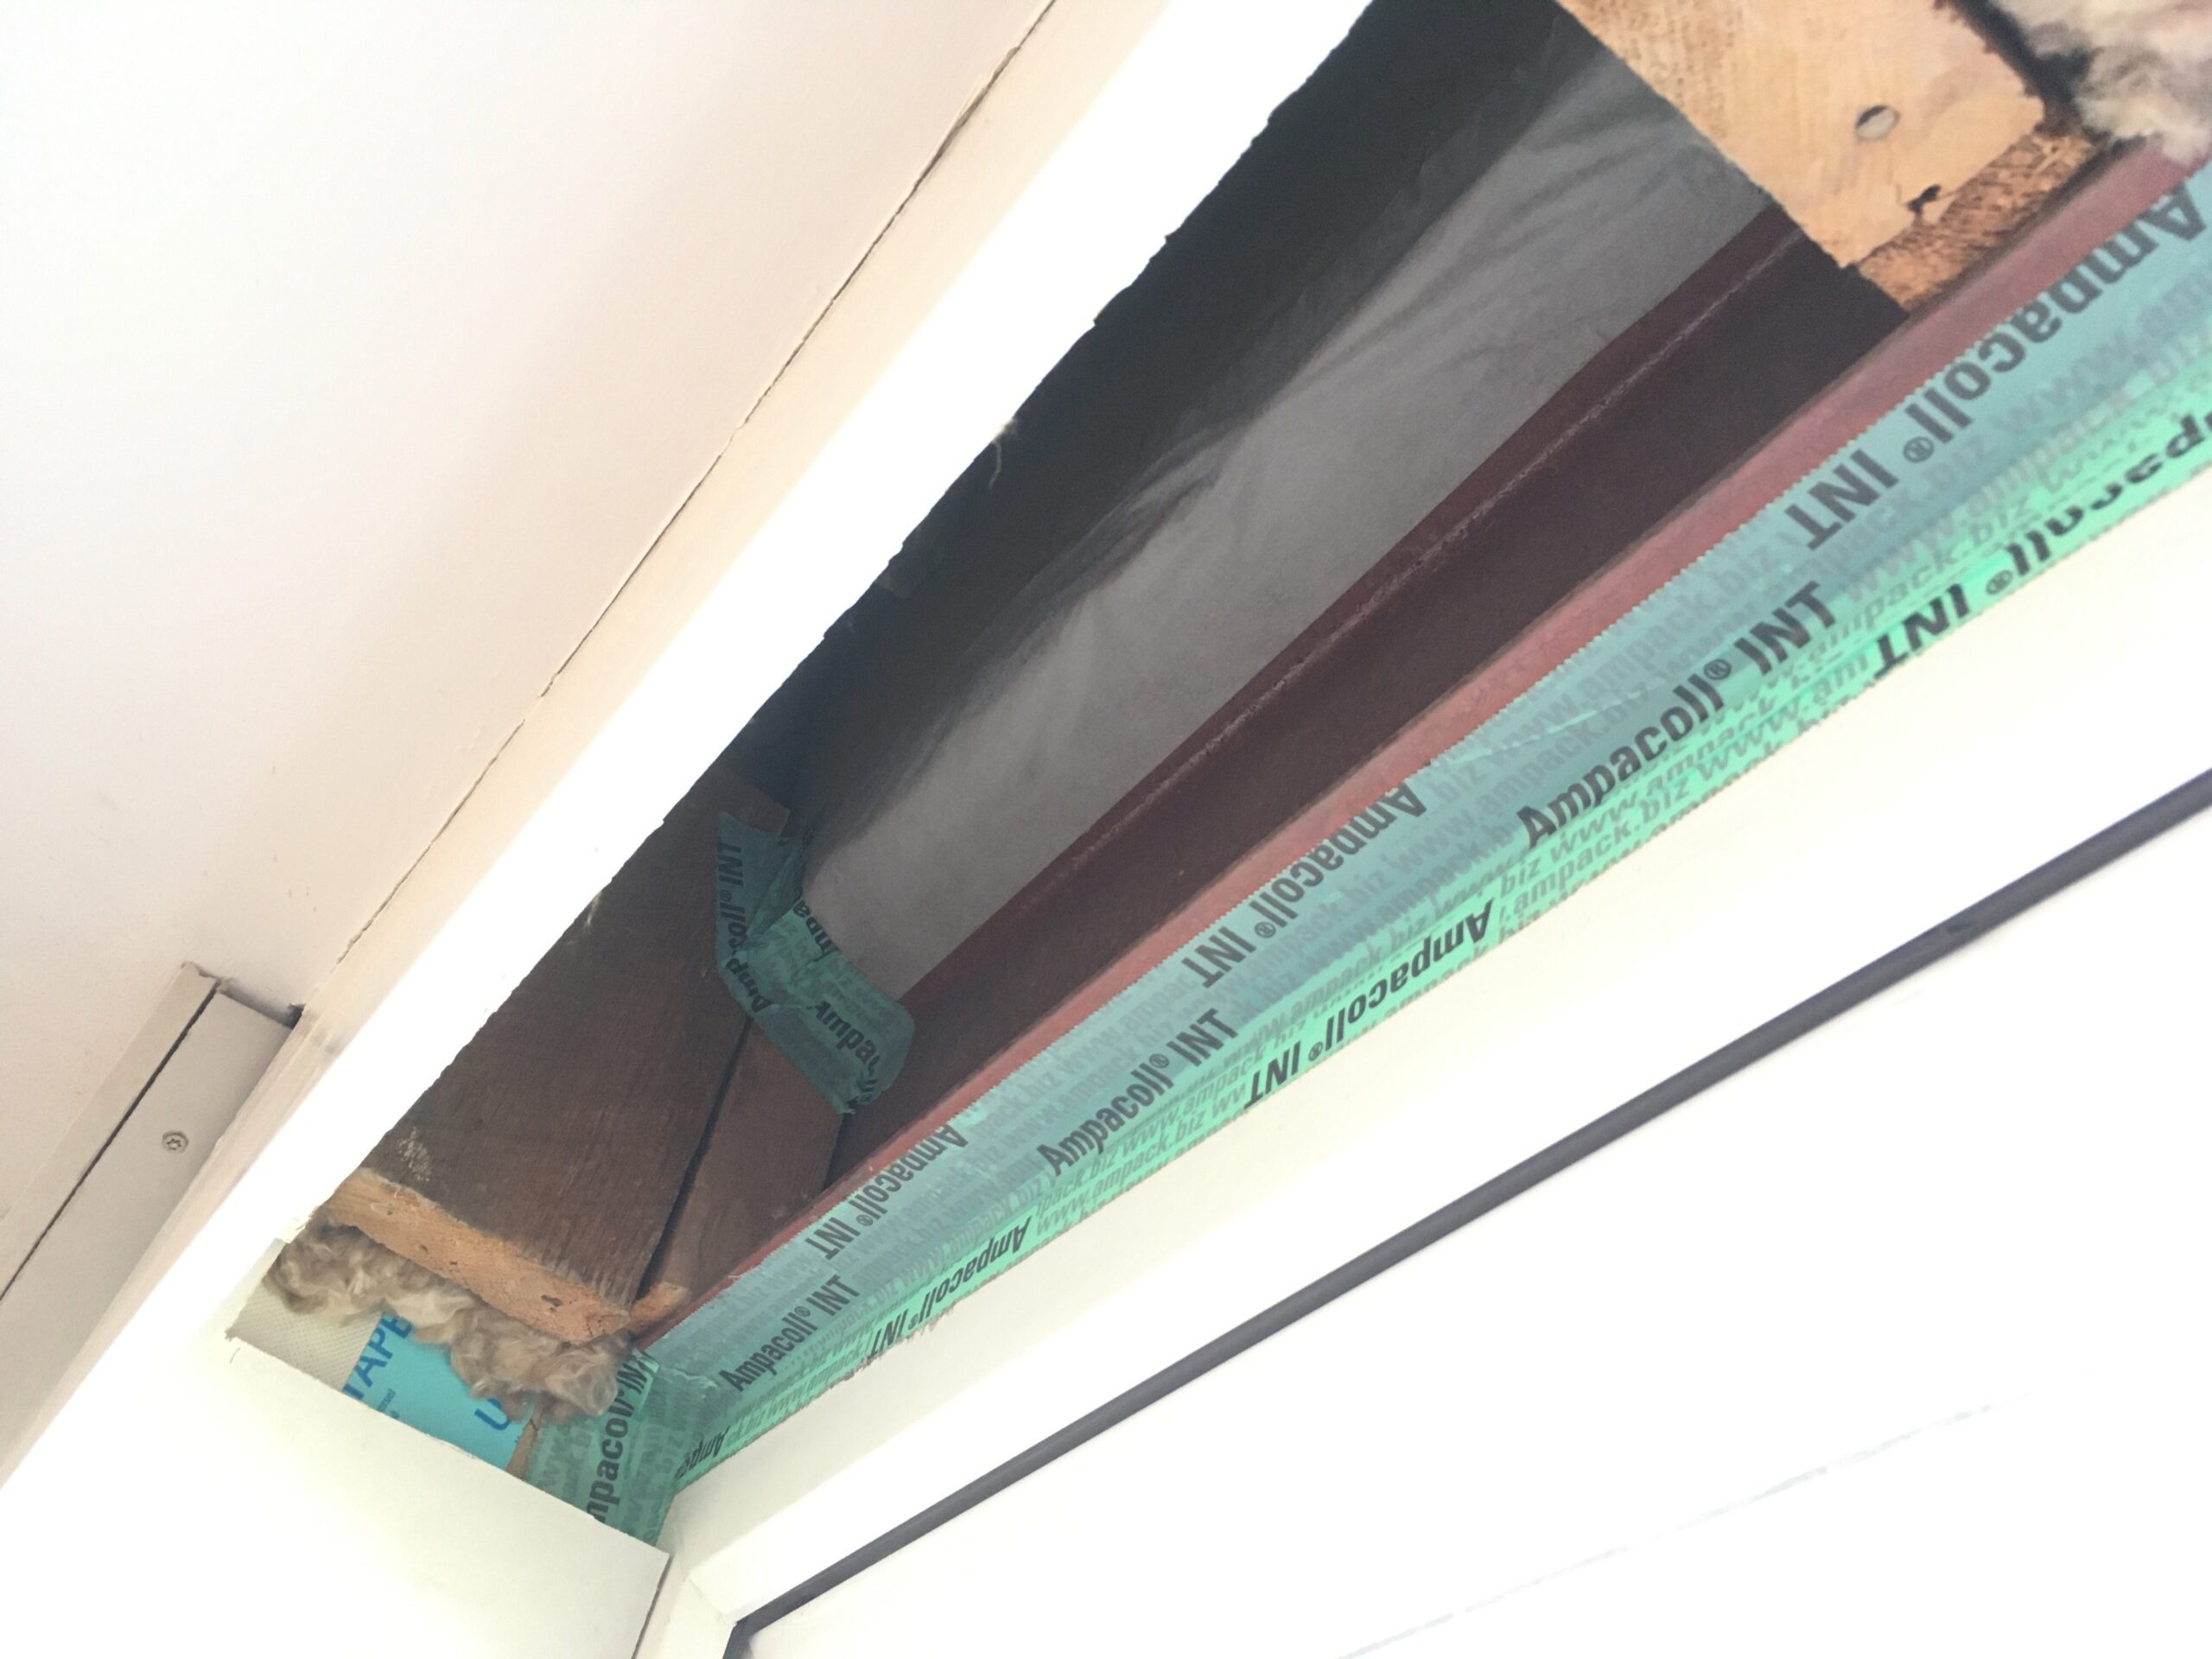
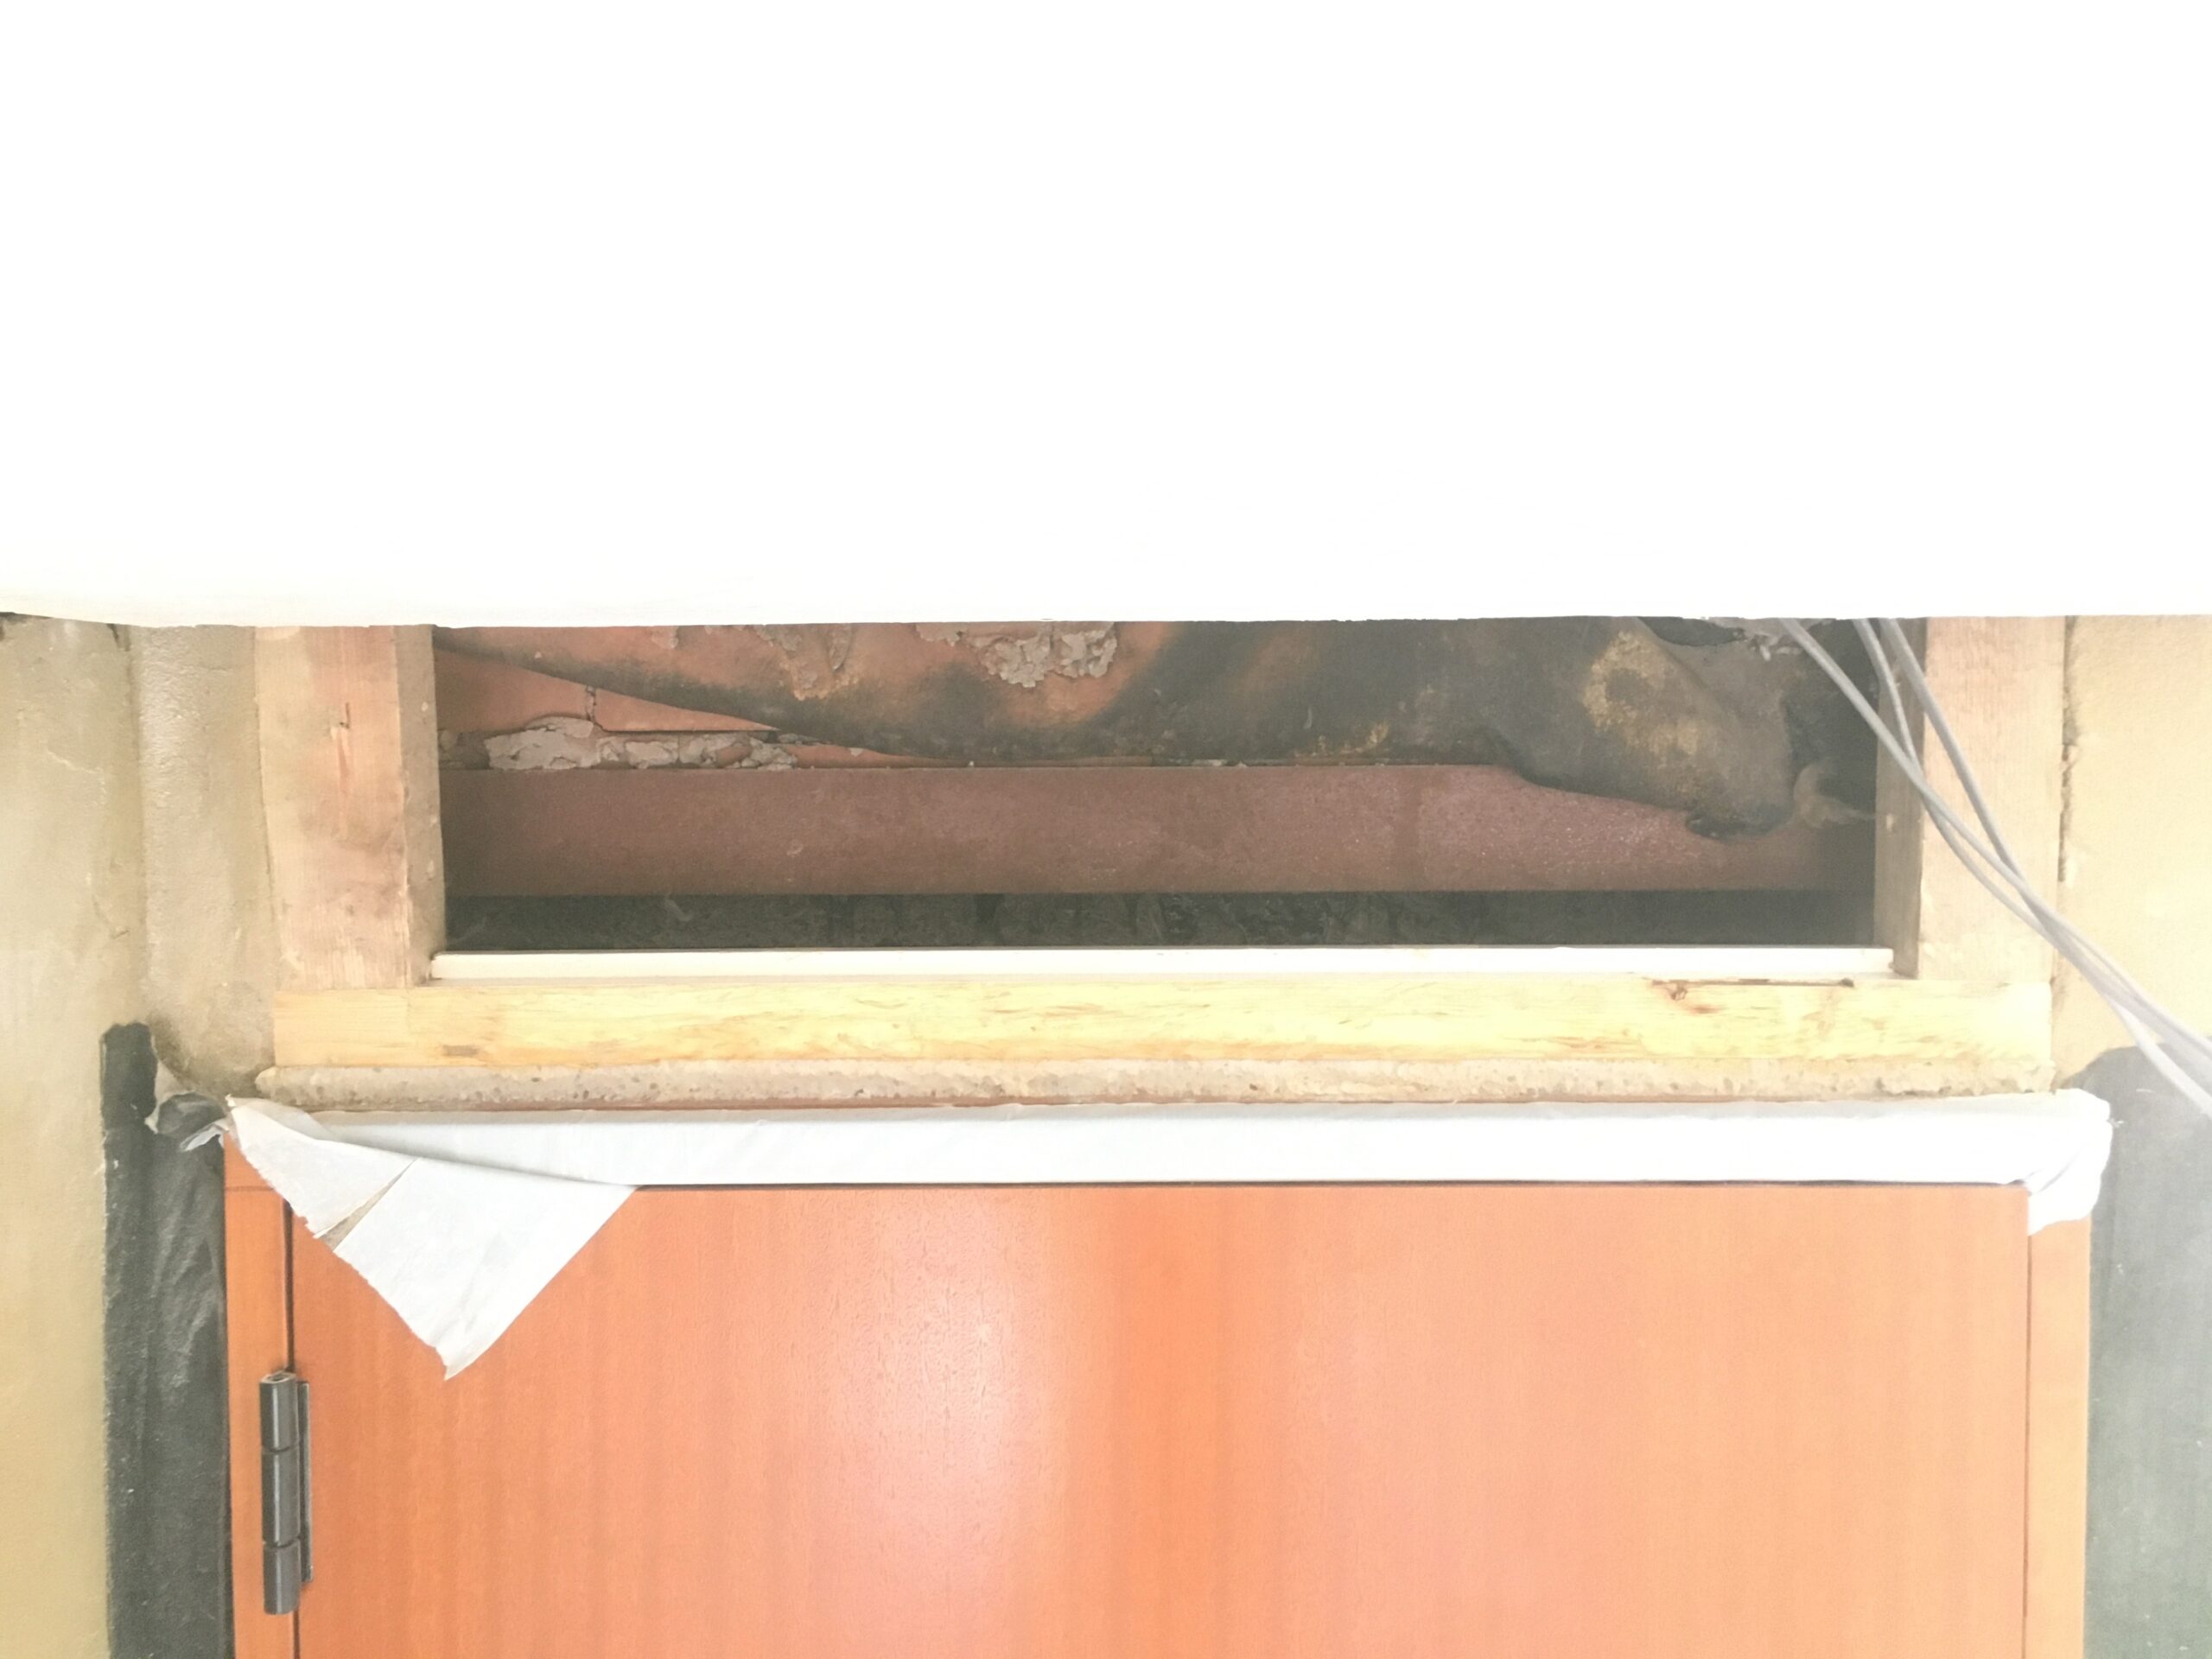
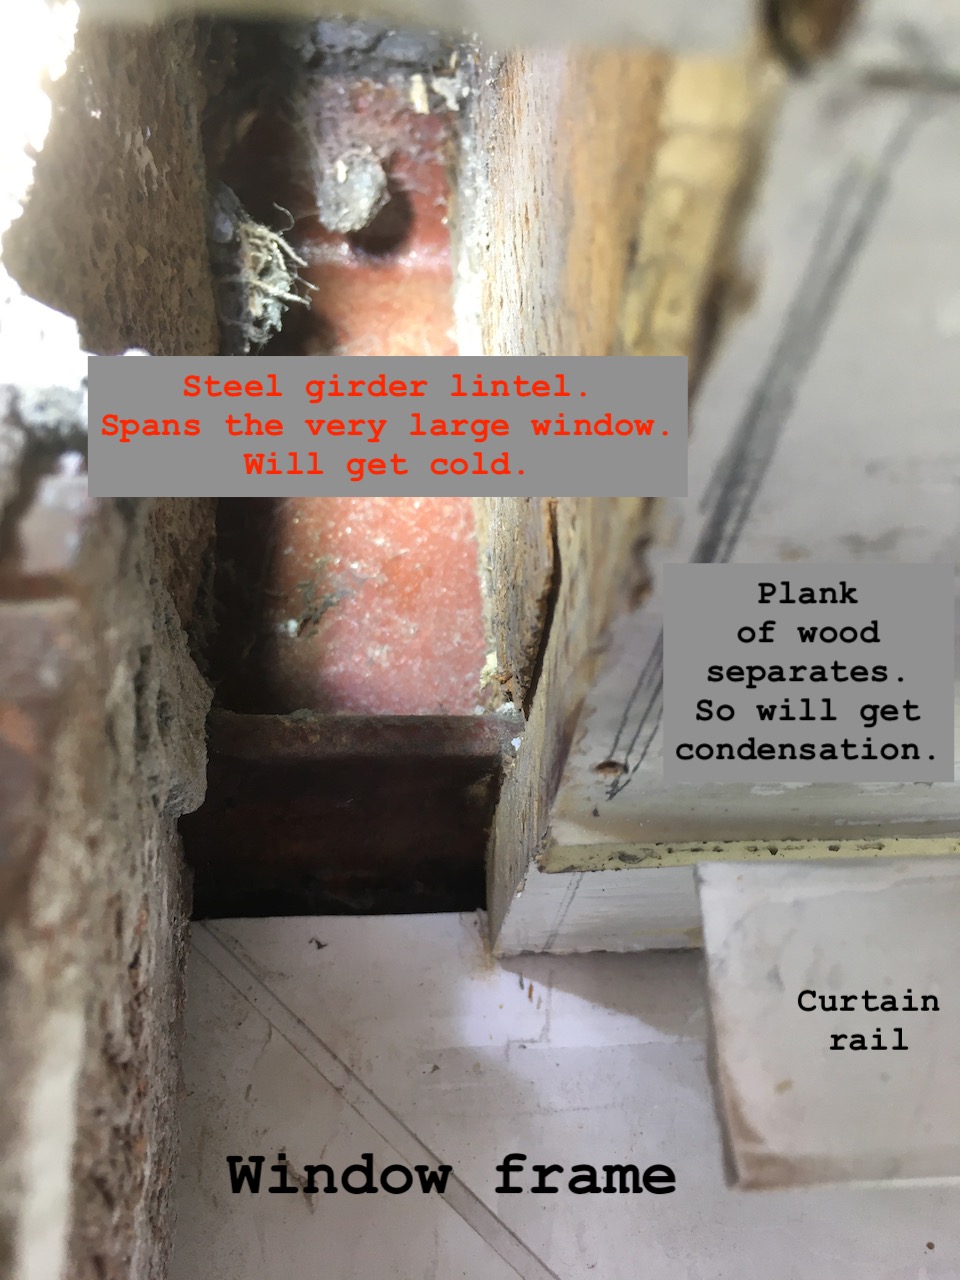
A final detail. I discovered the huge window is spanned by a steel girder. It’s covered by a piece of wood. The curtain rail is fixed to this. So that will get really cold! The coldest surface in the room could mean condensation, damp, mould. I managed to remove the piece of wood, whilst keeping the pelmet (curtain rail cover) in place. So that saves (a little bit of) work. I then trimmed the pelmit to fit insulation in the sides (window reveals).
I will need to insulate the girder – for this I’ll use left over floor insulation, a narrow off-cut of those long grey XPS polystyrene boards. Then re-cover with wood, and re-fix a curtain rail.
Next:
fill fire place
prepare walls e.g. where old light fittings, gas pipes etc. were
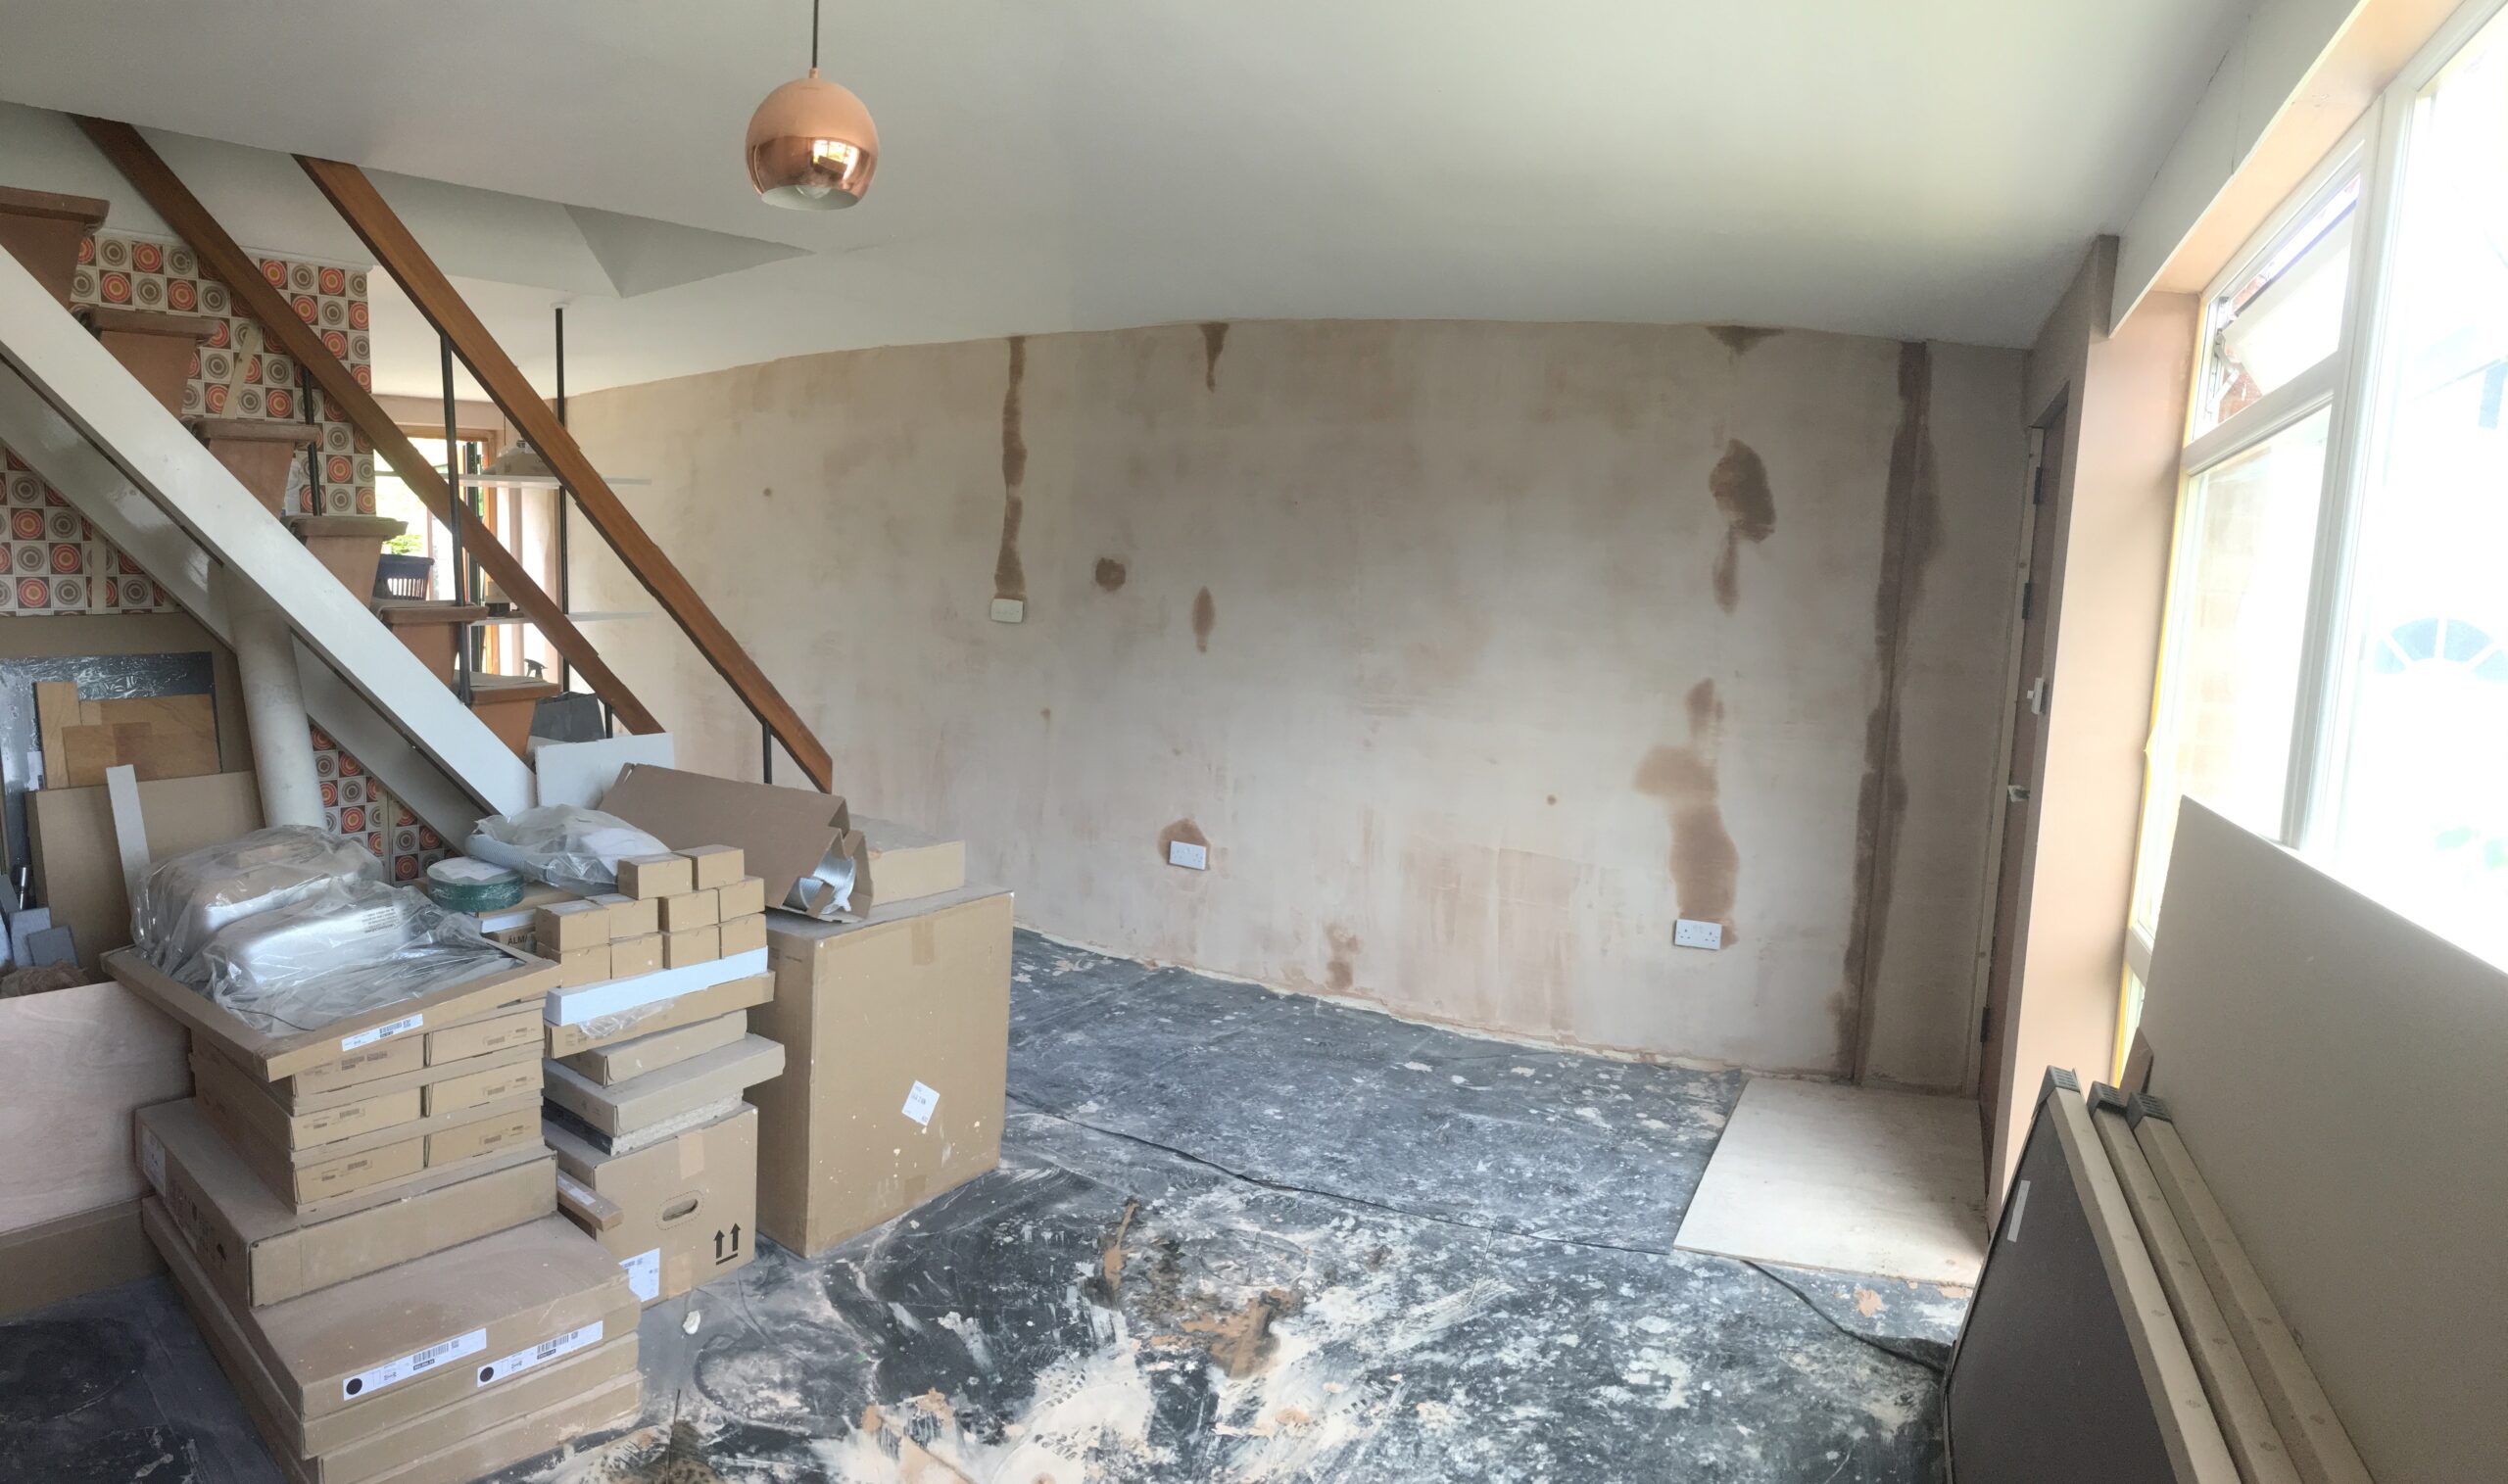
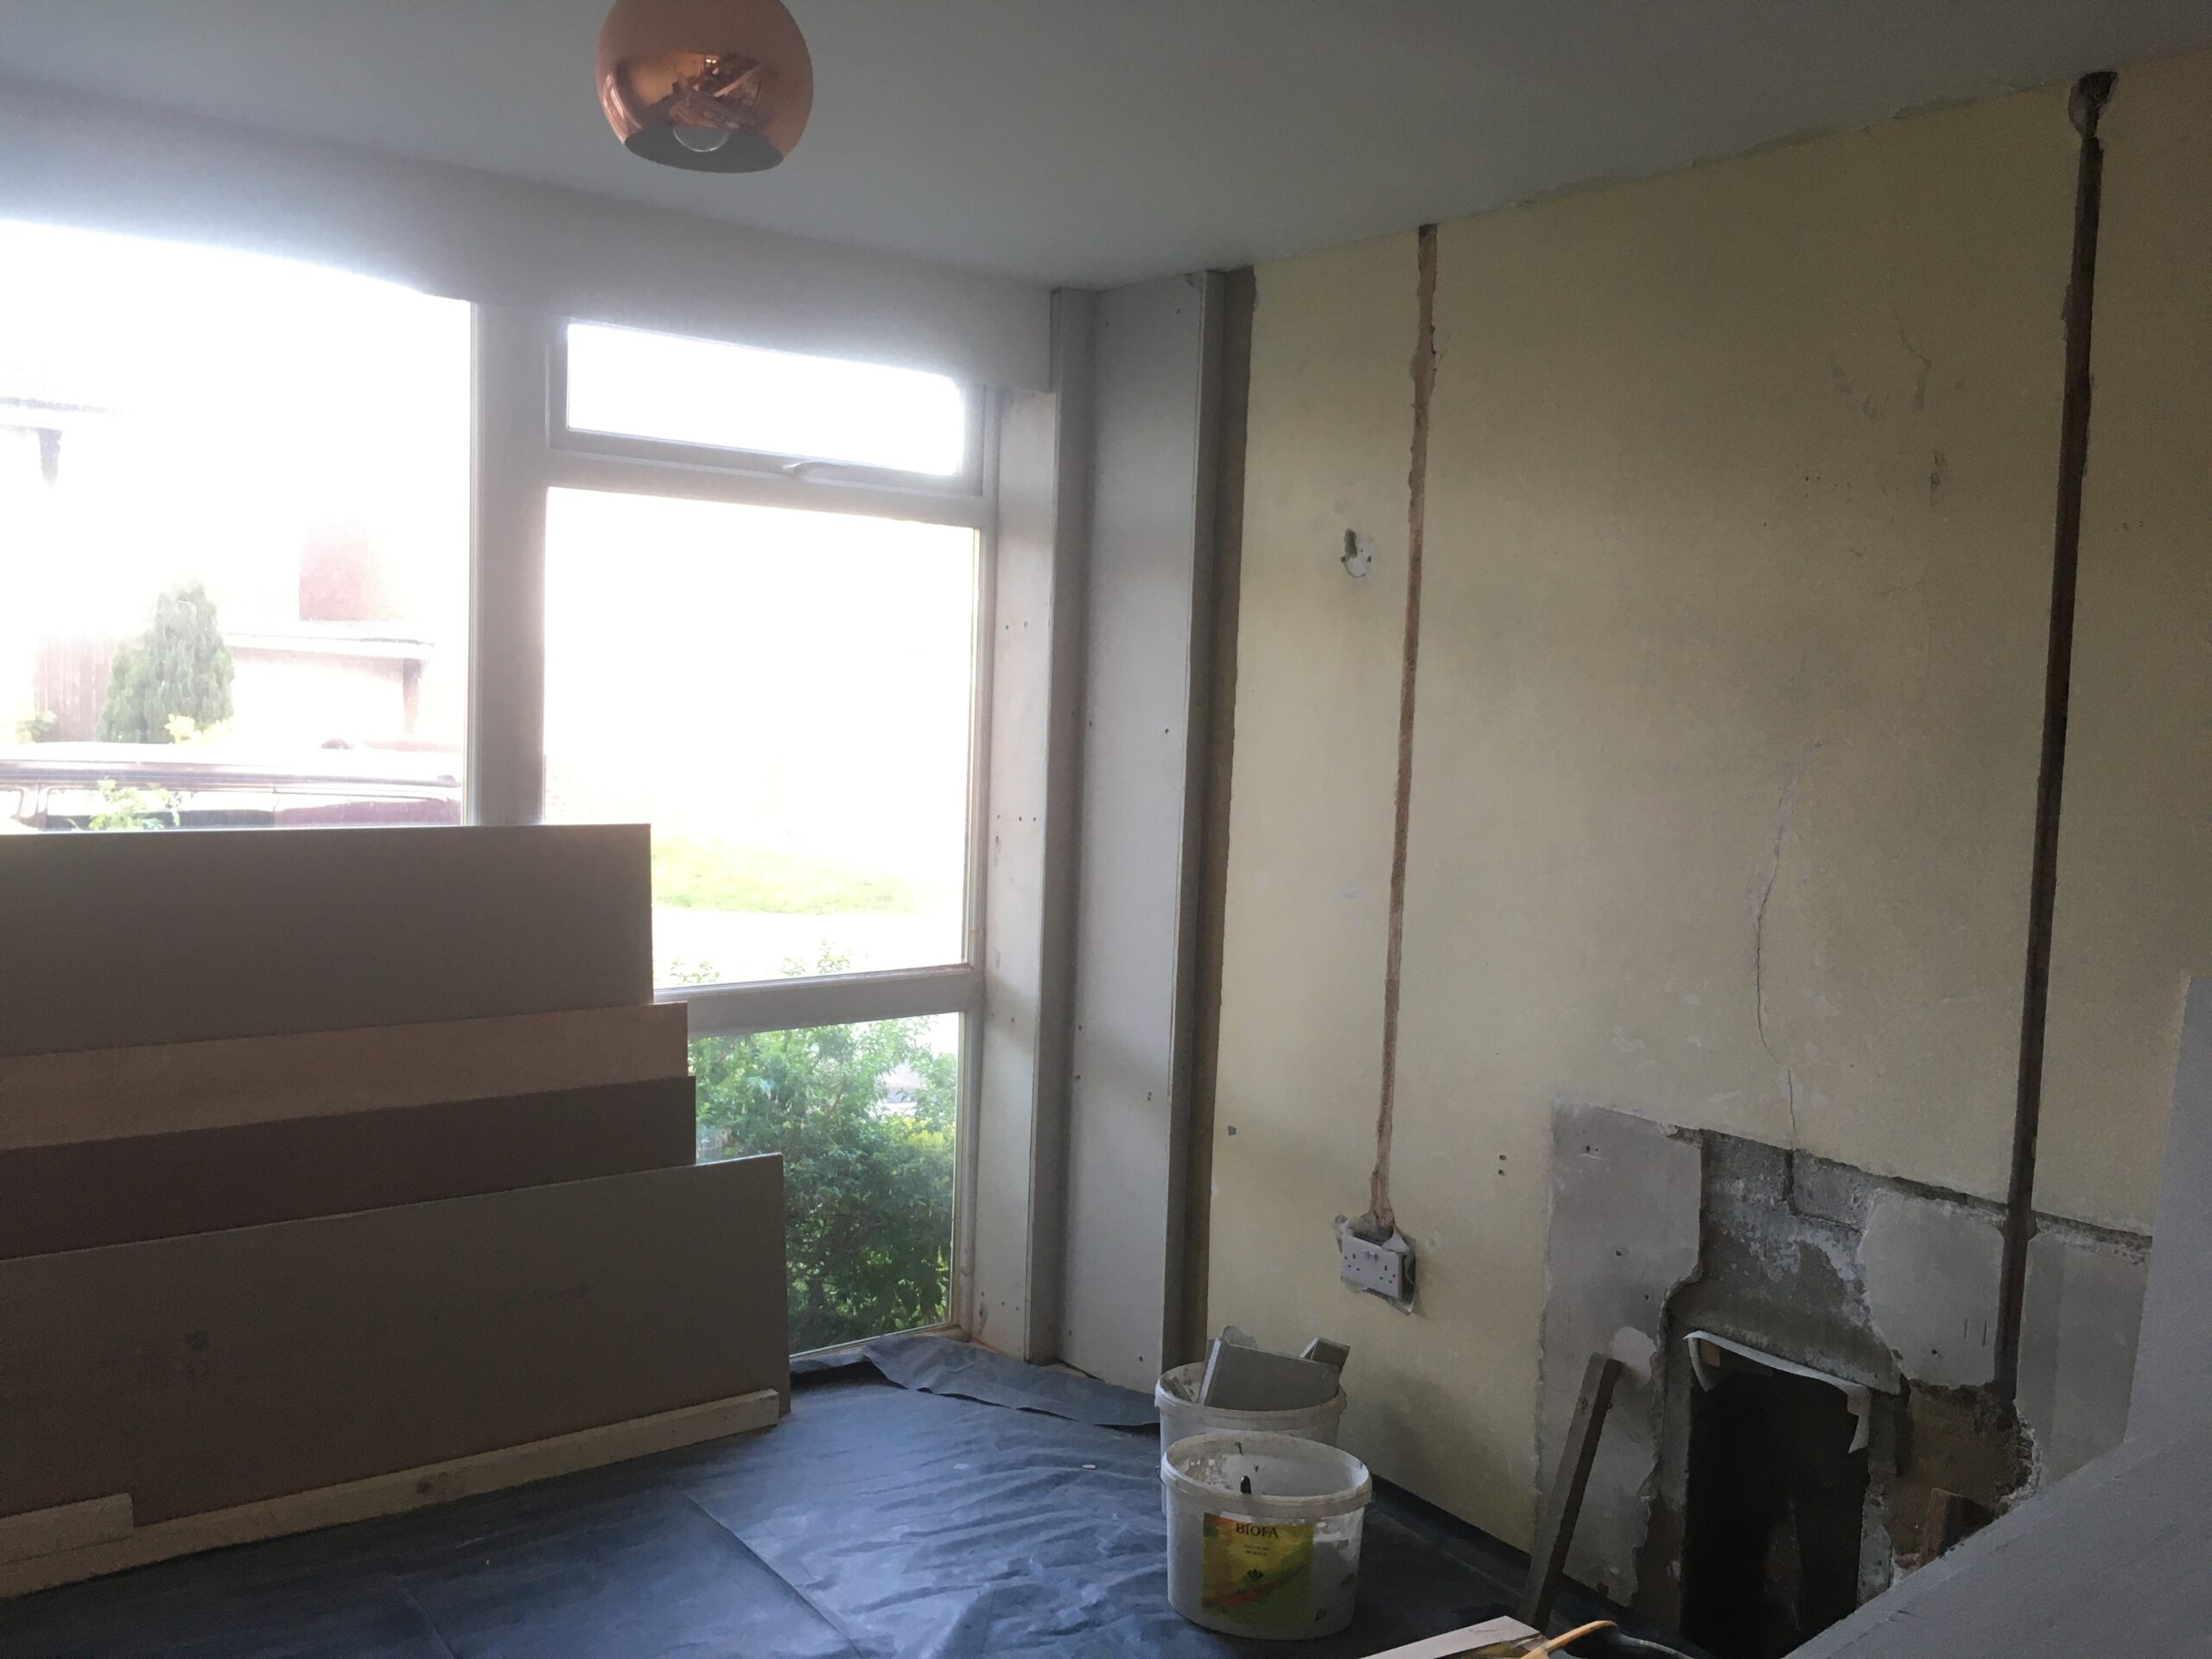
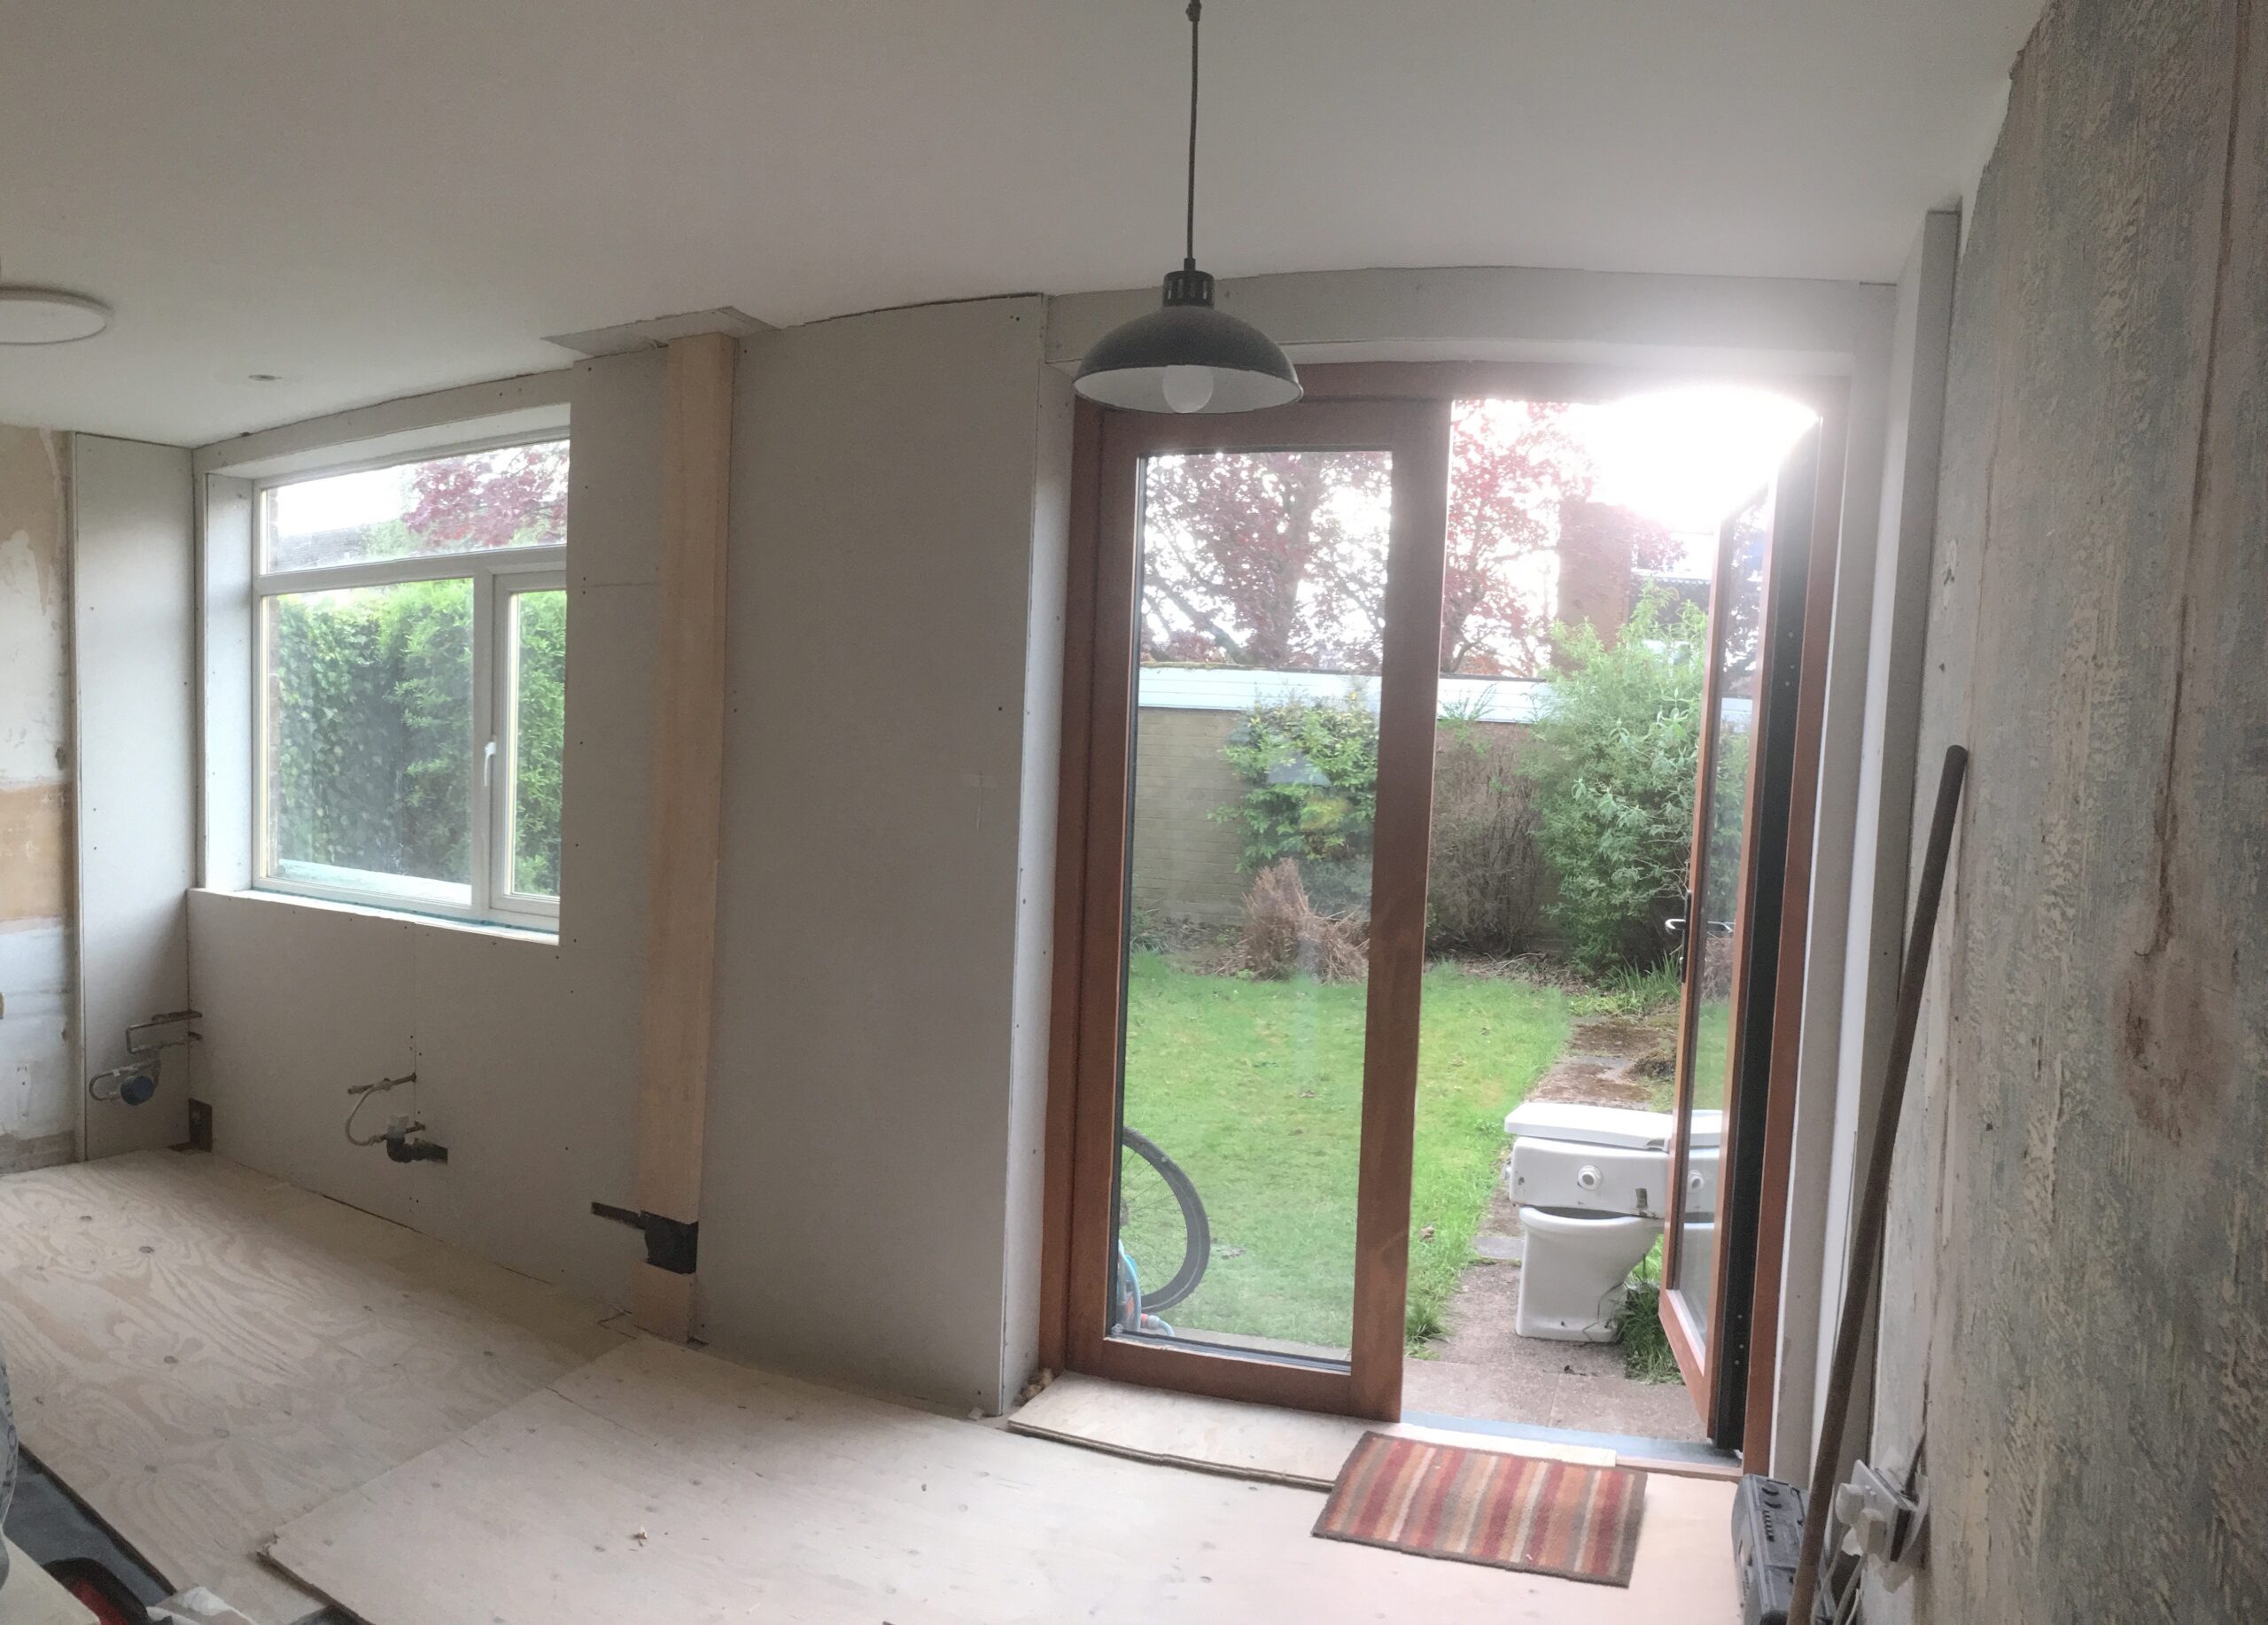
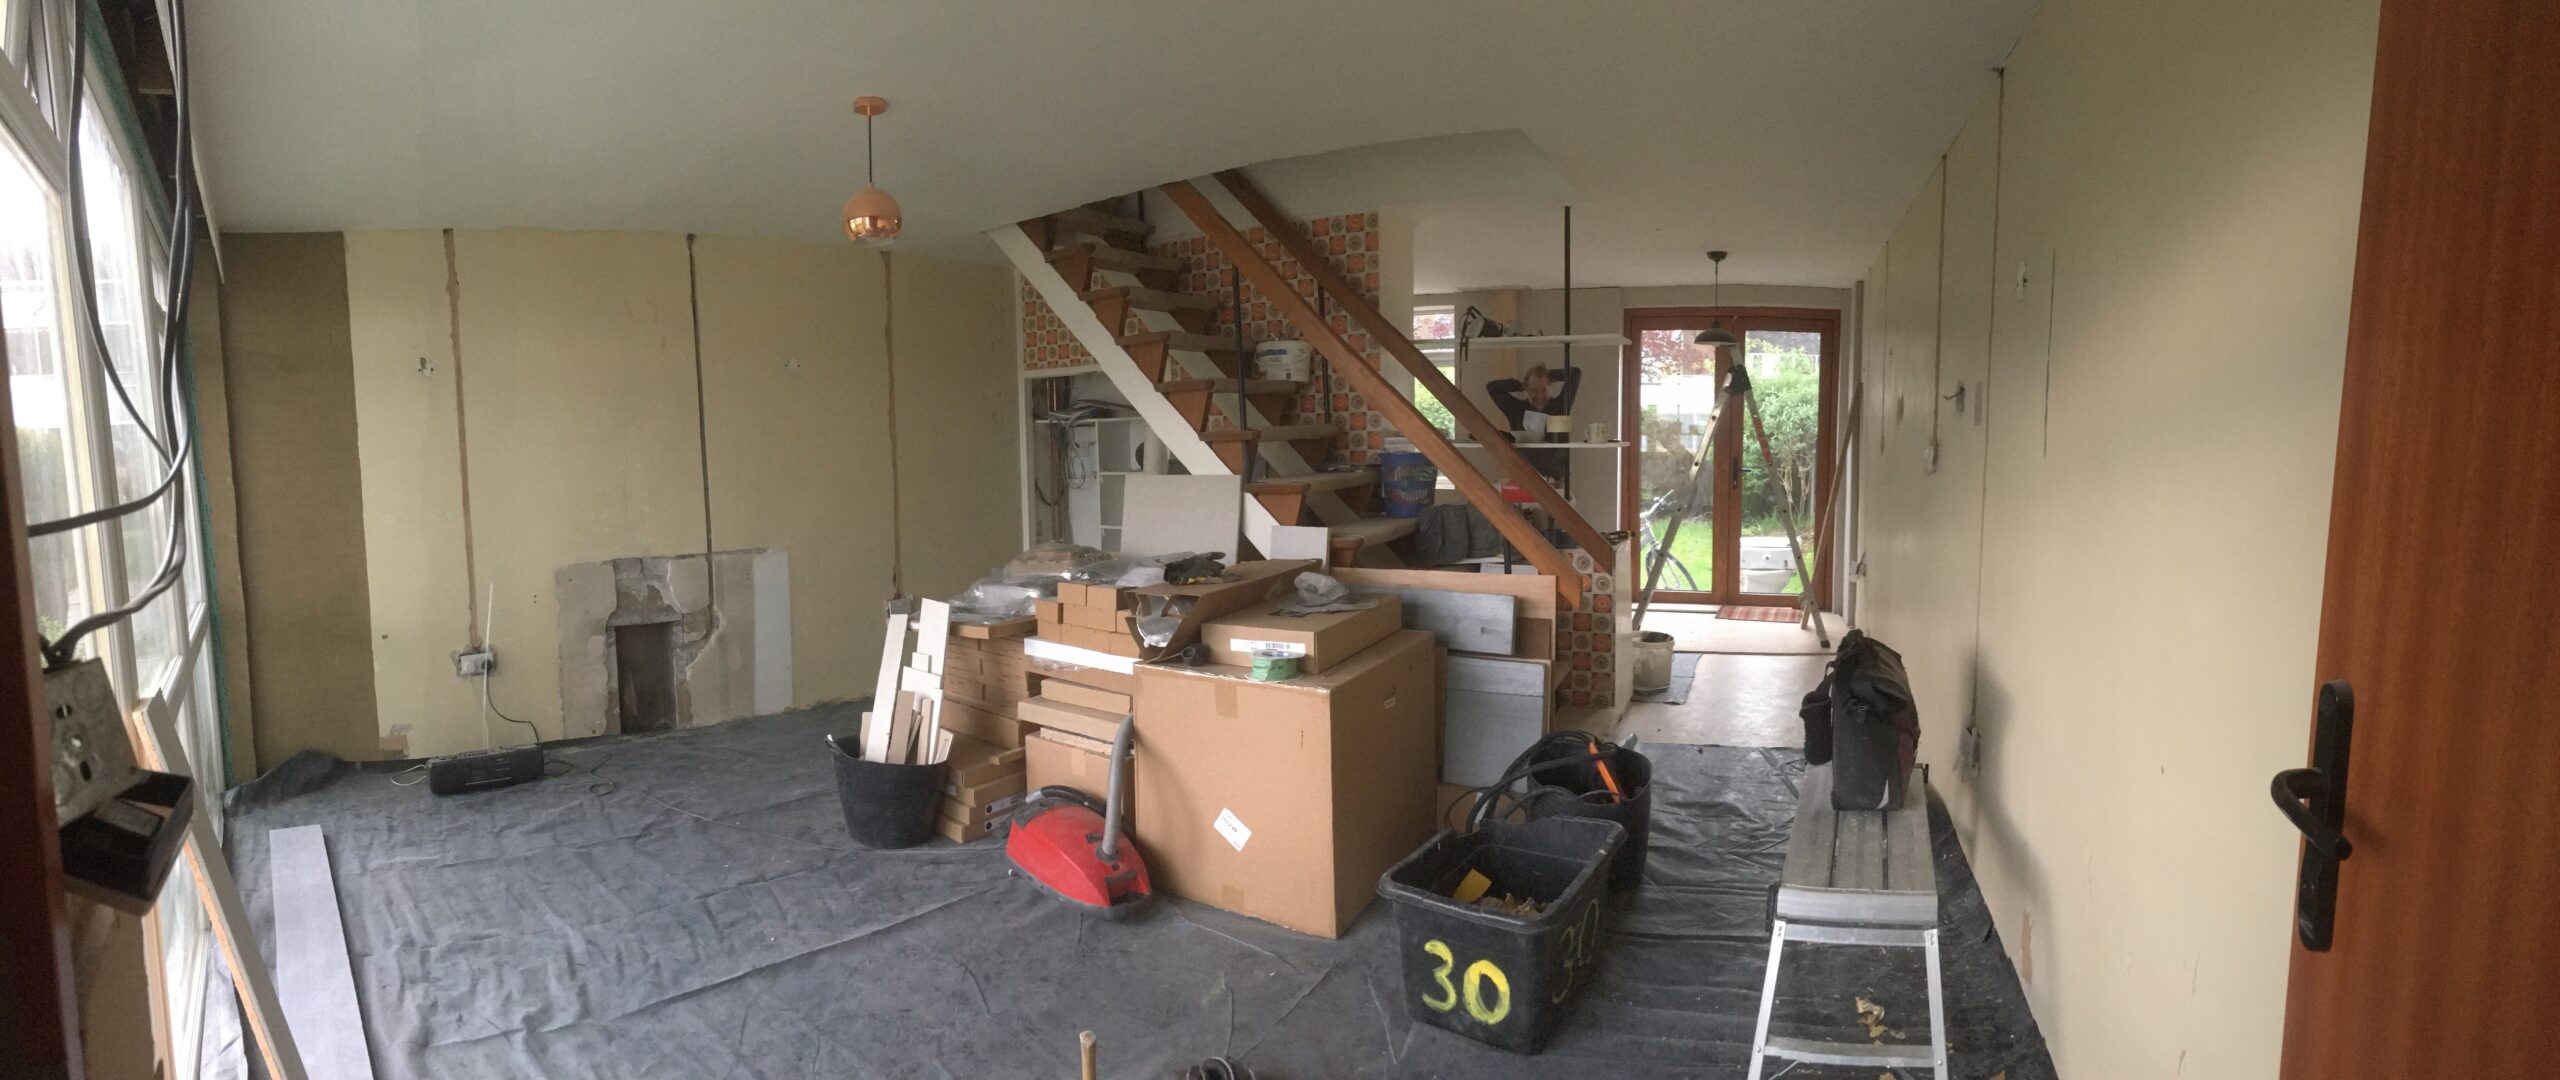
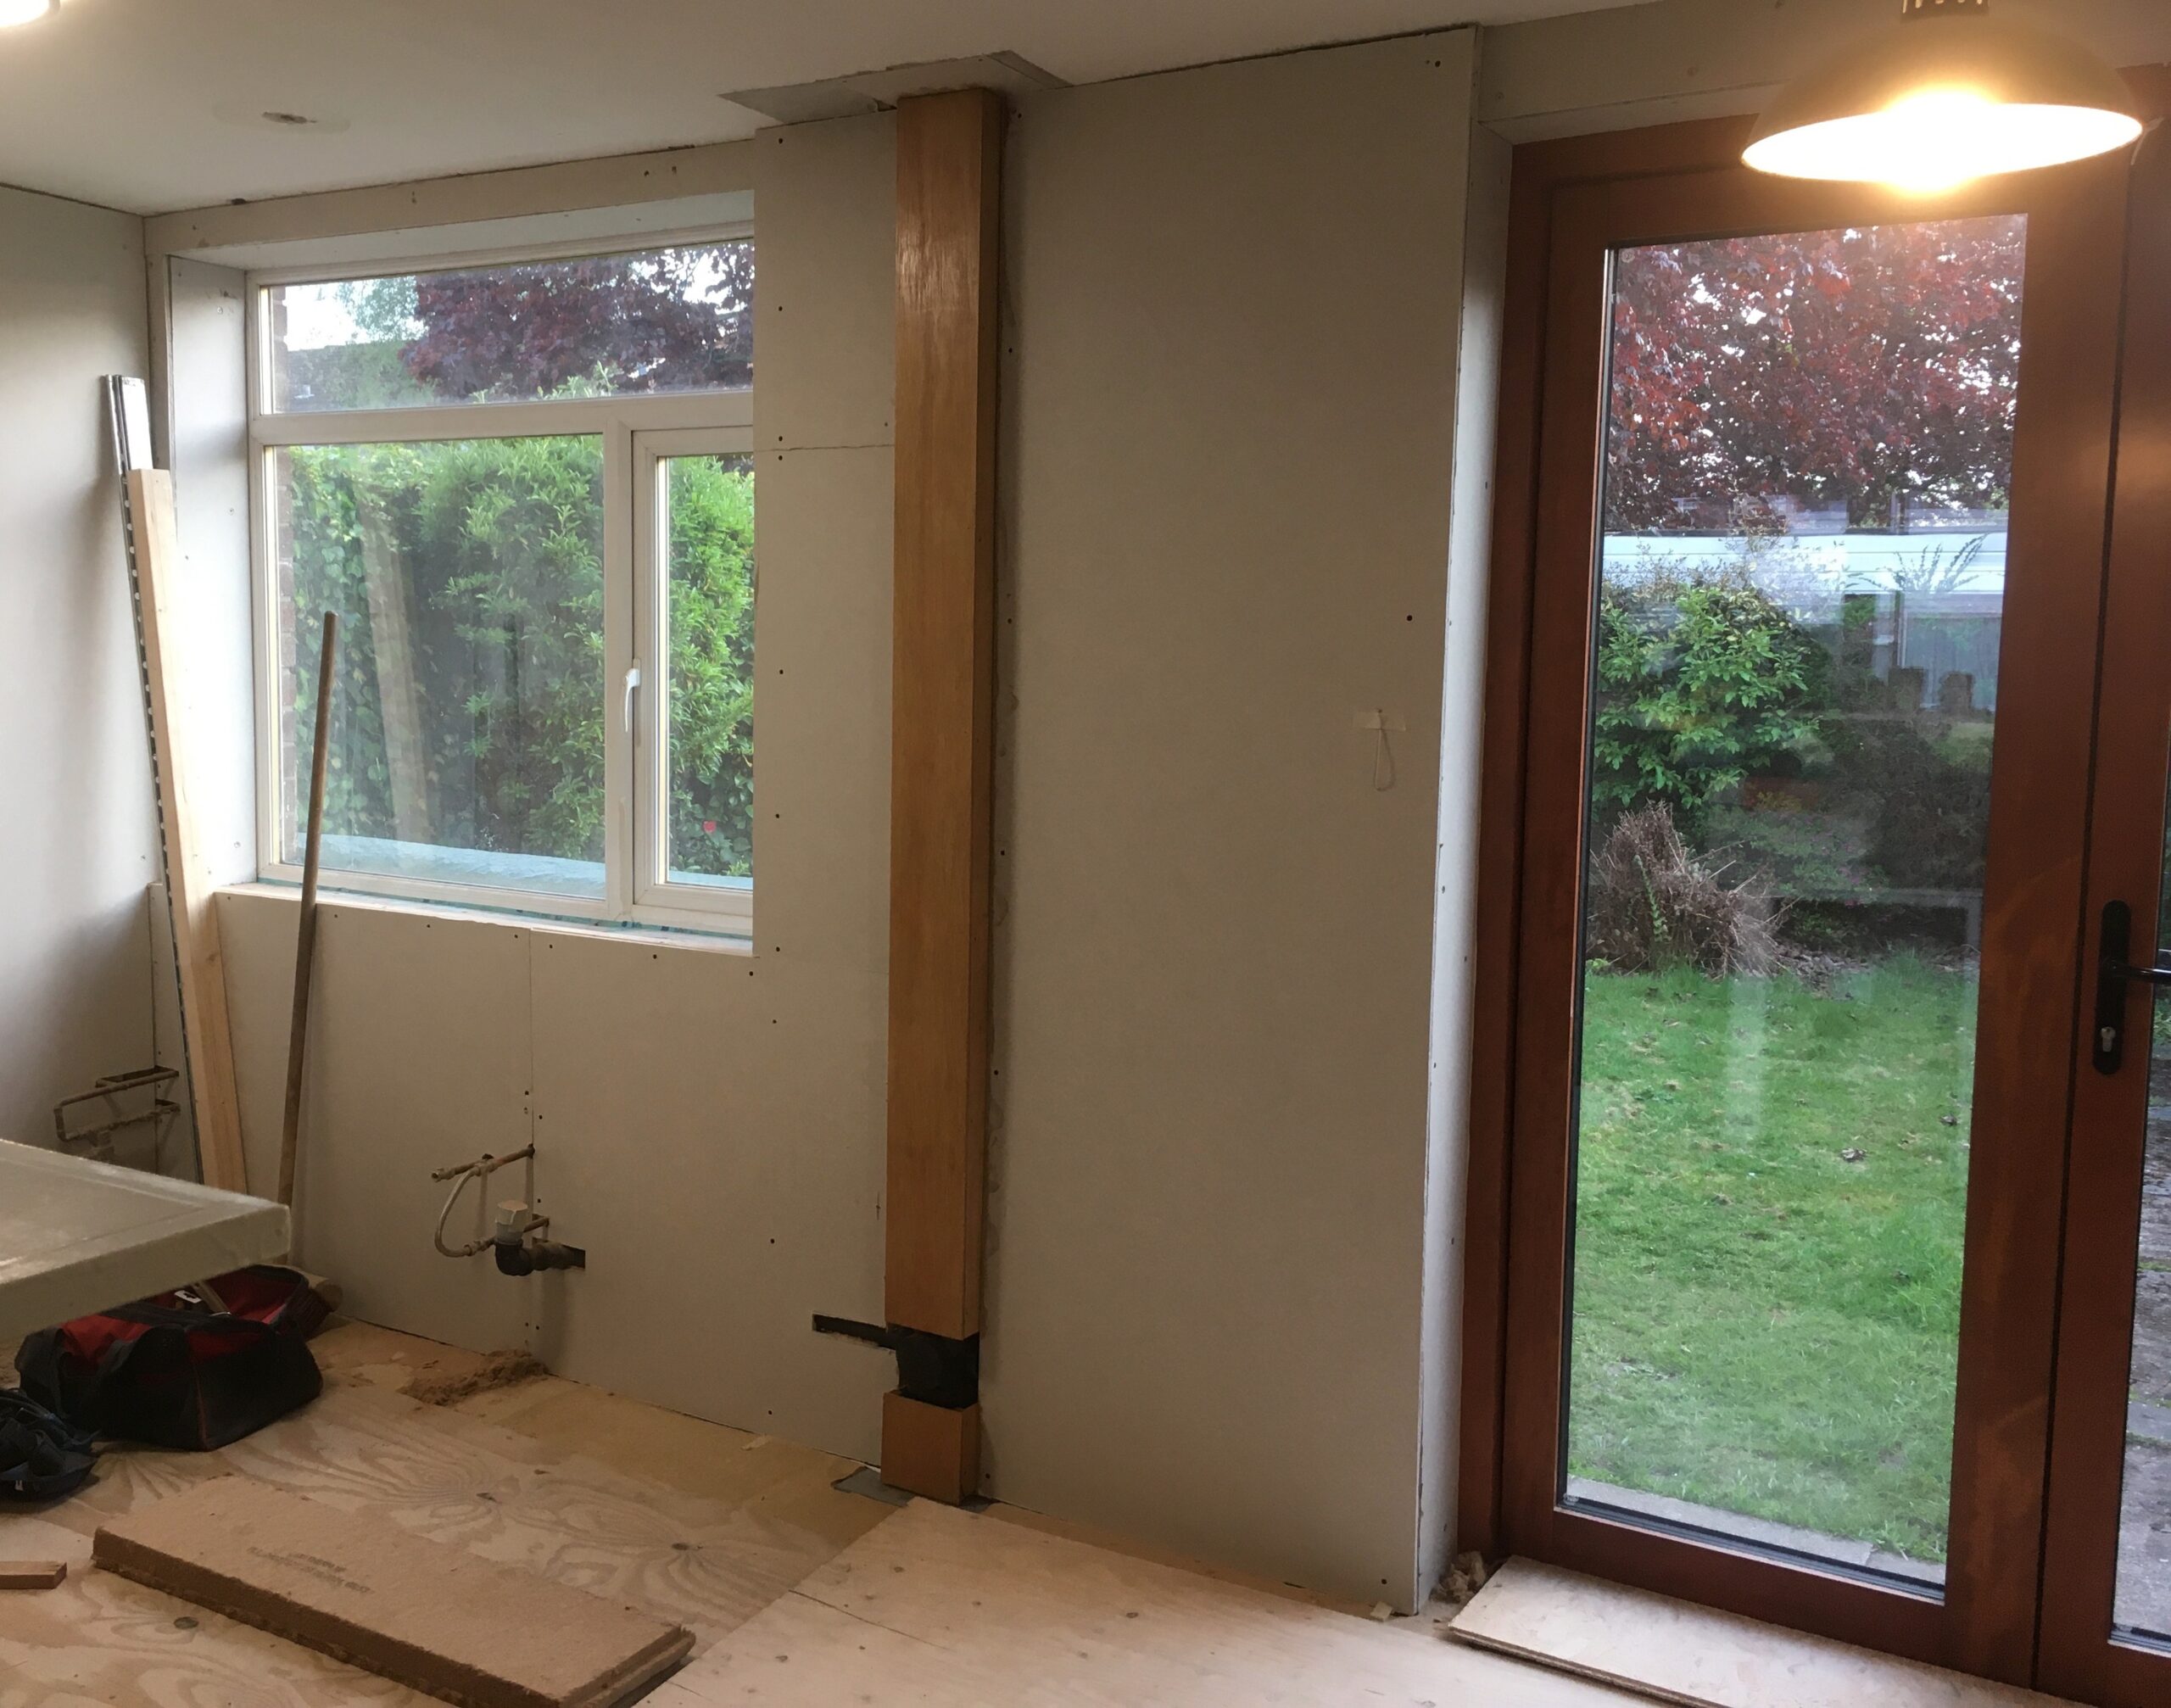
Reconstruction of the downstairs back wall is complete, hooray!
Kitchen will be on the left, dining area on the right.
Feels like progress.
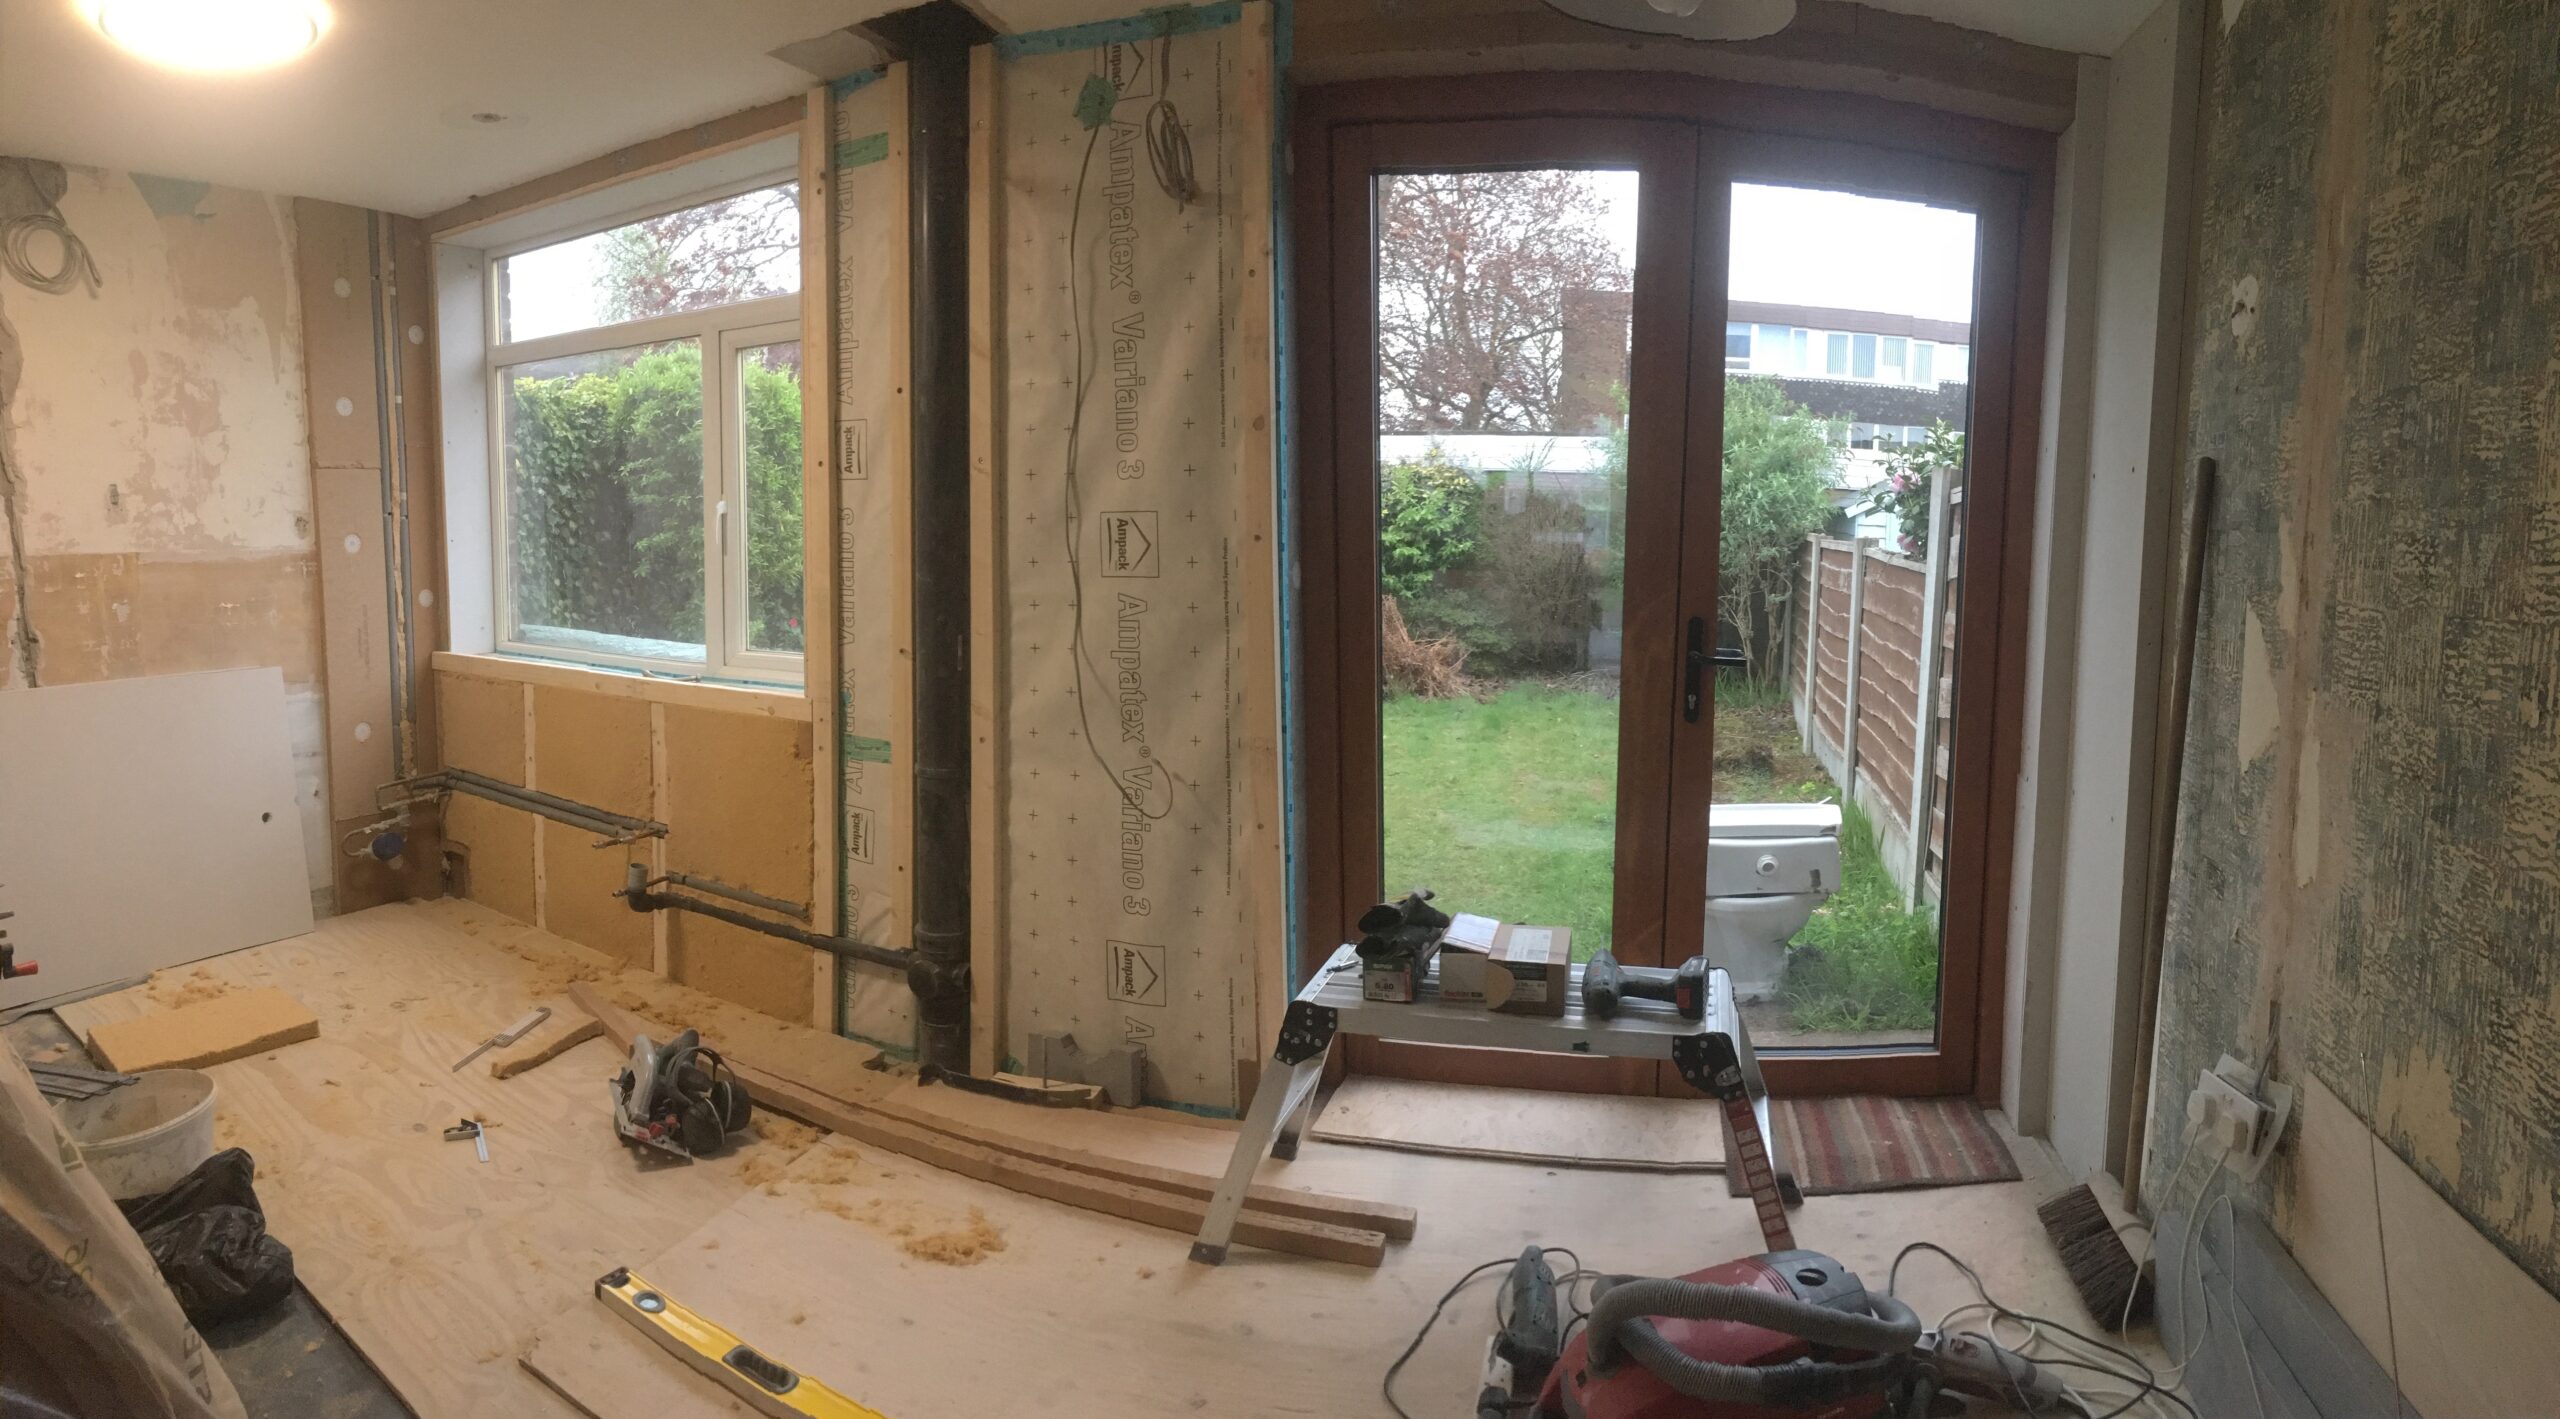
Flexible wood fibre insulation batts fills between the studs (in the timber frame).
This ‘stud wall’ has been finished with large sections of plasterboard, ready for a skim coat of plaster (not by me).
The exact build up is in the previous post here.
Most of the old, cast iron soil pipe (toilet sewage pipe, running internally down the back wall) was replaced, to rearrange & re-plumb the bathroom above. Now boxed in. Packed with wood fibre batts, also to muffle the sound.
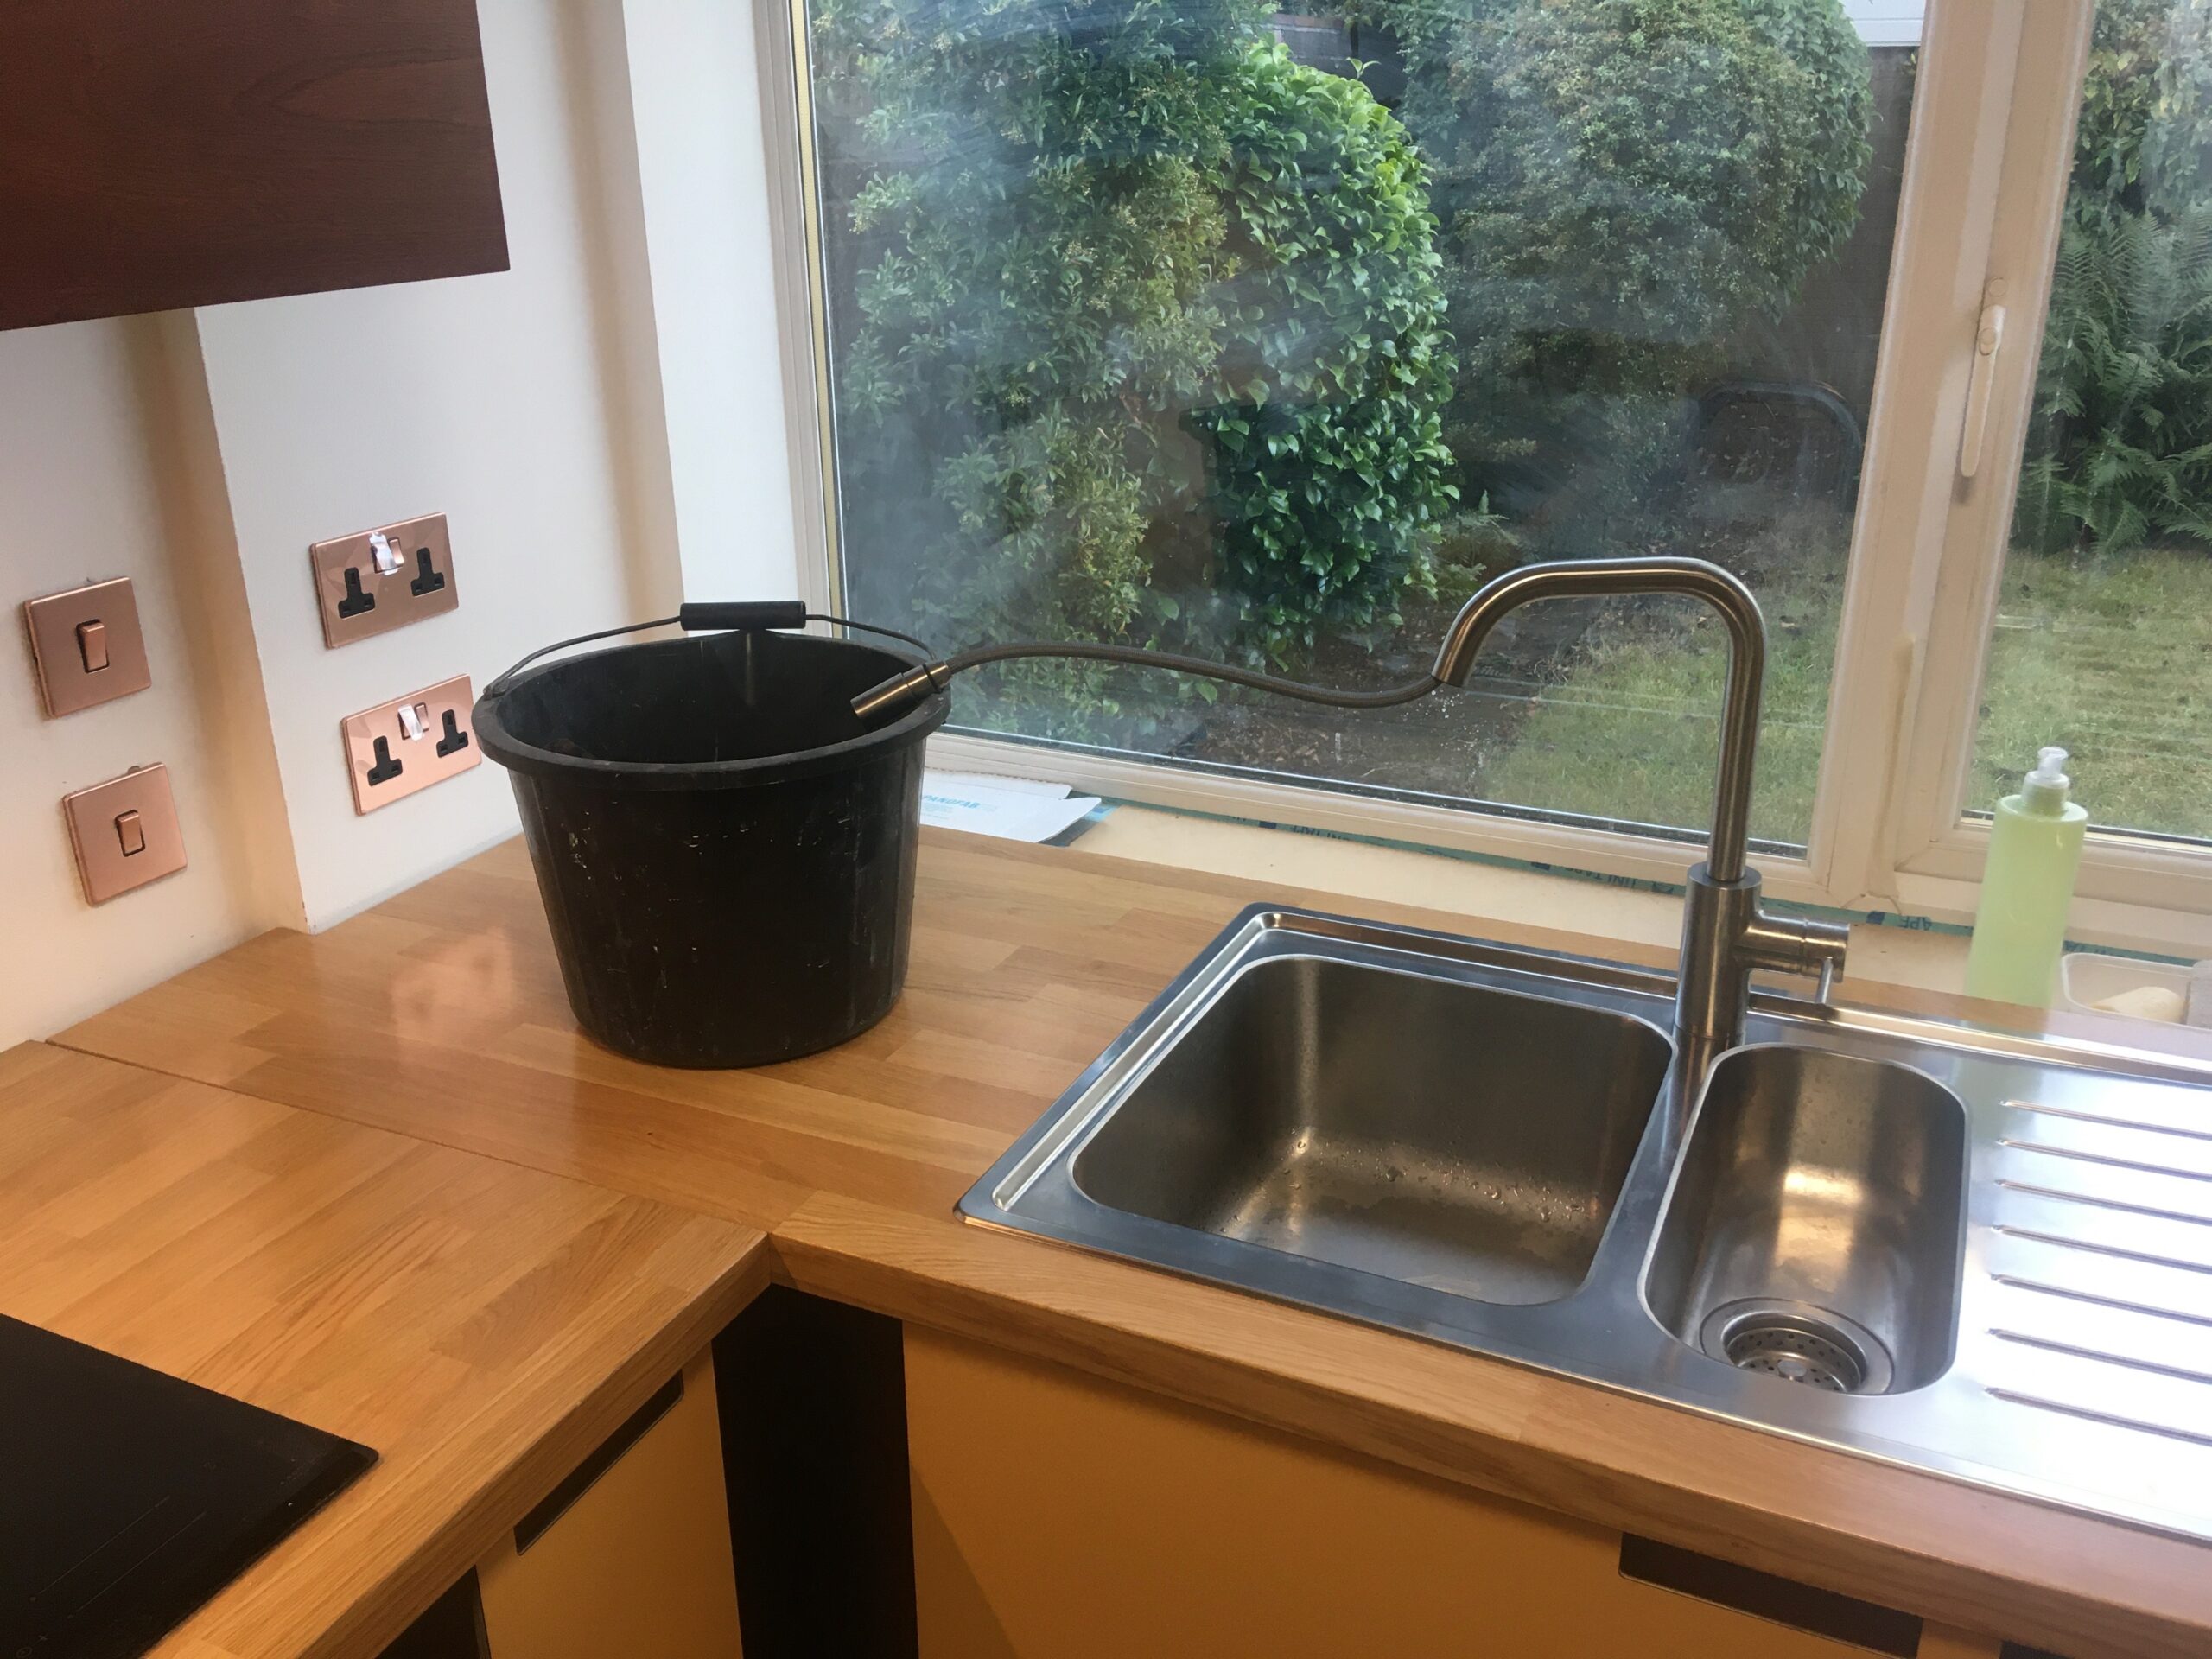
Waste pipe for kitchen sink connected.
New cold & hot water pipe runs to & from upstairs, a better route for connecting to the new hot water tank, up the left hand wall; now inside the wall
water supply pipes for the kitchen sink, hopefully in the right place.