All posts by rich

Some Wall Insulation

At last – some wall insulation – I can’t believe it’s taken 7 months to reach this point!

In Hull, I used 100mm wood-fibre boards, finished with a single coat of lime plaster applied directly to the boards.  Reasonably simple really.

That would be too easy though.

These days, they don’t recommend thicker than 60mm in a single layer.  So get a decent level of insulation NatureWall was specified. It’s built up like this:

  • remove old plaster, take it back to brick/block
  • clay plaster – base coat to level & fill gaps
  • air tightness – draught proofing tape around windows, doors, pipes, wires etc.
  • wood-fibre board – 60mm rigid wood-fibre – old school natural insulation
  • vapour check membrane – to prevent moist air from living spaces getting into the wall and causing condensation on the cold side of the insulation
  • stud wall – 40mm timber posts
  • flexible wood-fibre – insulation in the stud wall, between the posts
  • plaster board – conventional
  • plaster – skim coat finish


Floor Grinds To Conclusion

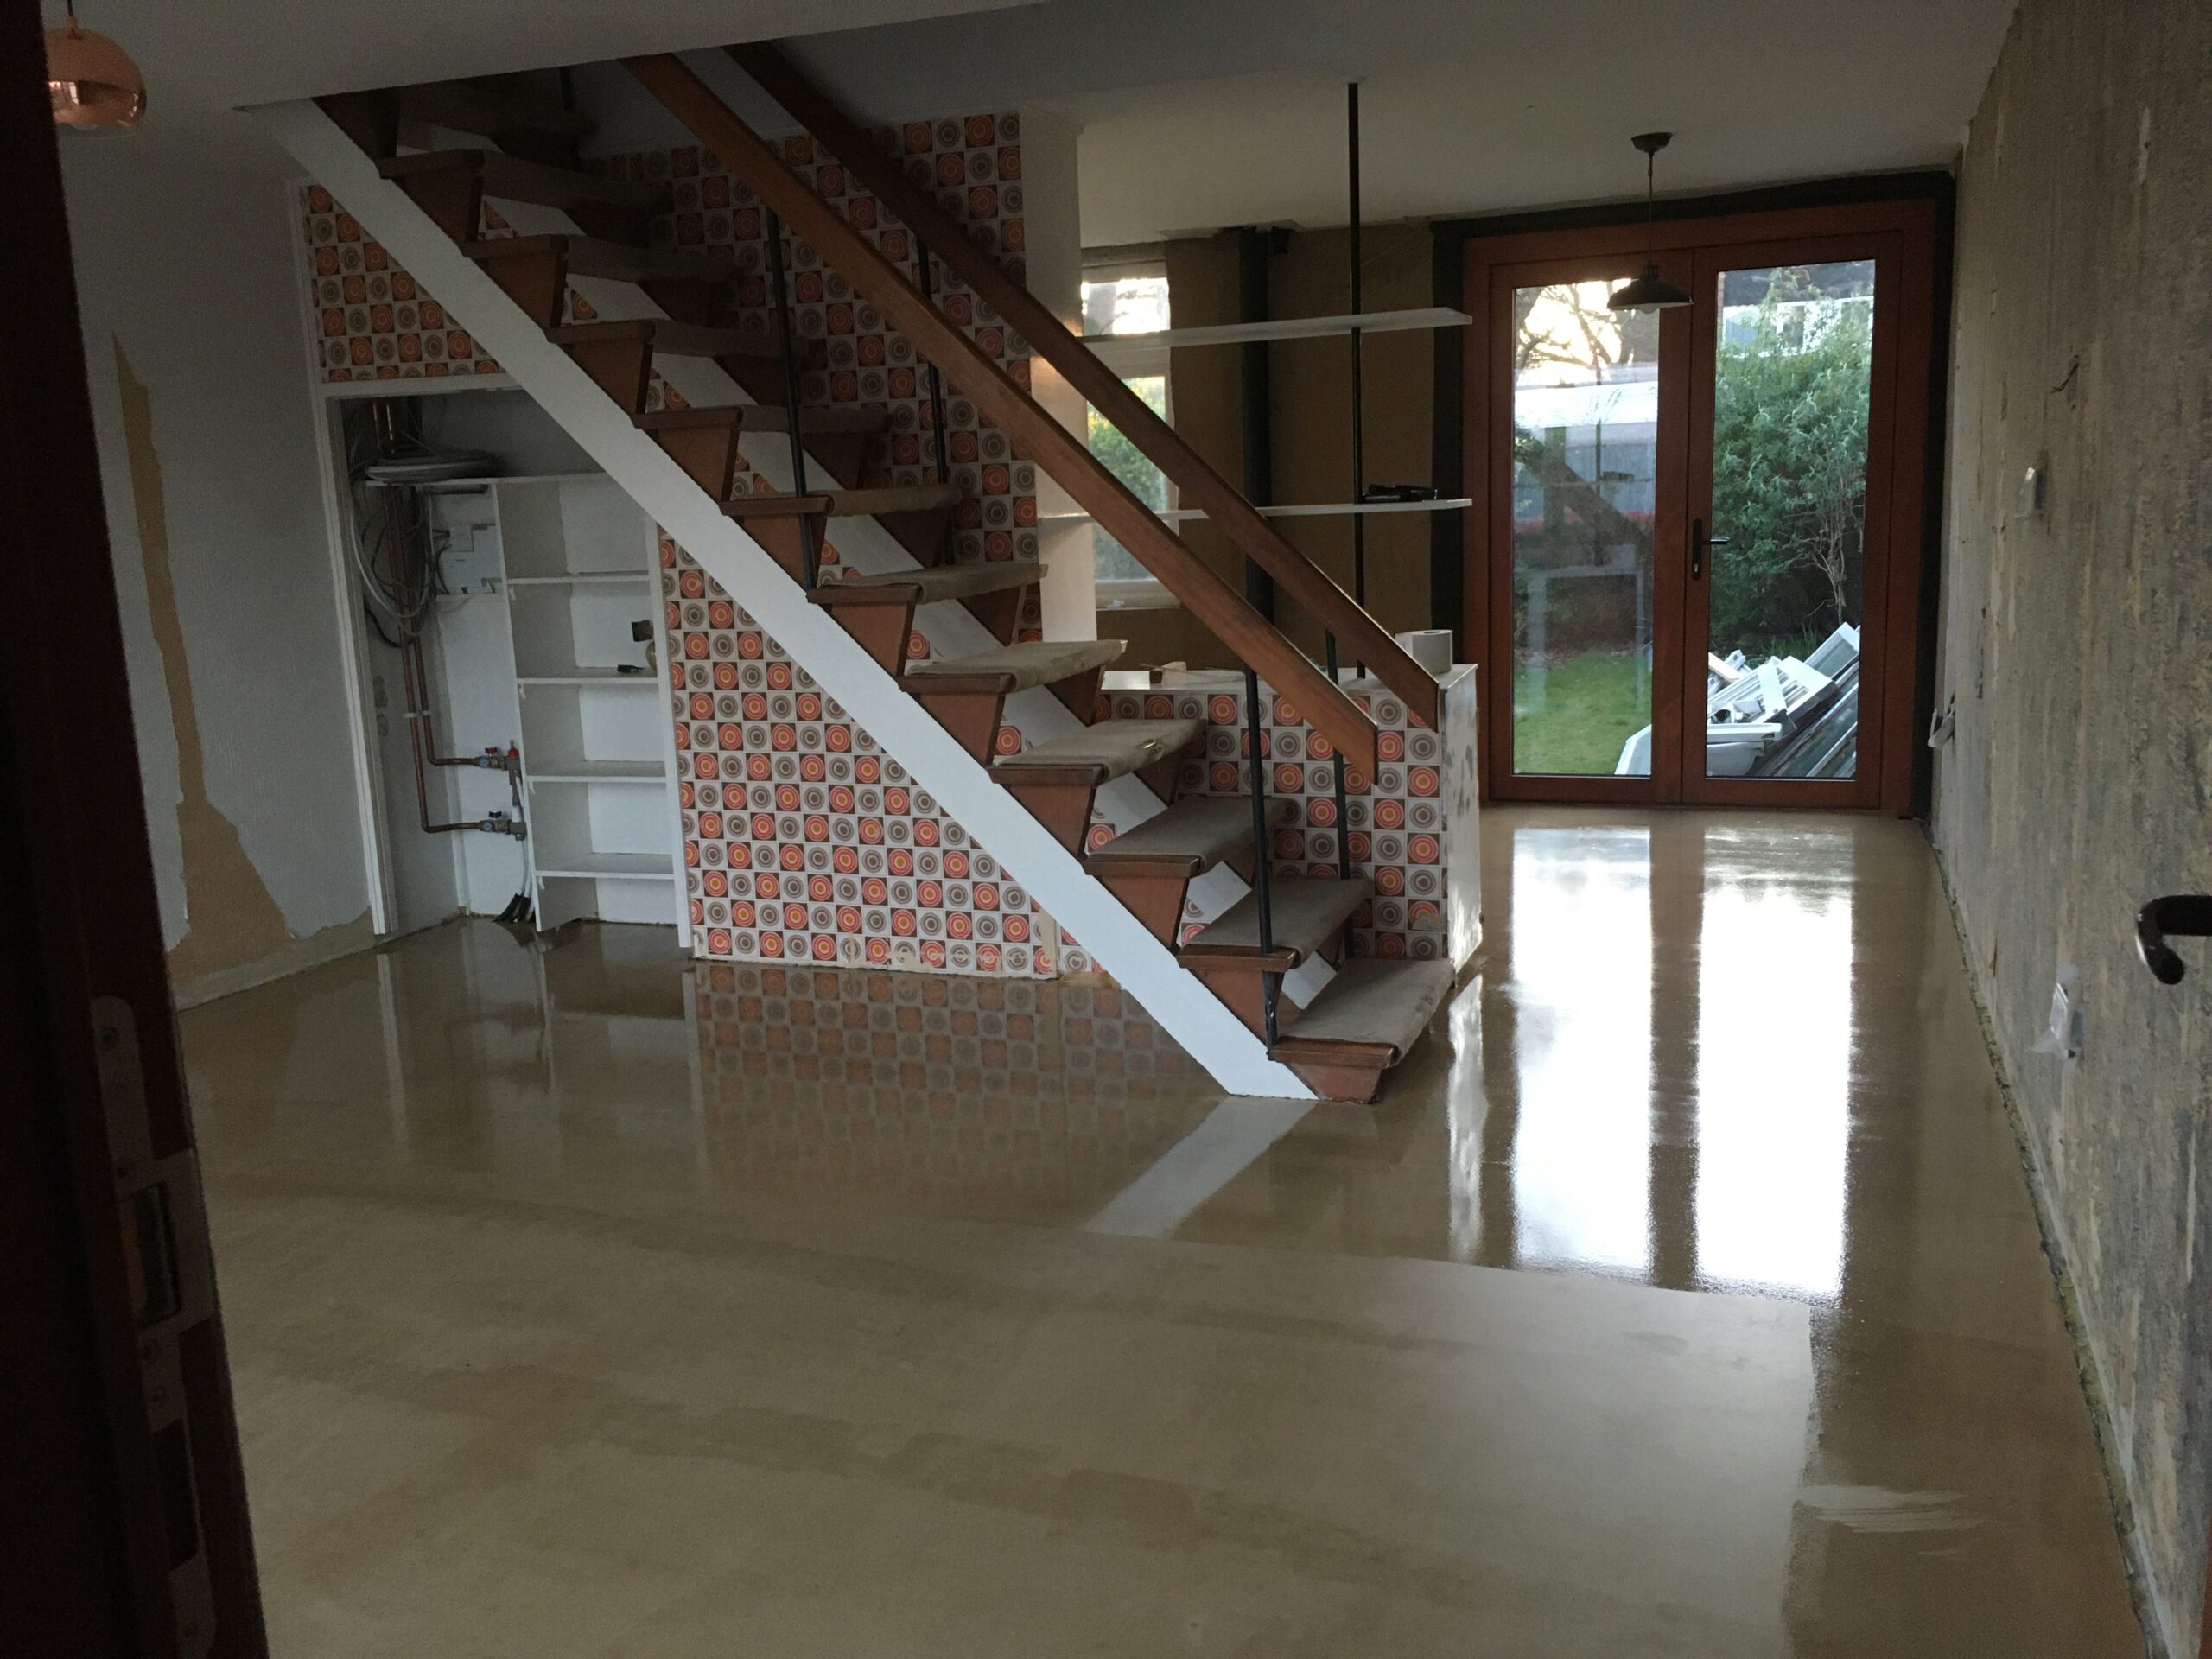
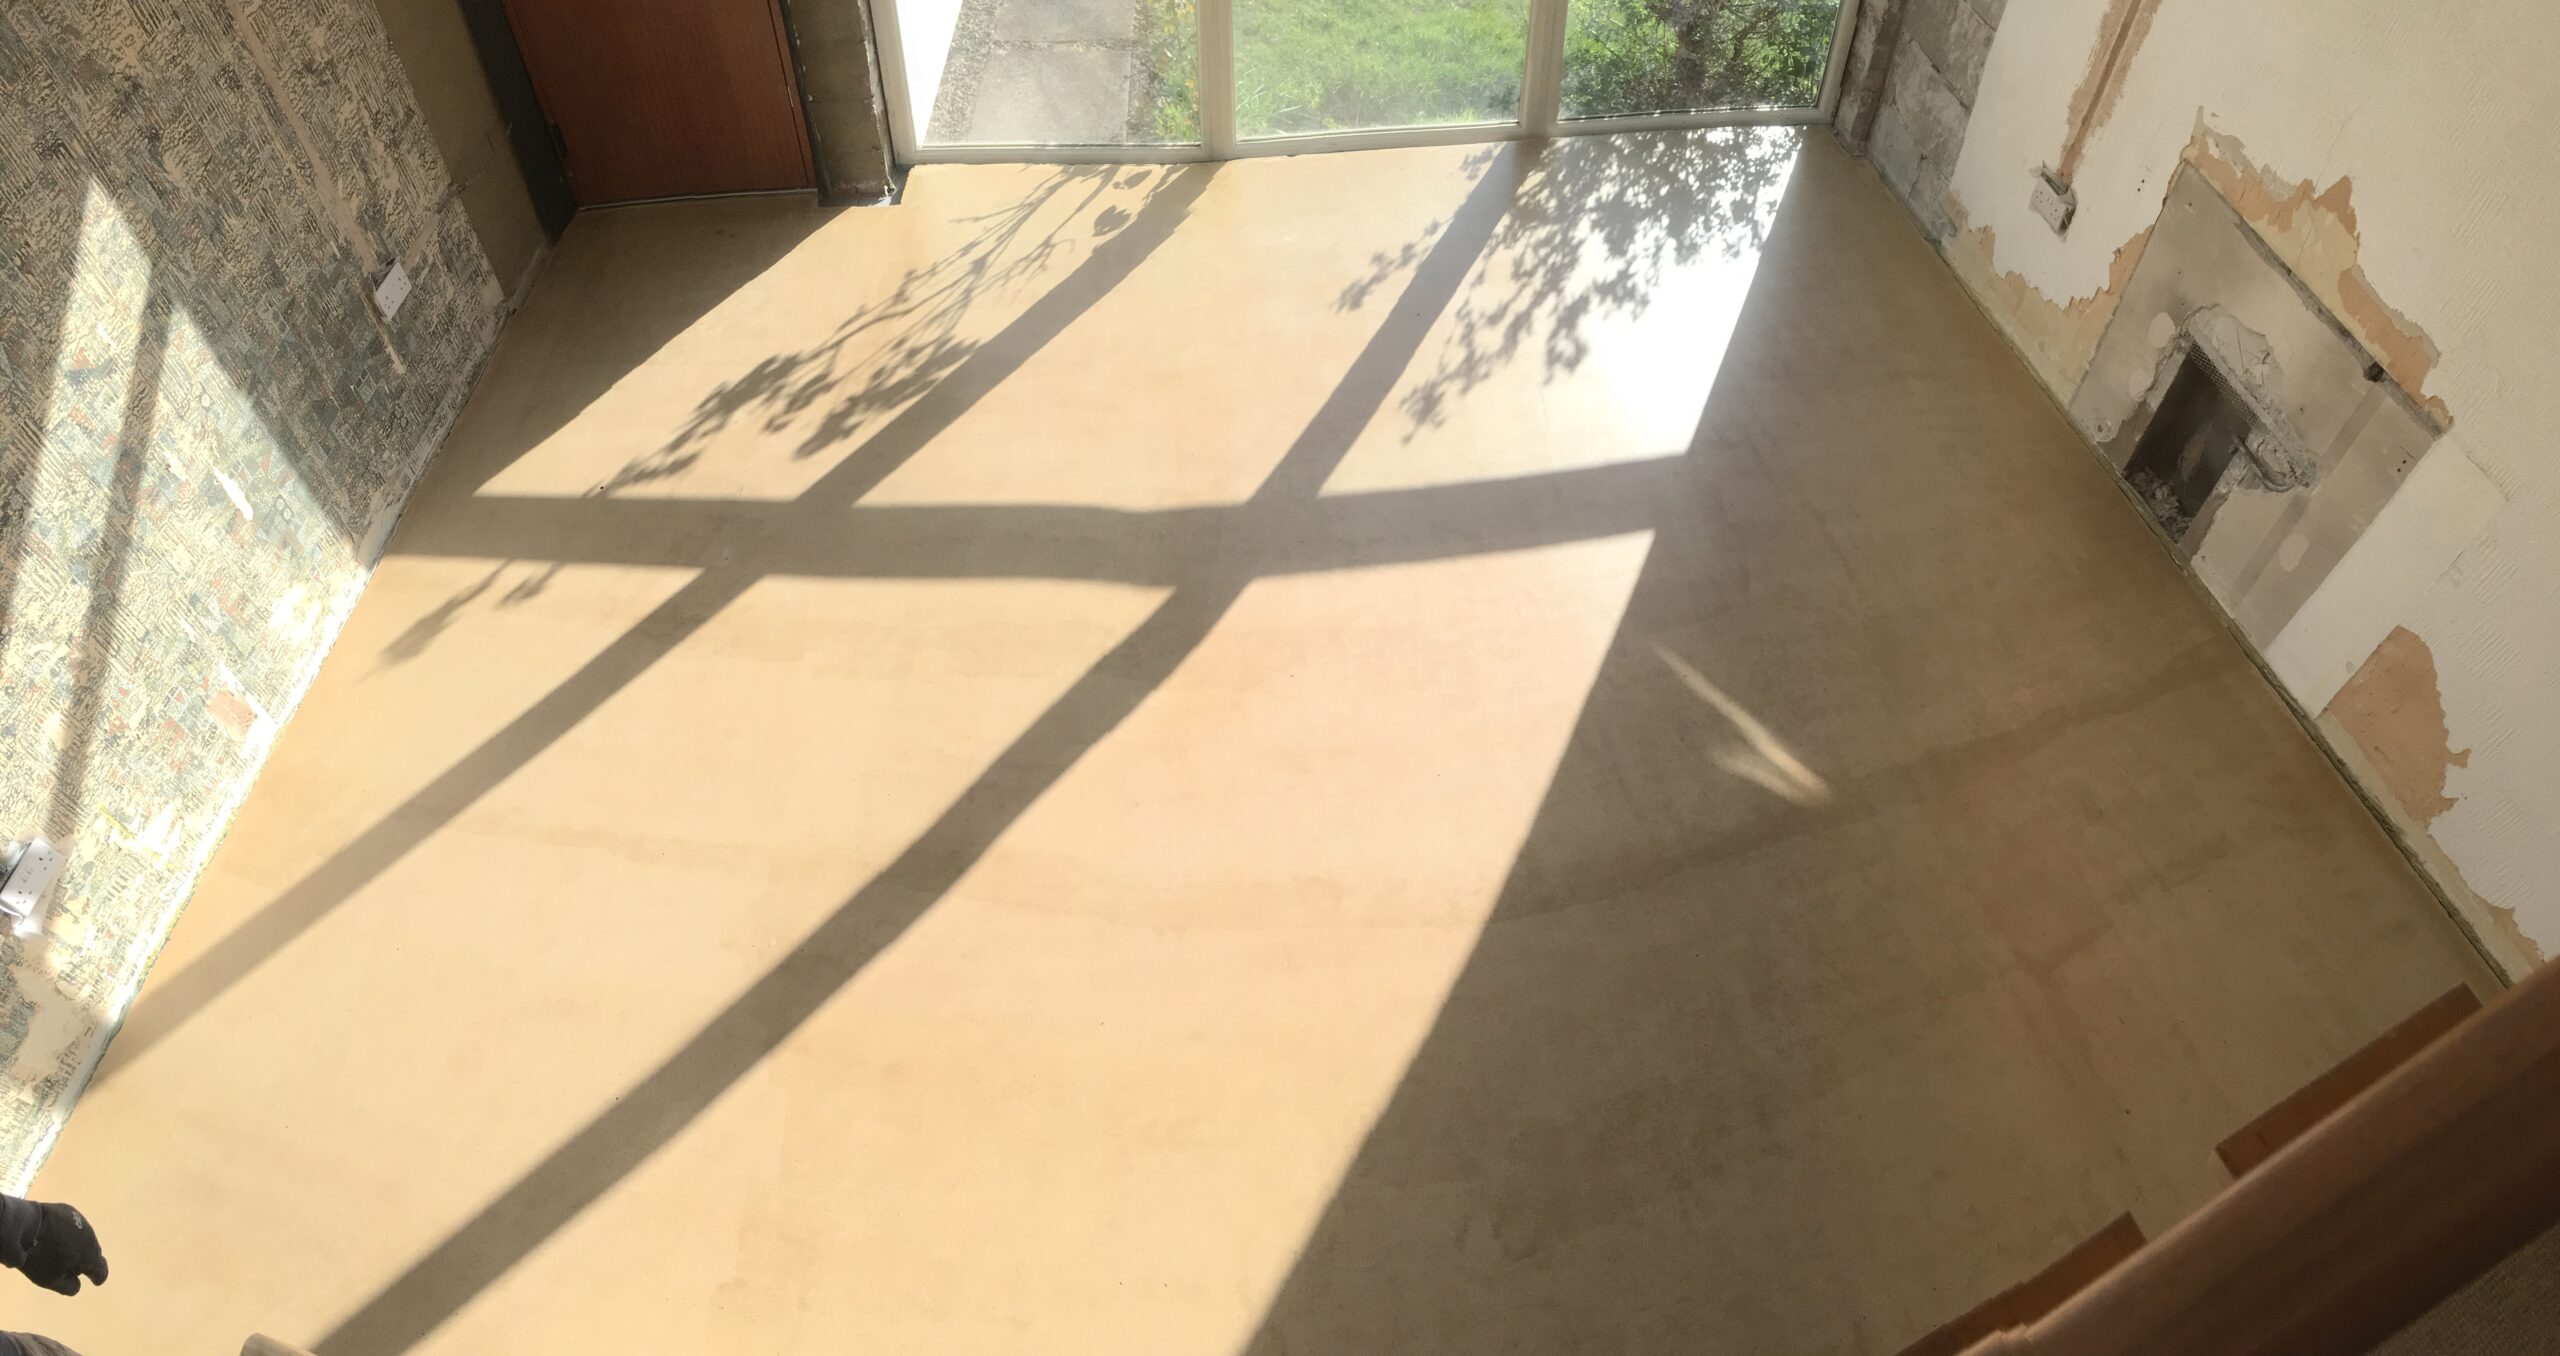
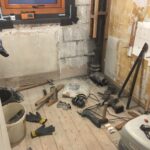
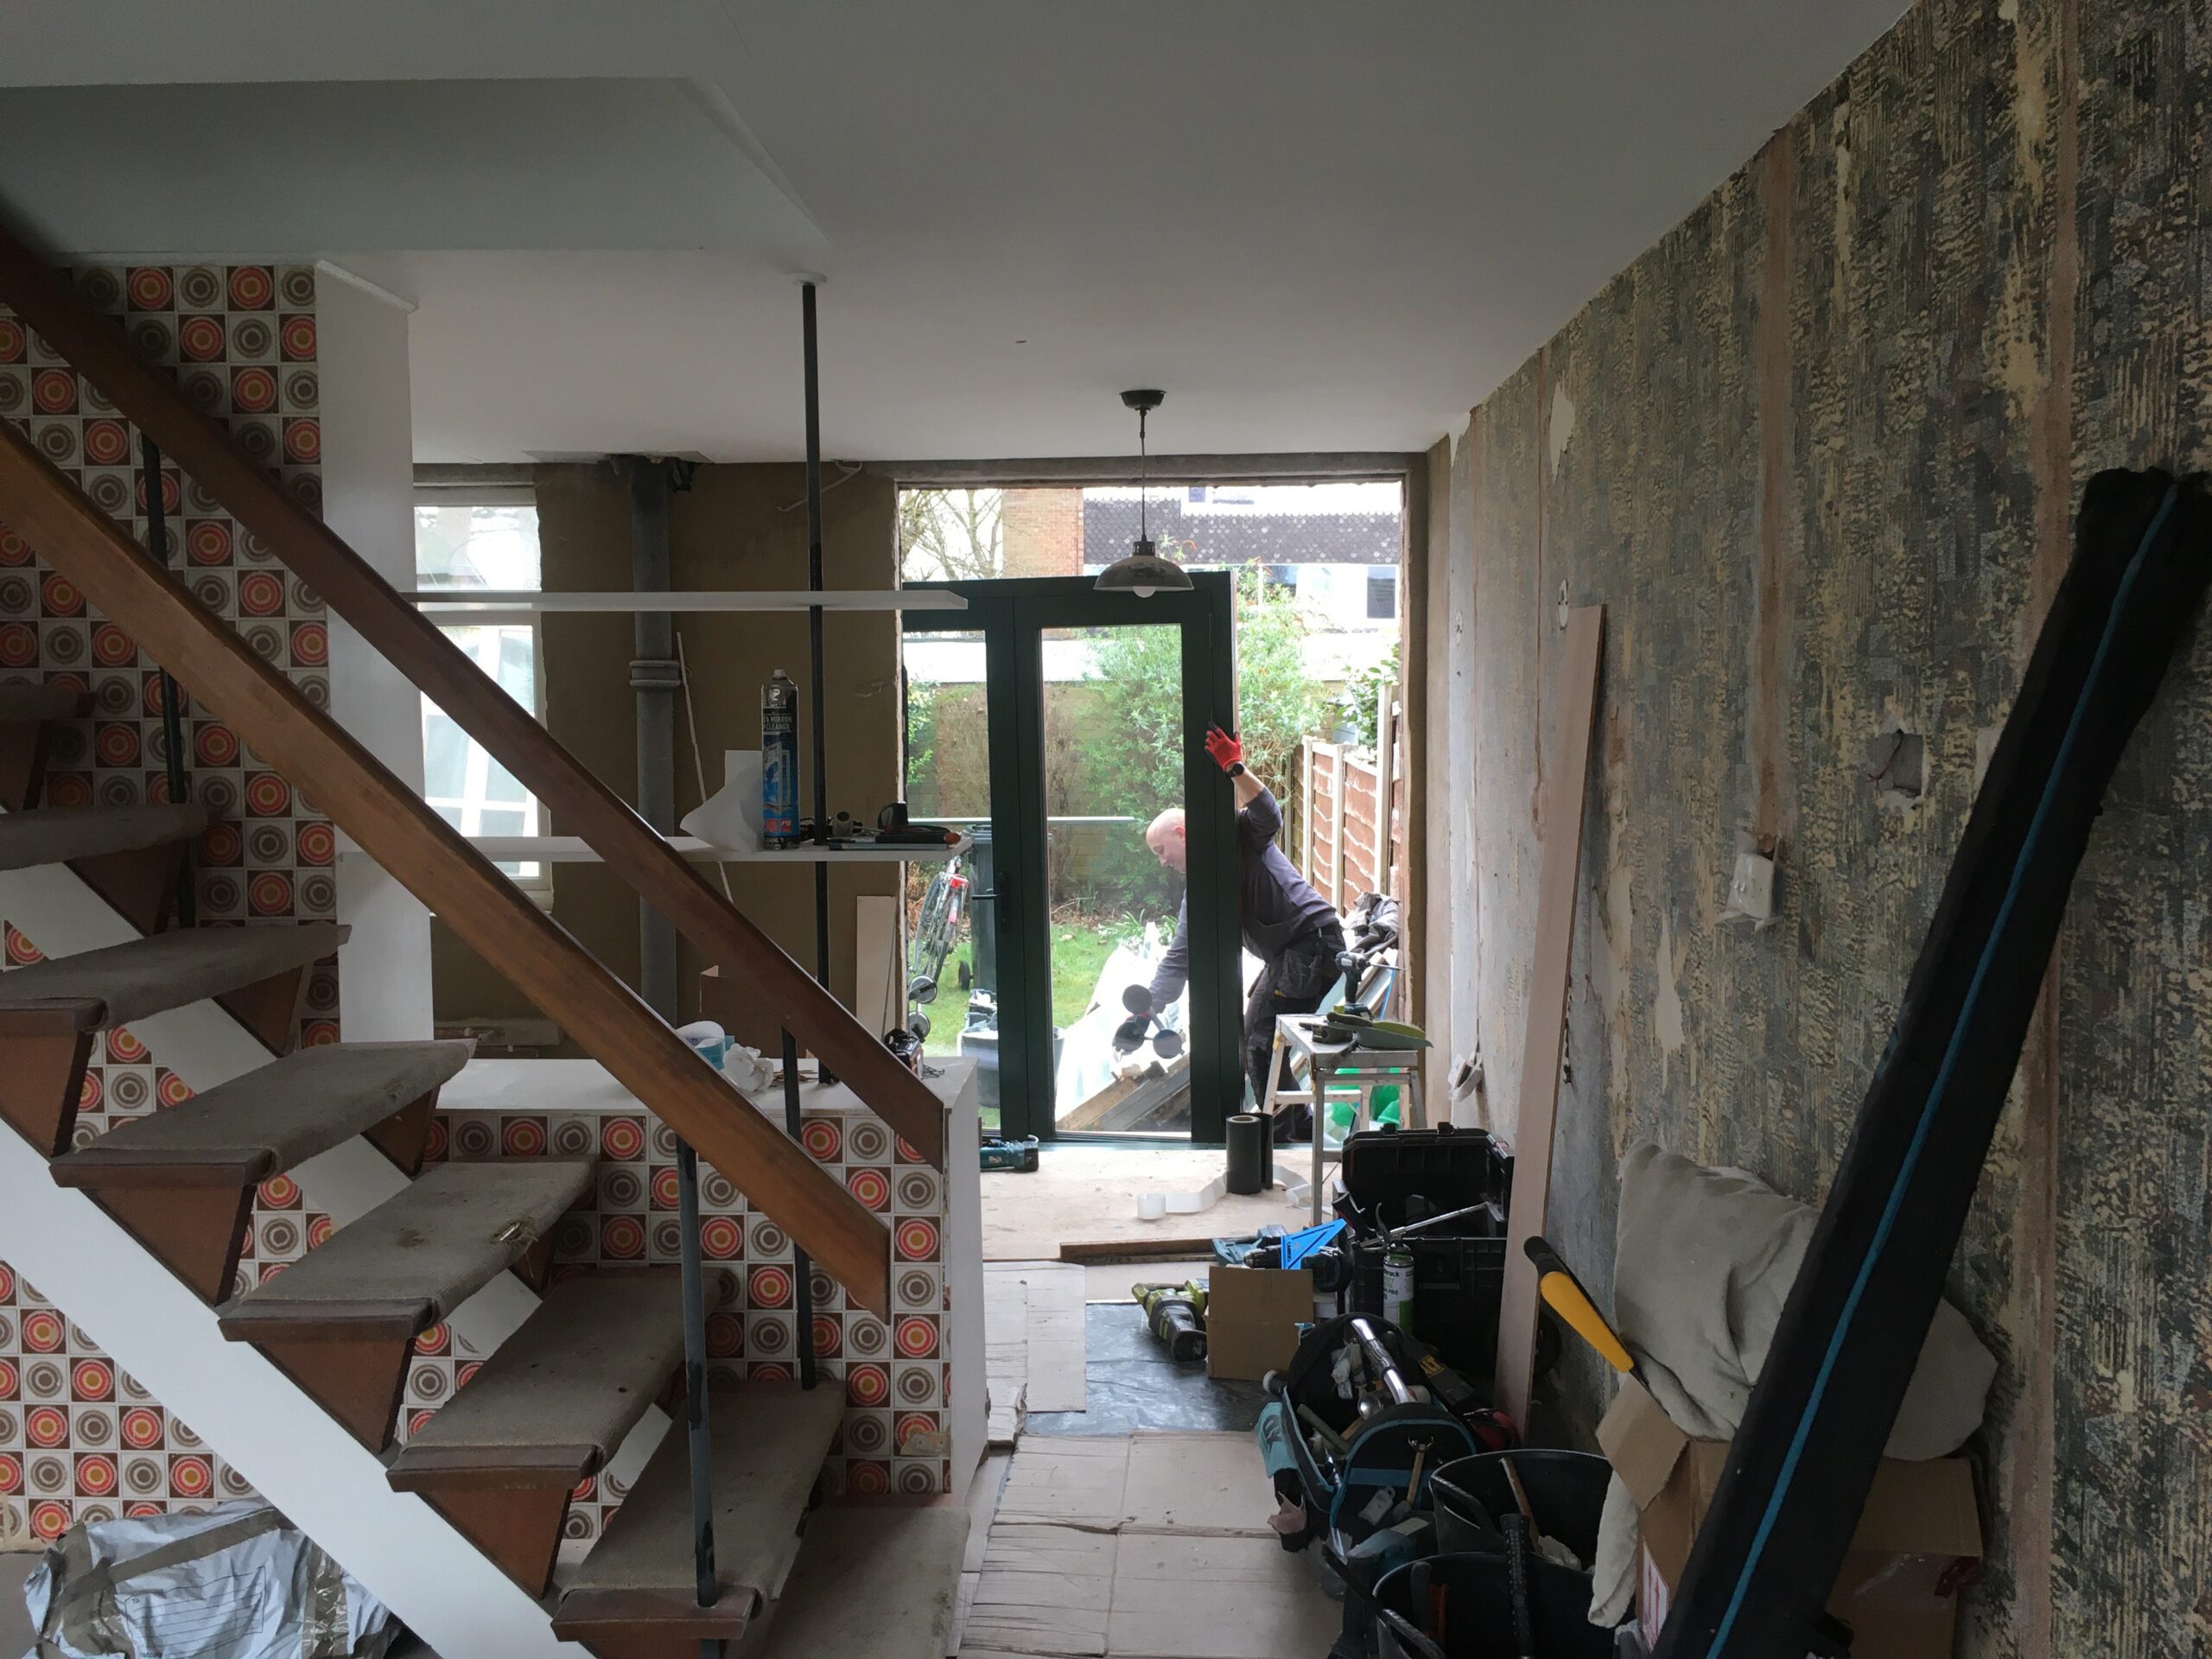
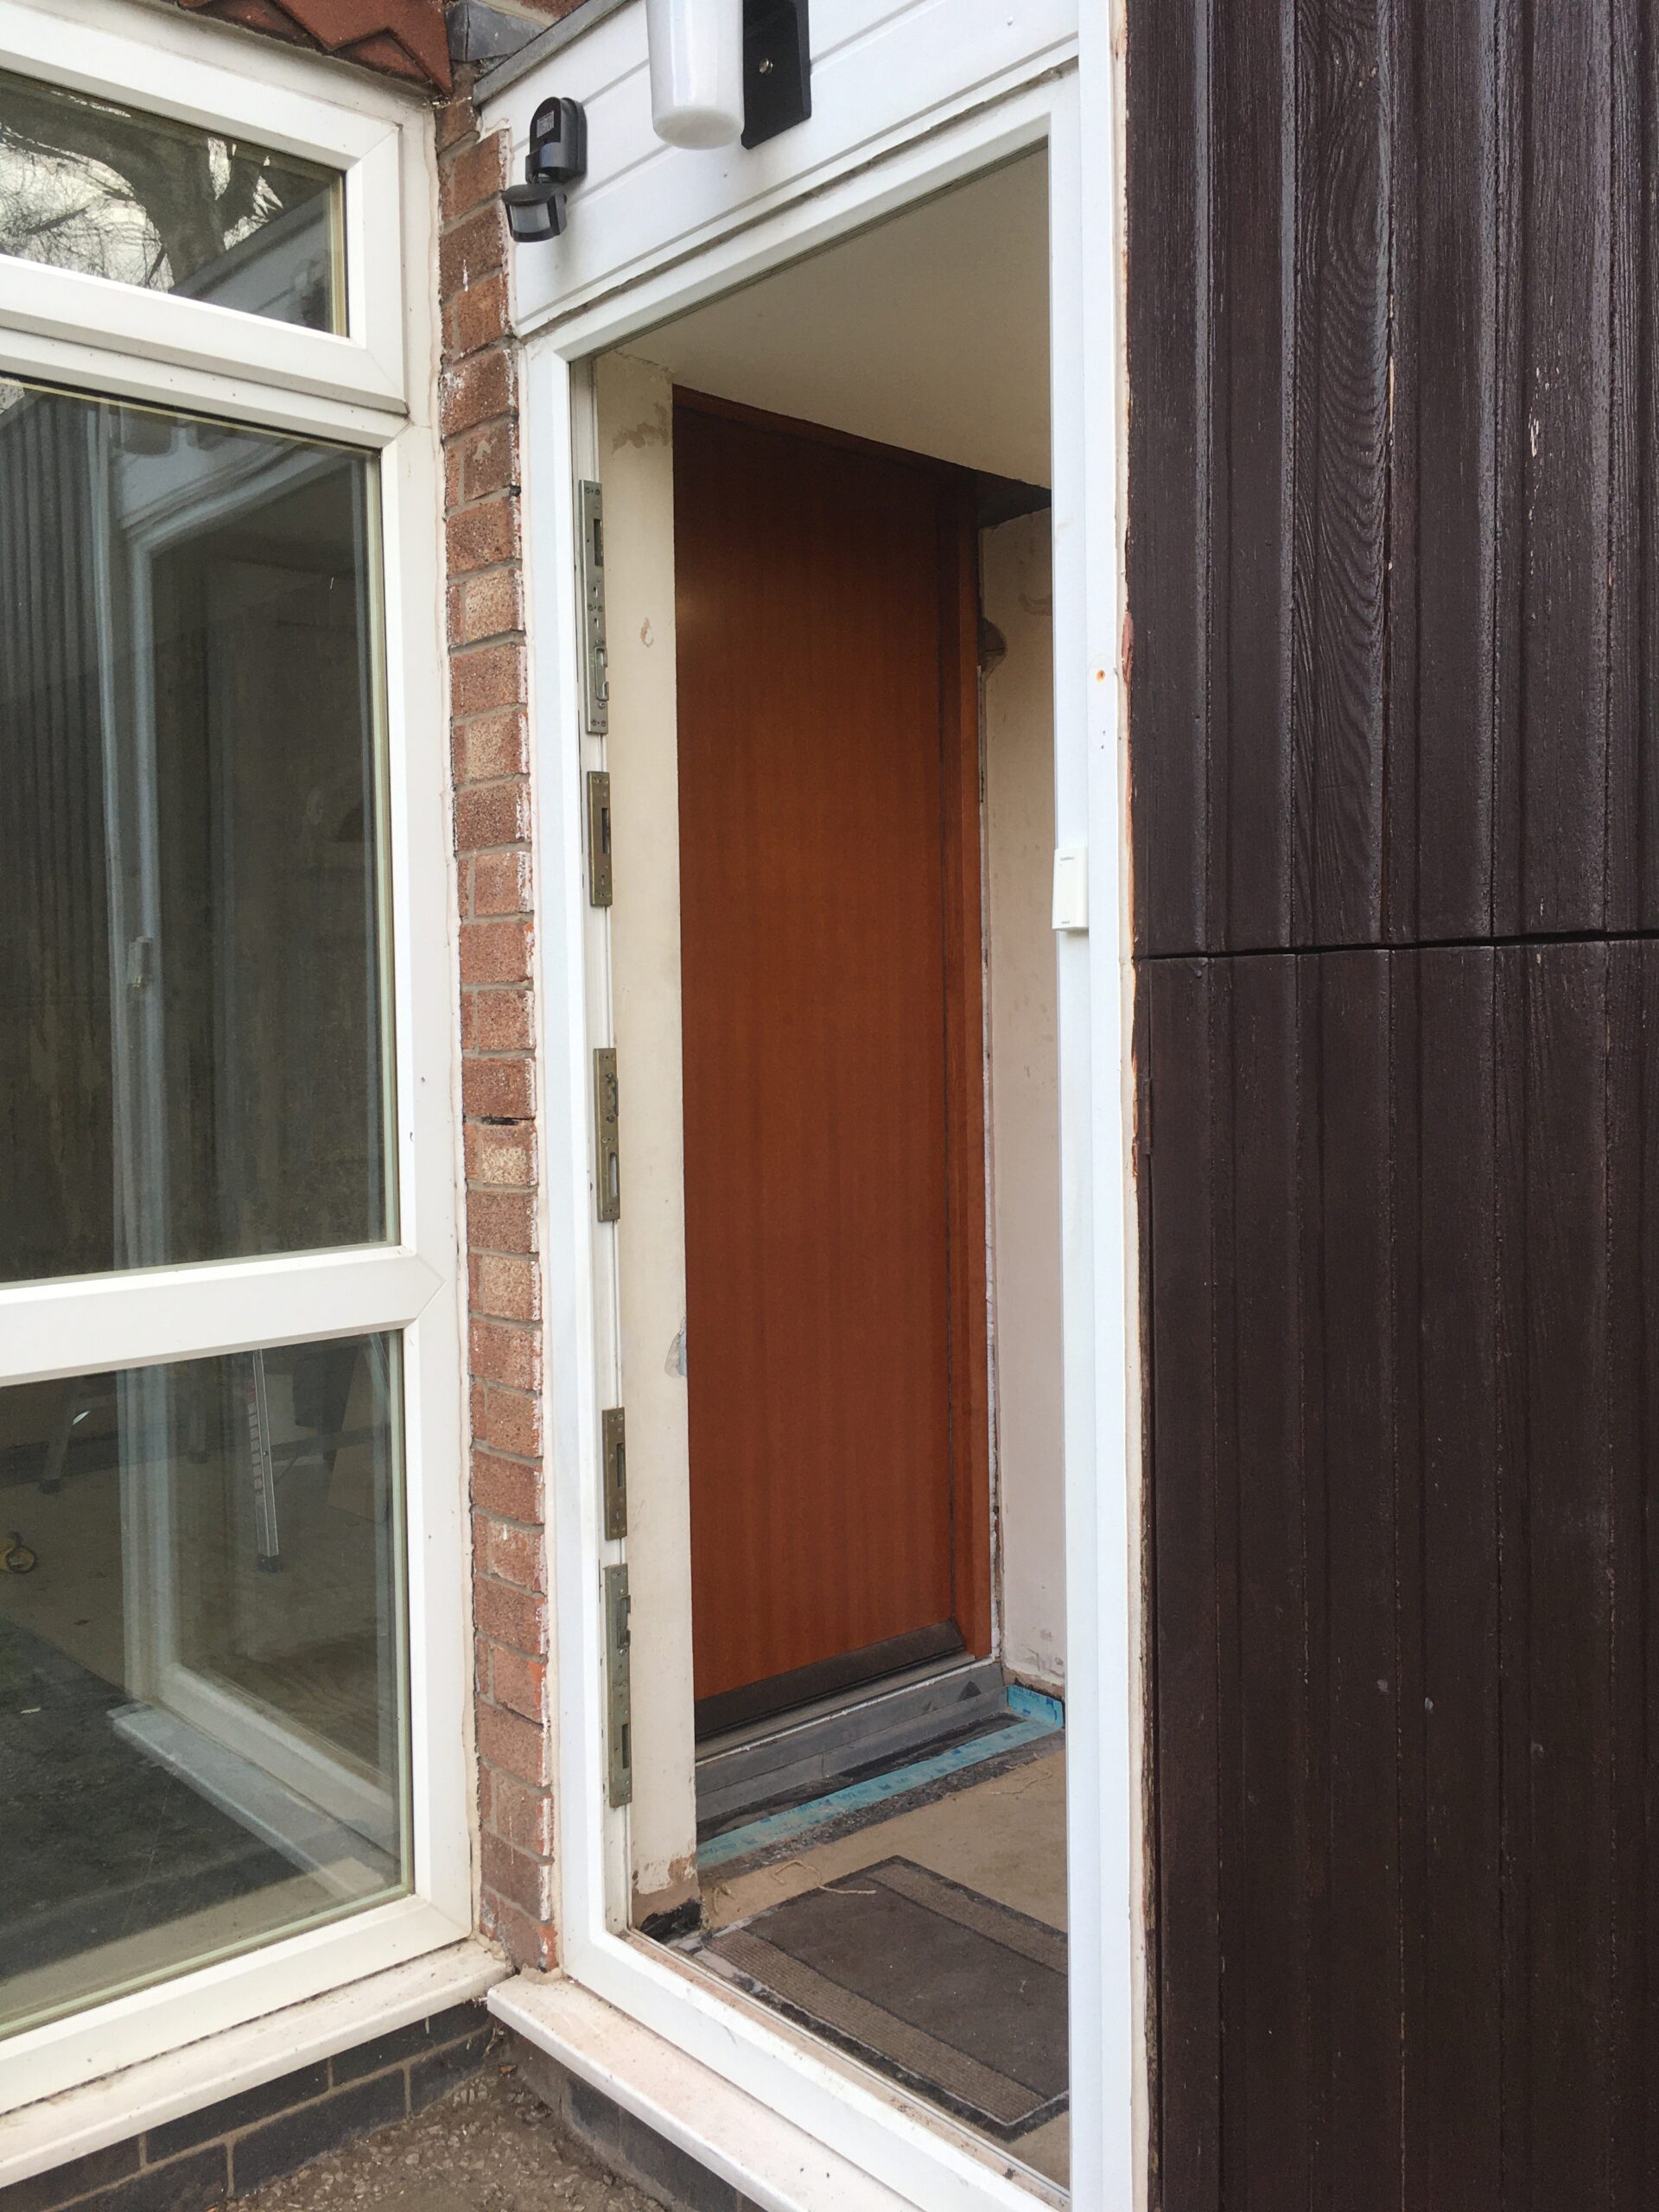
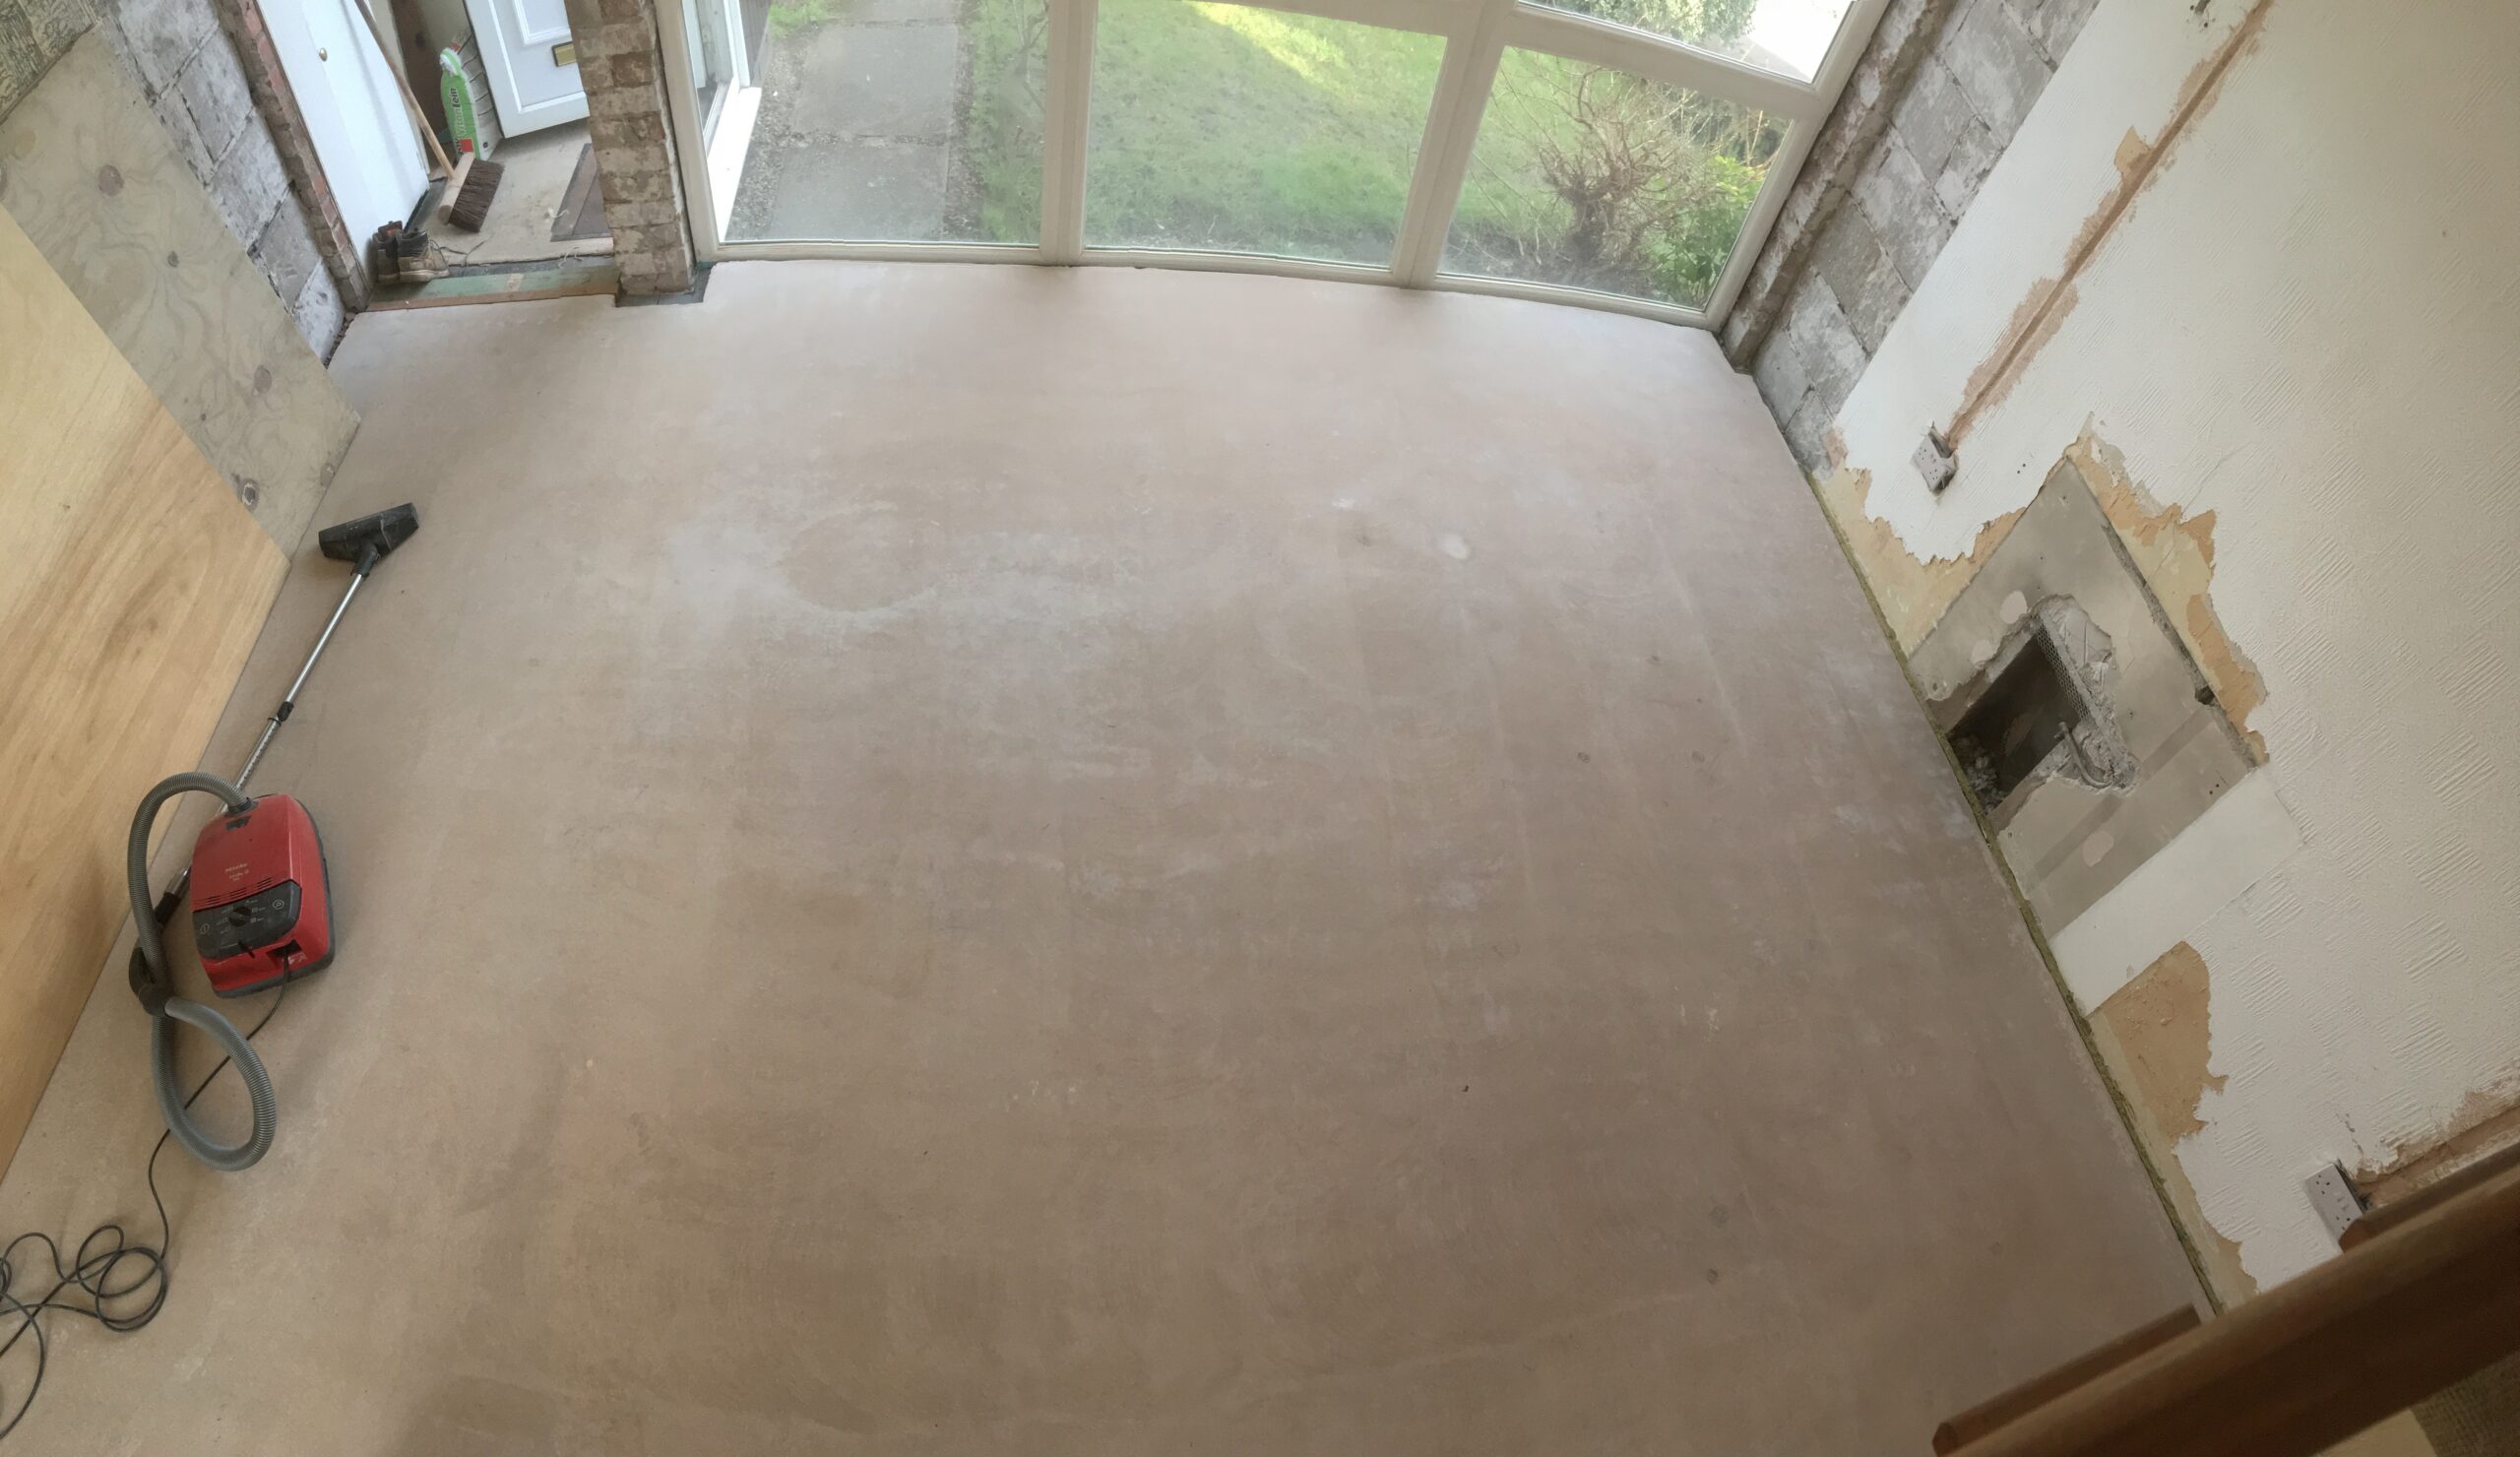
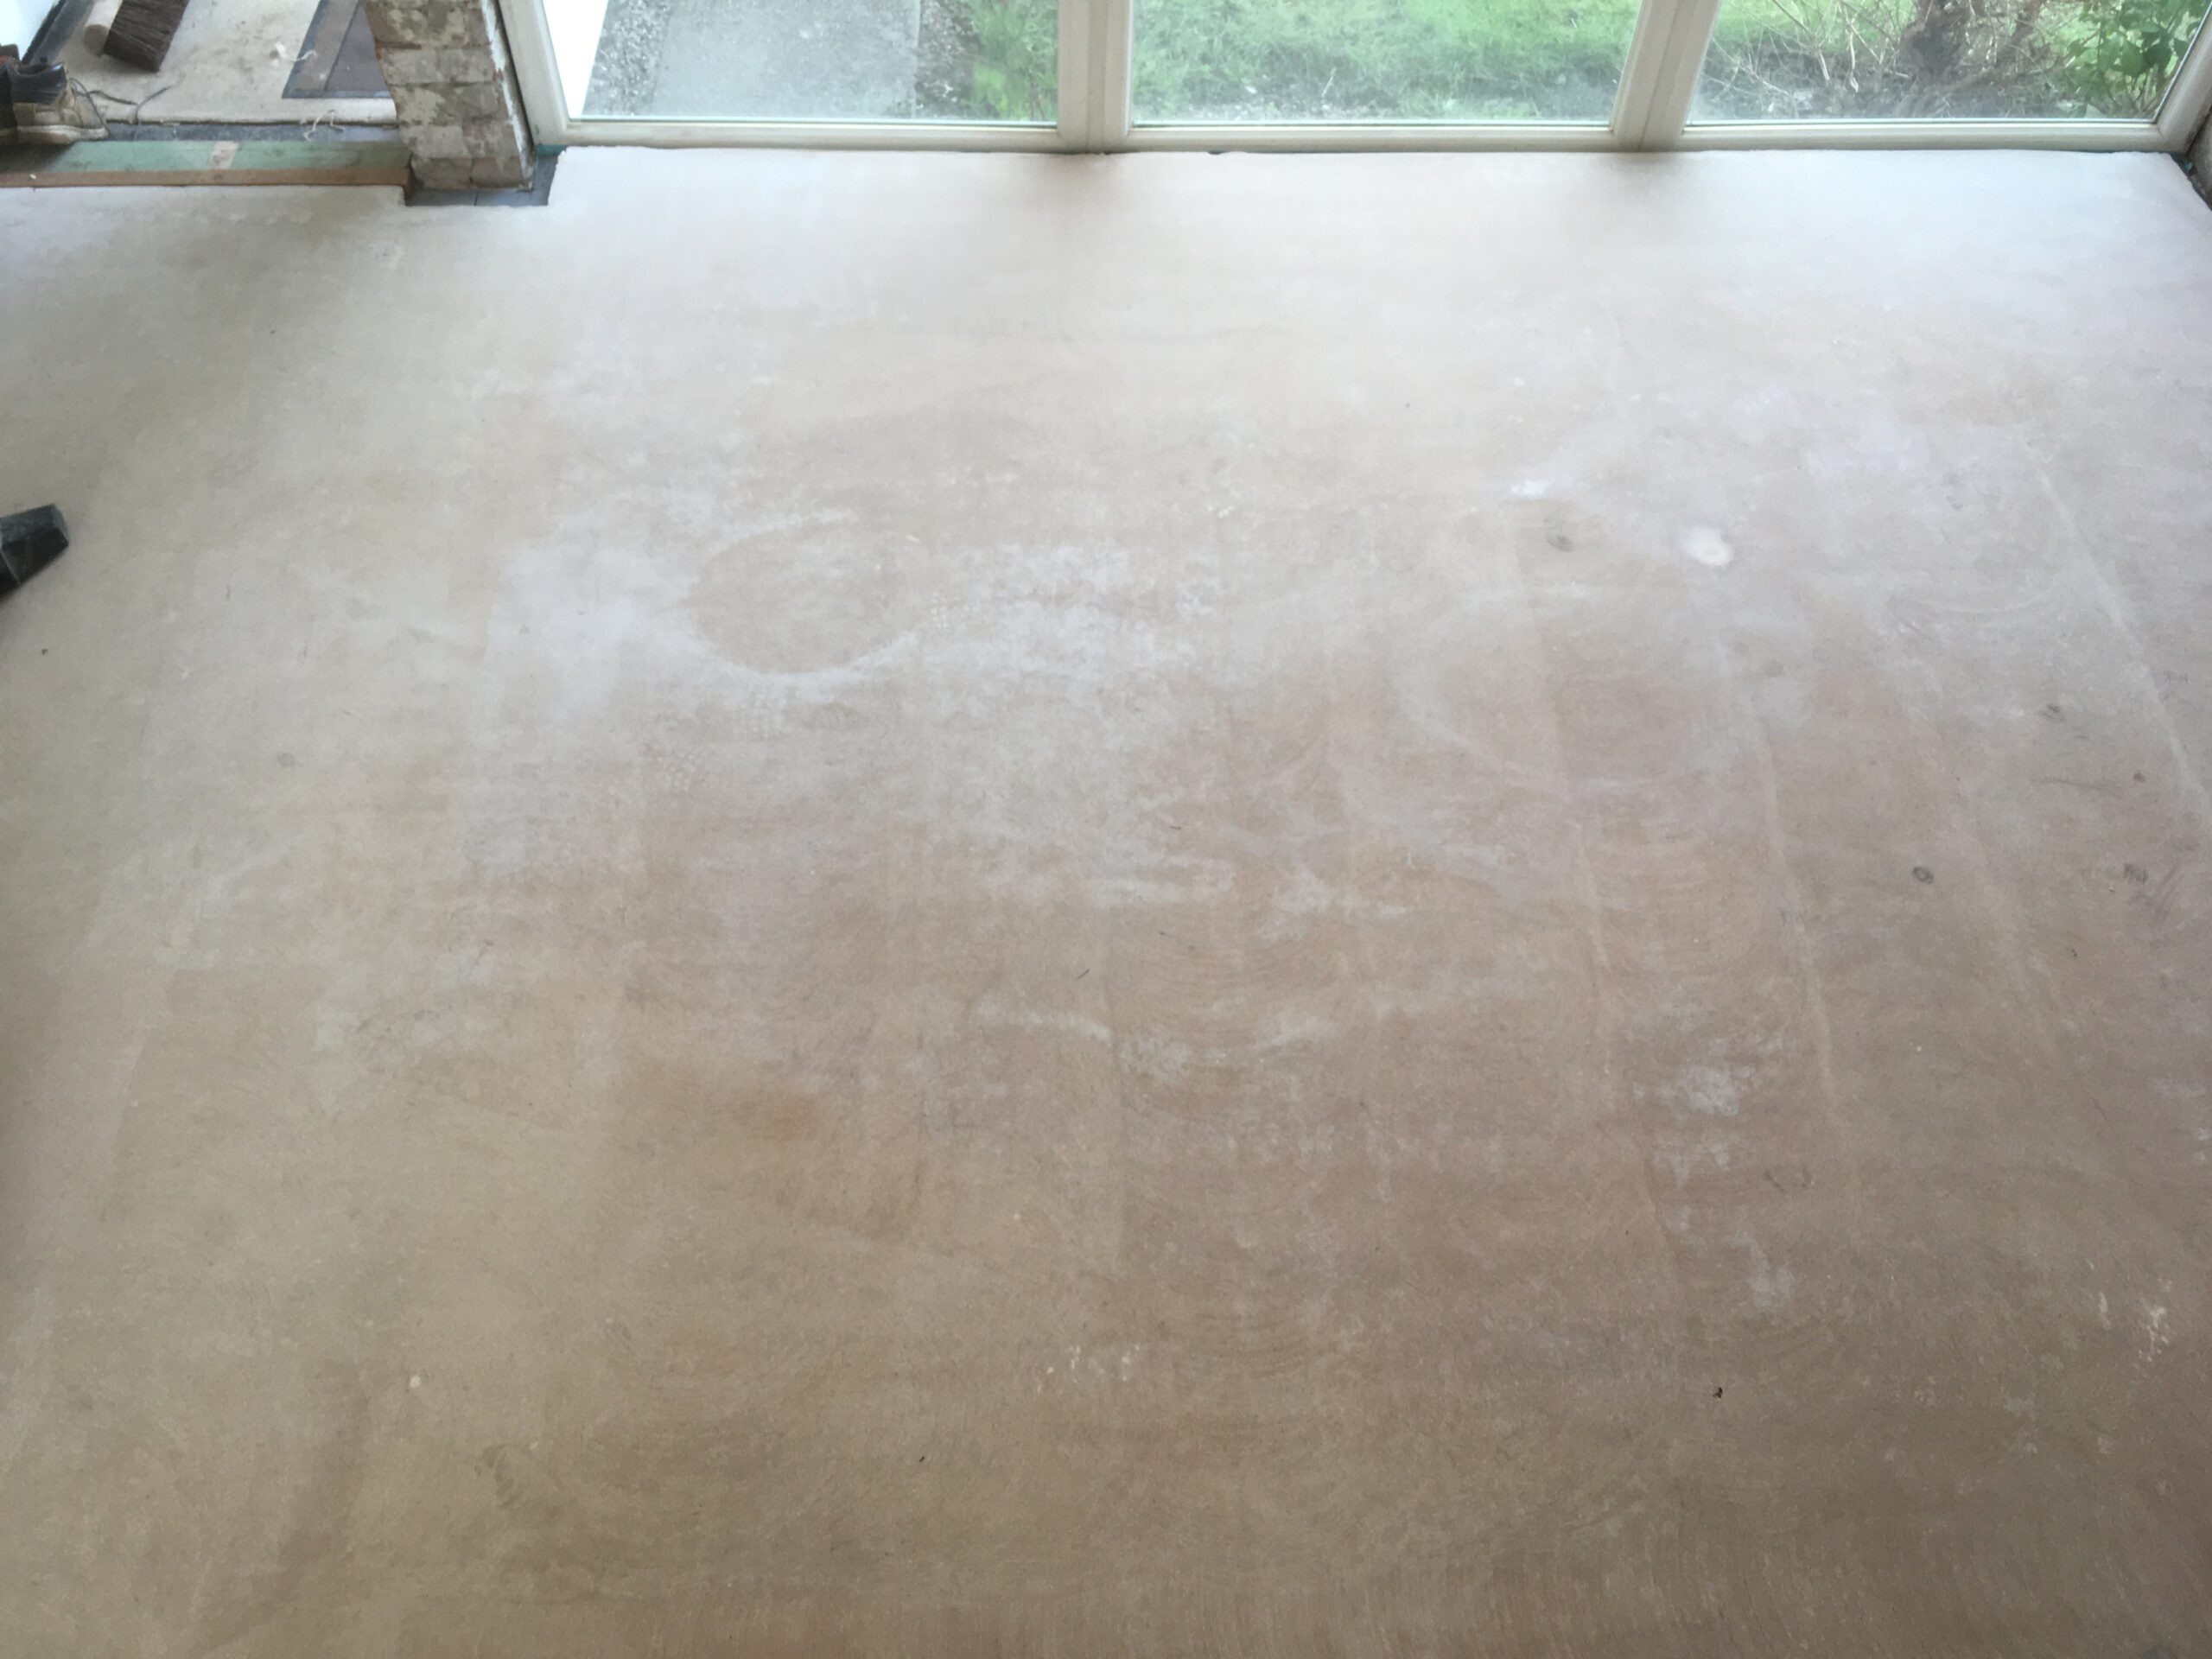
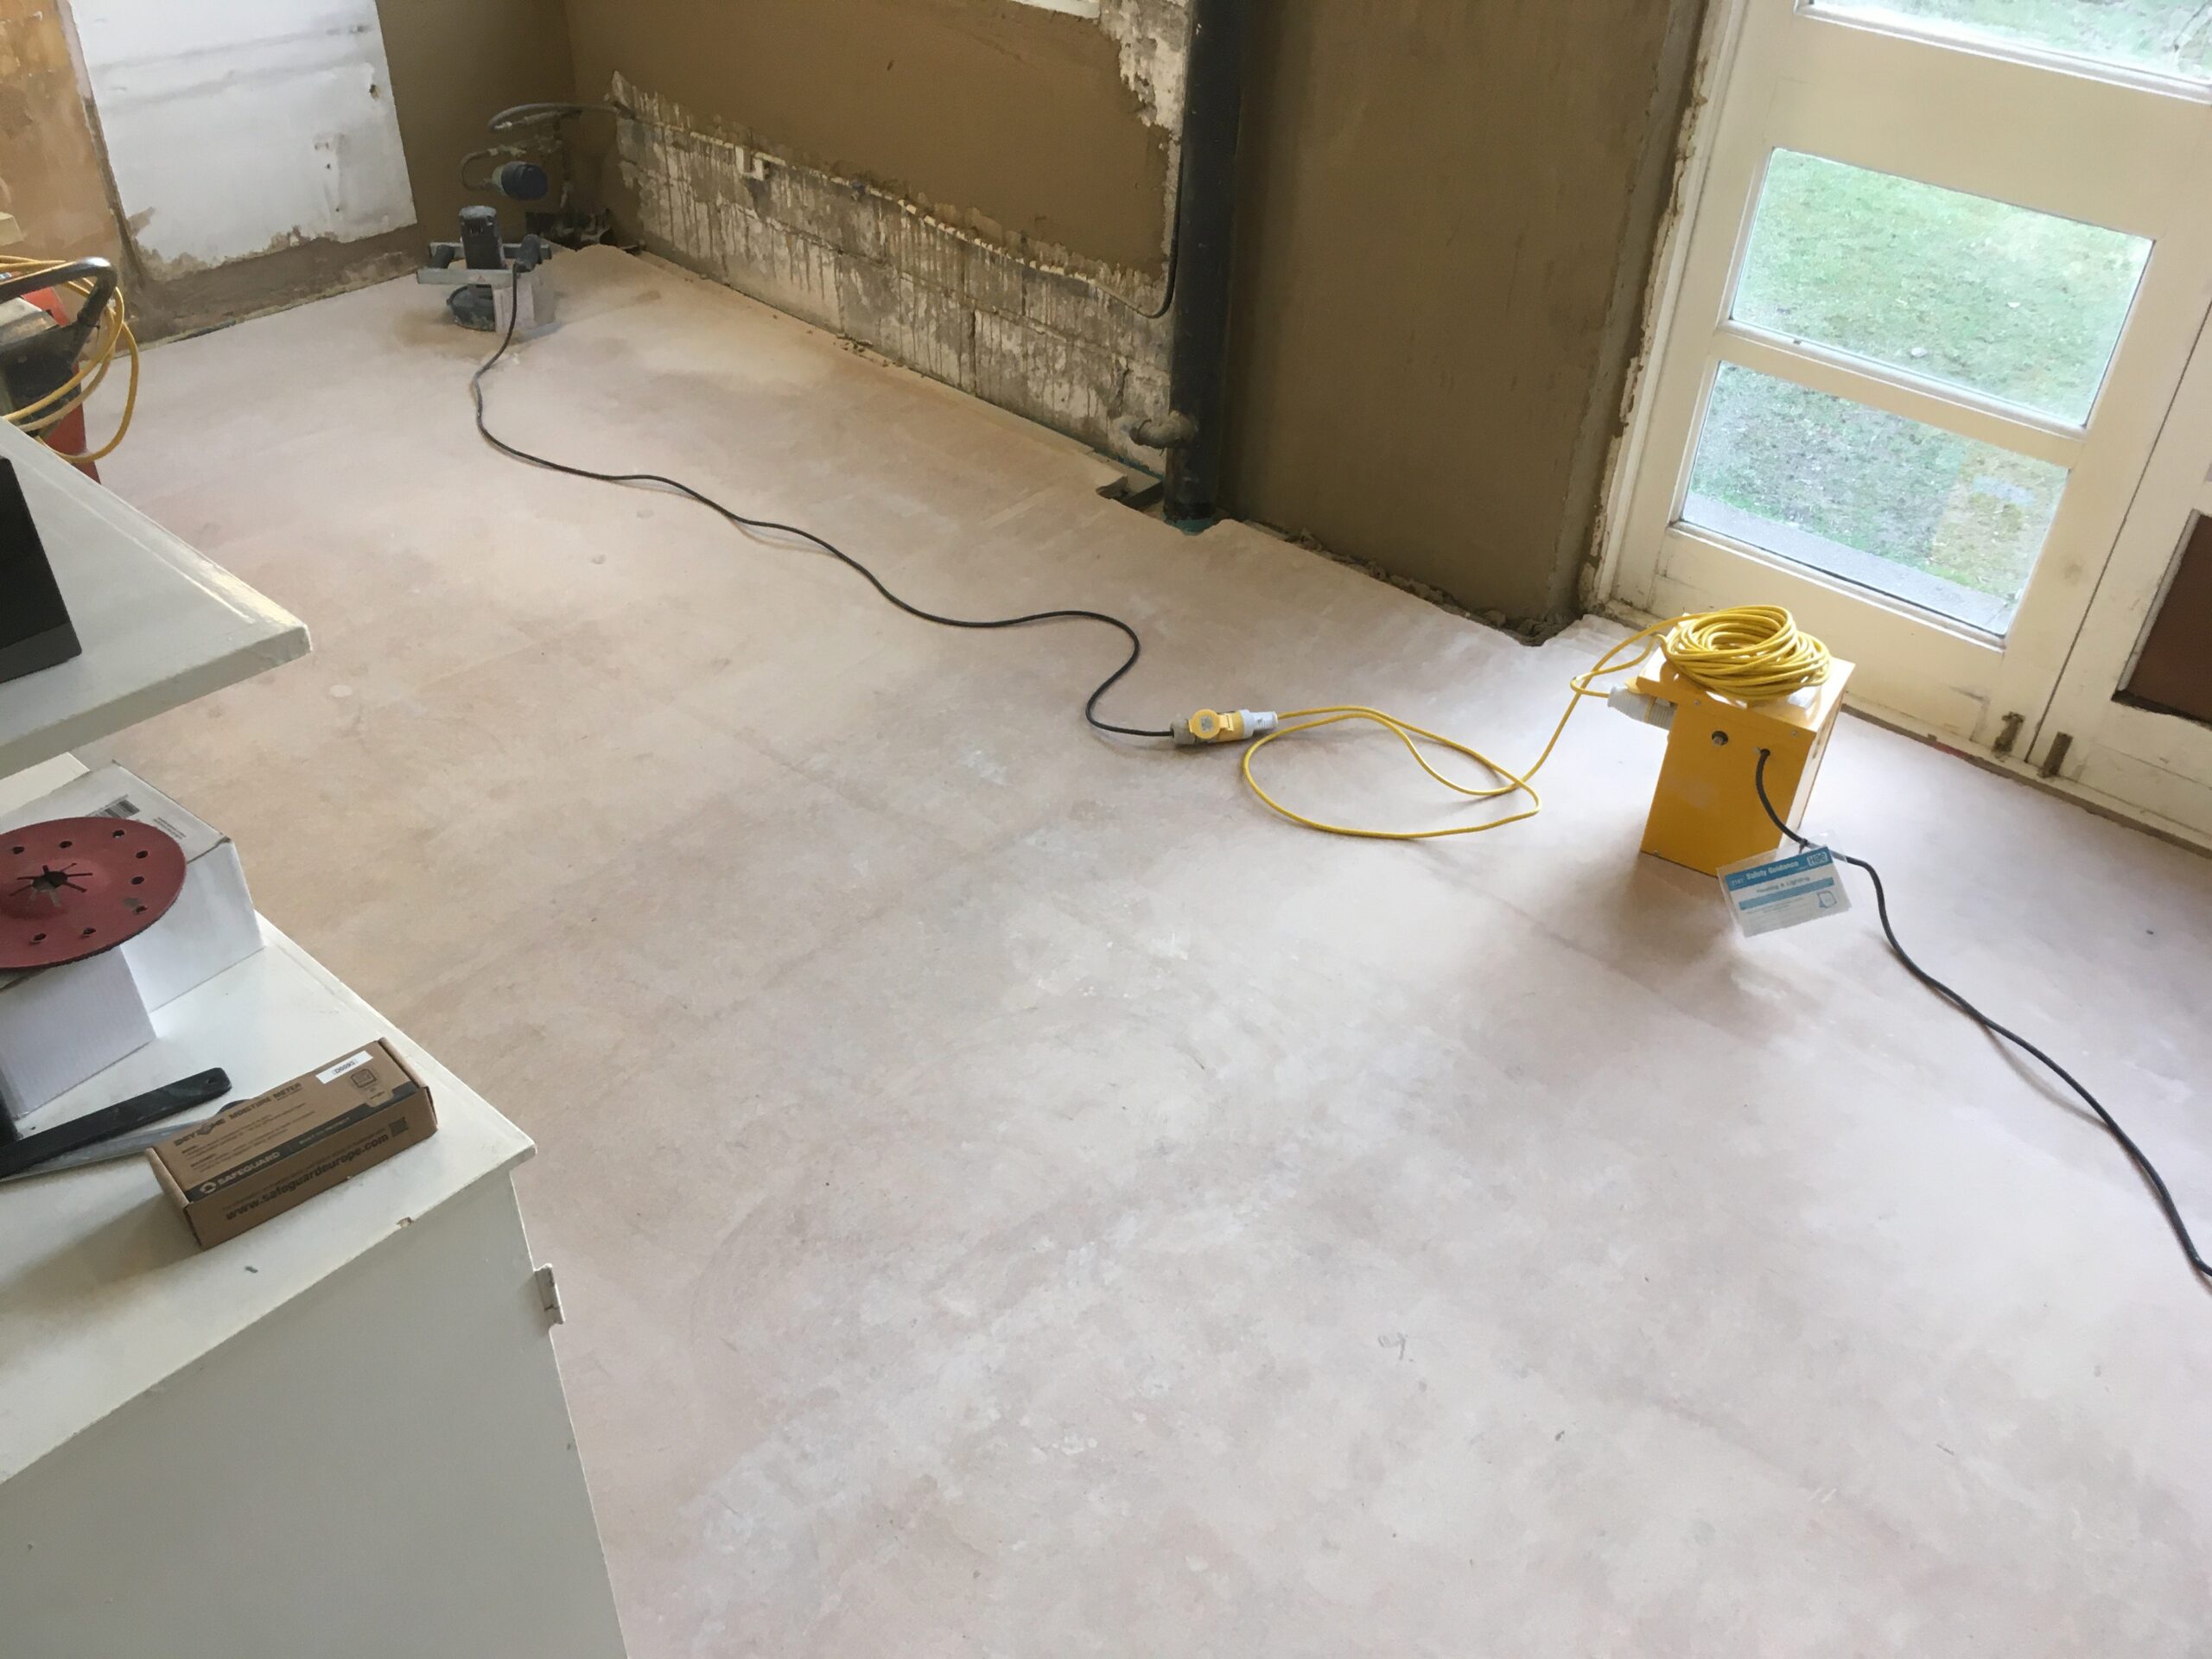
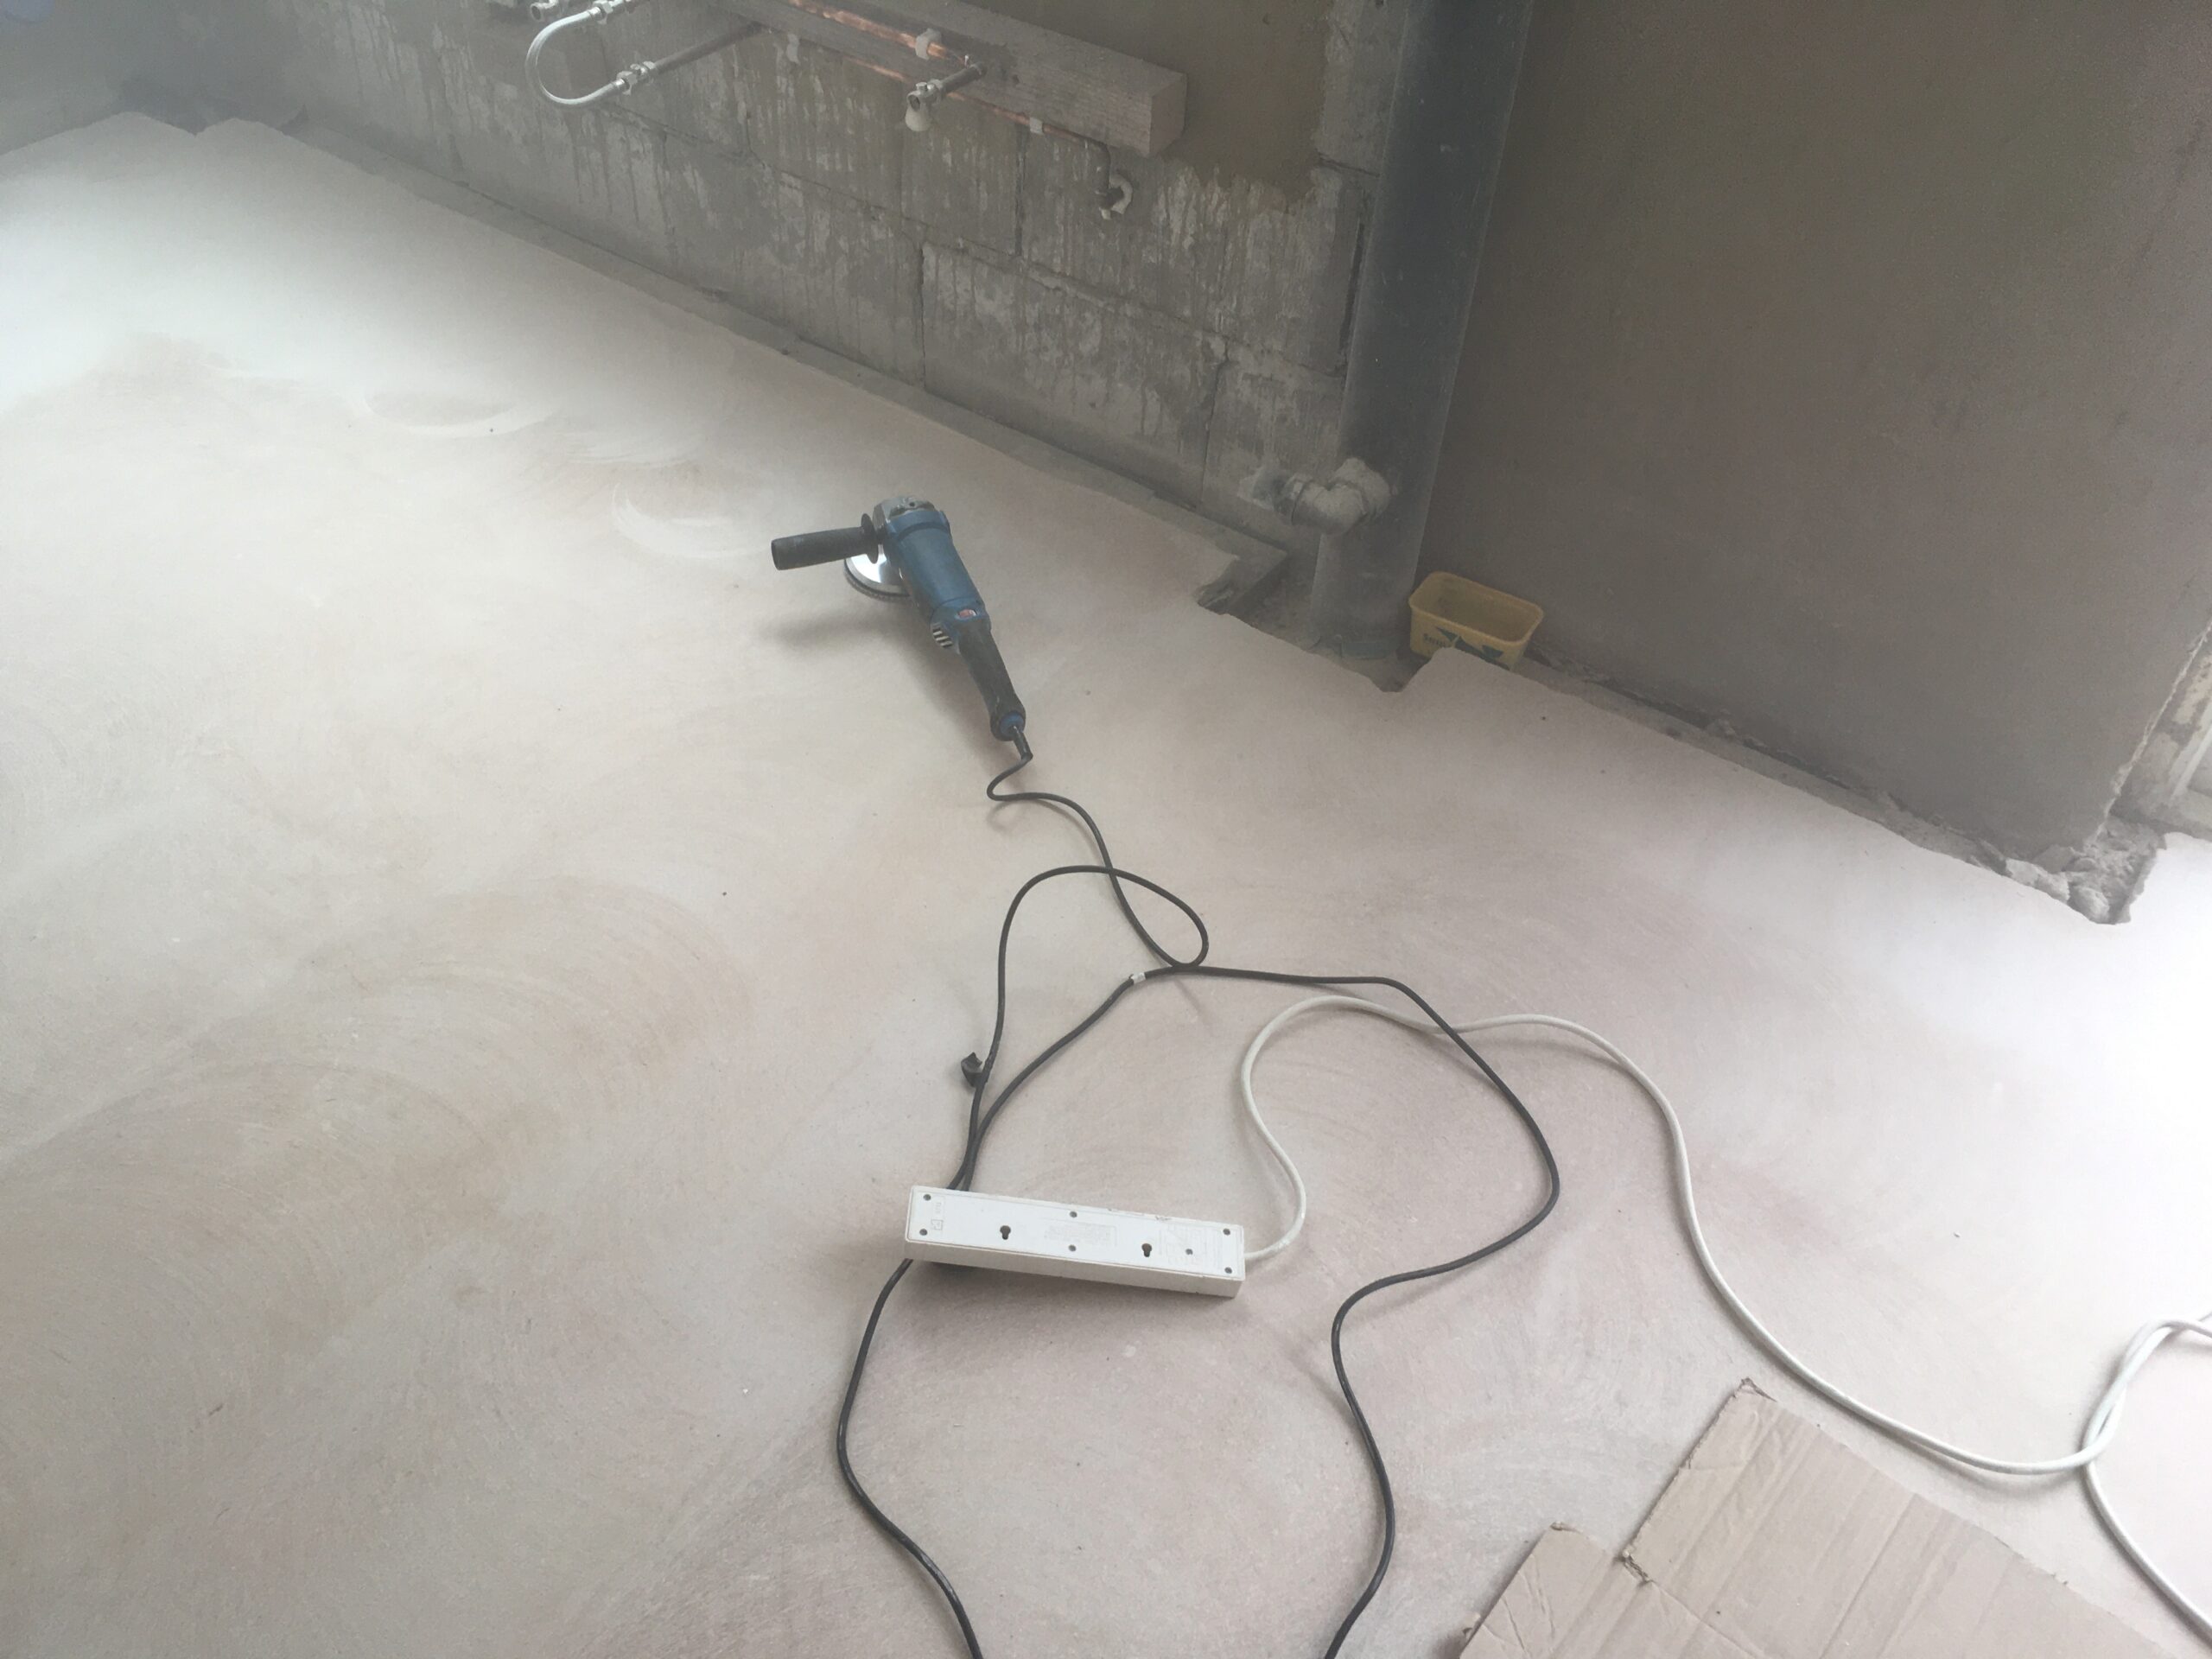
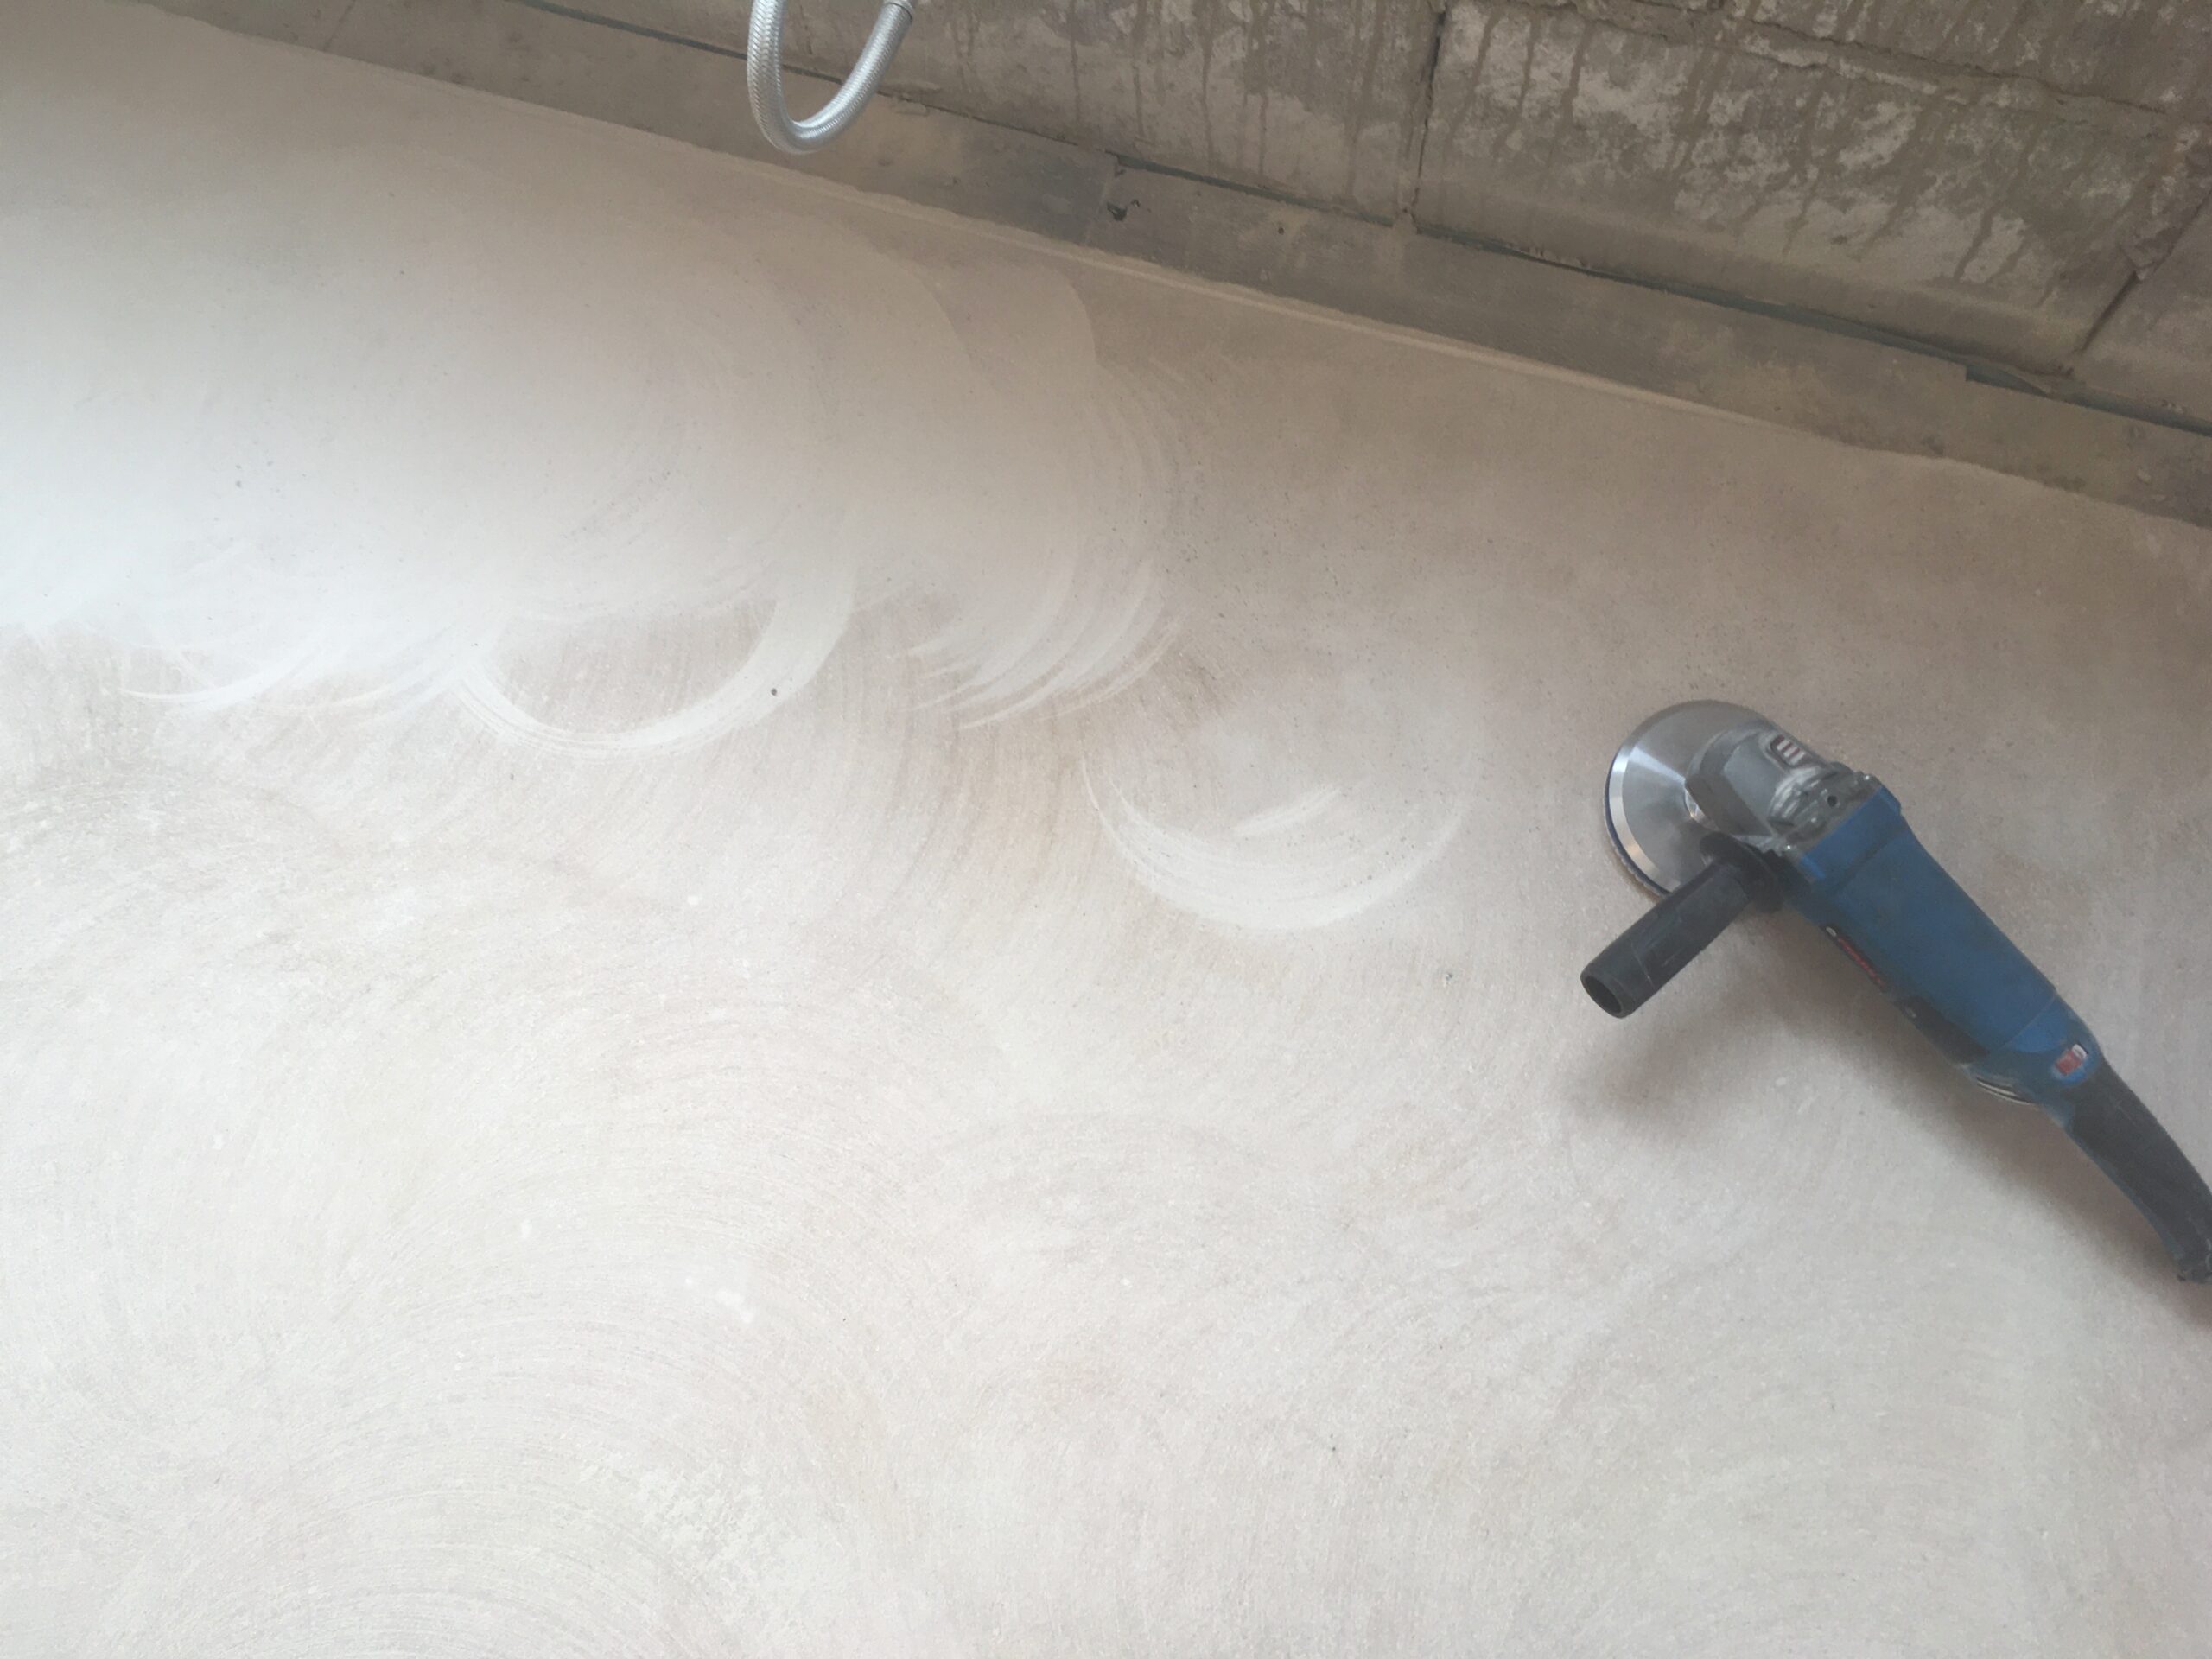
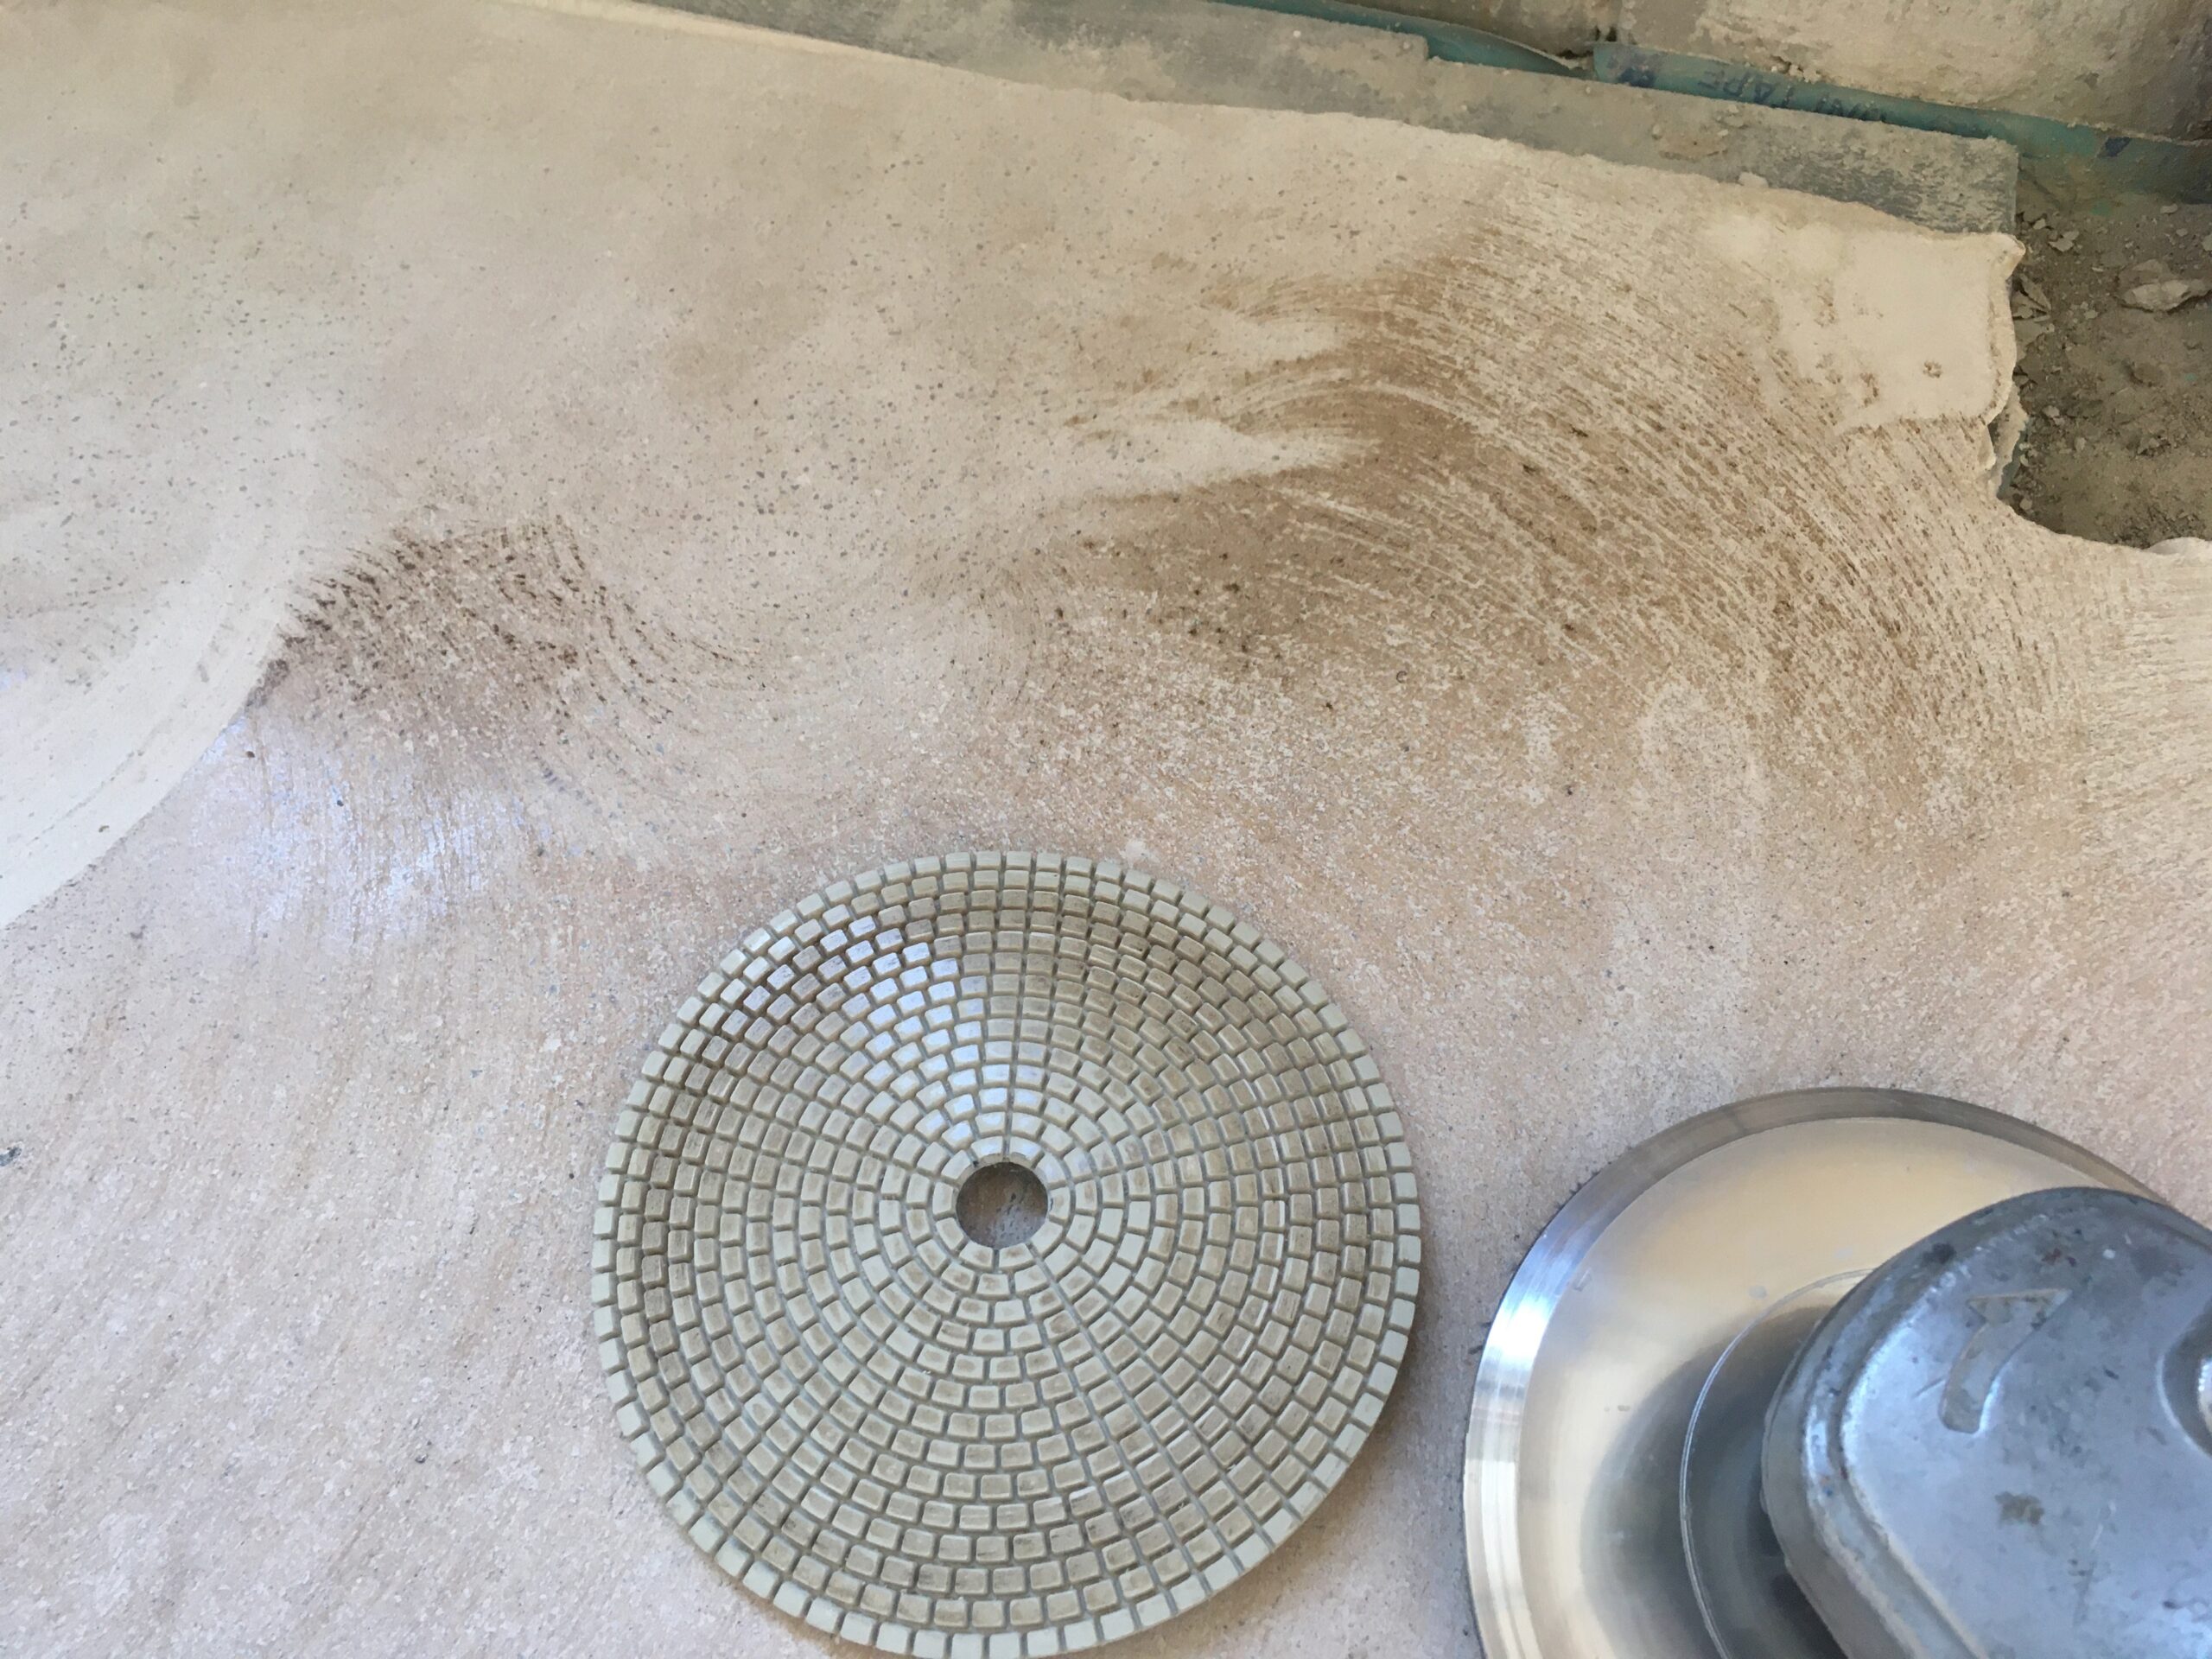
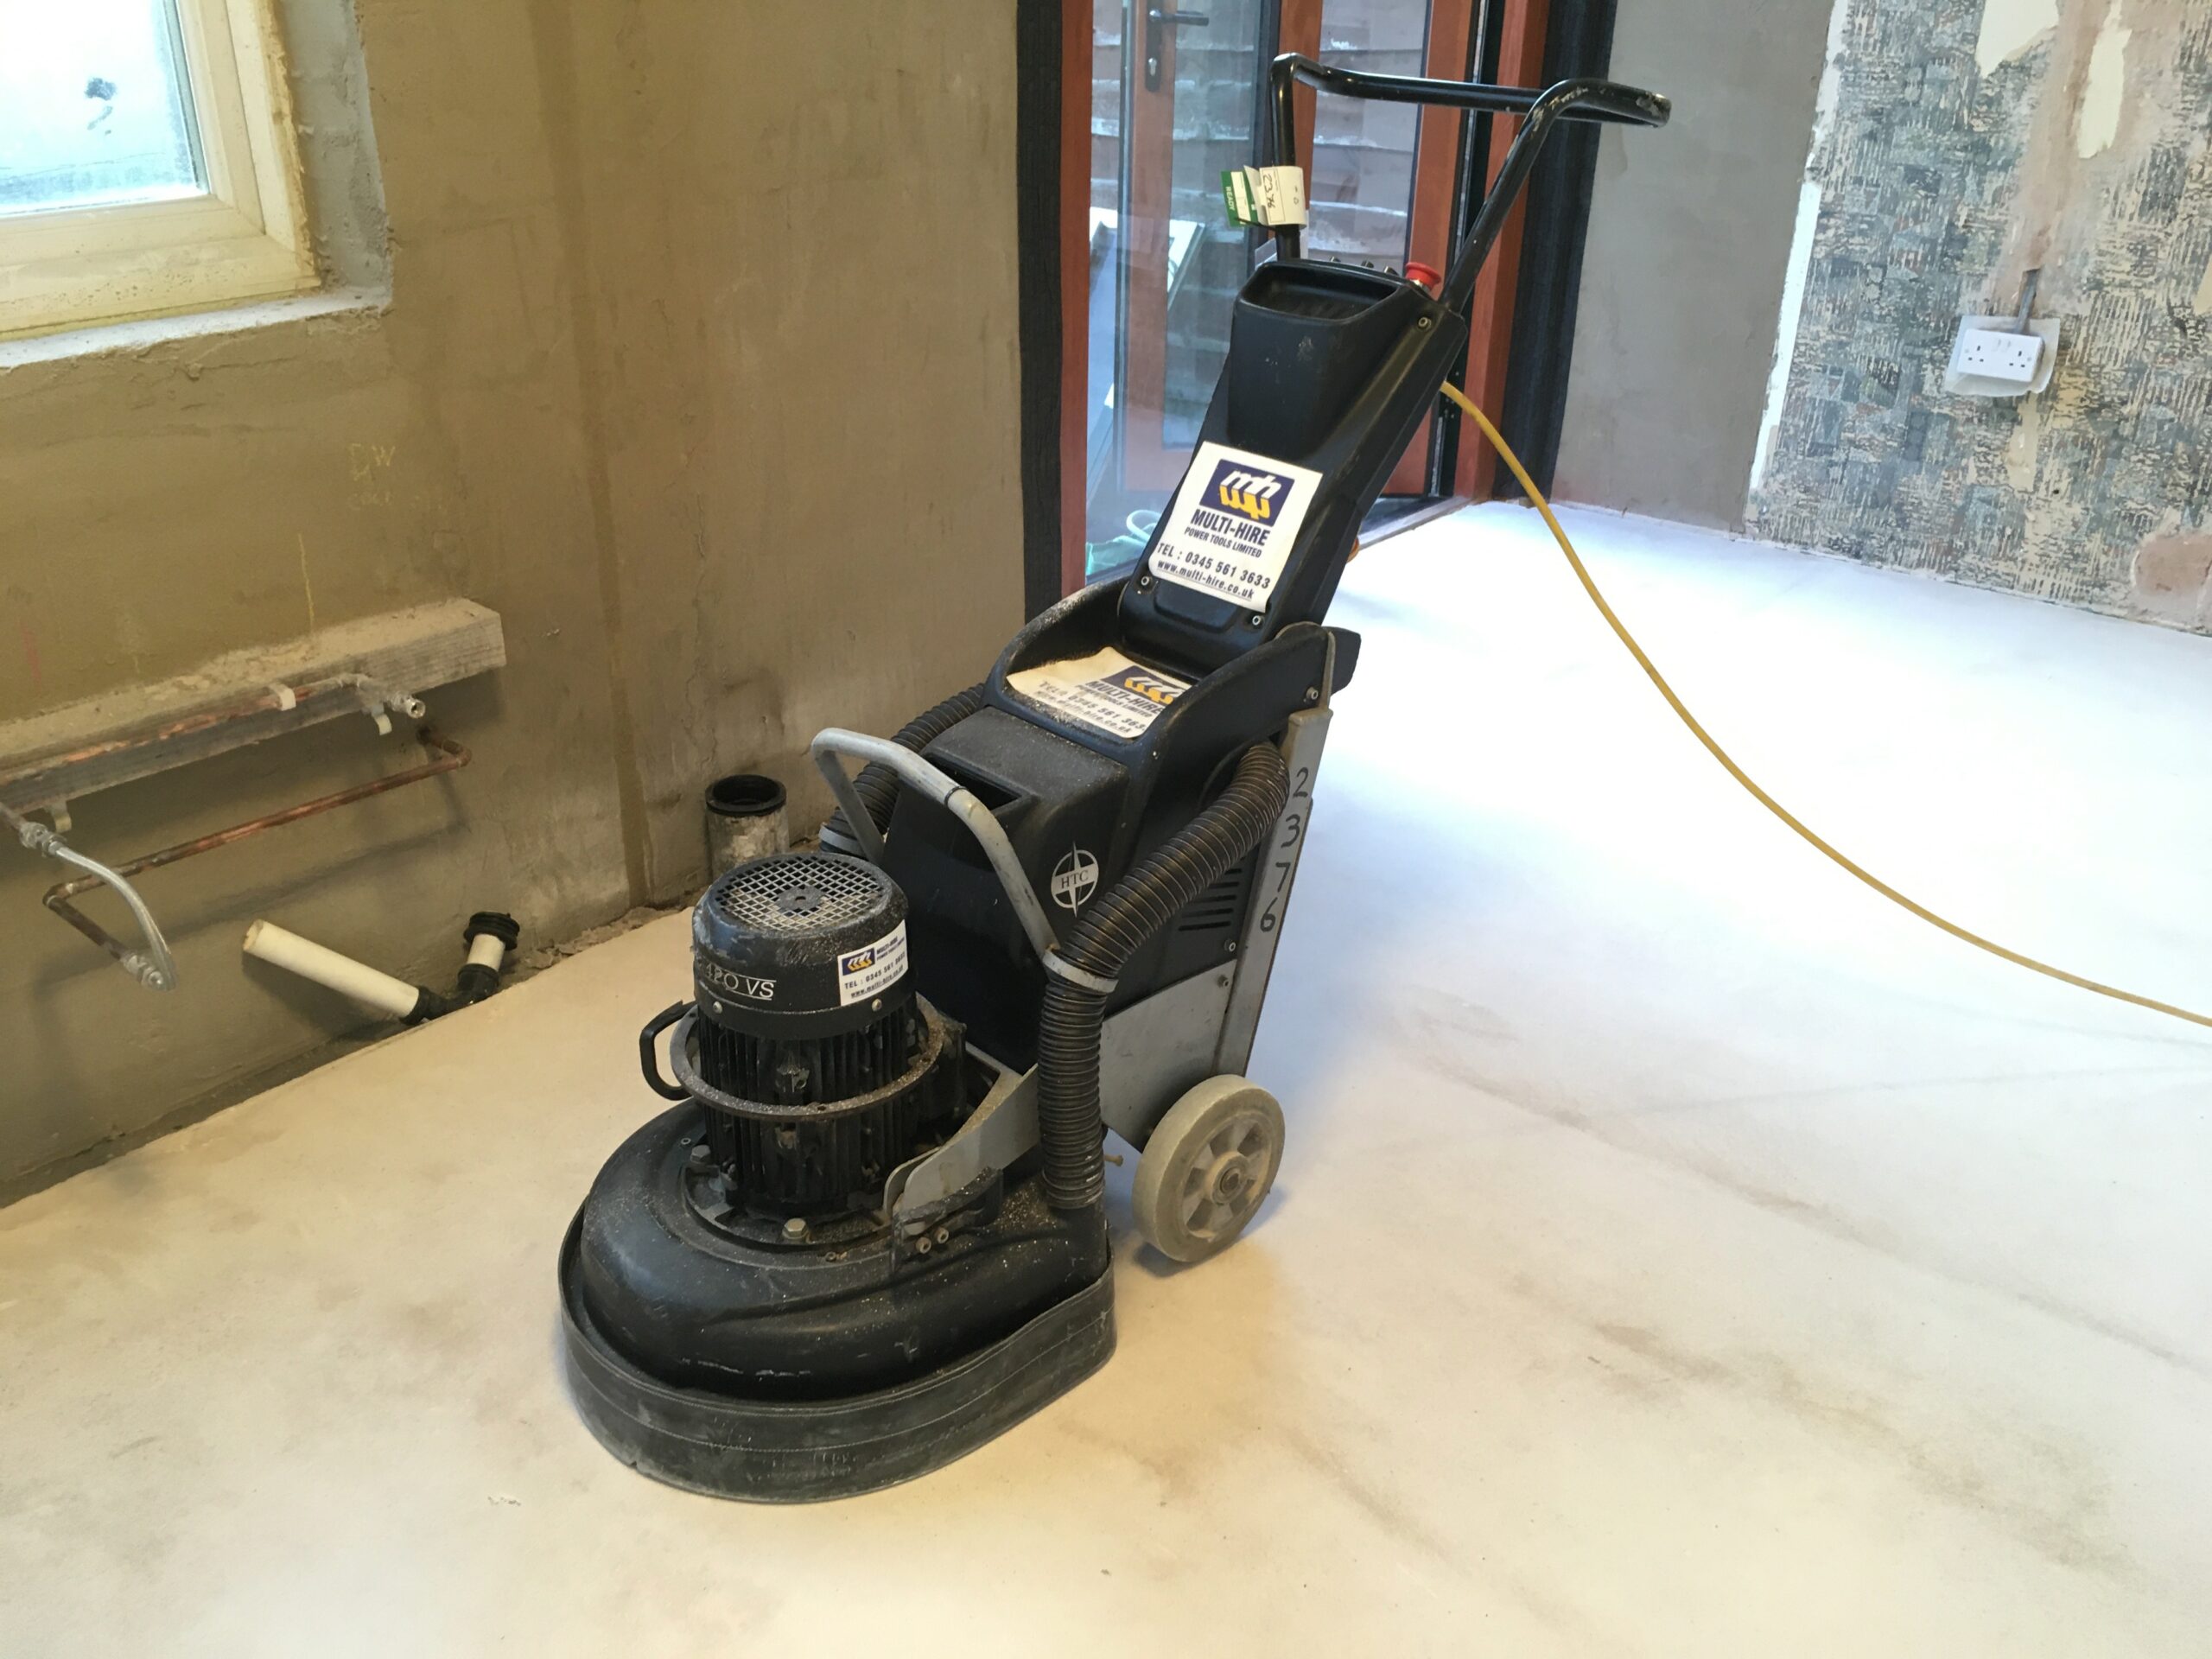
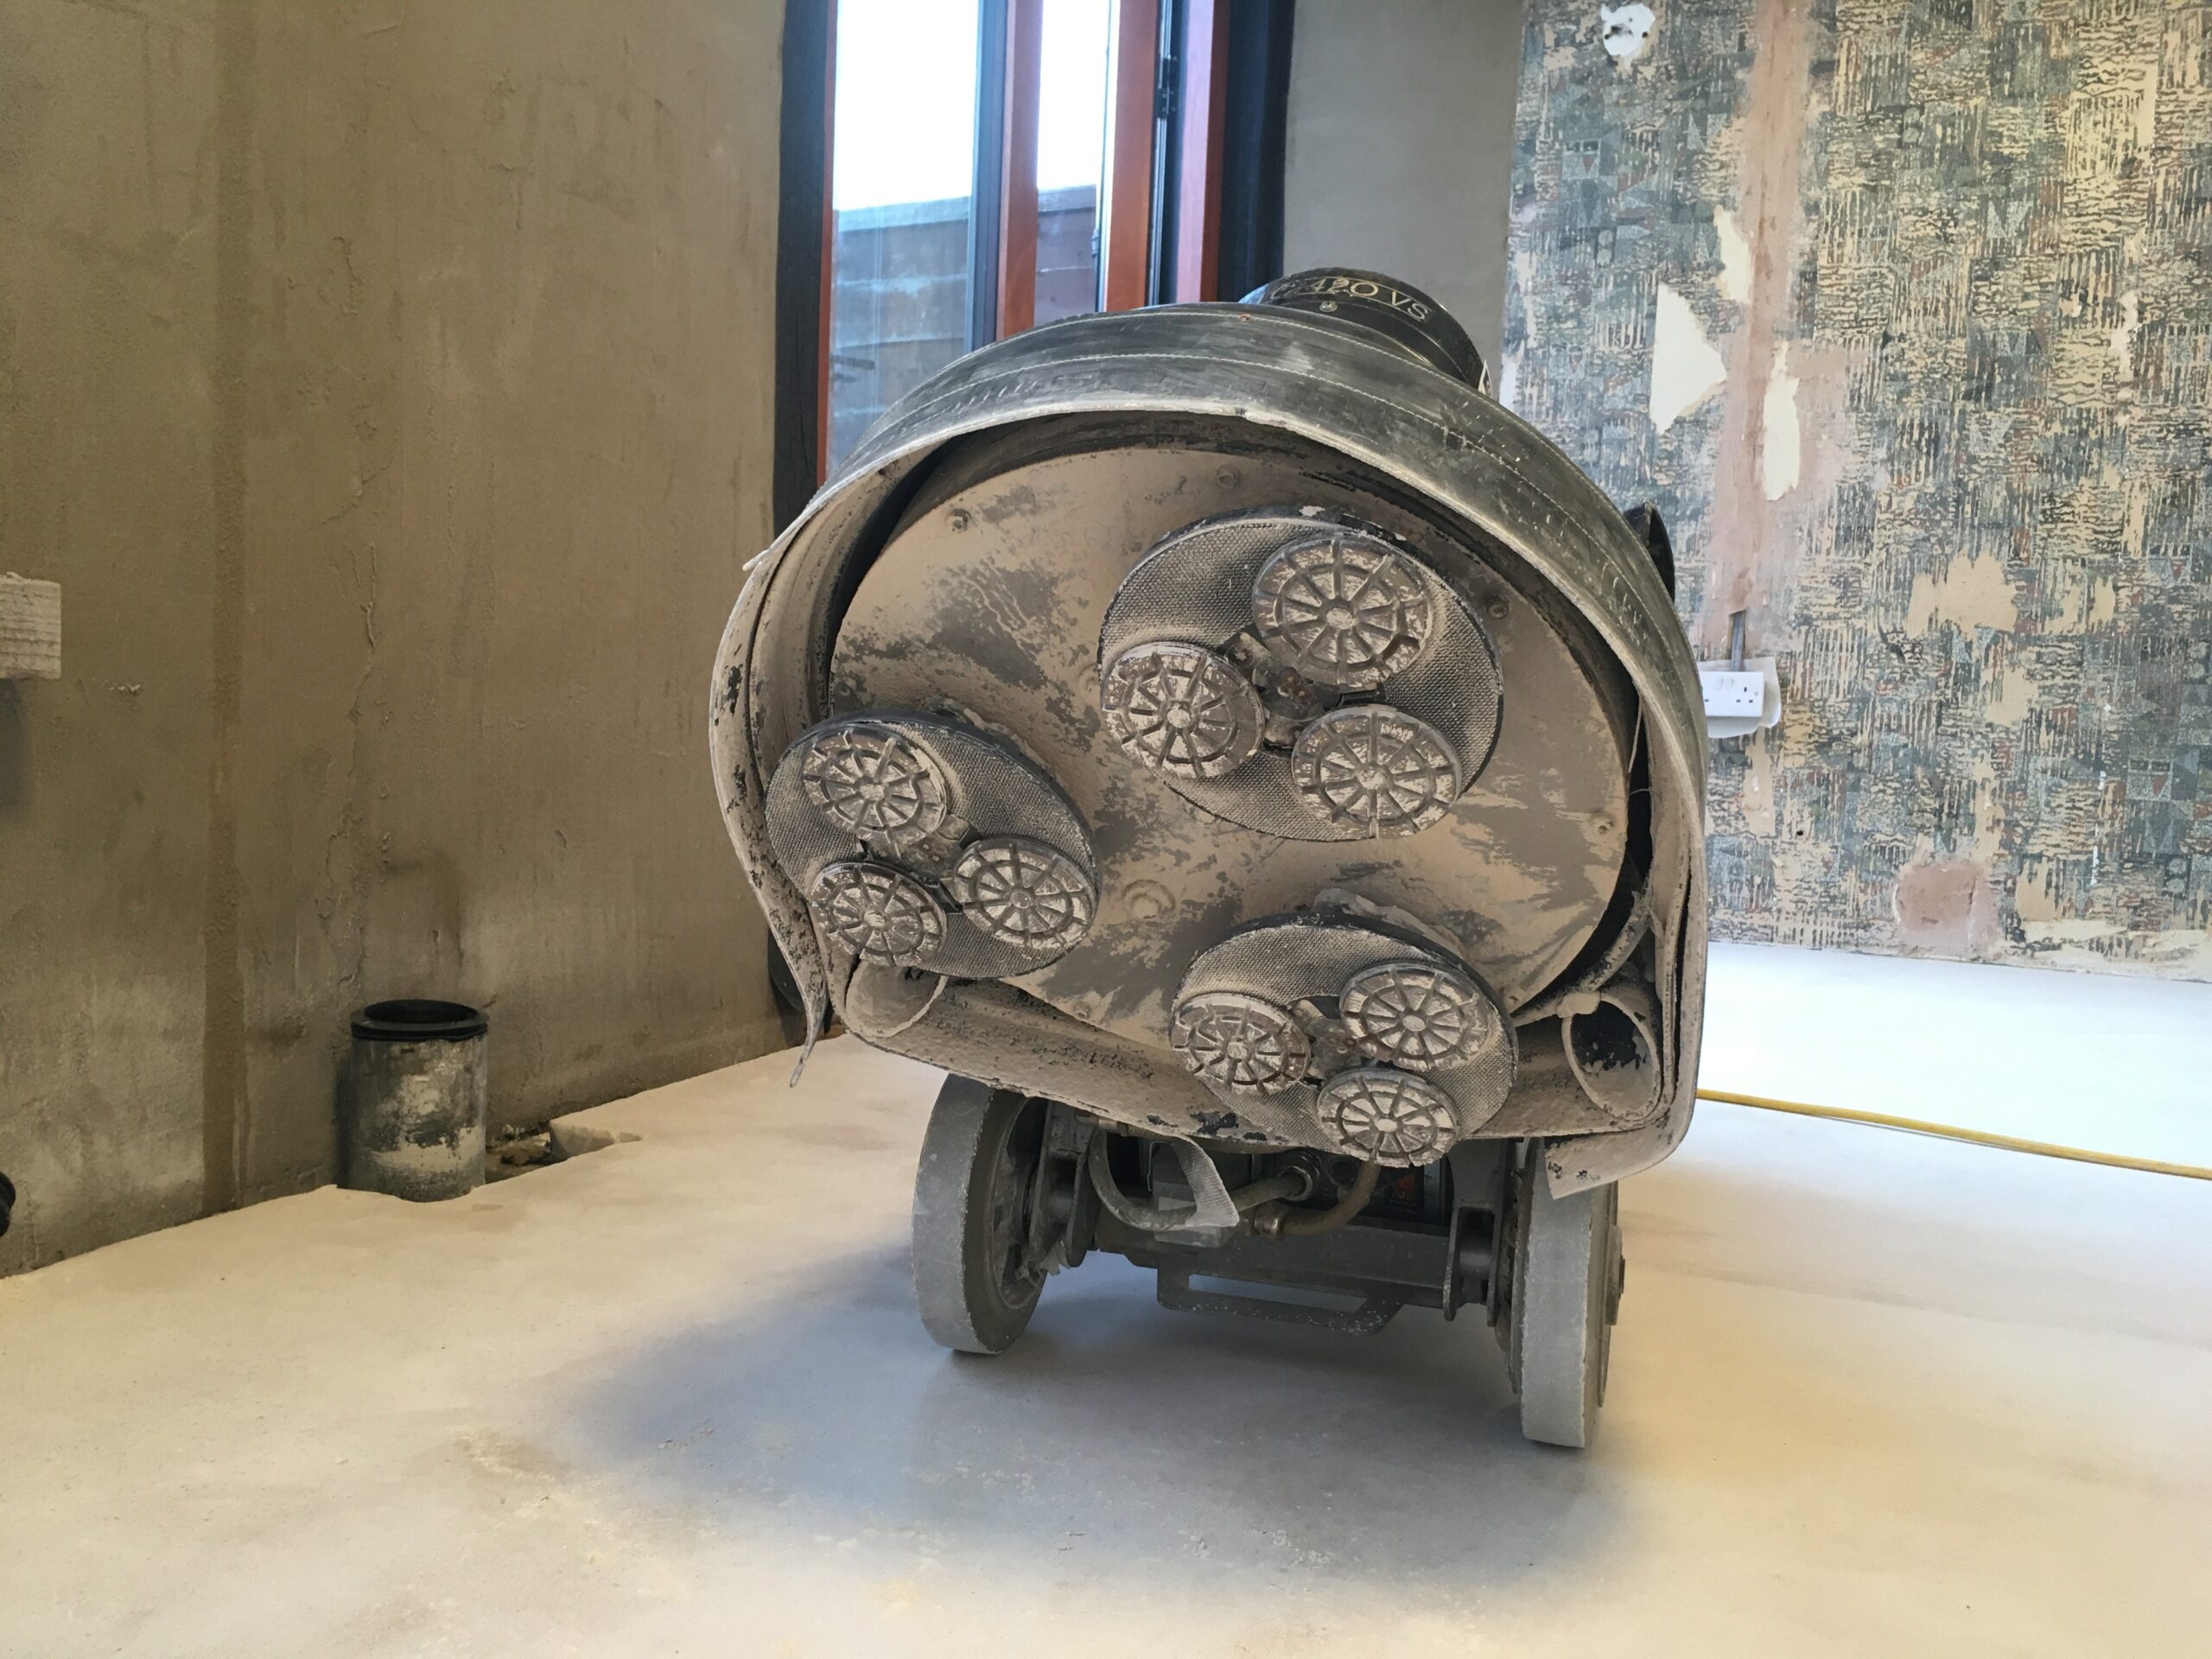
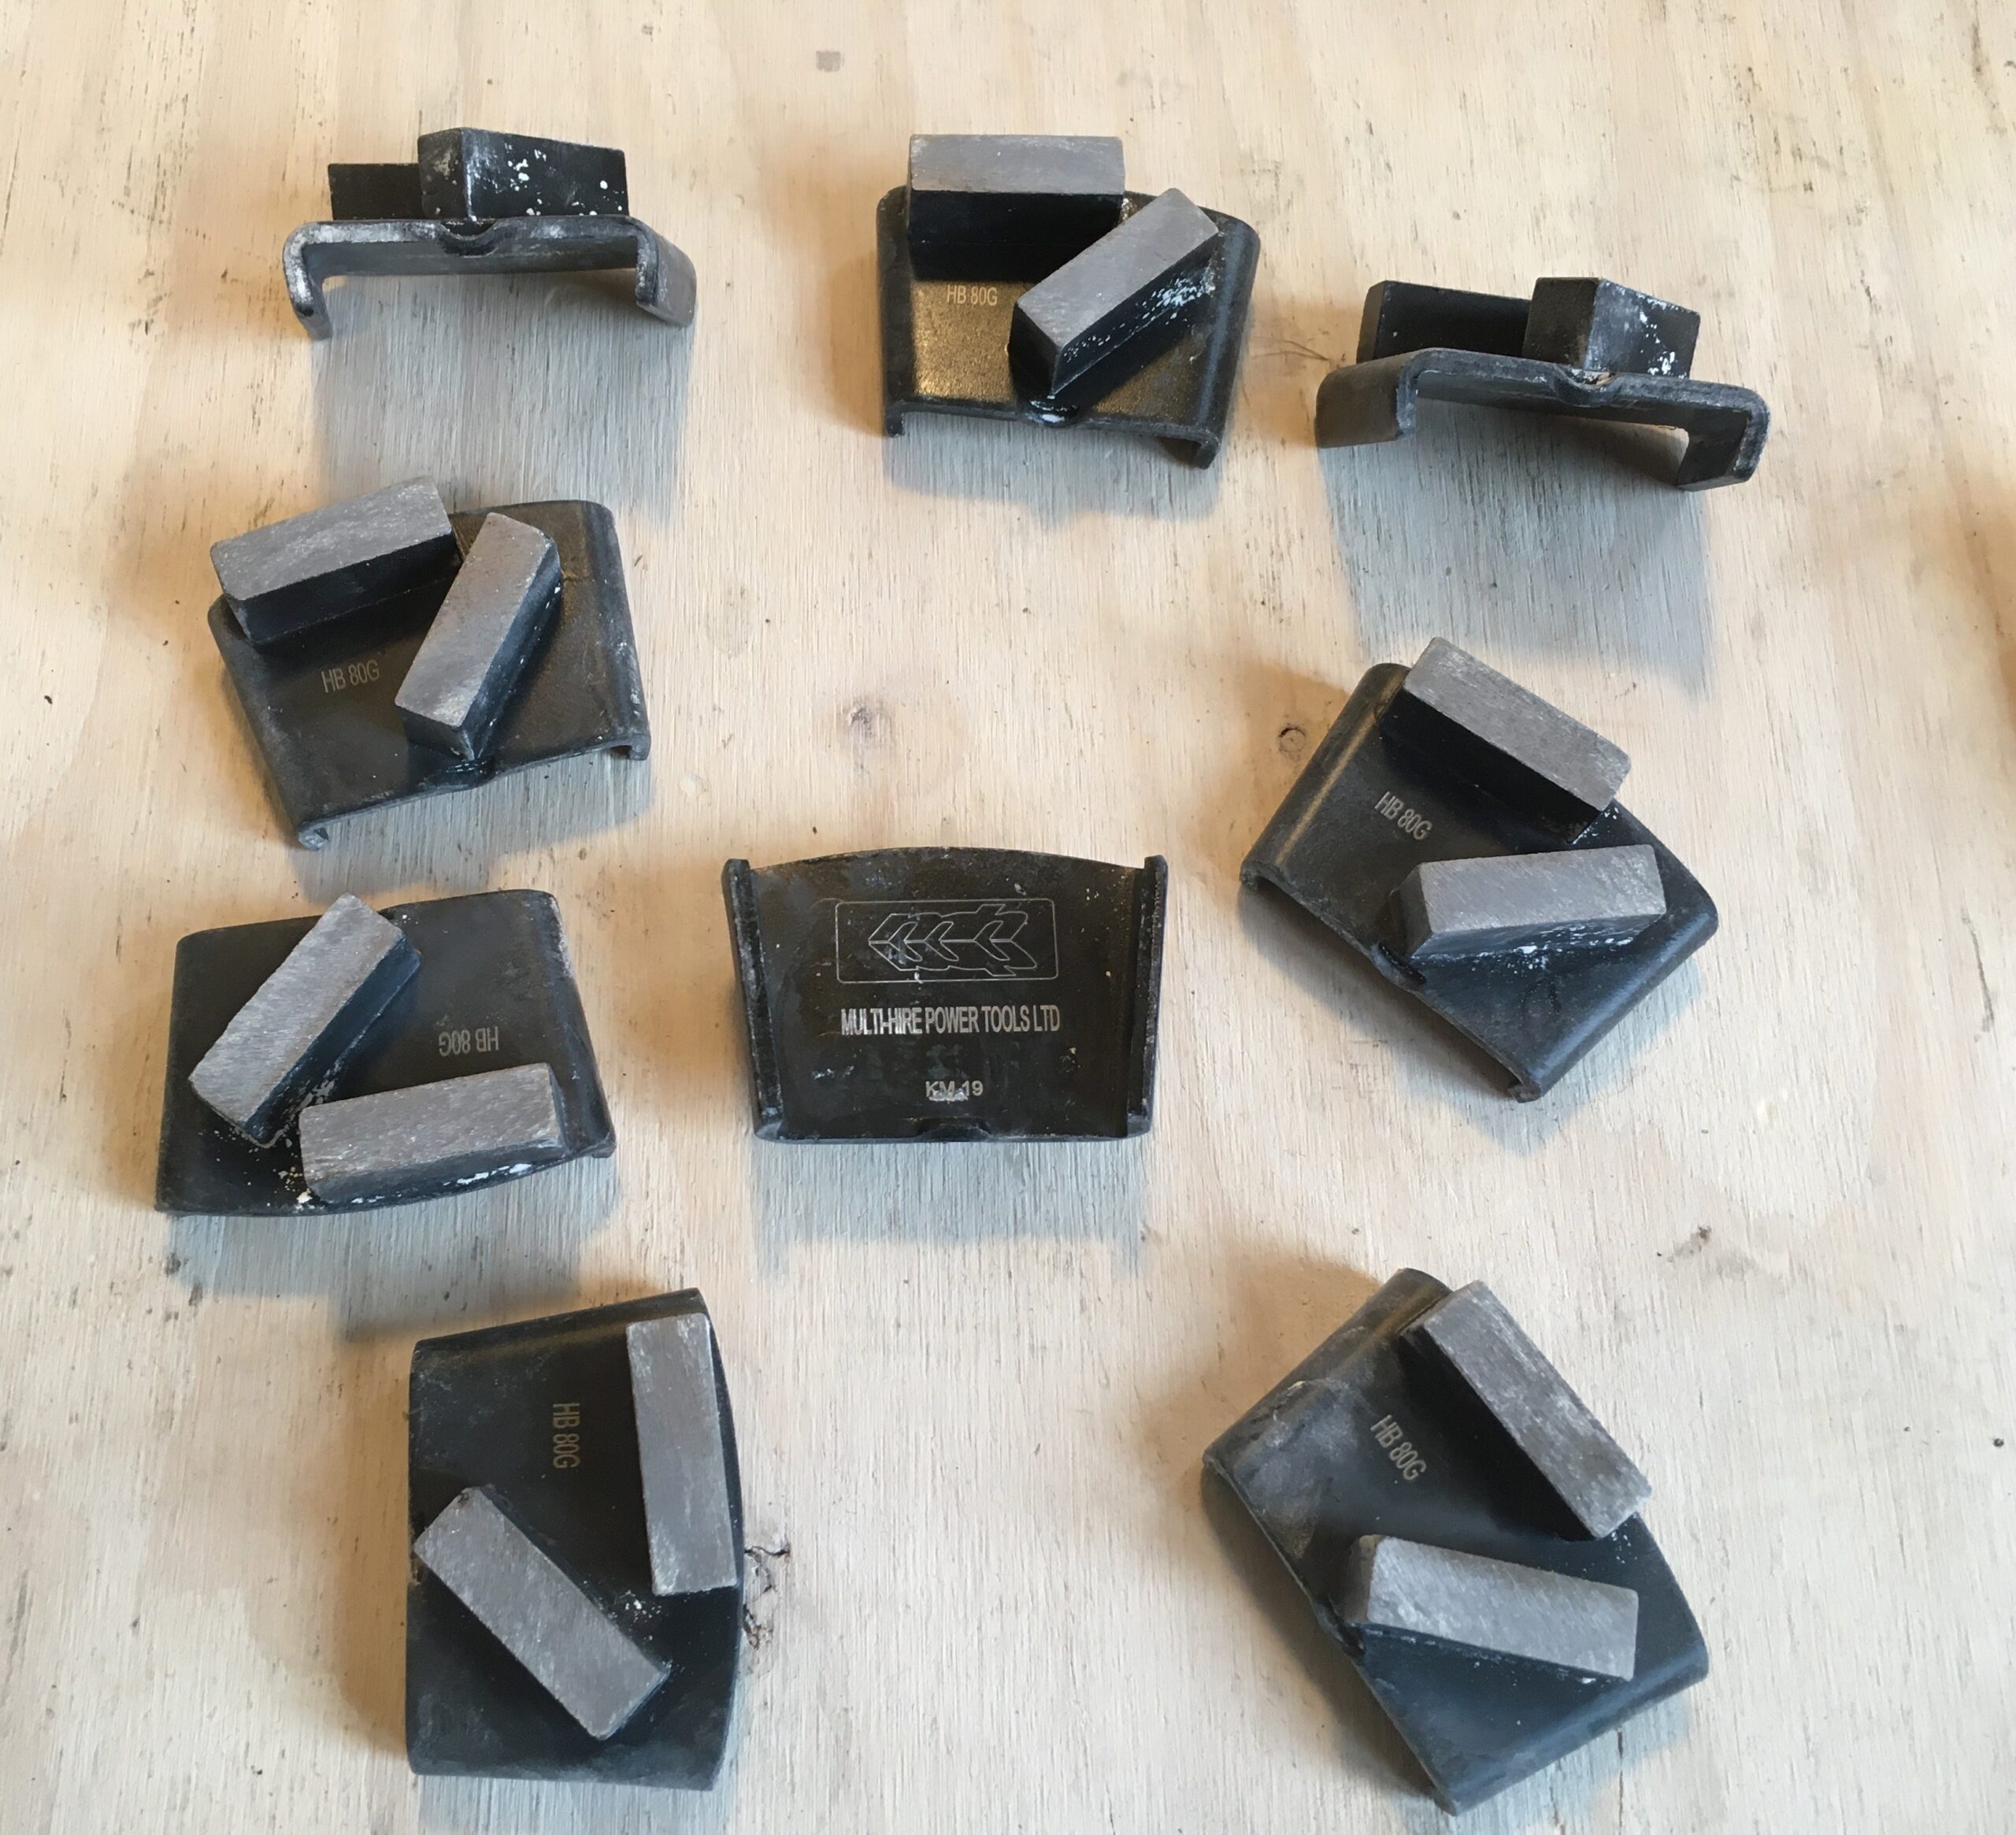
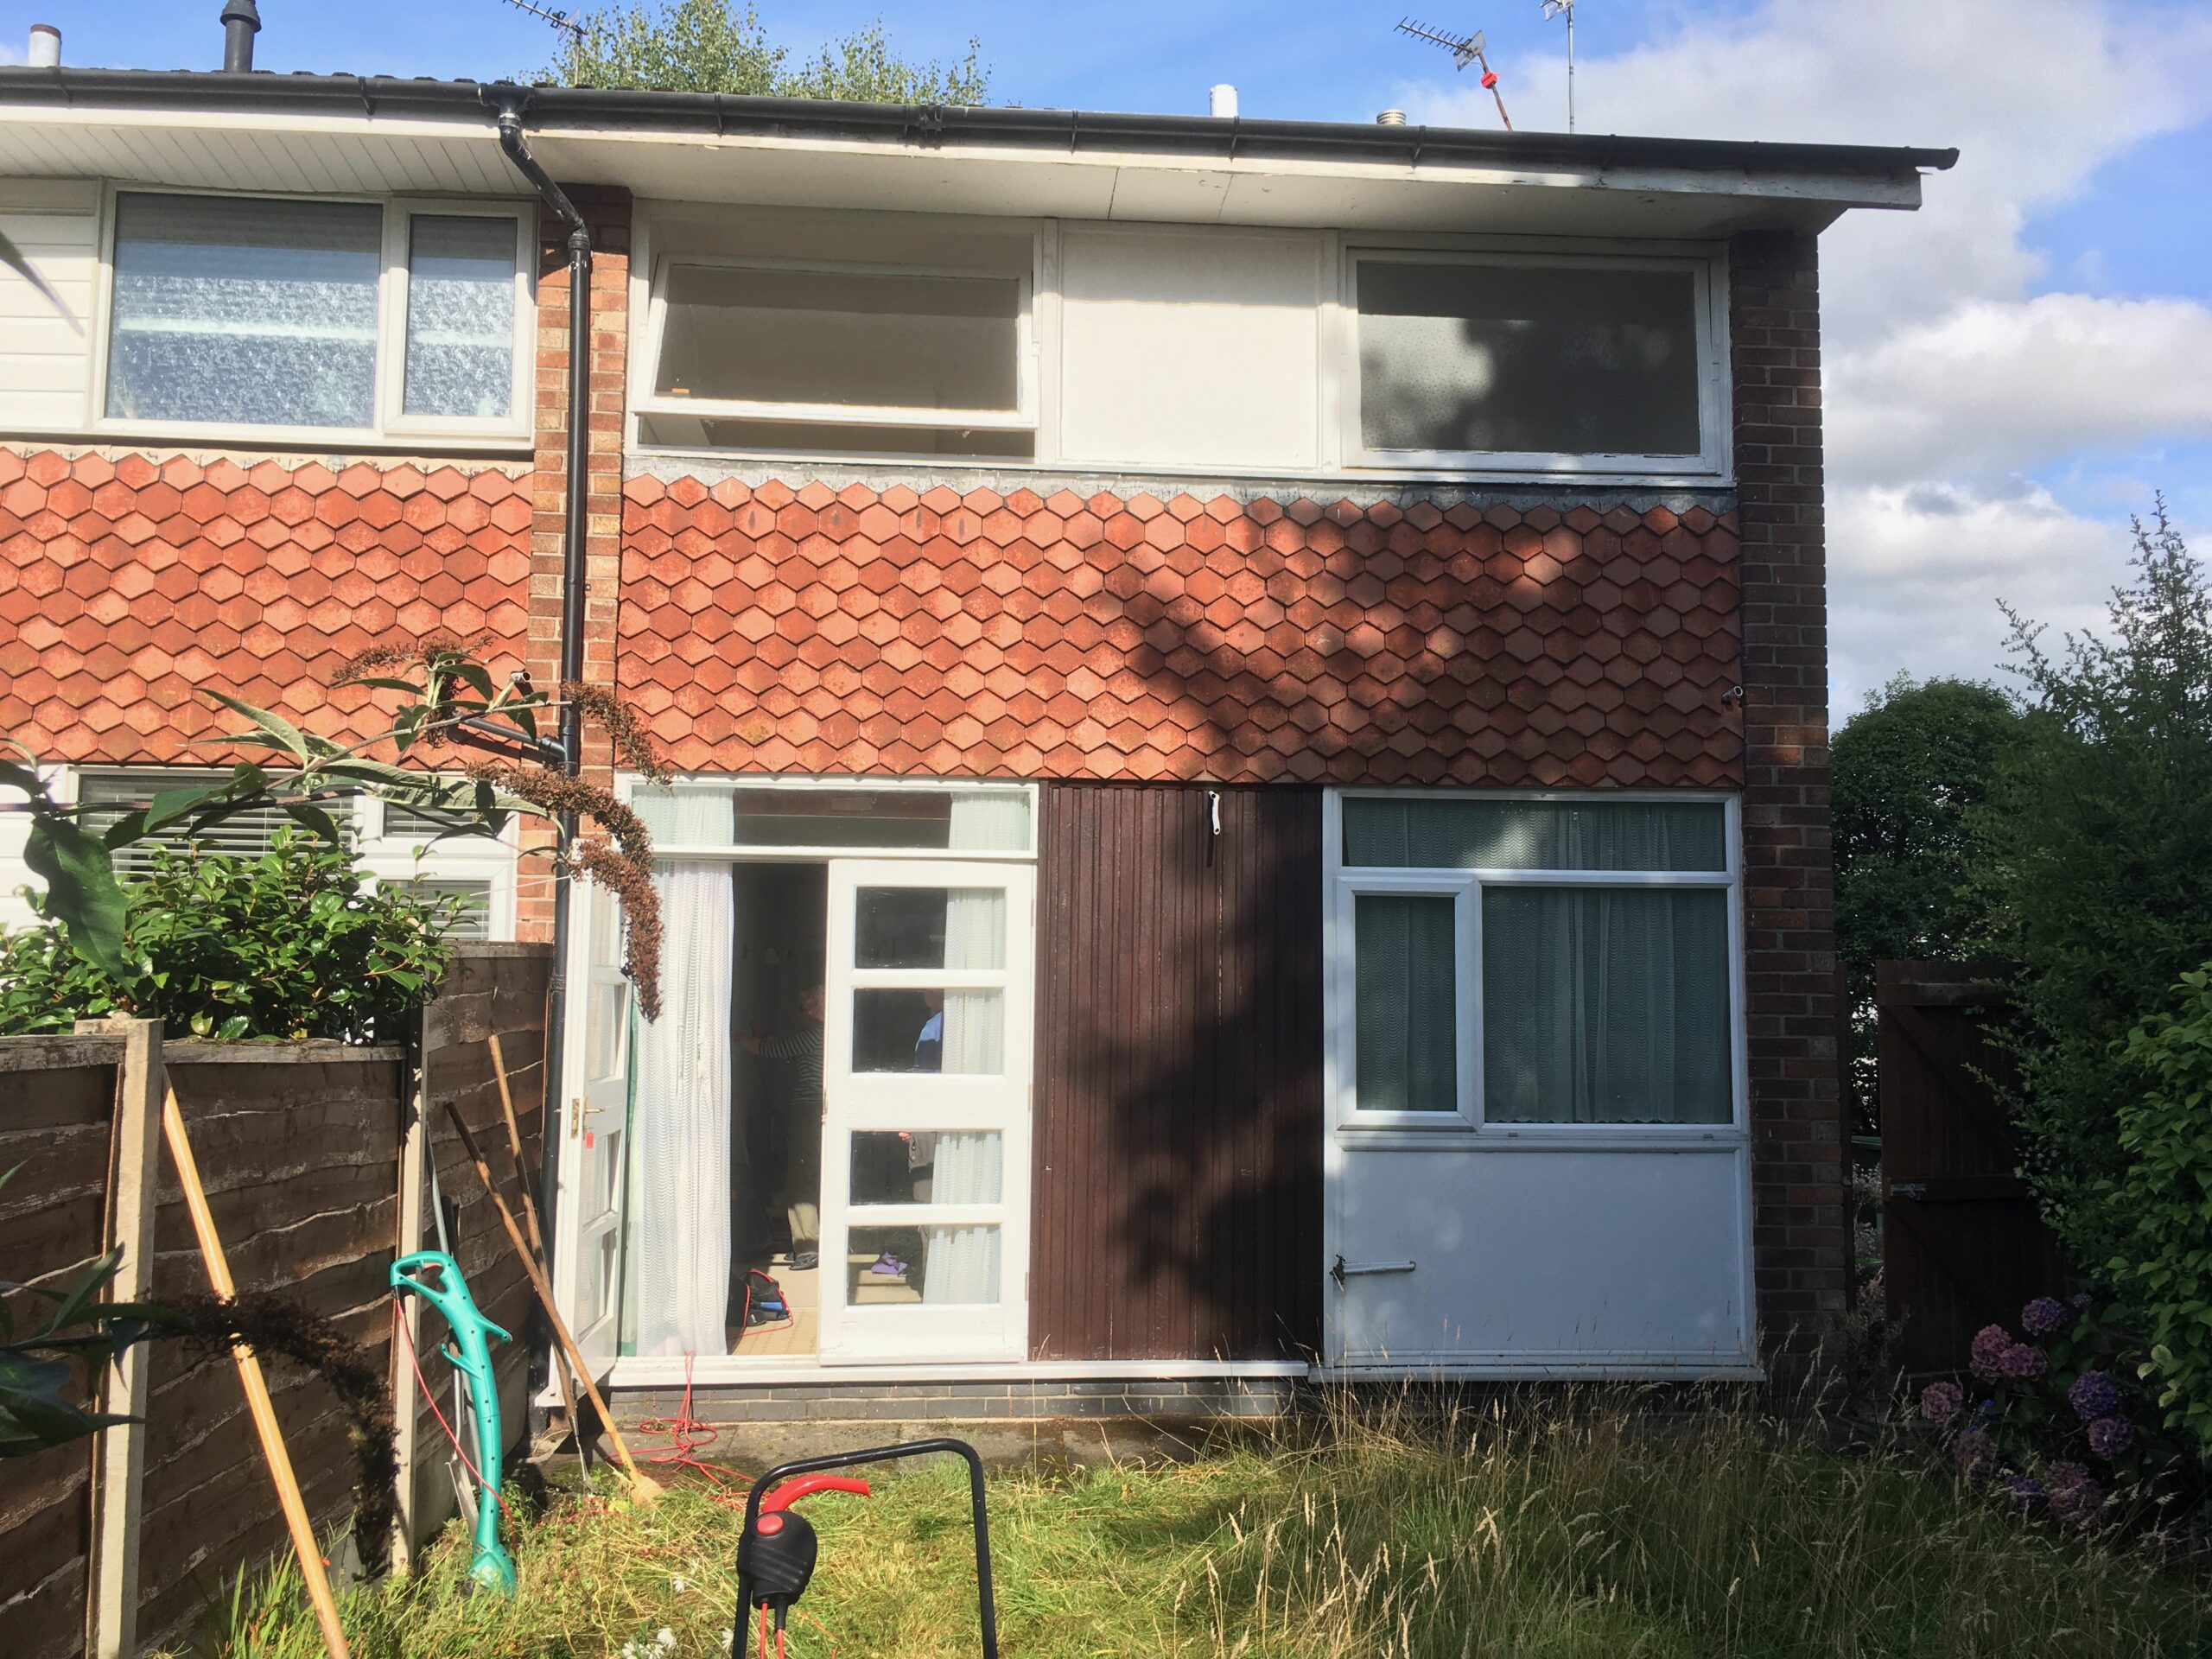
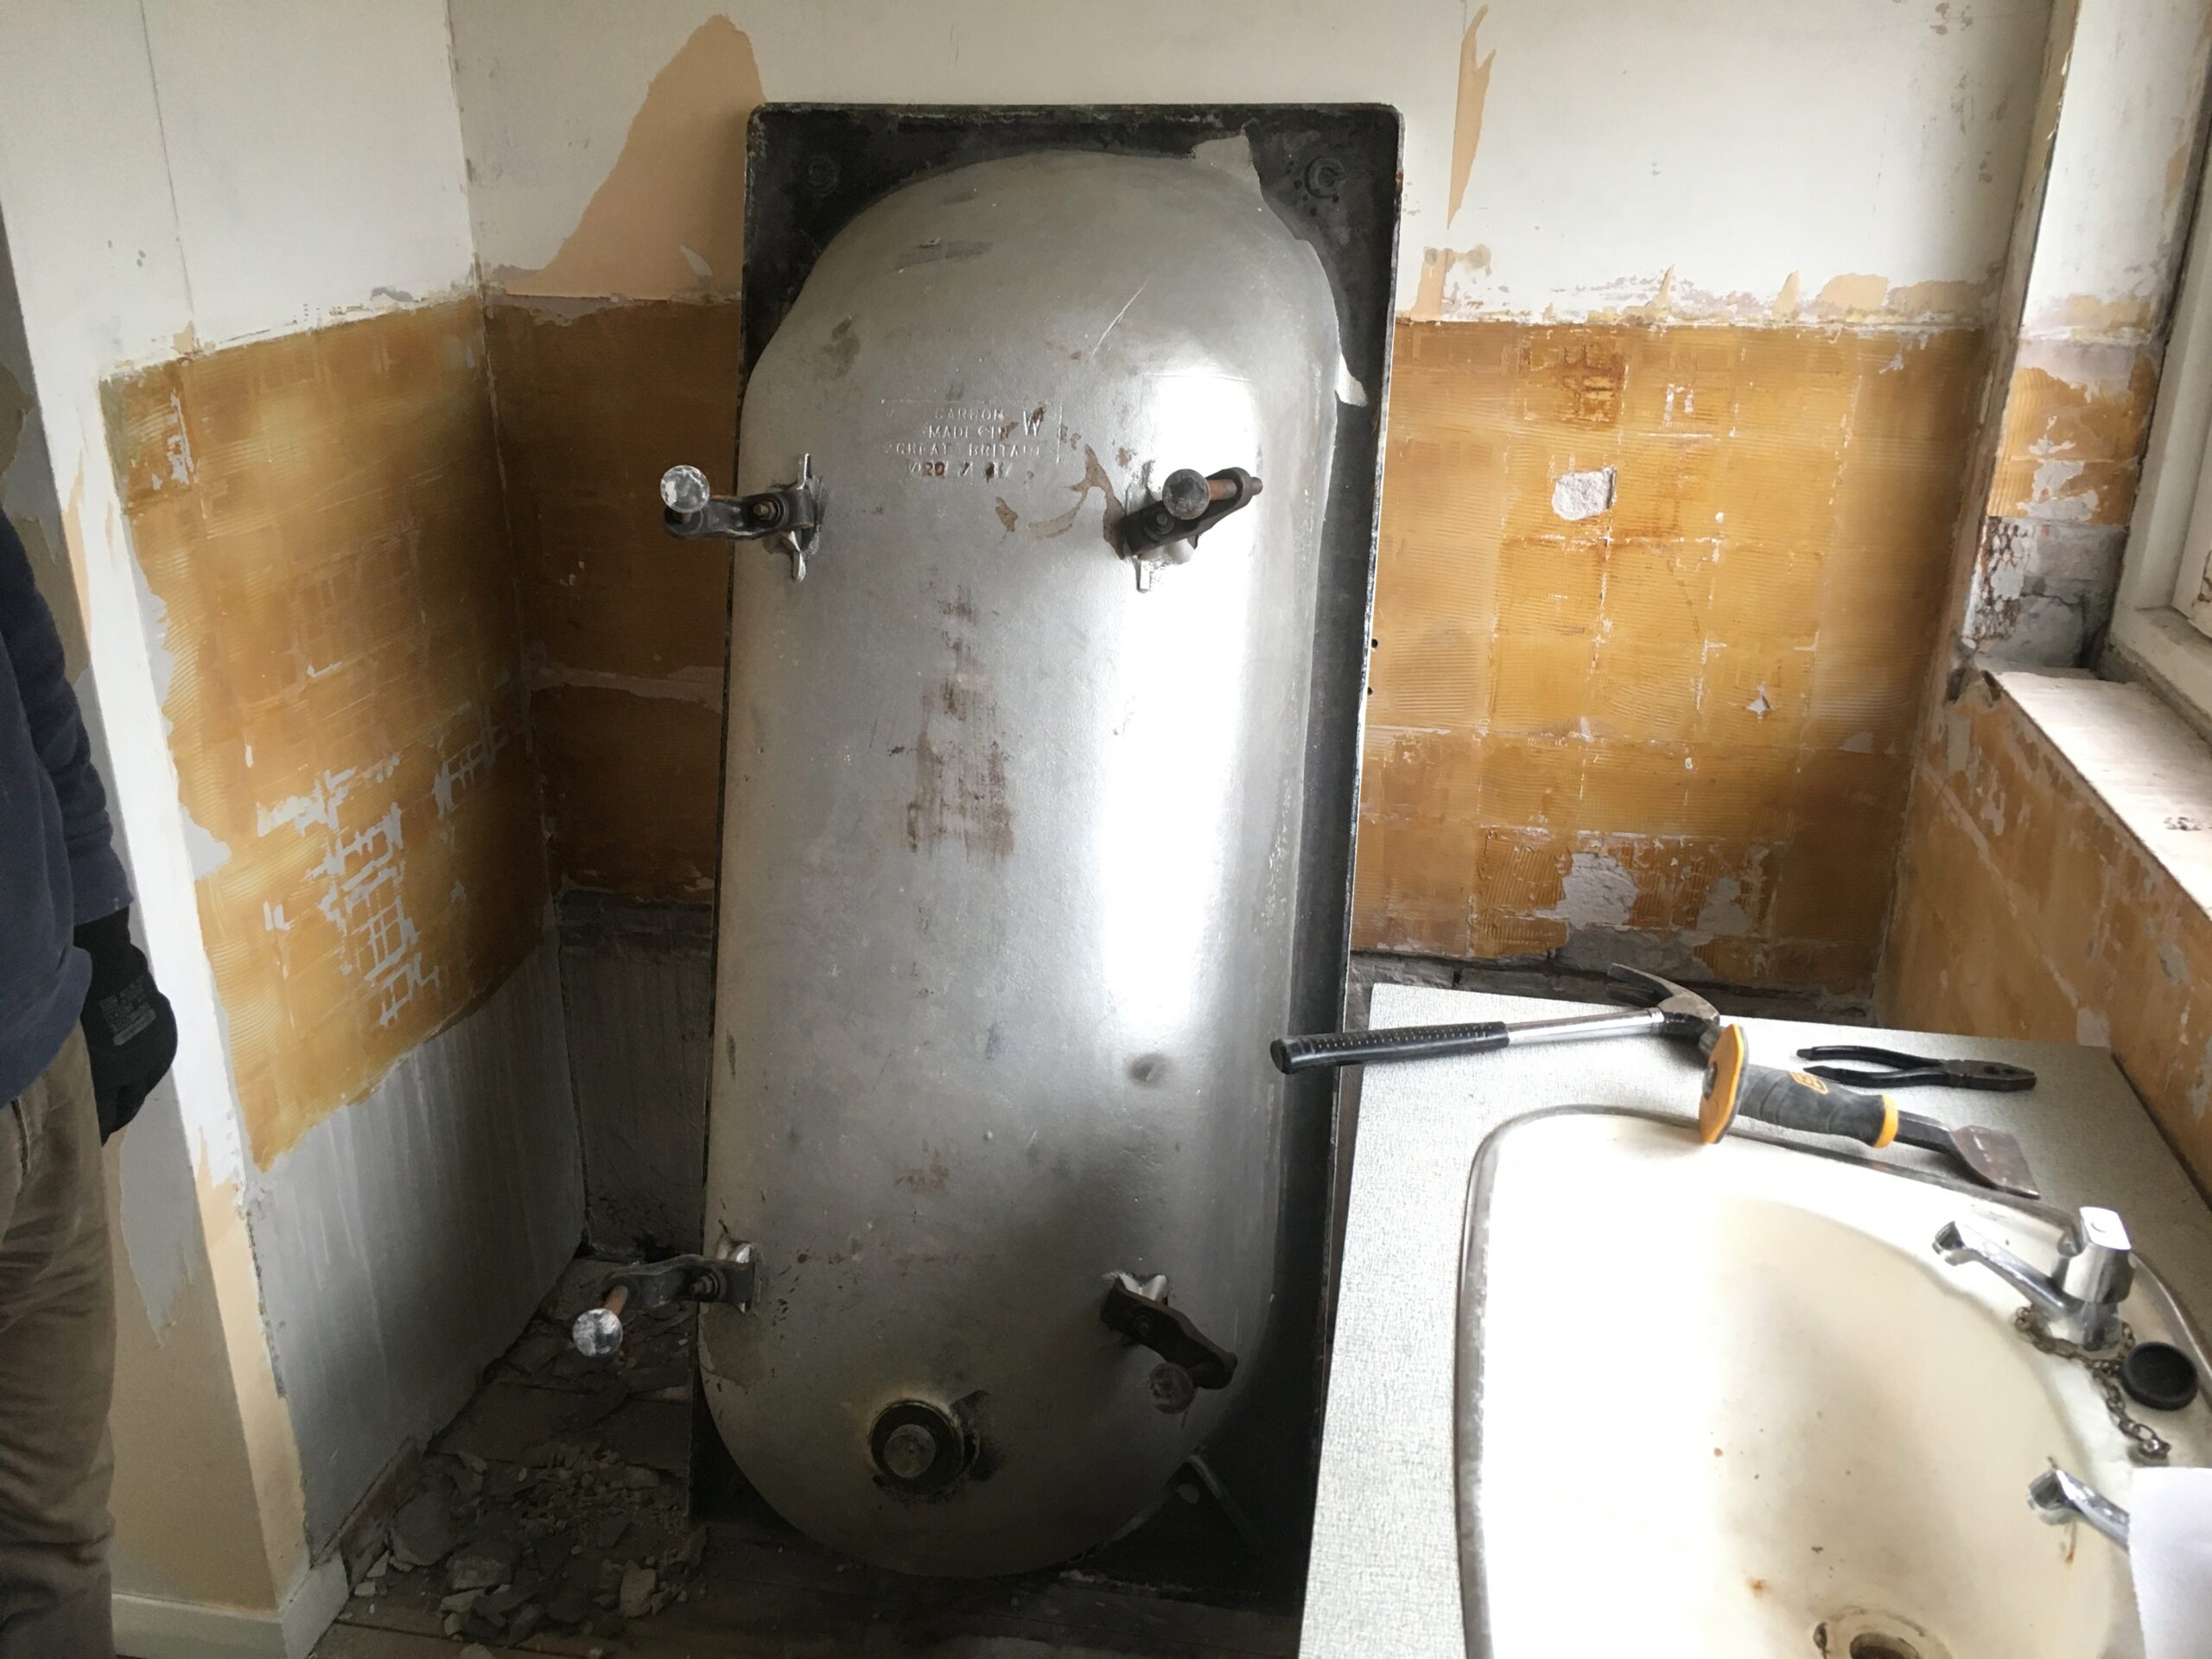
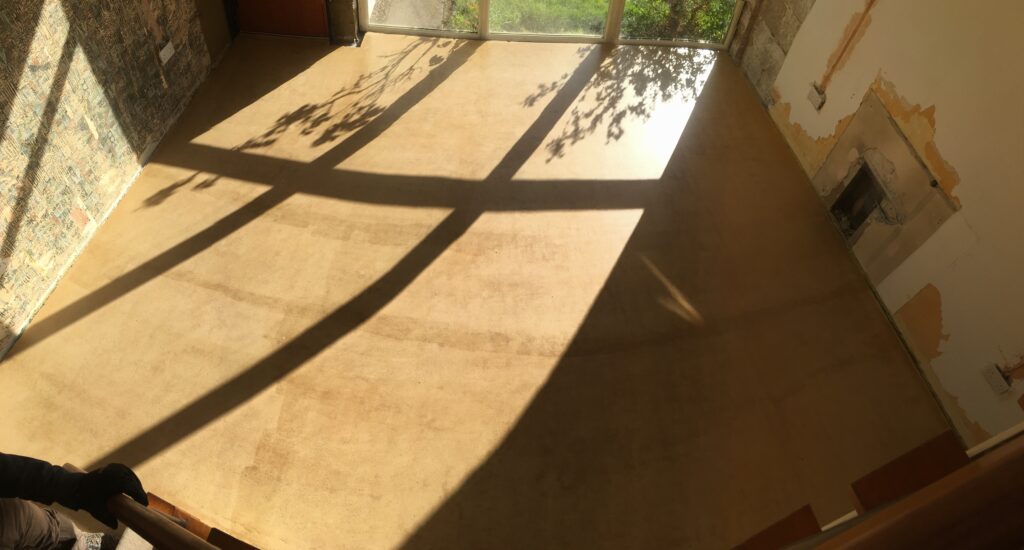
So the previous Floor Grind post described the difficulty, length of time and general frustration to grind the floor surface.  It left off with a beautiful raw floor surface ready for a coat of resin to protect and finish it.

Well.

I had ordered the resin so it was on site ready to go.  But it hadn’t arrived, so I chased it up.

I’ll try and give you a short version:

  • “the product you wanted [Sikafloor 2540W] has been discontinued”

<Sigh>

  • “the replacement [2510W] is not available in clear” just ~5 opaque, industrial colours of grey, yellow, orange.

Using an opaque colour would mean that grinding/sanding the floor was a complete waste of time.

  • “there’s an alternative from a different manufacturer, Remmers”
  • “oh, that’s not available in clear either”
  • “how about this Remmers product?”  Oh that’s just a primer, it’s not stable.
  • in fact “it is impossible to create a UV stable epoxy resin, they will all yellow in sunlight and break down in time”

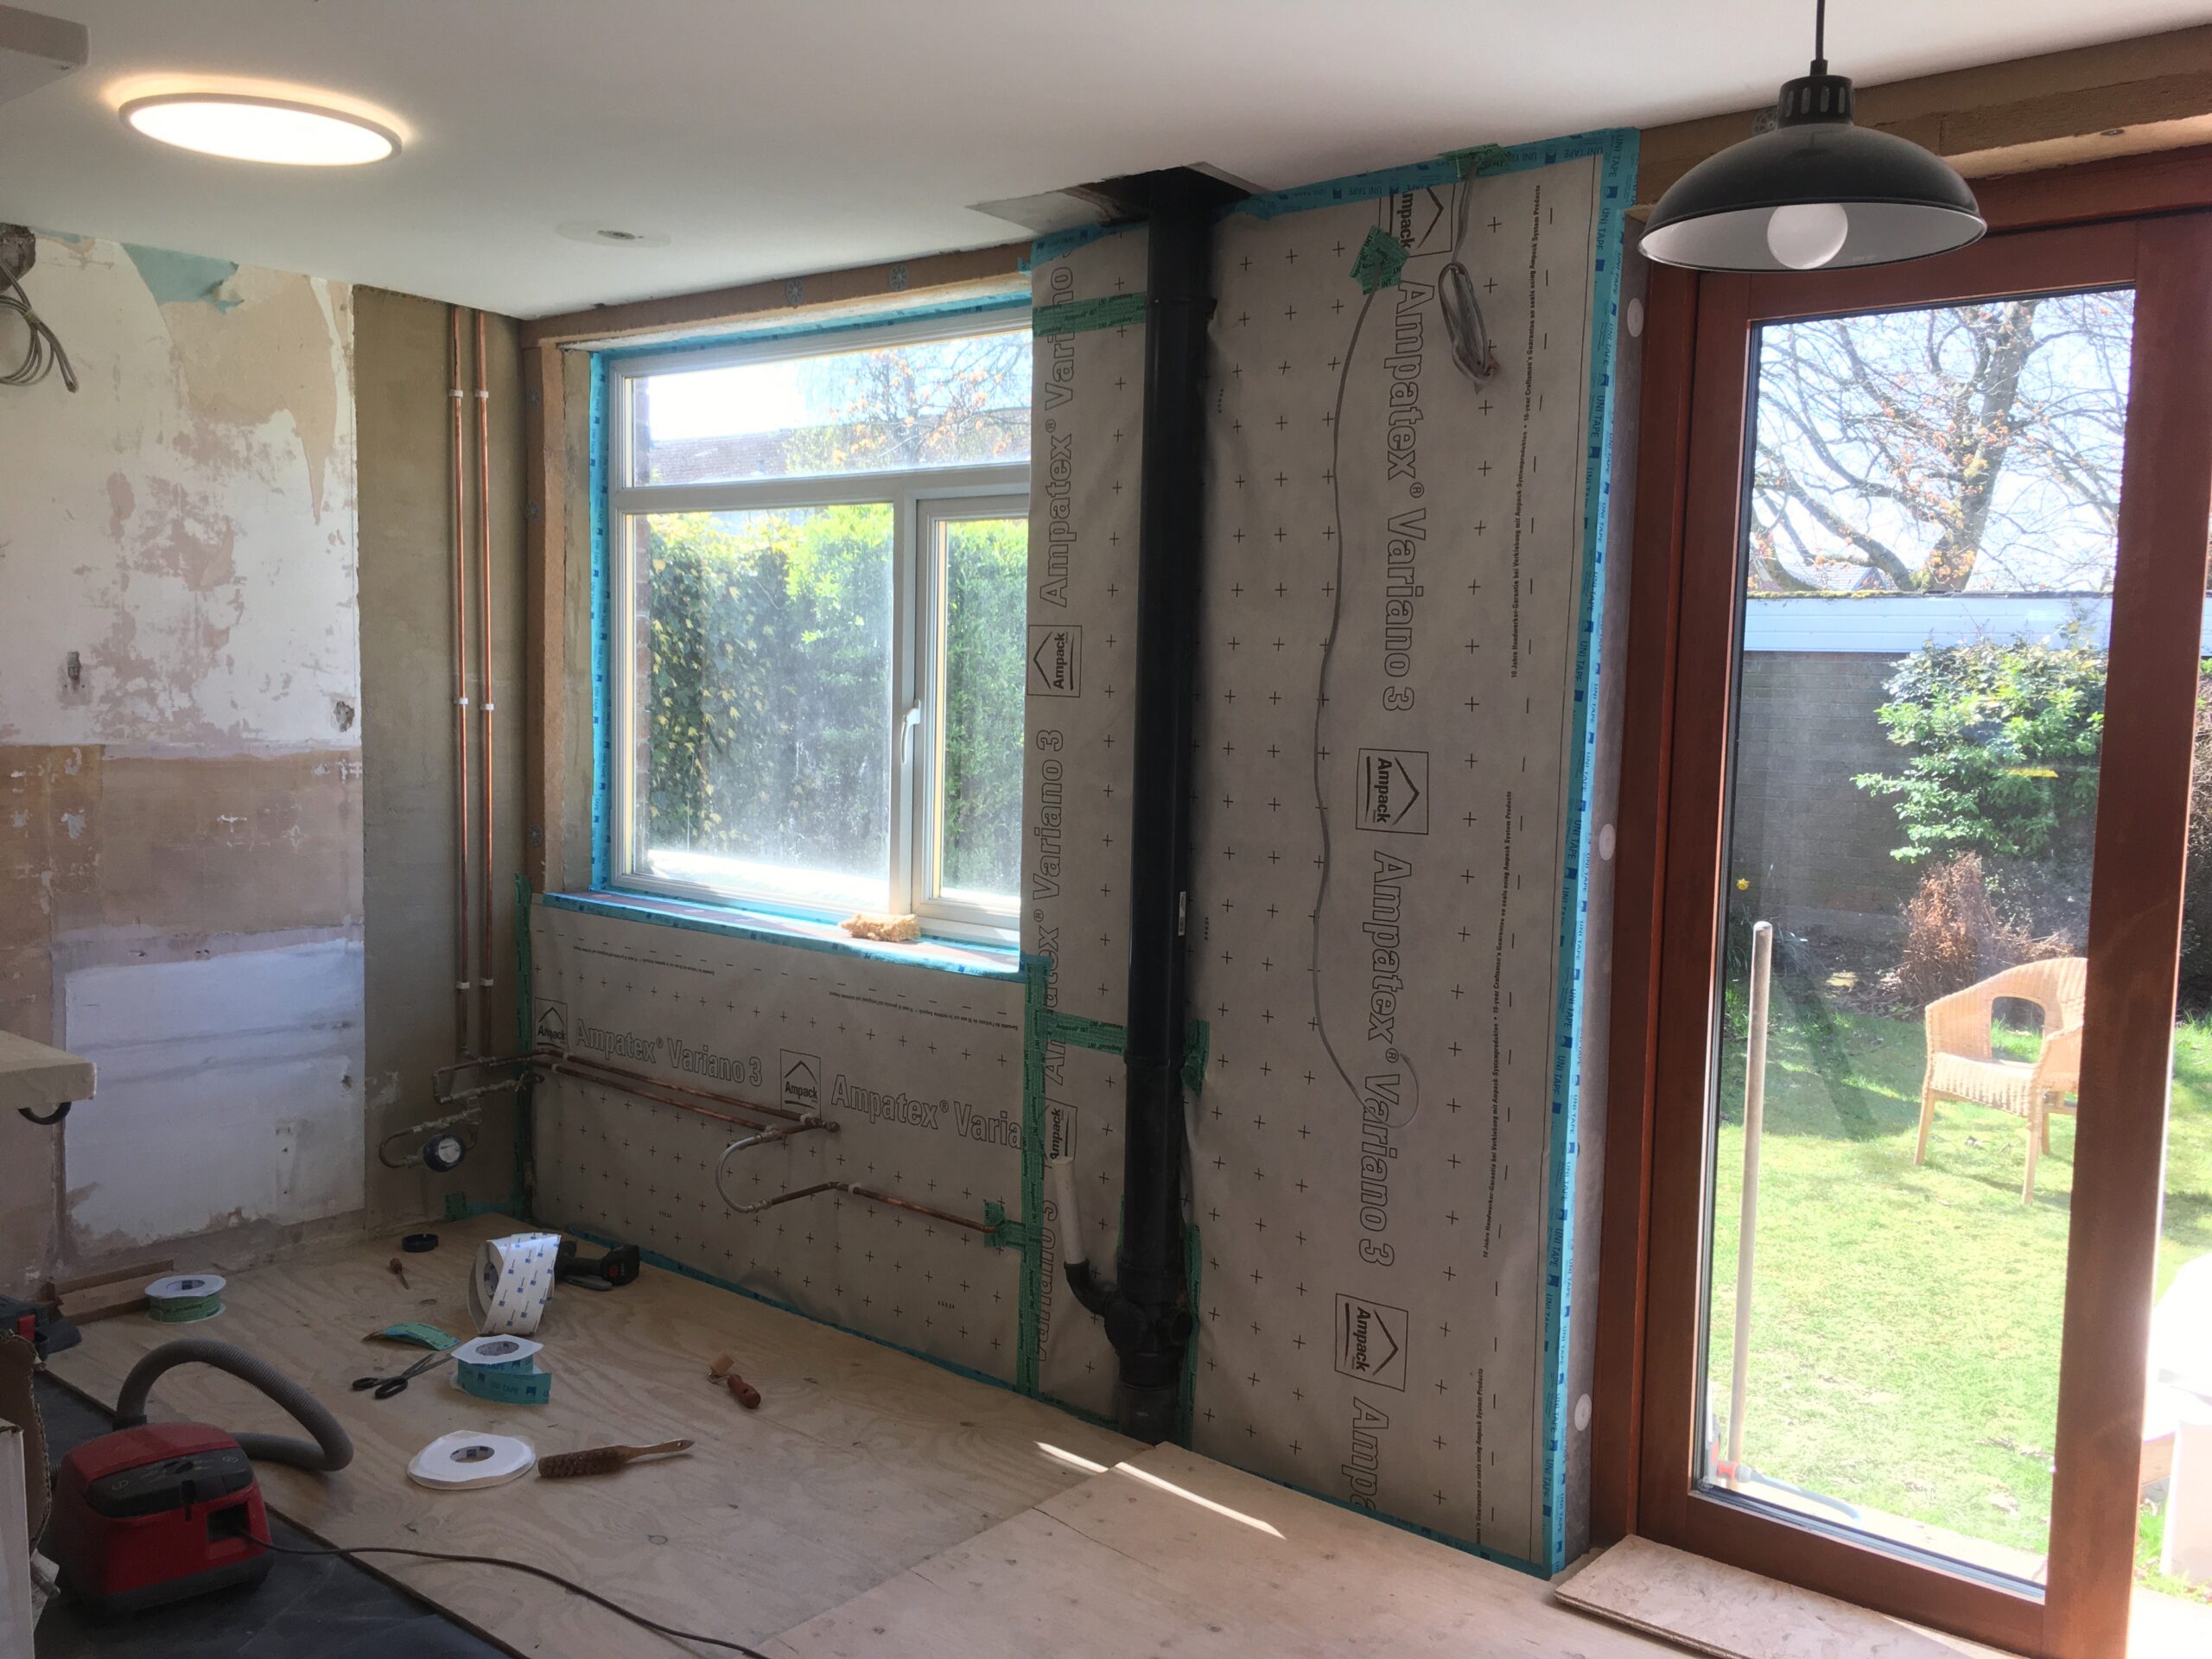
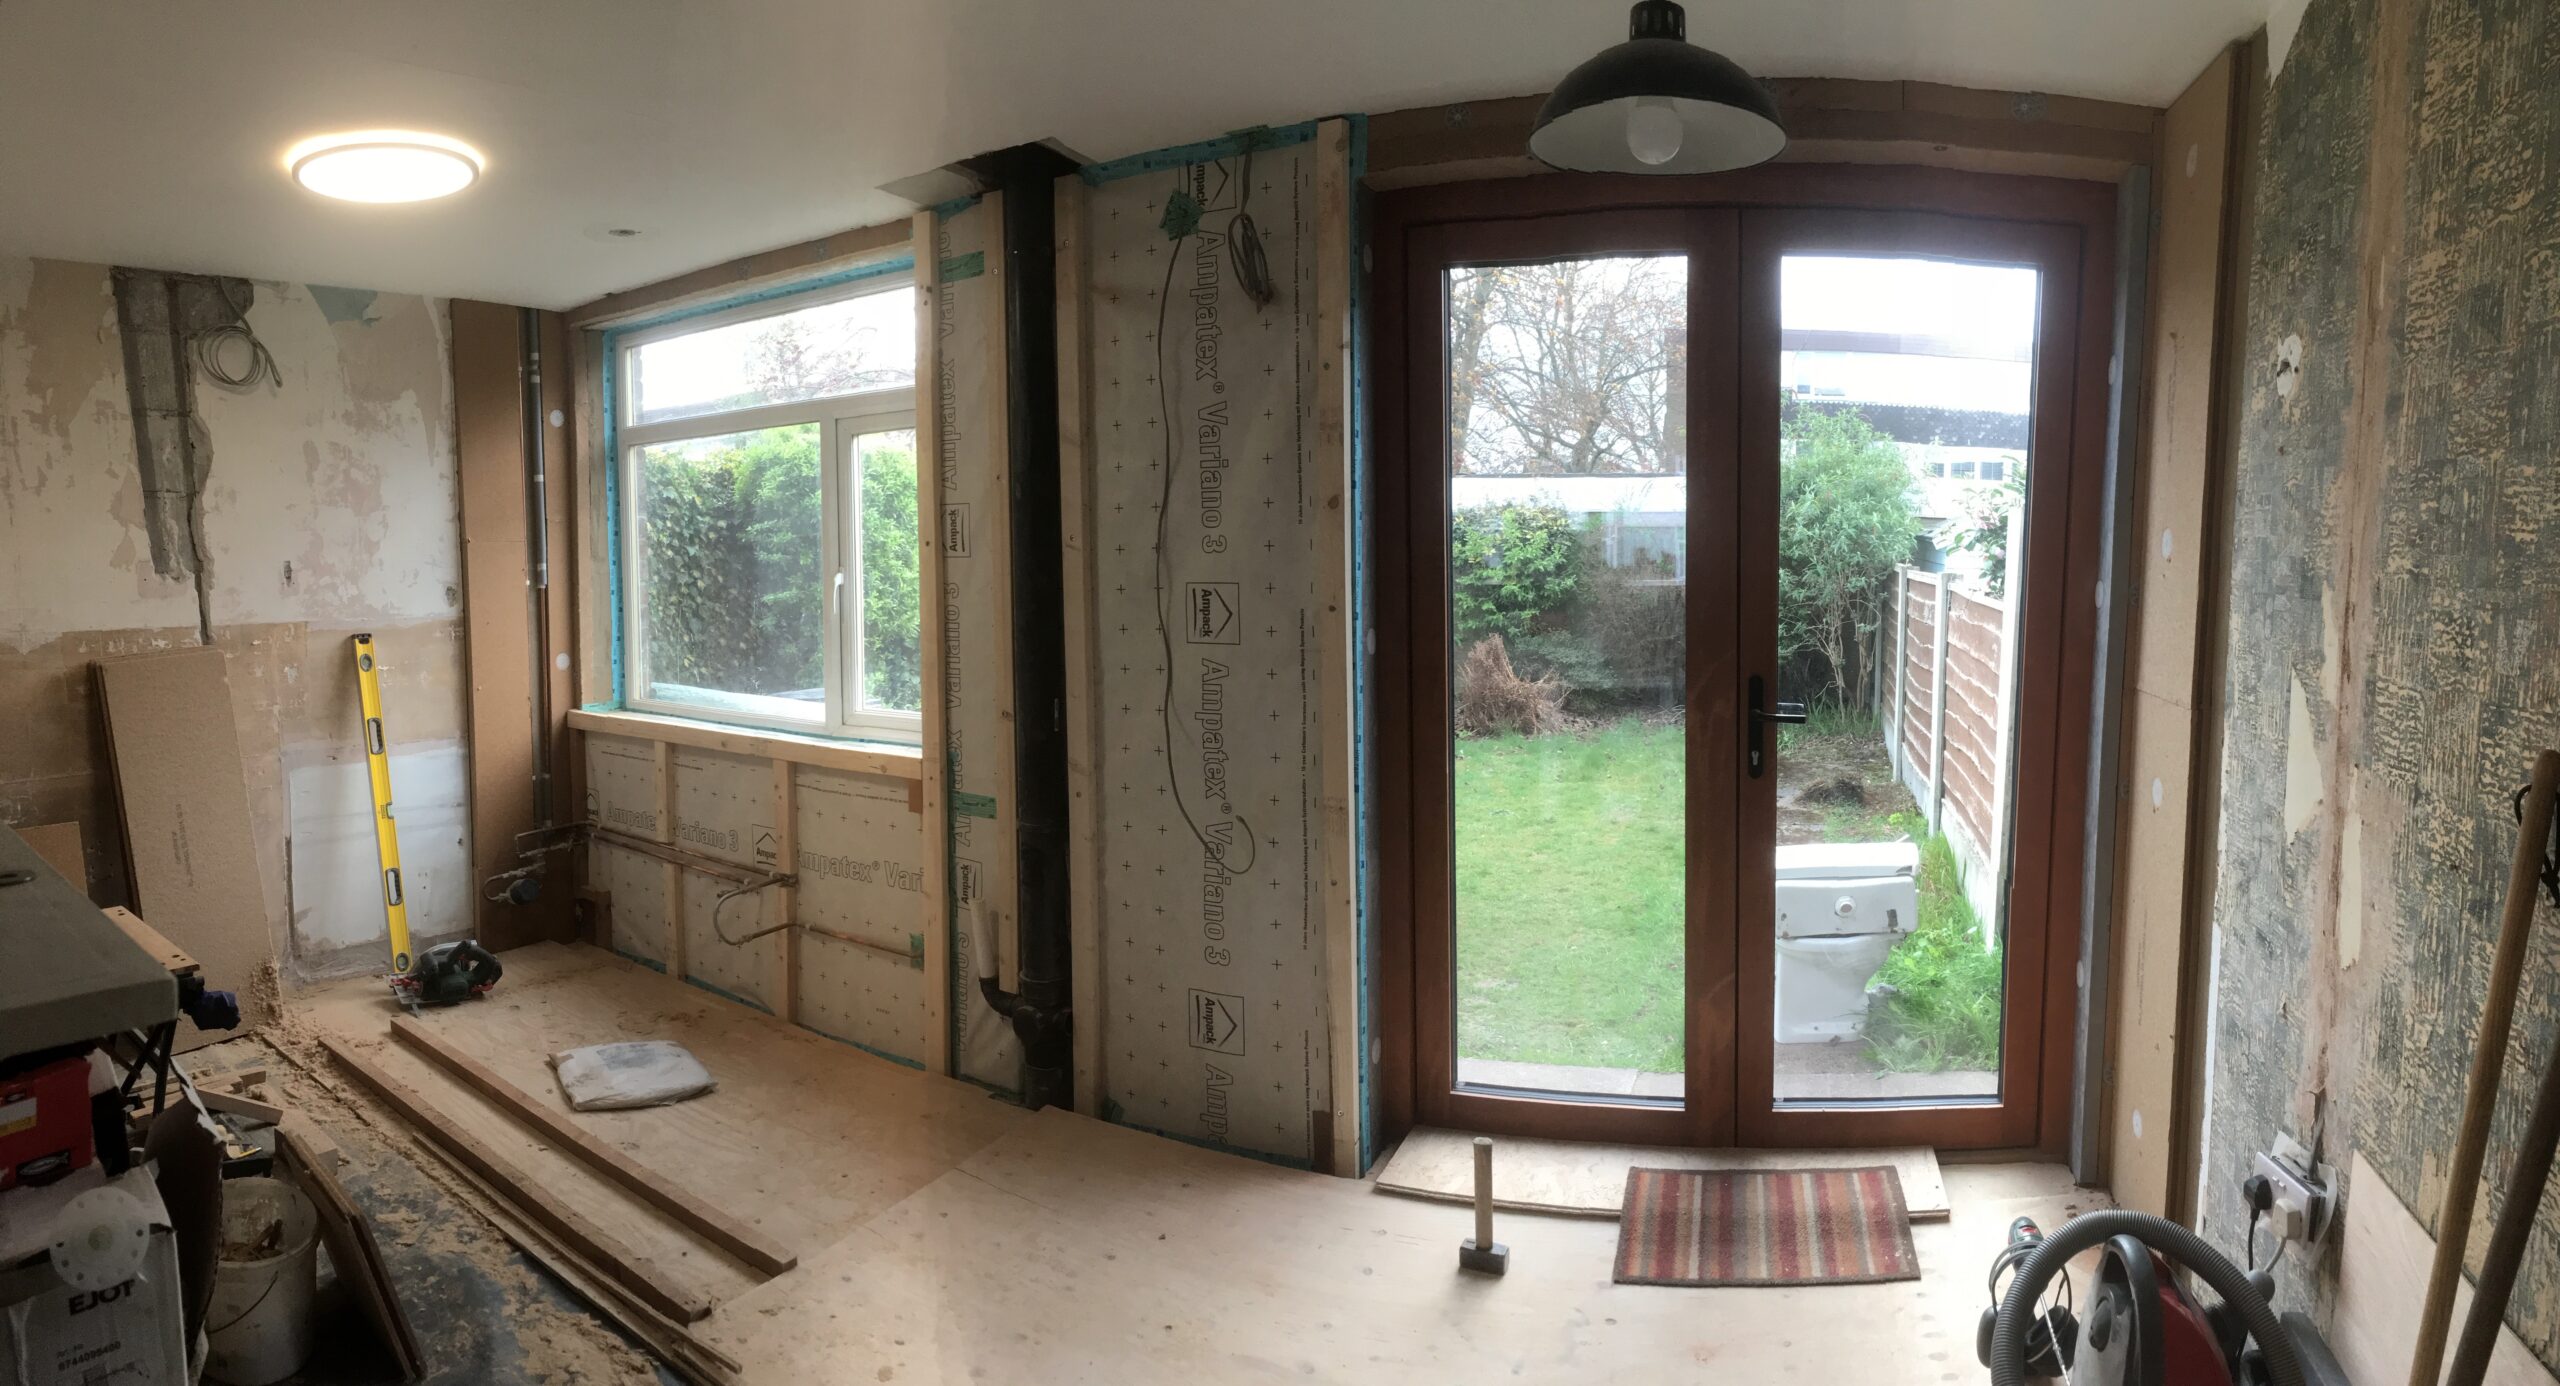
So long as we don’t have big windows then… oh wait.  And patio doors.

  • A supplier said, “Remmers agree with us that the specification [Gypsol Rustique] is wrong, and unsuitable for this use”

The Gypsol Rustique system was developed, used and marketed with case studies.  It had been discontinued, but I liked the sound of it, so decided to follow it anyway, aware that it was no longer supported.

  • Sika technical said “Yes, the replacement product [Sikafloor 2510W] IS available in clear.  Suppliers just aren’t aware of this.  Yes, it could turn yellow under UV.
  • A supplier said:  “Oh, OK.  Let me check.  OK, yes.  We can get it, but it will take several weeks.”

We can’t wait several weeks.

So at this point I decided to give up on epoxy resin, and just use Osmo Oil instead.

This is not ideal.  But we need to move on.

Osmo hard wax oil is my favourite product.  We used it throughout the house in Hull, including the hall and lounge floorboards, and even in the high traffic areas it looked fabulous even a decade later.

Well it turns out they now do Osmo Concrete oil for stone-like materials.

It won’t provide the surface strength needed for anhydrite screed though (which resin would).  So although the screed is incredibly hard in some ways, when we drop hard, sharp things on the floor, it is likely to chip.
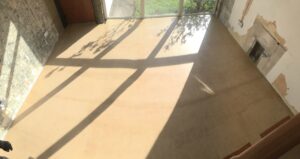
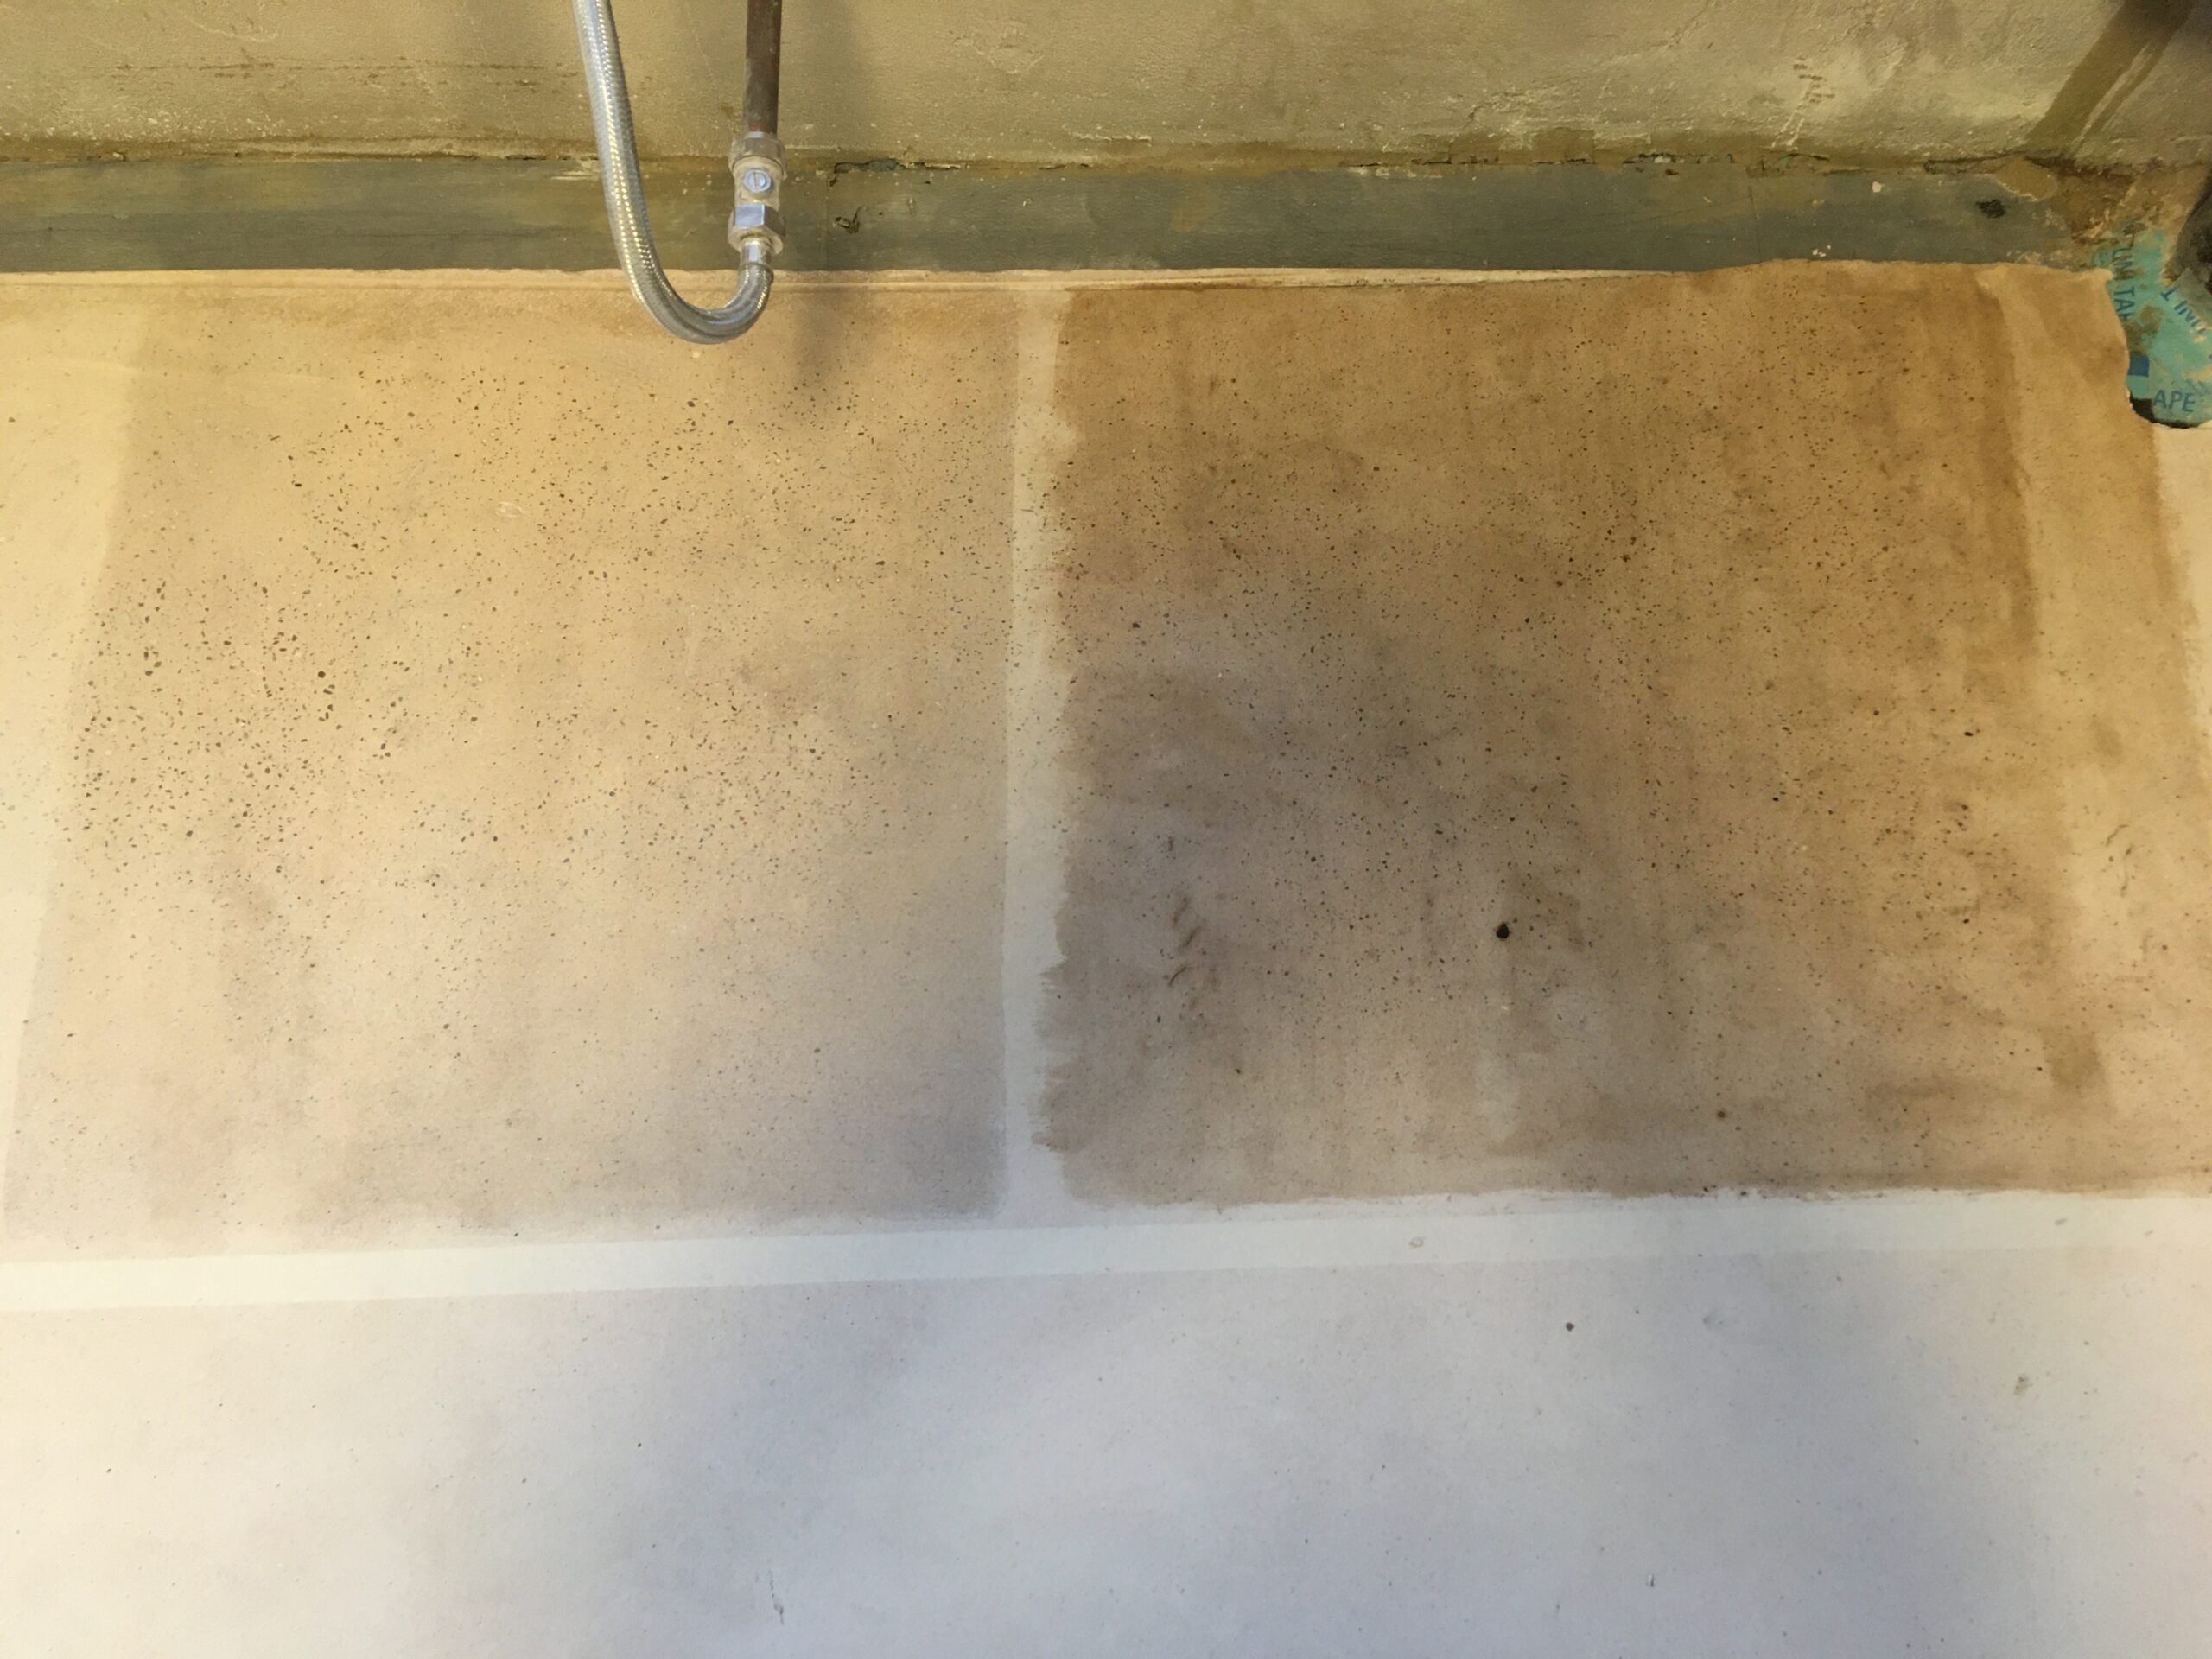
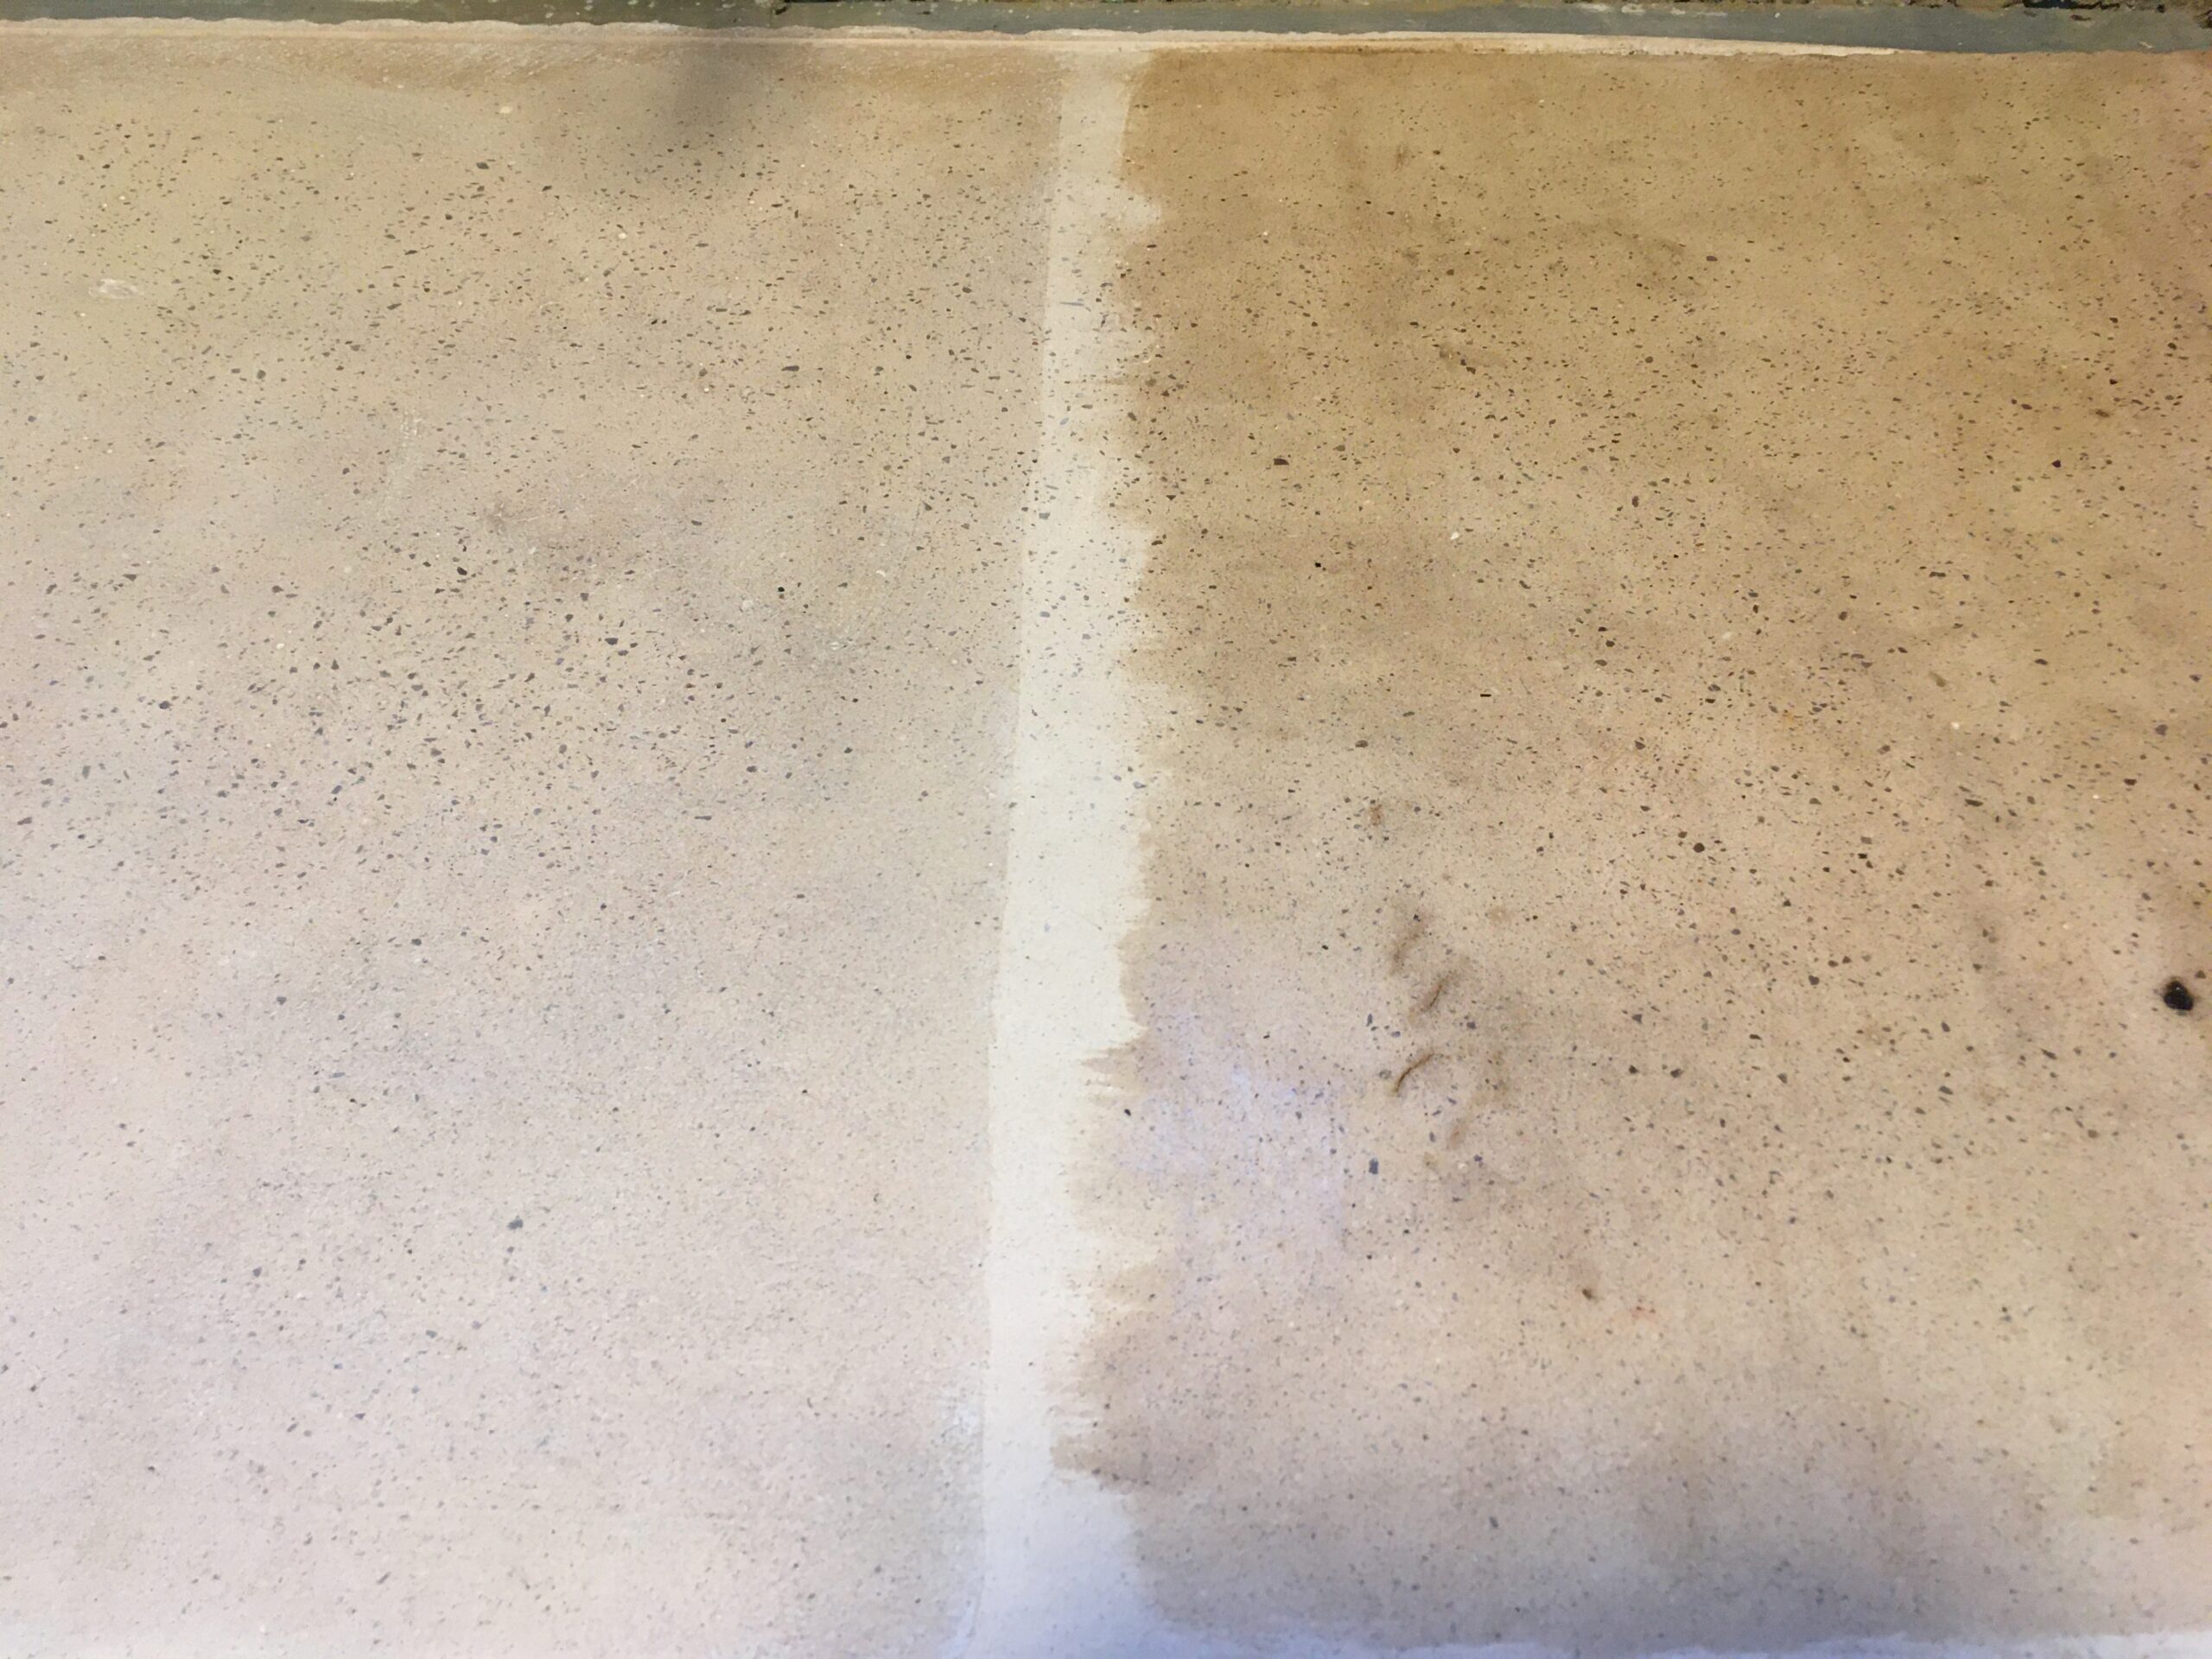
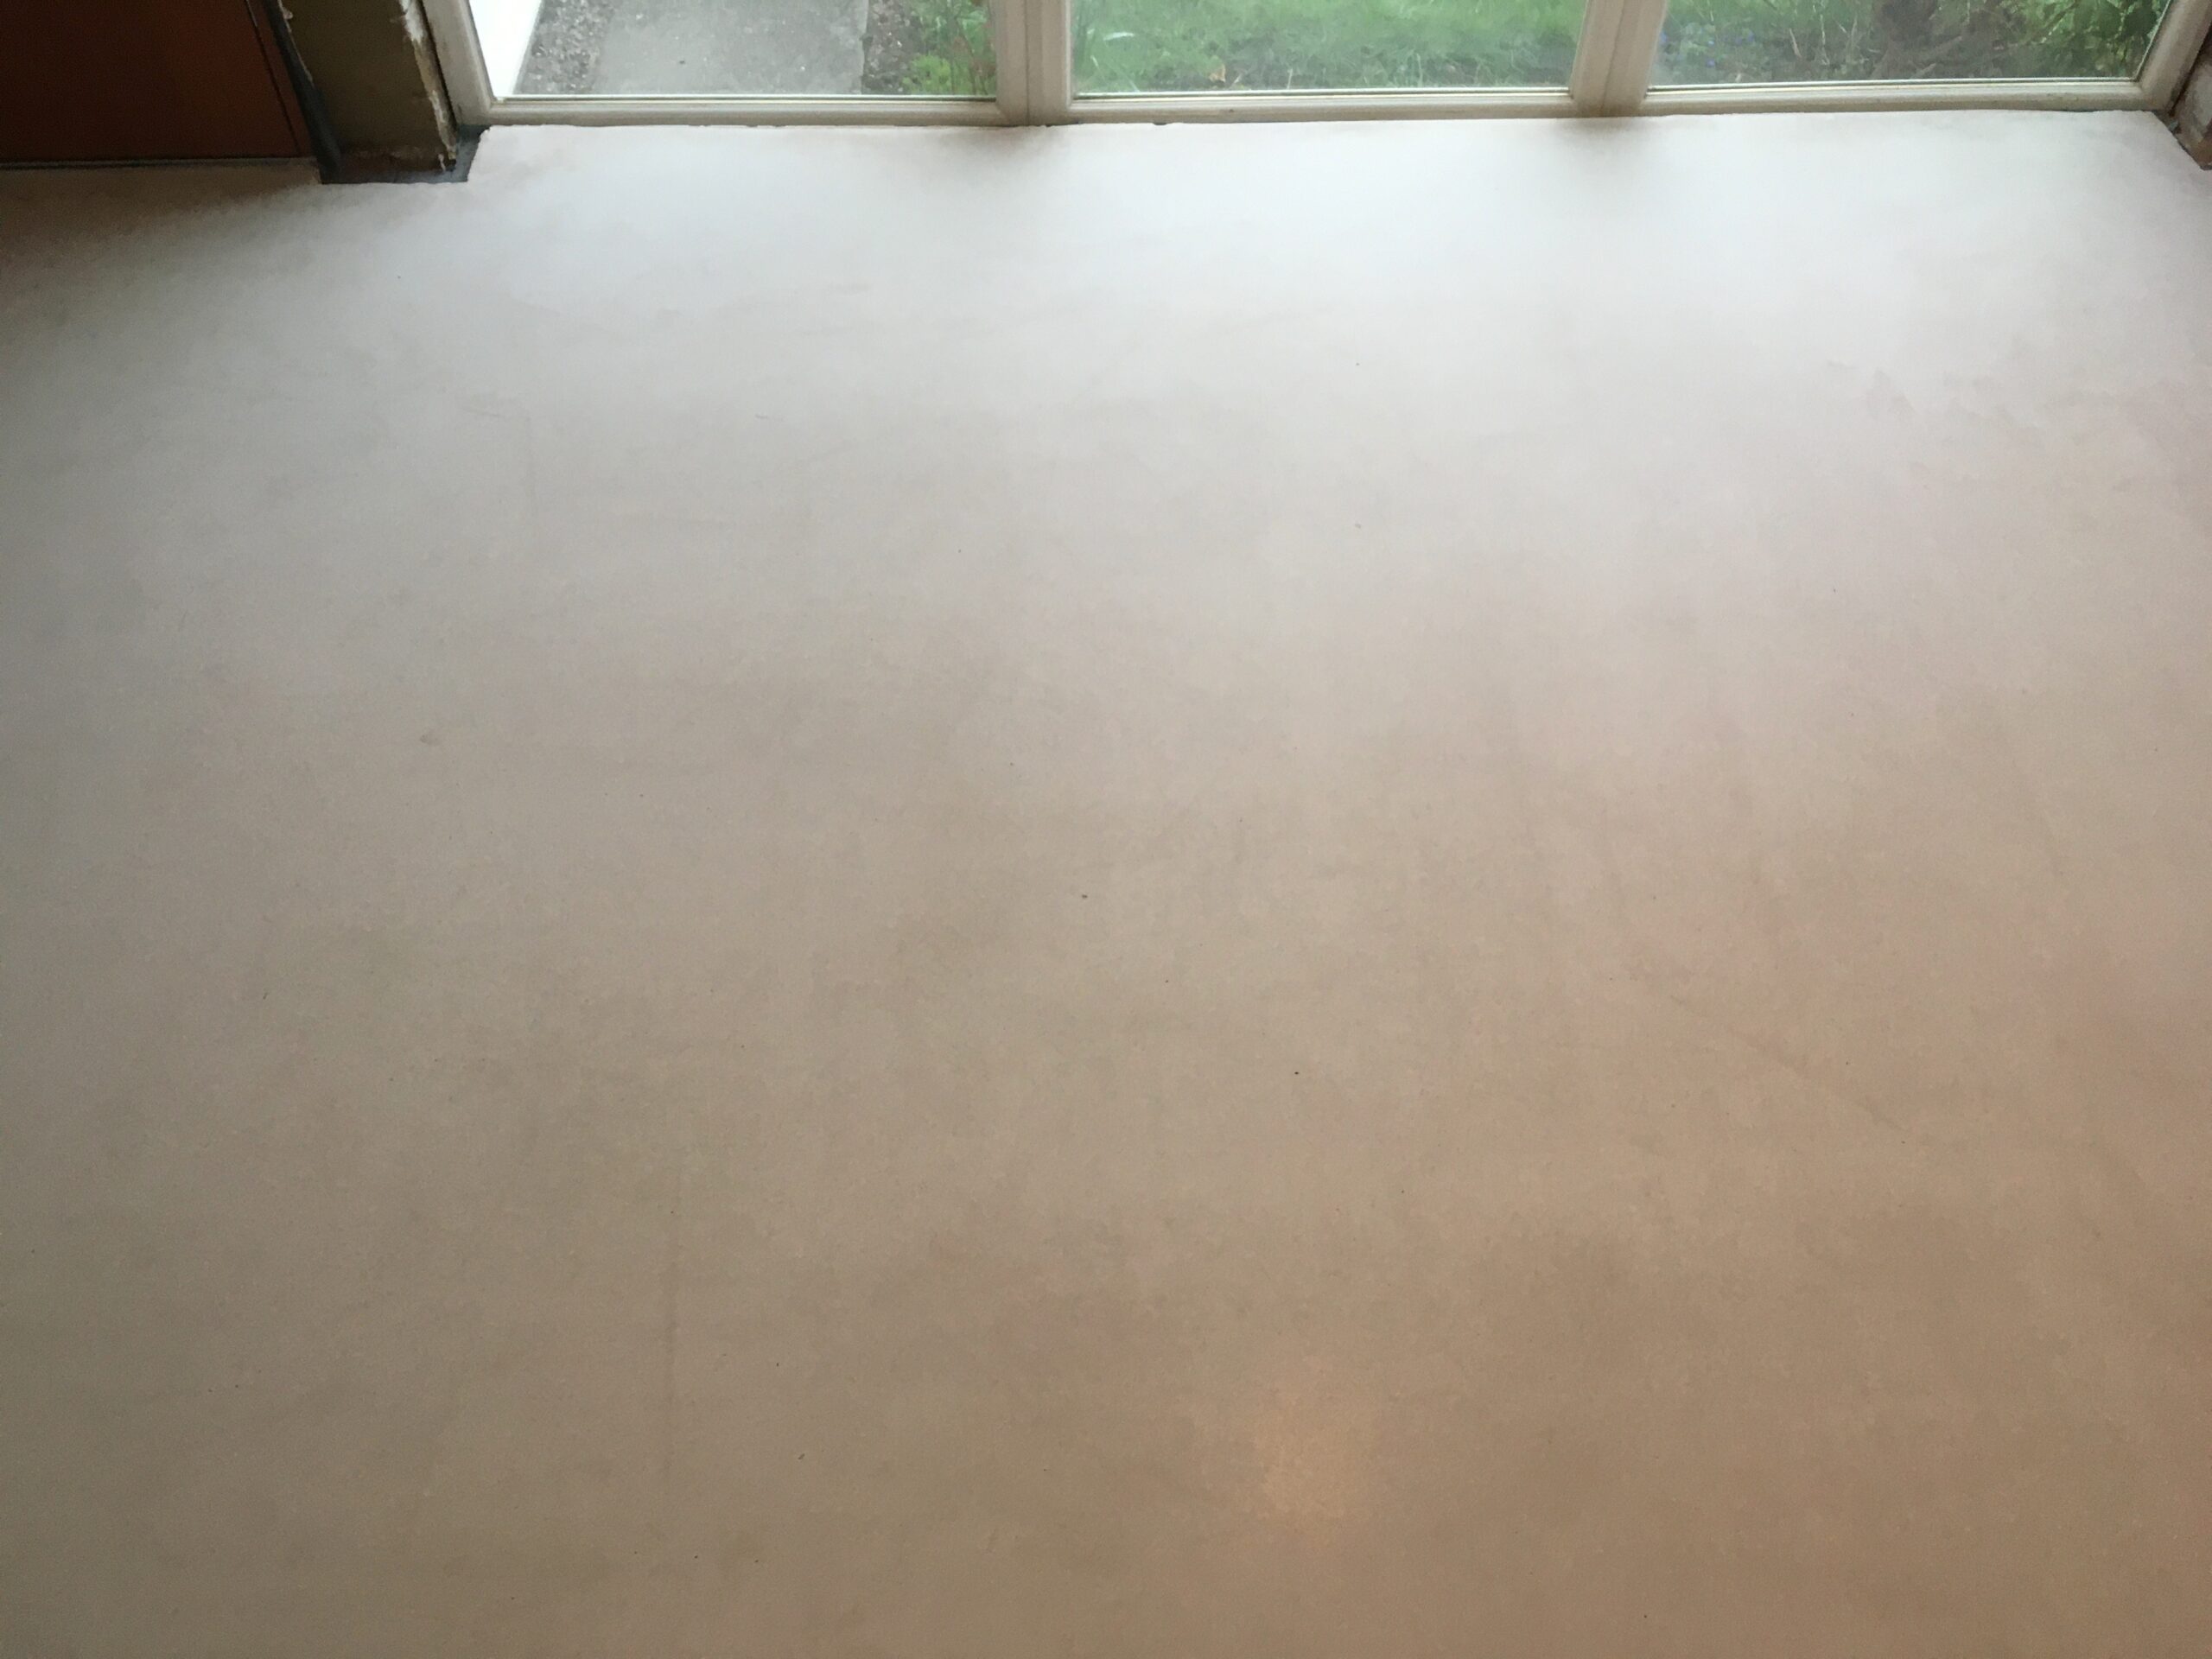
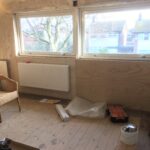
Tests looked great:

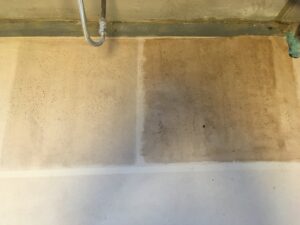
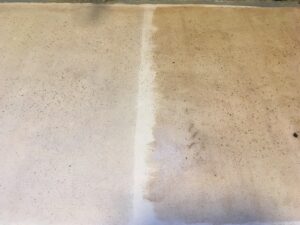
But when the first coat was applied it soaked it up like a sponge, so the colour is uneven, leaving obvious roller marks all over it.

It looks … OK, I guess.  After so much effort I had hoped for a better outcome.

So we’ll live with it for a while.  It scratches easily, I’ve already discovered.  So if it looks rubbish in a couple of years, we’ll put a floor covering over it then.


Meanwhile

Meanwhile, in between preparing for the windows and doors (removing sills and old plaster, new base coat plaster & boards, new front door frame on the new, higher floor etc.) and struggling with floor frustrations, we have chosen, planned and ordered the kitchen and bathroom.

The kitchen will happen before the bathroom.  But the changed bathroom layout means re-configuring the soil pipe.  The soil pipe is cast iron, and runs inside the house, from roof to kitchen floor.  So that needs replacing with a new pipe and connections, before the kitchen is done.  And anyway, the old toilet leaked and smelt bad, so good bye.

New Windows & Doors!

Hooray, our super duper wooden triple glazed windows and doors are in!

Made by Viking Window in Estonia (which sounds like a lovely country) installed by Retrofit Windows, to passiv-haus standard – so thoroughly sealed & draft proofed.  (We did get a quote for regionally made, from Bereco in Rotherham, but they cost twice as much, so completely unaffordable for us.)

Before

Hard to choose the colour.

After

We love natural materials like wood, so opted to see the wood grain on the inside.  I’m so glad we did, we think they look great.

Note that the white frames you can see around the windows on the outside will be finished in matching green (RAL 6009 Fir Green, in case you were wondering, which I don’t think you were).
They are insulating sub-frames, to thoroughly insulate the window frames from the cold external brick walls.  They are made of compacfoam.  It’s a sort of polystyrene, highly insulating, yet so strong it can be used structurally.

On the inside, the black material surrounding the frame makes an air tight seal with the building fabric.  It’s a pretty technical job, using a bewildering array of elements including illbrook i3 foam, compriband strips, pva, spray activator …

Most windows in the UK are installed … not very well.  It was great to see tradespeople doing such a quality job.

The house feels completely different now.  Before, you could see daylight around the frames, and feel the draughts; now, it sounds so quiet!

Gallery

Top Swing in Action

Video: Top Swing

What a [Floor] Grind

Well preparing the new floor screed surface by grinding it smooth has been an absolute … well, grind.

I’ve lost count of the number of attempts with a variety of machines and grinding/sanding/polishing discs/pads/blocks/heads.  About 9??  A lot of trips to hire shops, deliveries, days of research,  time and money, to find the right answer.  Hence, no new updates for the past month!  It’s because I’m attempting something uncommon, so it proved hard to find someone who knew the solution.  Most people didn’t know, but we thought a certain machine would work (it didn’t) or gave convincing guidance that turned out to be completely wrong.  Most frustratingly, the initial advice from Gypsol themselves (the screed manufacturer) was wrong.

But I persevered (i.e. I can be stubborn) and got there in the end.  Or near enough, and I’m now done with this task.

Before

After

Following the pour of a new floor screed at the start of the year, it needed to dry.  It dries at 1 mm a day, in warm dry conditions.  Our floor averages 46 mm thick, so 7 weeks.  Except it was January in the north west in a drafty house.  And then a cold spell.  So, much longer without heating.  Keeping the untreated porous surface clean with electricians and heating engineers traipsing through was a challenge, as it’s the entire ground floor of the house, so can’t be closed off.

The heating was up and running in February (after install screw-up delays) so we could then finish drying the floor.

Anhydrite screed floors are normally covered e.g. by tiles, marmoleum etc.  (we like timber but it would reduce the efficiency of the underfloor heating).

But we’d like it exposed, covered just by a clear resin.  This is the unusual bit.  But after it dried it looked a scratched mess of patchy colours.  A week after it was poured the surface was roughly grinded to remove ‘laitency’ that sets on the surface – standard practice for this type of screed, to help it dry.  This was functional, but left it covered in circular scratch marks.  All I needed to do was grind off the top millimetre to expose the beautiful even colour and aggregate beneath.  Easy, with the right tools.  Multi-hire floor preparation experts know what those tools are, and hire them out.  No one else, it turns out, did know, although some sounded like they did.

Next and final step: 2 coats of resin.

Gallery

Click (i) to view captions to read the description:

Bathroom Windowless Frame

The huge windows of our ‘panorama’ house are great.

But we’re not sure that we really need such a big window in the bathroom.  Given you can’t even see through it.  We’d rather have a shower.  But the window is in the way.  So we decided to halve the size of the window.

Before

During

The white material is a wall membrane, a windproof, vapour permeable layer, in this case Ampatop Aero.

The flashing (the lead strip under the frame) was attached to the underside of the old window frame, so was damaged.  But it’s a nice piece of the original house, with the bottom edge cut to a pattern to match the tiles.  We noticed the flats opposite have a similar but different pattern, matching their tiles!  So this was repaired, and the window reveals plastered, in preparation for the new frame.

The old window sill was in a poor state, so I took it to the local community wood recycling project who copied it to make a new one from an old piece of door frame – good job!


After

Can’t wait for the super-duper new windows at the end of March!

Need to get on with preparing for their arrival …

Pulse Air Tightness Test

As part of this government funded home energy improvement scheme, they do air tightness tests, before and after.  I think it’s to make sure the extra loft insulation doesn’t suffocate the house.  I did point out that the house is currently a building site, with holes in wall surfaces, daylight visible through gaps around the old windows as we prepare to remove them and insulate the window reveals, and an open chimney flue following removal of the gas fire.  So perhaps the test would not be very informative right now.

But it’s a compulsory part of the scheme, so has to be done.

Air Tightness can be measured by putting a big fan in the door, and inflating the house (or deflating).  You then measure how fast the air leaks out (or in) and can search for leaks:

An example; not our house.
Photo: Energy Saving Trust

But this test was was new to me, a simpler way of getting a quick one-off measurement – a Pulse Test.

So those big air cannon blaster things, as they’re almost certainly not called, produce sudden blasts of air.  The equipment then measures how fast the air pressure returns to normal.  Like this:

Video: Pulse Test Air Tightness Test

Our house measured about 4 air changes per hour.

It would be interesting to know how much this improves after completion of the project.  Although I’m not sure I’m interested enough to shell out £150 for another test to find out.

Central Heating & Solar PV

Early February

A dozen workmen on site this week (and they were all men).

  • Loft insulation trebled from about 100mm to ~300mm
  • Air Source Heat Pump central heating & hot water system
  • radiators installed throughout upstairs
  • connected to the underfloor heating downstairs
  • Solar PV on the roof: front and rear faces – which face east and west, so will generate electricity in the morning and afternoon
  • positive air ventilation system to the landing

Amazingly, all through a council scheme.  For free.  Mainly because the house had no central heating and such a poor environmental performance rating + health issues which would be exasperated by a cold, damp house.

In Greater Manchester?  You can check if you qualify here.

Radiators!

In the front bedroom I will insulate the front wall soon.  Soon-ish.  In a few months, after we’ve moved in.

But the radiator was being installed now.

So I made a temporary hollow wall from plywood, for the radiator now, in the place where the insulation will be when it is done.  So don’t have to move the pipes later.

This scheme includes radiators, but not underfloor heating – but as we had already installed underfloor heating downstairs they were able to connect straight to it.

I am delighted (and relieved) to report that the underfloor heating that we installed over Christmas, with no previous experience … works!

Plant Room

We now have a plant room. Also know as ‘the loft’.

A hot water cylinder means warm water at the ready, at a steady temperature.  Putting it in the loft saves valuable space in the house.

The hot water tank is in the middle.

To the right of it, the smaller tank is a buffer tank for the central heating circuit.  It expands the volume of water circulating, so the heat pump can work more steadily, instead of cycling on and off.  This should be more efficient later, when the house is really well insulated, and needs little heating.

On the left is the solar PV inverter, converting the DC electricity from the solar panels above into AC electricty for the mains.

And the blue thing with a trunk?

Fisher Price elephant?
Positive air ventilation. Will be replaced later with whole house ventilation.

Pros

  • Fast.  Whole install completed in just a few weeks, from first contact to completion.
  • Free
  • Free.  Worth repeating.
  • Free.  Yes, really.  Completely.
  • Works well.  The outside heat pump unit is really quiet.  The brand is Vaillant.  I will look out for Quiet Mark on other products.
  • They designed the system to fit with my whole house plan, as much as they could within the scheme

Cons

  • The scheme had rigid constraints, so there were limits to what was available and possible.  Some things didn’t fit with the whole house plan, but it was all or nothing.  No contest.
  • No choice of installer.  I could not use my own installer as planned, who had already designed everything, and I was in the process of booking.  I had to use the single installer appointed by the council.
  • Rushed.  Lack of detailed planning.  No plans shared in advance, to consider and feedback.  e.g. some pipework is now in the way of the location of the planned ventilation ducting, so this will have to be re-designed.
  • 3 serious errors.  Repeated visits required to correct / finish the job properly.  One of the errors could have damaged the heating system.  Seems we got away with it though.


Bath Out

This was very heavy metal.

Robot face, anyone?

The bathroom fittings are all original 1960s.  The bath, sink, sink unit, toilet (leaking; yes it smells; floorboards around it need replacing) and cupboard.

Yet the bath plumbing is new.  I can’t understand how they managed to fit that, with a heavy bath and fitted sink unit in the way?

Oh that’s how.

They smashed up from the kitchen below, making a hole in the floorboards, to fit a new bath drain!

Front Bedroom & Attempting Clay Plastering

January

We are preparing for exciting developments – the central heating installation, including a radiator on the front bedroom wall, and for new upstairs windows.

In this house the Internal Wall Insulation will still use wood fibre boards, like in Hull, but will incorporate more layers in the 100mm build up.
This is a new development in the years since 2012, for more protection against moisture (from cooking, laundry, breathing etc.) getting in the wall. This can be important because if you insulate the wall on the inside, the inside wall surface is then comfortably warm, but the original brick wall becomes cold, so if moisture reaches it, condensation could form. Which would be bad.
We are using Naturewall system.

The first layer is clay plaster.  After removing the original plaster (if necessary) and taking it back to brick, the clay plaster base coat levels the surface and fills gaps.

Neither me nor my brother are plasterers.  So we were not looking forward to this.  I have attempted plastering before.  I don’t like it.  But it’s gotta be done, so I’m trying it again.

Investigation reveals a hollow wall. This frame was removed, taking it back to block wall, ready for clay plaster & insulation.
Plastered.

Actually, it was OK.  I think I can do this.  I mean, it’s not a great finish, but it’s just a base coat that will be covered with insulation boards, so it will do.

This tool helps A LOT:

Seems expensive, but has unusually rave reviews along the lines of, “helps amateurs do a half decent job”, “saves hours”, “so much less faff”, “how does such a simple tool make it so much easier”.  We agree 🙂


Further investigation above the windows reveals another hollow space in the roof eaves.

This is ripe for improvement with loft insulation and air tightness.

It turns out insects love it in here.