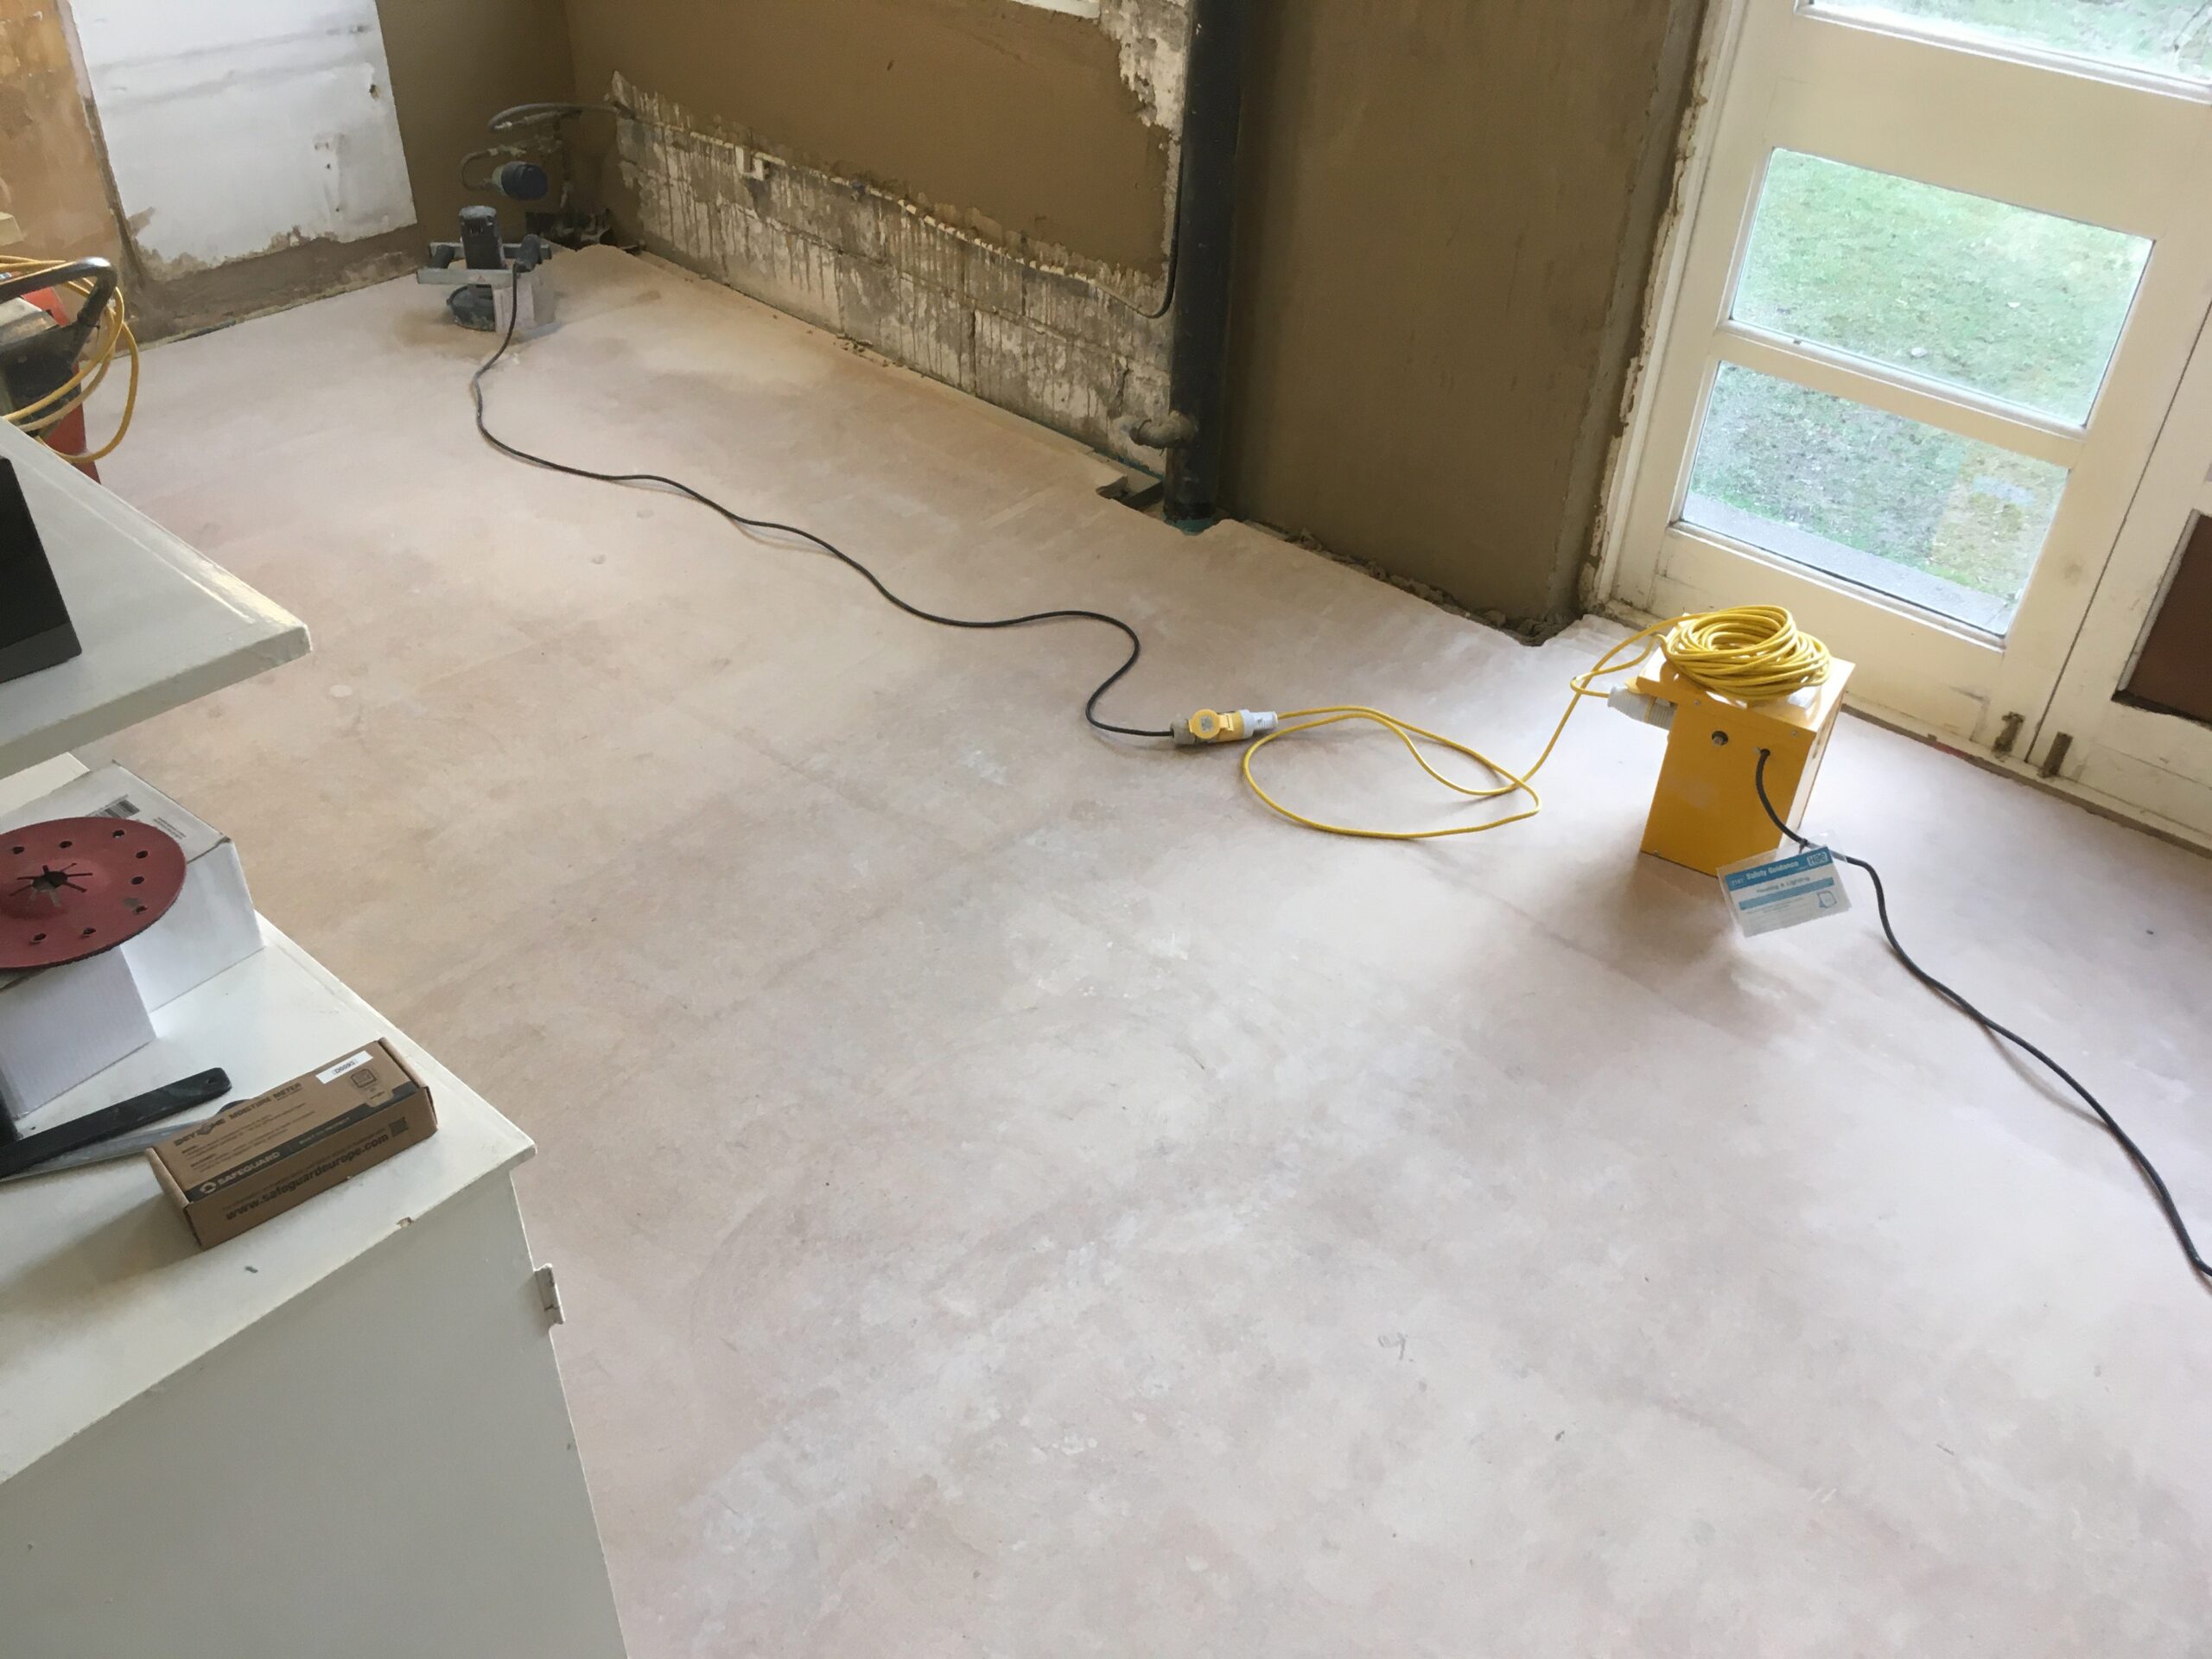
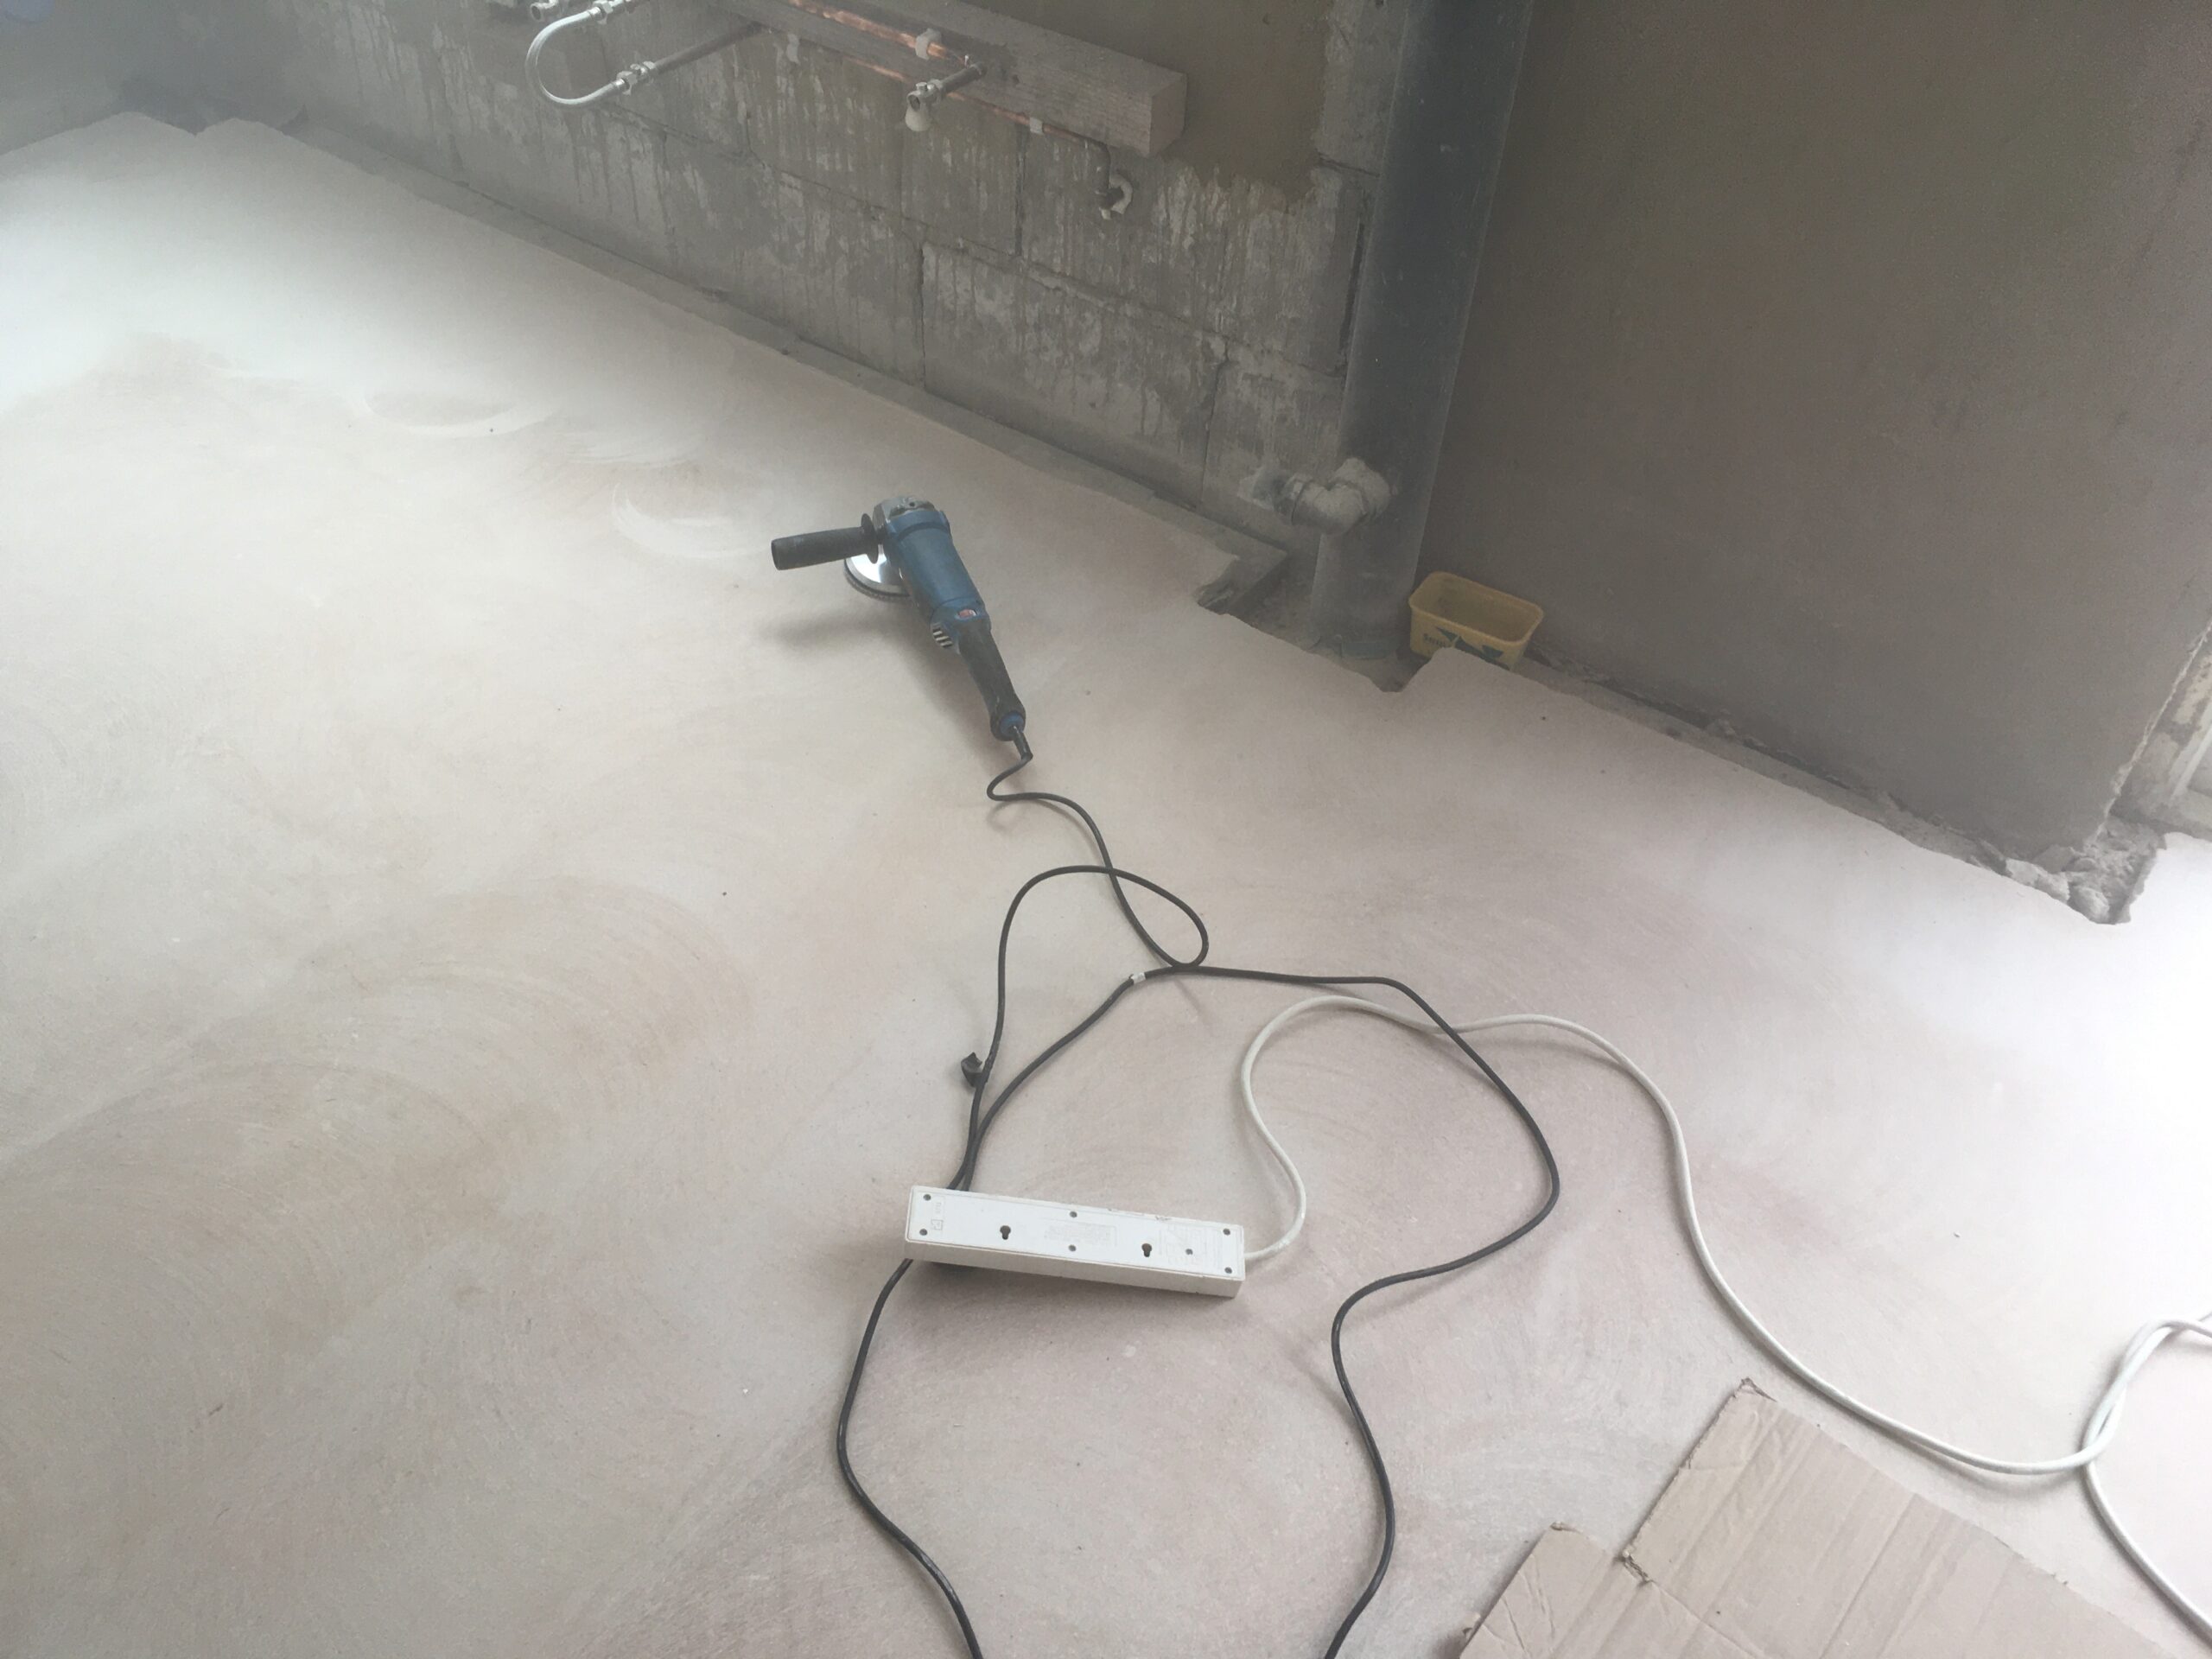
Well preparing the new floor screed surface by grinding it smooth has been an absolute … well, grind.
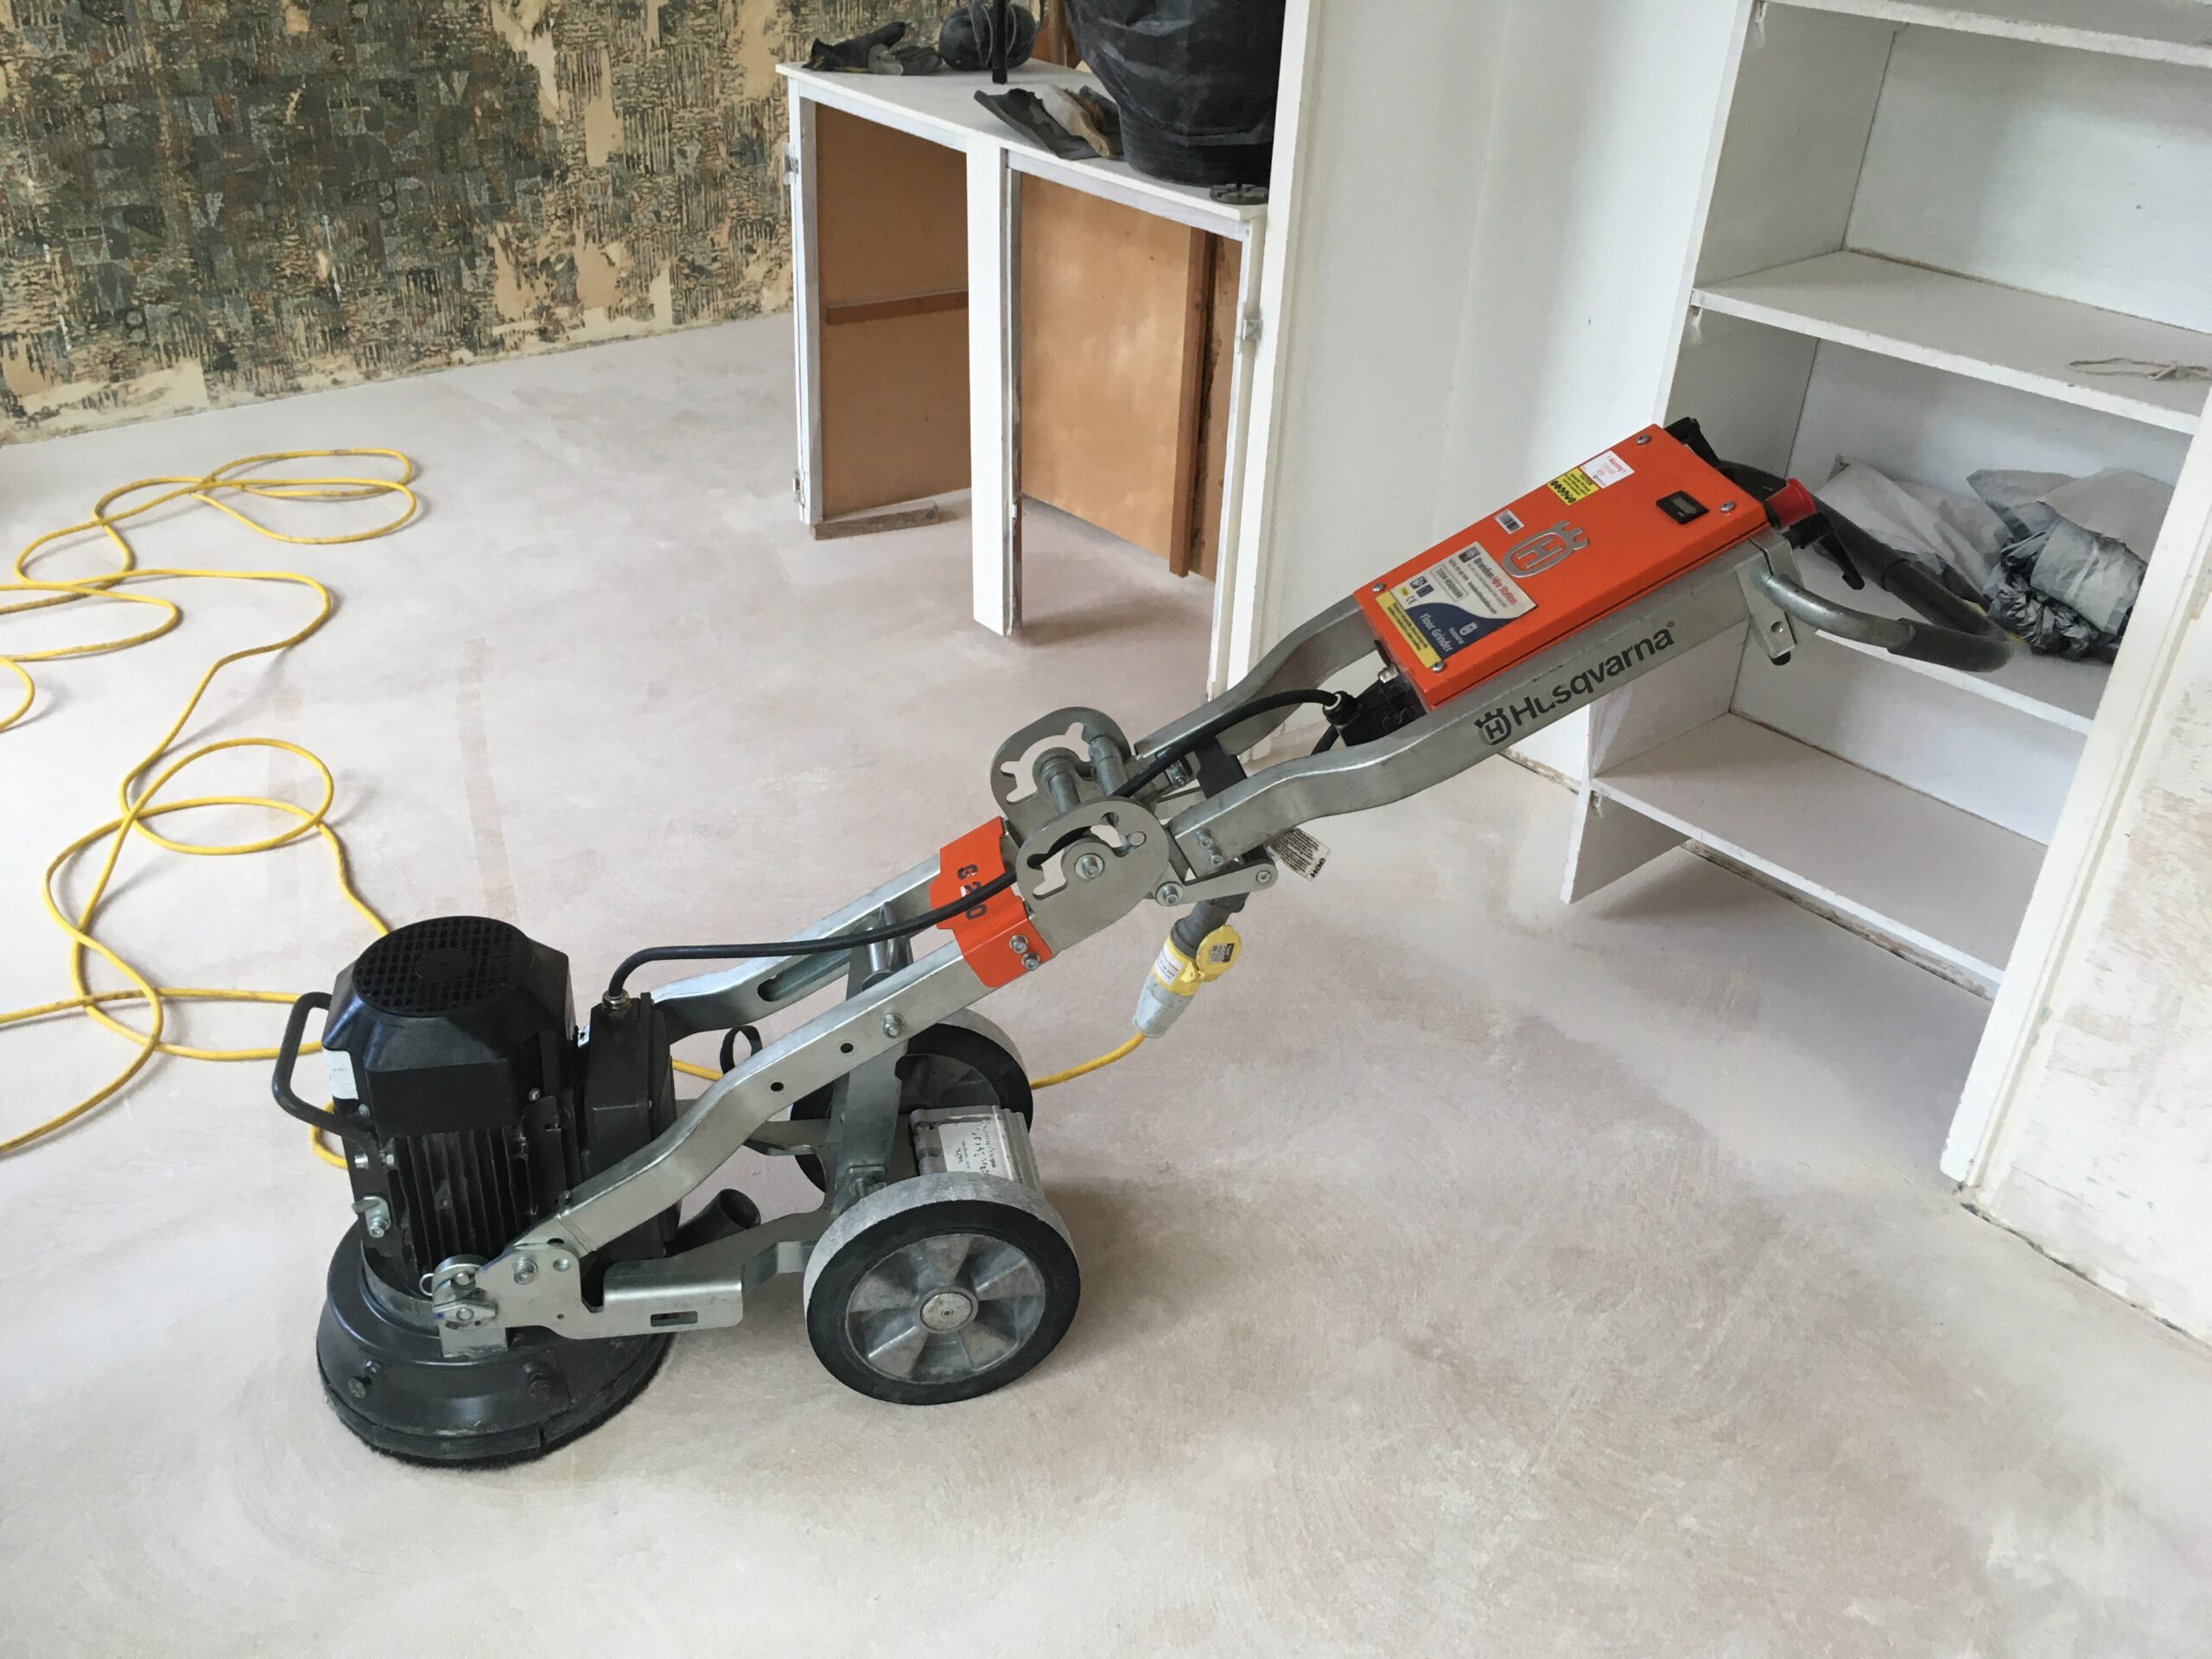
I’ve lost count of the number of attempts with a variety of machines and grinding/sanding/polishing discs/pads/blocks/heads. About 9?? A lot of trips to hire shops, deliveries, days of research, time and money, to find the right answer. Hence, no new updates for the past month! It’s because I’m attempting something uncommon, so it proved hard to find someone who knew the solution. Most people didn’t know, but we thought a certain machine would work (it didn’t) or gave convincing guidance that turned out to be completely wrong. Most frustratingly, the initial advice from Gypsol themselves (the screed manufacturer) was wrong.
But I persevered (i.e. I can be stubborn) and got there in the end. Or near enough, and I’m now done with this task.
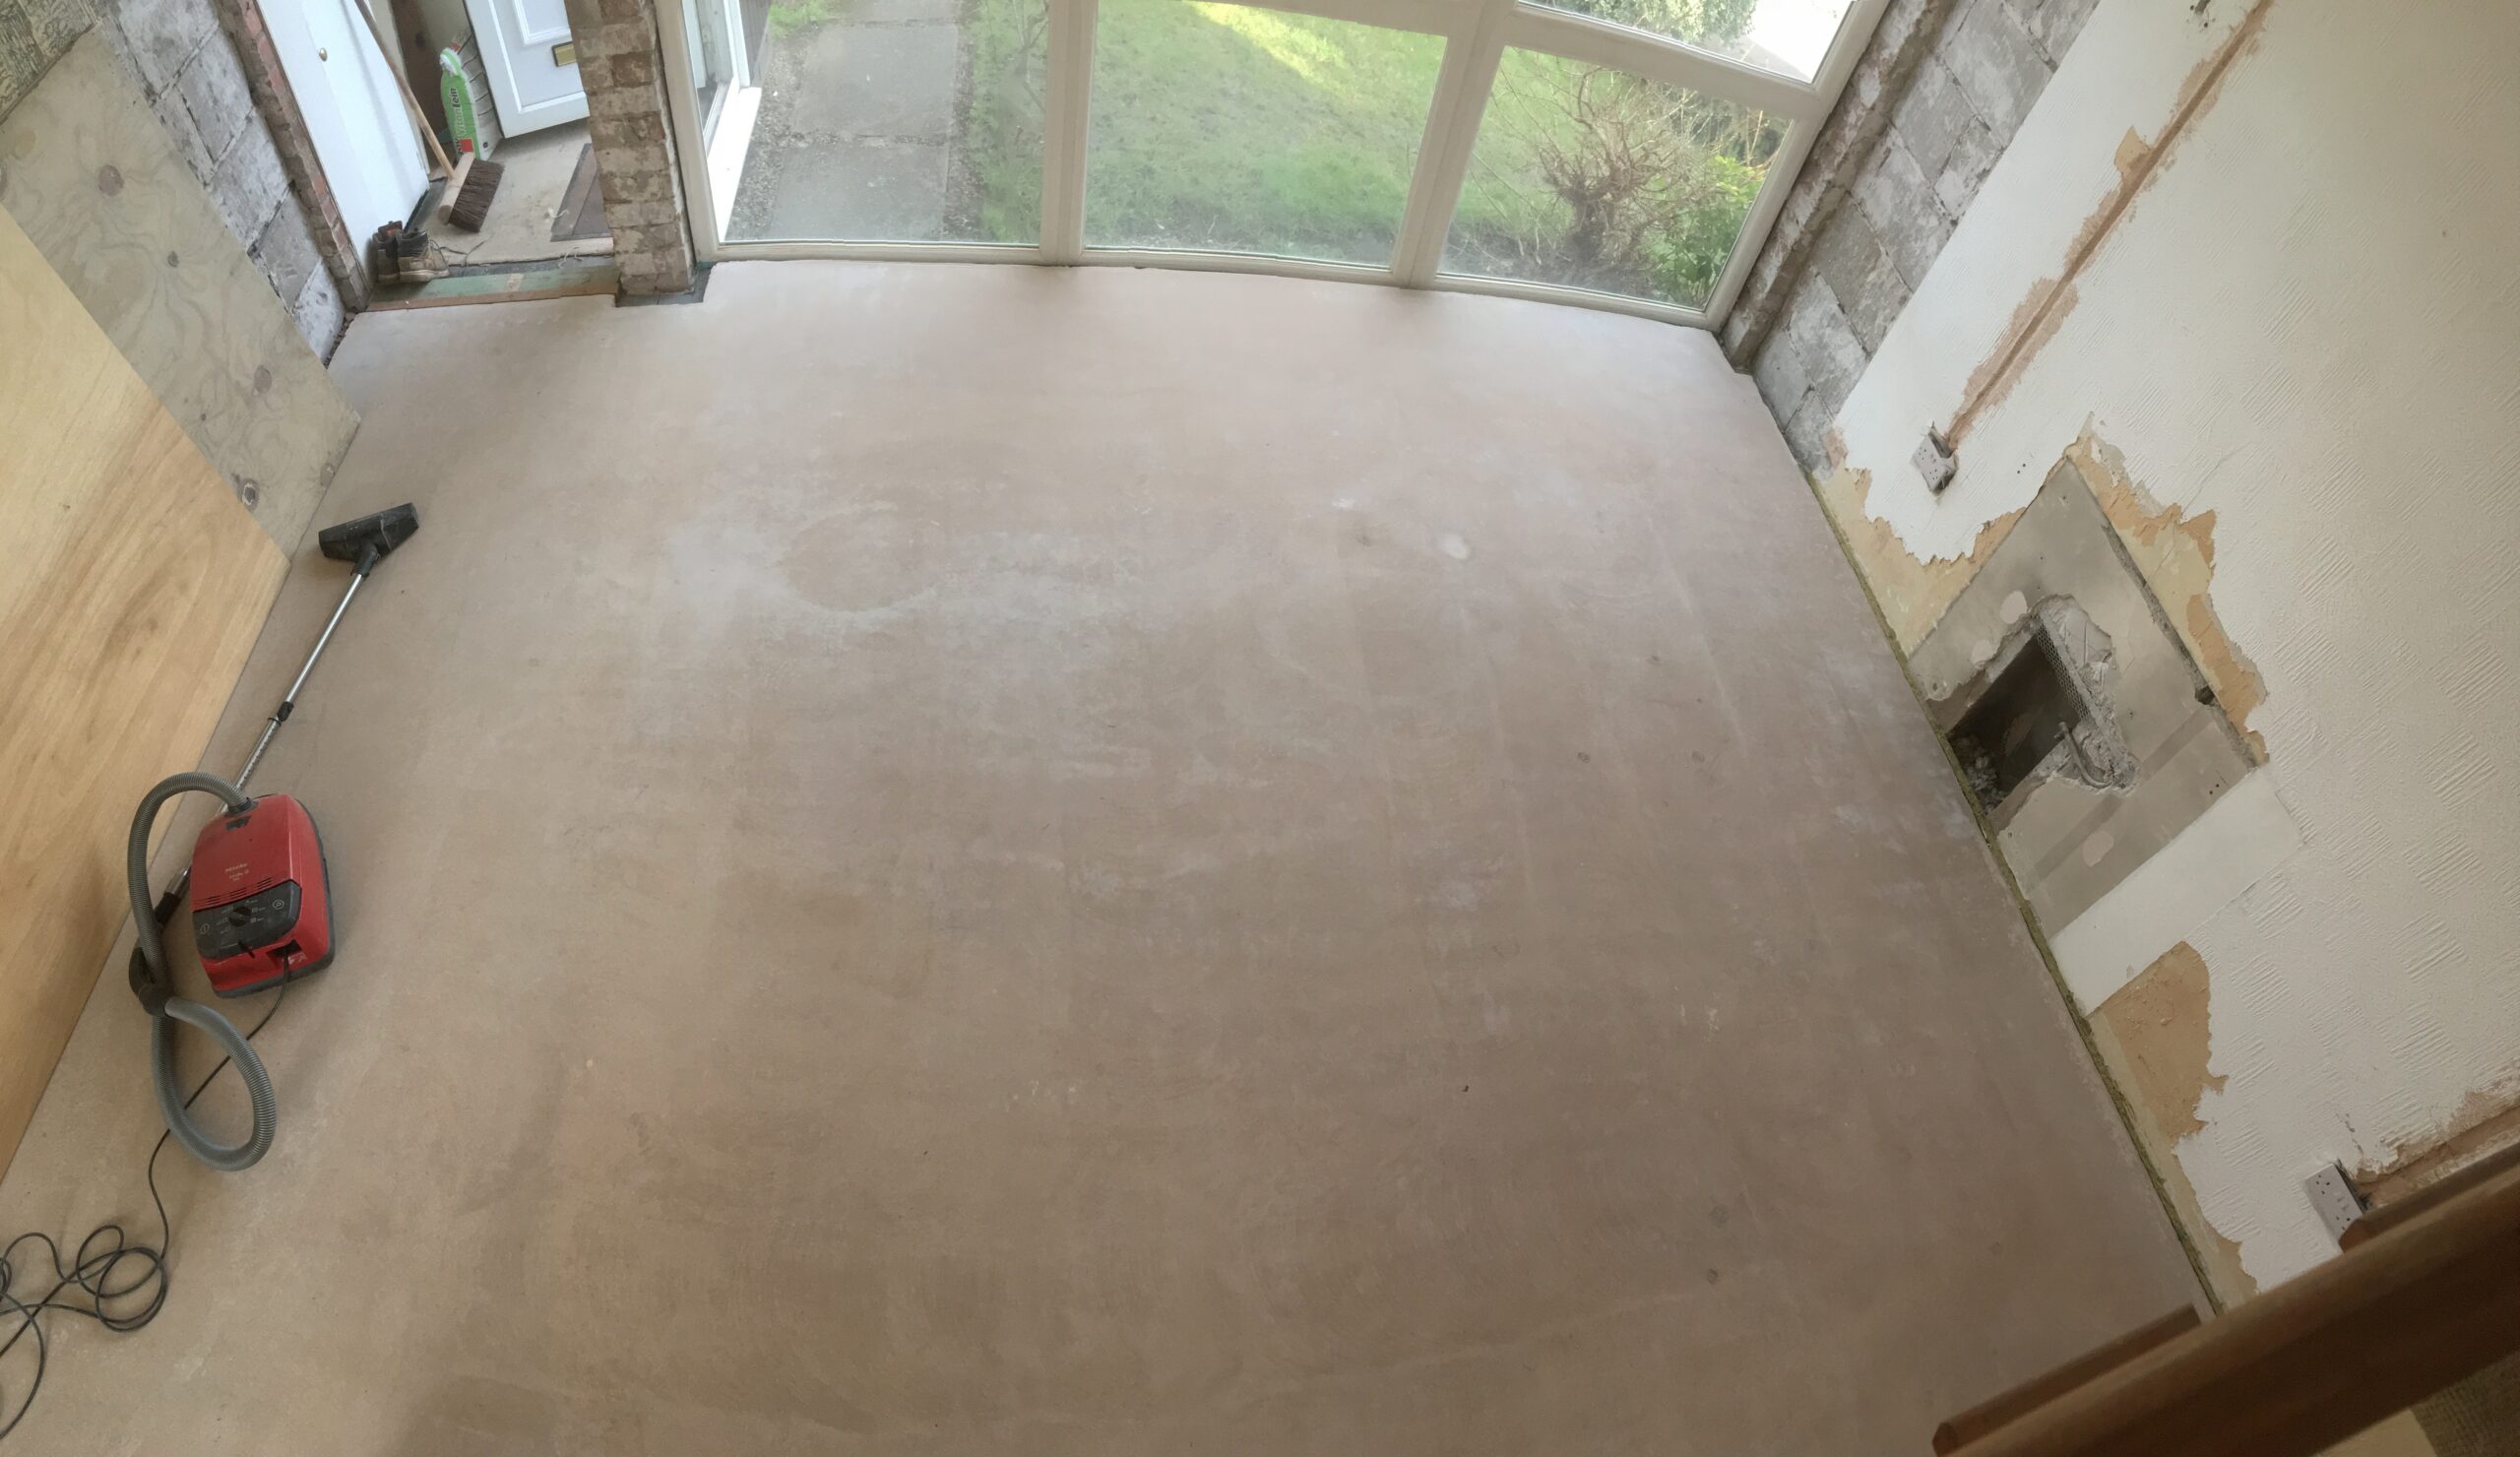
Before
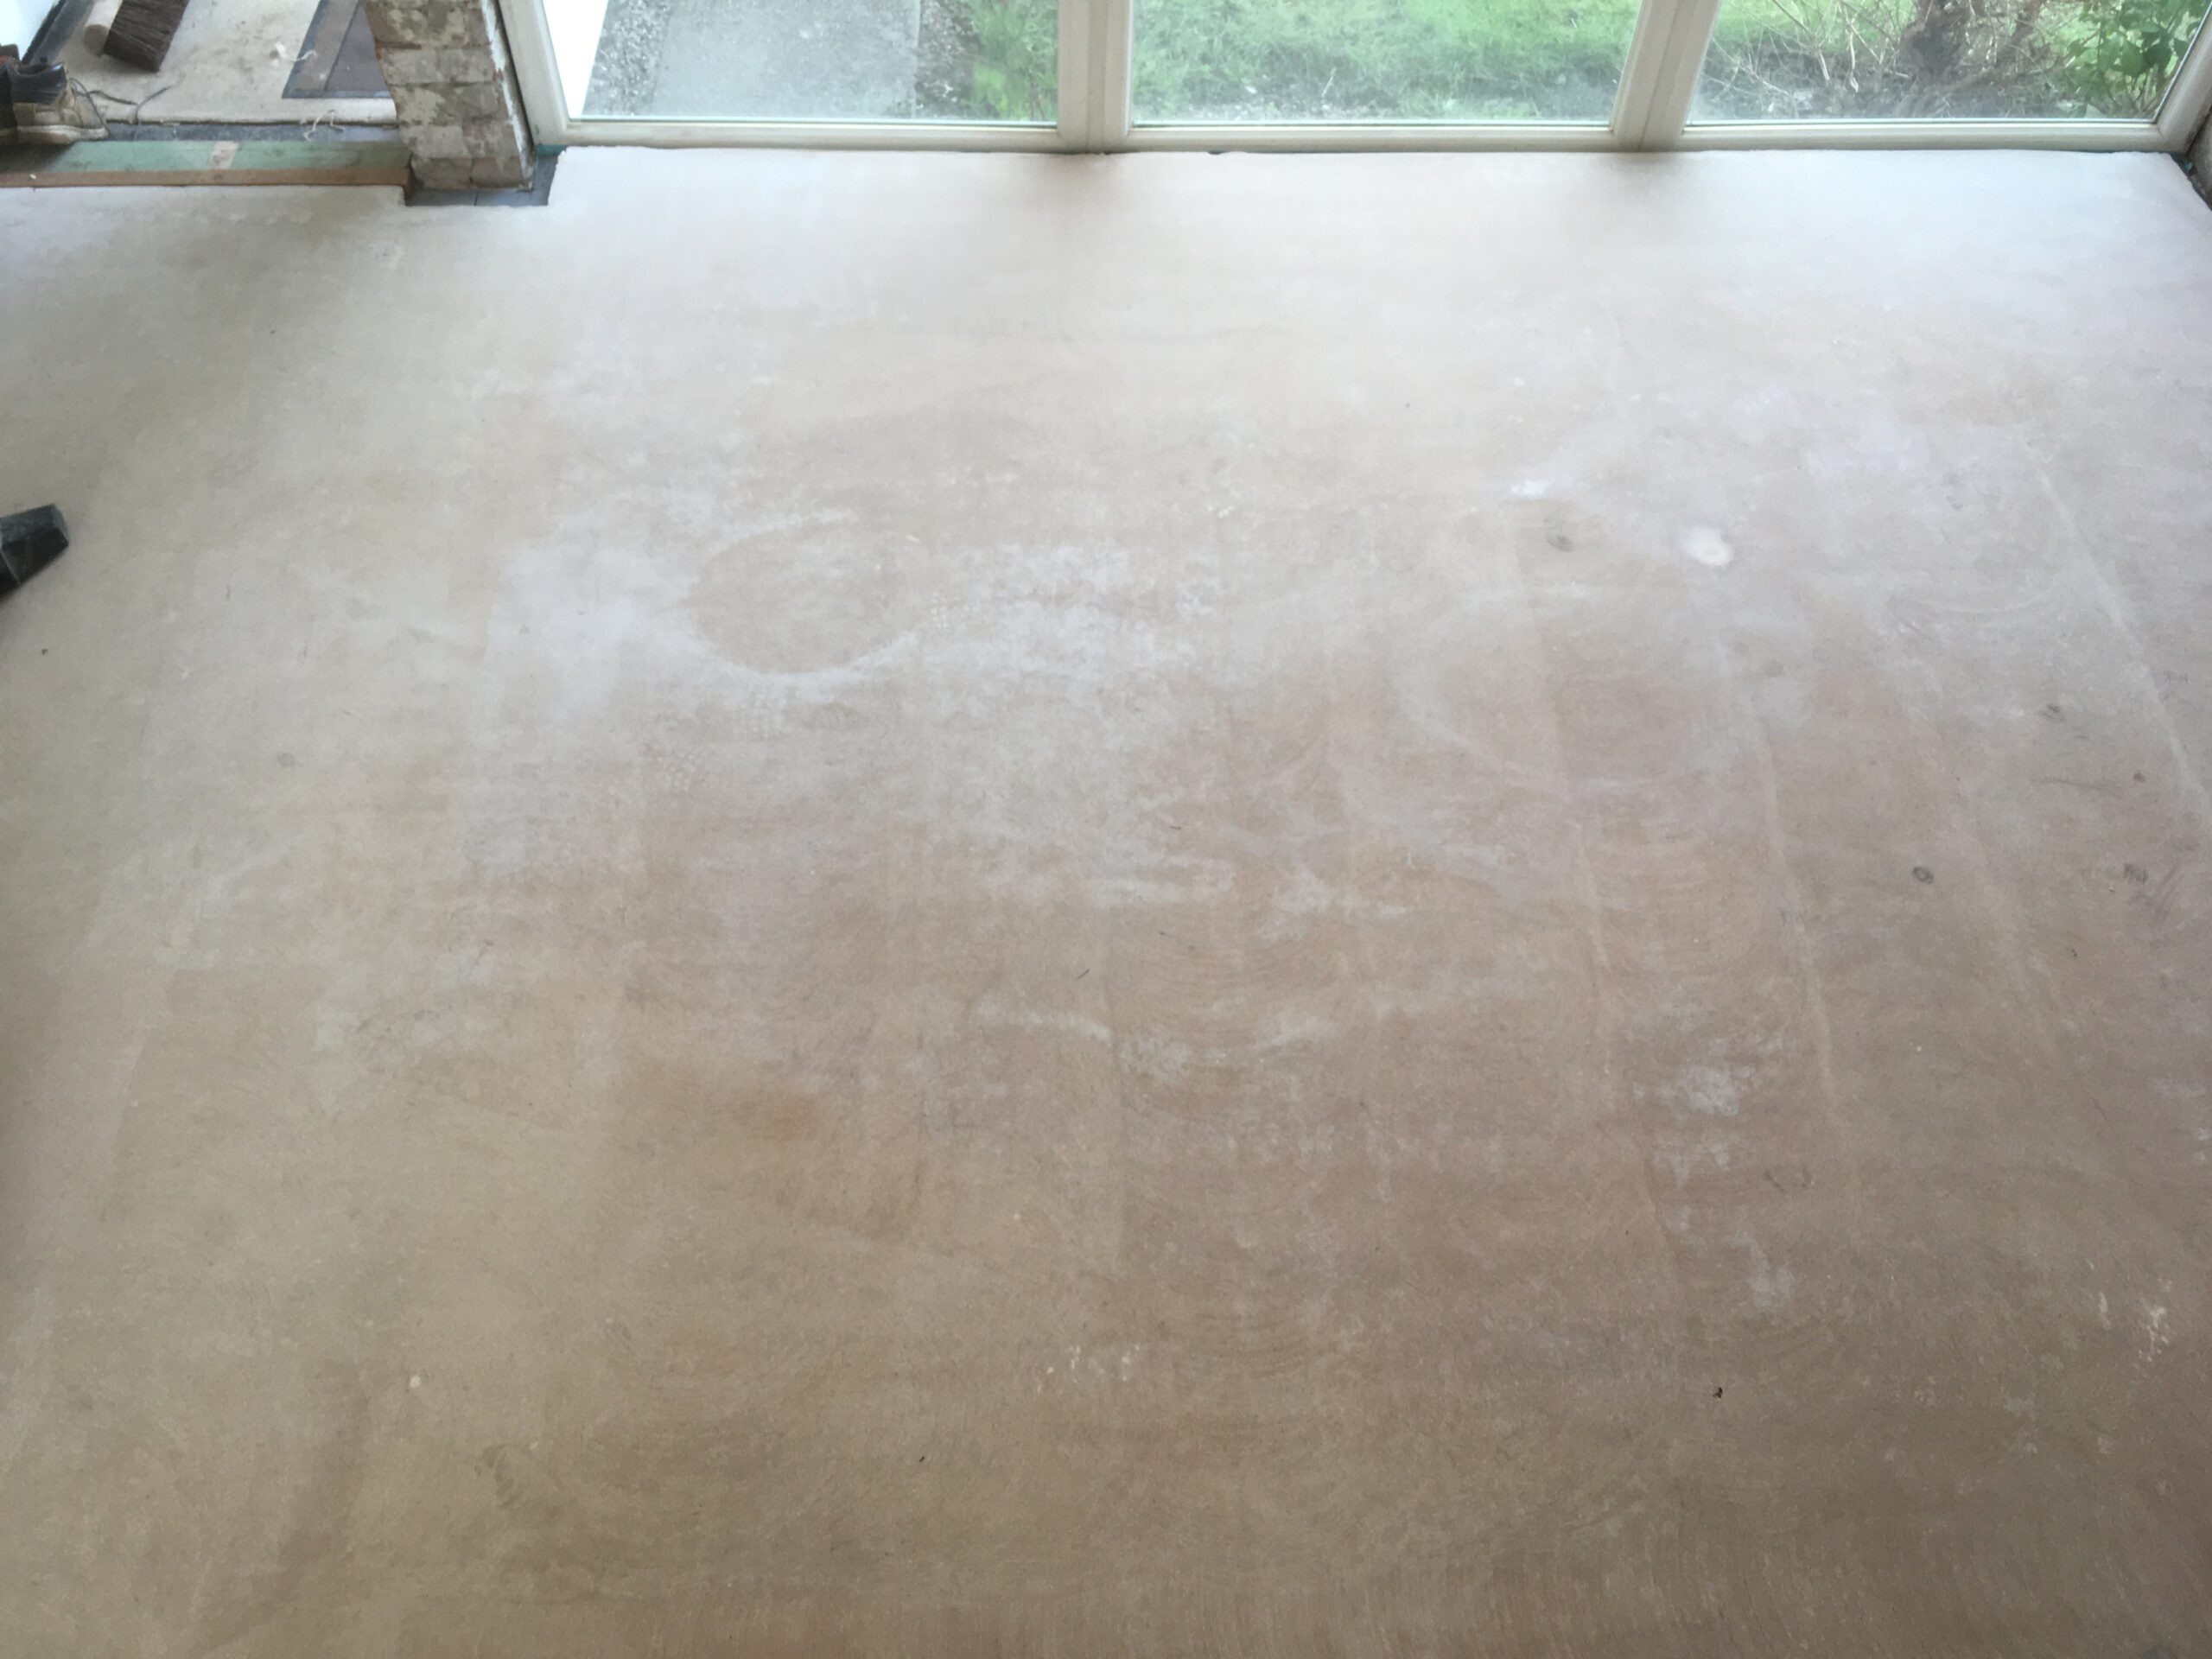
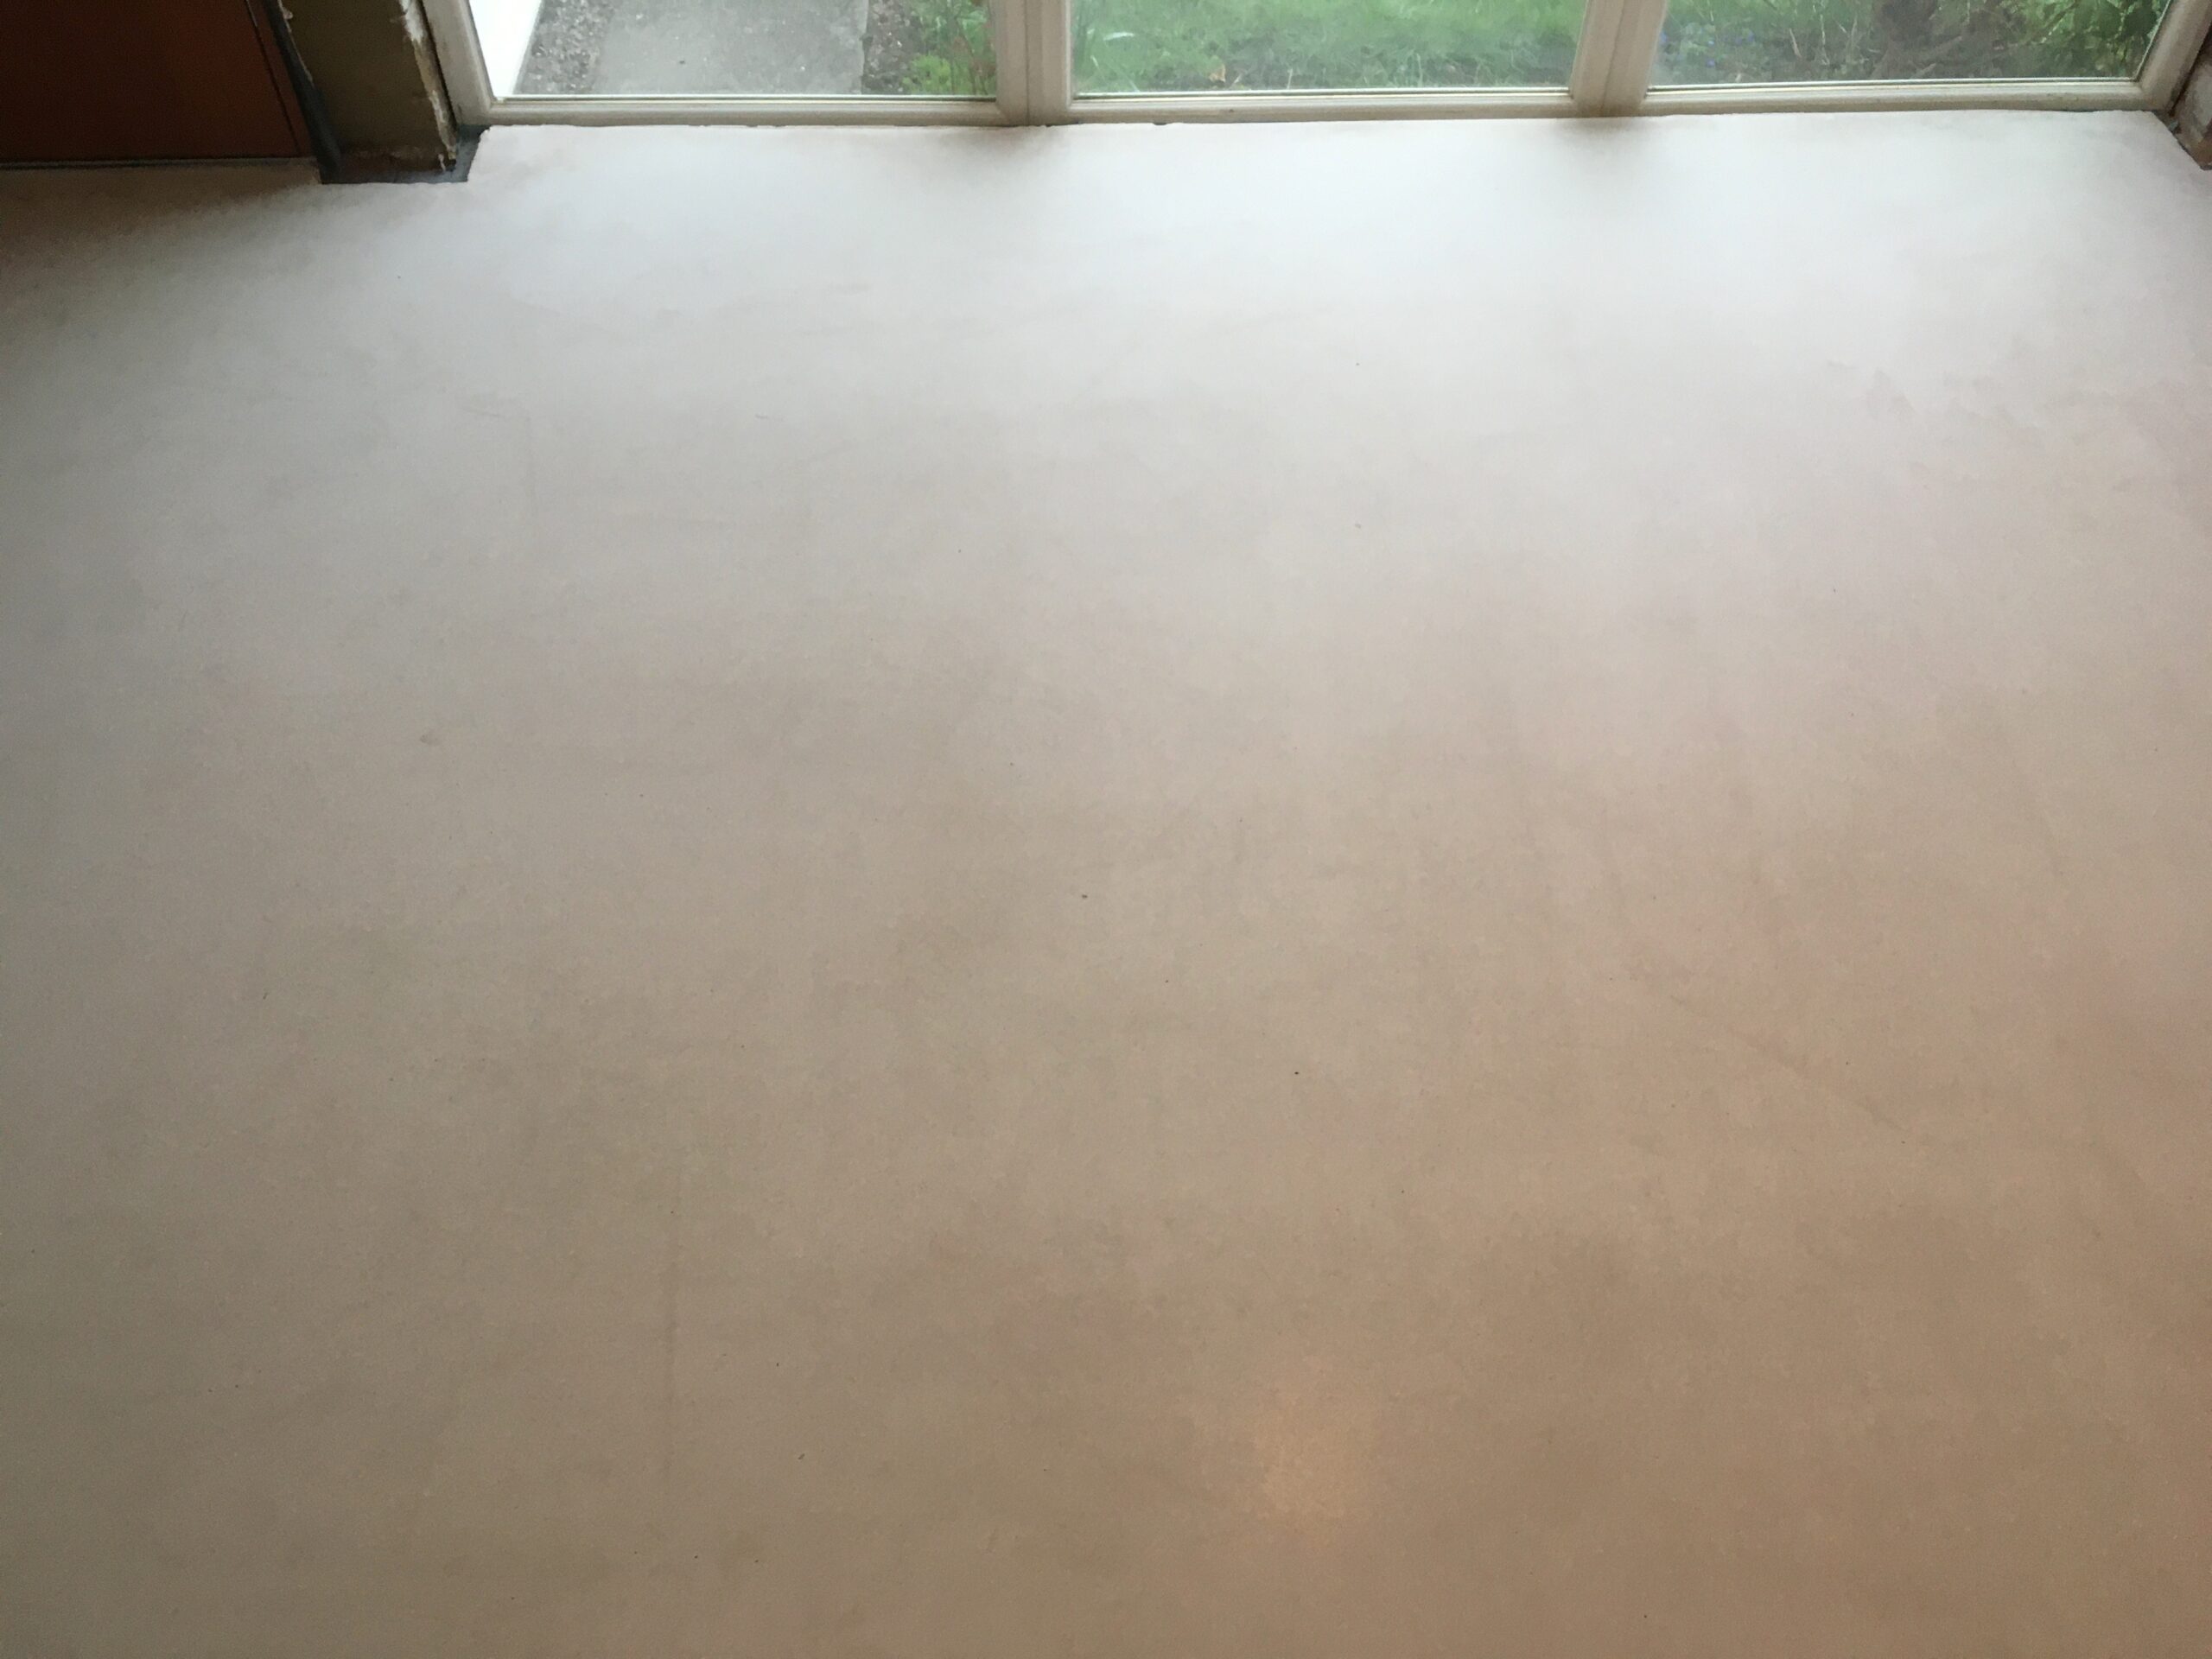
After

Following the pour of a new floor screed at the start of the year, it needed to dry. It dries at 1 mm a day, in warm dry conditions. Our floor averages 46 mm thick, so 7 weeks. Except it was January in the north west in a drafty house. And then a cold spell. So, much longer without heating. Keeping the untreated porous surface clean with electricians and heating engineers traipsing through was a challenge, as it’s the entire ground floor of the house, so can’t be closed off.
The heating was up and running in February (after install screw-up delays) so we could then finish drying the floor.
Anhydrite screed floors are normally covered e.g. by tiles, marmoleum etc. (we like timber but it would reduce the efficiency of the underfloor heating).
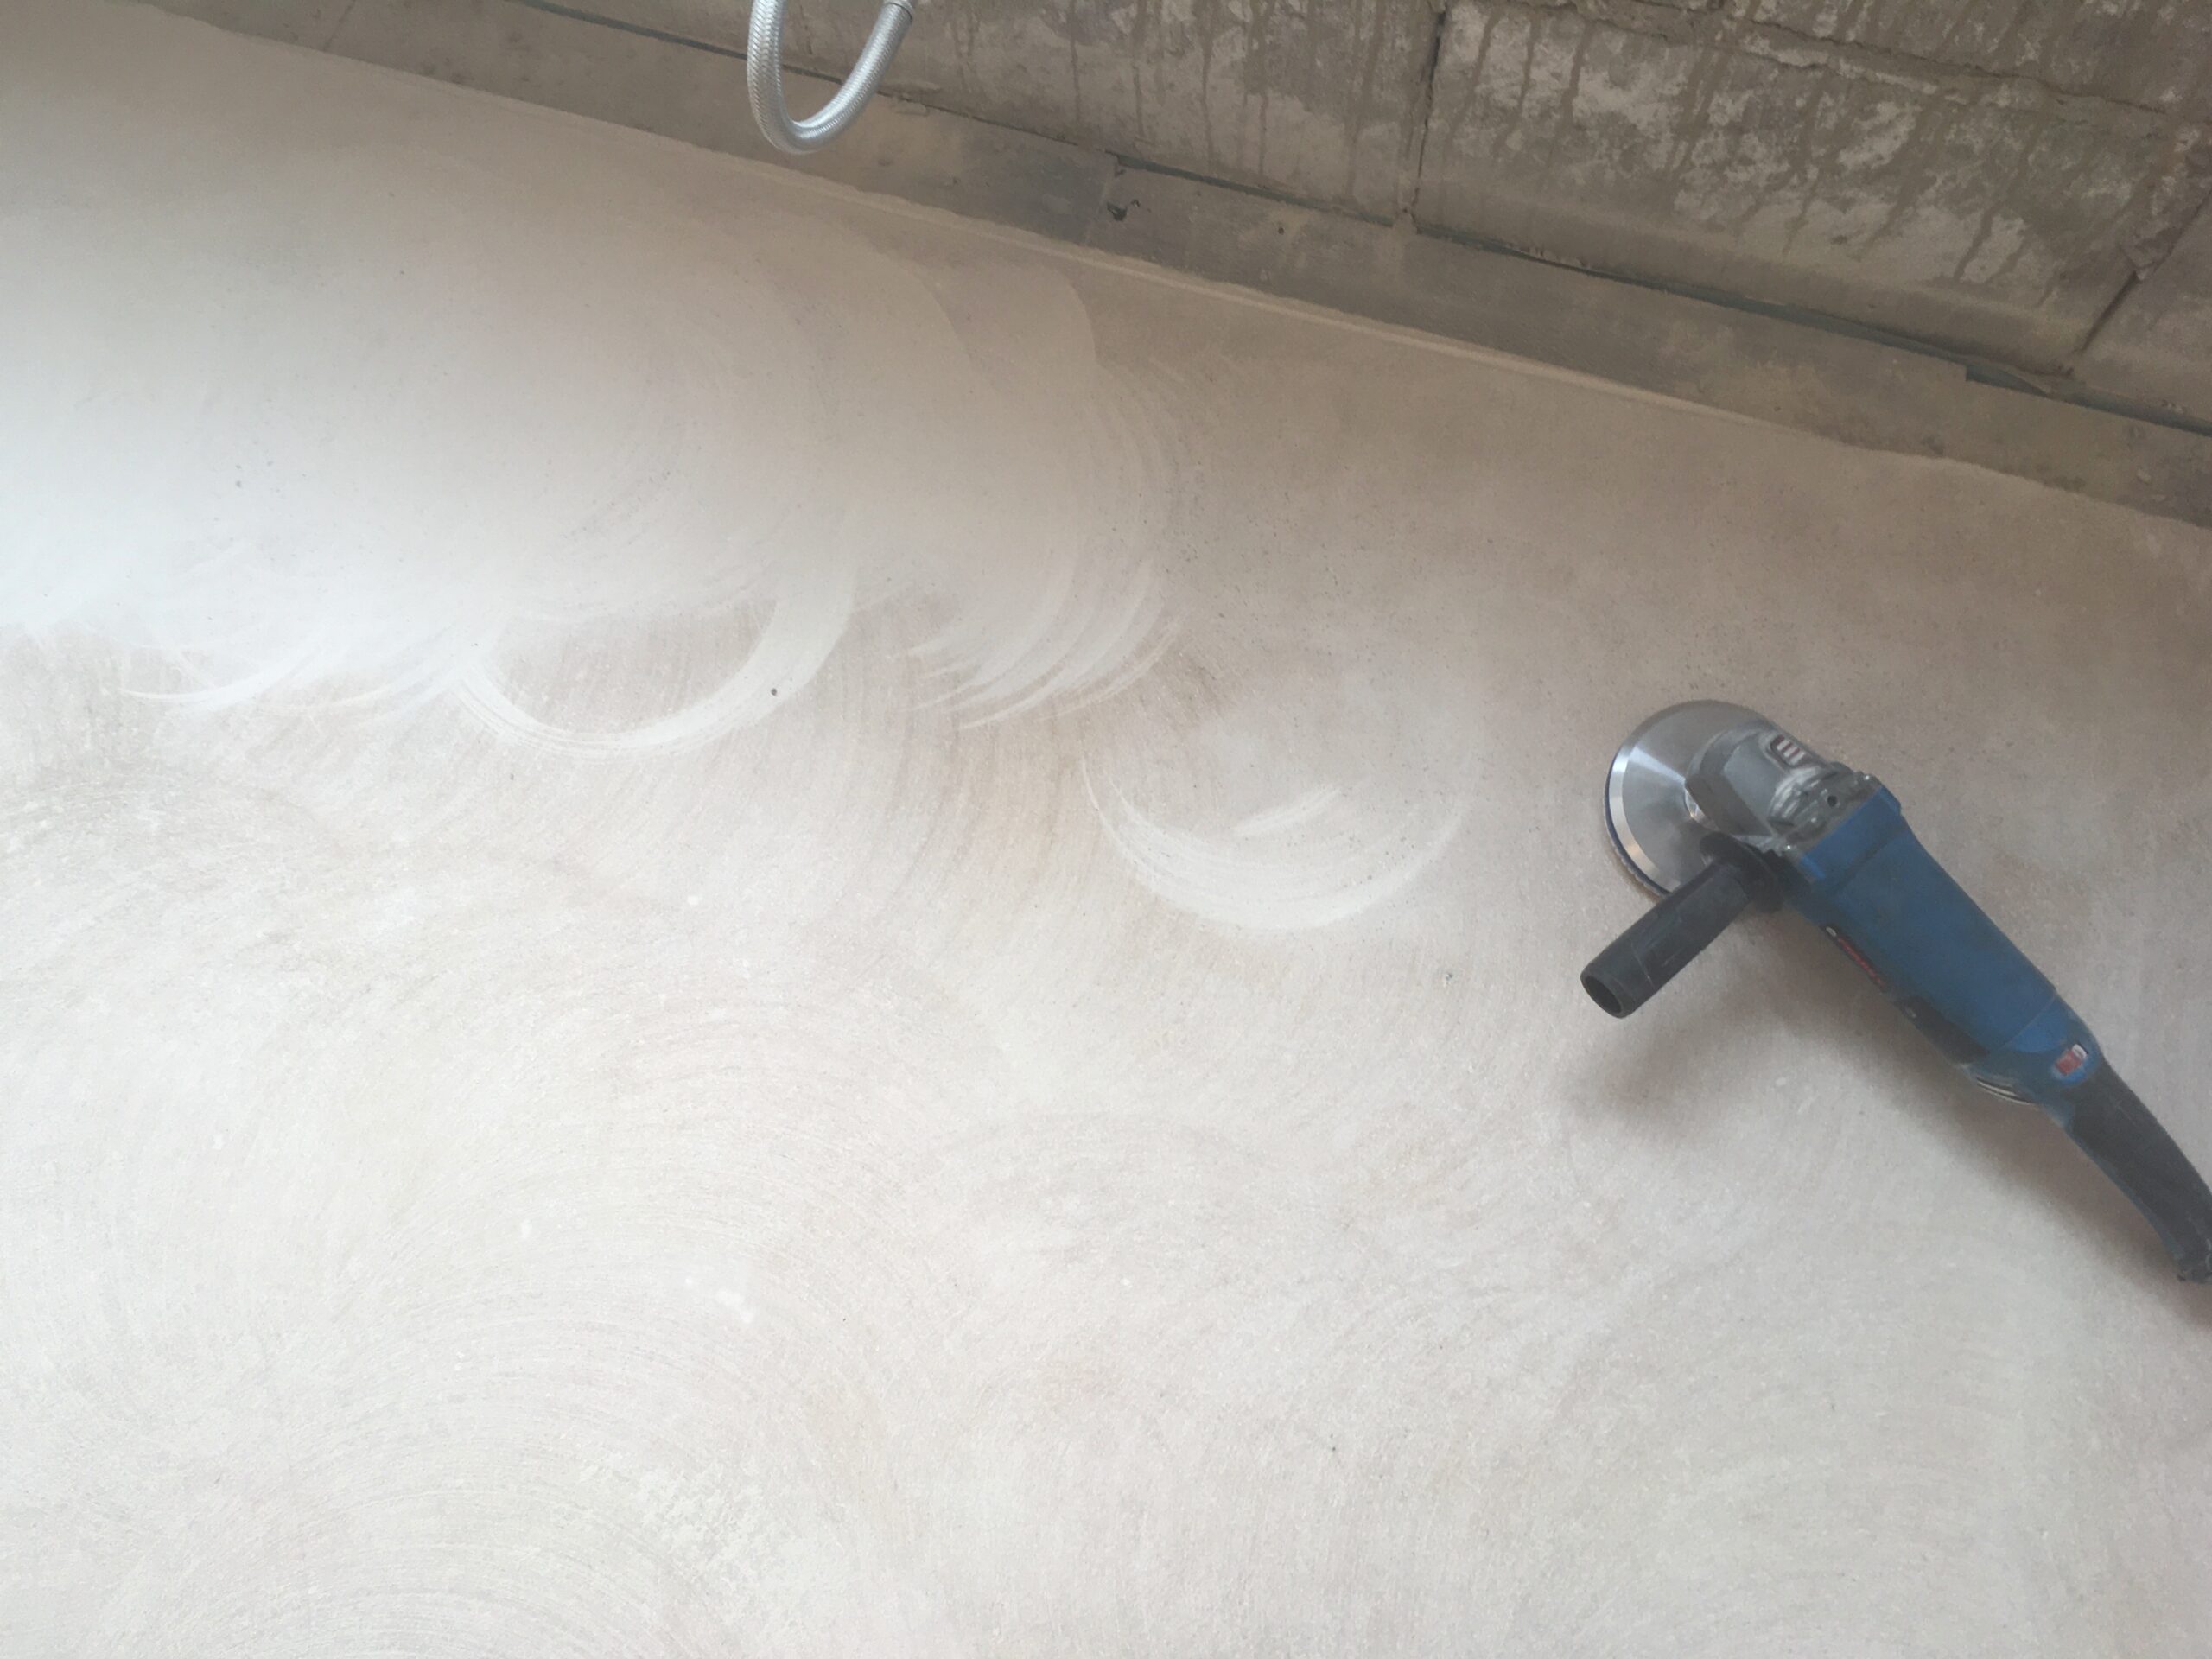
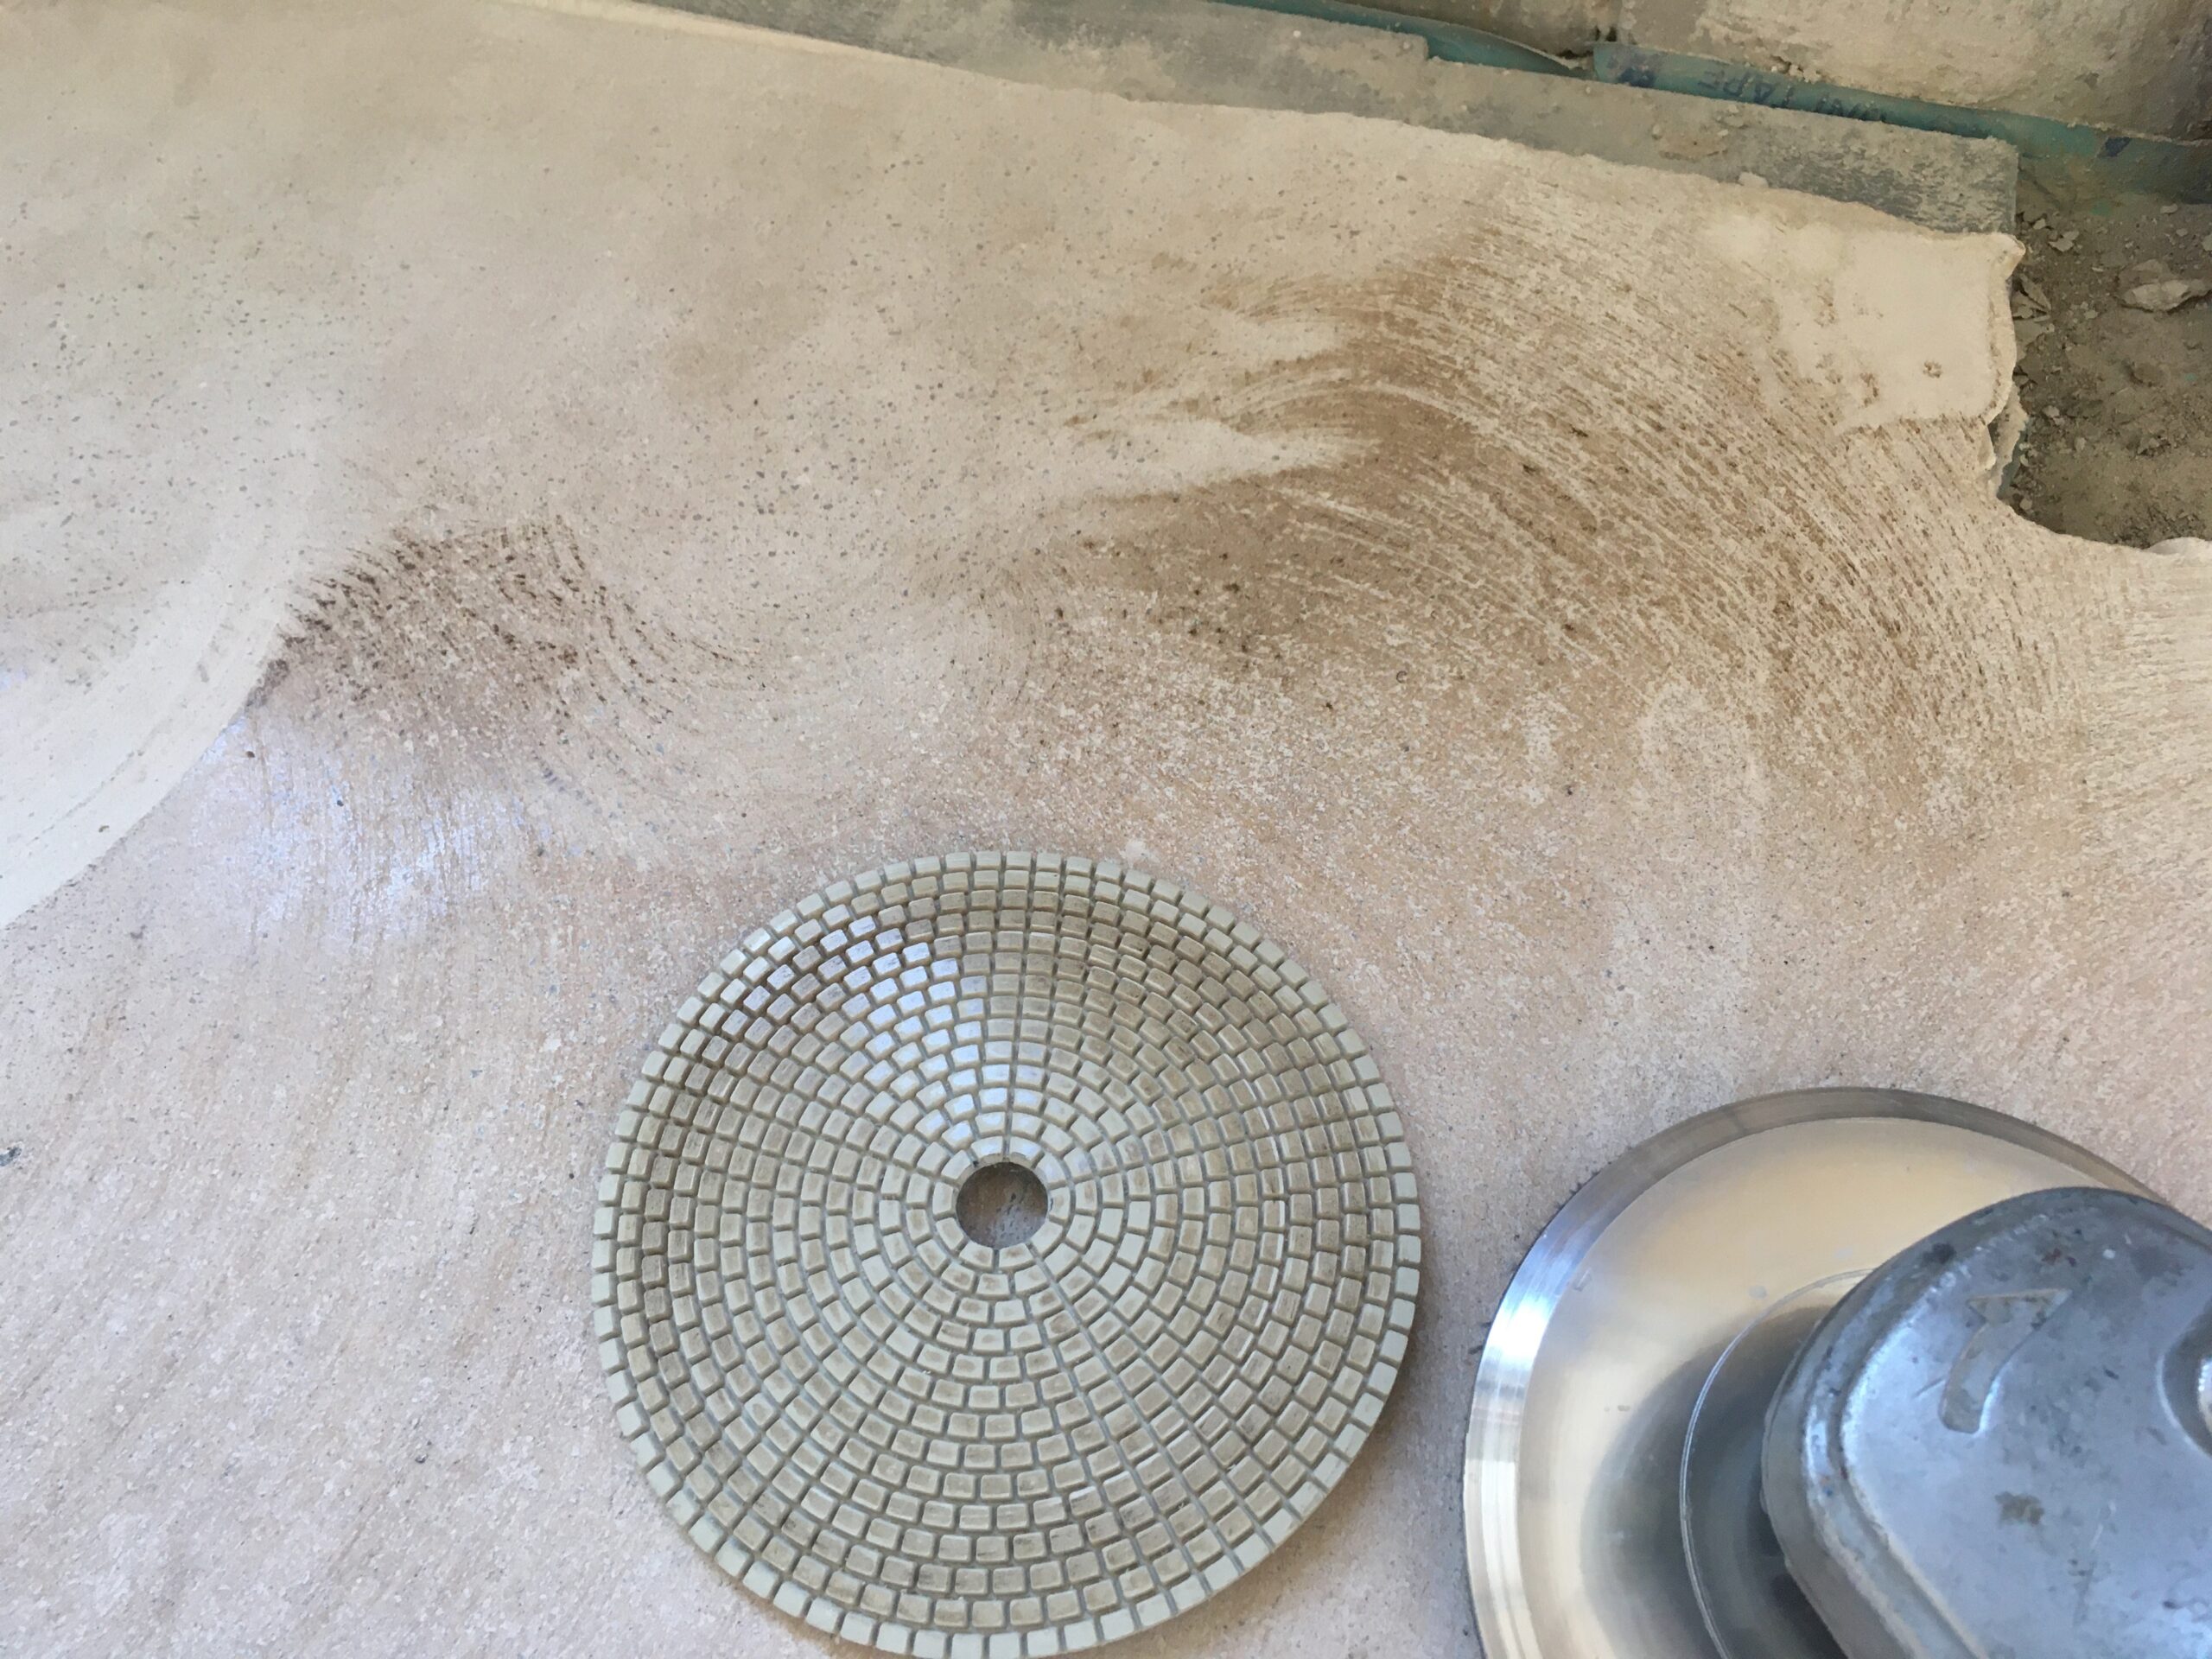
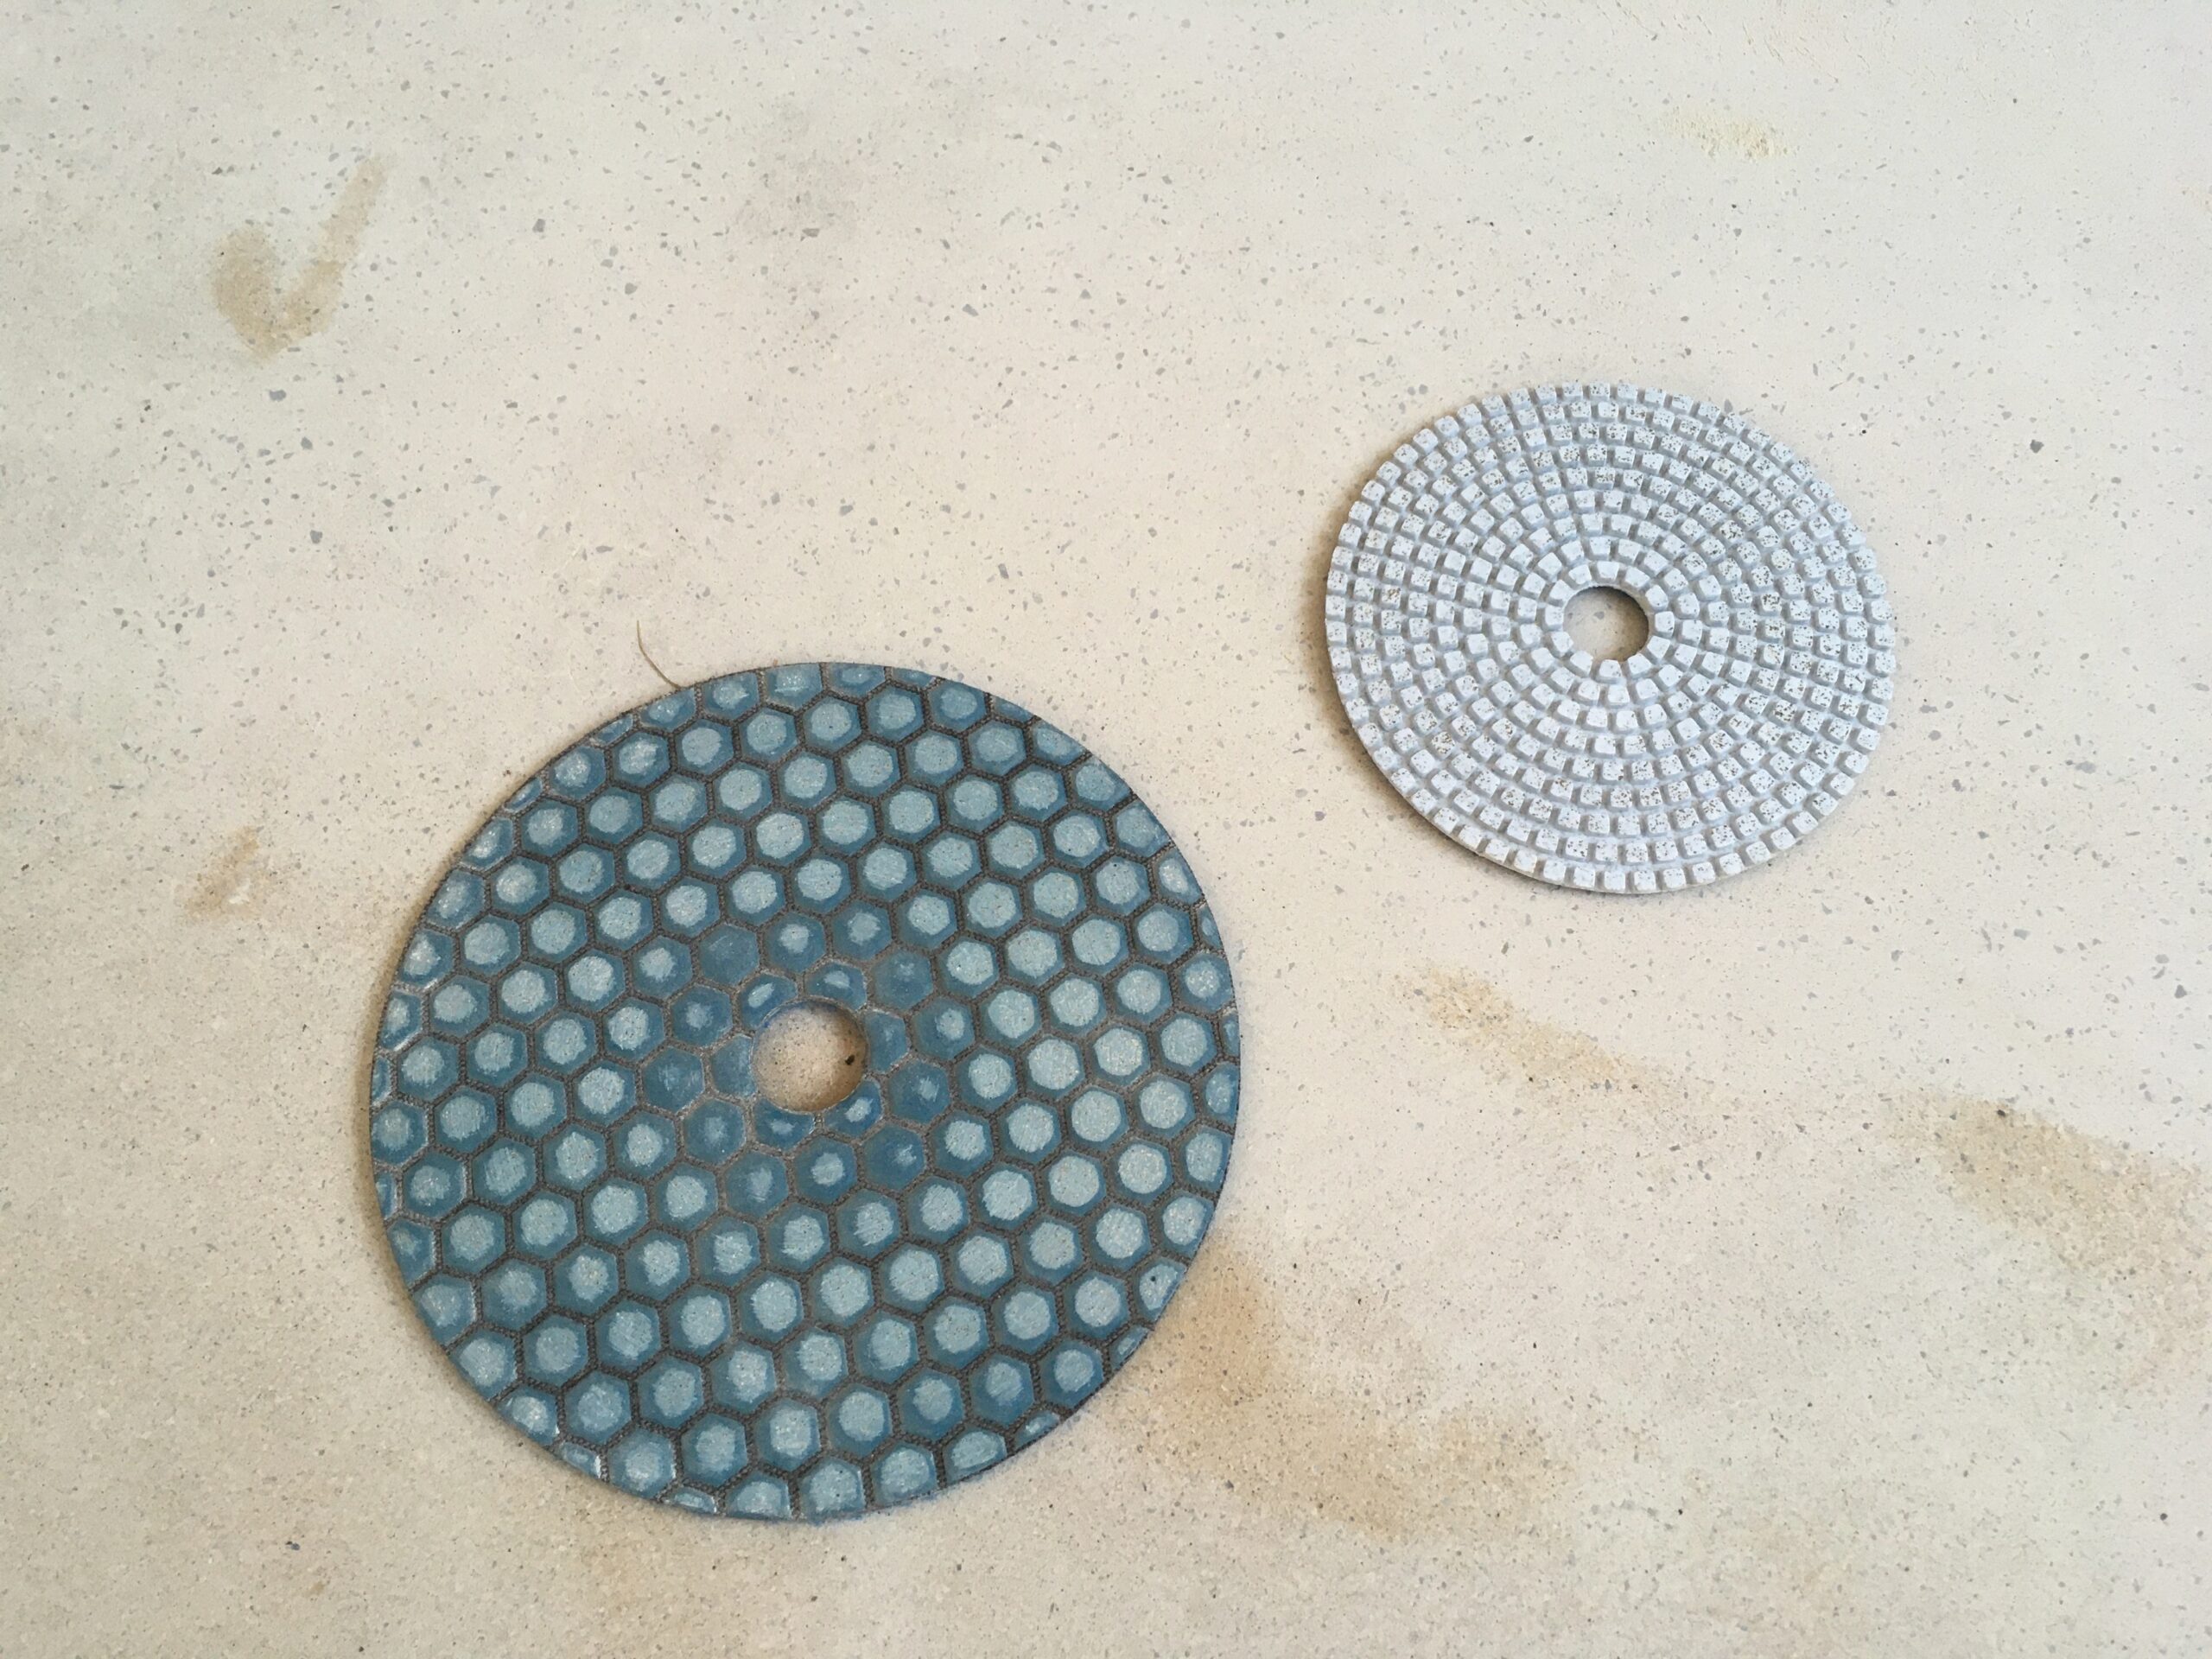
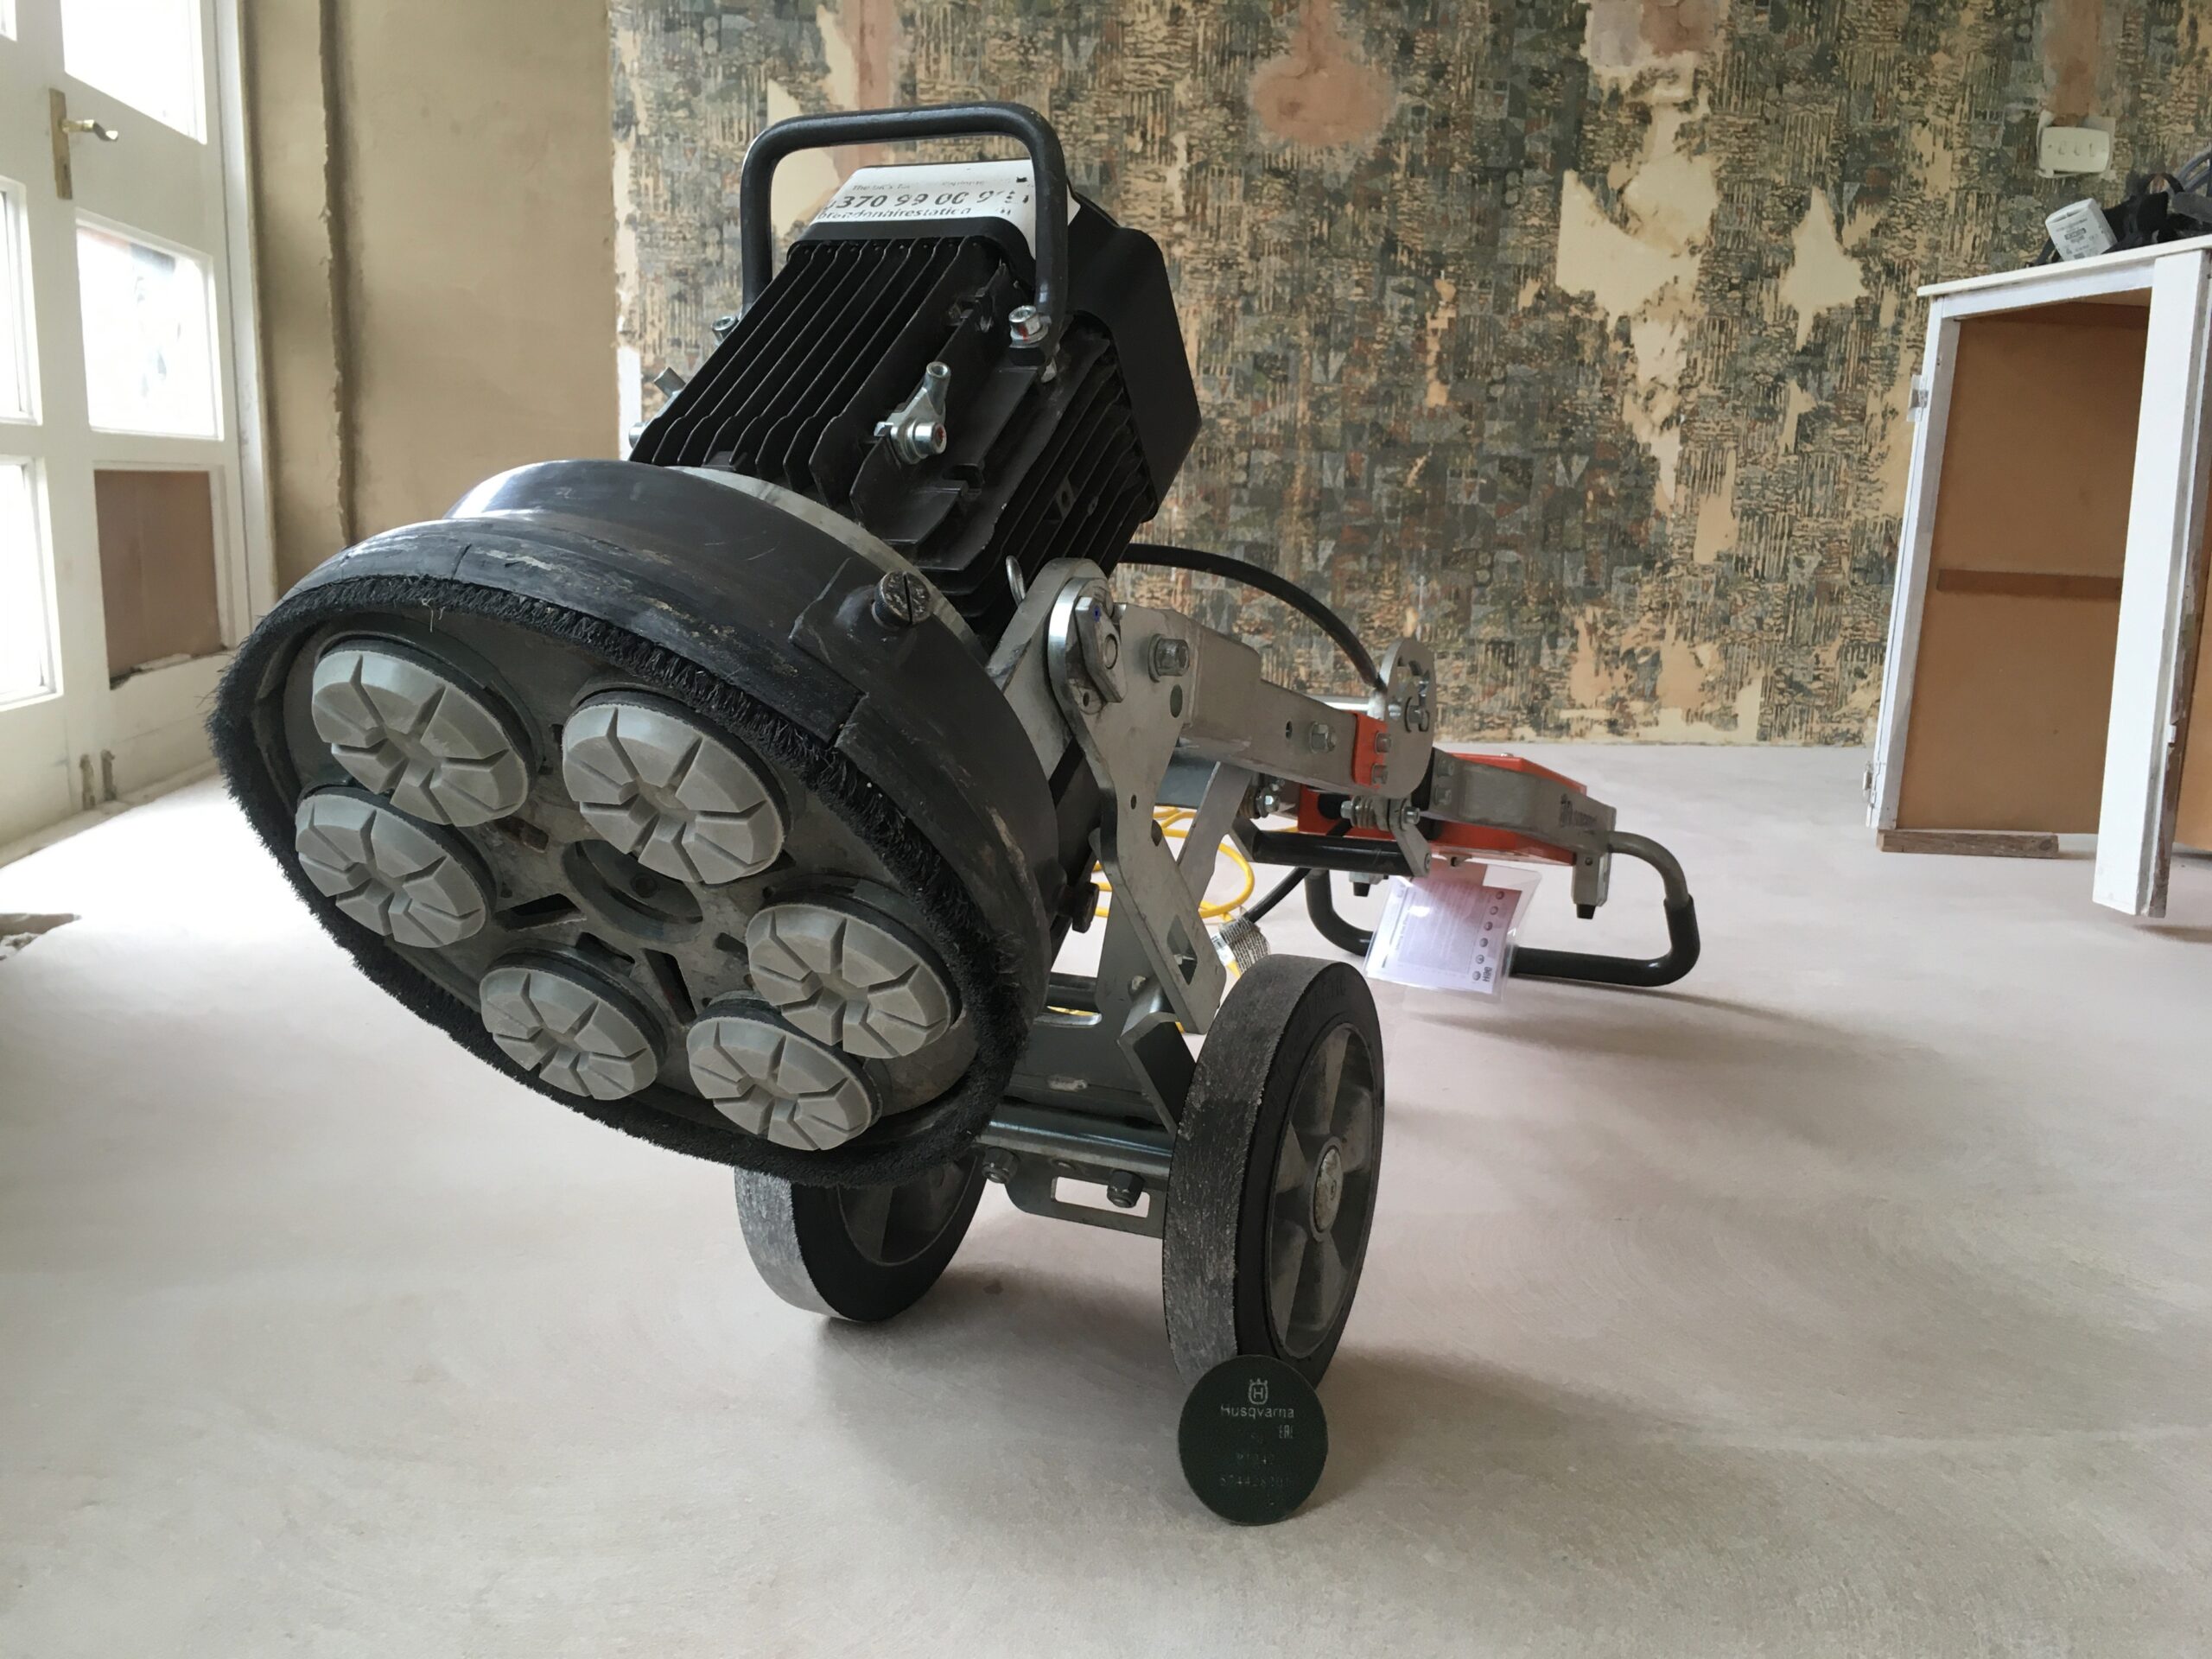
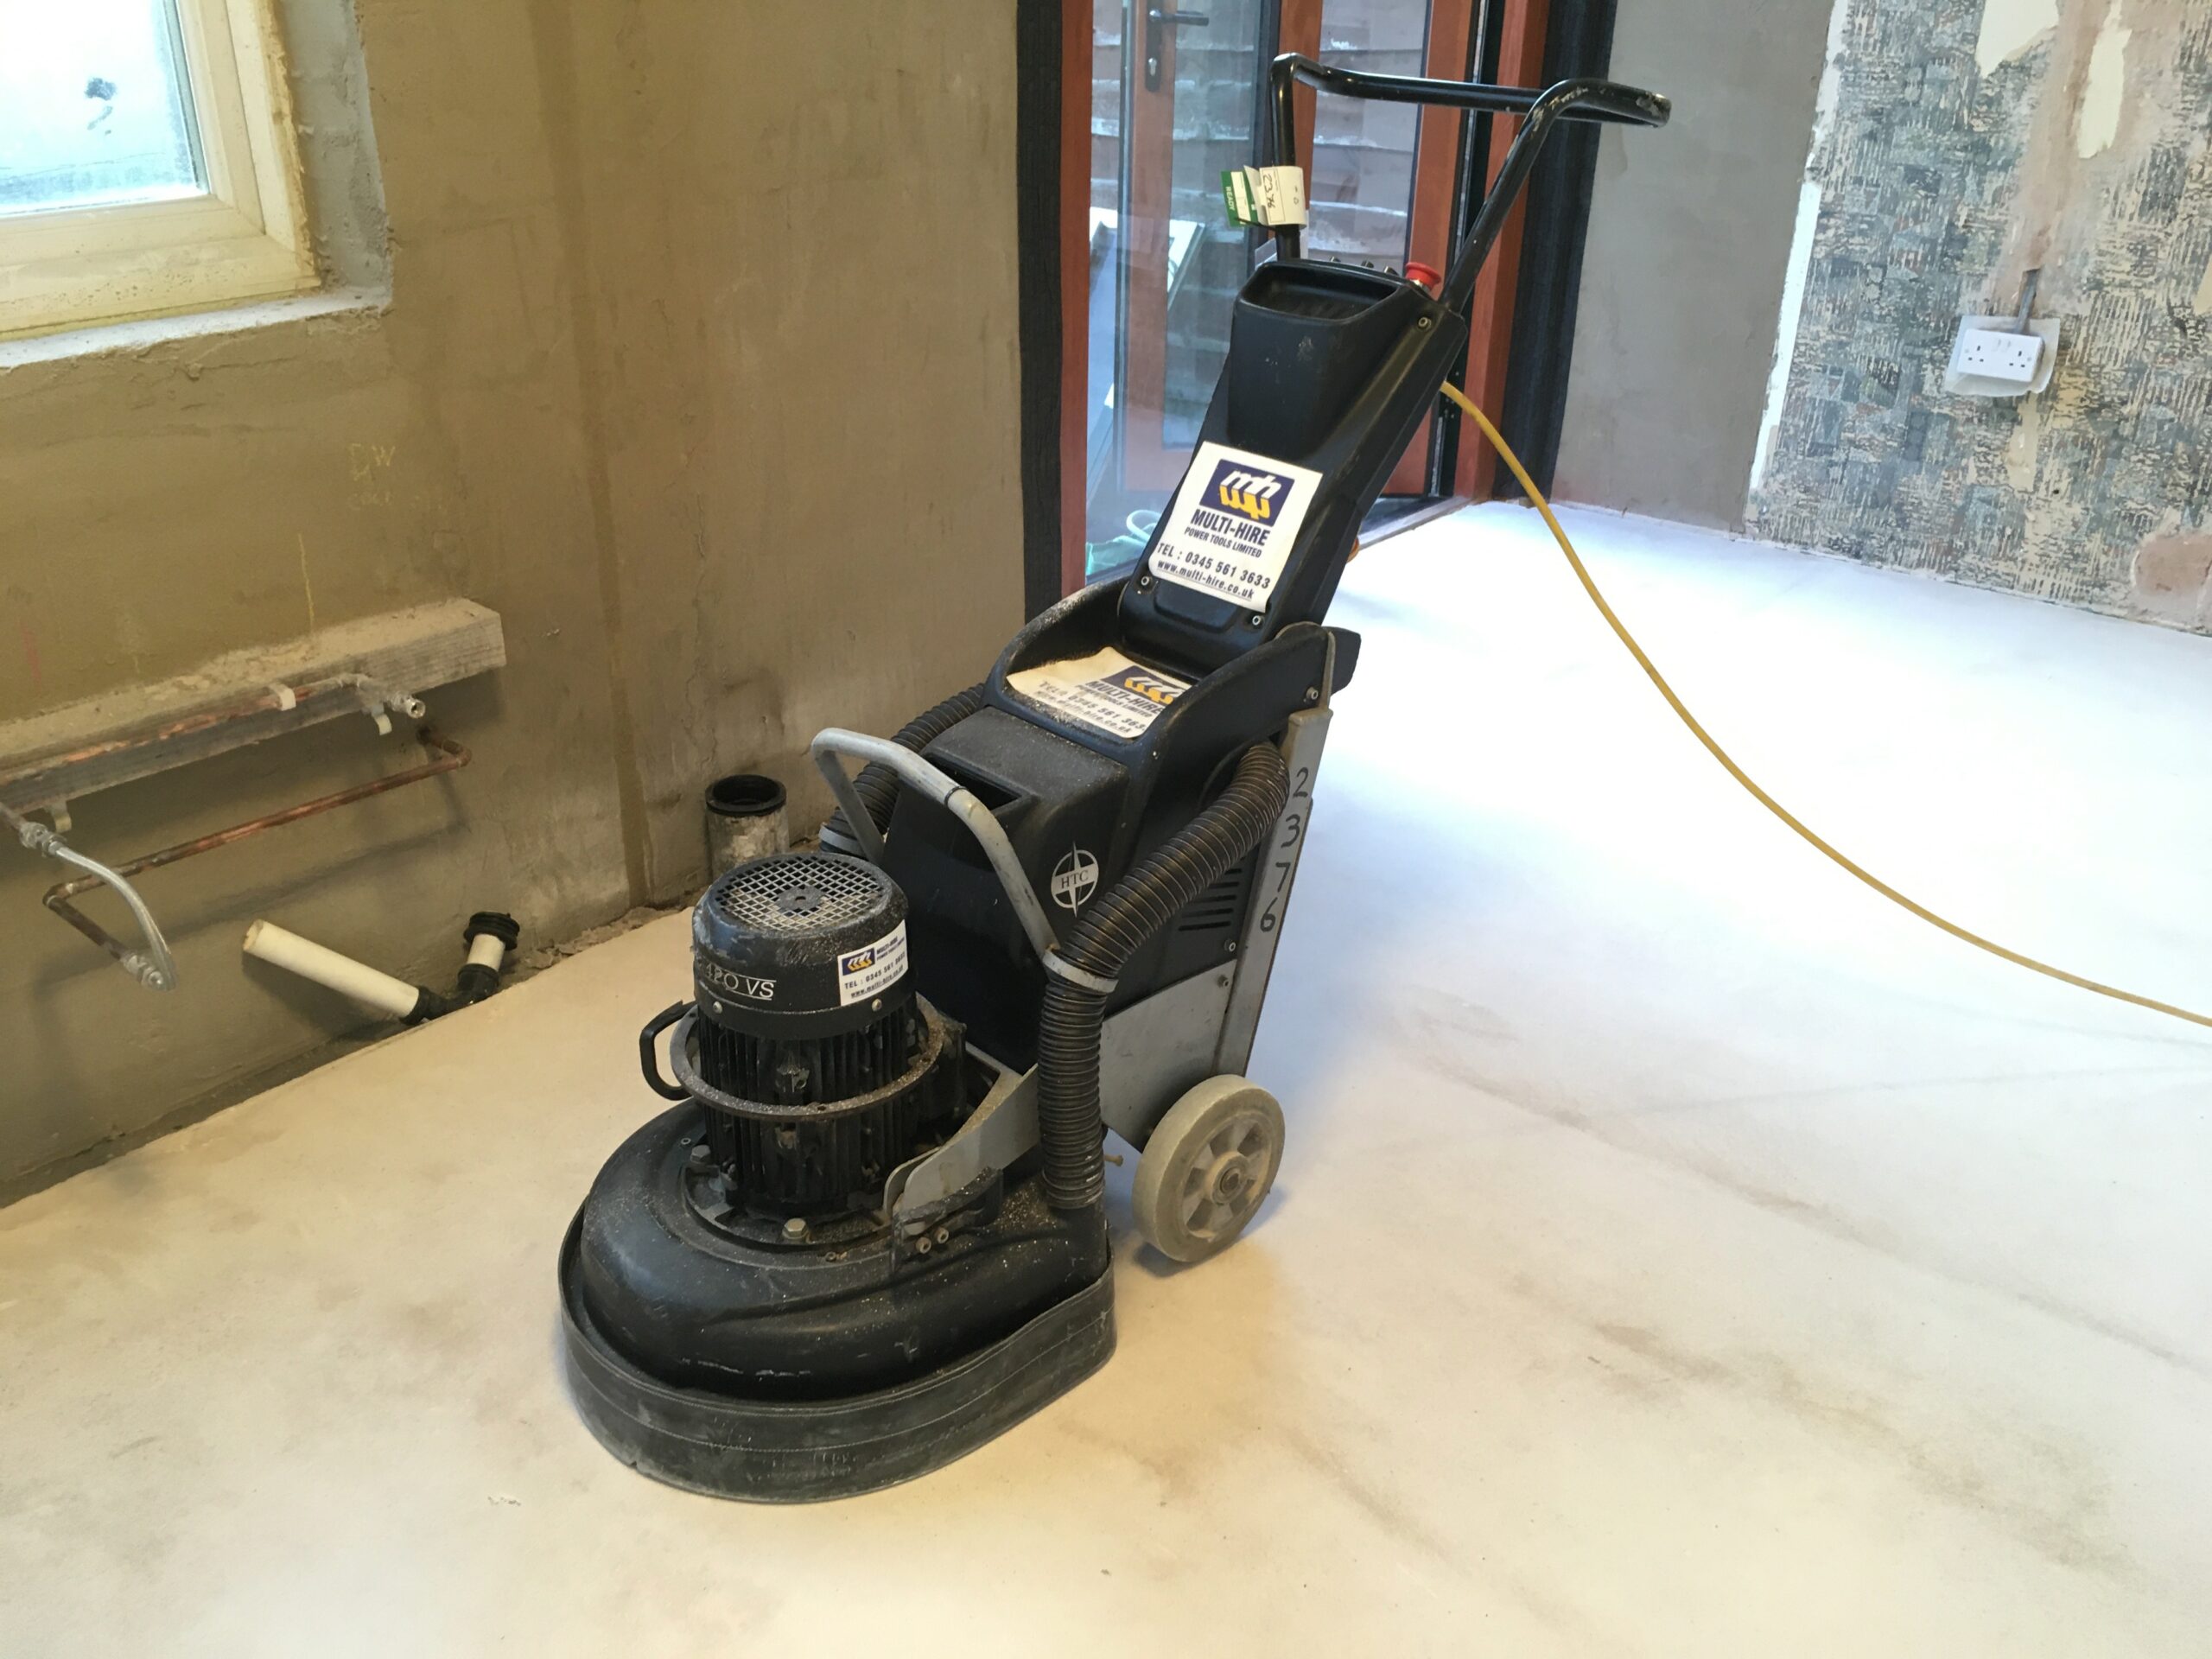
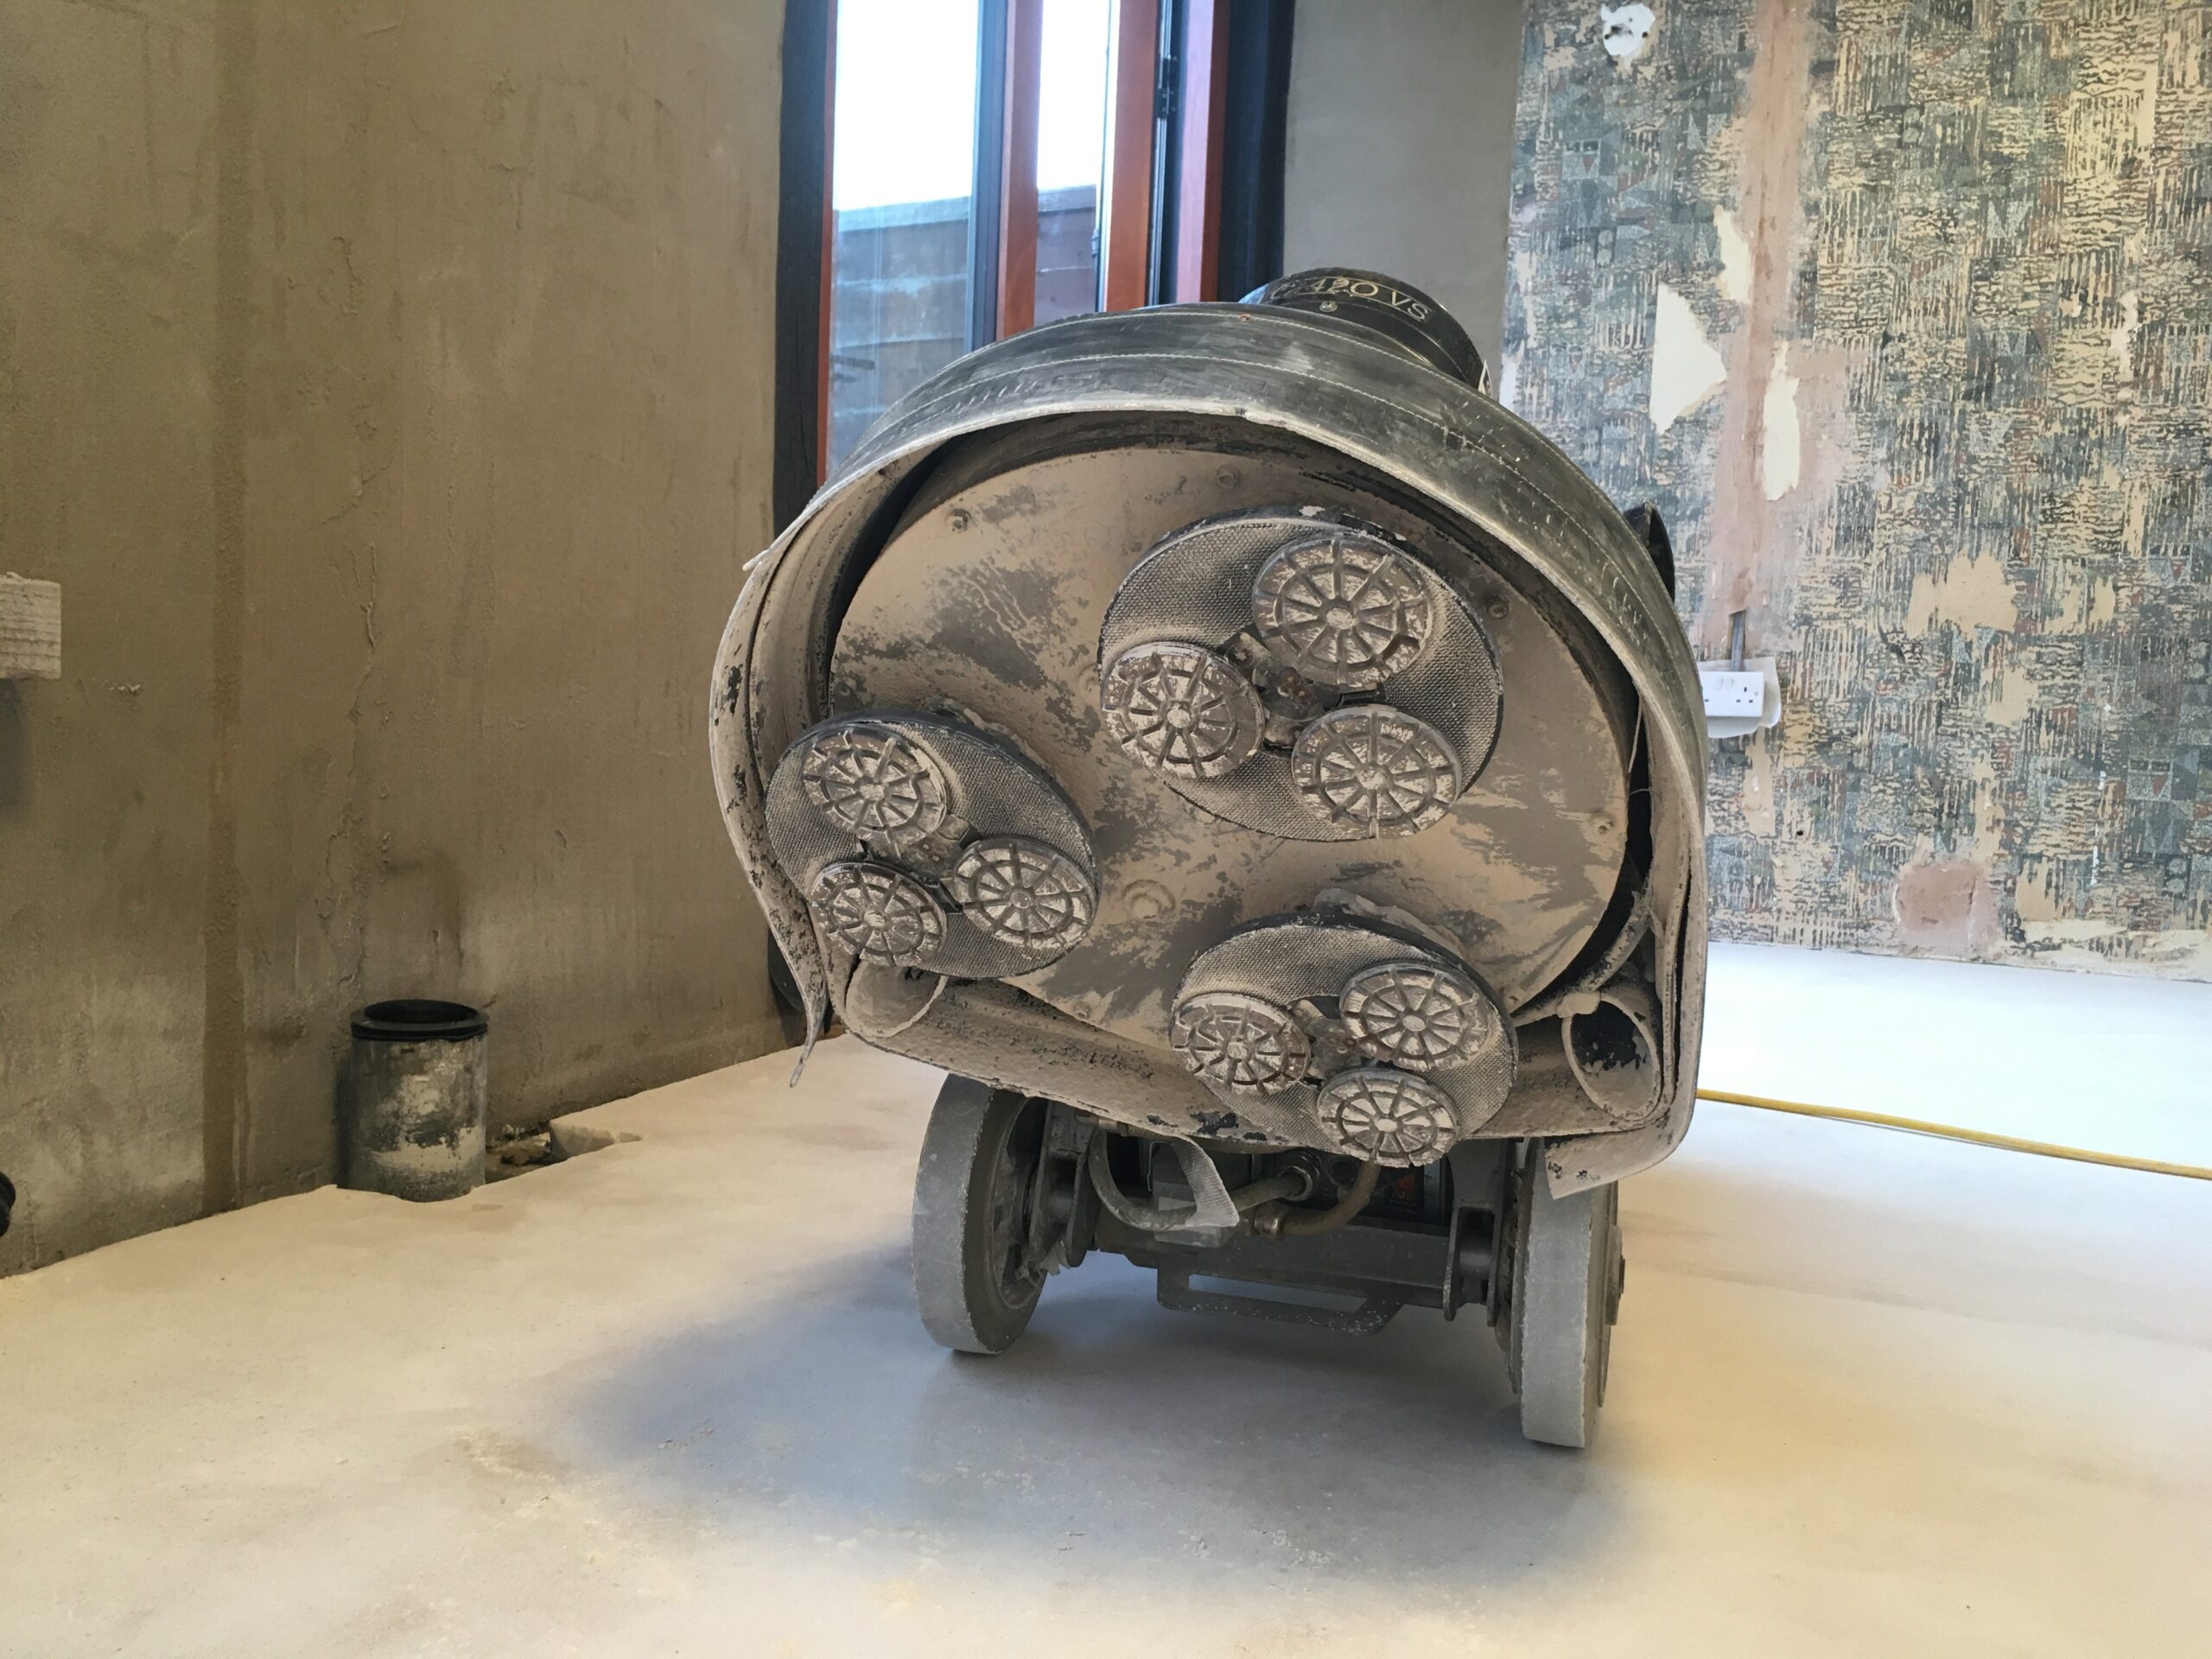
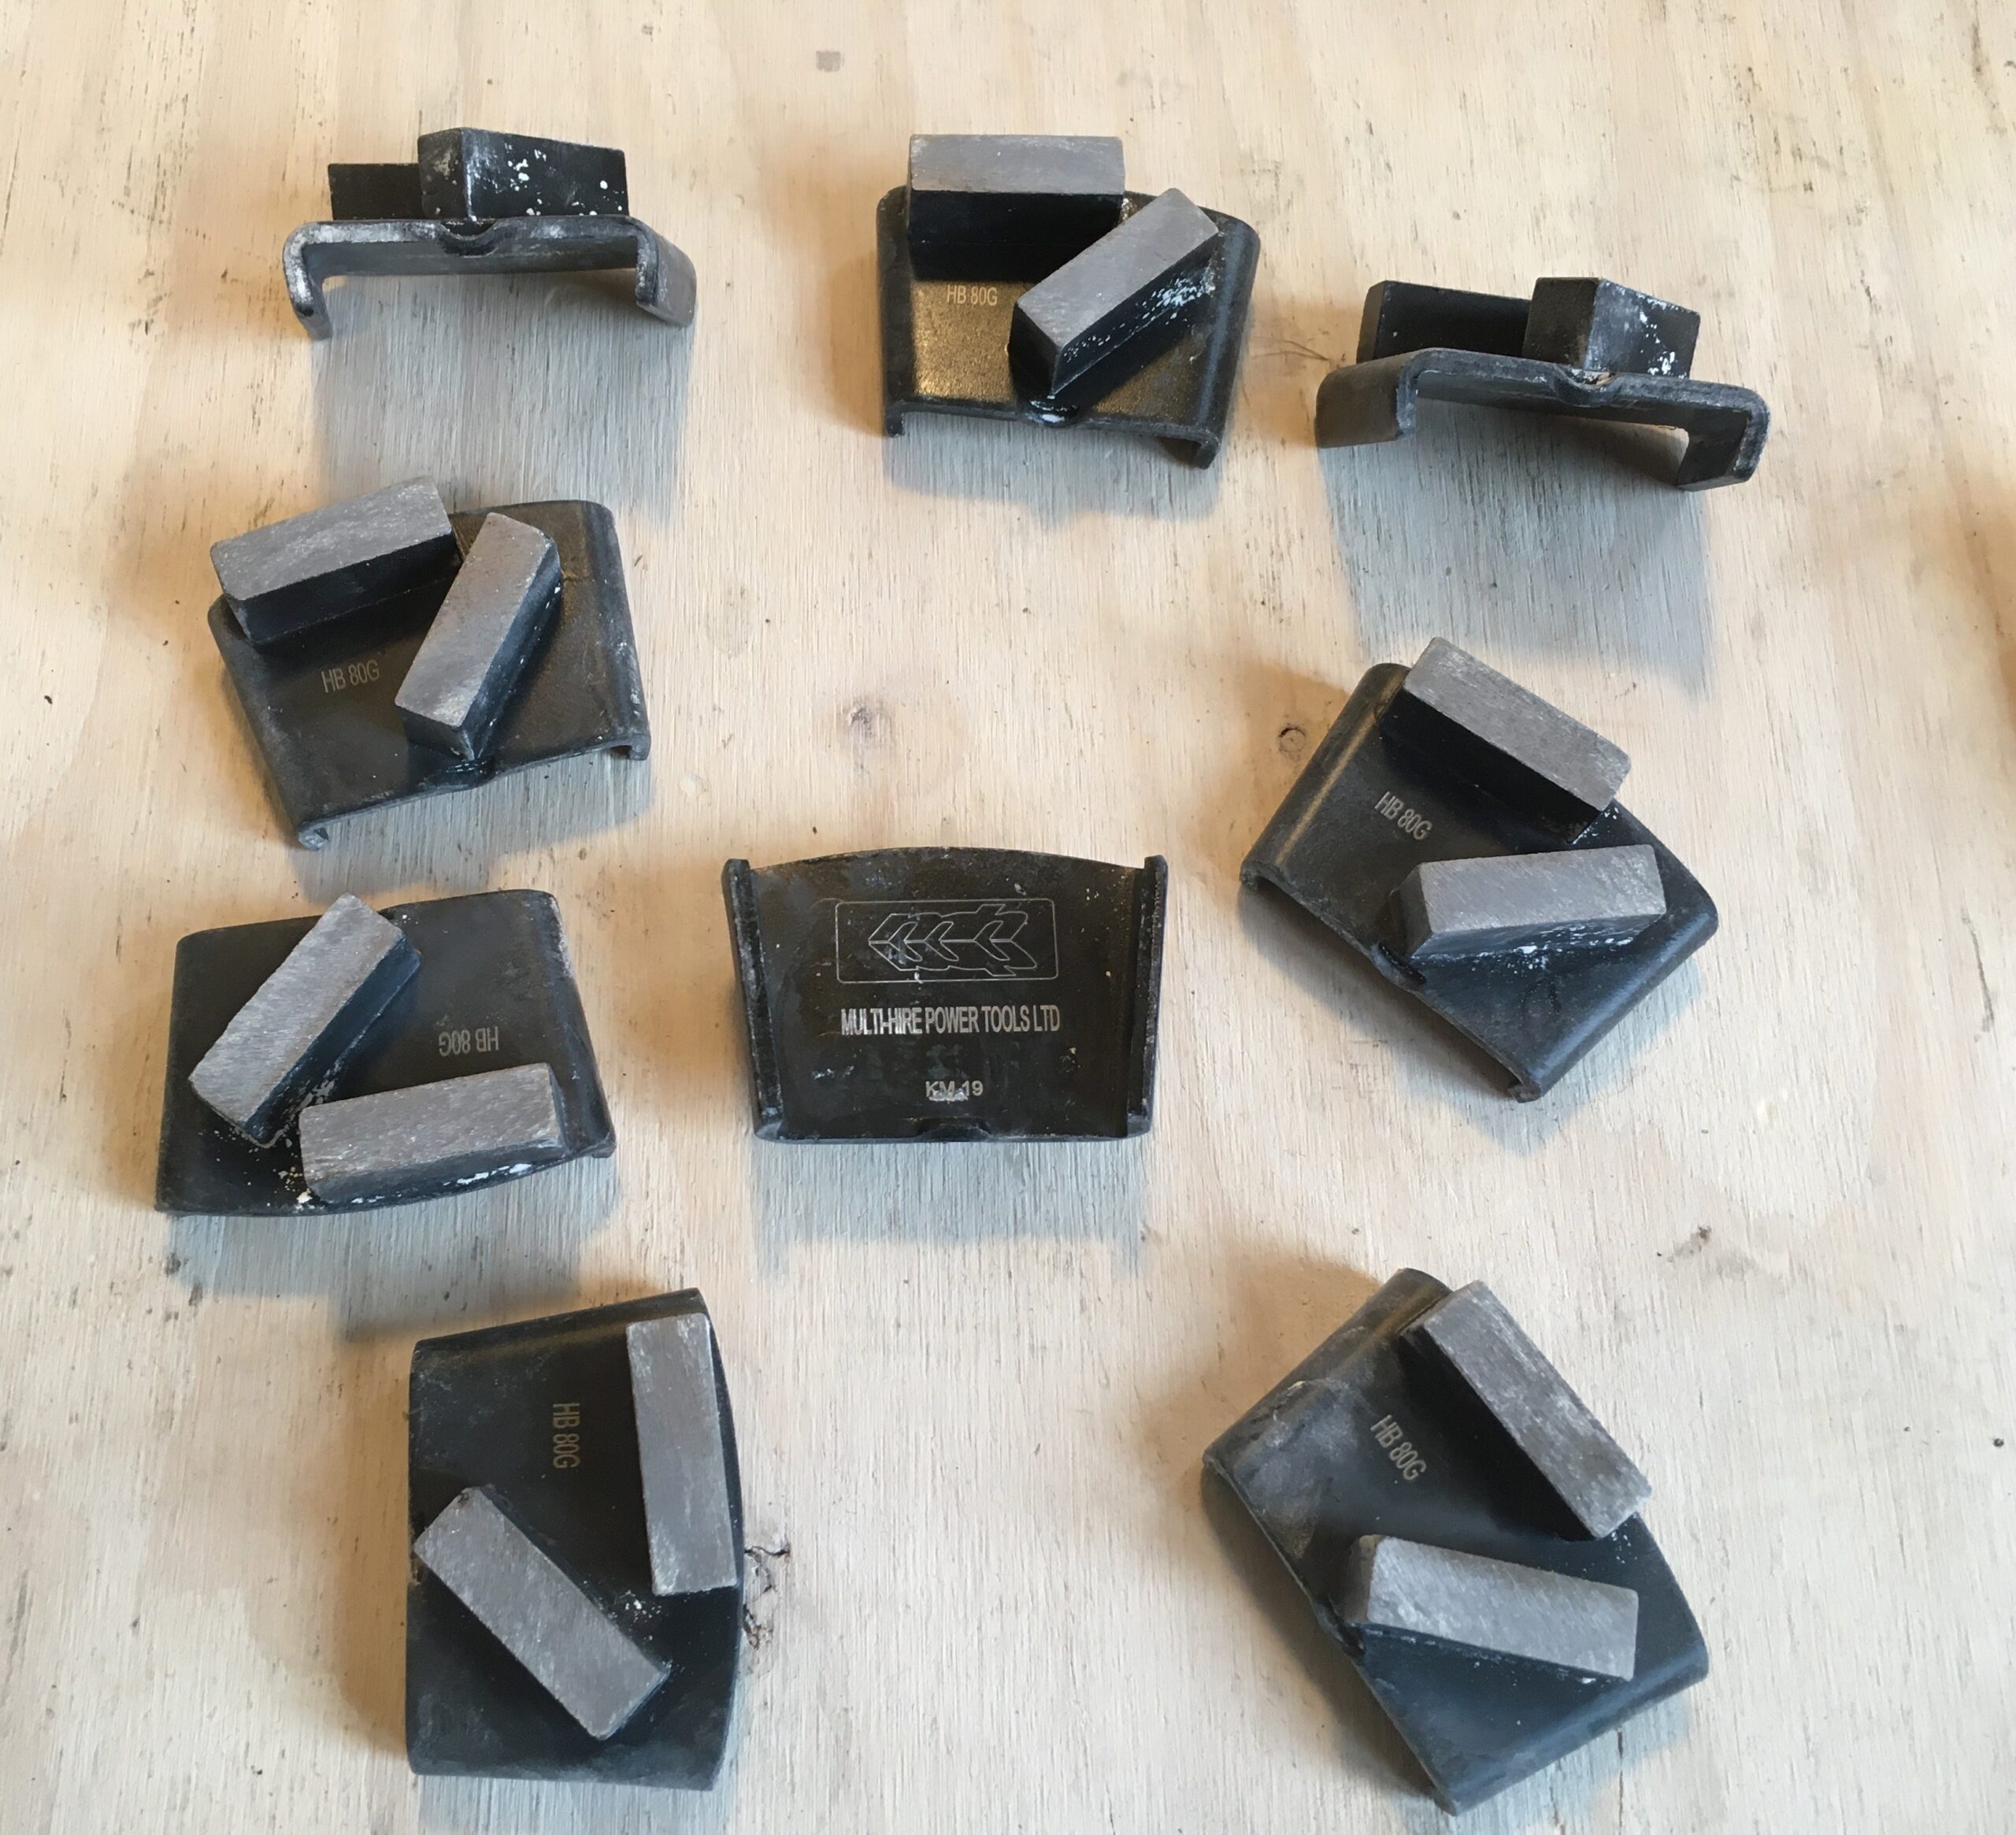
But we’d like it exposed, covered just by a clear resin. This is the unusual bit. But after it dried it looked a scratched mess of patchy colours. A week after it was poured the surface was roughly grinded to remove ‘laitency’ that sets on the surface – standard practice for this type of screed, to help it dry. This was functional, but left it covered in circular scratch marks. All I needed to do was grind off the top millimetre to expose the beautiful even colour and aggregate beneath. Easy, with the right tools. Multi-hire floor preparation experts know what those tools are, and hire them out. No one else, it turns out, did know, although some sounded like they did.
Next and final step: 2 coats of resin.
Gallery
Click (i) to view captions to read the description:


One thought on “What a [Floor] Grind”
Comments are closed.