We insulated internally to the front and rear of the property to preserve the brick appearance along our terrace. There were windows to work around and some fitted wardrobes needed to be removed, but only a couple of sockets to refix, so not too bad. I decided against doing the bathroom though as that would have meant moving all the pipe work and fixtures, and even I have limits.
We used a natural system of wood fibre boards and lime plaster. As well as being sourced from forests rather than fossil fuels and nasty chemicals, and biodegradable at the end of its life, it has the huge advantage that it’s breathable. These old houses weren’t designed to be air tight and moisture needs to escape – and through these walls it still can.
Internal Wall Insulation
-
Product Hofatex SysTem wood fibre insulation boards + lime plaster Rating λ=0.042, 100mm thick U-Value from 1.85 to 0.34 – 82% improvement Cost £3,500 for 4 rooms
equivalent to £55 per square metre
£500 plastering labourSupplier Womersleys, the regional supplier for Natural Building Technologies
The synthetic alternative would be PIR (e.g. Celotex rigid insulation boards). You might prefer these as they’re twice as insulating and a hellavalot cheaper, so 50mm PIR insulates as well as 100mm of woodfibre.
I used 100mm thick boards, with 40mm boards for window reveals. This achieved an 80% improvement in the U-value from 1.85 to 0.34. That’s OK, but not great – current building regs specify a maximum U-value of 0.3. But the challenge of eco-renovating an old property is full of compromises – in this case balancing heat loss with reduction in room space and the benefits of natural materials and breathability. We’ll make up for some of that with the EWI though.
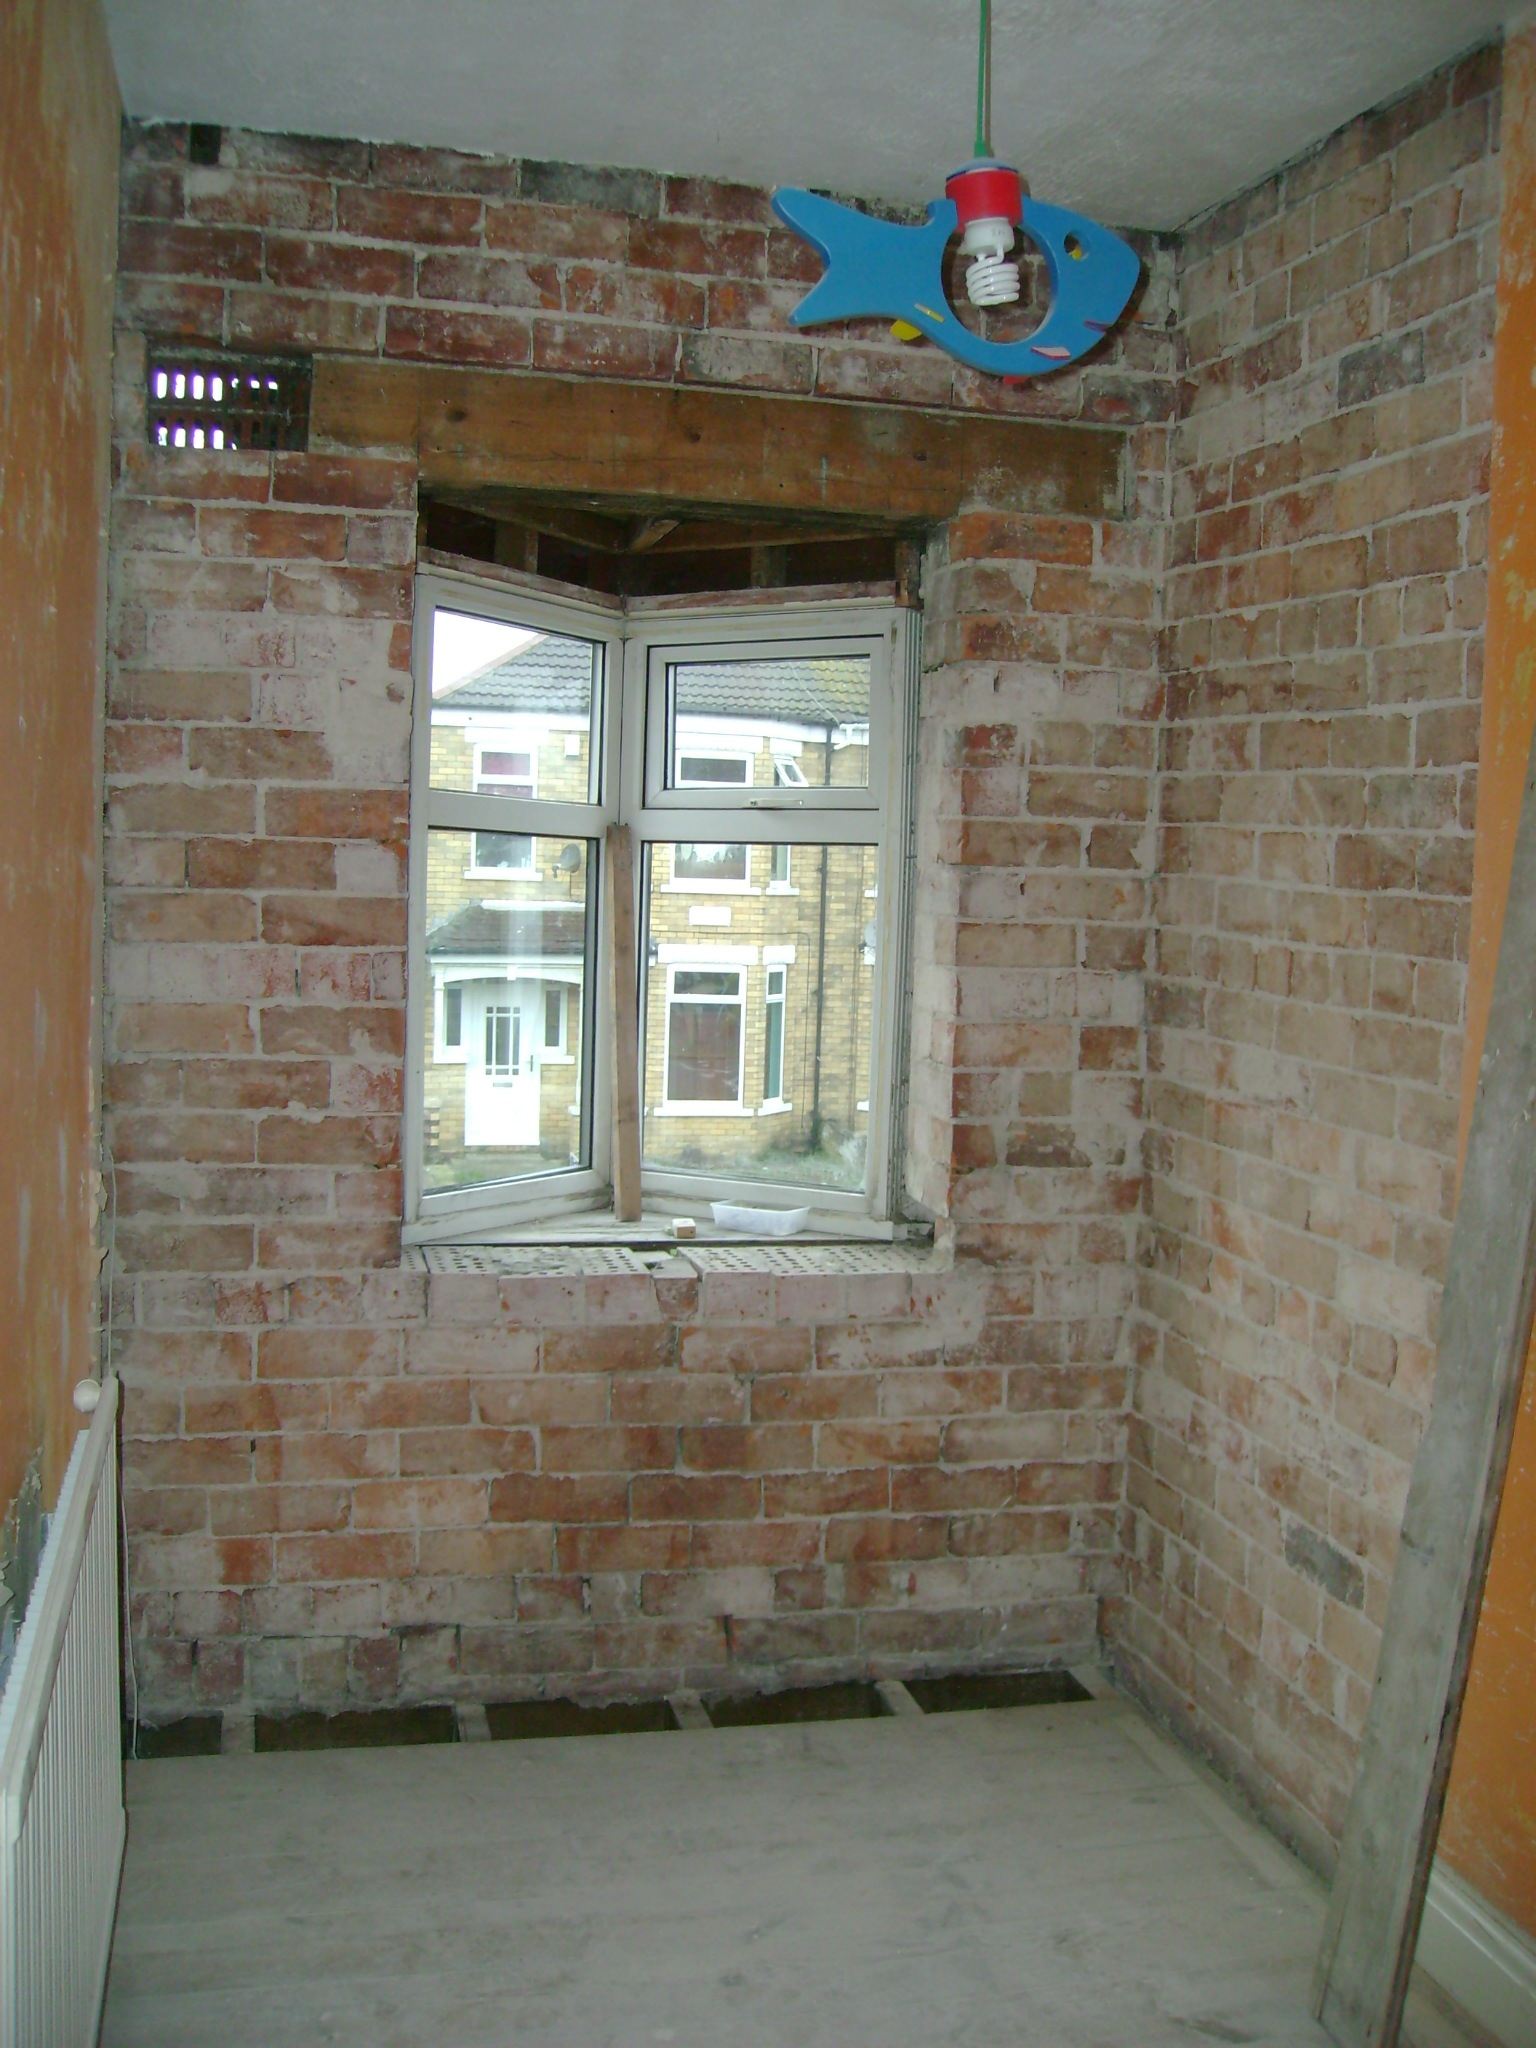
Where a solid internal wall meets the external wall there’ll be a gap in the IWI, so heat would be conducted from the room straight to the outside. It’s therefore important to return the insulation a meter along internal walls. Where possible I insulated as far as a chimney breast or door frame for neatness. In only one room is this slightly odd ‘step’ in the wall surface obvious (see the penultimate picture below).
VAT note
If you have insulation installed by a big company you pay 5% VAT. But if you buy insulation to install yourself, like I did here, you pay standard rate – currently 20%. Go figure.
How to
I knocked off the thick old plaster taking it back to the brickwork.
A lime render base should be applied to give a smooth sealed surface. However, I found this step an awful lot of unpleasant work and not strictly necessary, so I didn’t bother after the first room.

I taped up to the window frames to improve air tightness, using plastic sheeting in places.
The woodfibre boards are placed against the wall and holes drilled through into the bricks. Insulated fixings, a bit like big rawl plugs, are popped into each hole and hammered home to fix the board to the wall. There are tongues and grooves on the board edges, and the next board is slotted along side, working from left to right, and then in rows from floor to ceiling; the boards are cut to shape around windows.


As this window is quite narrow I tapered the insulation on either side, which gives a pleasing visual effect.
The (internal) wall on the right is solid, so the insulation is returned along it a meter. Otherwise it would conduct heat out of the front external wall. I used 40mm boards for that.
The insulation can’t bear heavy loads, so I planned and noted the location of curtain and picture rails. I fitted solid wood sections in between the insulation boards into which I could firmly screw when the rails were replaced.

The one coat lime plaster is applied directly to the boards. But not by me. By someone skilled in plastering.
The window reveals are now a 100mm deeper than before, so new window sills are fitted. After a couple of weeks the walls are sealed and painted, and finally the skirting boards replaced.

One thought on “Internal Wall Insulation”
Comments are closed.