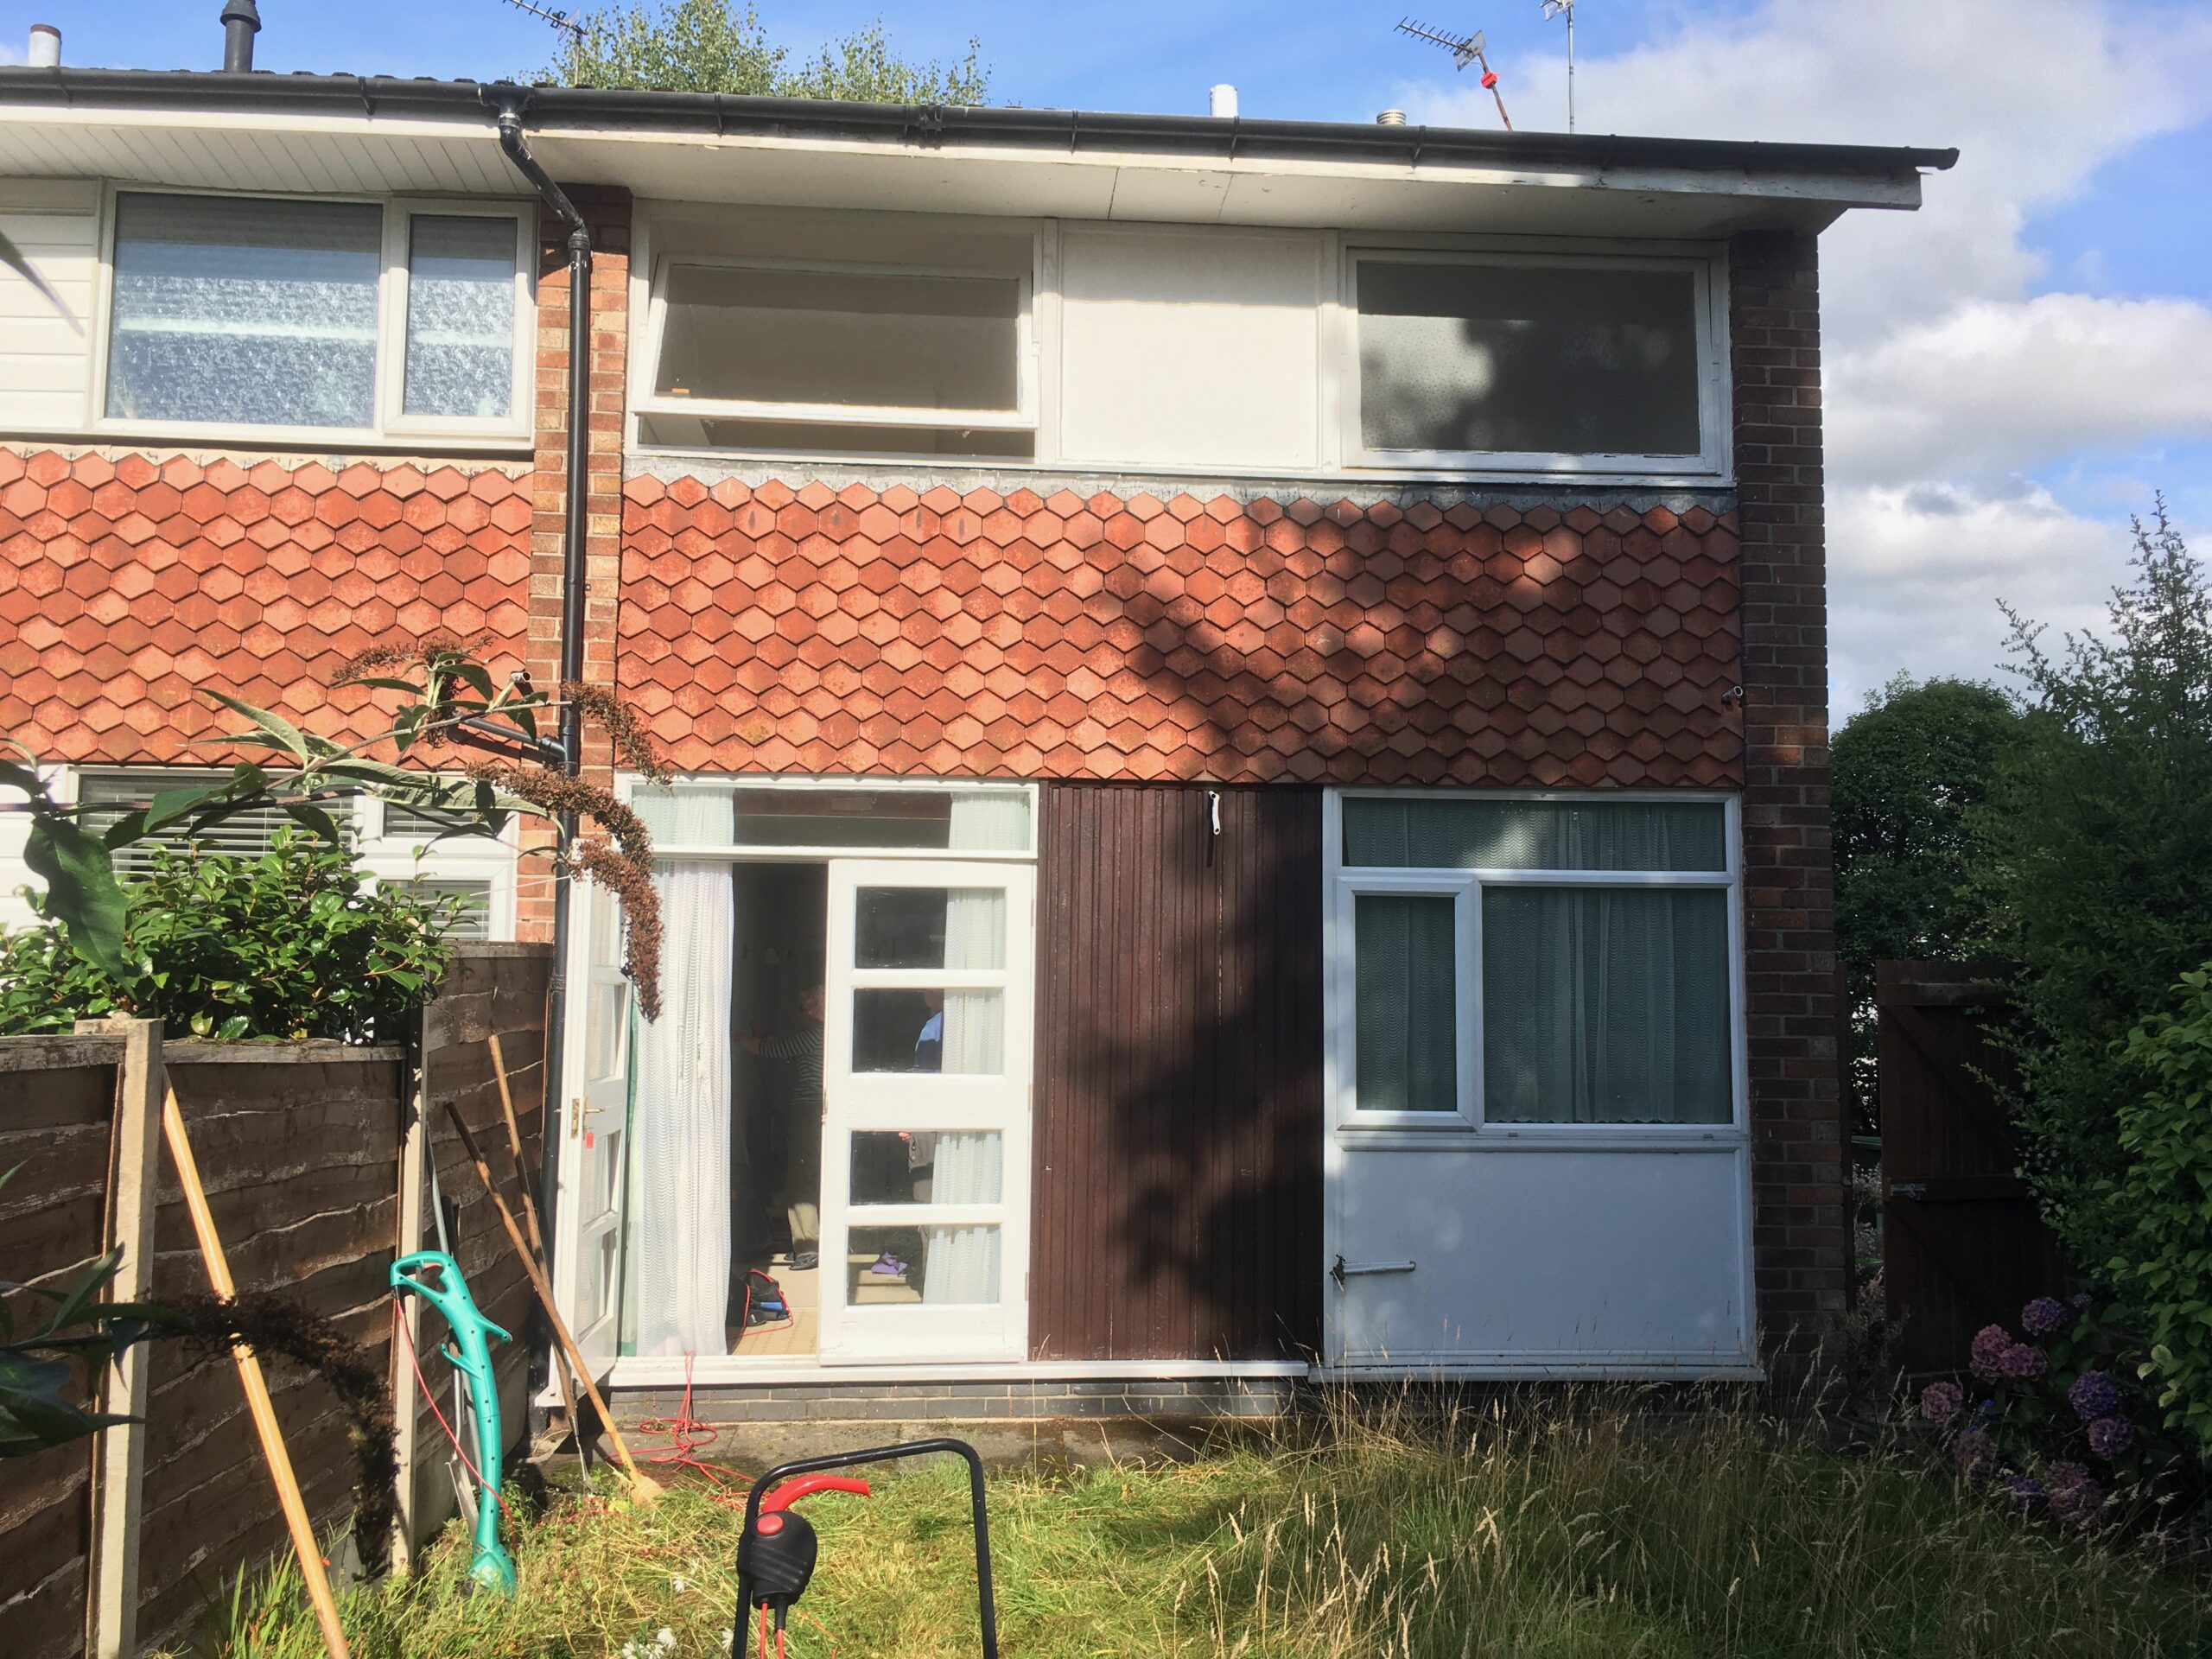
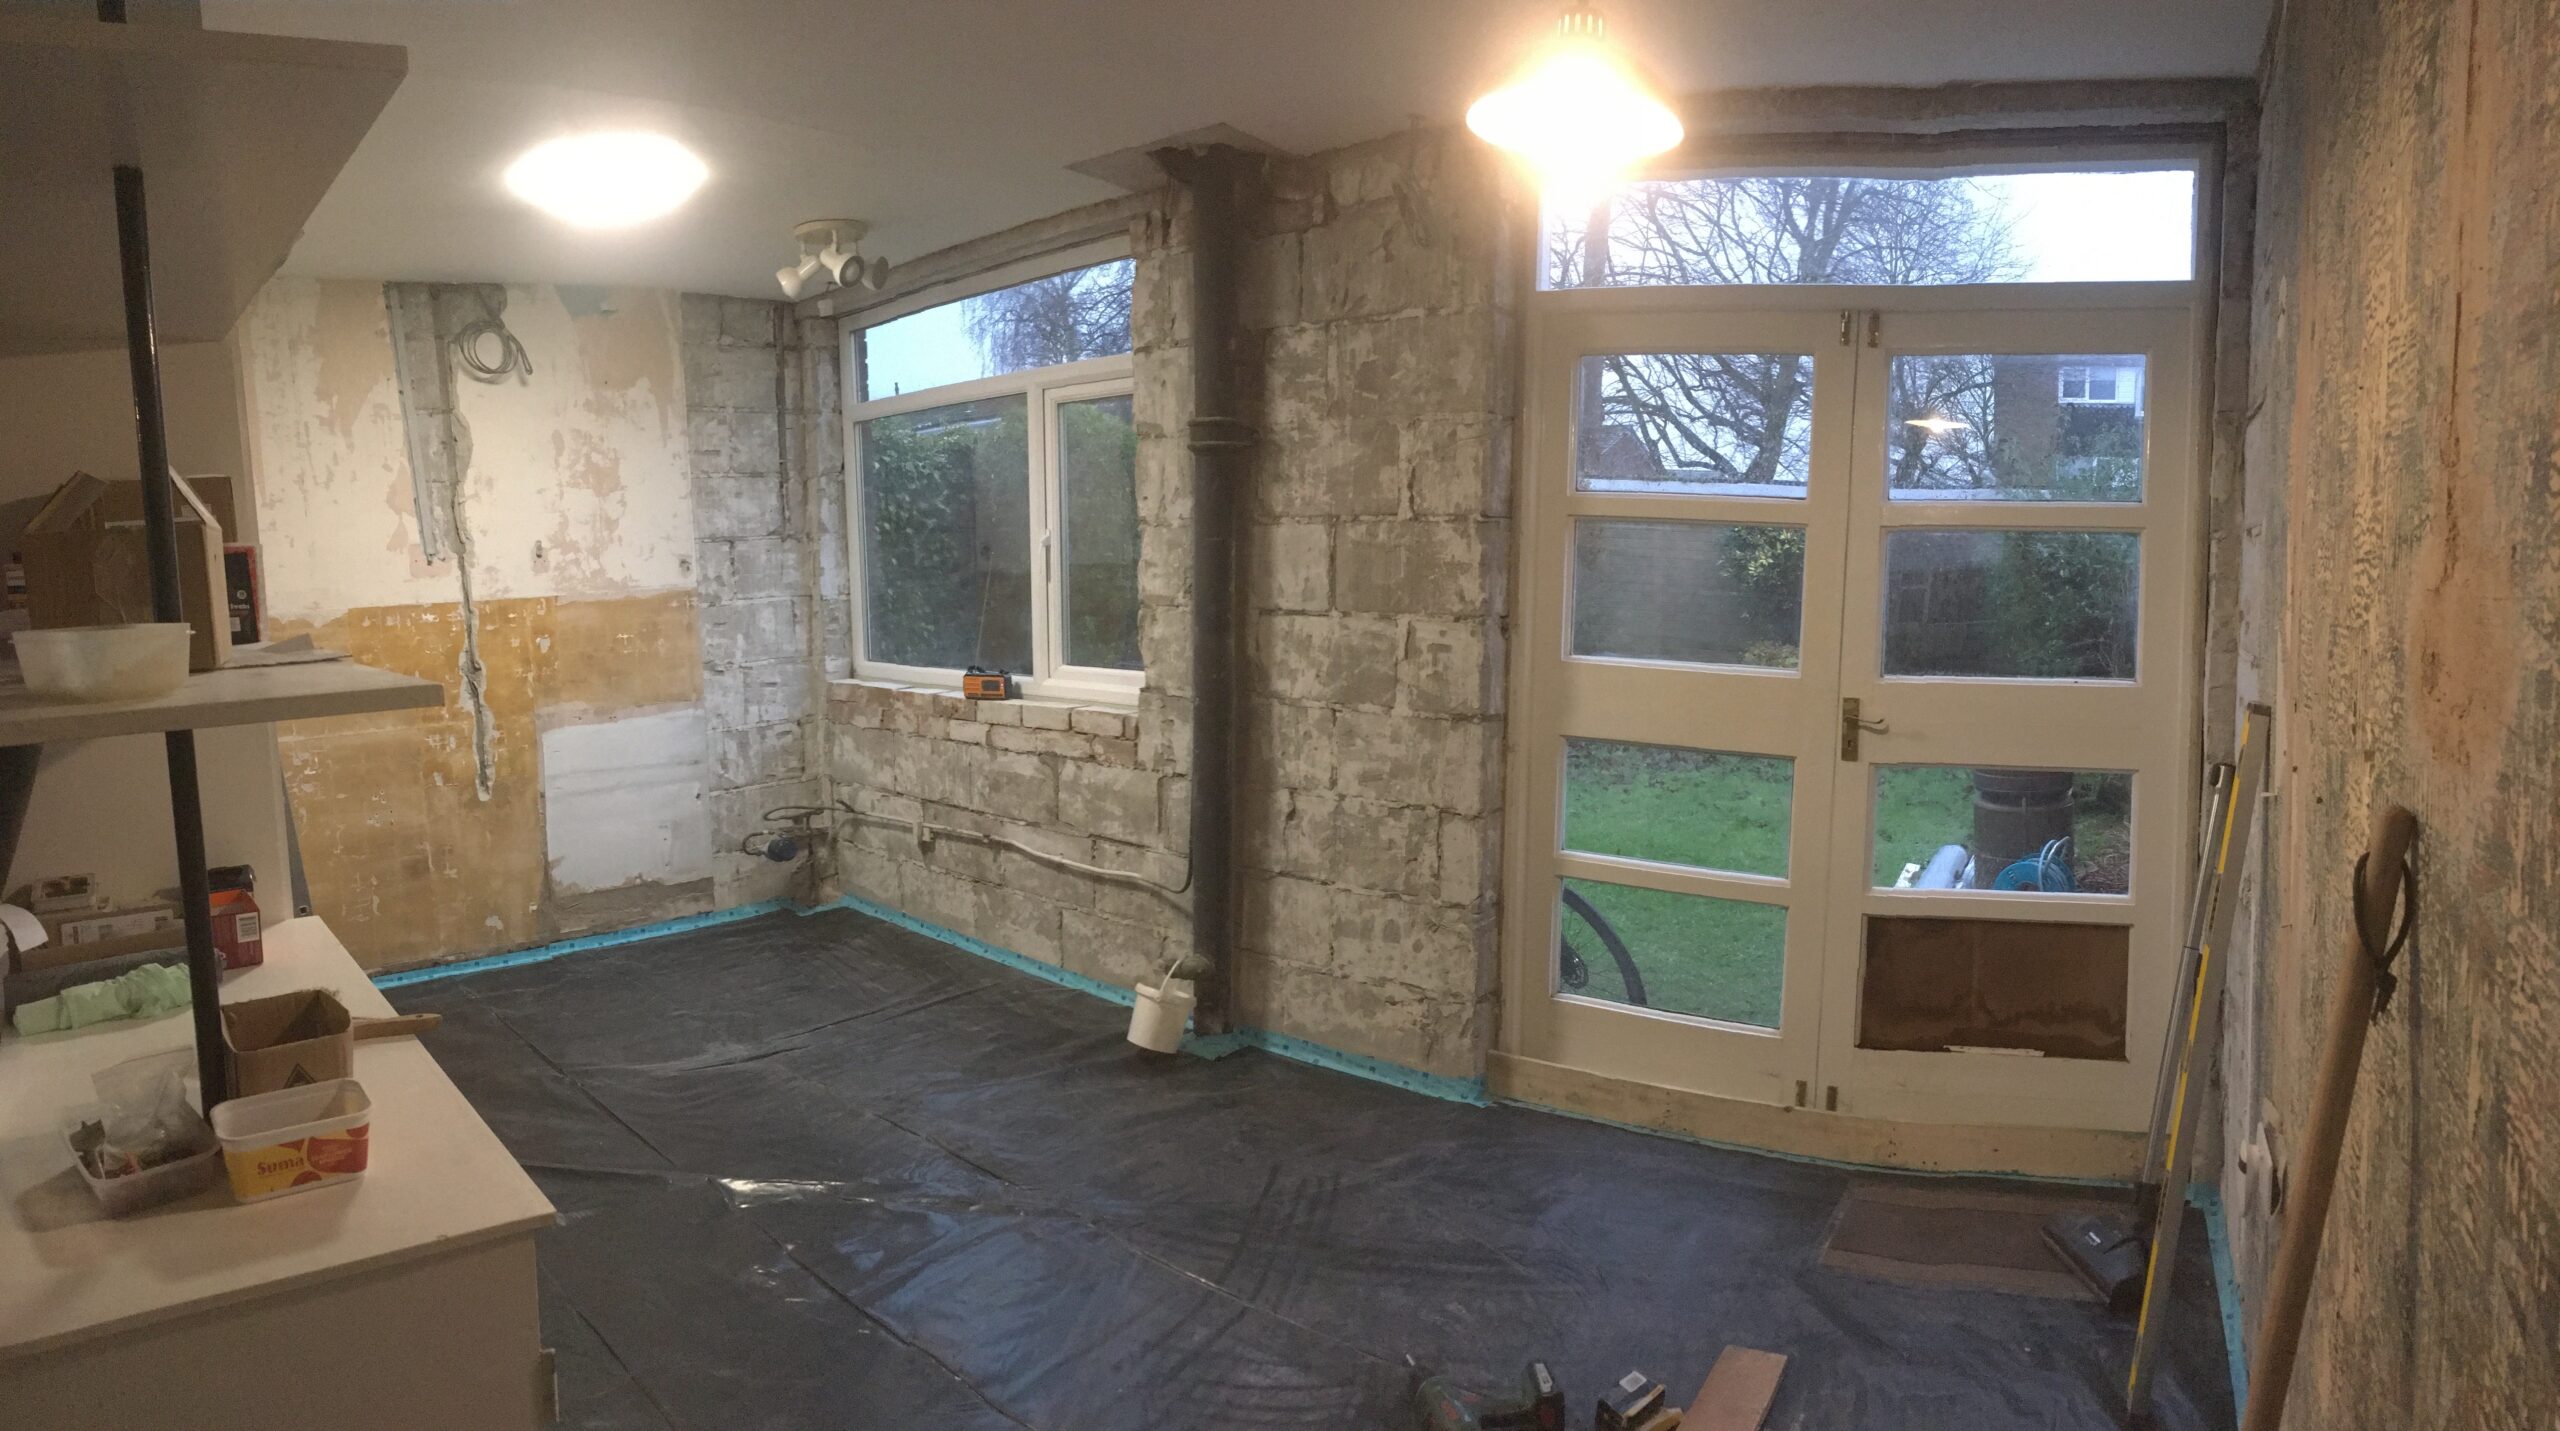
The huge windows of our ‘panorama’ house are great.
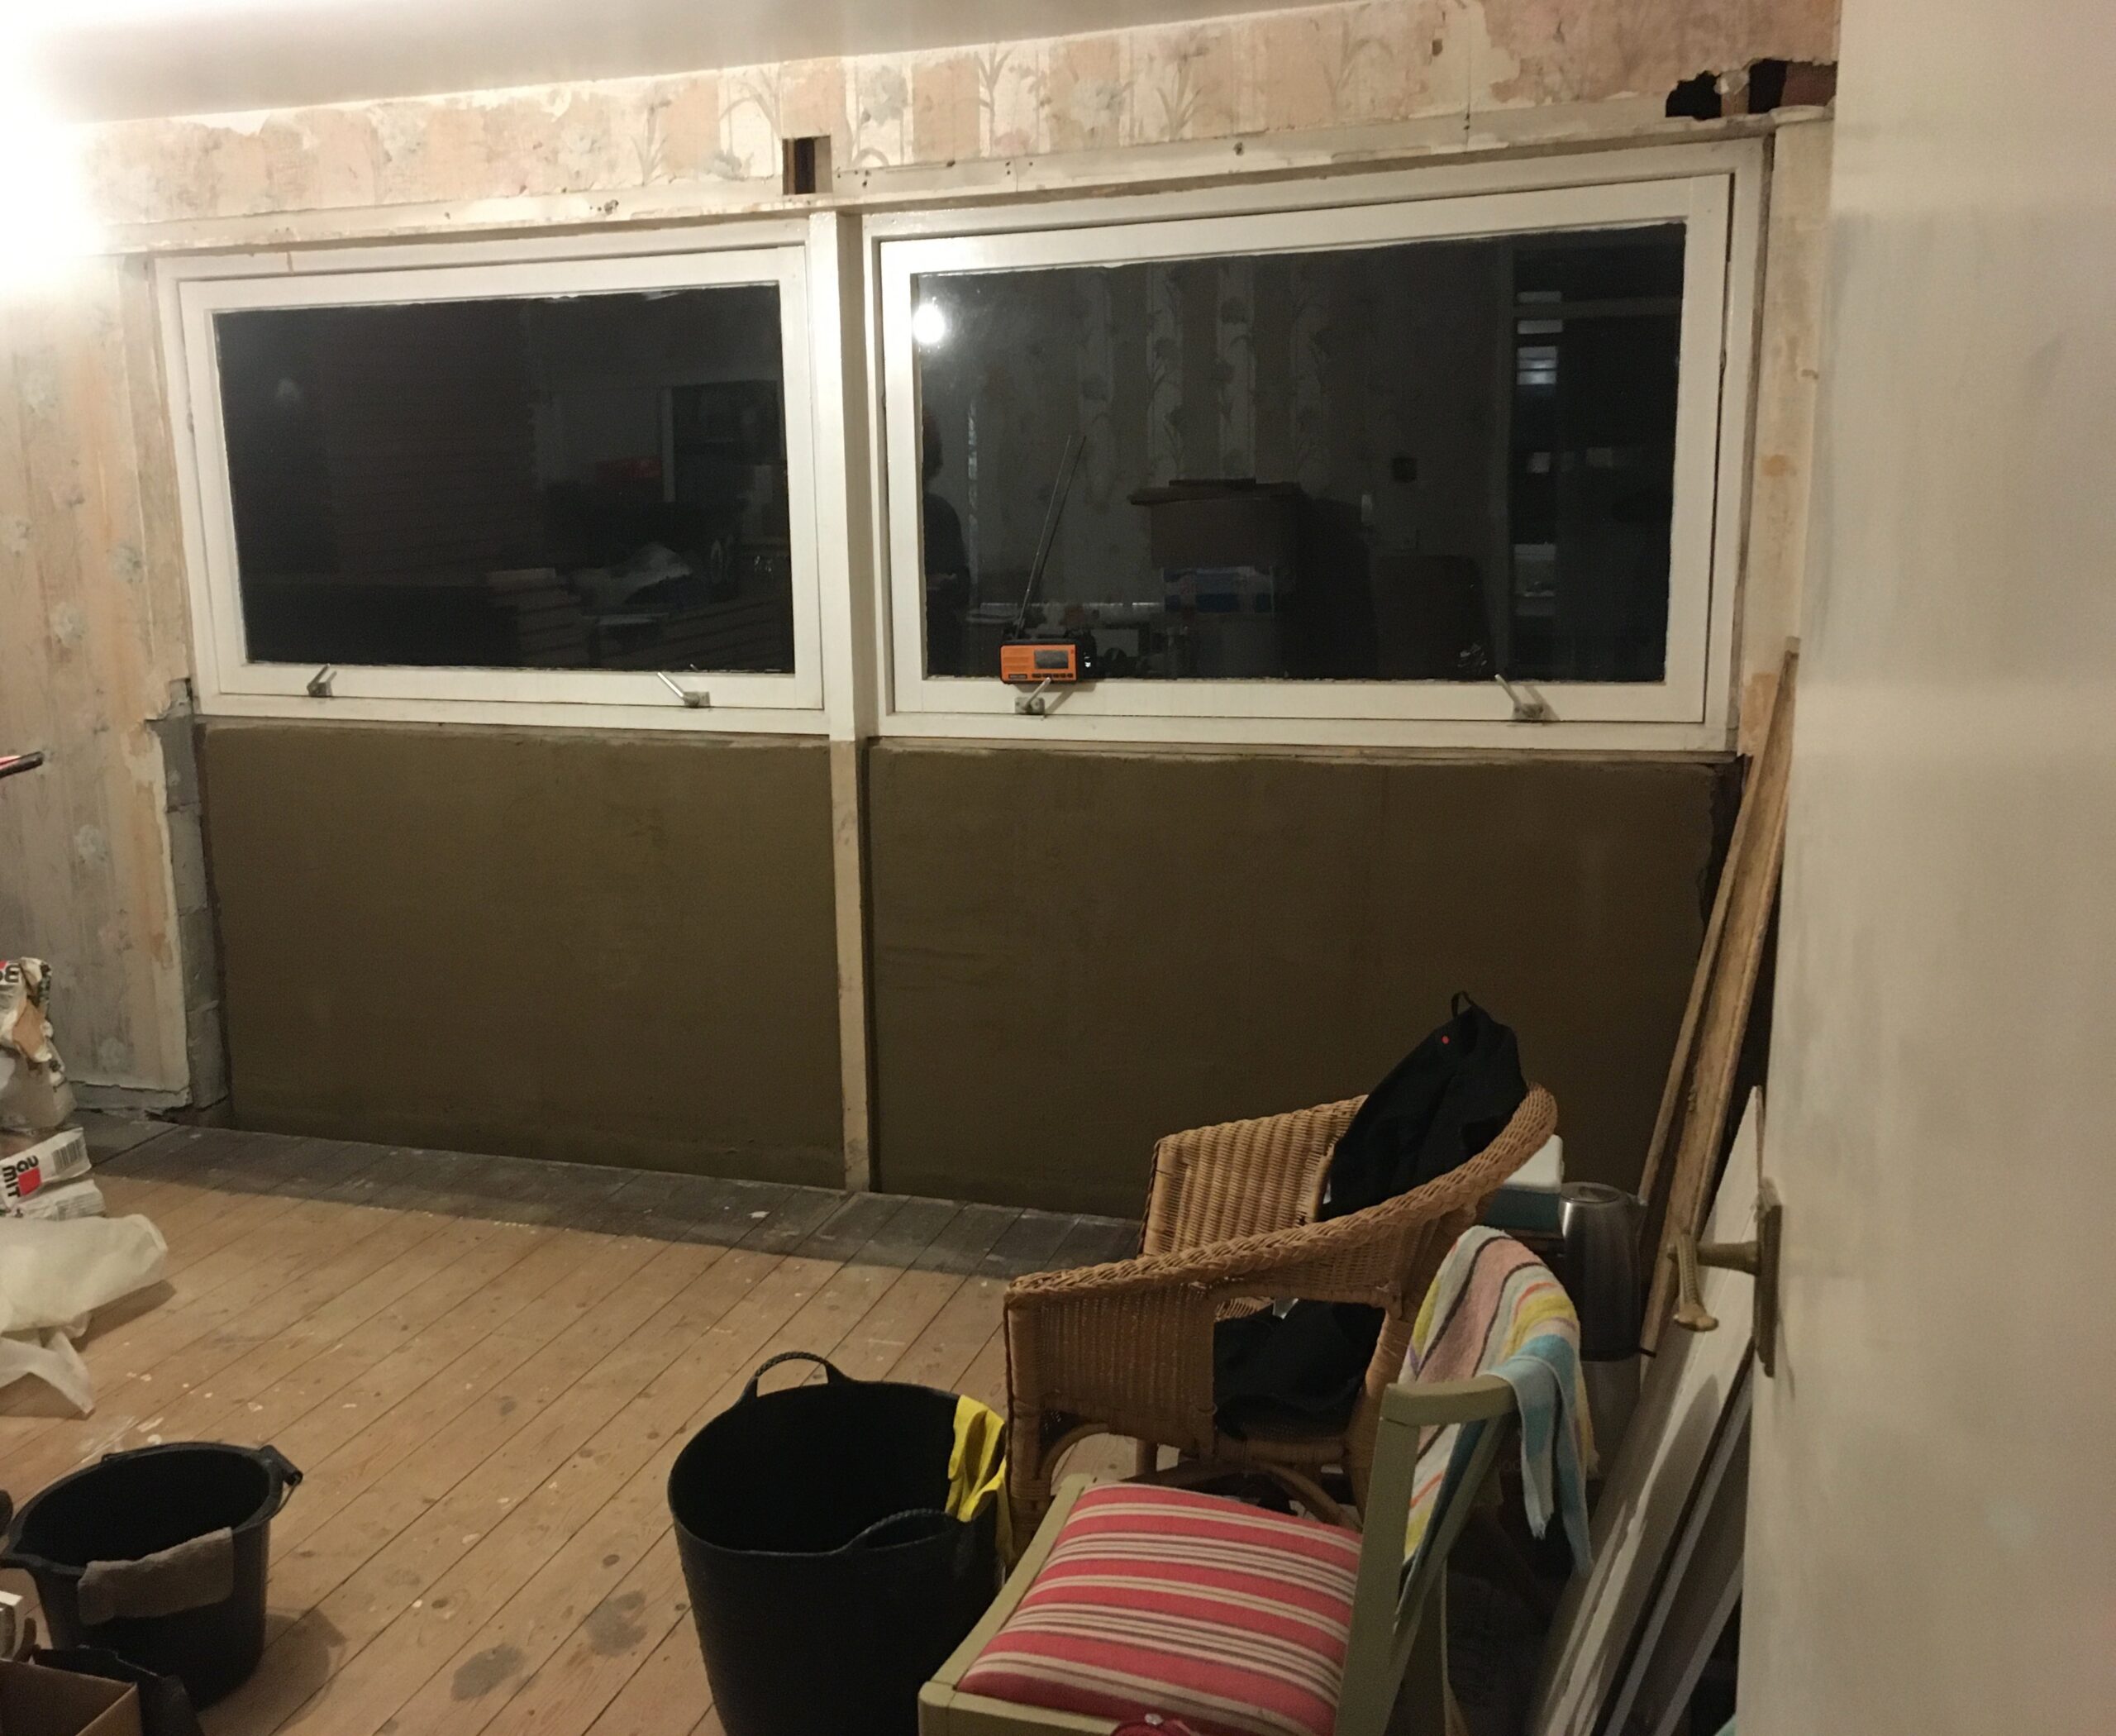
But we’re not sure that we really need such a big window in the bathroom. Given you can’t even see through it. We’d rather have a shower. But the window is in the way. So we decided to halve the size of the window.
Before
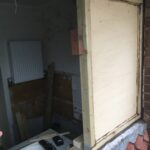
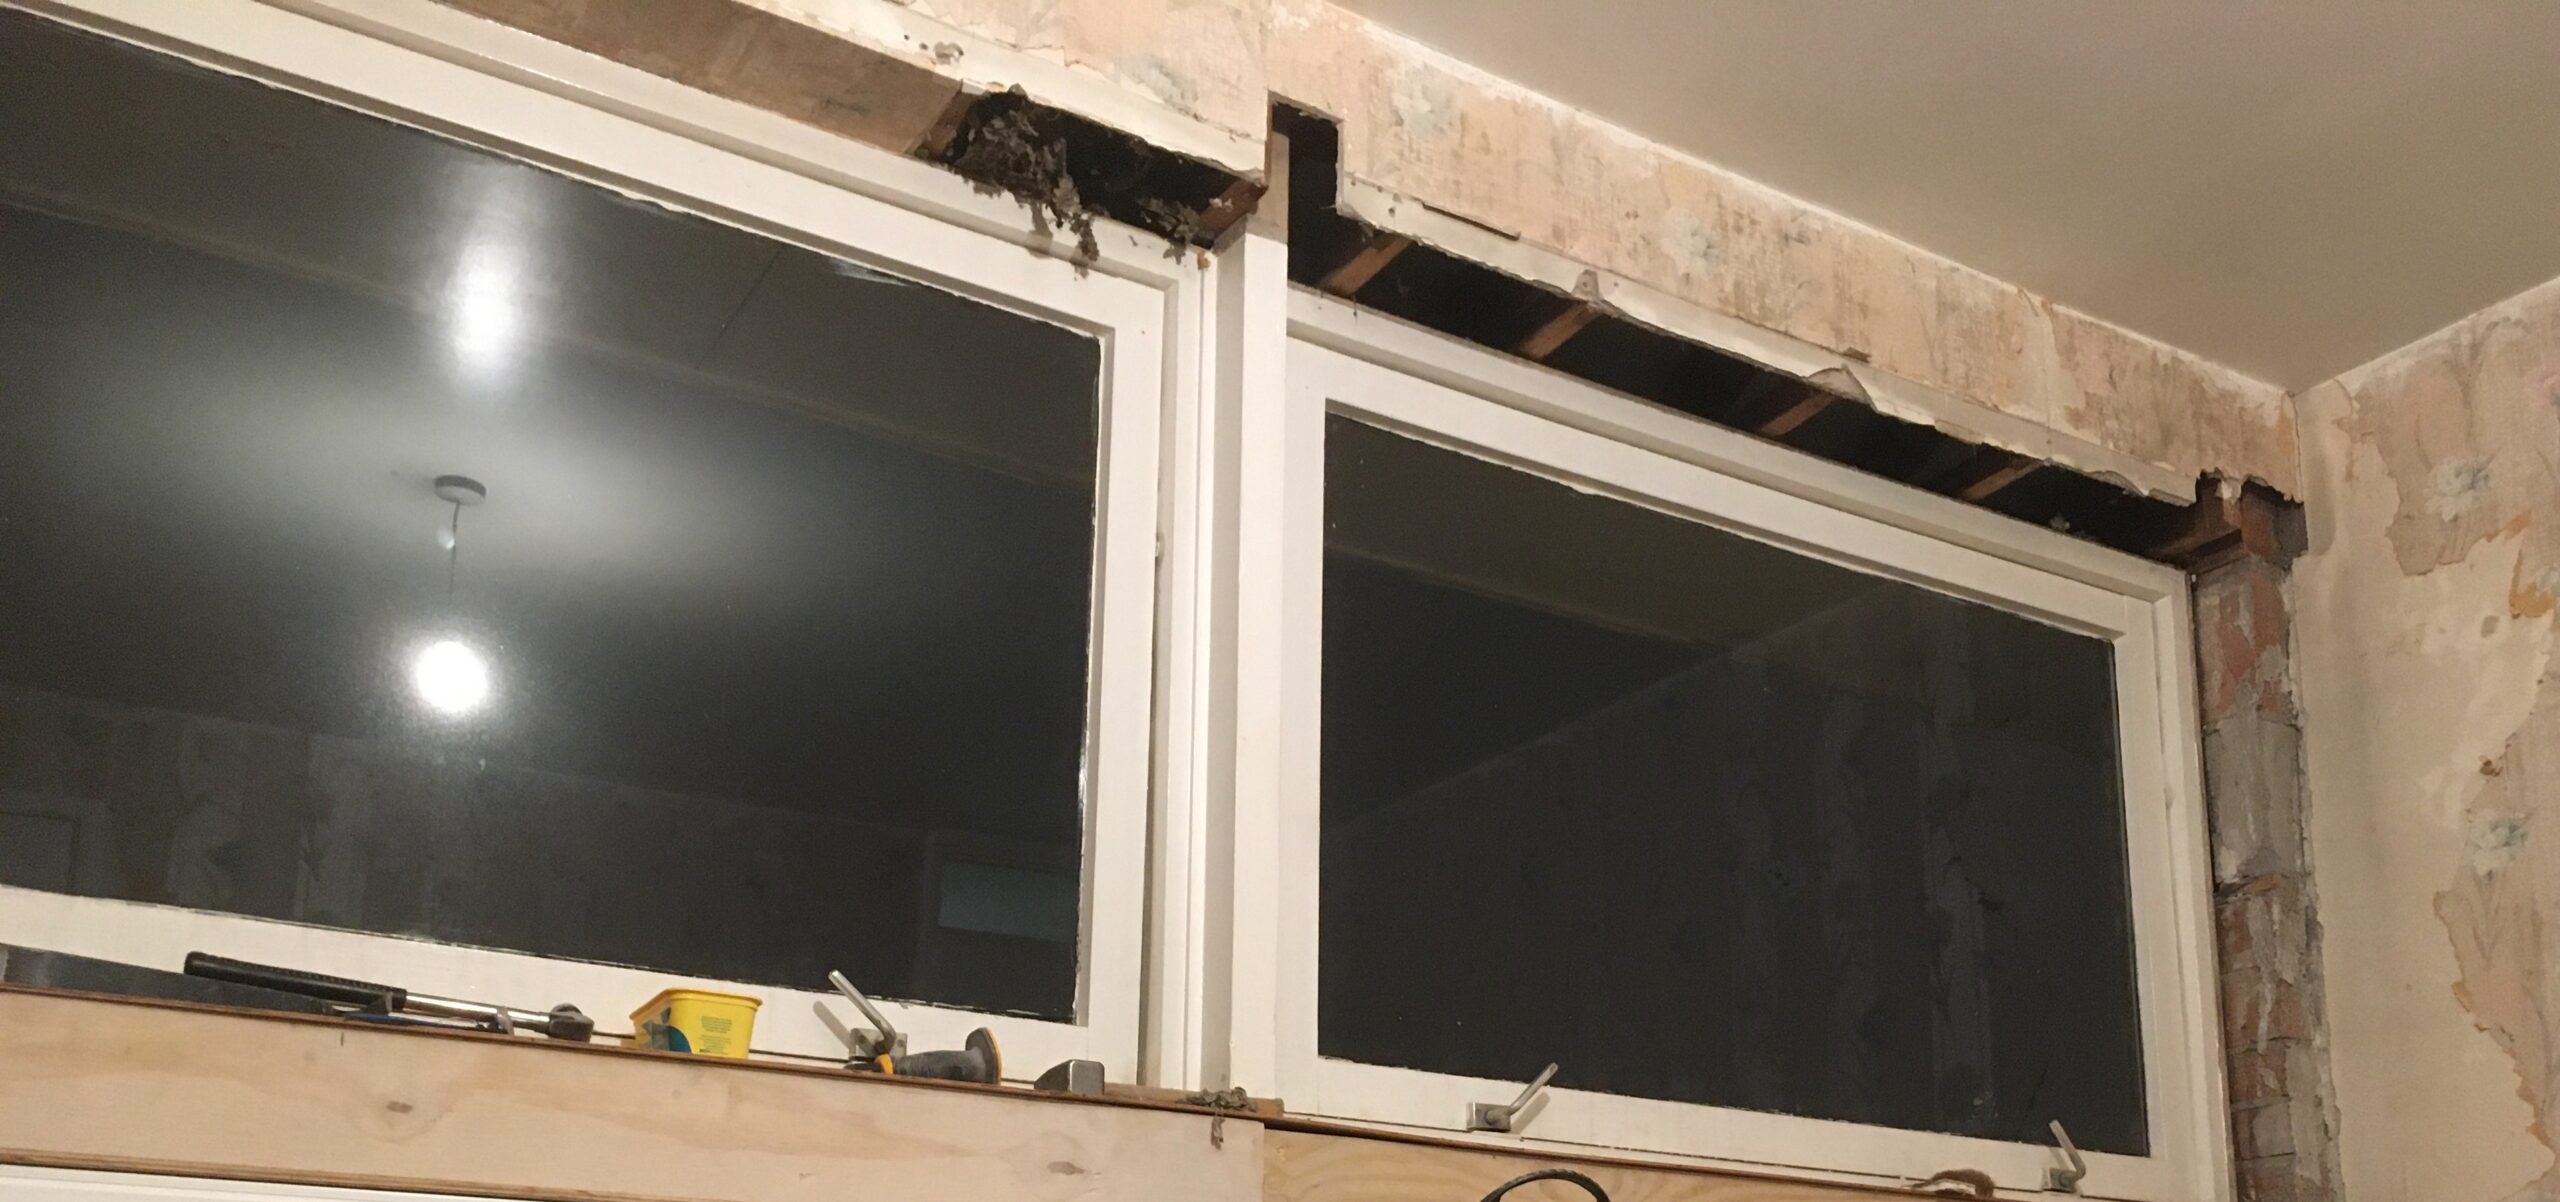
During
Suddenly going to the toilet doesn’t seem as private as it used to.
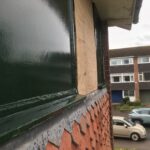
External frame
Marine plywood panel. Aesthetically similar to the existing panel to left of the window. But not asbestos.
Wall membrane
Wood fibre sarking board
How am I supposed to paint in this weather? What do you mean, “it’s winter in north west England, what did you expect?”
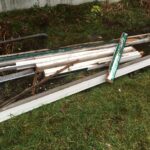
Old window on the ground
Old sill, on the old frame. Heavy wood that.
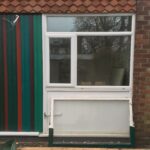
New sill (far). In the foreground is an original panel (asbestos board) & sill. Not a bad match.
The white material is a wall membrane, a windproof, vapour permeable layer, in this case Ampatop Aero.
The flashing (the lead strip under the frame) was attached to the underside of the old window frame, so was damaged. But it’s a nice piece of the original house, with the bottom edge cut to a pattern to match the tiles. We noticed the flats opposite have a similar but different pattern, matching their tiles! So this was repaired, and the window reveals plastered, in preparation for the new frame.
The old window sill was in a poor state, so I took it to the local community wood recycling project who copied it to make a new one from an old piece of door frame – good job!
After
Can’t wait for the super-duper new windows at the end of March!
As part of this government funded home energy improvement scheme, they do air tightness tests, before and after. I think it’s to make sure the extra loft insulation doesn’t suffocate the house. I did point out that the house is currently a building site, with holes in wall surfaces, daylight visible through gaps around the old windows as we prepare to remove them and insulate the window reveals, and an open chimney flue following removal of the gas fire. So perhaps the test would not be very informative right now.
But it’s a compulsory part of the scheme, so has to be done.
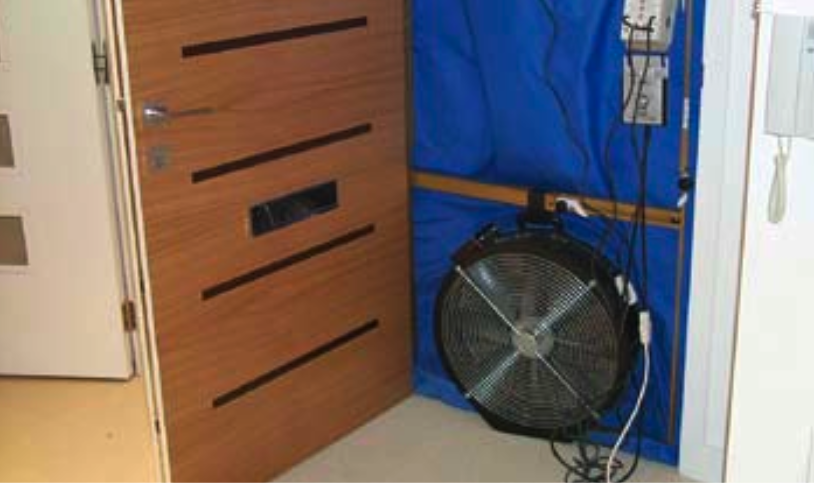
Air Tightness can be measured by putting a big fan in the door, and inflating the house (or deflating). You then measure how fast the air leaks out (or in) and can search for leaks:
An example; not our house. Photo: Energy Saving Trust
But this test was was new to me, a simpler way of getting a quick one-off measurement – a Pulse Test.
So those big air cannon blaster things, as they’re almost certainly not called, produce sudden blasts of air. The equipment then measures how fast the air pressure returns to normal. Like this:
It would be interesting to know how much this improves after completion of the project. Although I’m not sure I’m interested enough to shell out £150 for another test to find out.
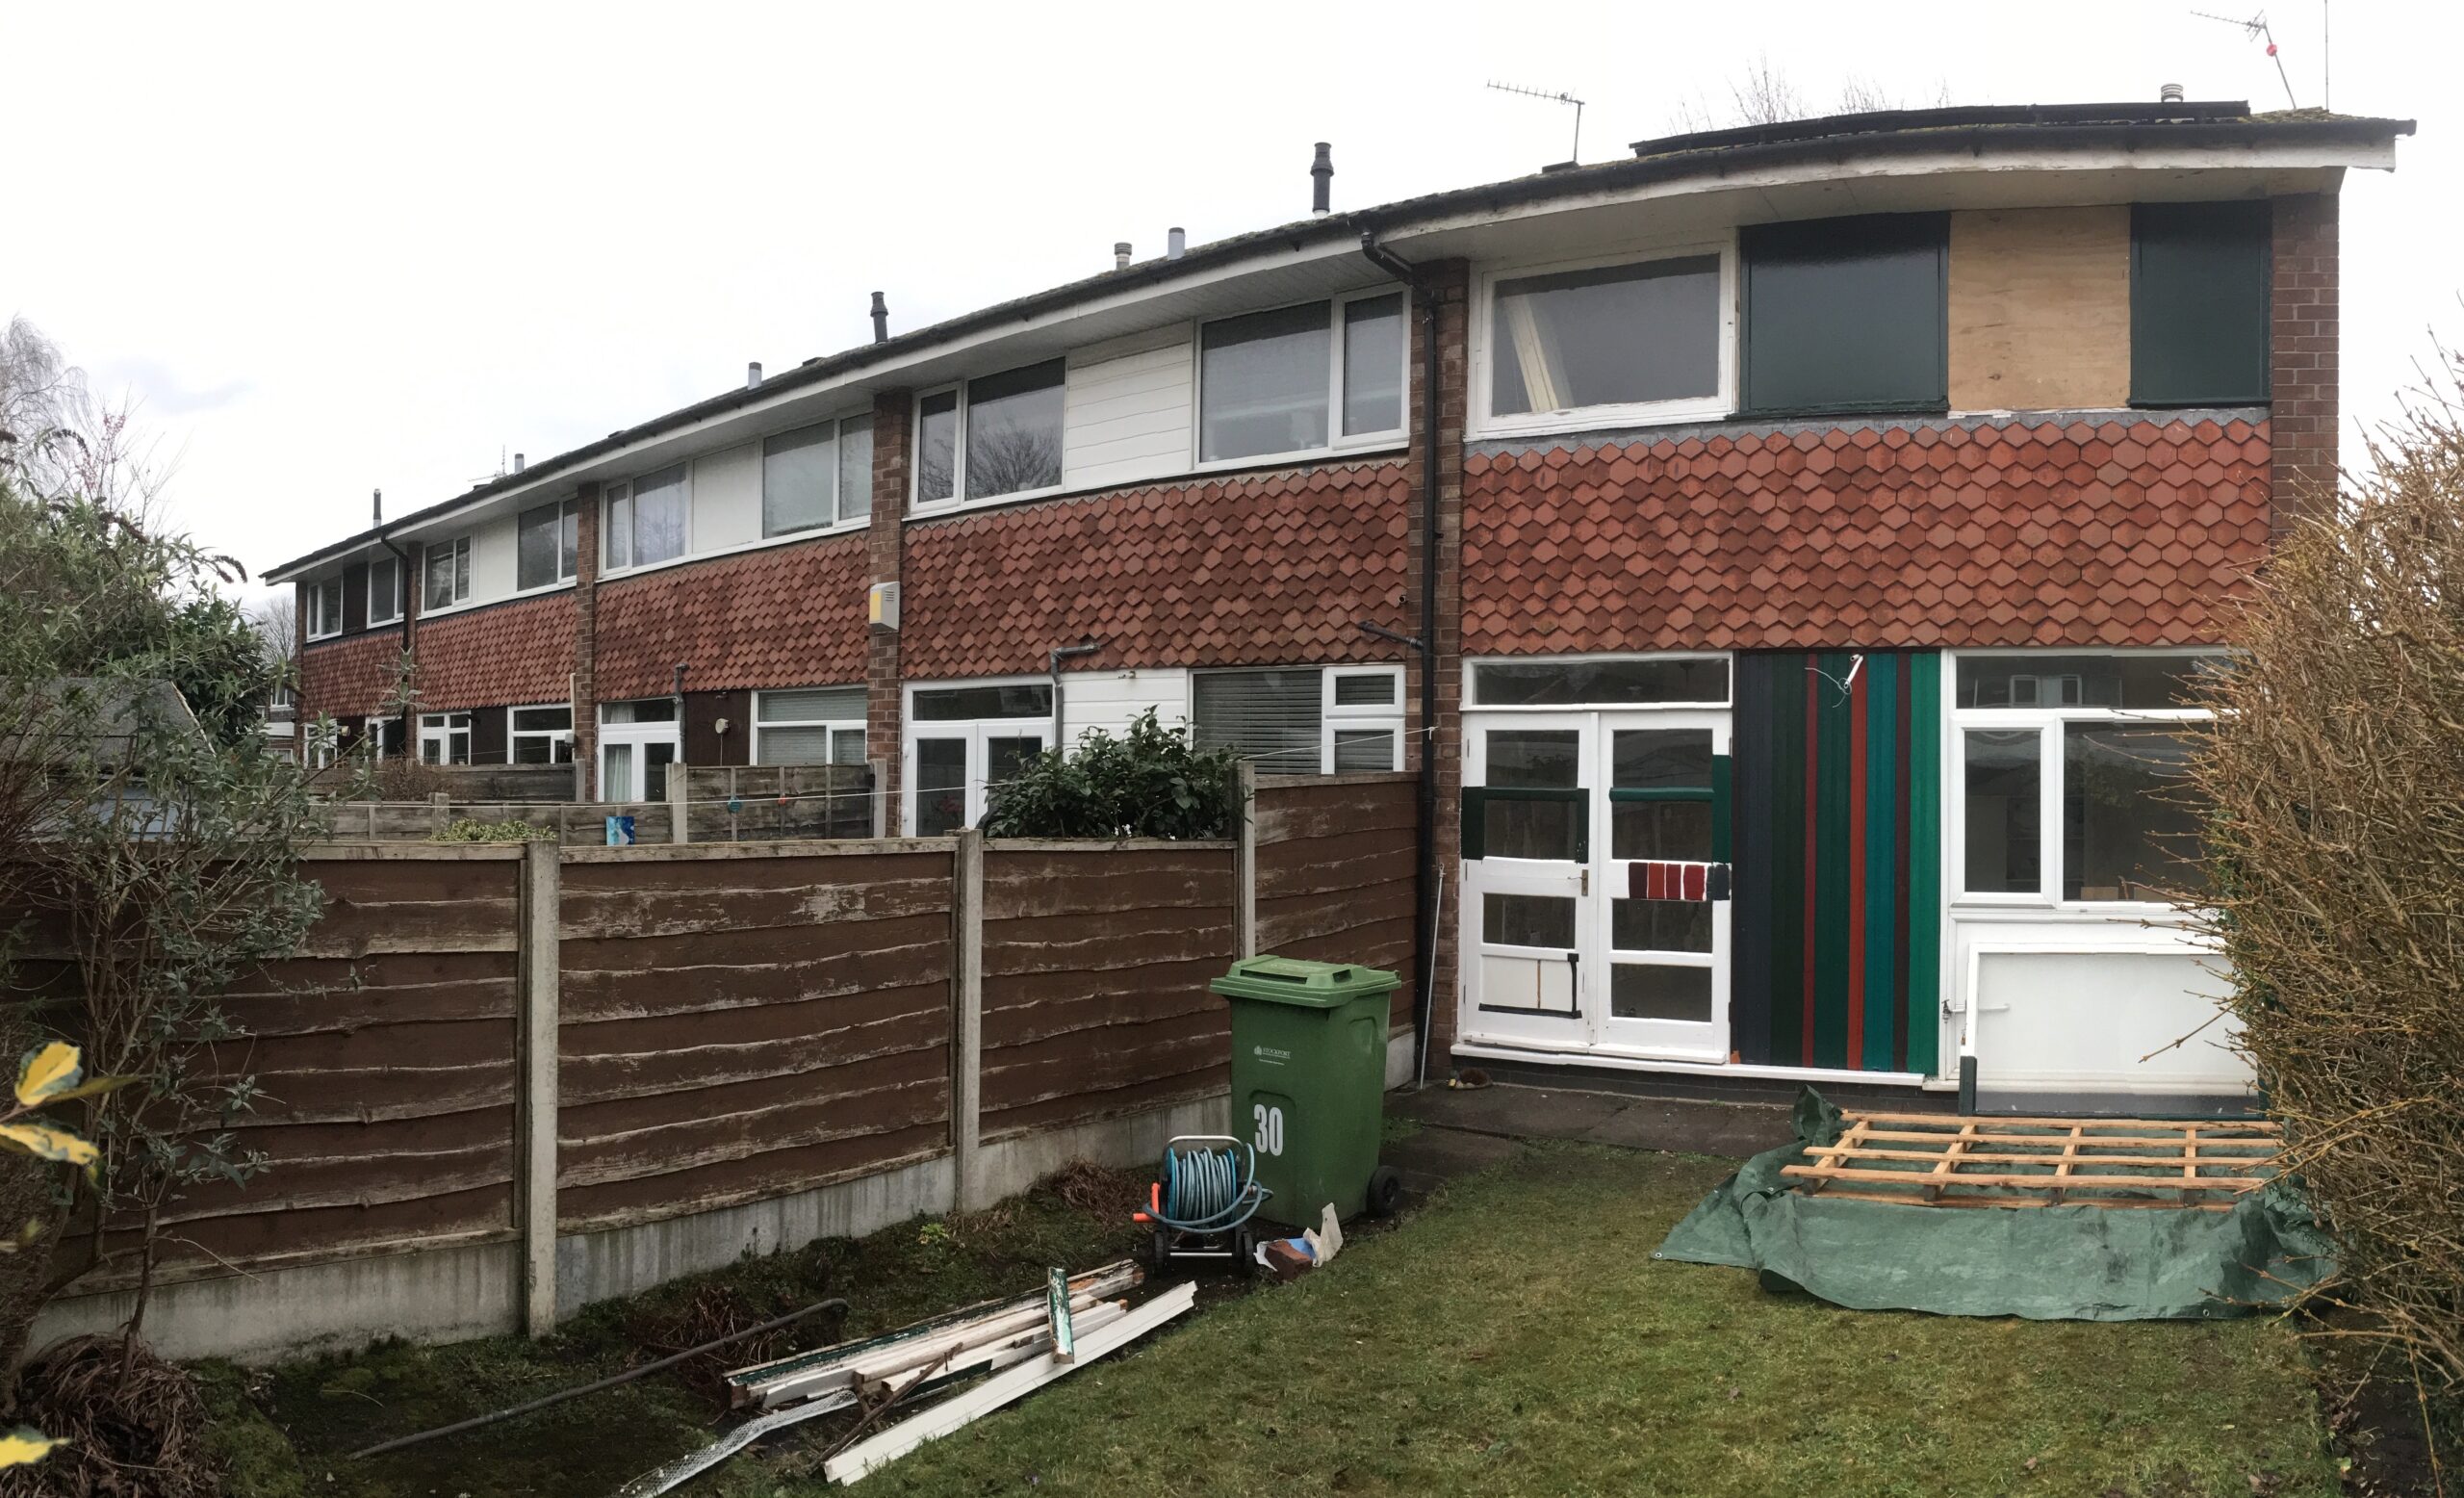
Solar PV on the roof: front and rear faces – which face east and west, so will generate electricity in the morning and afternoon
positive air ventilation system to the landing
Amazingly, all through a council scheme. For free. Mainly because the house had no central heating and such a poor environmental performance rating + health issues which would be exasperated by a cold, damp house.
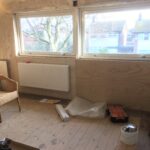
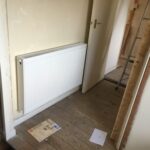
In the front bedroom I will insulate the front wall soon. Soon-ish. In a few months, after we’ve moved in.
But the radiator was being installed now.
So I made a temporary hollow wall from plywood, for the radiator now, in the place where the insulation will be when it is done. So don’t have to move the pipes later.
This scheme includes radiators, but not underfloor heating – but as we had already installed underfloor heating downstairs they were able to connect straight to it.
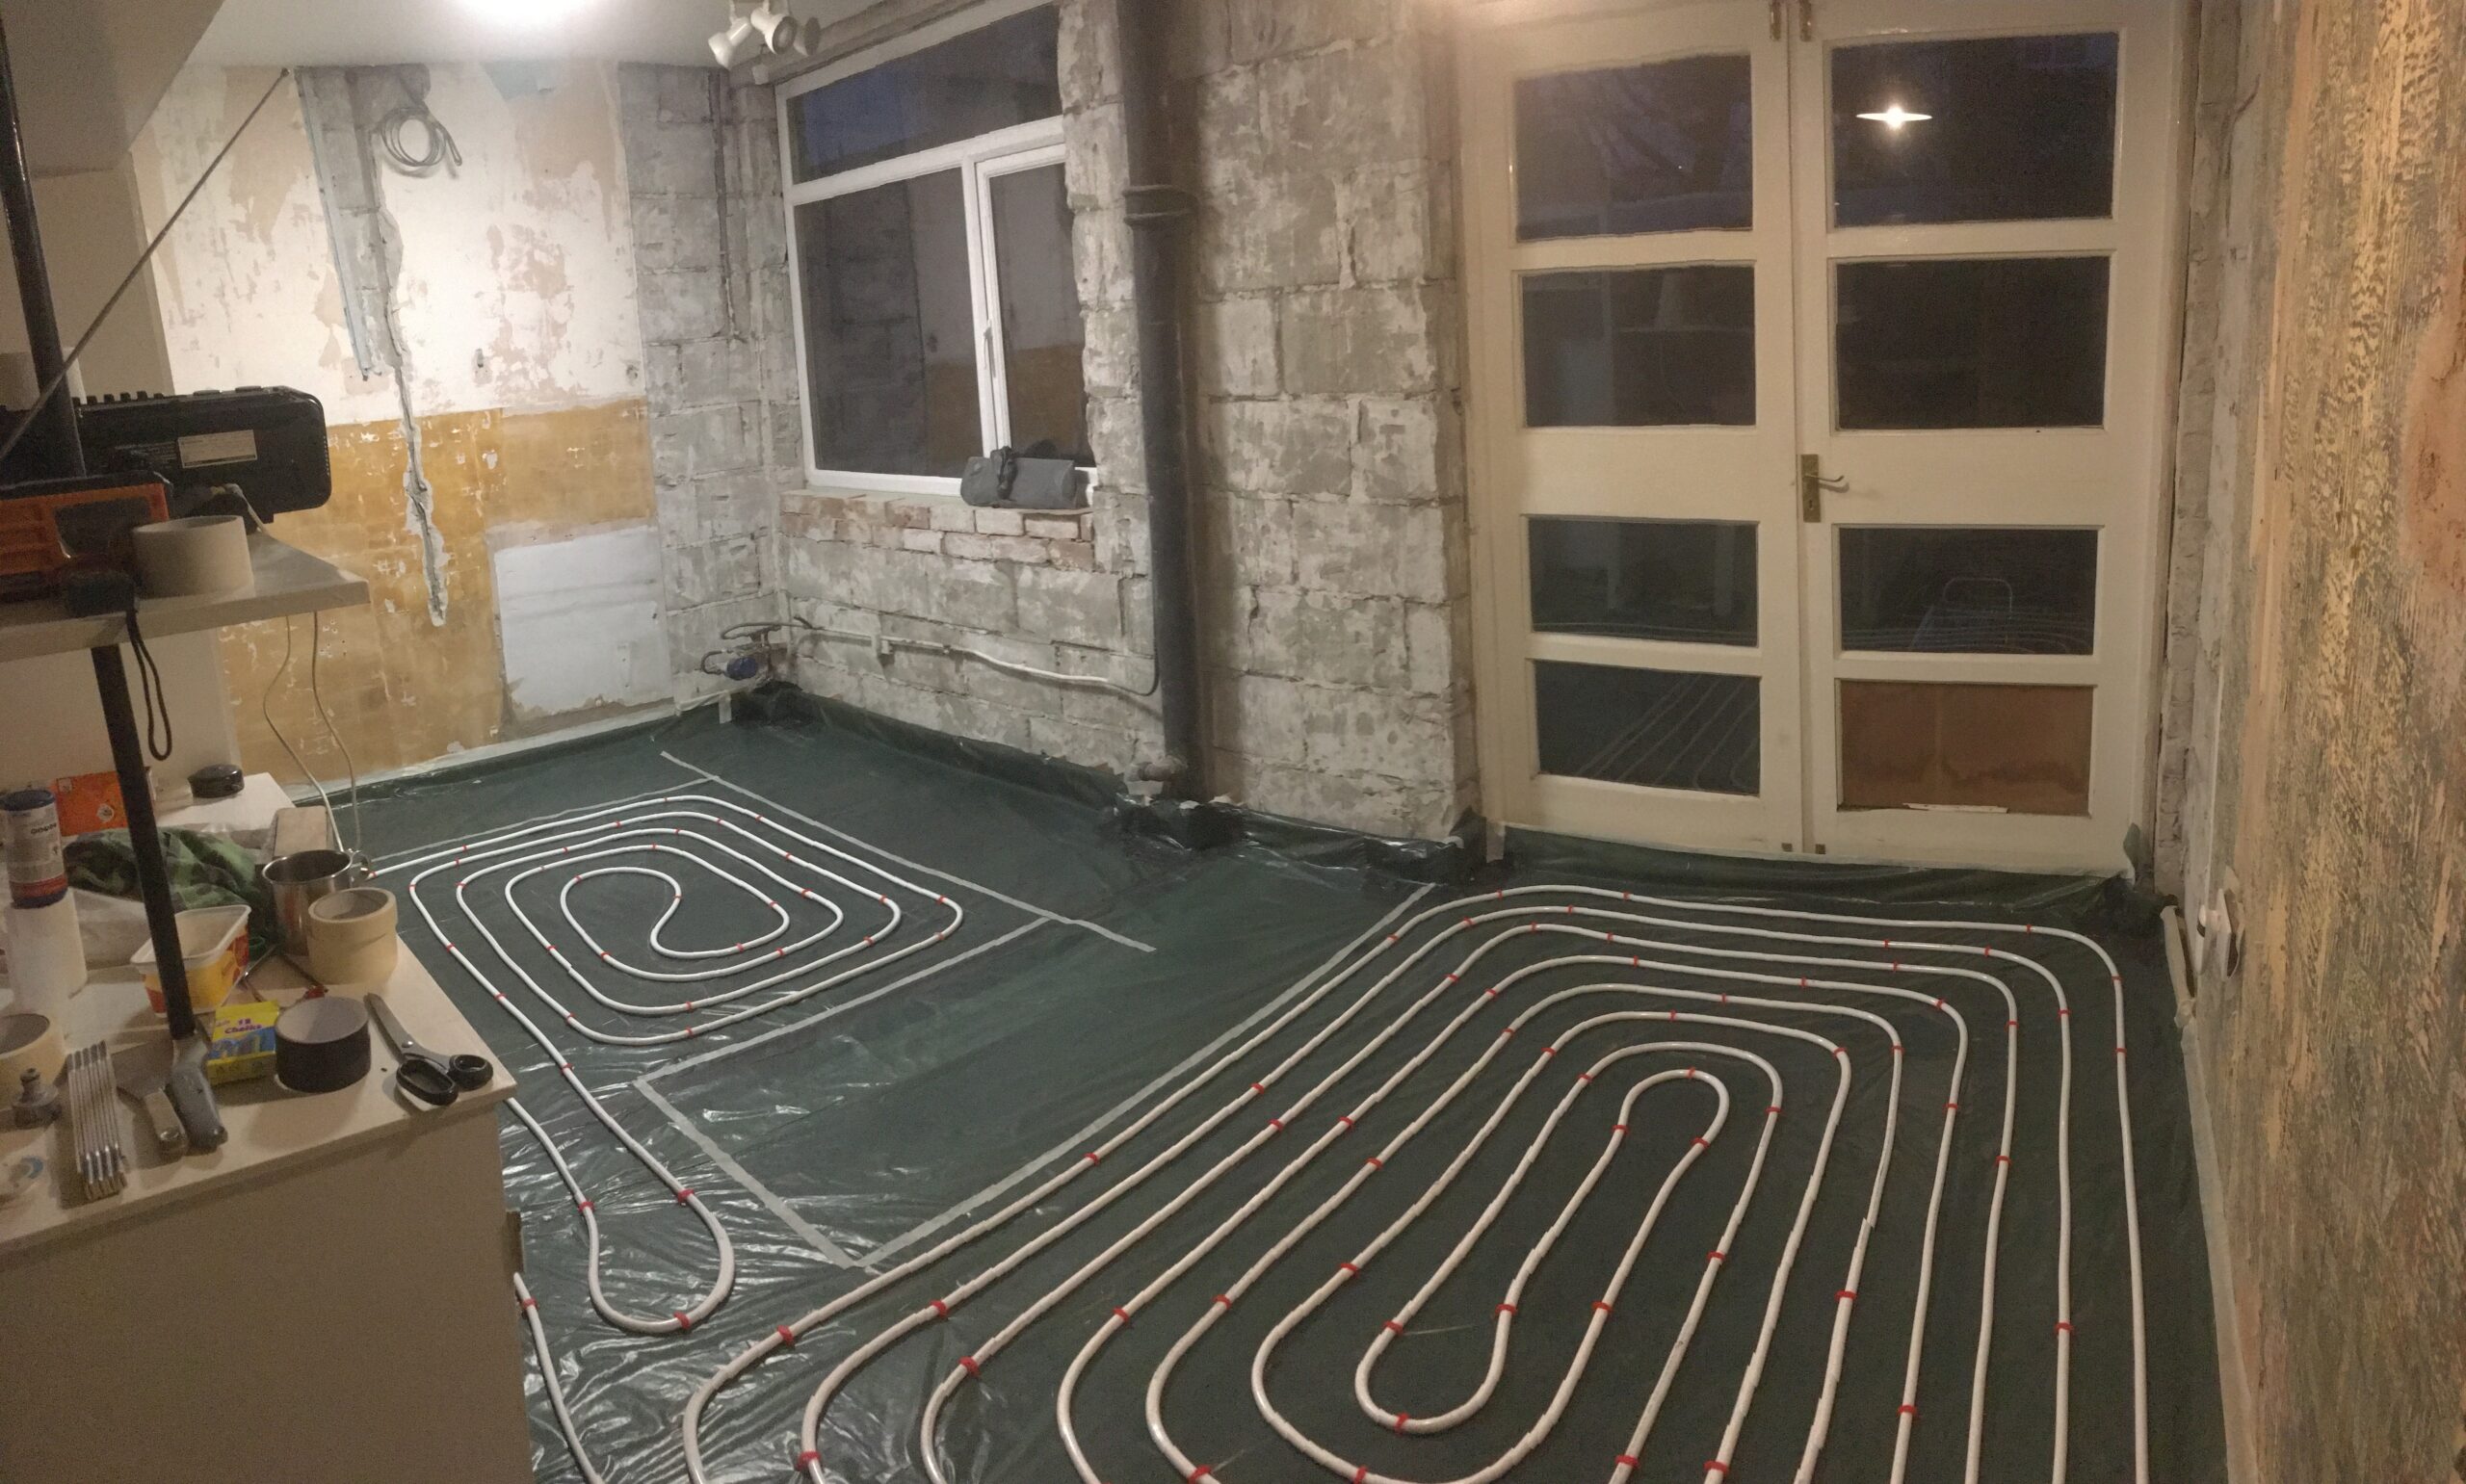
I am delighted (and relieved) to report that the underfloor heating that we installed over Christmas, with no previous experience … works!
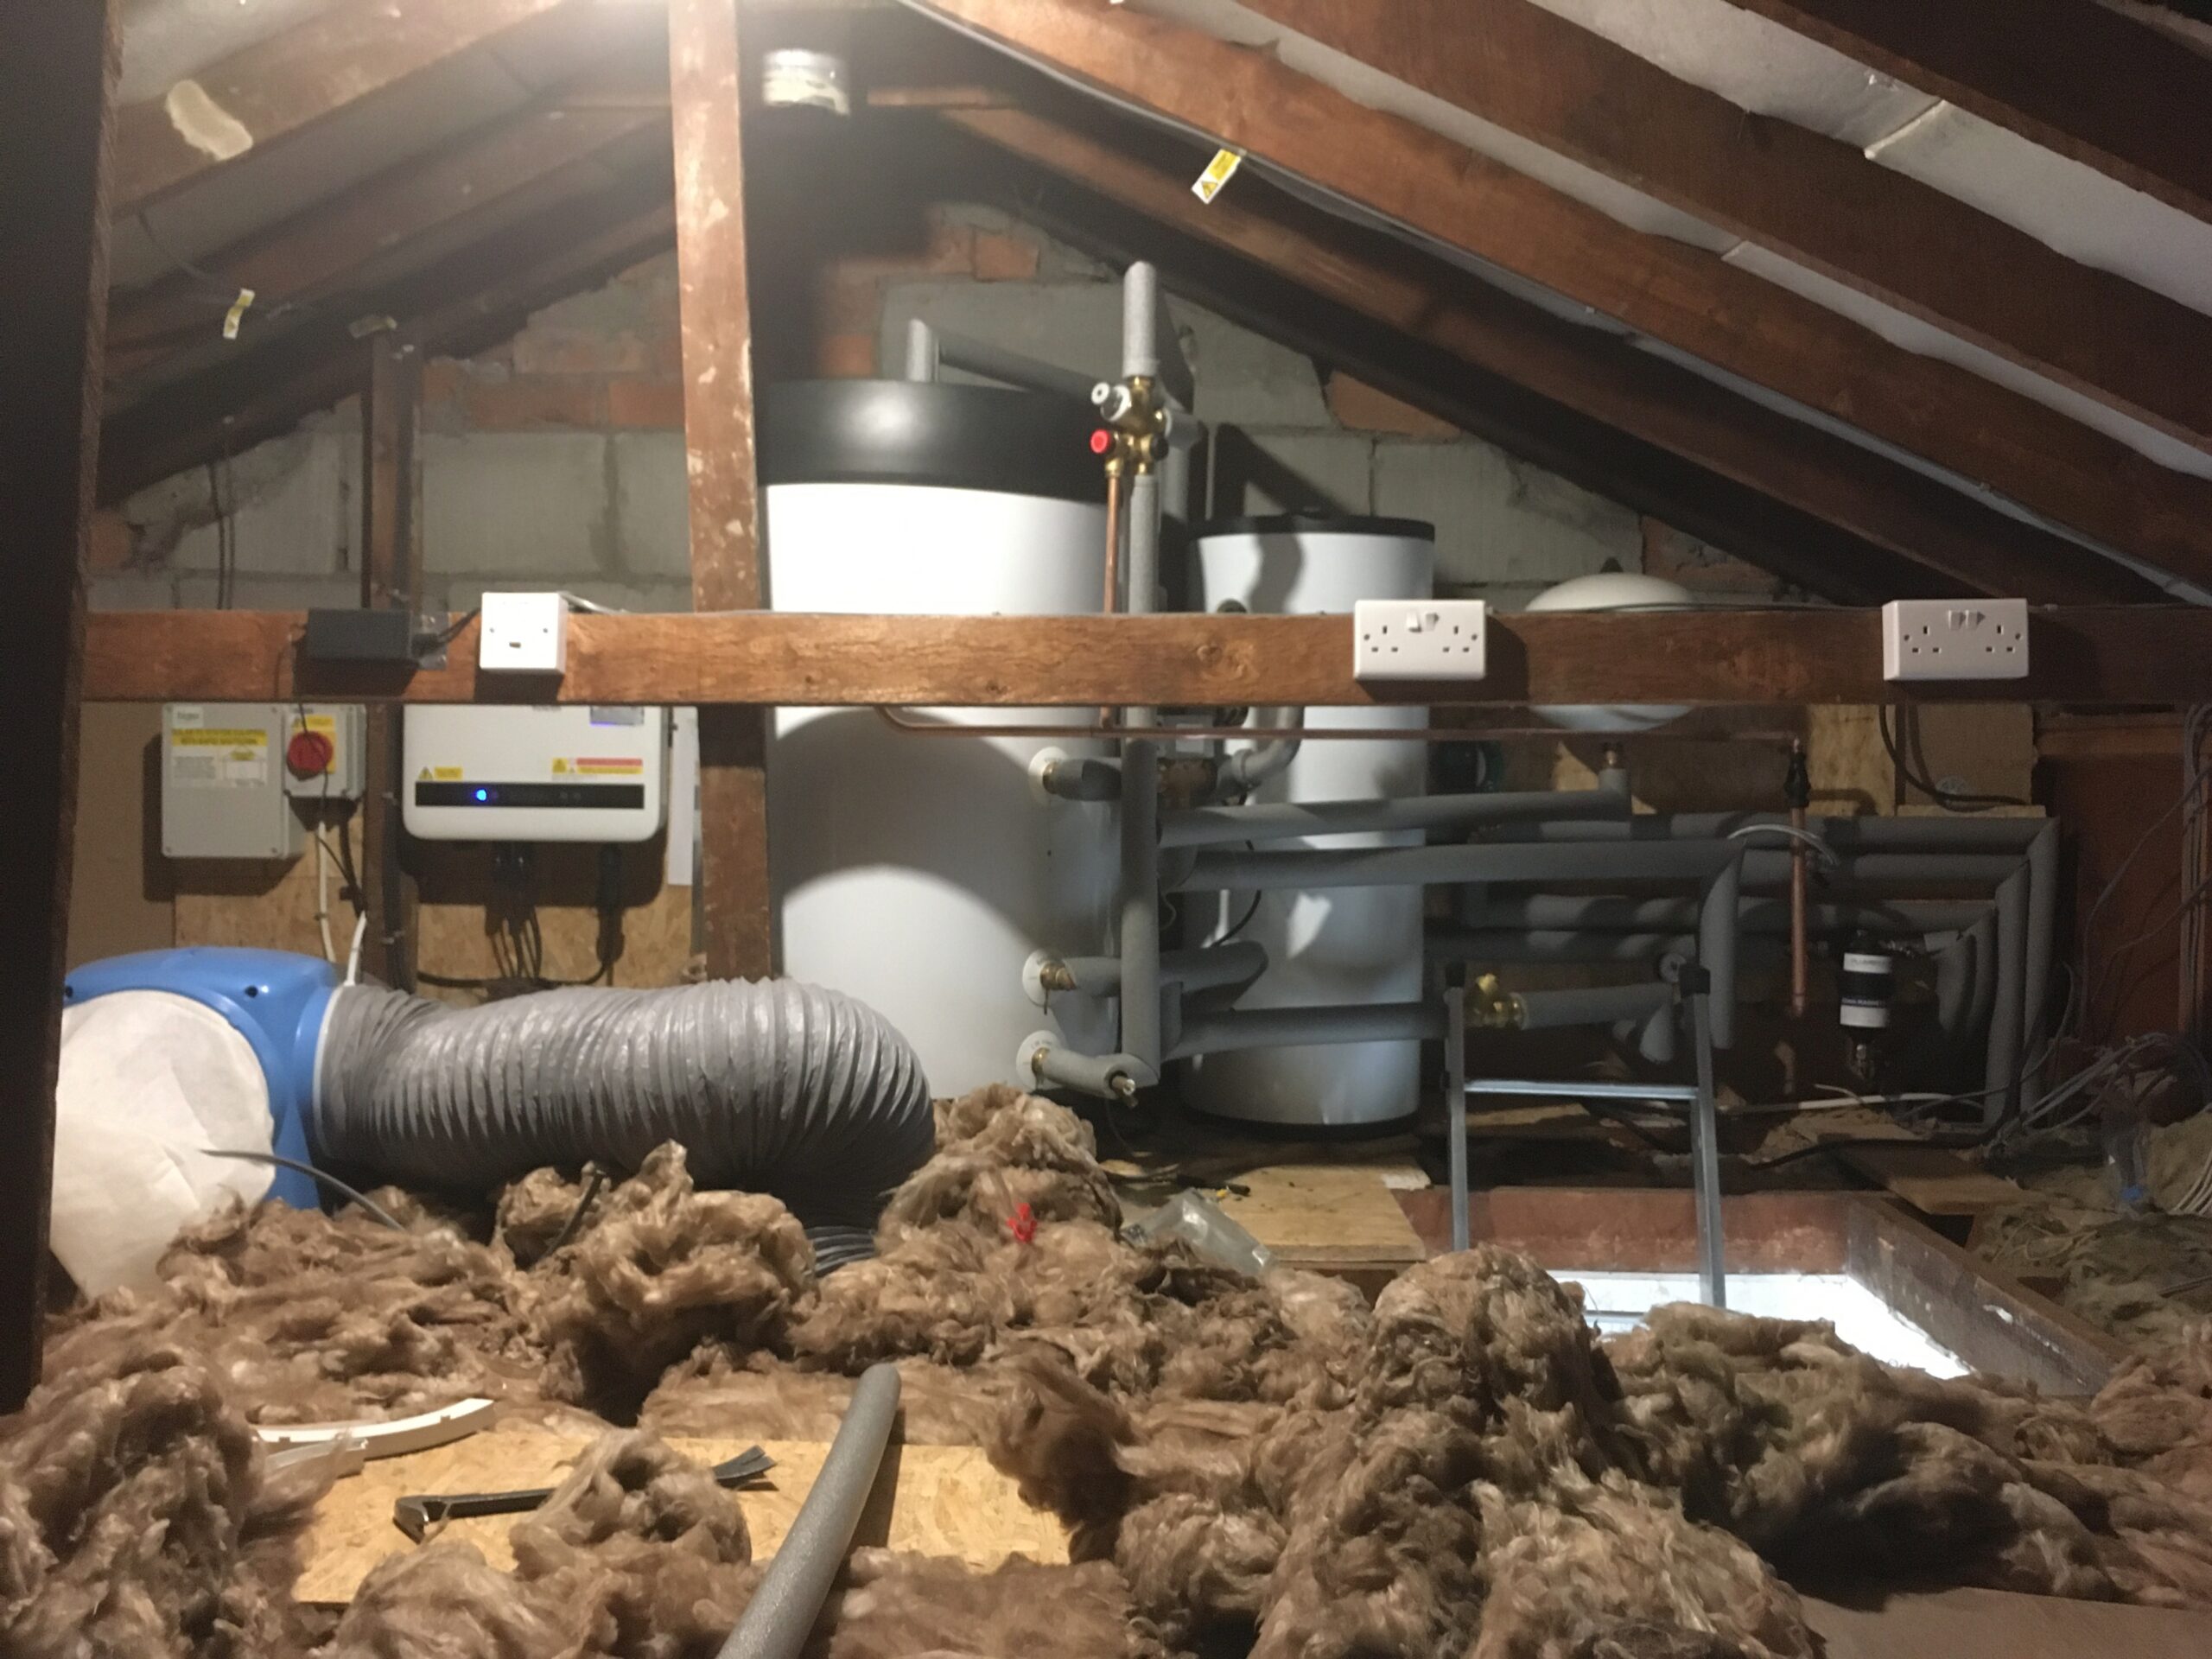
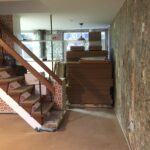
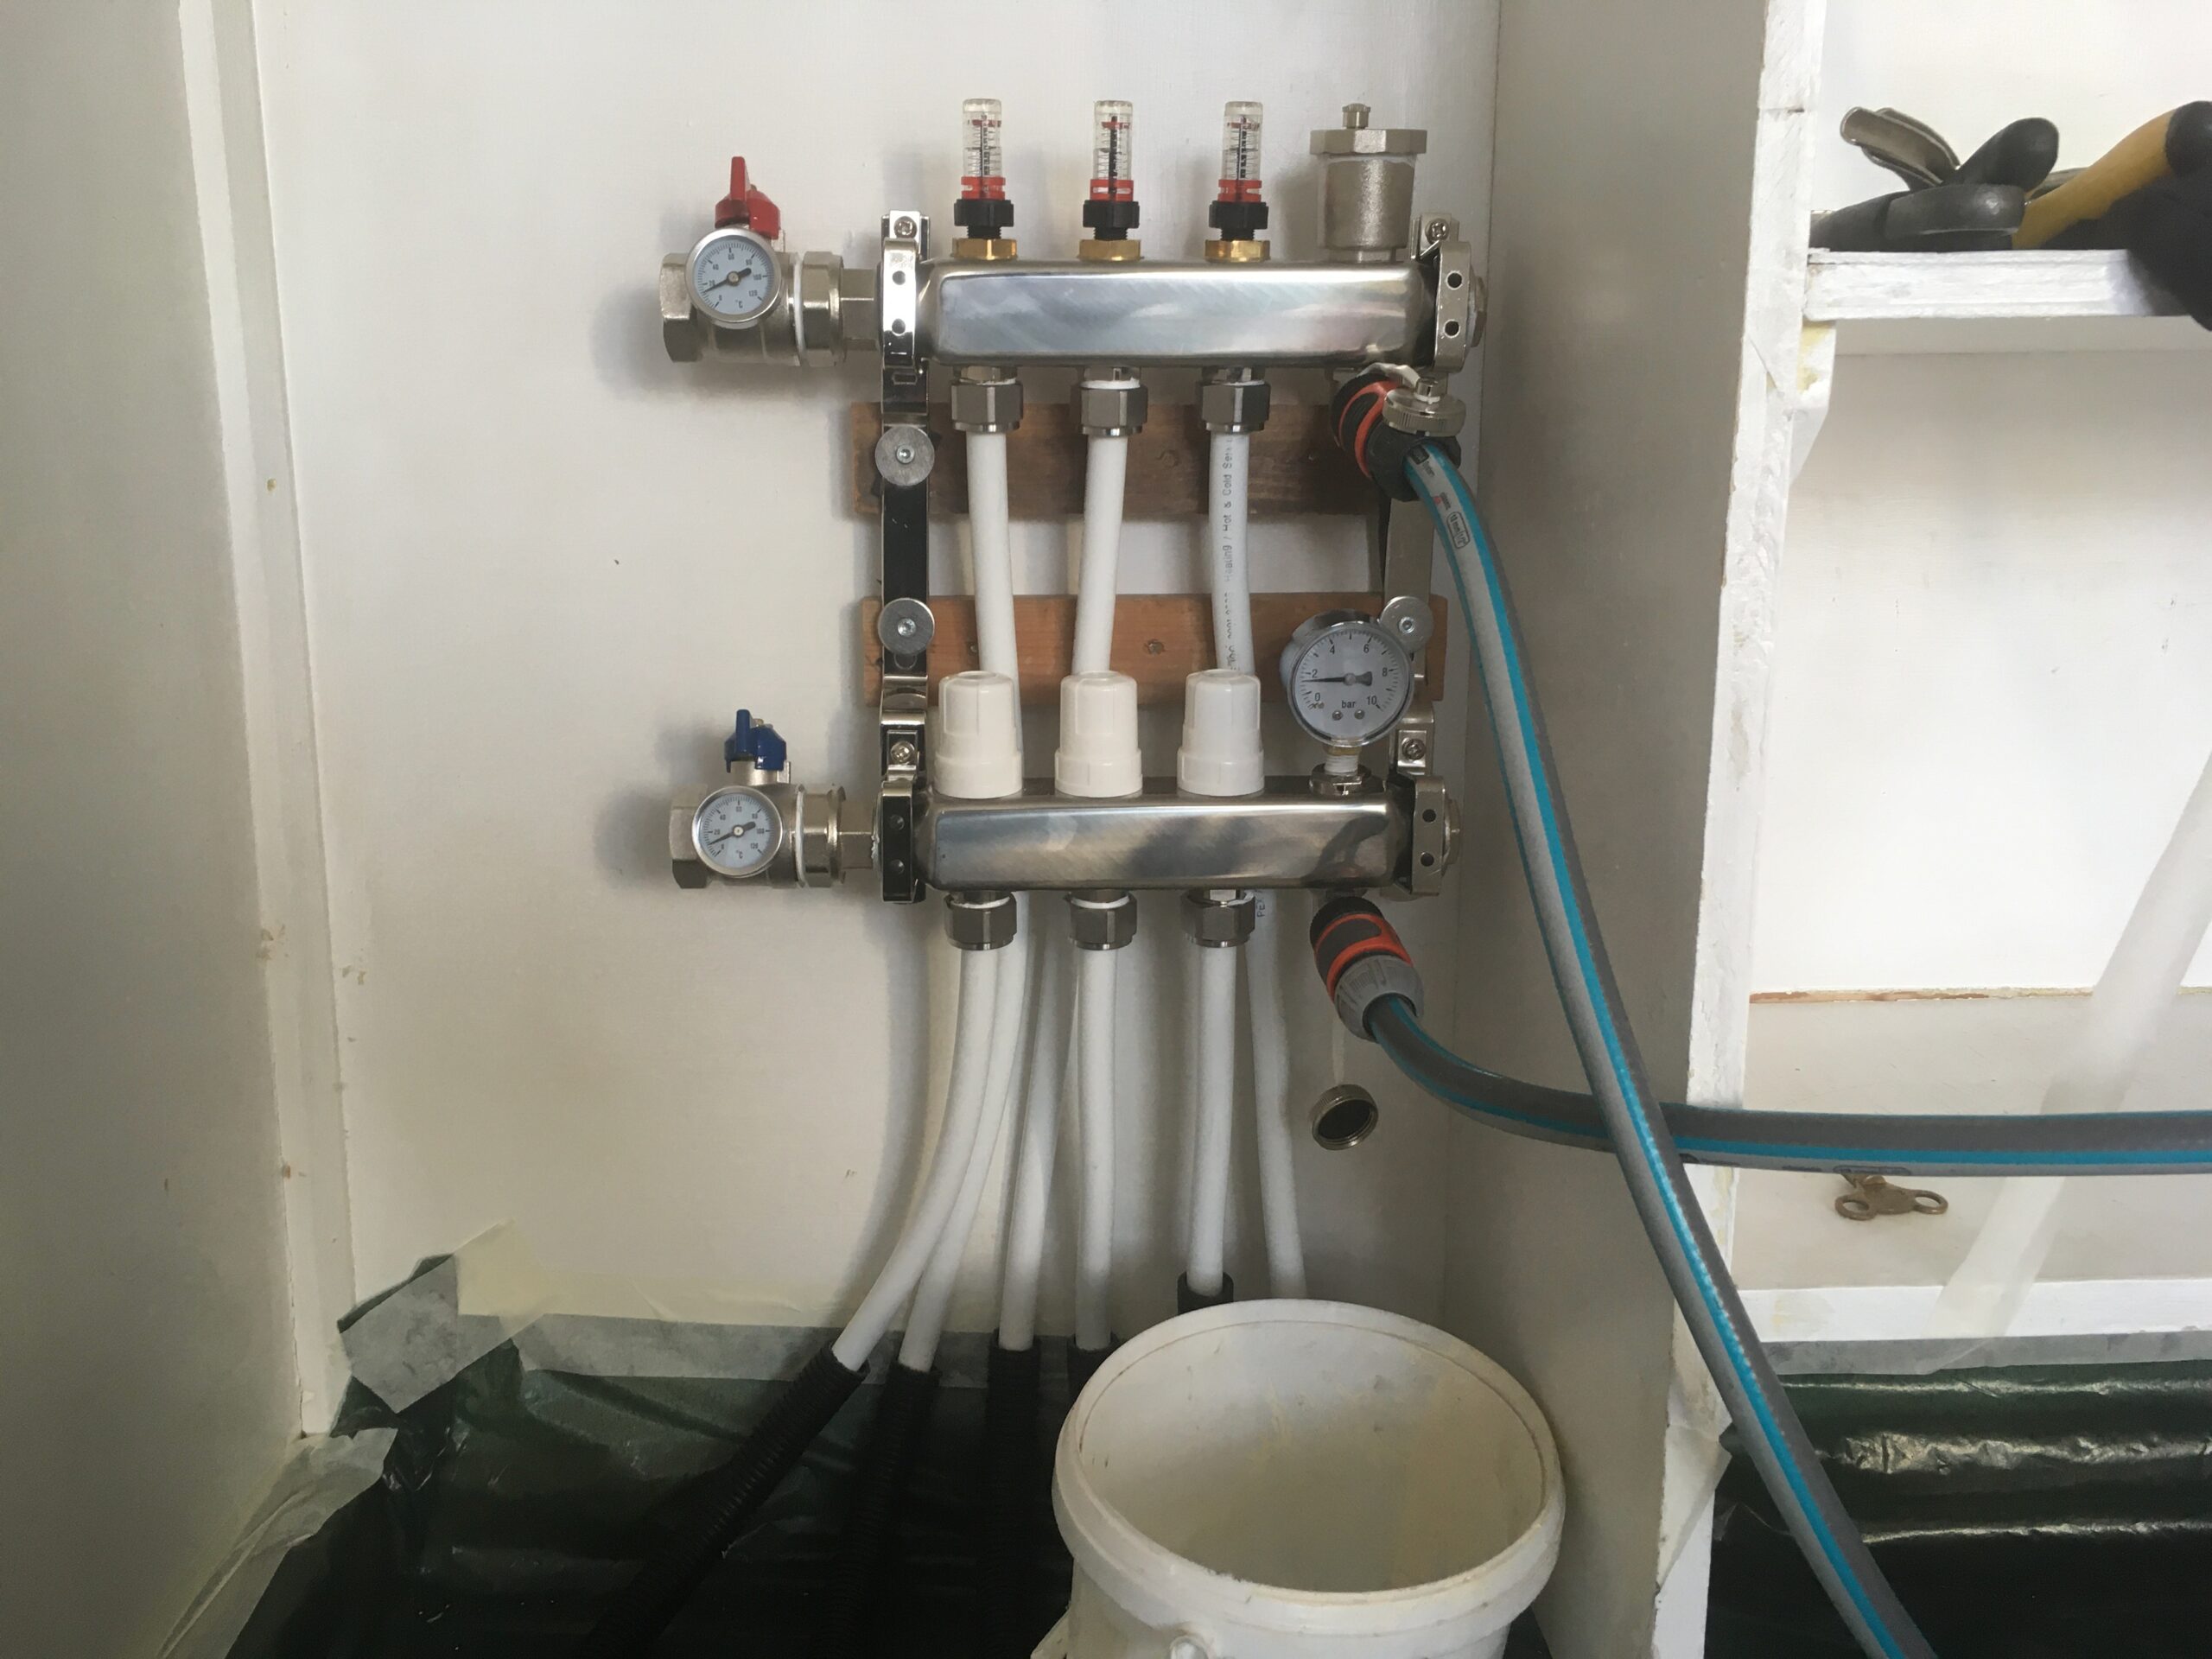
Plant Room
We now have a plant room. Also know as ‘the loft’.
A hot water cylinder means warm water at the ready, at a steady temperature. Putting it in the loft saves valuable space in the house.
The hot water tank is in the middle.
To the right of it, the smaller tank is a buffer tank for the central heating circuit. It expands the volume of water circulating, so the heat pump can work more steadily, instead of cycling on and off. This should be more efficient later, when the house is really well insulated, and needs little heating.
On the left is the solar PV inverter, converting the DC electricity from the solar panels above into AC electricty for the mains.
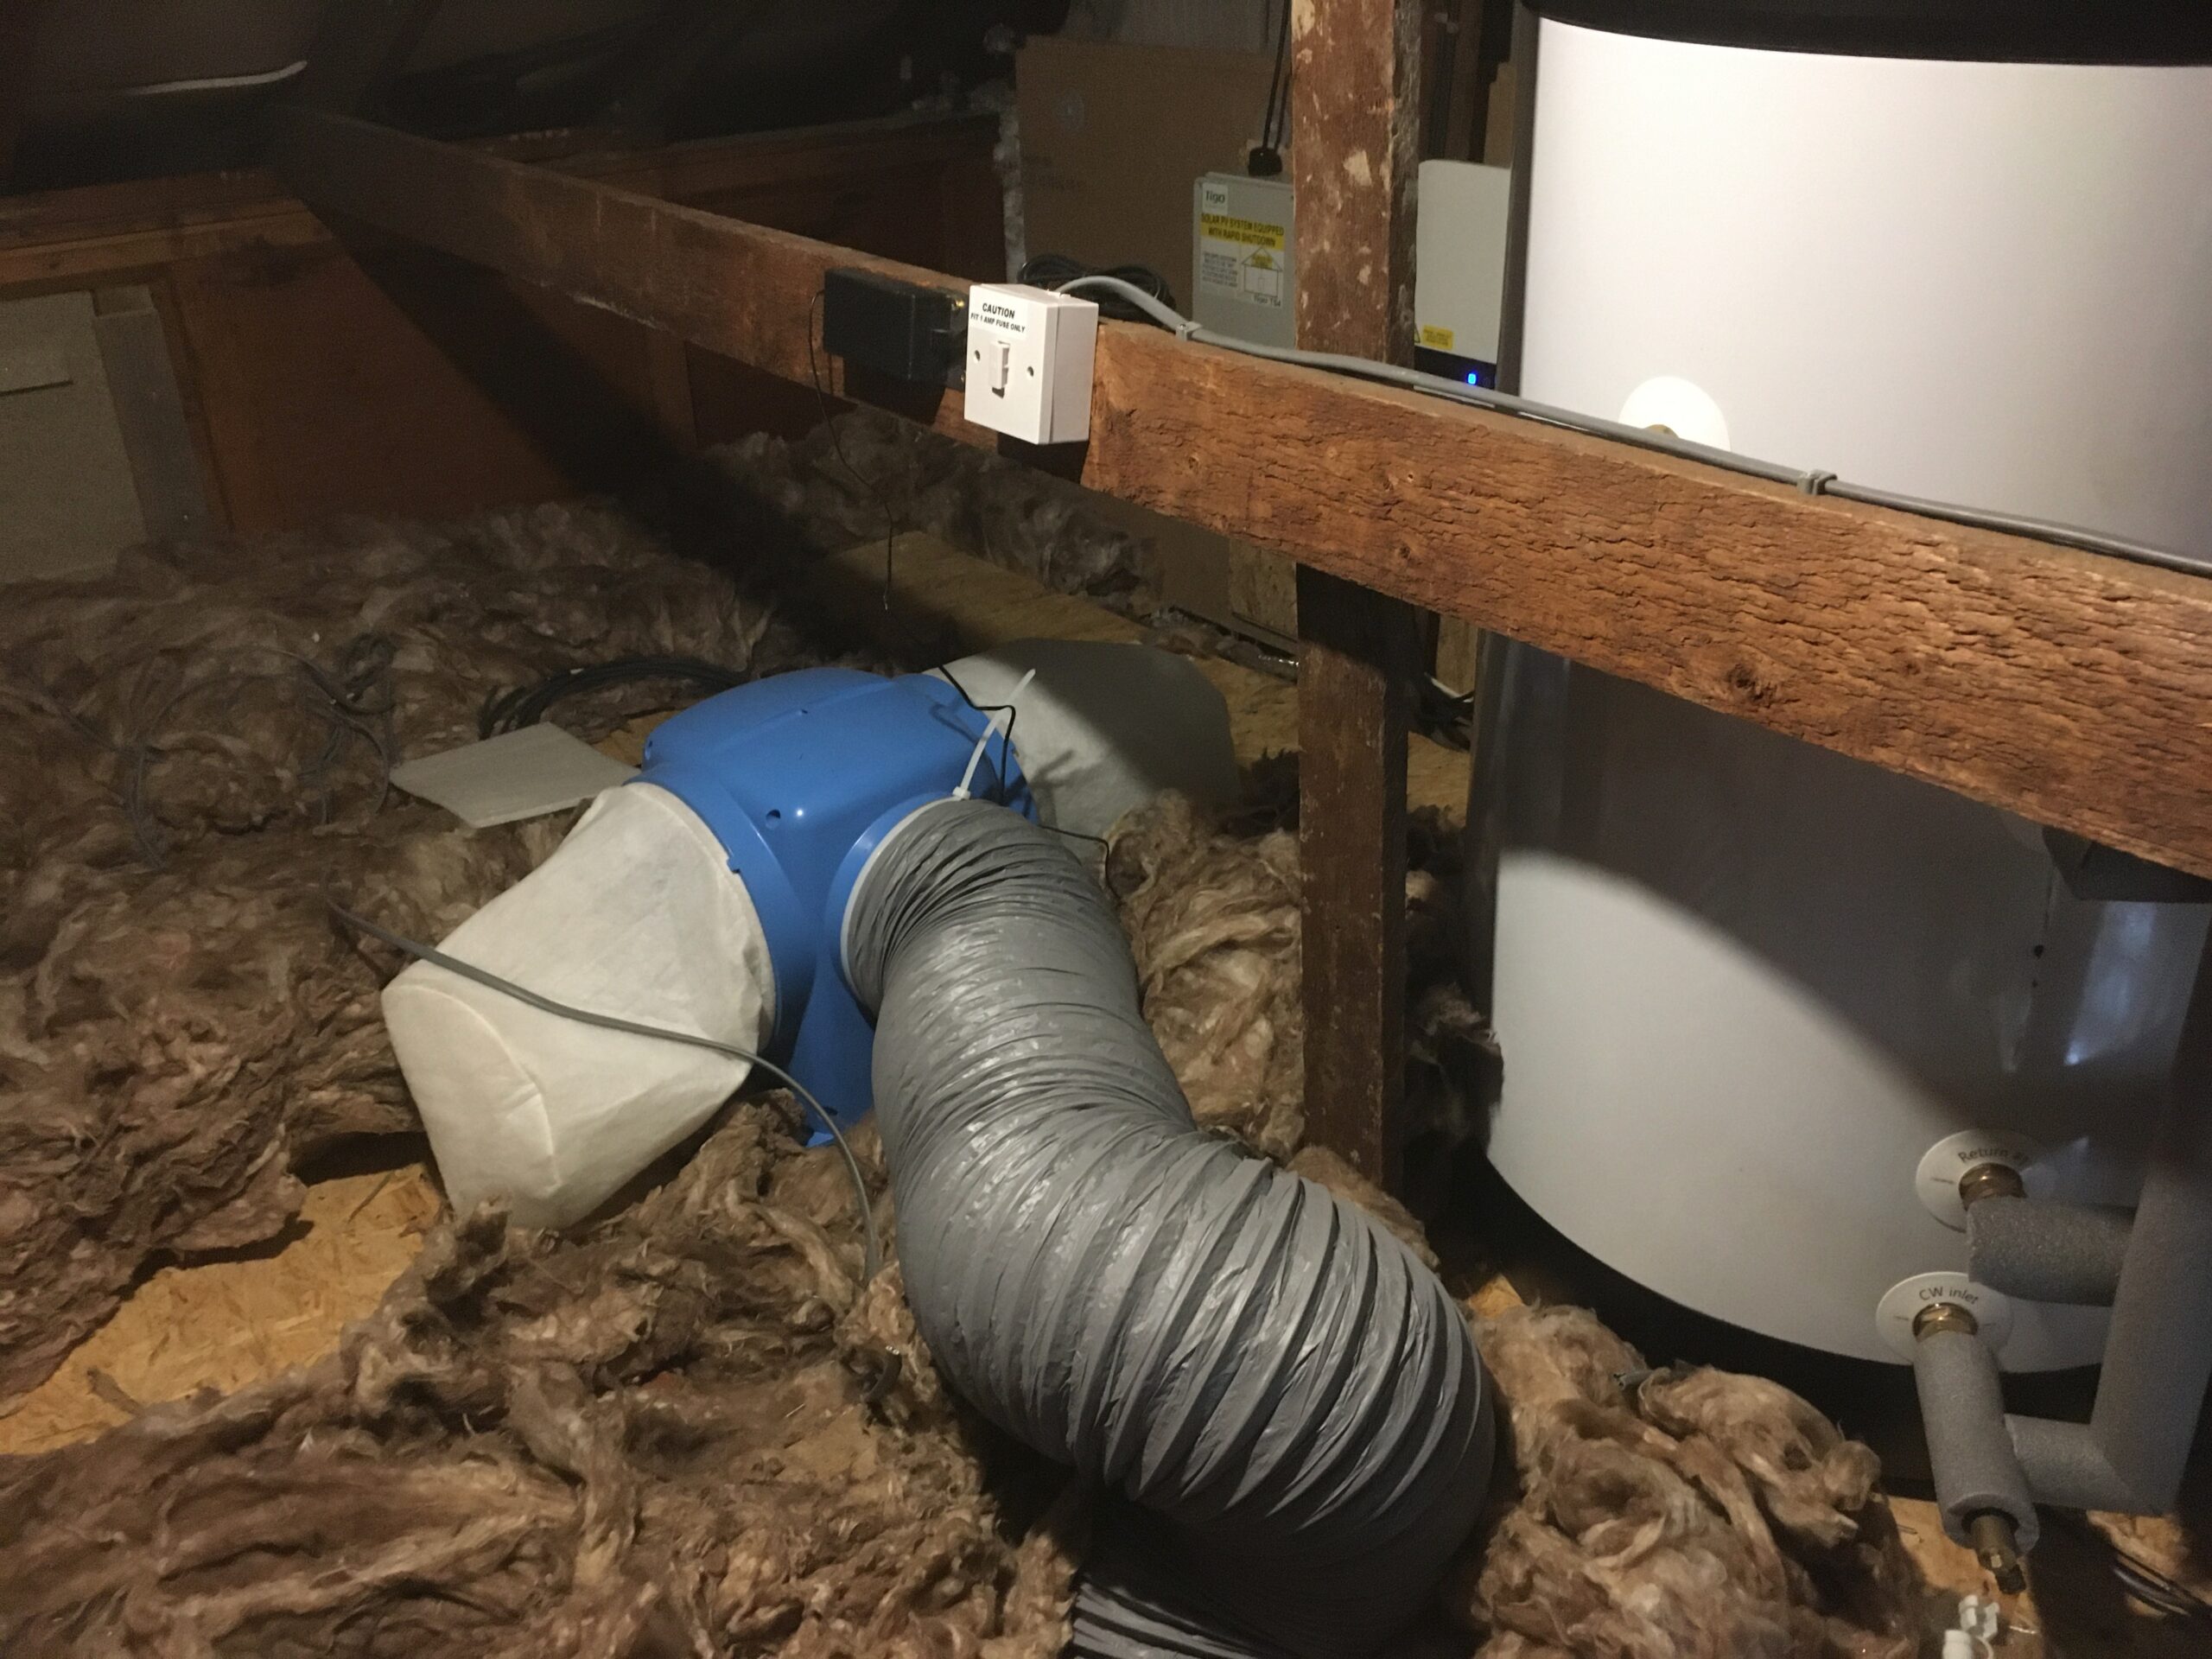
And the blue thing with a trunk?
Fisher Price elephant? Positive air ventilation. Will be replaced later with whole house ventilation.
Pros
Fast. Whole install completed in just a few weeks, from first contact to completion.
Free
Free. Worth repeating.
Free. Yes, really. Completely.
Works well. The outside heat pump unit is really quiet. The brand is Vaillant. I will look out for Quiet Mark on other products.
They designed the system to fit with my whole house plan, as much as they could within the scheme
Cons
The scheme had rigid constraints, so there were limits to what was available and possible. Some things didn’t fit with the whole house plan, but it was all or nothing. No contest.
No choice of installer. I could not use my own installer as planned, who had already designed everything, and I was in the process of booking. I had to use the single installer appointed by the council.
Rushed. Lack of detailed planning. No plans shared in advance, to consider and feedback. e.g. some pipework is now in the way of the location of the planned ventilation ducting, so this will have to be re-designed.
3 serious errors. Repeated visits required to correct / finish the job properly. One of the errors could have damaged the heating system. Seems we got away with it though.
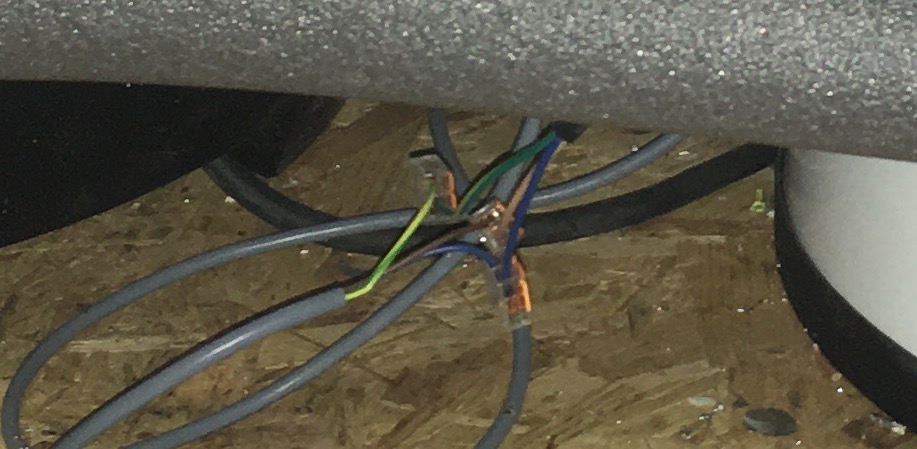
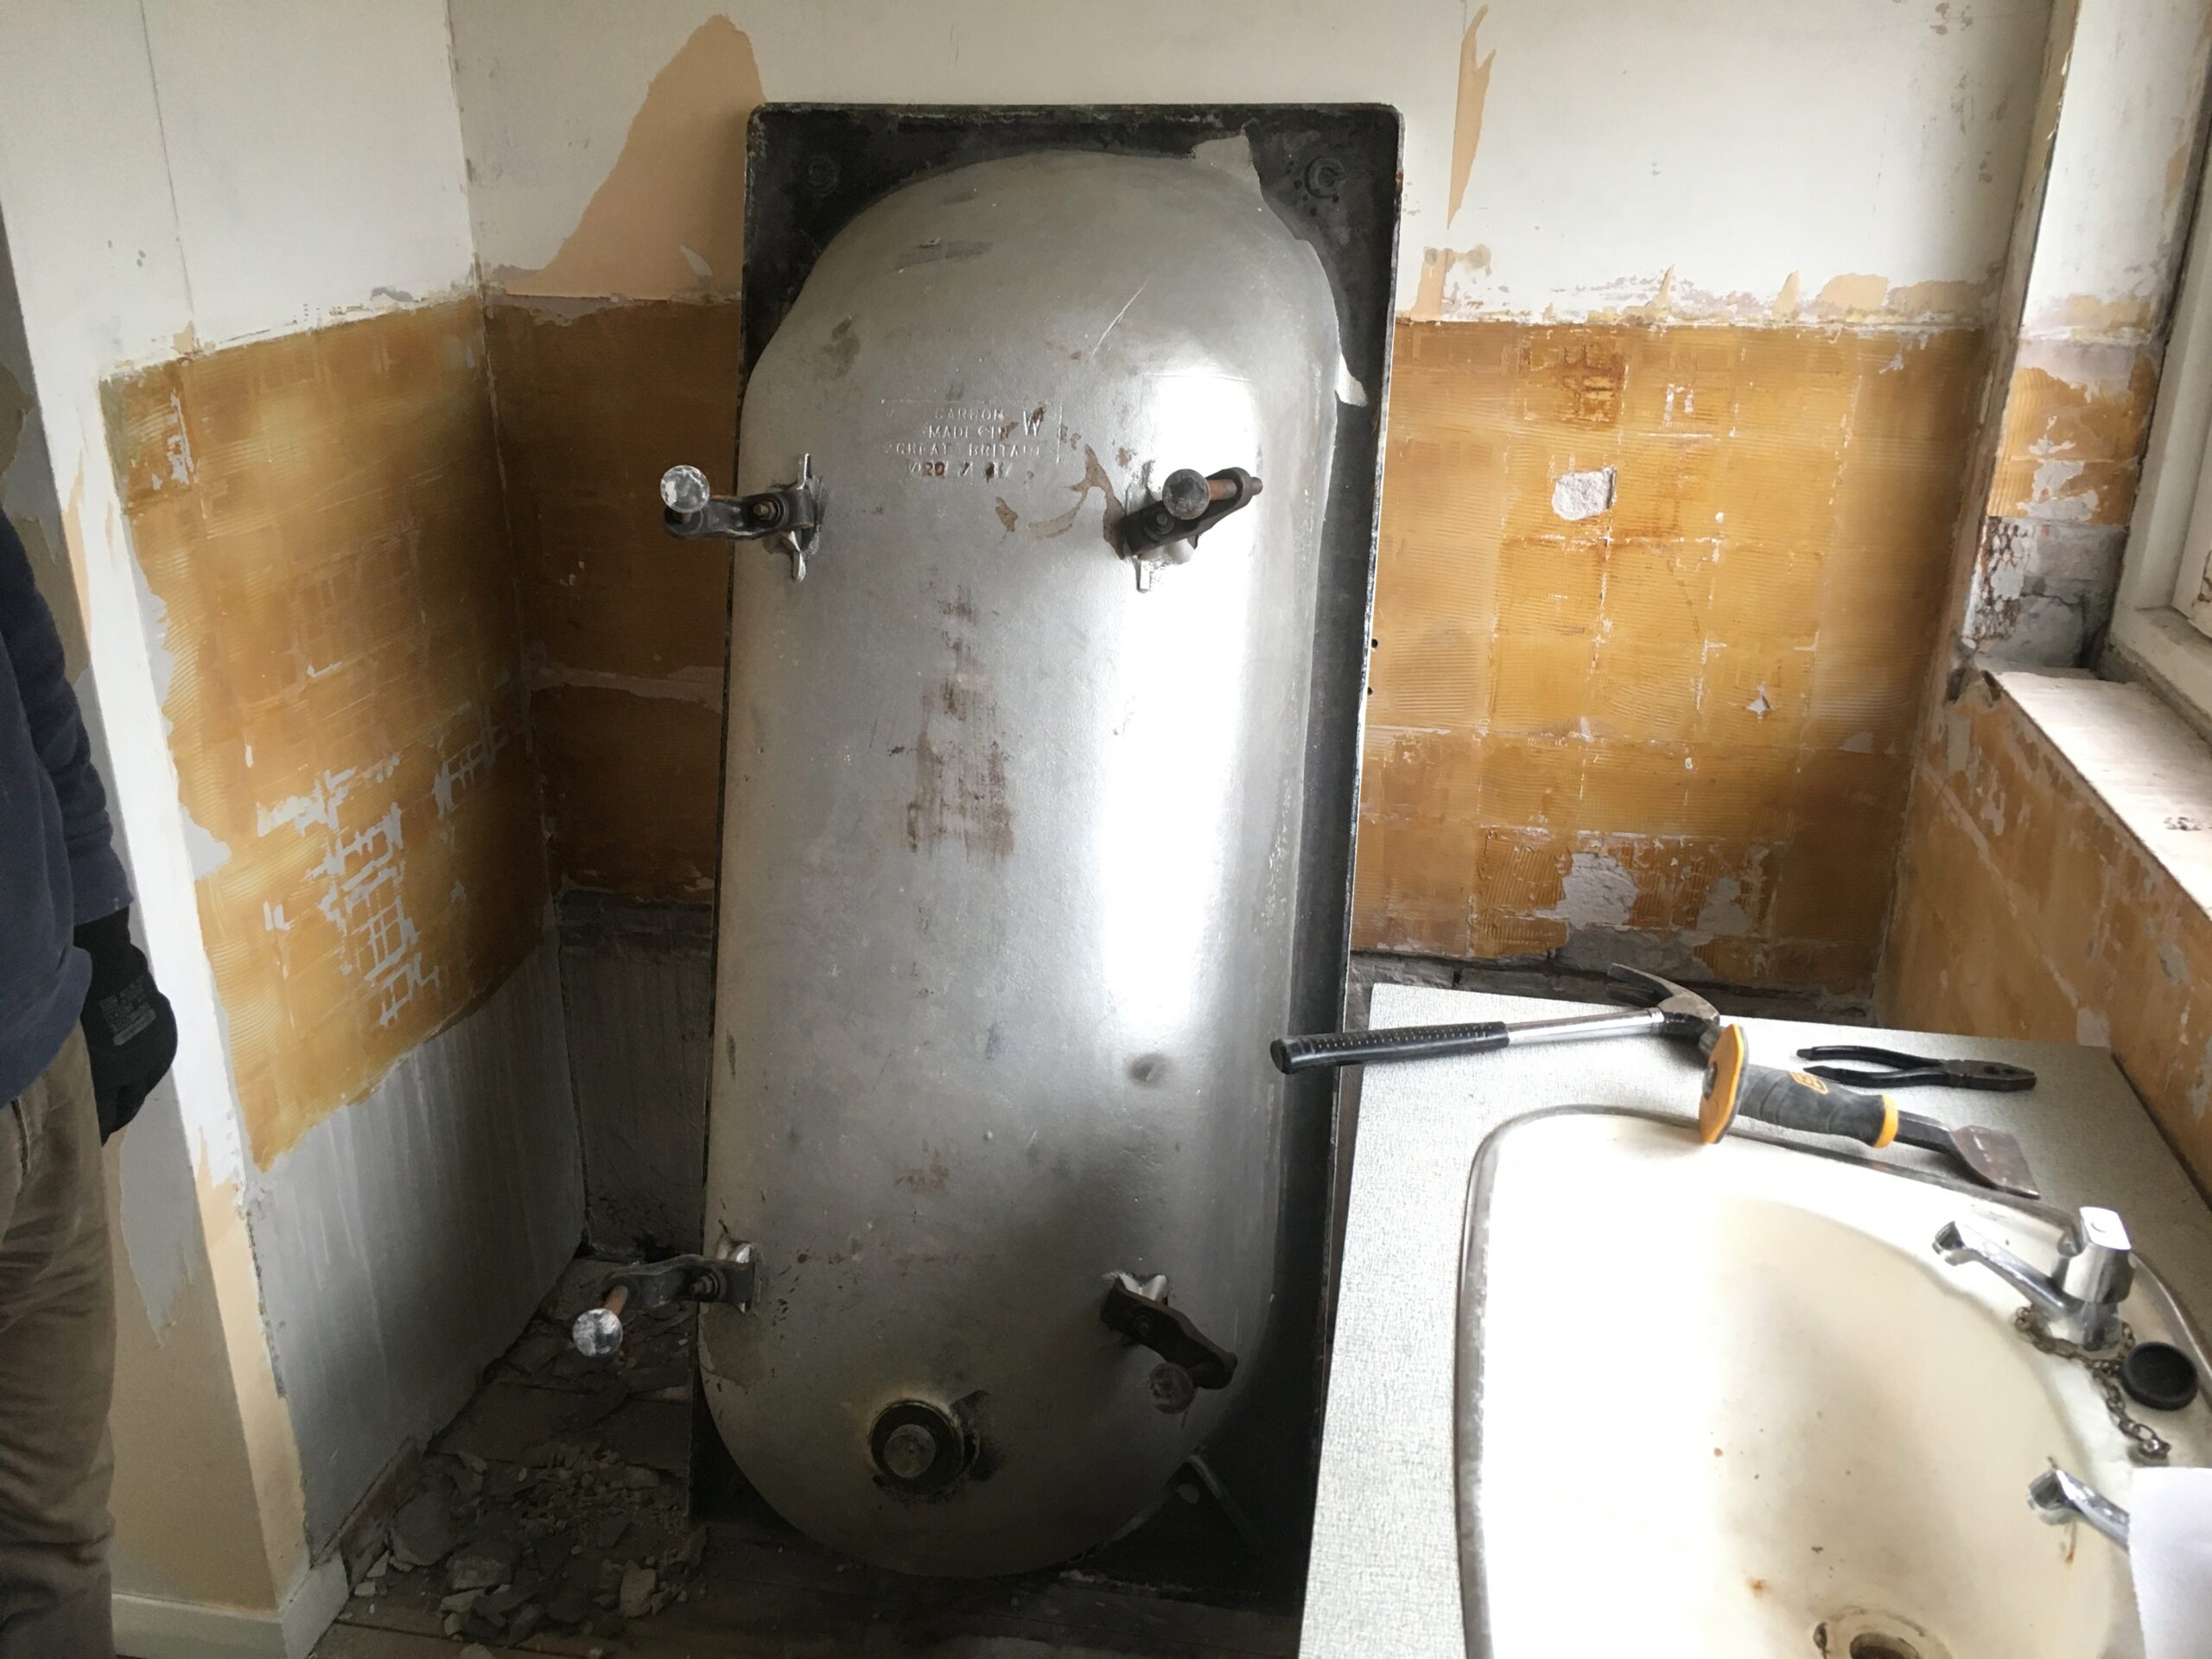
The bathroom fittings are all original 1960s. The bath, sink, sink unit, toilet (leaking; yes it smells; floorboards around it need replacing) and cupboard.
Yet the bath plumbing is new. I can’t understand how they managed to fit that, with a heavy bath and fitted sink unit in the way?
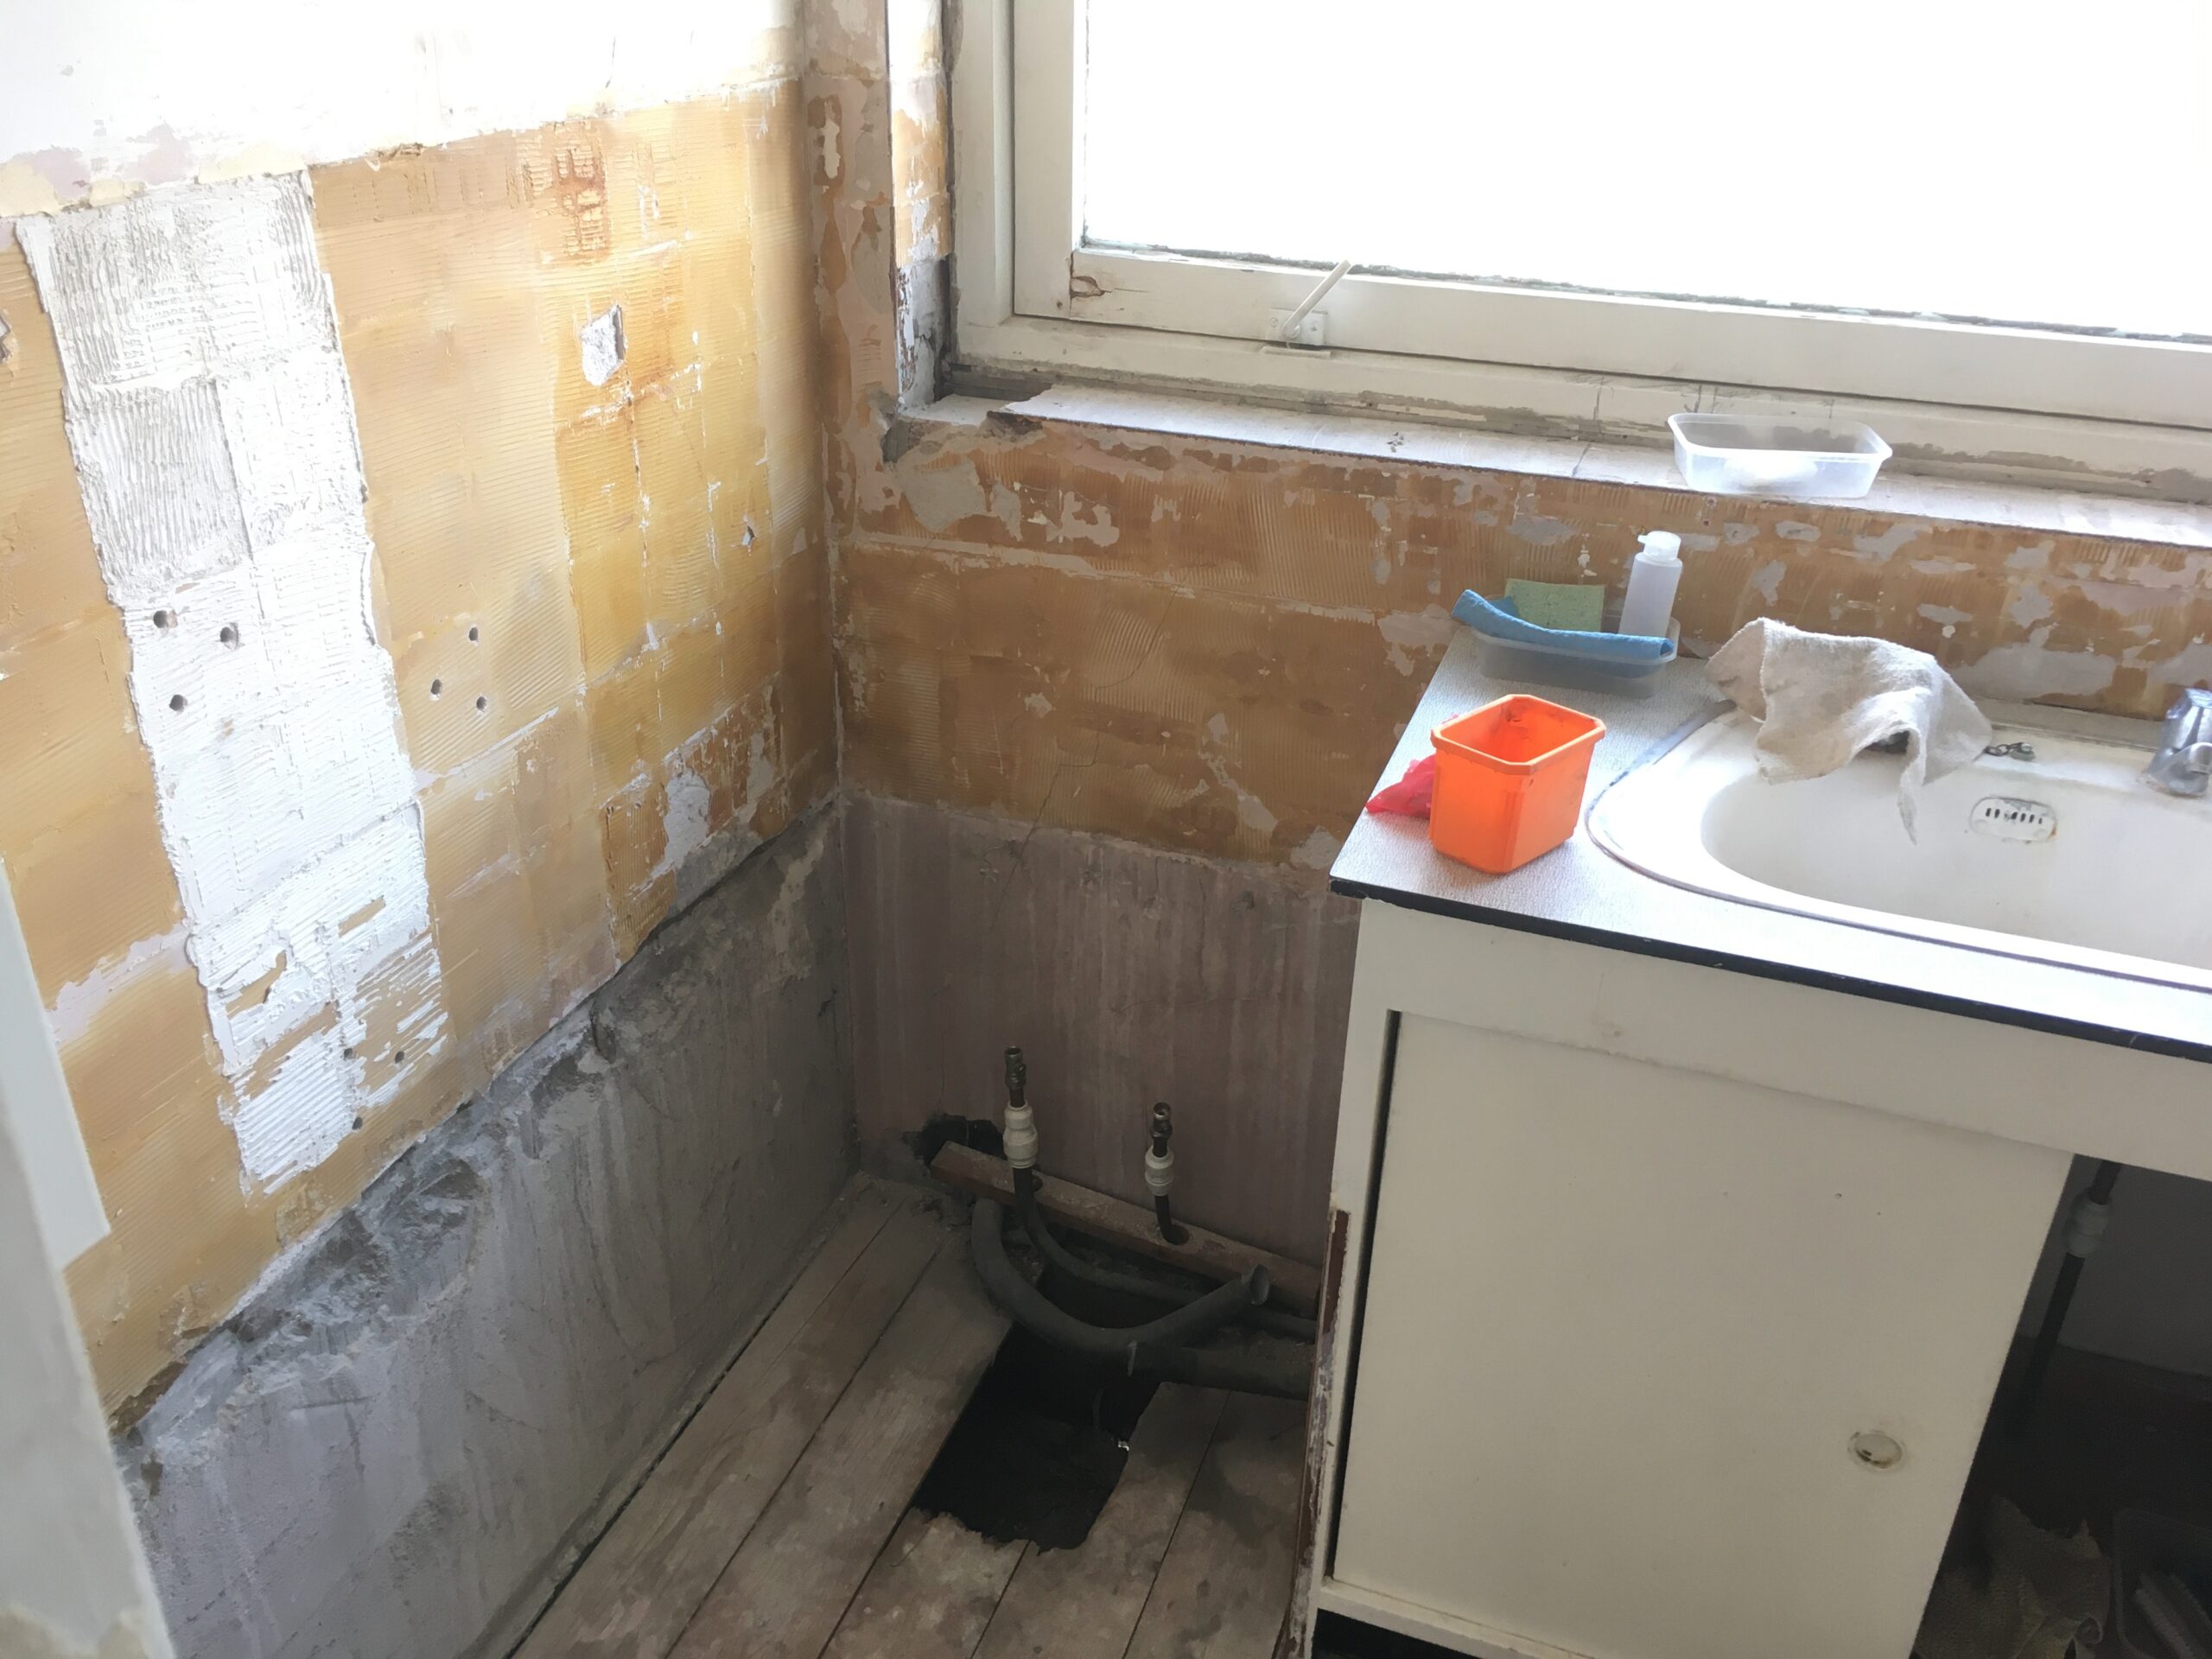
Oh that’s how.
They smashed up from the kitchen below, making a hole in the floorboards, to fit a new bath drain!
We are preparing for exciting developments – the central heating installation, including a radiator on the front bedroom wall, and for new upstairs windows.
In this house the Internal Wall Insulation will still use wood fibre boards, like in Hull, but will incorporate more layers in the 100mm build up.
This is a new development in the years since 2012, for more protection against moisture (from cooking, laundry, breathing etc.) getting in the wall. This can be important because if you insulate the wall on the inside, the inside wall surface is then comfortably warm, but the original brick wall becomes cold, so if moisture reaches it, condensation could form. Which would be bad.
We are using Naturewall system.
The first layer is clay plaster. After removing the original plaster (if necessary) and taking it back to brick, the clay plaster base coat levels the surface and fills gaps.
Neither me nor my brother are plasterers. So we were not looking forward to this. I have attempted plastering before. I don’t like it. But it’s gotta be done, so I’m trying it again.
Investigation reveals a hollow wall. This frame was removed, taking it back to block wall, ready for clay plaster & insulation.Plastered.
Actually, it was OK. I think I can do this. I mean, it’s not a great finish, but it’s just a base coat that will be covered with insulation boards, so it will do.
This tool helps A LOT:
Seems expensive, but has unusually rave reviews along the lines of, “helps amateurs do a half decent job”, “saves hours”, “so much less faff”, “how does such a simple tool make it so much easier”. We agree 🙂
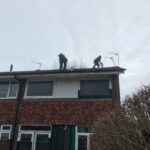
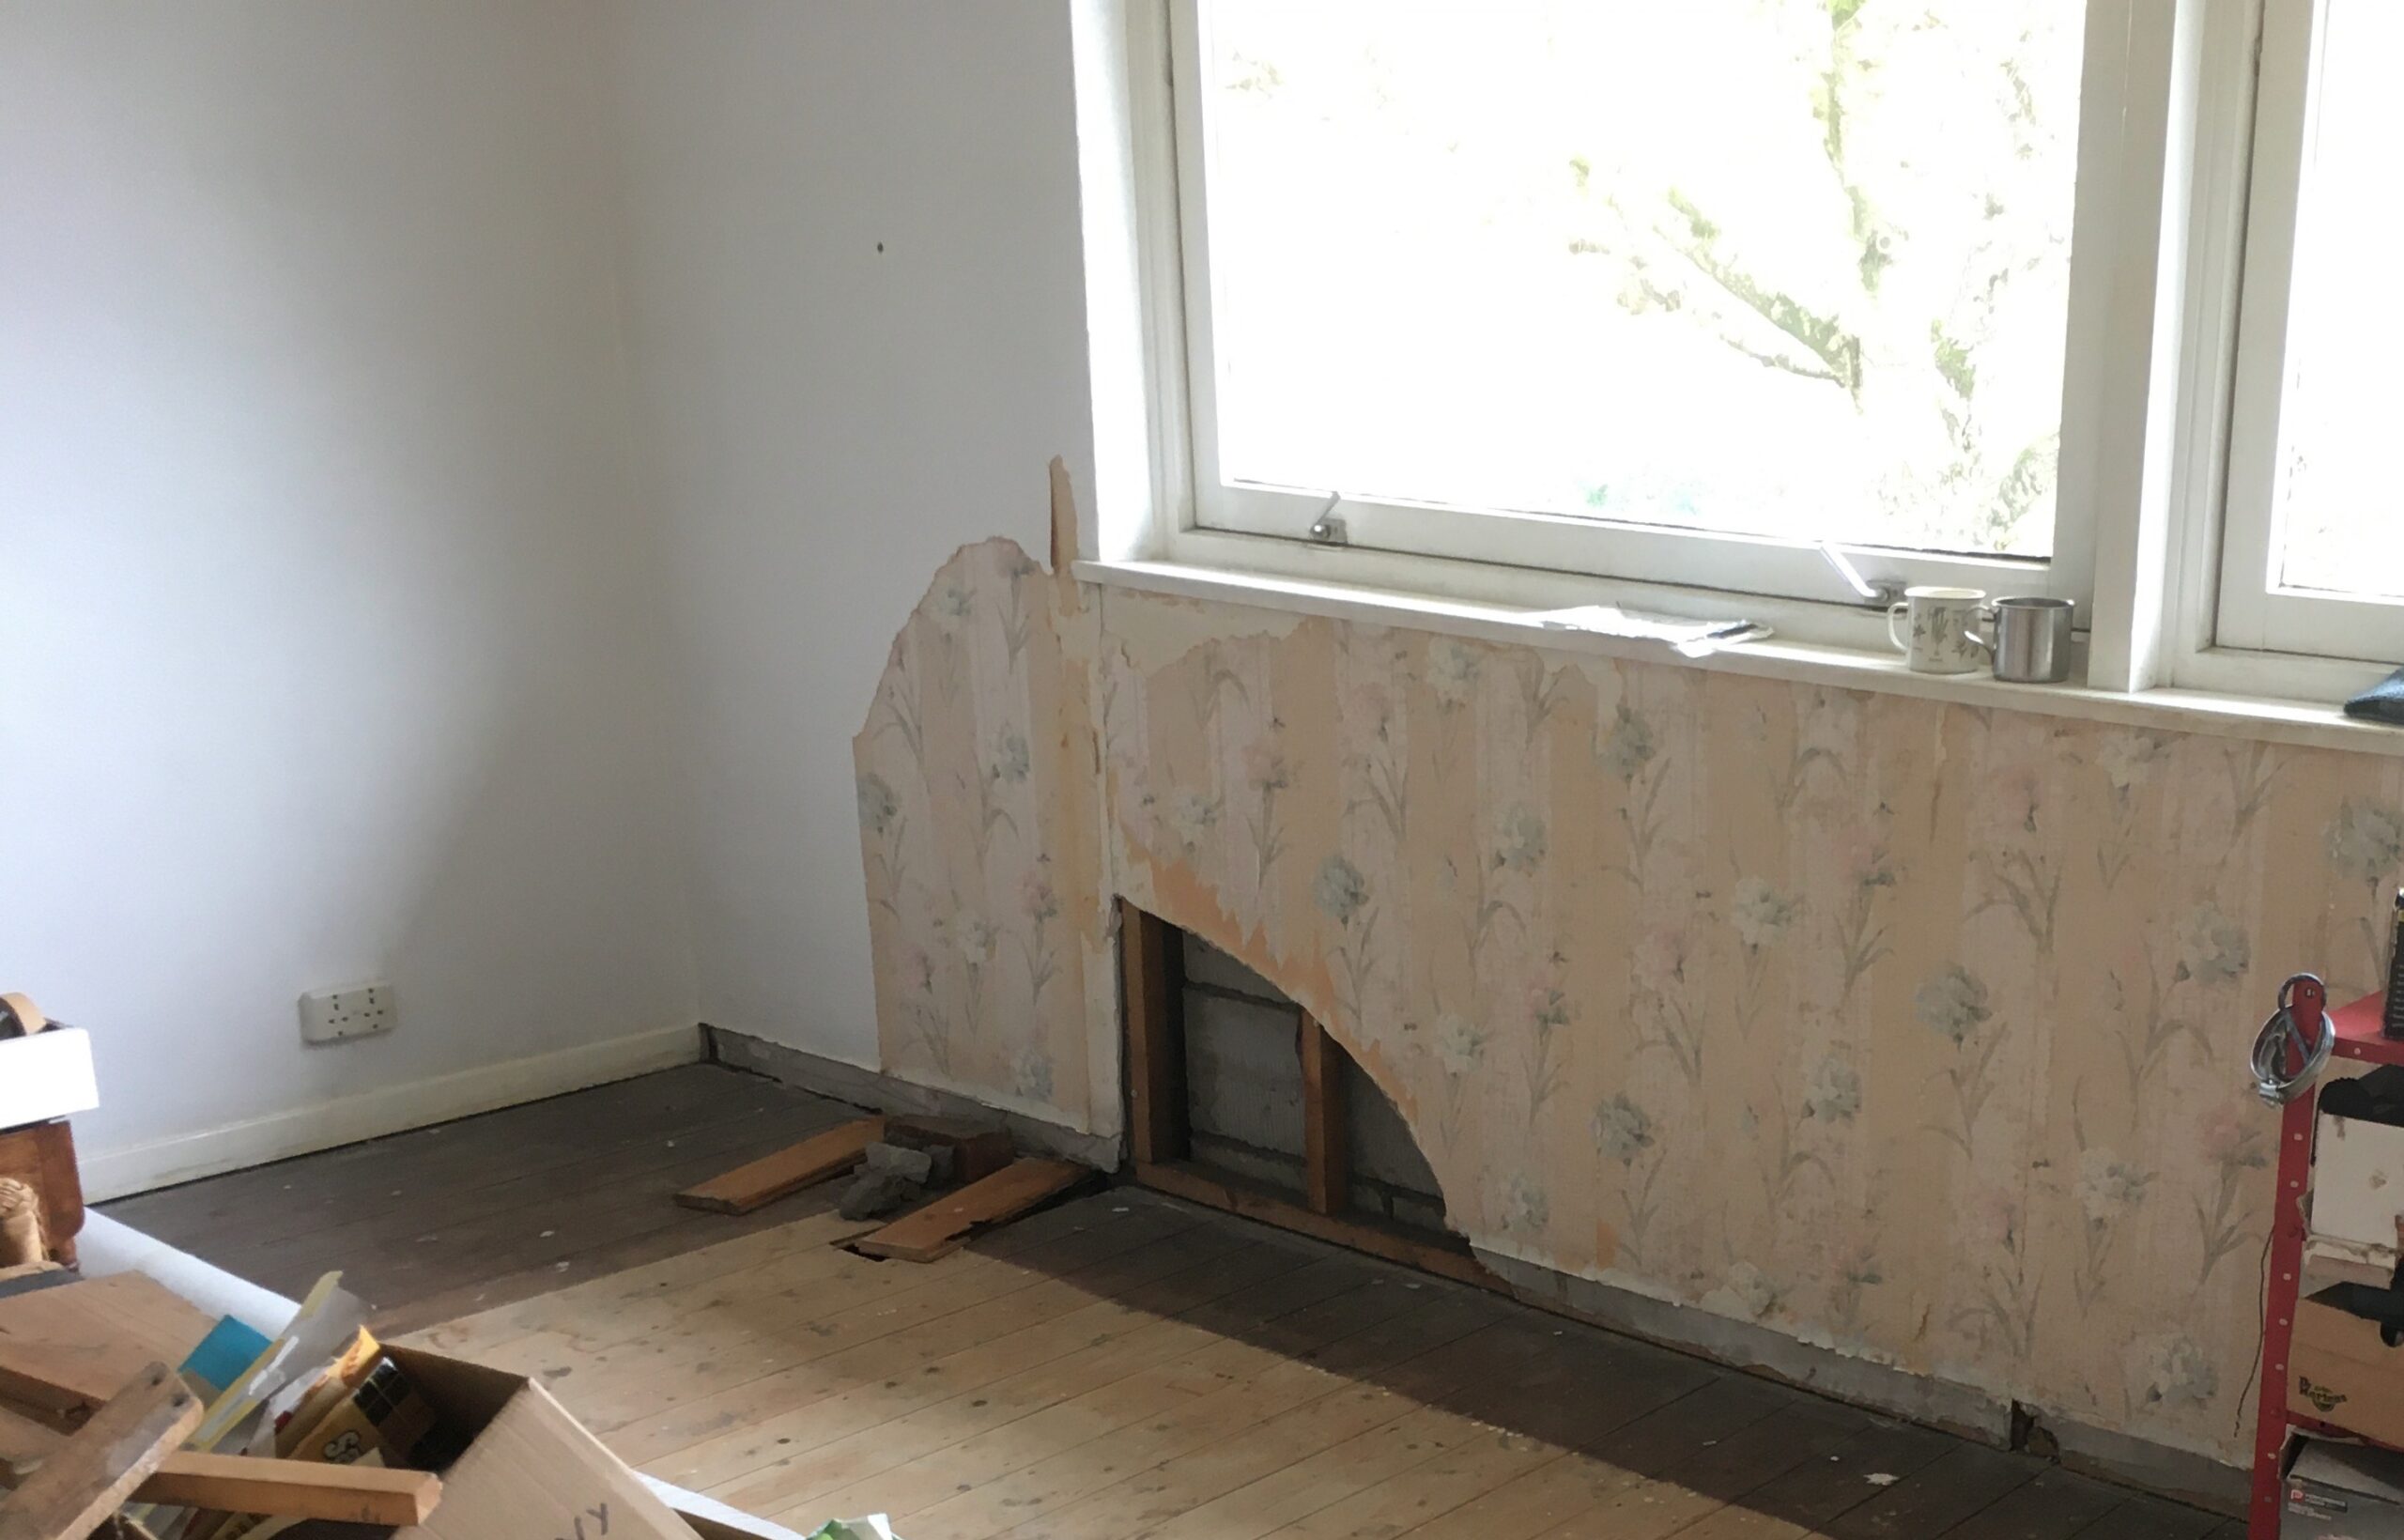
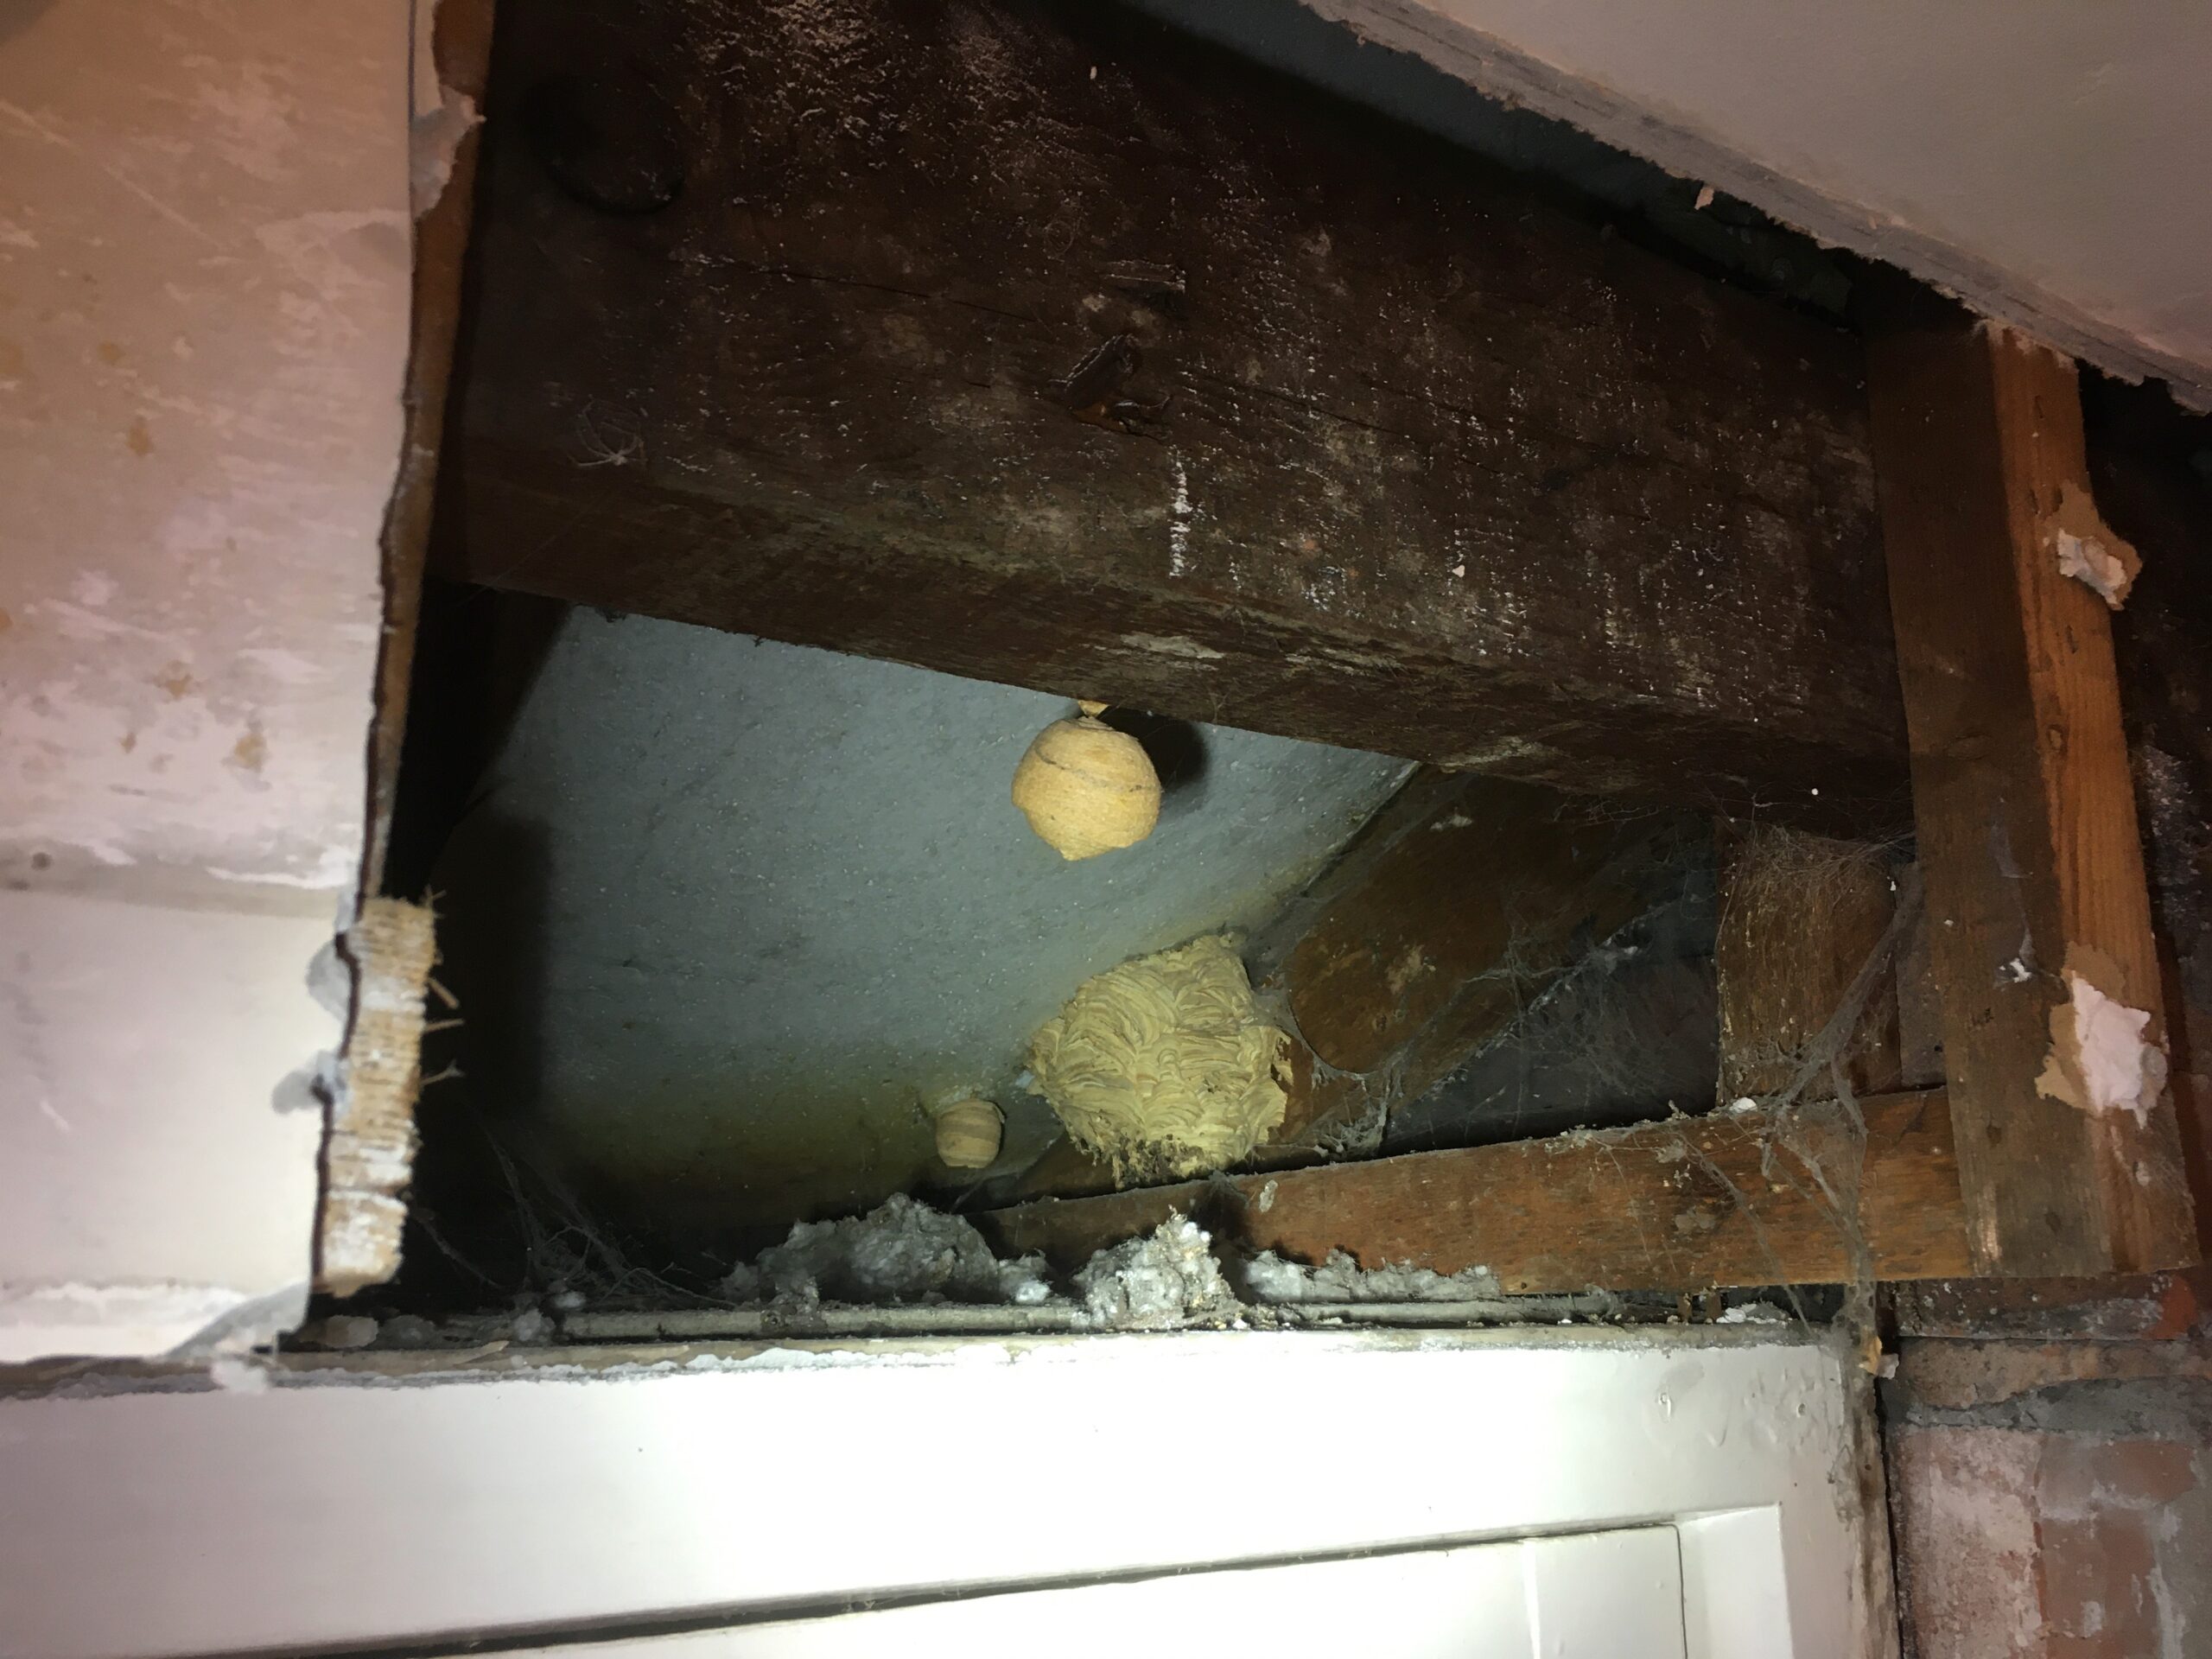
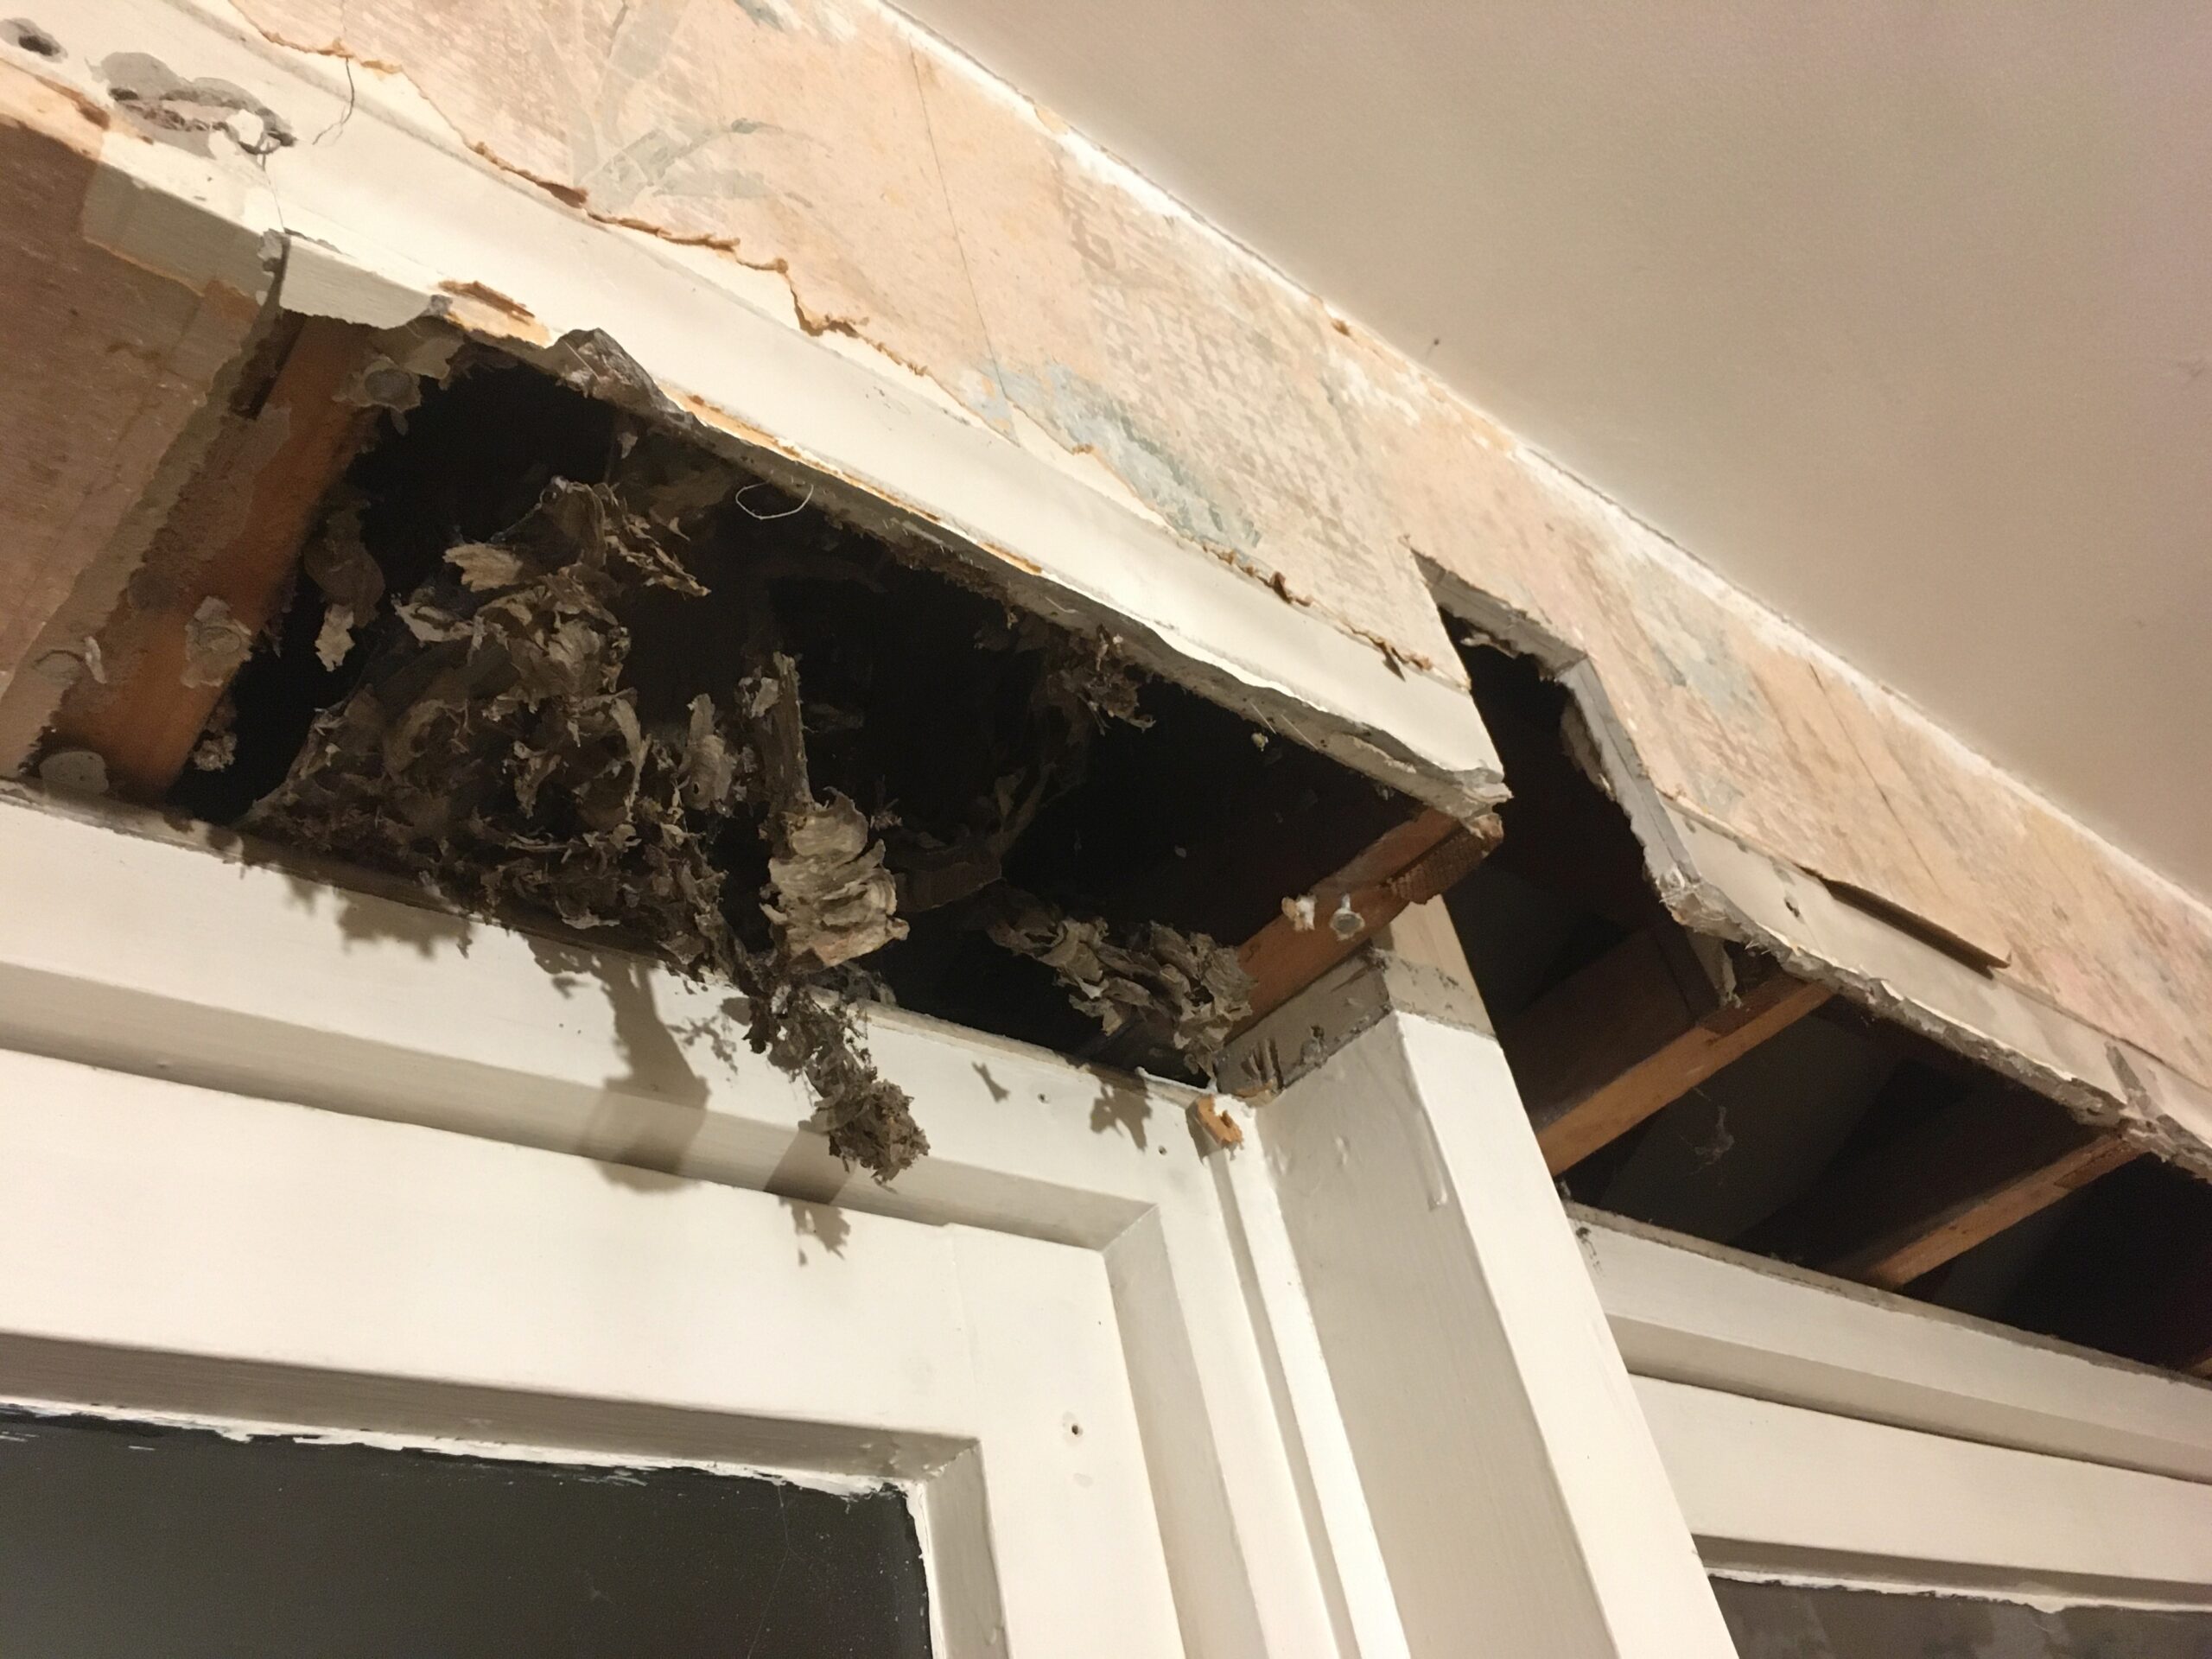
Further investigation above the windows reveals another hollow space in the roof eaves.
This is ripe for improvement with loft insulation and air tightness.
It turns out insects love it in here.
Small, light and delicate insect nest. Wasp nest, we assume.
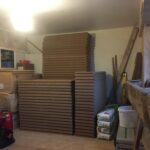
Big differences over conventional (plastic) insulation include that it’s natural, biodegradeable, less nasty chemicals, and crucuially in use: breathable.
It’s also heavier. Quite a lot heavier. So it has thermal mass. This is another advantage in use. It’s also far better at keeping out heat on hot days. We noticed this in the 40˚ heat wave in Hull, when our house remained comfortable. Although plastic insulation is more insulating (about twice as insulating, at half the cost) wood fibre changes temperature more slowly, so is far better at keeping out the midday sun heat peaks. [Explanation here.]
But it does mean that moving it around is a heckofalot more work. e.g. getting it inside before it rains (it’s the North West in January), and then upstairs so the ground floor can continue drying.
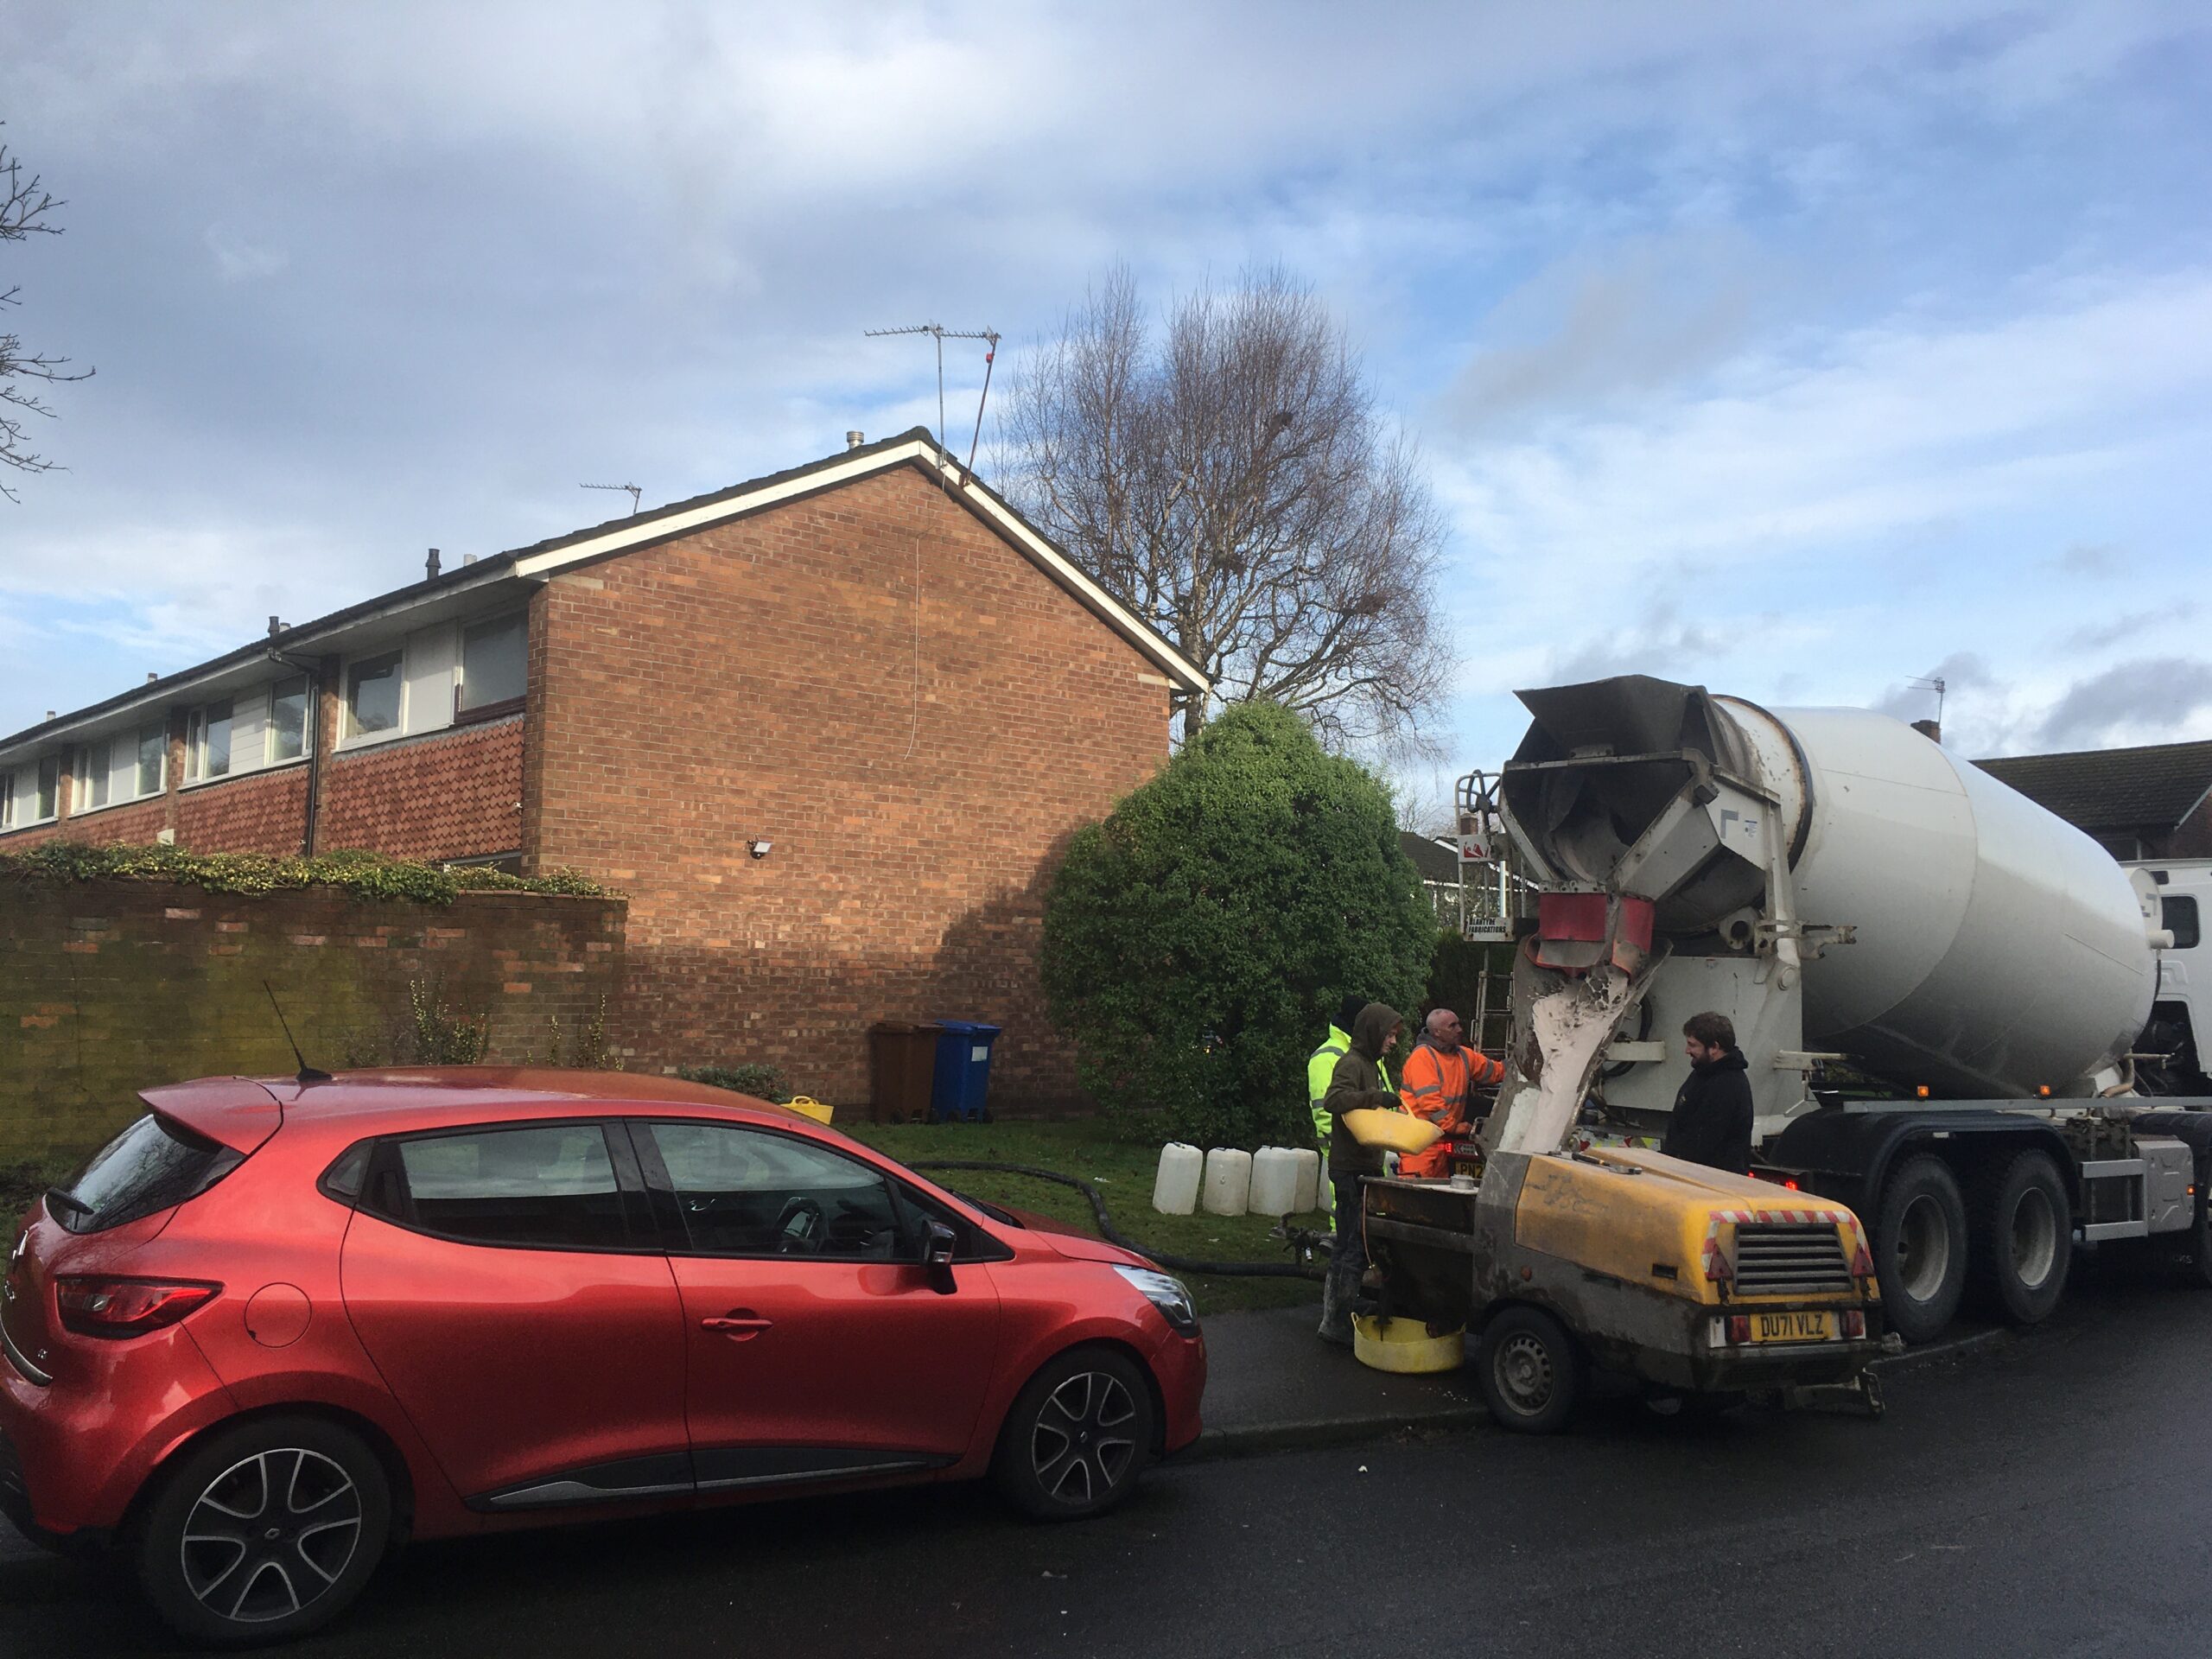
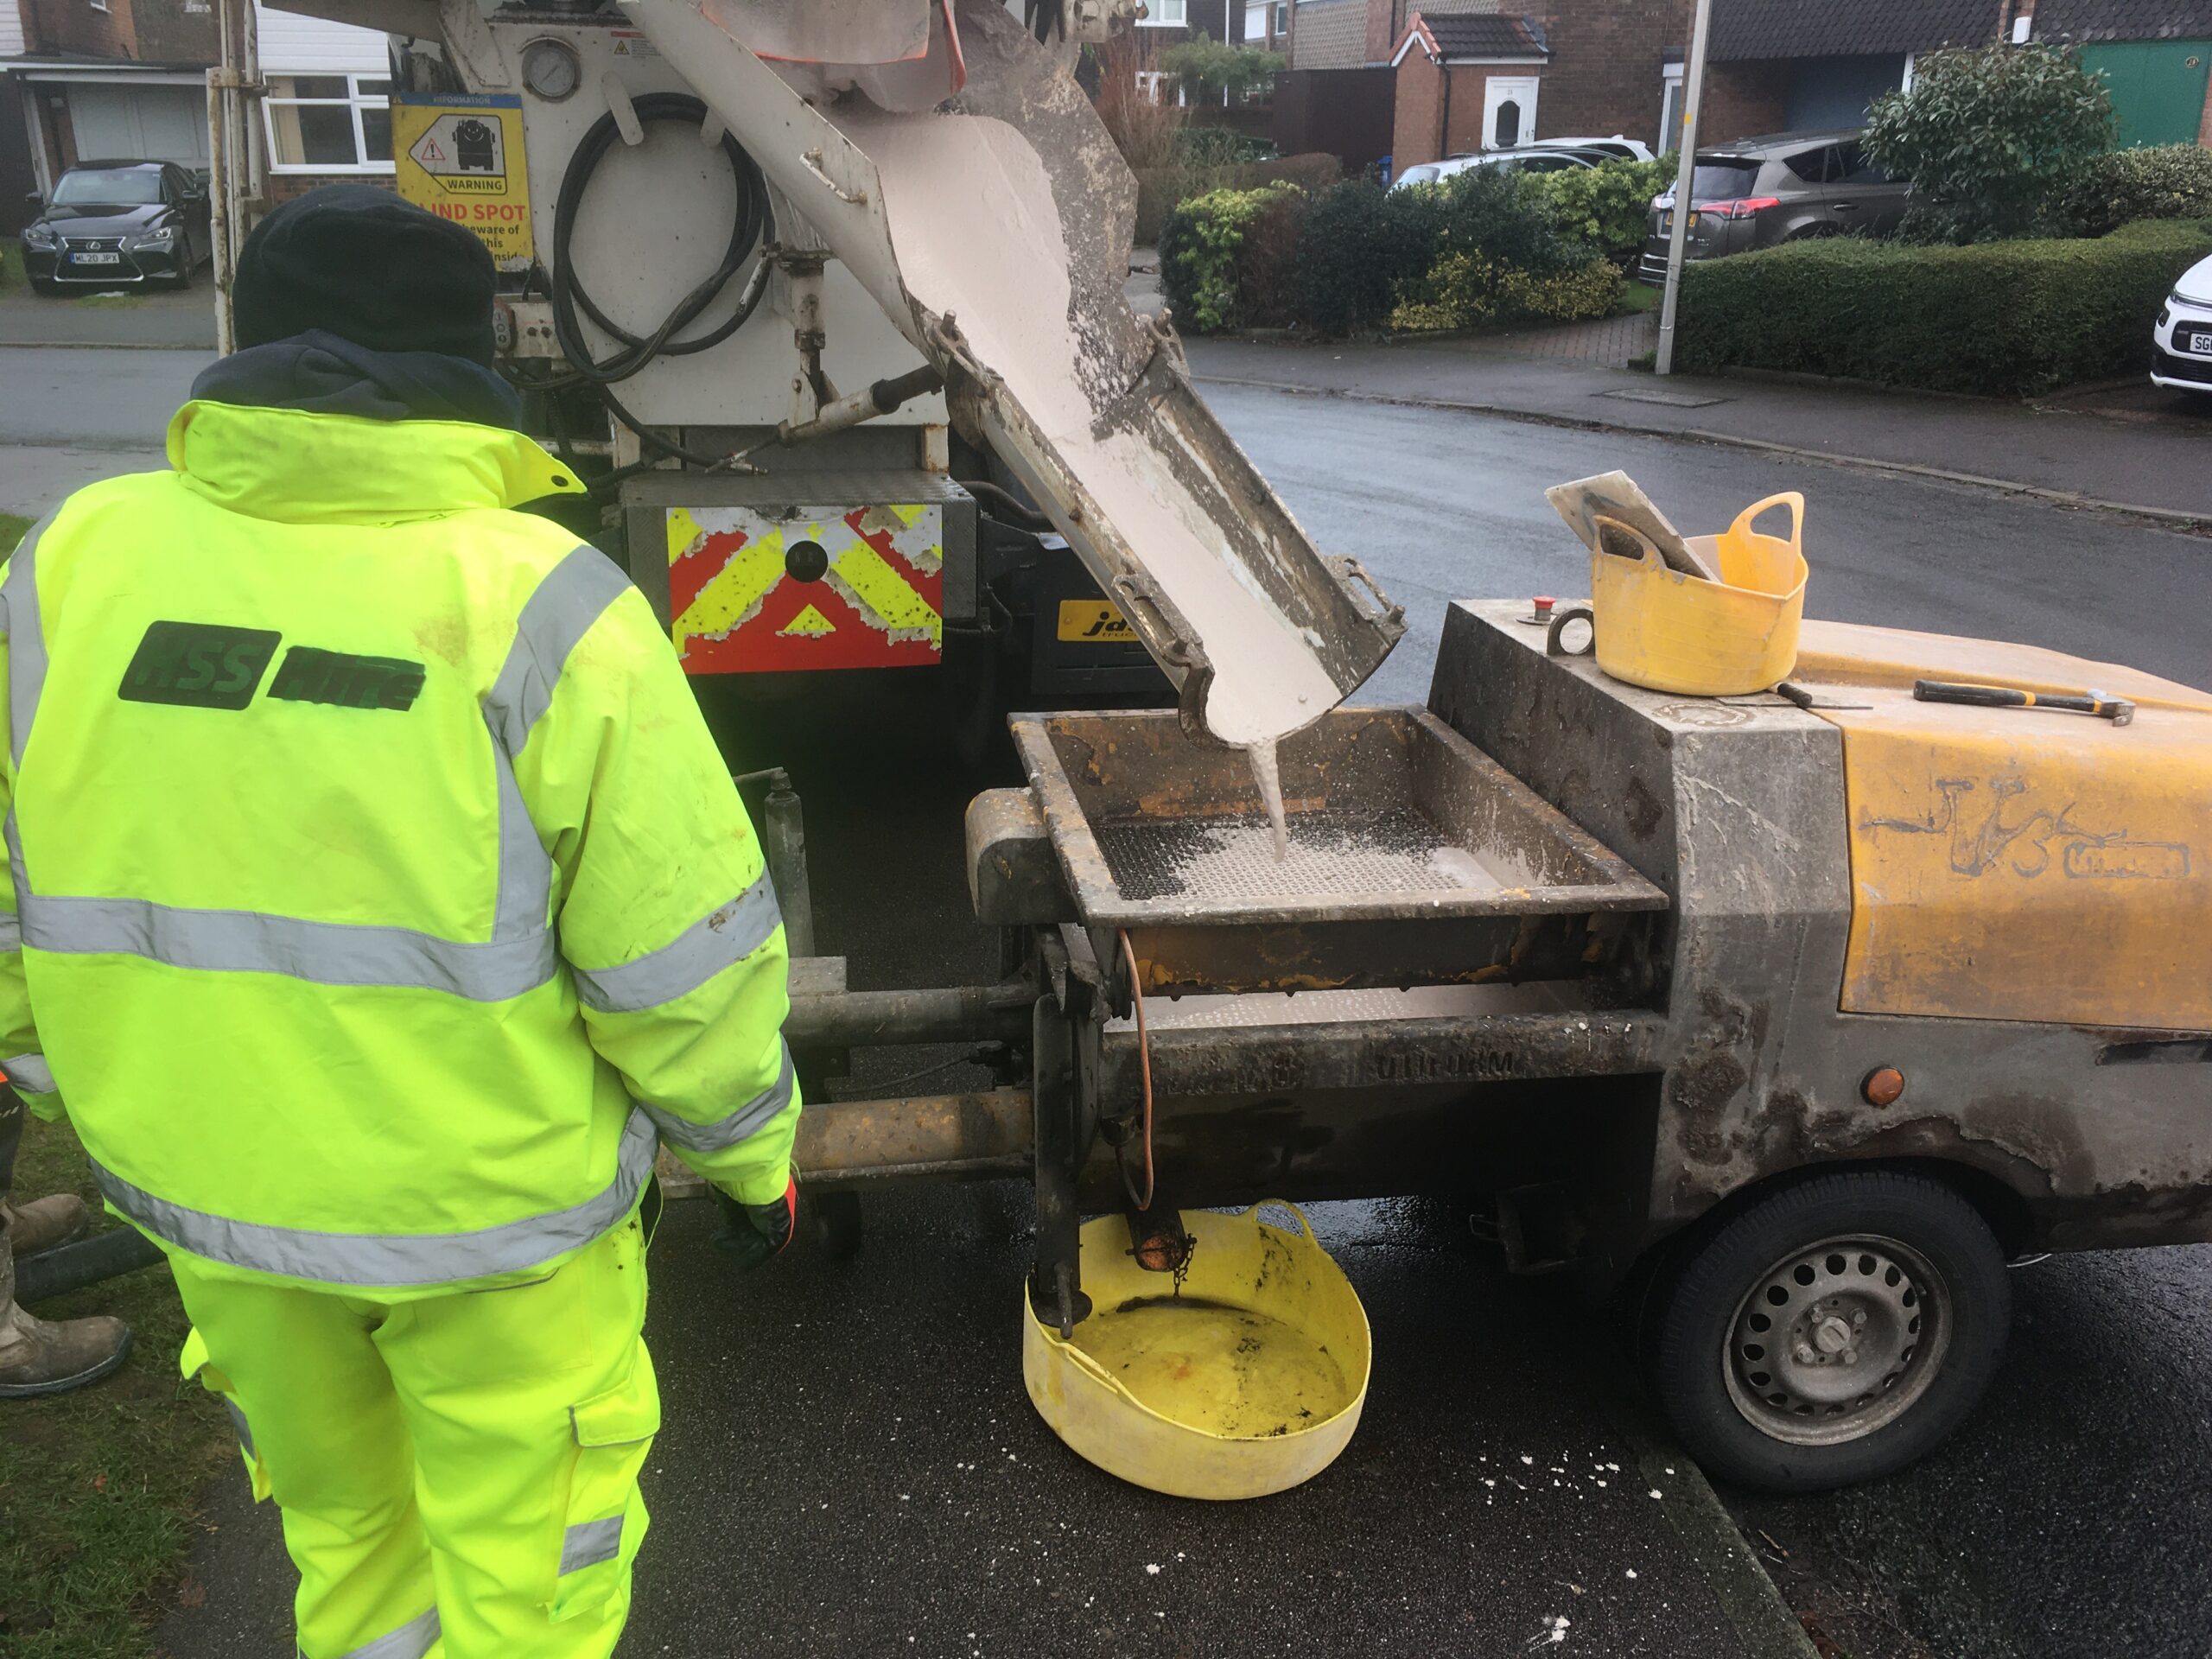
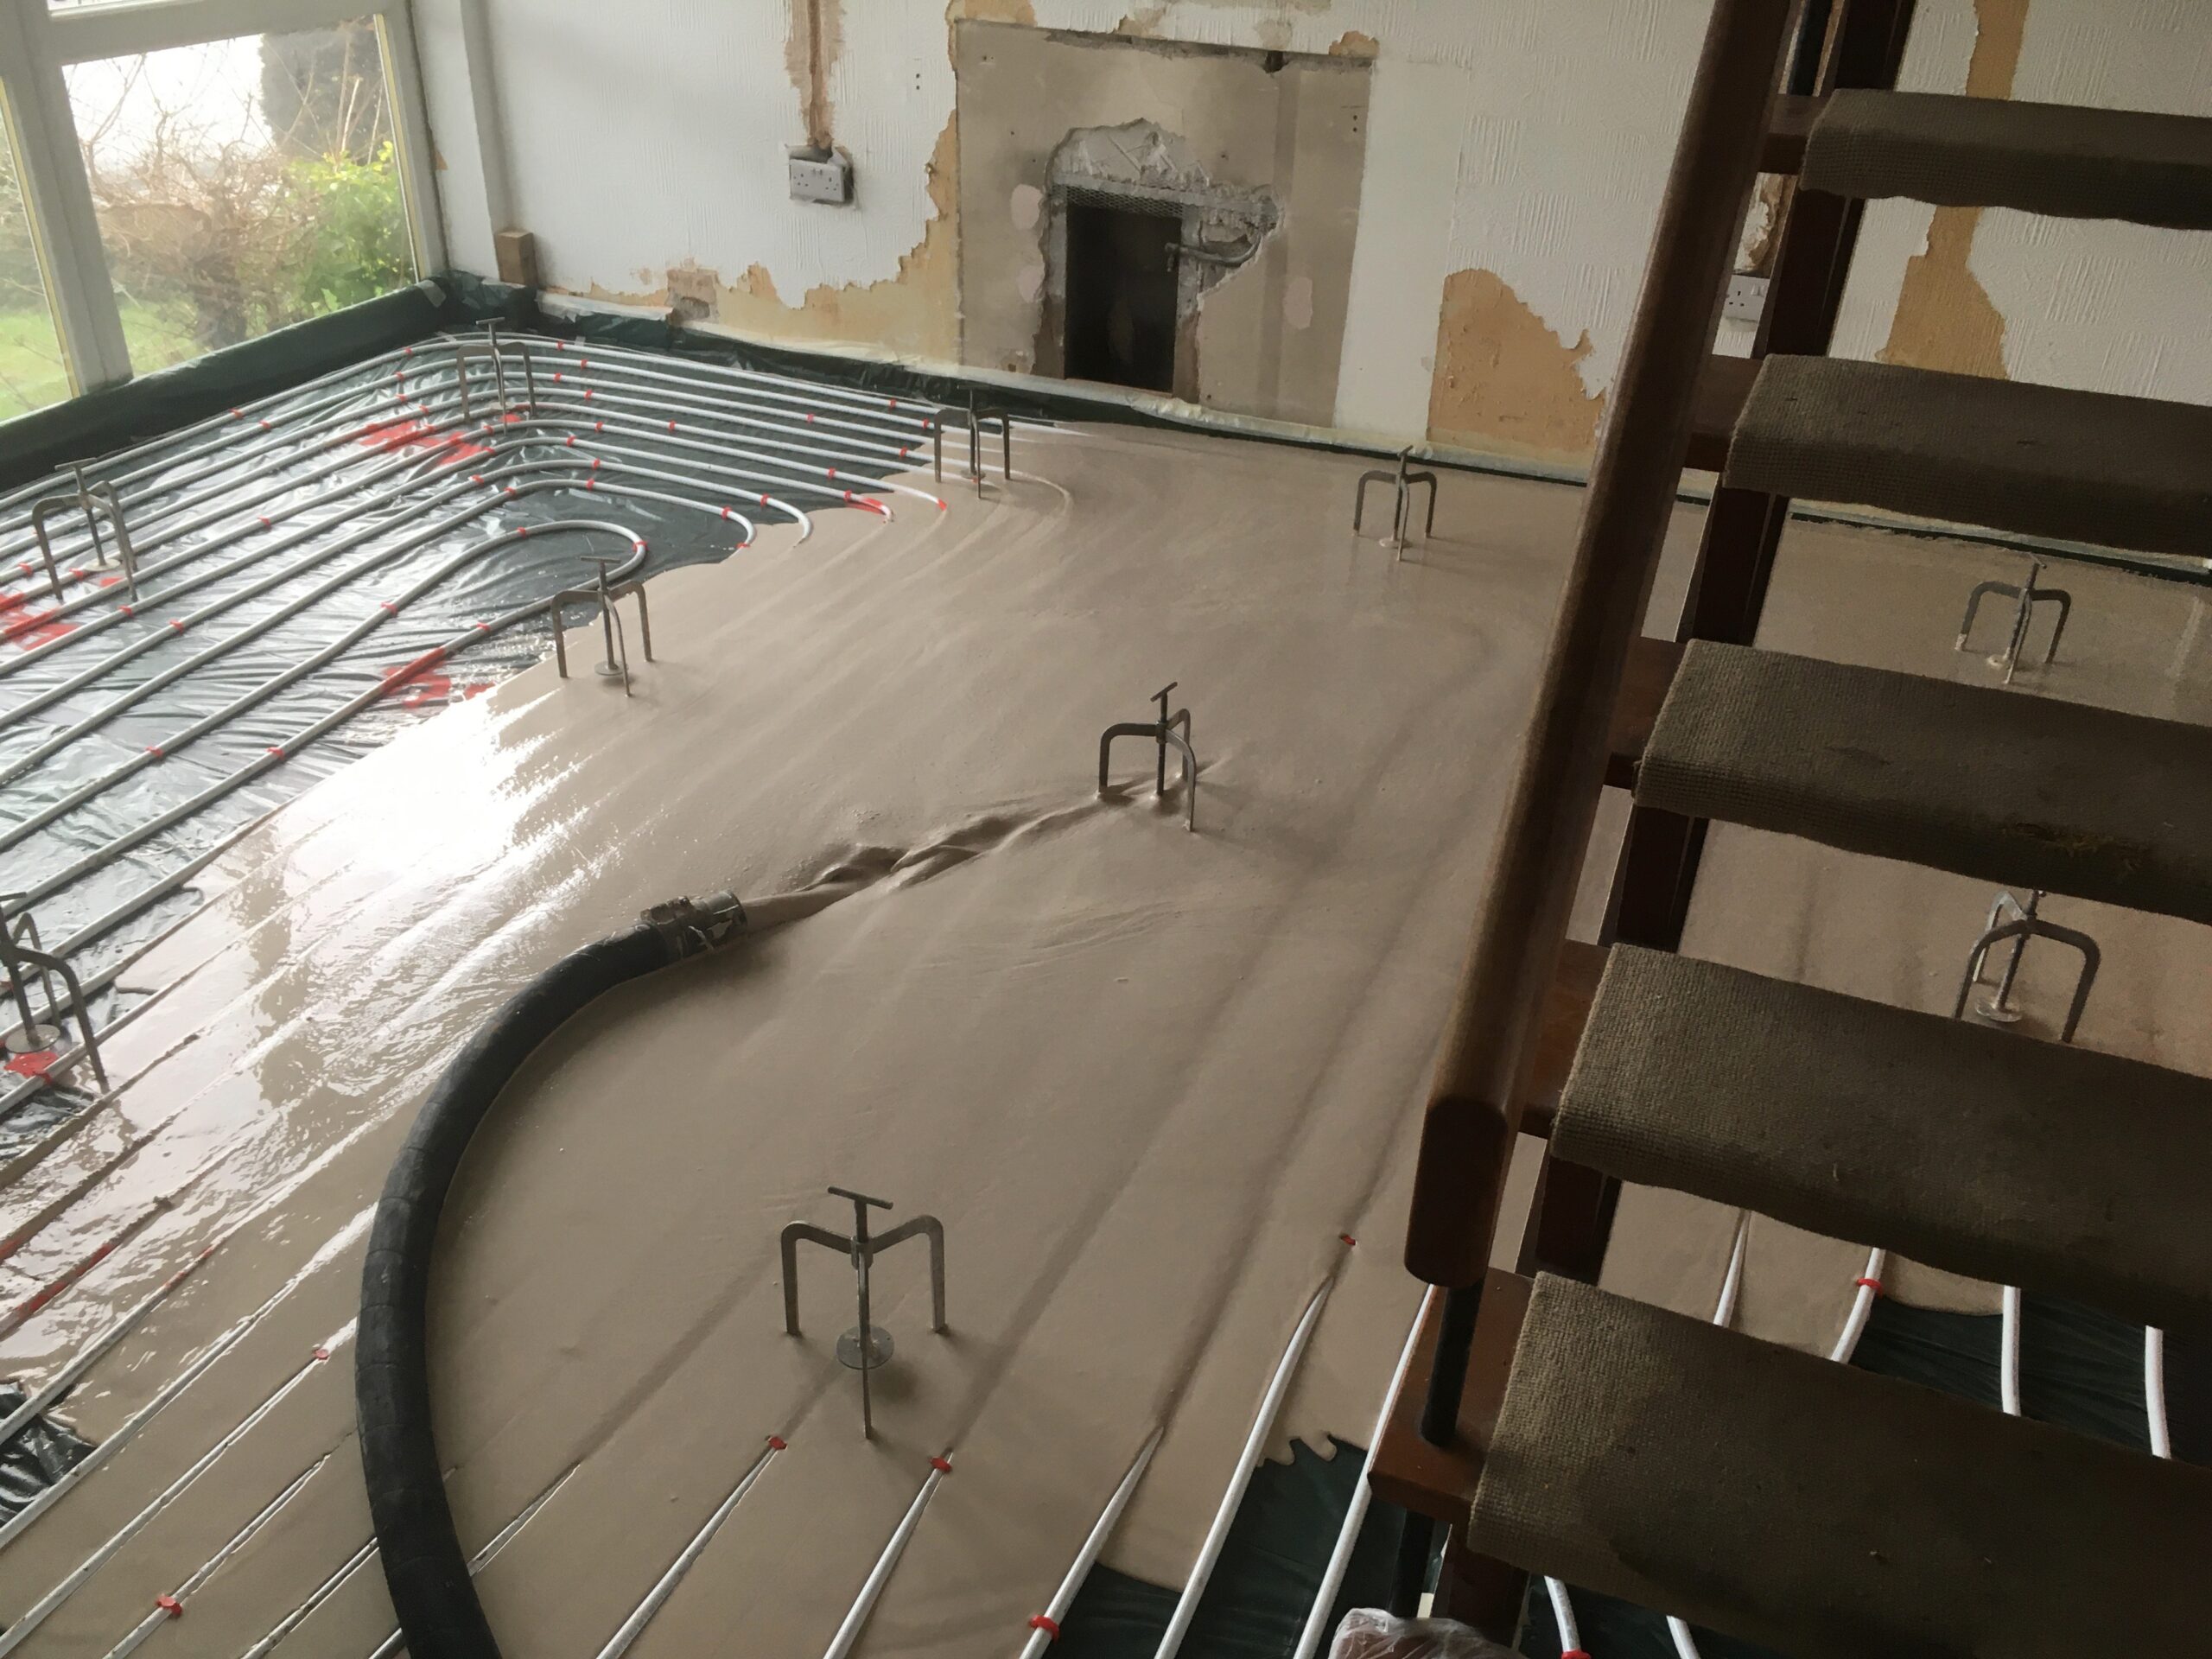
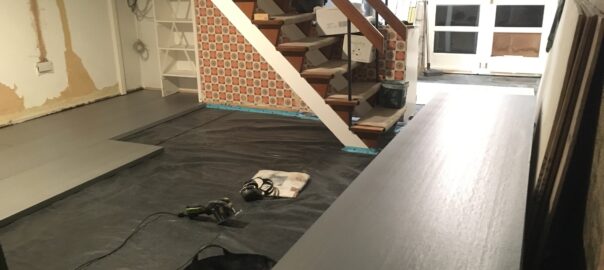
After weeks of research, enquiries, estimates, contradictory information, a few delays and a last hour product switch we mark a major milestone – a new floor poured throughout the ground floor.
It’s a Gypsol liquid screed.
No, I hadn’t heard of it either, before all this. Here’s what I learnt.
It’s an anhydrite flowing screed. It’s cement free. Instead, it recycles a by-product from acid manufacturing as the binder. It’s strong enough that it can be much thinner than a concrete floor (35mm rather than around 90mm) which matters for us because of the low ceiling height, and leaves room for a bit more insulation underneath.
This product is Gypsol HTC (High Thermal Conductivity) optimised for underfloor heating. So when we connect a heat pump to it, the system will function effectively (reasonable reaction times) and efficiently – so use less energy, and a higher proportion of renewable energy.
Cement production is really carbon intensive. But this isn’t, and because we need only a third of the amount than concrete, the emissions are a fraction of a concrete floor (80-90% less).
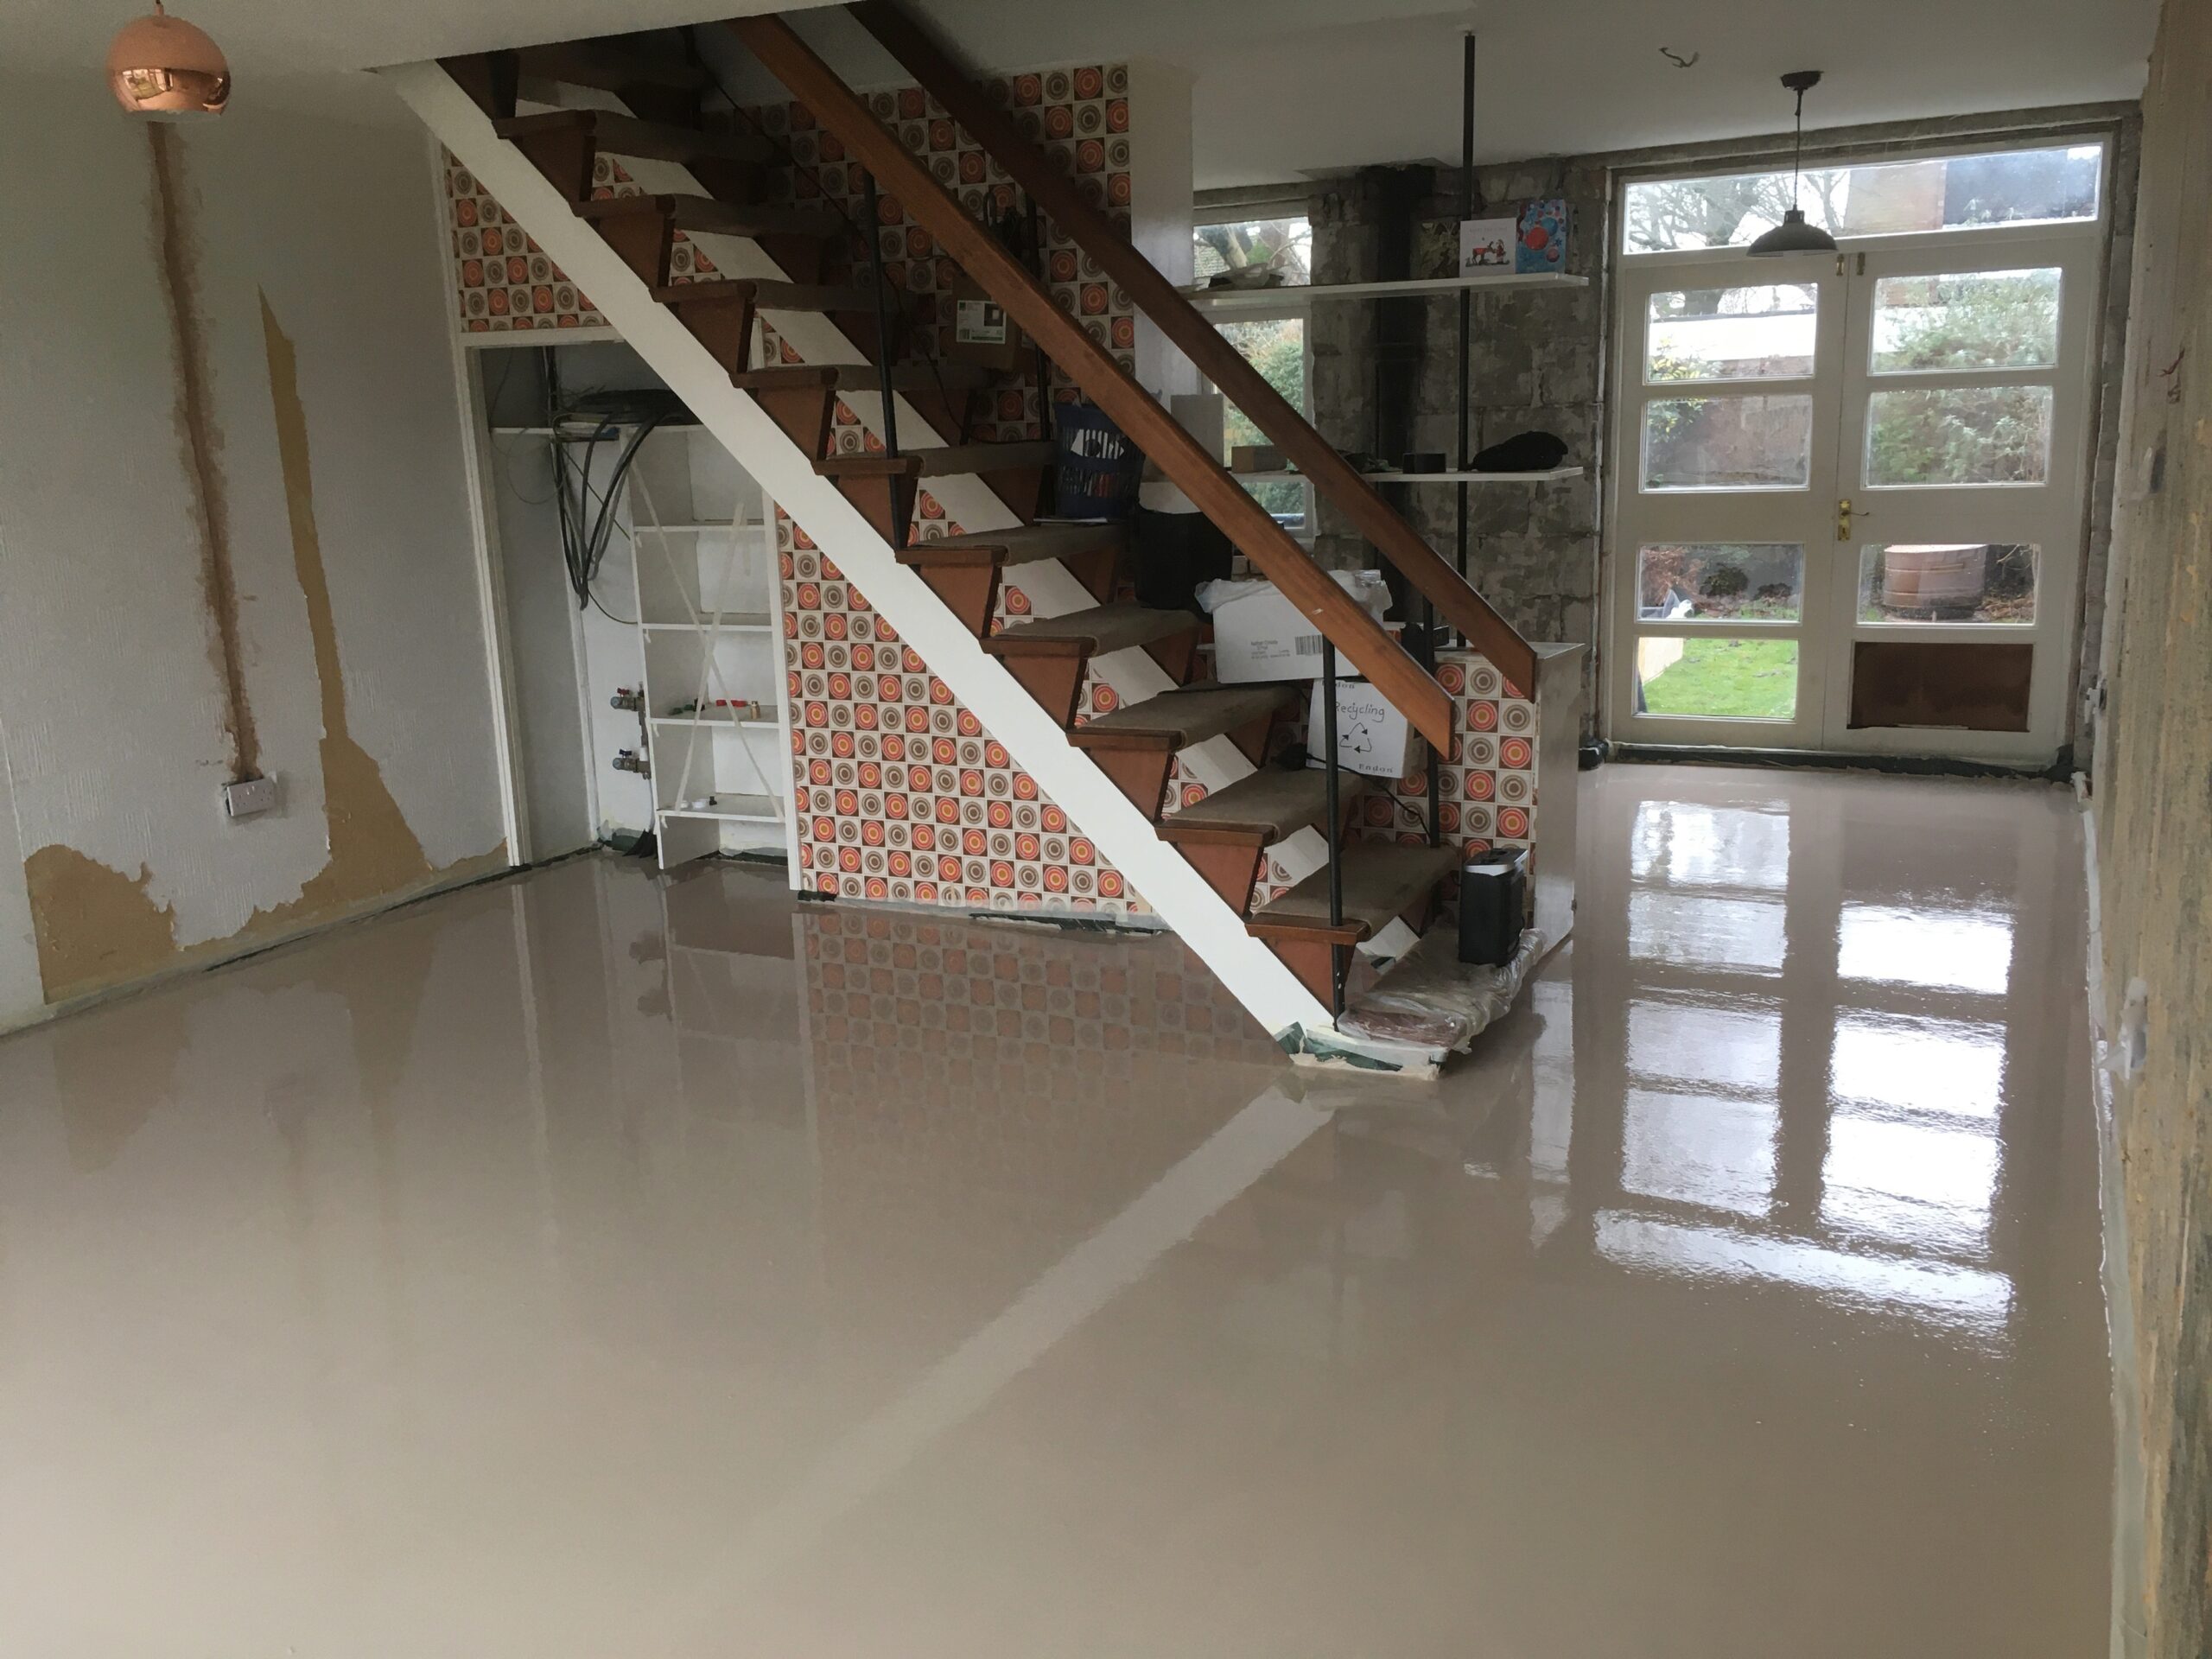
It will be our finished floor surface, after sanding, & coating with an epoxy resin (solvent free). The colour can’t be guaranteed as it can depend on the sand at the mixing plant on the day, so we’re really pleased it’s more of the hoped for light sandy shade, than a grim grey.
The red spot markings are the required depths to achieve a flat, level surface, determined in advance by a laser survey.
The tripods are depth markers, adjusted for each spot.
The red spot markings are the required depths to achieve a flat, level surface, determined in advance by a laser survey.
The tripods are depth markers, adjusted for each spot.
We can walk on it in a couple of days, and sand it in a week. Full drying out takes about 1mm a day, so weeks. And we don’t yet have a heating system to help it along, unfortunately. So I’ll borrow an industrial dehumidifier. In a month I can coat it, for a finished floor surface protection. In the mean time… wall insulation.
Welcome to the blog for Inglehome II – Heaton Norris.
This is really just a photo diary for family & friends.
You might like to read it in chronological order, which might make more sense, in which case you can start at the oldest post, by scrolling right down to the beginning, or:
Under Floor Heating works really well with an air source heat pump. Heat pumps work more efficiently when not working too hard, so work best with low temperature heating systems. In a well insulated building a well designed heat pump system can heat the house to a healthy, comfortable temperature with a nice low flow temperature. So the heat emitters (in this case underfloor heating downstairs, and radiators upstairs) stay gently warm all the time, keeping the house warm, whilst the heat pump utilises more renewable energy (heat from the outside air) so not consuming too much electricity.
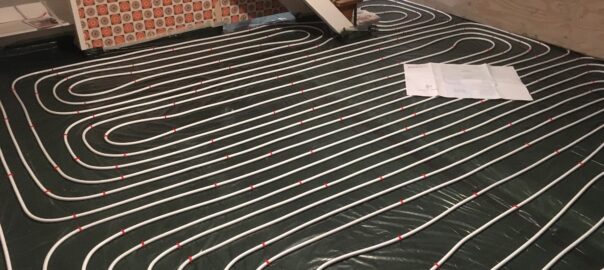
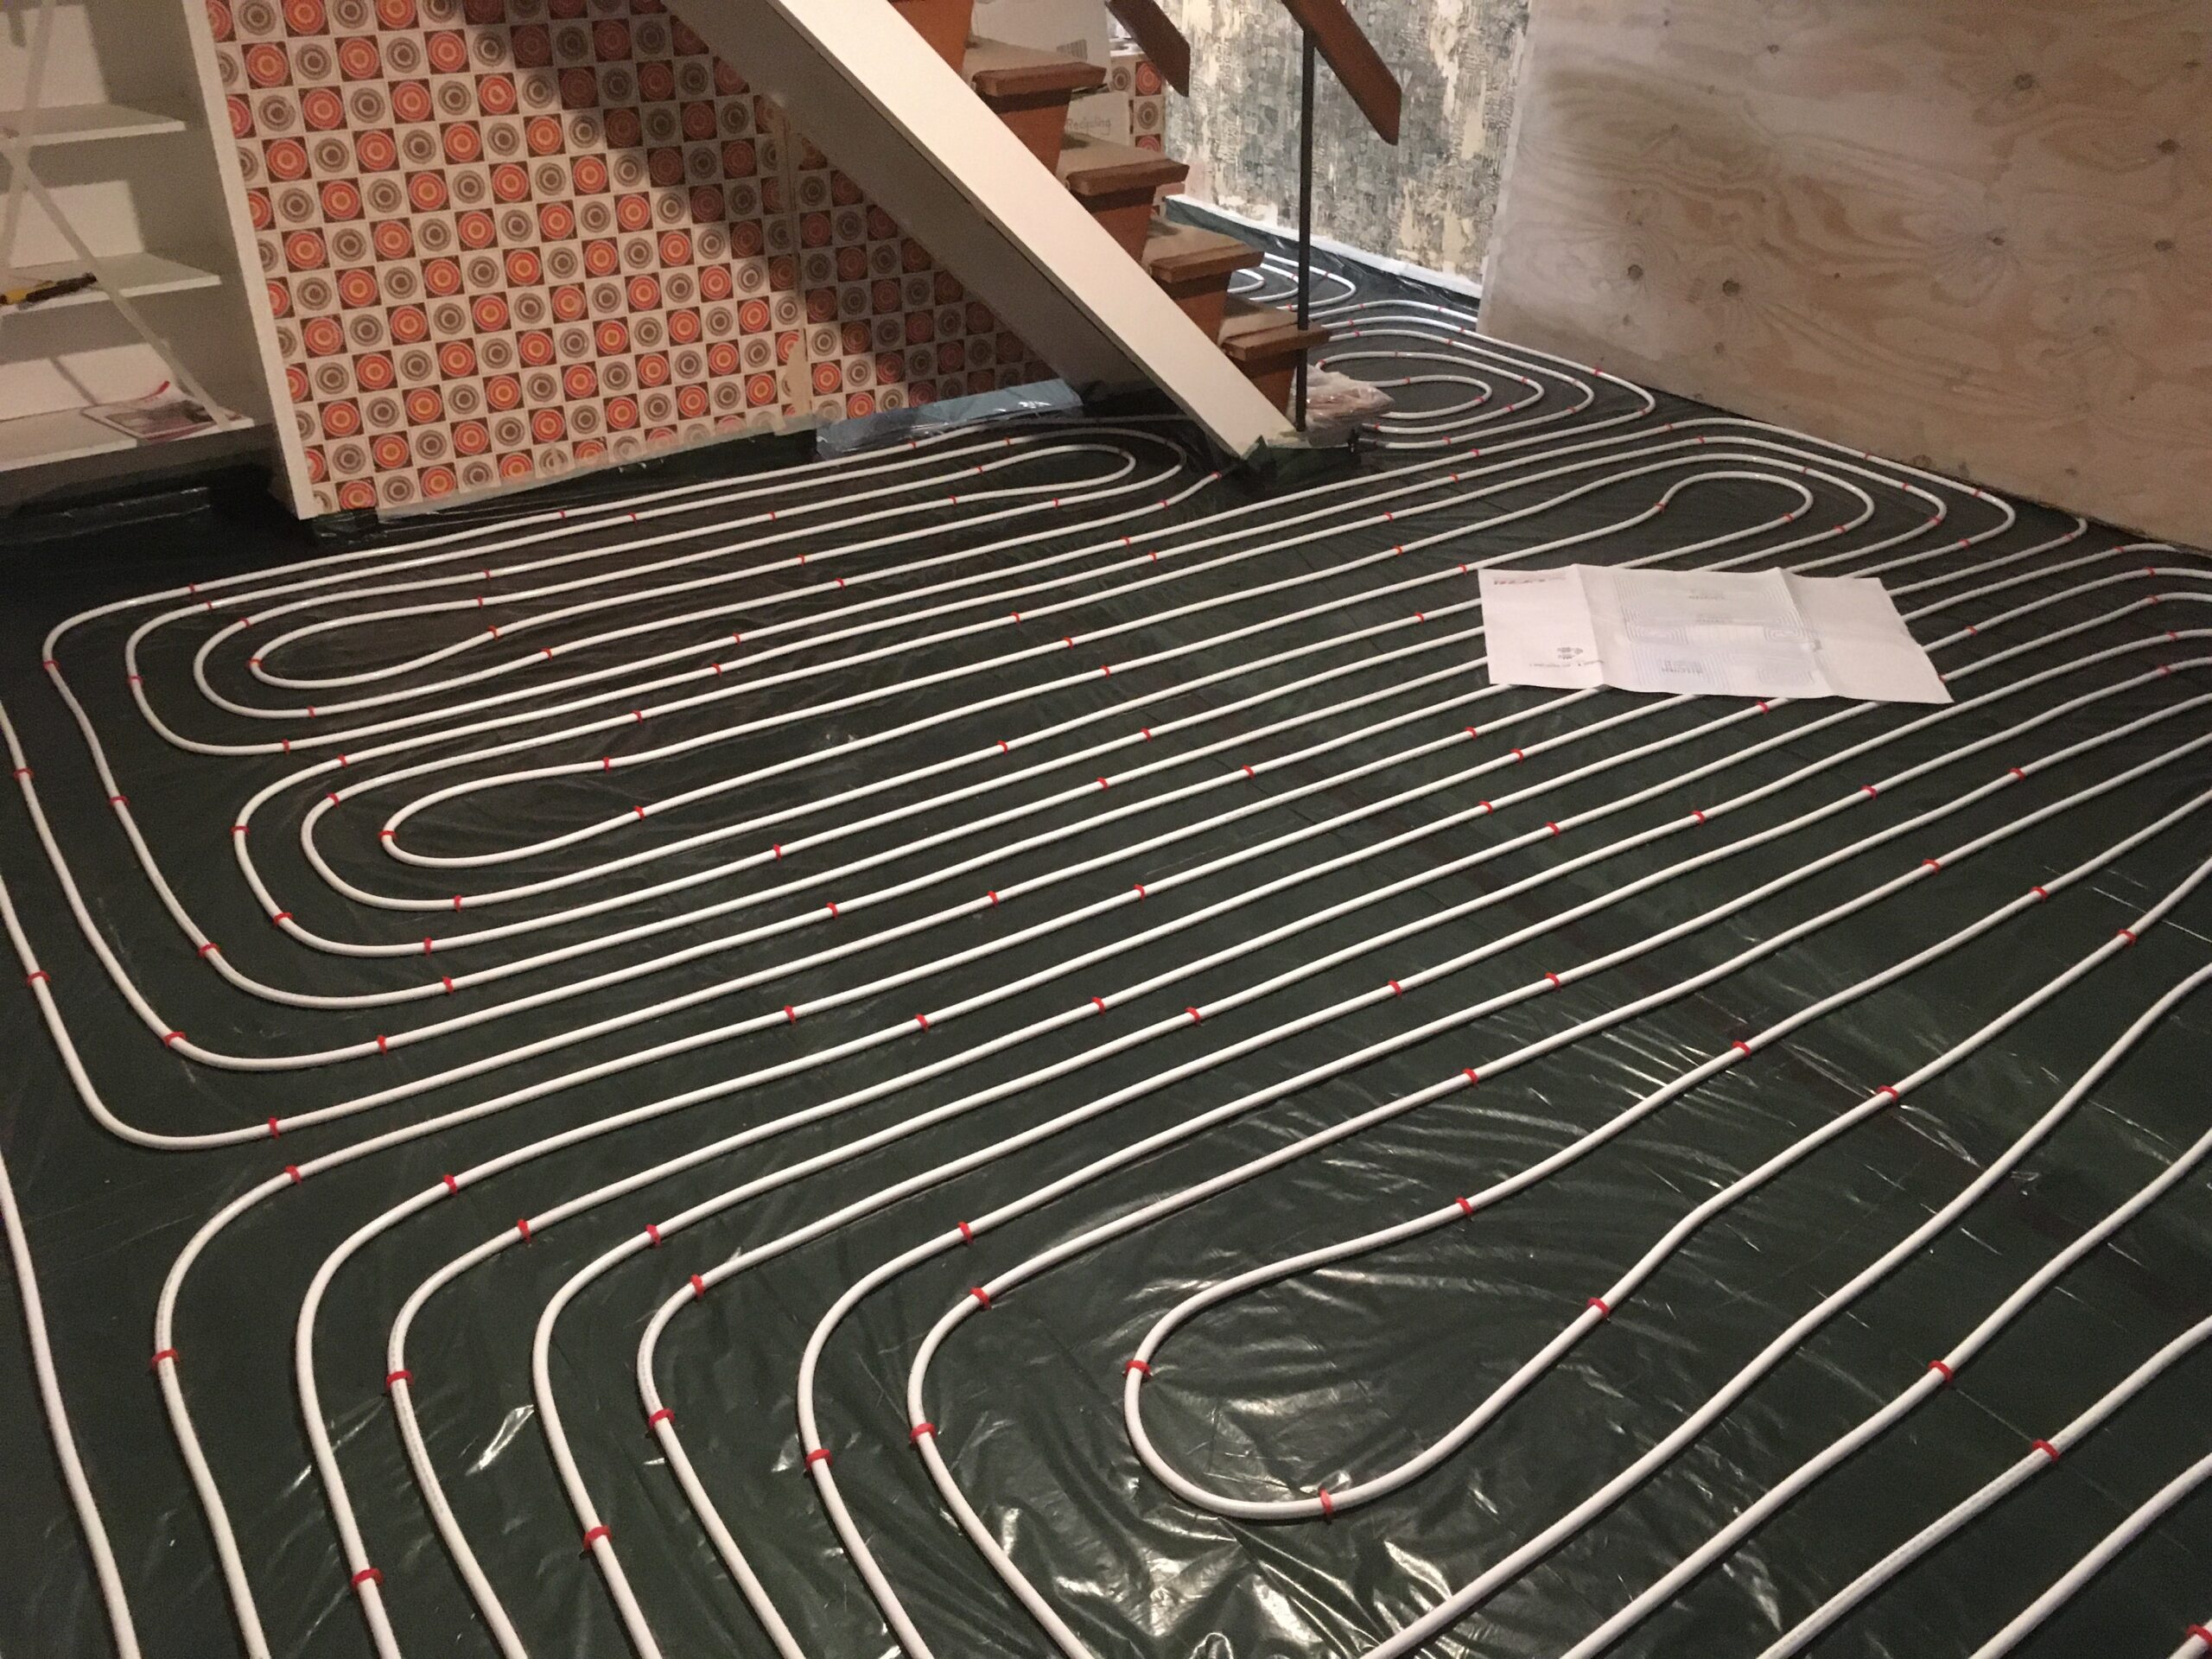
All we need to do is install a pipe that looks like this:
Groovy.
Filling with hose pipes & pressurisation with mains water.
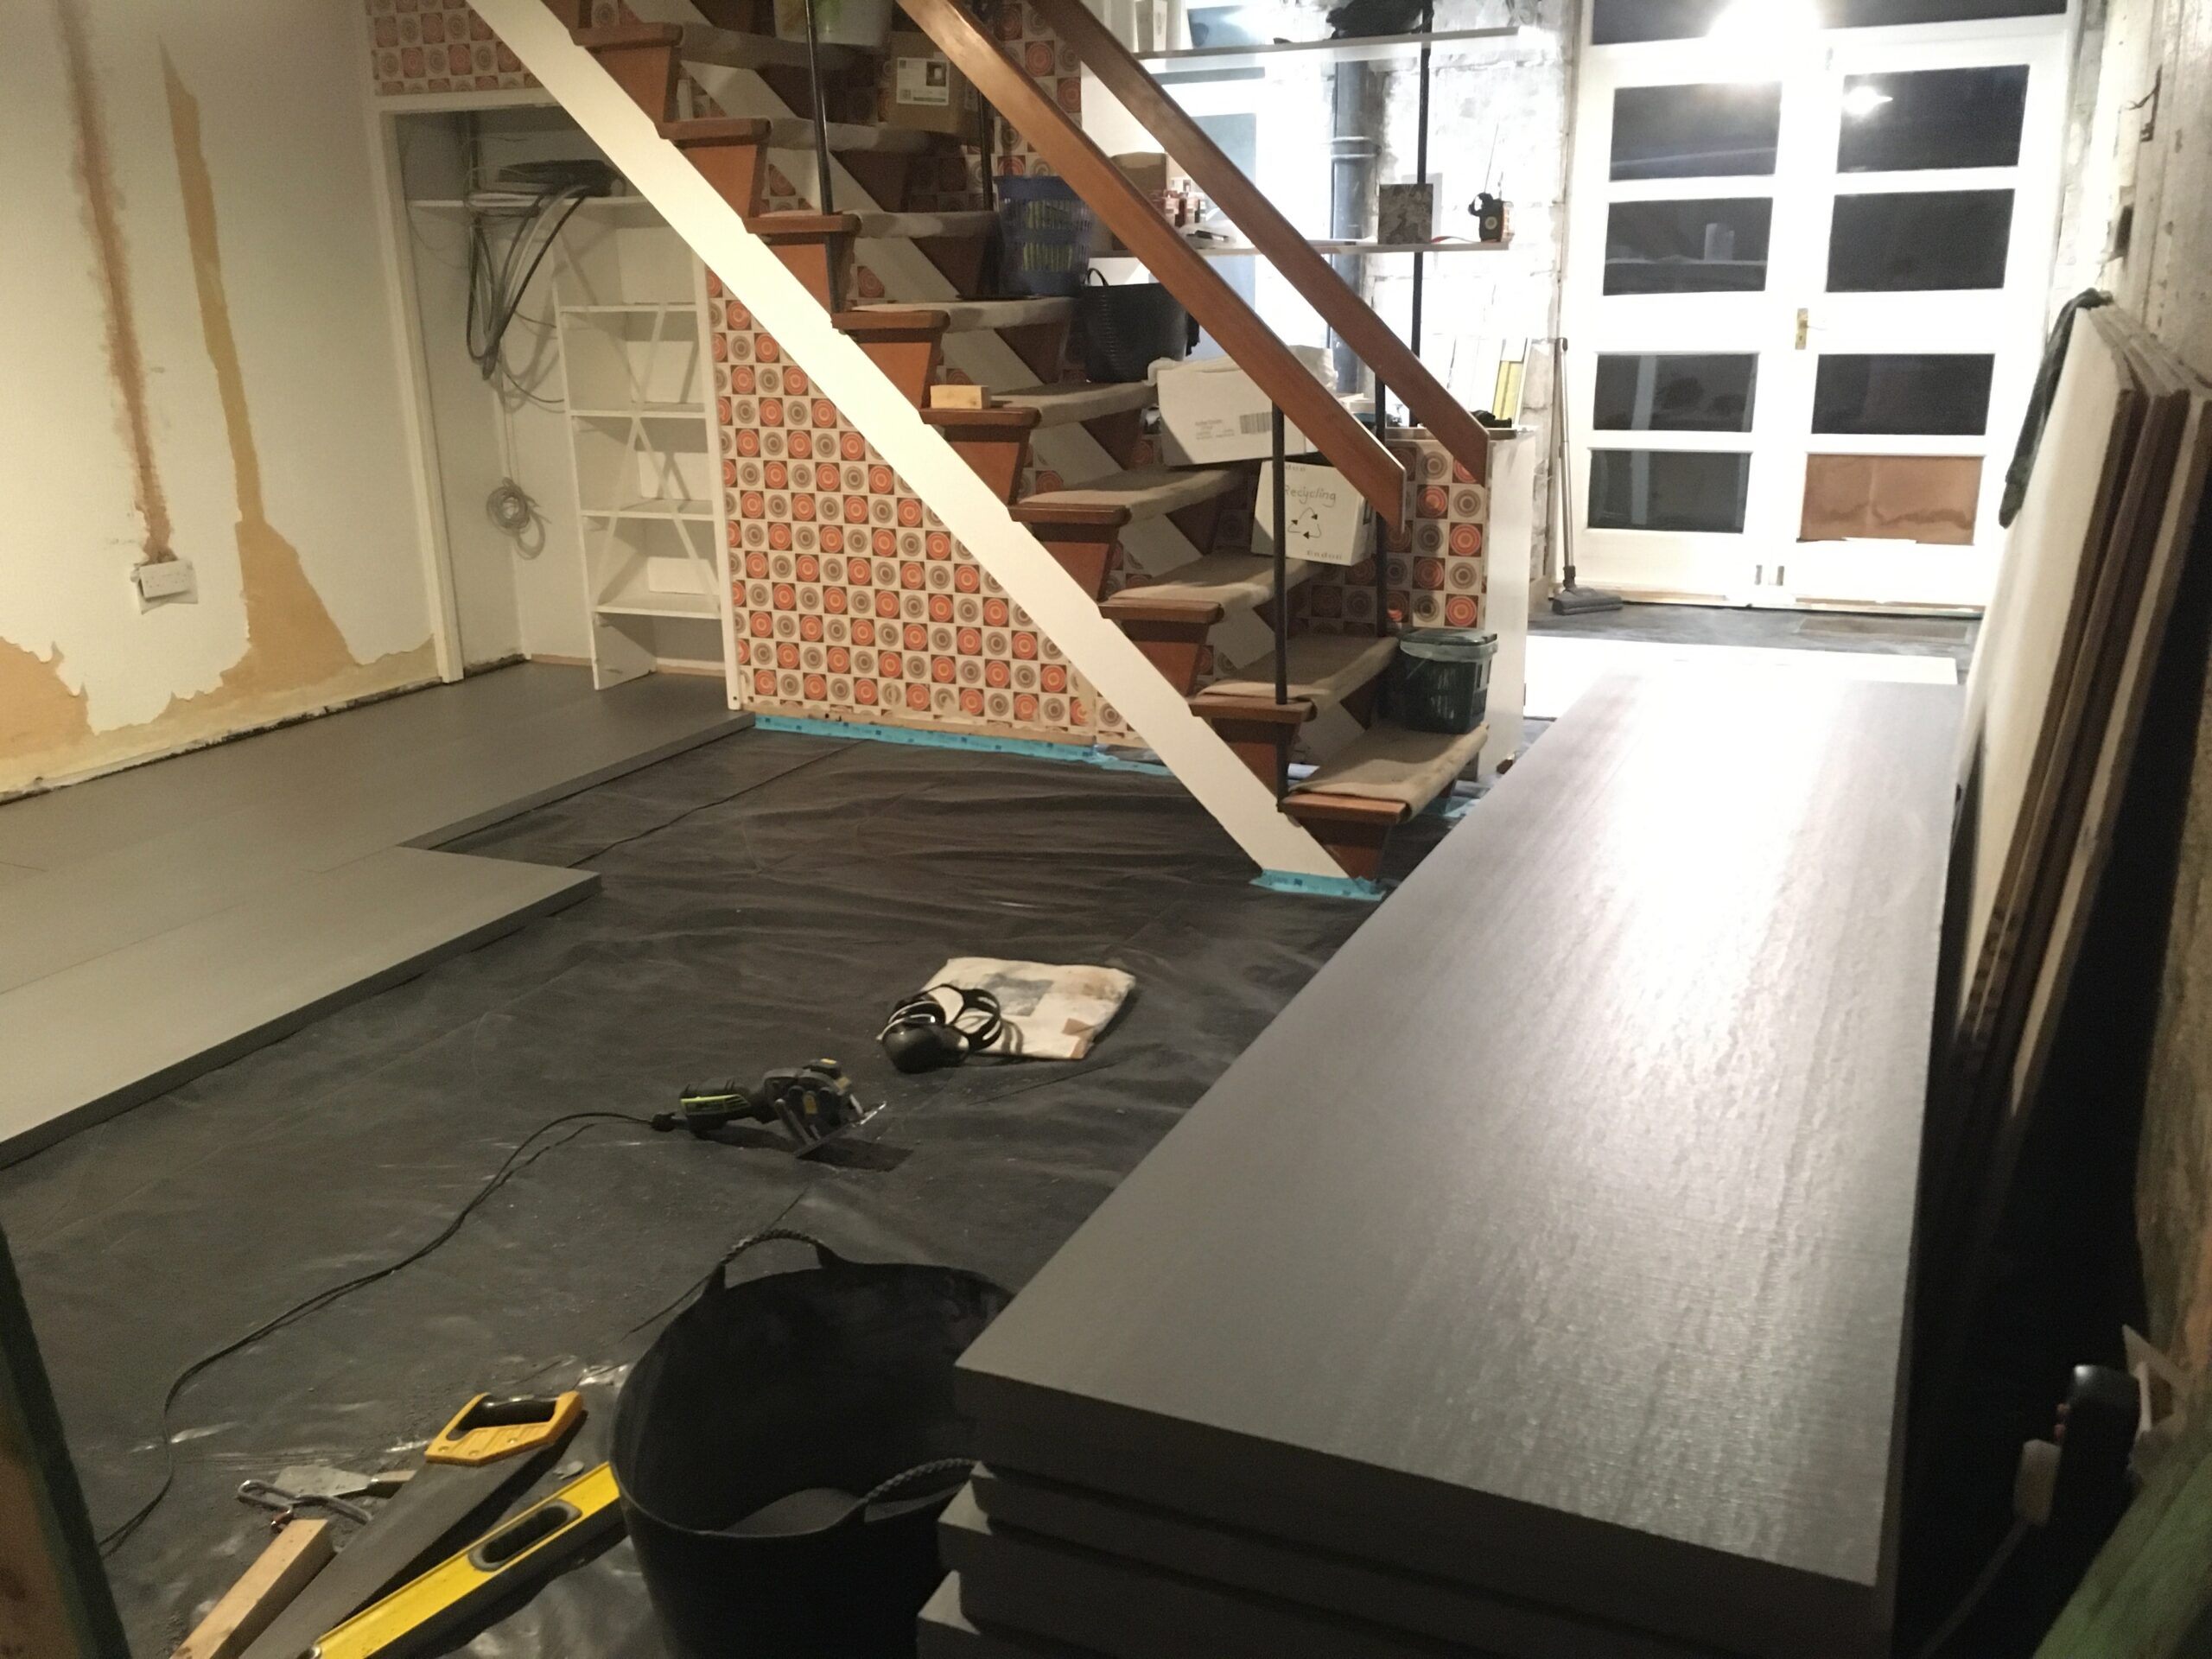
Polythene sheet (damp proof membrane) installed and sealed all round the edge.
Then 40mm of floor insulation. I’d prefer more, but the low ceiling height is getting lower with every layer I add to the floor. The other option would be break up the existing concrete floor and excavate down, and then install lots of more eco insulation and a new floor. Sorry, but no.
It’s XPS – eXtruded PolyStyrene. XPS is stronger than EPS (expanded polystyrene) so good for floors. We previously used EPS for EWI. This product is also grey, as it’s treated to be reflective and so even more insulating, to get more benefit in the limited thickness. The insulation really matters here, because the floor will be heated, and there may not be any insulation at all between the existing concrete floor and the earth.